Browsing Category

Kimchi

Appetizers, Dinner, Kimchi, Korean, Lactose Free, Recipes, Side Dishes, Vegan, Vegetarian, Veggies

Homemade Kimchi

November 26, 2021

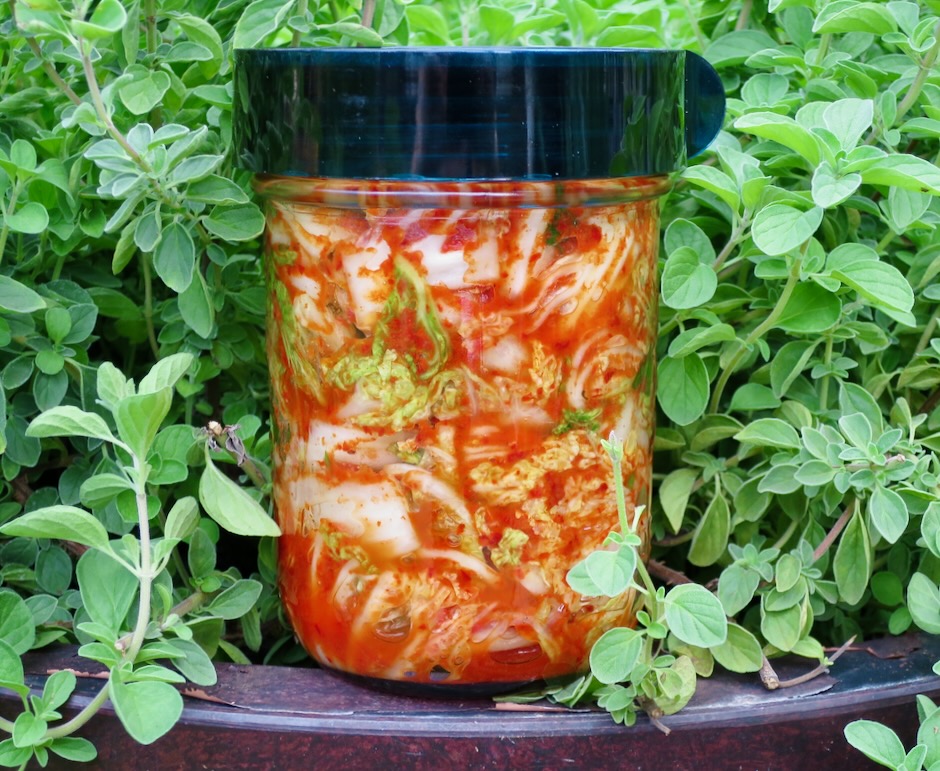
Homemade Kimchi

I’ve had a keen interest in homemade kimchi for sometime now.  I attempted to make it before with ingredients that varied slightly, but they weren’t keepers.  I finally tried again, and this time the kimchi was delicious.  There are so many variations of kimchi, yet the main ingredients never change: Won bok cabbage, salt, garlic and gochugaru.  Additional ingredients such as thin strips of daikon radish and carrots, grated ginger, green onions, and a bit of sugar can be added to the mix.  With so many options, the kimchi you make will be your own unique recipe.  

Homemade Kimchi

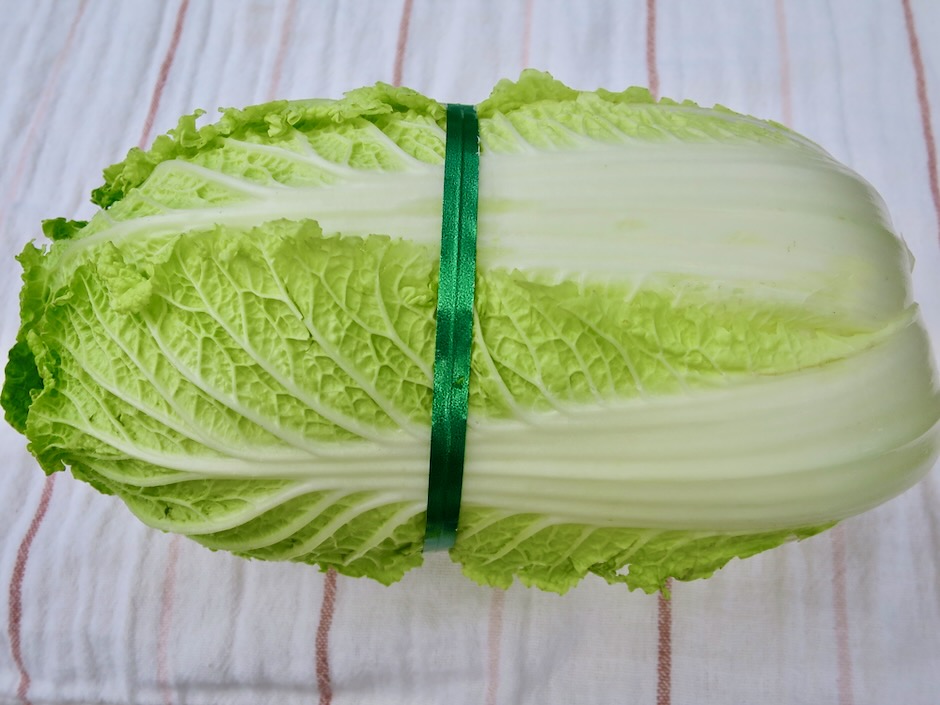
Won Bok Cabbage (Napa Cabbage, Chinese Cabbage, Celery Cabbage)

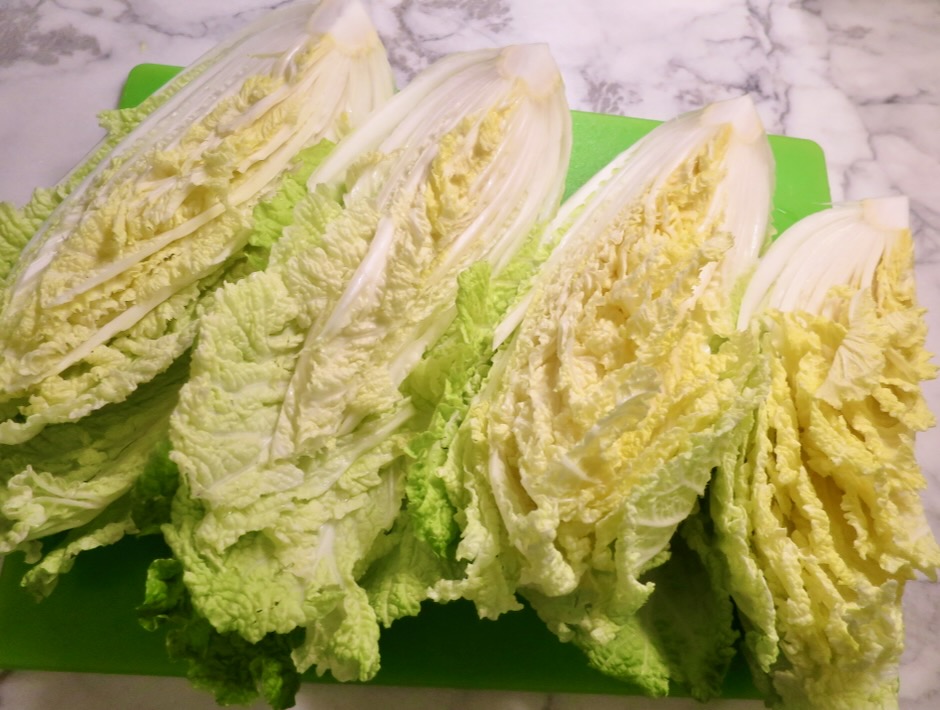
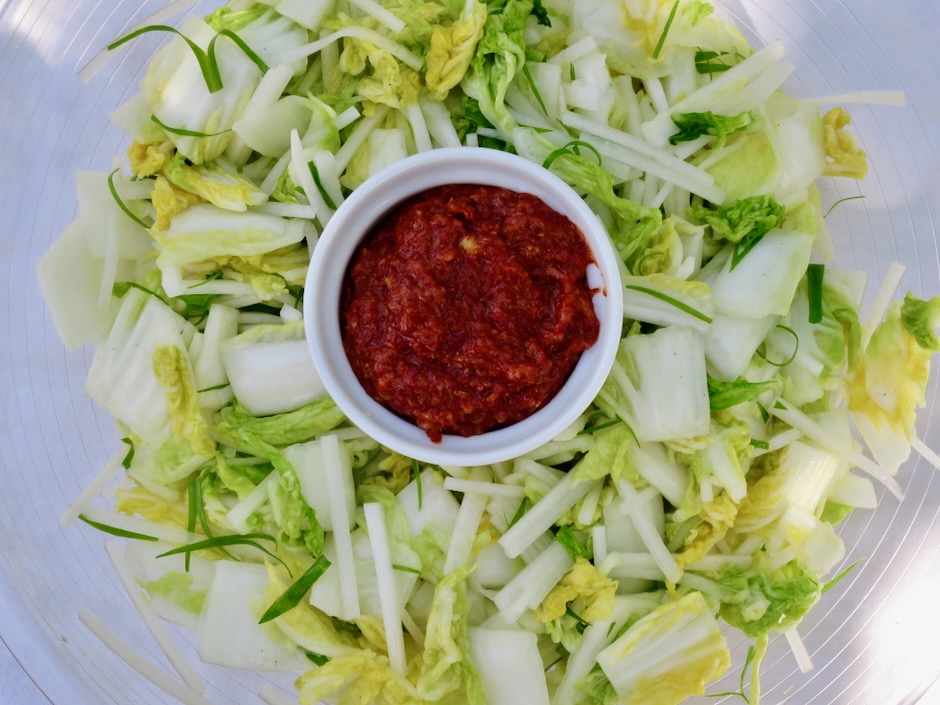
Start off with head of crispy won bok cabbage.  The outer leaves should be rinsed well, or removed if damaged.

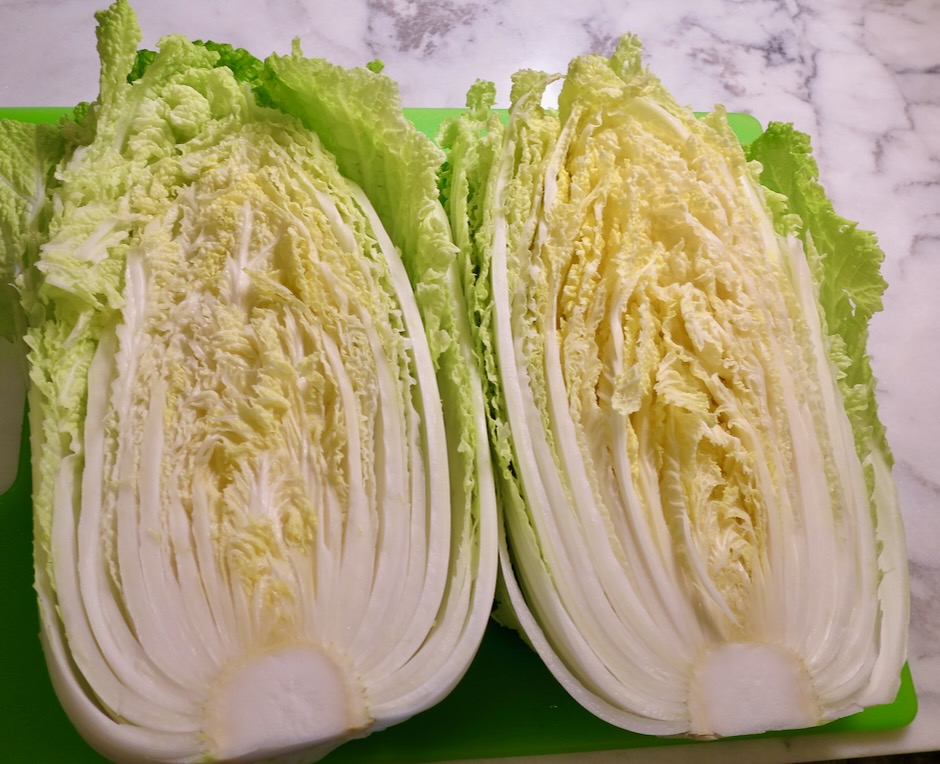
Won Bok Cabbage (Napa Cabbage, Chinese Cabbage, Celery Cabbage)

Slice the won bok into quarters and remove the core.

Won Bok Cabbage (Napa Cabbage, Chinese Cabbage, Celery Cabbage)

Gochugaru (Korean Red Pepper)

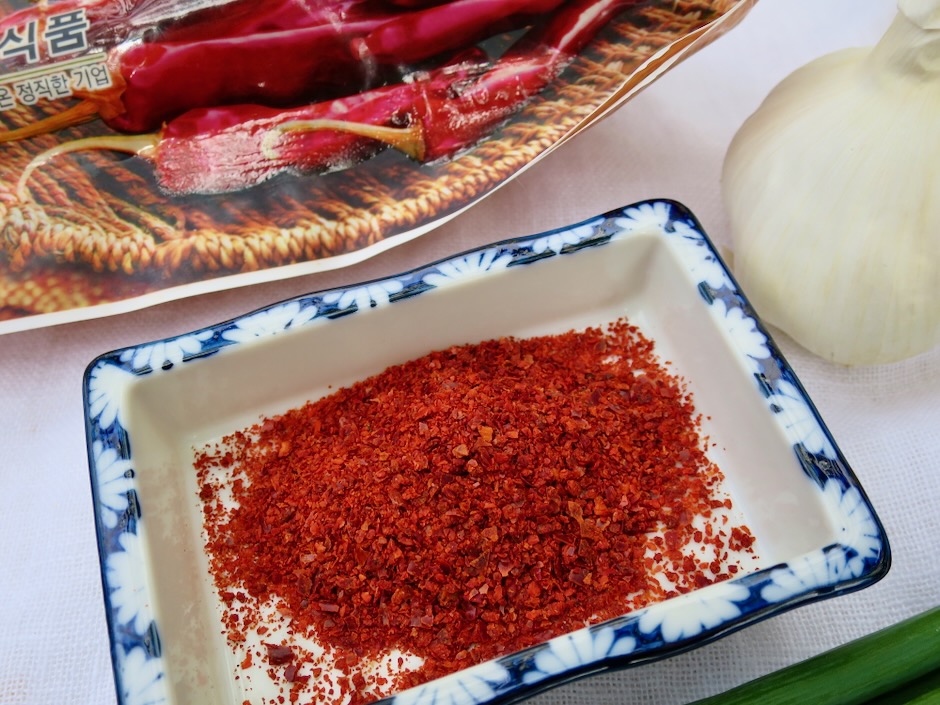
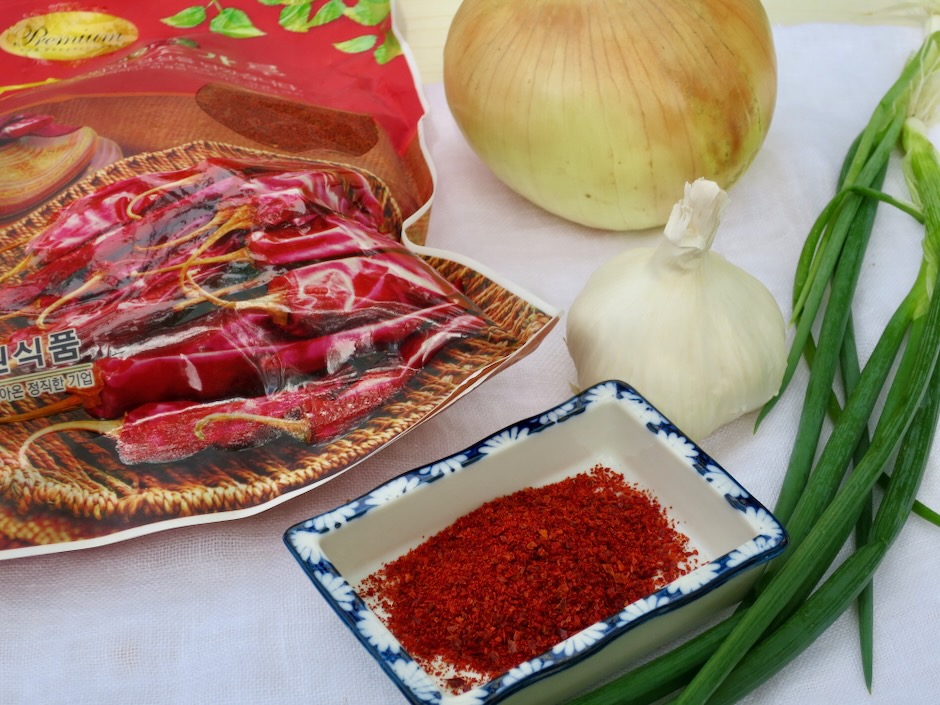
I bought a large bag of gochugaru from H Mart on Oahu.  You can easily purchase this online.  Gochugaru has a gorgeous deep red color and gives the kimchi its beautiful red hue.

Gochugaru (Korean Red Pepper)

Chopped Won Bok with Coarse Grained Salt

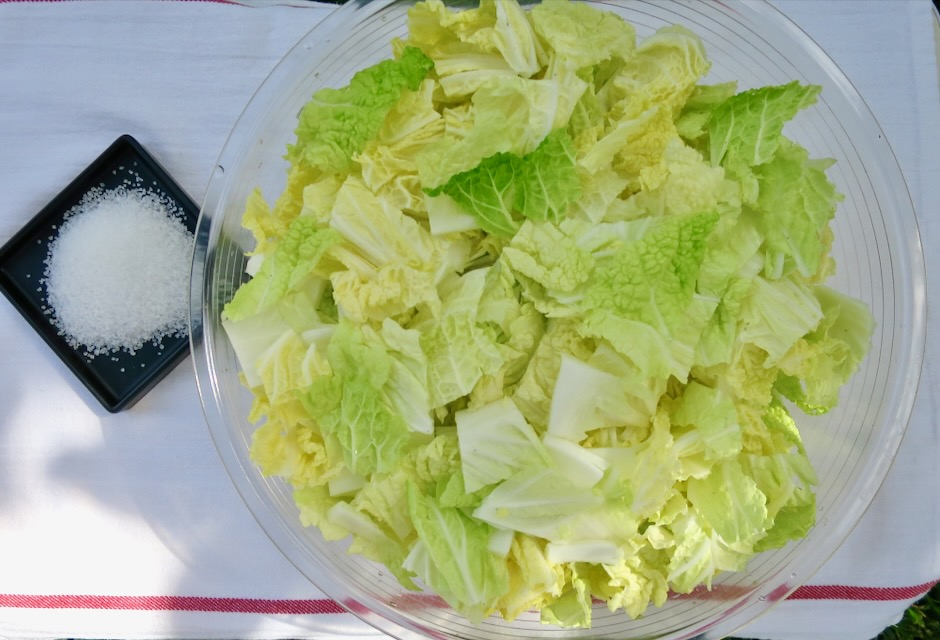
The chopped cabbage is tossed with water and coarse salt.  It will shrink dramatically by the end of this step.

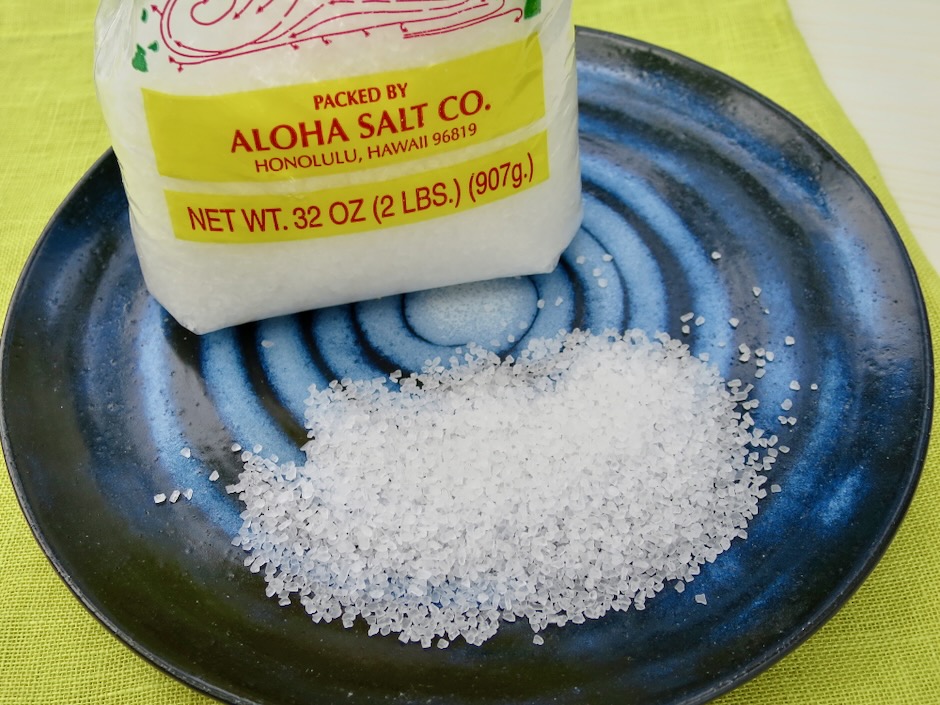
Coarse Salt for Kimchi

I’ve had this bag of salt for years.  I prefer to use this medium grain salt.  I read that there is a Korean version of this so I will look out for it the next time I’m at H Mart.

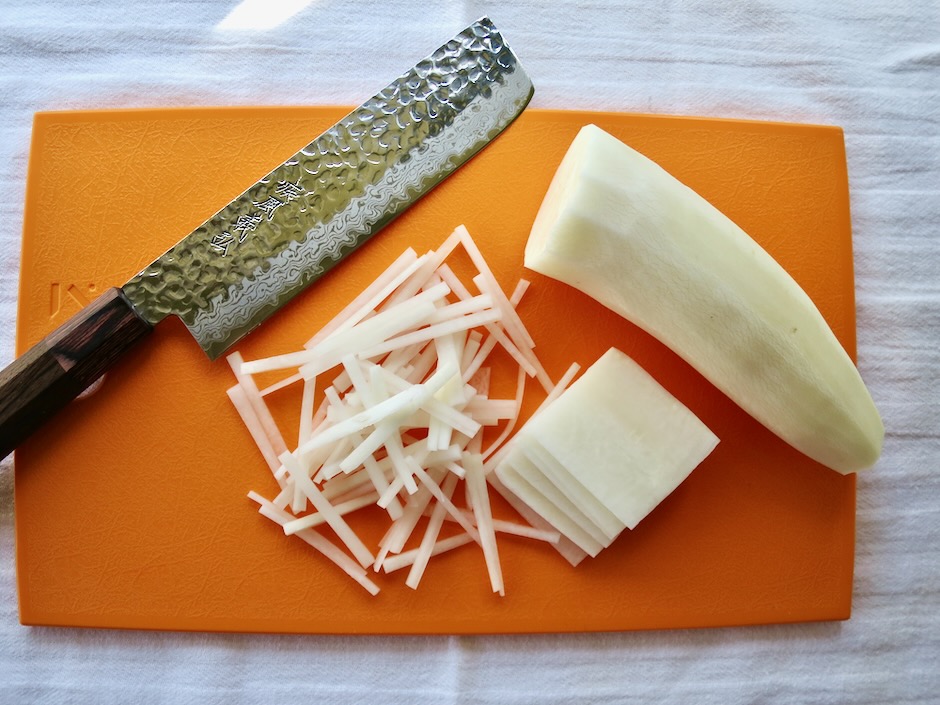
Daikon Radish

Thin strips of daikon are a nice addition to the won bok.  It has its own unique flavor and adds a bit of crunch to the kimchi.

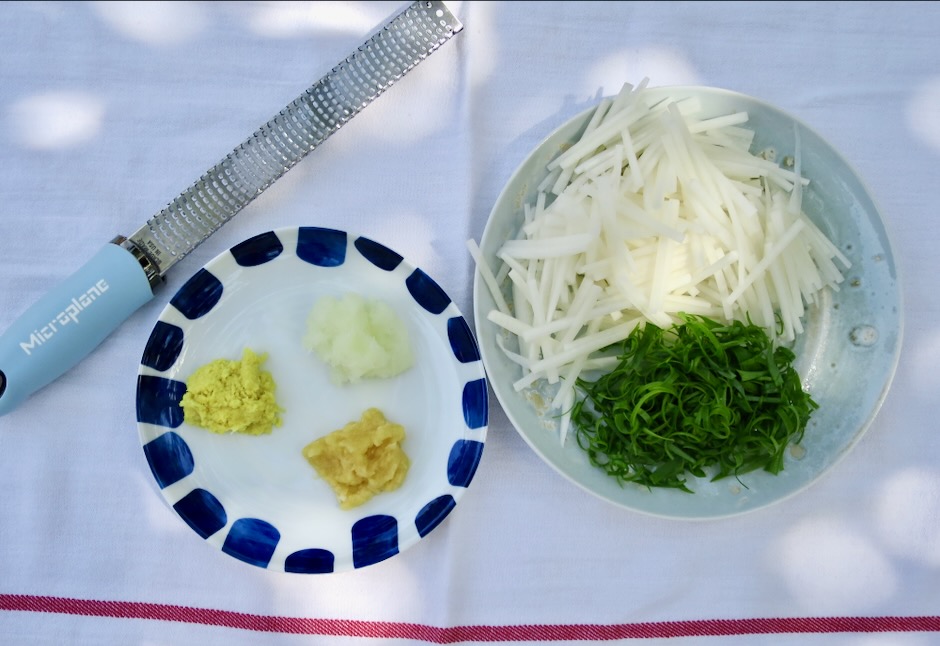
Ginger, Onion, Garlic, Daikon, Green Onions

The garlic, ginger and onion are grated very finely.  I highly recommend the Microplane to grate the garlic and ginger.  I use a fine grater for the onion as the Microplane is too fine (you’ll end up with onion water!).

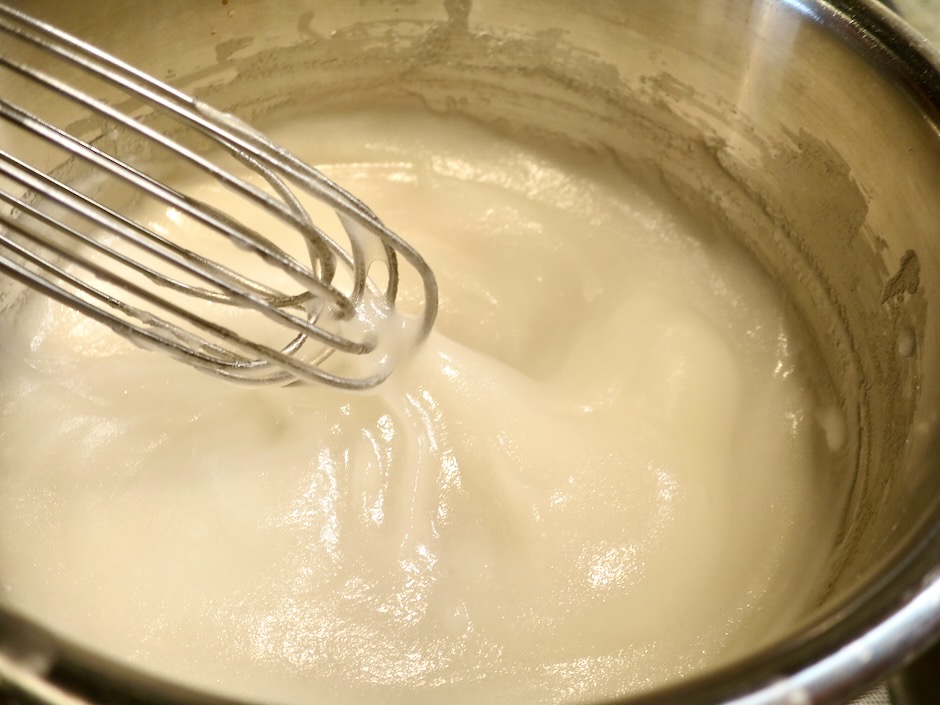
Sweet Rice Paste/Porridge

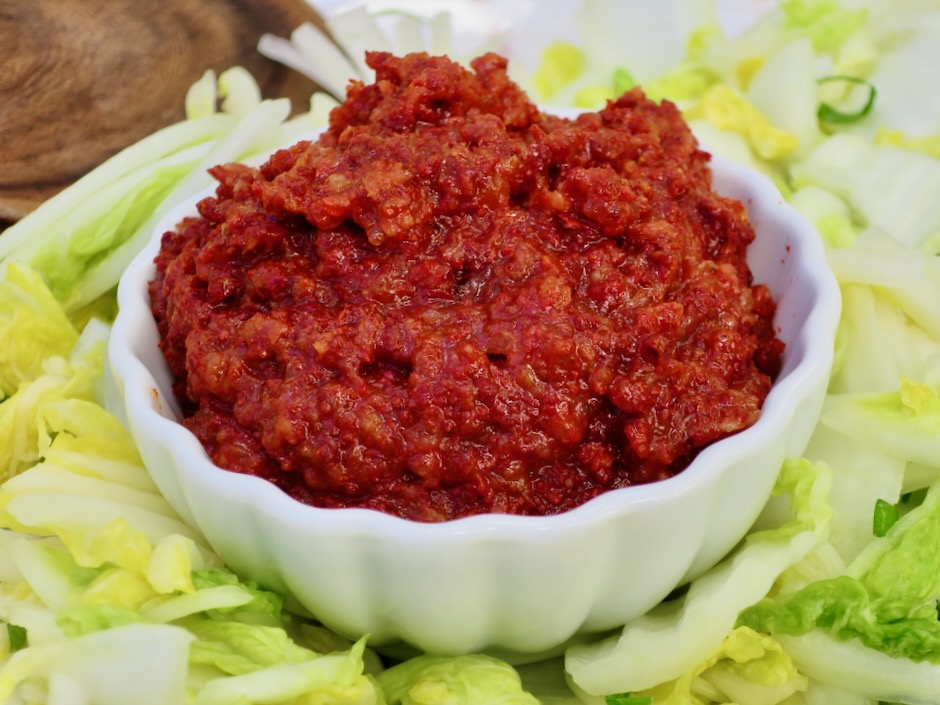
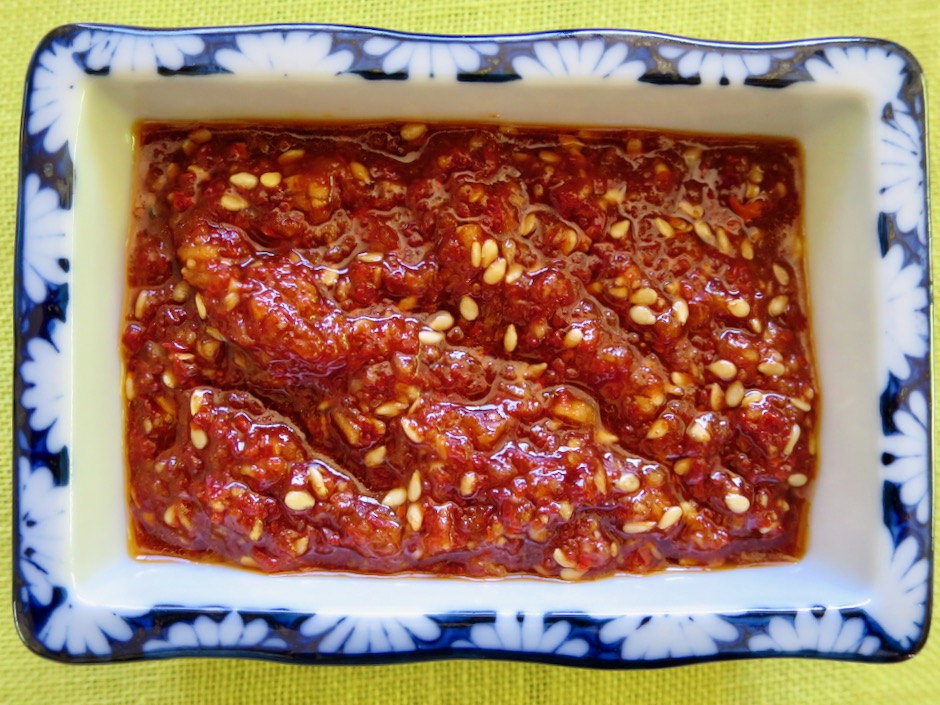
After studying different preparations for kimchi, I noticed that some recipes make a kimchi paste as they refer to it, by heating mochiko flour (sweet rice flour) with water, then adding a bit of sugar.  The mixture is cooled completely before the seasonings are mixed in.  This method is a winner and I will always use it when making kimchi.  The grated onion, garlic, ginger and gochugaru are mixed into the paste.  Once the cabbage has been rinsed and drained, the kimchi seasoning paste is mixed in along with the daikon and green onions.  The paste coats the vegetables thoroughly ensuring that they are all well seasoned.  It is a brilliant idea.

Salted Cabbage with Kimchi Seasoning Paste

Kimchi Seasoning Paste

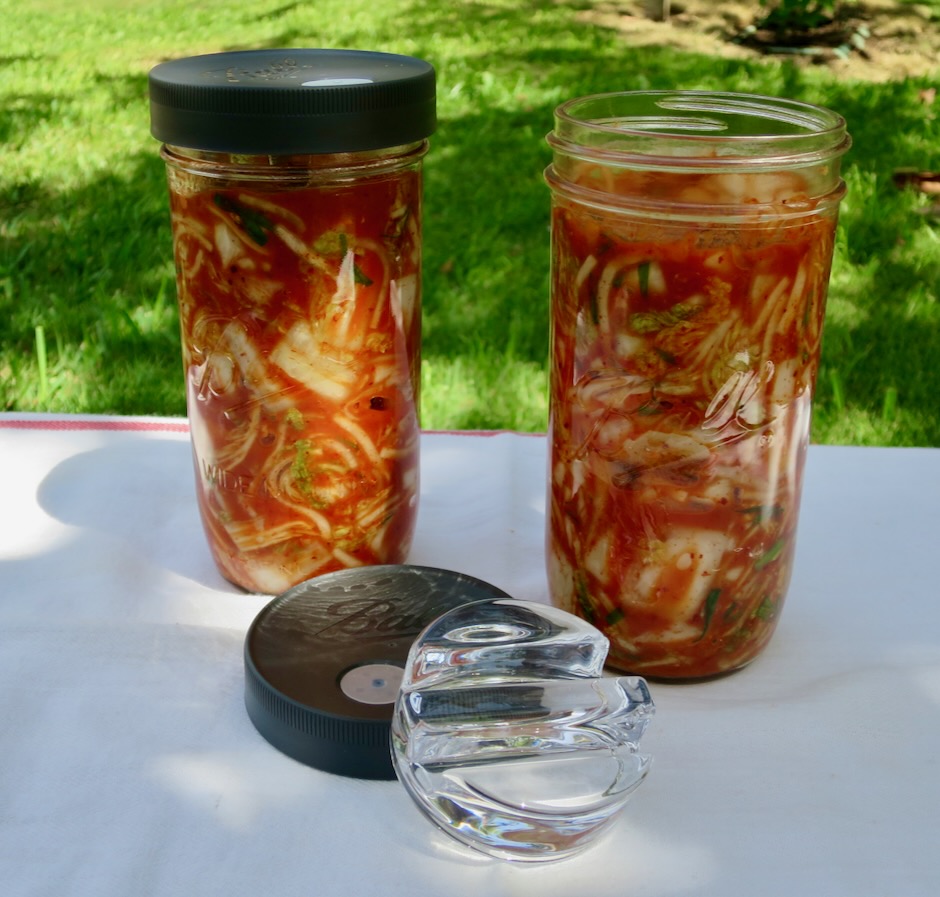
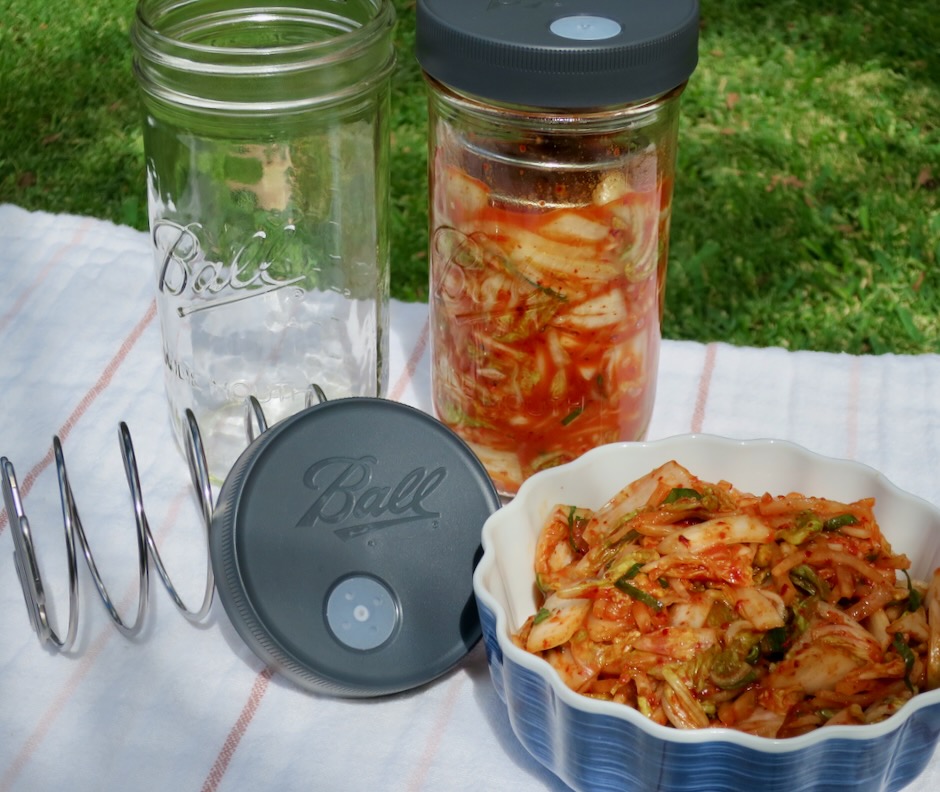
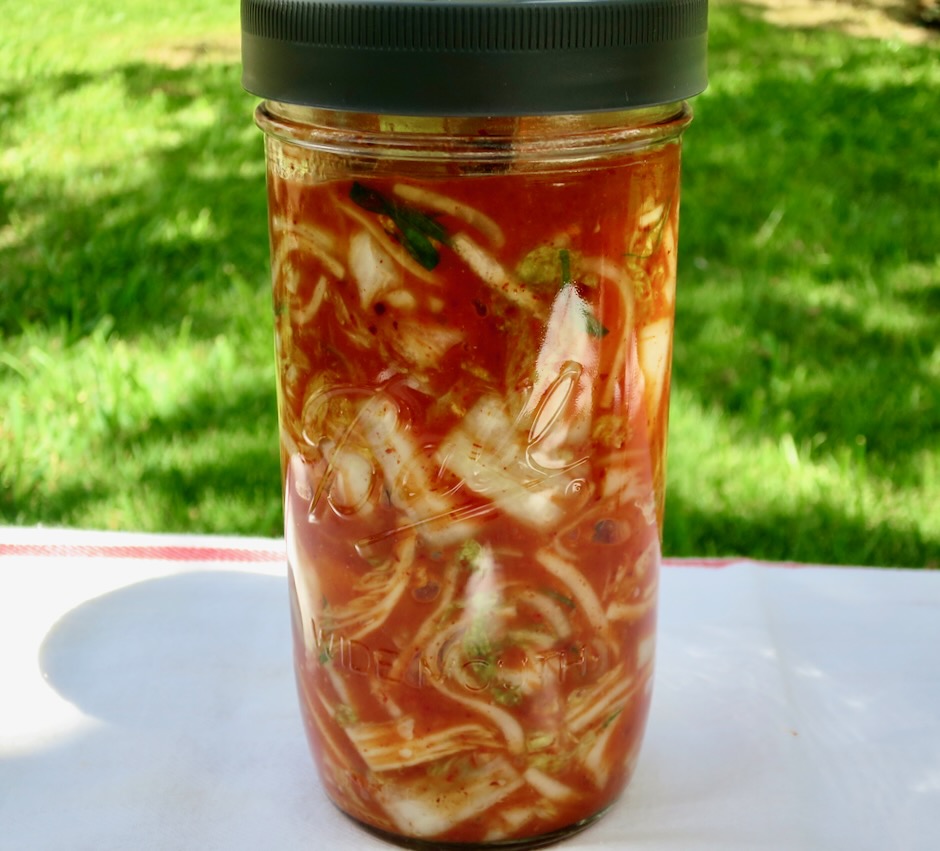
If you have fermenting weights or springs it helps to keep the cabbage submerged under the liquid.  Otherwise, press the cabbage down firmly with a spoon. 

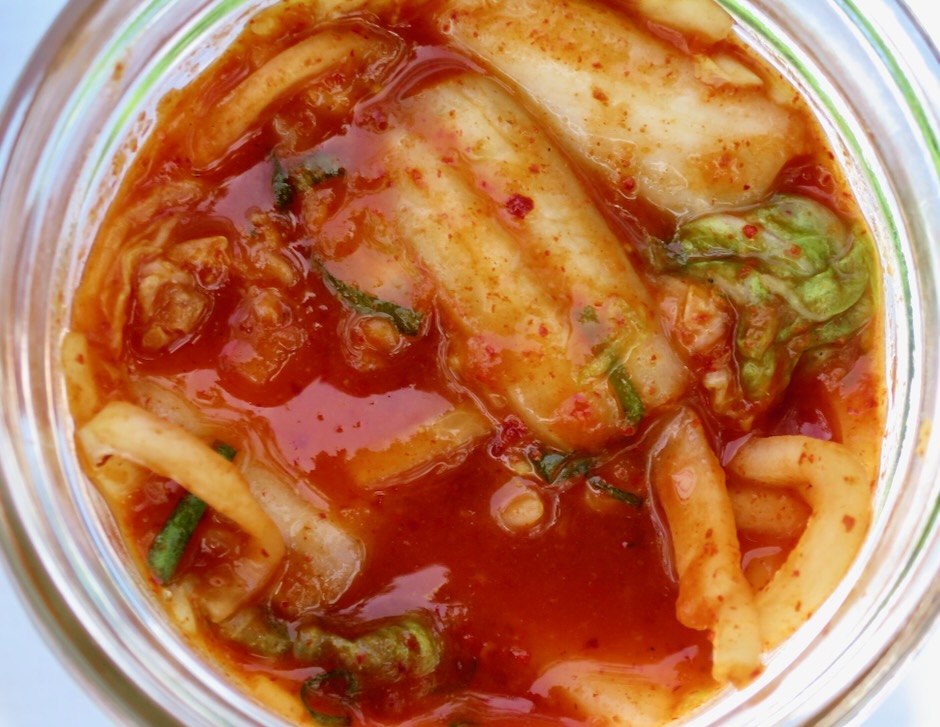
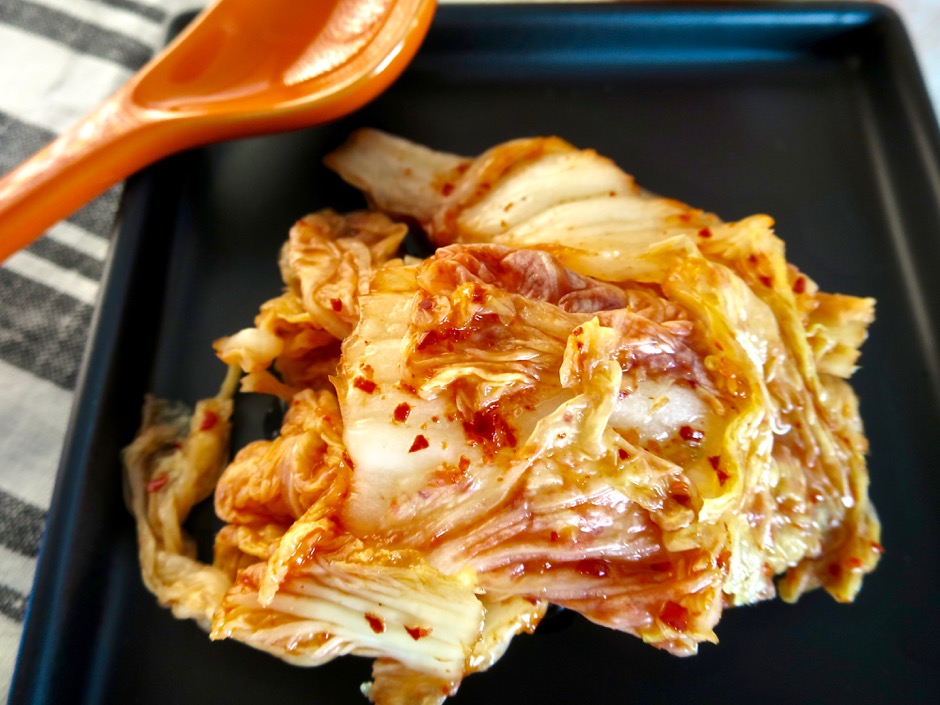
Homemade Kimchi

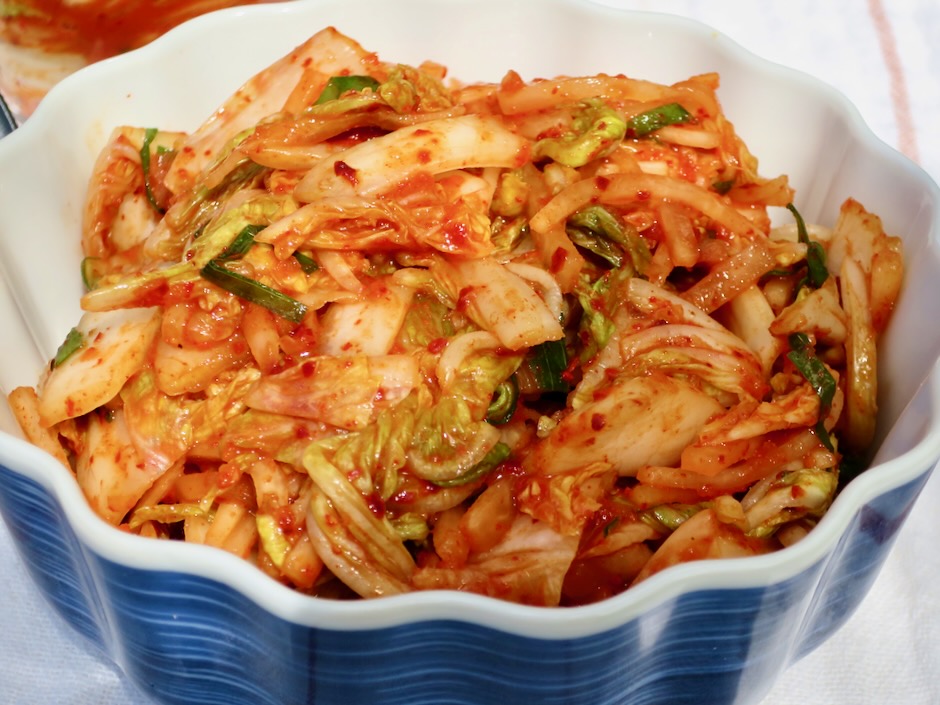
I never thought I would say that kimchi is beautiful but if you make your own, it truly is.  There is no kimchi like this available at stores where I live.  It’s fresh, spicy, and delicious.

Homemade Kimchi

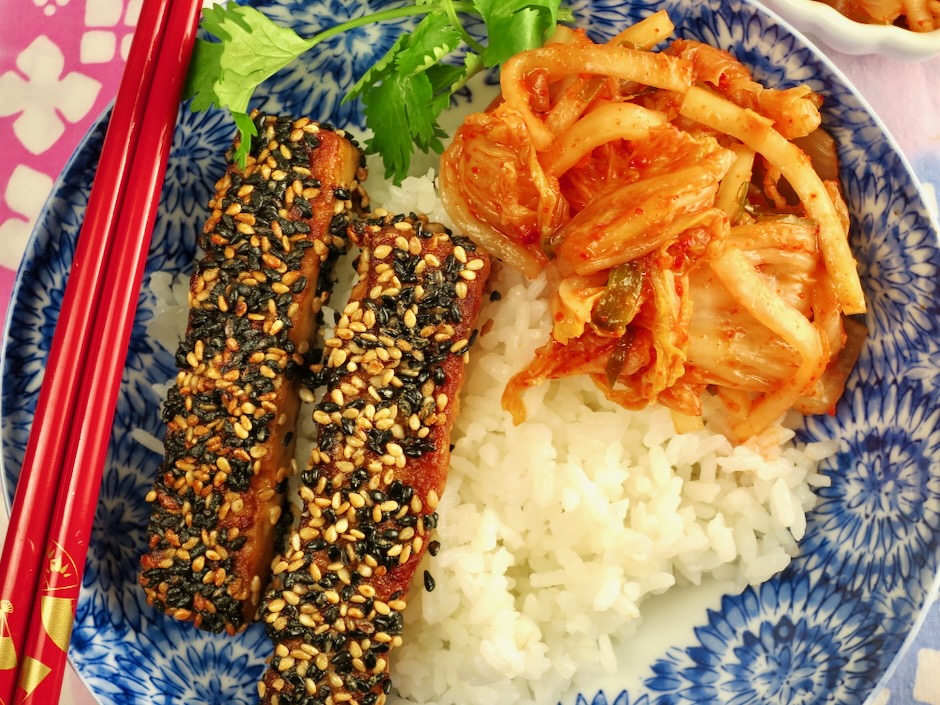
Kimchi is delicious served with rice and sesame tofu.

Homemade Kimchi with Sesame Tofu & Rice

Homemade Kimchi
 
Author:
Serves: 2 quart jars
Ingredients
  • 1 head Napa cabbage (about 2½ pounds) bottom trimmed, quartered, core removed, leaves cut into 2-inch pieces
  • ¼ cup medium grain salt (I use Pacific Brand by Aloha Salt Co.)
  • 1 cup distilled or purified water
  • Kimchi paste: ½ cup distilled or purified water
  • 1 tablespoon mochiko rice flour
  • 1 tablespoon granulated sugar
  • Vegetables: ½ small bundle green onions, julienned
  • ¾ cup daikon radish cut into 2-inch long matchsticks (optional)
  • ¼ medium sweet onion finely grated
  • 4 cloves garlic (medium size) peeled and finely grated
  • 1 2-inch piece ginger, peeled and finely grated
  • ¼ cup gochugaru (Korean red pepper)
Preparation
  1. Place cut cabbage in a large, wide bowl. Mix salt with 1 cup water (distilled or filtered). Pour salt water over the cabbage and toss well (I use food-safe disposable gloves). Not all of the salt will have dissolved but that's OK, just mix the salt in with the cabbage and water. Cover the bowl and set aside for 1½ hours, tossing a few times.
  2. Meanwhile, whisk ½ cup water with mochiko flour in a small saucepan over medium heat, stirring constantly. Once the mixture begins to thicken and bubble (pudding consistency) add the sugar and whisk until combined. Remove from the burner, transfer kimchi paste to a bowl and let cool completely. Once kimchi paste has cooled, measure out 4 tablespoons and mix in grated onion, garlic, and ginger. Add gochugaru and mix thoroughly, adding more paste as needed.
  3. Drain cabbage in a colander and rinse under cool water to remove some of the salt. I give mine a fairly quick rinse making sure not to remove all of the salt. Drain and add back to the large bowl. Toss in daikon if using, and green onions. With food-safe gloves or clean hands, mix in kimchi seasoning paste and toss to coat the vegetables well. Transfer to clean quart jars leaving at least 2-inch headspace. Use fermenting springs or glass weights and lids if you have them. Otherwise press down on the kimchi firmly with a spoon so it is packed tightly. Cover with a lid and set aside away from the sun for 24 hours before refrigerating. This will allow enough time for fermentation to begin. You may leave the kimchi out at room temperature for another day if you prefer a more sour flavor. Taste the kimchi to see if the flavor is just right for you. The kimchi will continue to ferment very slowly when kept in the refrigerator. Kimchi will keep well in the refrigerator for months, if you can make it last that long.
Dinner, Kimchi, Korean, Recipes, Side Dishes, Veggies

Oi Kimchi (Cucumber Kimchi)

July 3, 2020

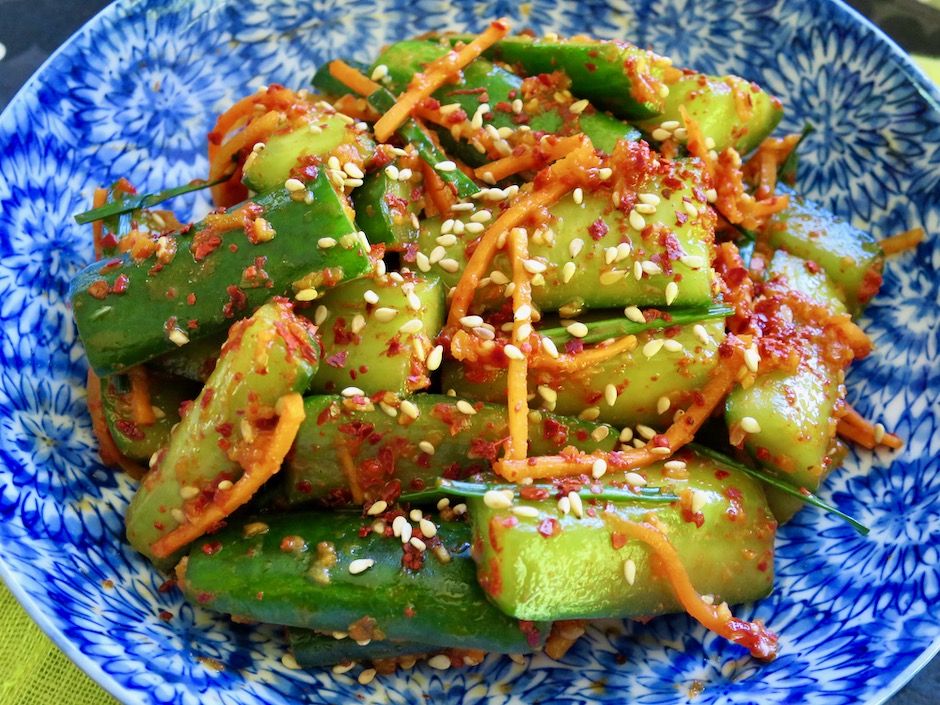
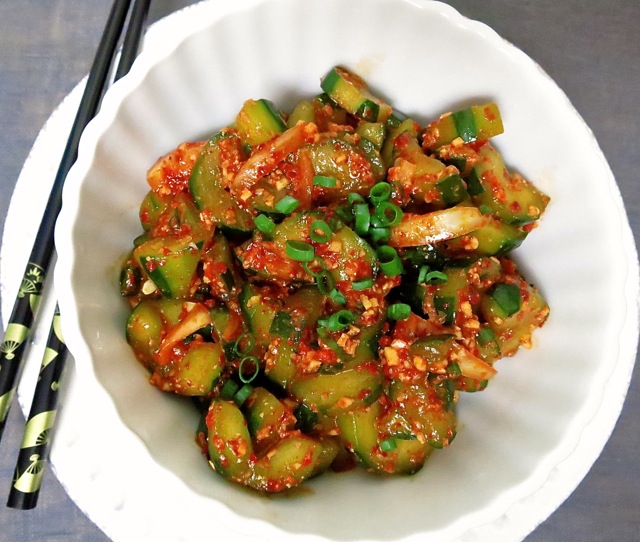
Crunchy Oi Kimchi

Here in Hawaii, we have a melting pot of cuisines.  One dish we all enjoy is the Korean specialty: kimchi.  A favorite version of ours is is spicy cucumber kimchi, the perfect accompaniment  to rice and Korean barbecued beef.  If you want to keep your meal vegetarian, skip the beef and serve the kimchi with rice and grilled teriyaki tofu.  And, if you don’t have time to fire up the grill, a bowl of steaming Japanese rice, white or brown will do just fine.  This is a quick and tasty side dish.

Japanese Cucumbers

Japanese cucumbers are best for this recipe as they are extra crisp and have very few seeds.

Gochugaru

There are  many varieties of kimchi (hundreds by some accounts) but one of the things they all have in common is gochugaru, Korean chili flakes.  This is the chili that I cook with most often.  Gochugaru has a smoky, sweet flavor, gorgeous deep red color and gentle heat.  It’s widely available on line and in local Asian markets.

Gochugaru, Carrots, Chives, Grated Apple, Ginger, Garlic

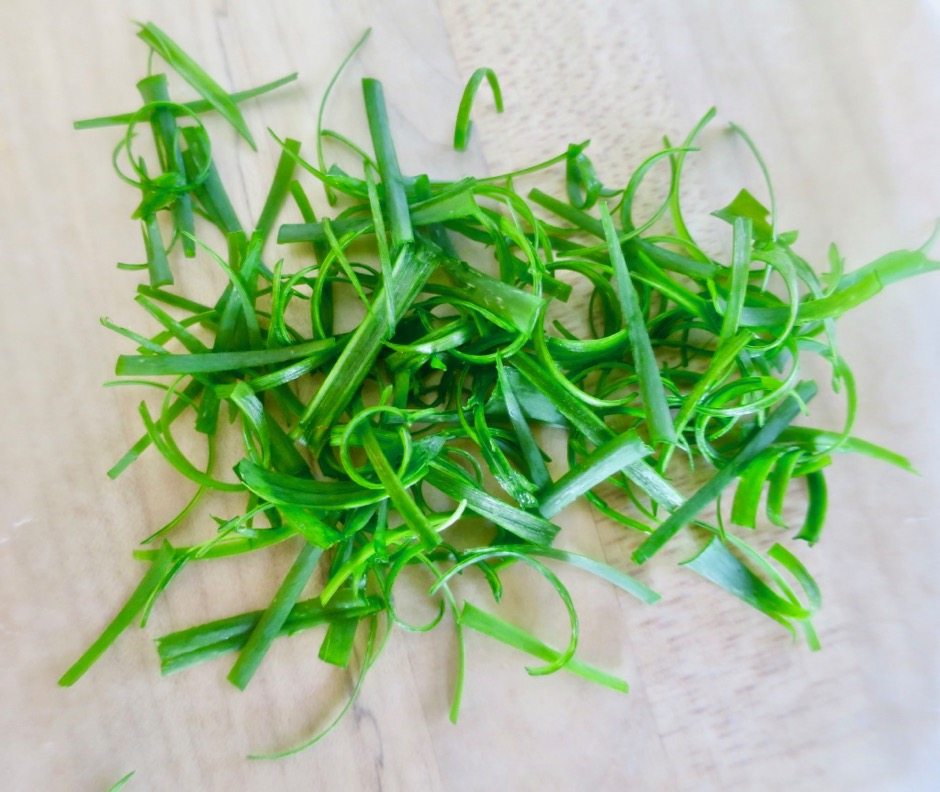
Julienned carrots add color and flavor to the cucumber kimchi.  If you don’t have chives you may substitute them with slender green onions.

Kimchi Sauce

Salted Japanese Cucumbers

The cucumbers for this recipe are cut into baton shaped pieces which I find is the perfect size.  This recipe will keep for a good 3-4 days and the cucumbers will retain their crunchy texture.

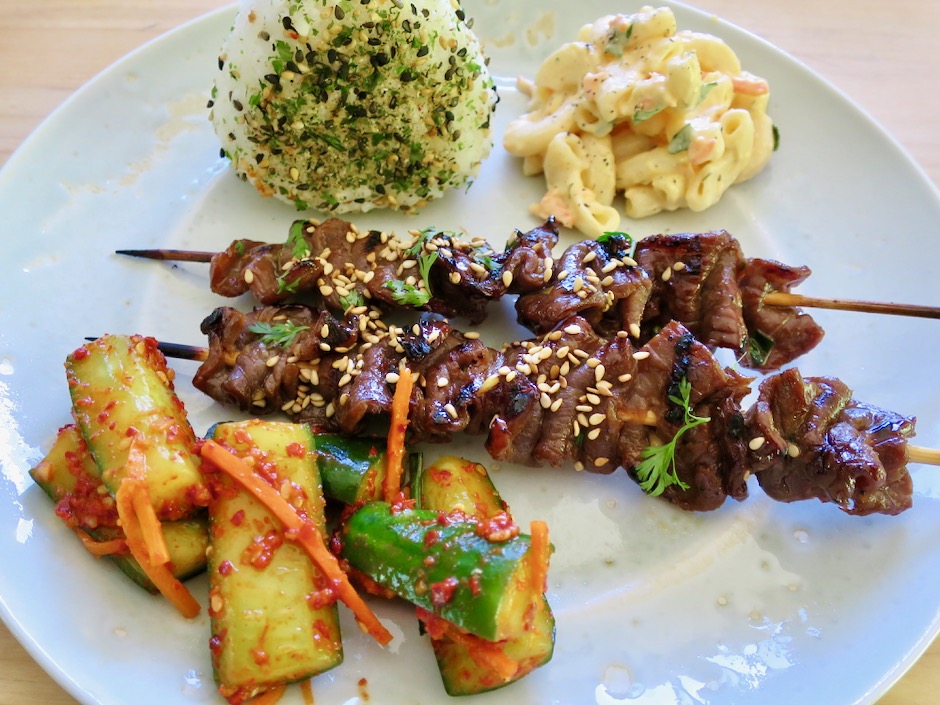
Crunchy Oi Kimchi with Teriyaki Meat Sticks, Mac Salad & Onigiri

Serve the kimchi with your favorite grilled meat or tofu and steamed Japanese rice.

Crunchy Oi Kimchi

Oi Kimchi (Cucumber Kimchi)
 
Author:
Serves: 6
Ingredients
  • 3 Japanese cucumbers (about 1 pound) cut into batons, about 2-inches long
  • 1 scant tablespoon kosher salt
  • ¼ cup julienned carrots
  • 5 chives, cut into 1½-inch pieces
  • Sauce:
  • 1 tablespoon gochugaru
  • 2 teaspoons finely minced garlic
  • ½ teaspoon finely grated ginger
  • 1 tablespoon finely grated apple, drained
  • 1 teaspoon sugar
  • 1 teaspoon soy sauce
  • 1 teaspoon rice vinegar (unseasoned)
  • 1 teaspoon sesame oil
  • dash of fish sauce (optional)
  • roasted sesame seeds
Preparation
  1. Trim the ends of the cucumbers. Cut into 2-inch long pieces. Cut each piece in half lengthwise, then into 4 even batons (sticks). Place the cucumber pieces in a colander and toss with a scant tablespoon of kosher salt (I use Diamond Crystal). Place the colander over a bowl to catch any drips and set a timer for 30 minutes.
  2. Meanwhile, combine all the sauce ingredients in a small bowl and mix well.
  3. Gently pat the cucumbers dry without removing all of the salt. Transfer the cucumbers to a wide bowl along with the carrots and chives, and toss with the sauce. I use disposable gloves to mix the cucumbers with the sauce which helps to coat every piece evenly. Transfer to a clean bowl and chill until ready to serve.


Appetizers, Dinner, Kimchi, Korean, Lactose Free, Recipes

Kimchi & Bacon SPAM Pancakes

August 29, 2018

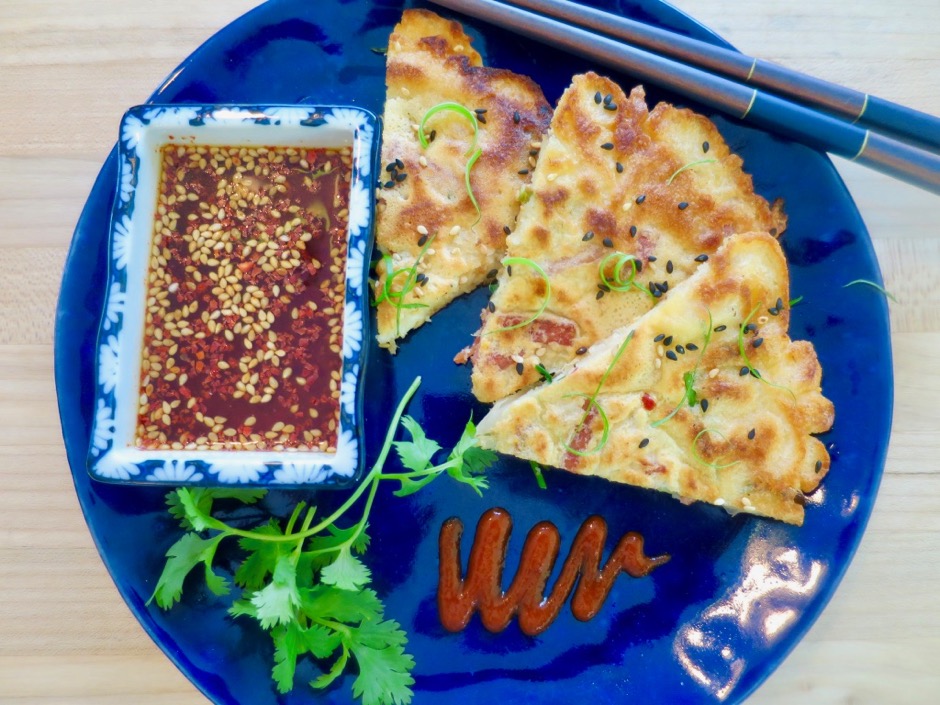
Kimchi Pancake with Bacon Spam

John’s favorite weekend breakfast is griddle cakes. I have to agree, they are delicious with pats of salty butter and maple syrup.  But the sweet breakfast pancake has savory relatives, one of which is this kimchi pancake.  It is mildly spicy, with a tangy flavor from the kimchi and delightfully crispy around the edges.  I couldn’t resist adding Bacon Spam to the pancake. Yum.

Kimchi

Use your favorite kimchi in these pancakes. Mild or spicy, either one works.

Bacon Spam

Don’t dismiss the idea of using Bacon Spam, it adds an abundance of flavor. But, you can skip it if you are not a Spam fan.

Sliced Green Onions

Lots of green onions (scallions) adds an additional depth of flavor to the pancakes.  Chopped, thinly sliced, or slivered are all acceptable.

Kimchi Pancakes with Bacon Spam

The dipping sauce is a simple combination of soy sauce, rice vinegar, a dash a sugar, Korean chili flakes and roasted sesame seeds.  Serve the sauce with the pancakes and a drizzle of sriracha.

Kimchi Pancakes with Bacon Spam

Kimchi & Bacon SPAM Pancakes
 
Author:
Serves: 2 pancakes
Ingredients
  • Dipping Sauce:
  • ¼ teaspoon sugar
  • 2 tablespoons unseasoned rice vinegar
  • 2 tablespoons soy sauce
  • ¼ teaspoon Korean chili flakes (or dash of red pepper flakes)
  • ¼ teaspoon roasted sesame seeds
  • Pancakes:
  • 2½ ounces (3 thin slices) bacon Spam, cut into thin slices and fried until crisp (drain on paper towel lined plate)
  • ½ cup all-purpose flour
  • ½ cup rice flour
  • 1 extra-large egg, lightly beaten
  • ¾ cup cold seltzer water
  • ½ teaspoons sesame oil
  • ¾ teaspoon kosher salt
  • 1 cup kimchi, coarsely chopped
  • 4 green onions, sliced thinly
  • canola oil for frying
Preparation
  1. In a small bowl combine sugar with the rice vinegar, stirring until sugar has dissolved. Add soy sauce, Korean chili flakes, and sesame seeds. Set aside.
  2. In a large bowl, whisk flour and rice flour. Add the egg, seltzer water, sesame oil, and salt. Whisk until just combined. Add kimchi, fried Spam and green onions. Stir to combine.
  3. Heat 2 tablespoons canola oil in a 9-inch skillet between medium - medium high heat. Once oil is shimmering, pour half of the pancake batter into the pan. Quickly spread the batter to make a thin pancake. Cook for 3 minutes or so, until the bottom is golden and crisp, adjusting the heat as necessary so the pancake does not burn. Carefully flip the pancake and cook another 2 -3 minutes until nicely browned.
  4. Slide pancake onto a large plate. Add more oil to the pan and cook the second pancake.
  5. Scatter reserved green onions over the top of the pancakes along with roasted sesame seeds. Serve with sriracha and dipping sauce.


Breakfast, Dinner, Eggs, Kimchi, Korean, Lactose Free, Pork, Recipes, Rice Dishes

Kimchi & Spam Fried Rice

June 7, 2016

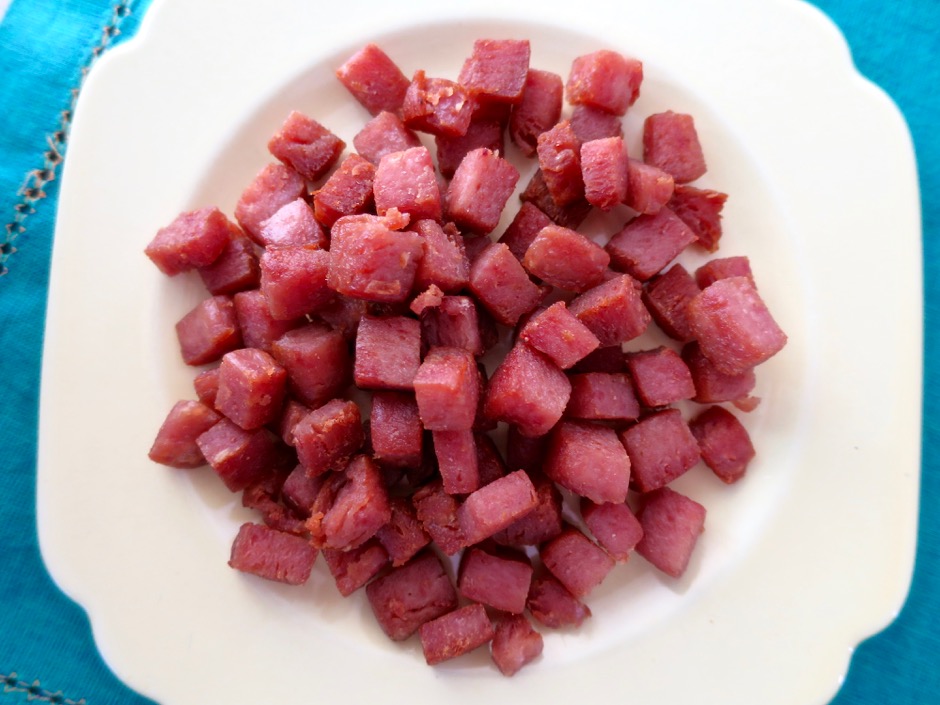
Kimchi & Spam Fried Rice Kimchi and Spam are staples in many households here in Hawaii.  Crunchy, pungent, spicy, kimchi pairs perfectly with a bowl of steaming rice and Korean hamburger patties.  And Spam?  Well, there are lovers and haters, just as there are for cilantro, Marmite, and anchovies…. Everyone I know loves a bowl of homemade fried rice and most would not turn down this version with kimchi, Spam and a perfectly  fried egg.  Spam may look unappealing straight out of the can, but once fried up into crispy little Spam croutons, it pairs perfectly with rice of any kind.  You ought to give it a try!

KimchiThere is an abundance of kimchi choices at the markets.  Use your favorite brand, but choose one that has a medium heat level rather than mild.

Glorious SPAM!Glorious SPAM!  I always chuckle when I see this little guy on the can.

Crispy Fried SpamFrying the Spam until each piece is perfectly crisp makes all the difference.  You won’t be able to avoid nibbling on them before they make it into the fried rice.

Kimchi & Spam Fried Rice

Kimchi & Spam Fried Rice
 
Adapted from Kenji's Serious Eats recipe.
Author:
Serves: 6
Ingredients
  • 5 cups cooked jasmine rice (I use my rice cooker and the measuring cup that came with it - 2 cups uncooked rice)
  • 1½ cups finely chopped kimchi, about 325g (kimchi drained with 3 tablespoons liquid reserved)
  • canola oil
  • 1 12-ounce can Spam, cut into ½-inch dice
  • 2 cups finely diced onion
  • 2 medium garlic cloves, minced
  • ⅓ cup + 1 tablespoon thinly sliced scallions
  • freshly ground black pepper
  • 1 teaspoon sesame oil
  • 1 teaspoon fish sauce
  • ⅓ cup chopped cilantro (optional)
  • fried eggs, for serving
  • 1 Fresno chili thinly sliced (optional)
  • Sriracha hot sauce, for serving
Preparation
  1. Cook rice and let cool completely. I cook my rice in the morning and store in the refrigerator until ready to use. For this dish it is better to use day old rice.
  2. Place kimchi in a mesh strainer set over a bowl. Squeeze out excess liquid (reserve 3 tablespoons liquid). Finely chop kimchi.
  3. Heat a few teaspoons of canola oil in a wok over medium-high heat. Add Spam cubes and cook, tossing frequently, until well browned and crisp, about 8 minutes. Drain on paper towels. Wipe out wok.
  4. Add 2 teaspoons canola oil over medium heat and sauté onions until slightly softened, about 3 minutes. Add garlic and stir fry for 1 minute.Transfer to a bowl and set aside.
  5. Add ½ tablespoon canola oil to wok. Increase heat to medium high and heat until oil just begins to smoke. Add the rice and cook, stirring and tossing, until rice is warmed. Press rice against the sides of the wok to crisp up (like bibimbap and tag dig). Add onion and garlic mixture, kimchi, Spam, and ⅓ cup scallions tossing with rice to combine. Pour in reserved kimchi juice and season generously with black pepper. Add sesame oil, fish sauce and cilantro. Toss to combine.
  6. Serve fried rice in ceramic bowls, topped with a fried egg, reserved 1 tablespoon scallions, Fresno peppers and sriracha sauce.


Appetizers, Kimchi, Korean, Recipes, Side Dishes, Vegan, Vegetarian, Veggies

Quick Cucumber Kimchi

September 4, 2013

Cucumber KimchiThere’s not many combinations better than spicy, garlicky, kimchi and a bowl of steaming hot rice.  When accompanied with either grilled chicken or tofu marinated in Granny’s Teriyaki sauce, or Korean Style Hamburger Patties, it’s a mouth-watering experience.

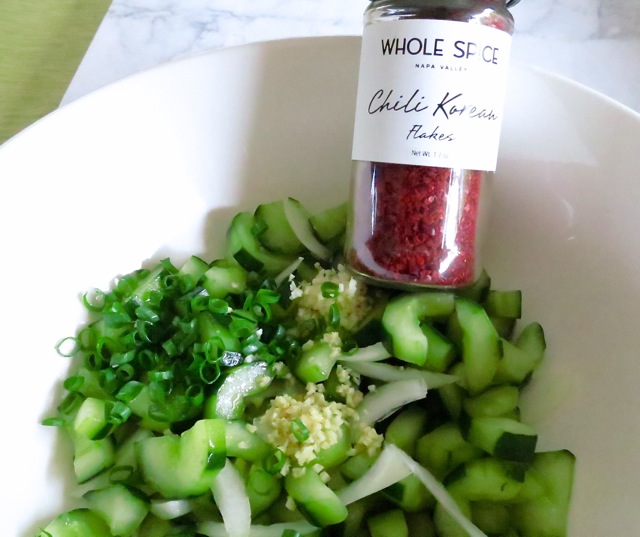
Japanese CucumberI do enjoy the more traditional Napa cabbage kimchi but there’s something special about crunchy cucumber kimchi.  Whole Spice Korean chili flakes add a beautiful color and mild sweetness without too much heat to the kimchi.

Kimchi Ingredients

Quick Cucumber Kimchi

Serves 2 as a side dish

Ingredients

1 pound Japanese cucumber, halved lengthwise and sliced crosswise into 1/3 inch thick slices.

1 1/2 teaspoons kosher salt

1/4 cup thinly sliced Maui or sweet onion

1 teaspoon minced garlic

1 teaspoon minced ginger

1 tablespoon finely chopped green onion

2 teaspoons sesame oil

dash of fish sauce (optional)

3 teaspoons Korean chili flakes

1/4 teaspoon kosher salt

Preparation

Place sliced cucumbers in a large bowl and sprinkle with 1 1/2 teaspoons kosher salt.  Toss well.  Let stand for 20 minutes then rinse and drain well.  Rinse the bowl.

Place cucumbers back into the bowl and add the remaining ingredients.  Mix everything together and transfer to a smaller serving bowl.  Refrigerate until chilled.  Sprinkle additional green onions on the top before serving if desired.  The kimchi is best eaten the same day.  Any leftovers are a welcome addition to your bento lunch the following day.


Follow

Get every new post delivered to your Inbox

Join other followers: