


Fresh from My Lilikoi Kitchen

I recently bought a quart of kefir to use in a cake recipe but as it didn’t call for much, I had a lot leftover....
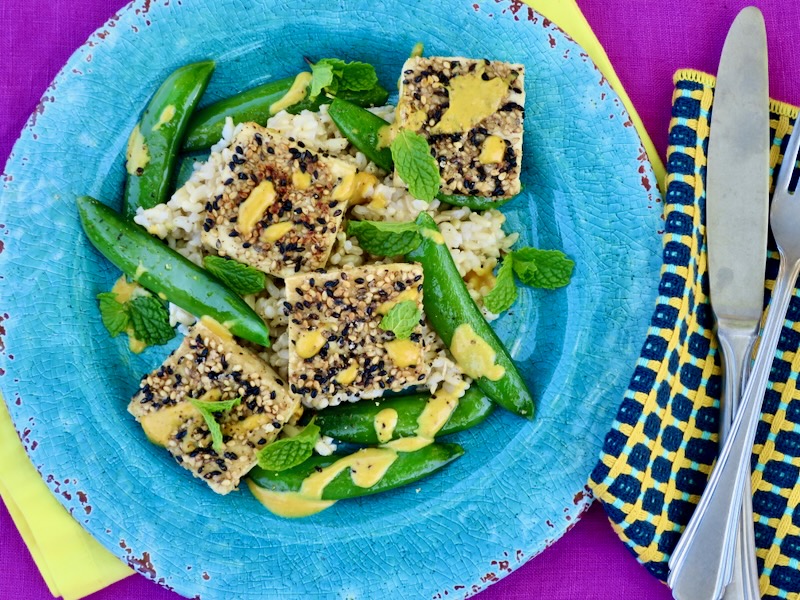
Here is a no-fuss satisfying dish. It’s a nutritionally complete meal with tofu, brown rice, and crispy snap peas. The tahini miso and sriracha sauce...
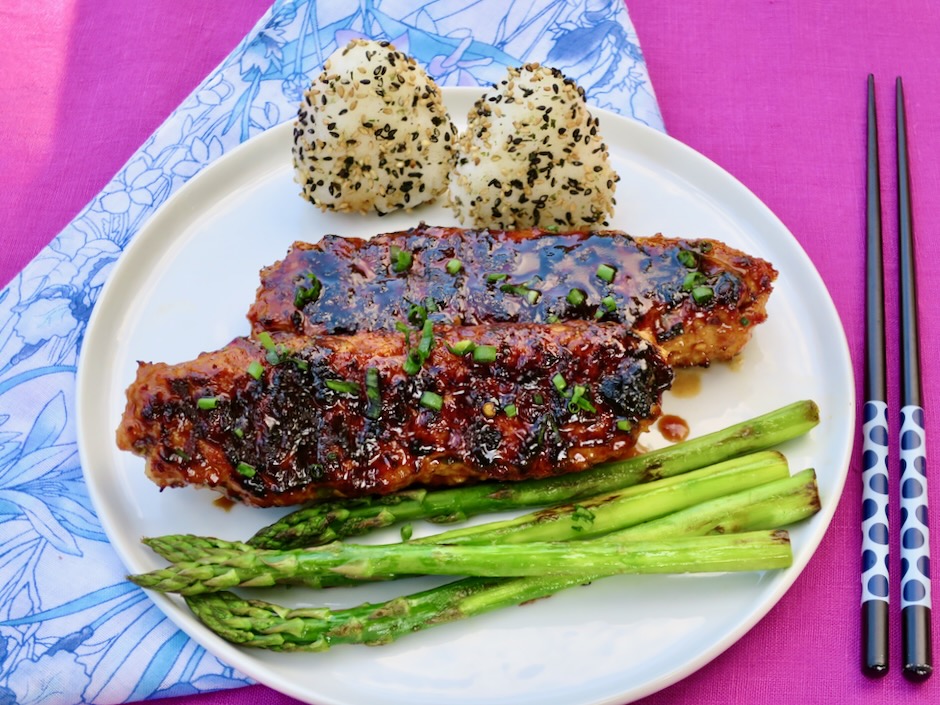
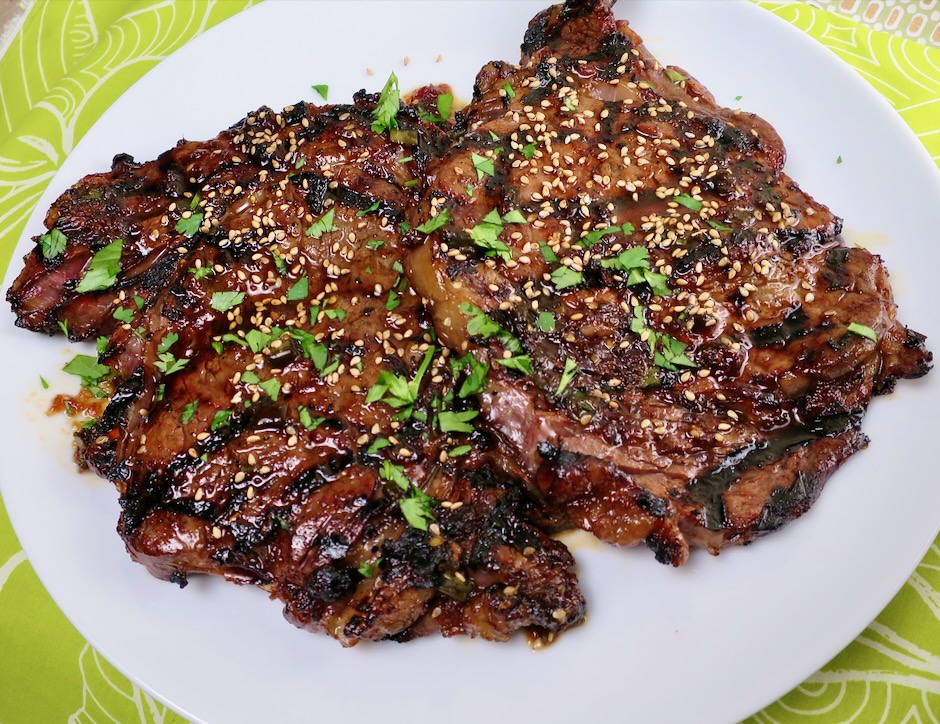
These miso chicken and pork skewers are onolicious (our local slang in Hawaii for describing something that is exceptionally tasty). When I discovered these on...
Life is Better with Kimchi
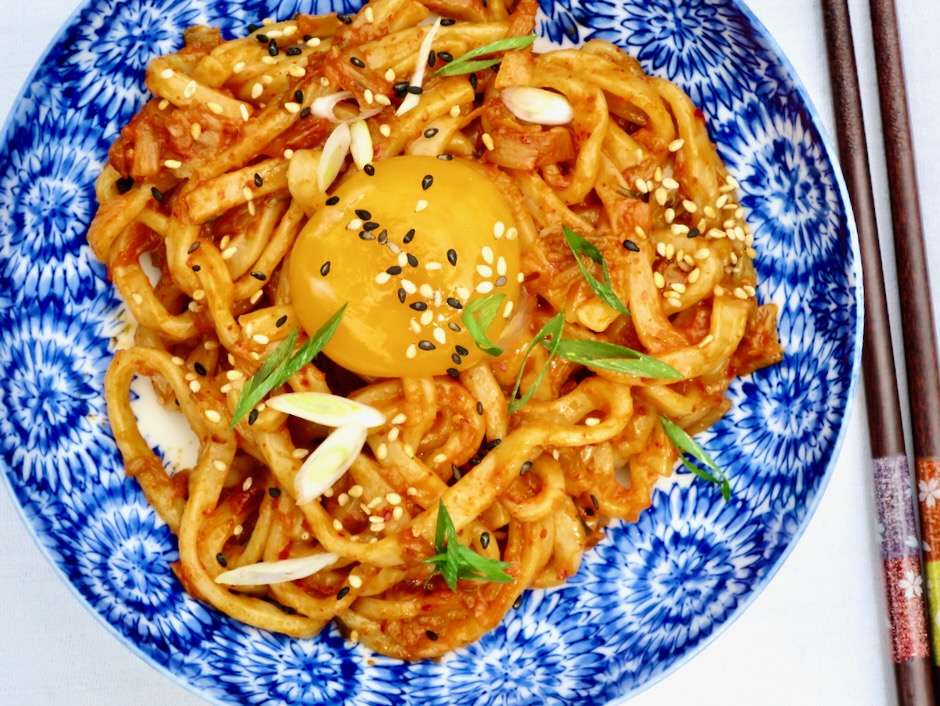
I made another batch of kimchi last week so here goes….kimchi udon with scallions and a silky egg yolk to top things off. This is...
I’ve been on a kimchi kick for a while now. It’s fun to incorporate this Korean staple into all sorts of dishes that not long...

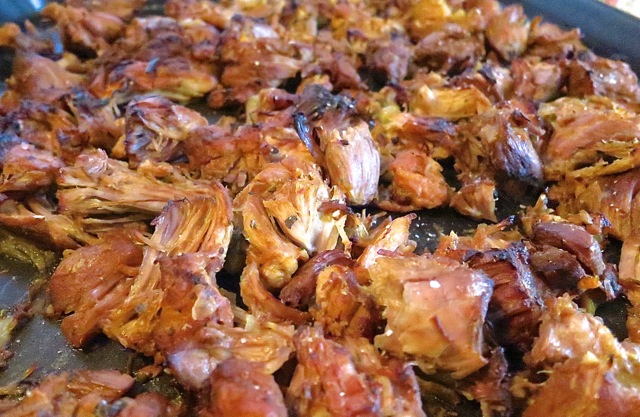
Mexican food is one of the most beloved cuisines in the world and for good reason. The wide variety of distinctive flavors used in Mexican...

Pressure Cooker Meals

Artichokes are curious little veggies. With thorny leaves and not much to eat, one wonders why so much time is spent fussing over them...
Ever since we bought a pressure cooker we’ve been having so much fun trying out new recipes. We also experiment with old braising recipes...

We bought a pressure cooker several years ago and each time I use it, I appreciate its usefulness more and more. Some say that...

Crowd Pleasing Recipes
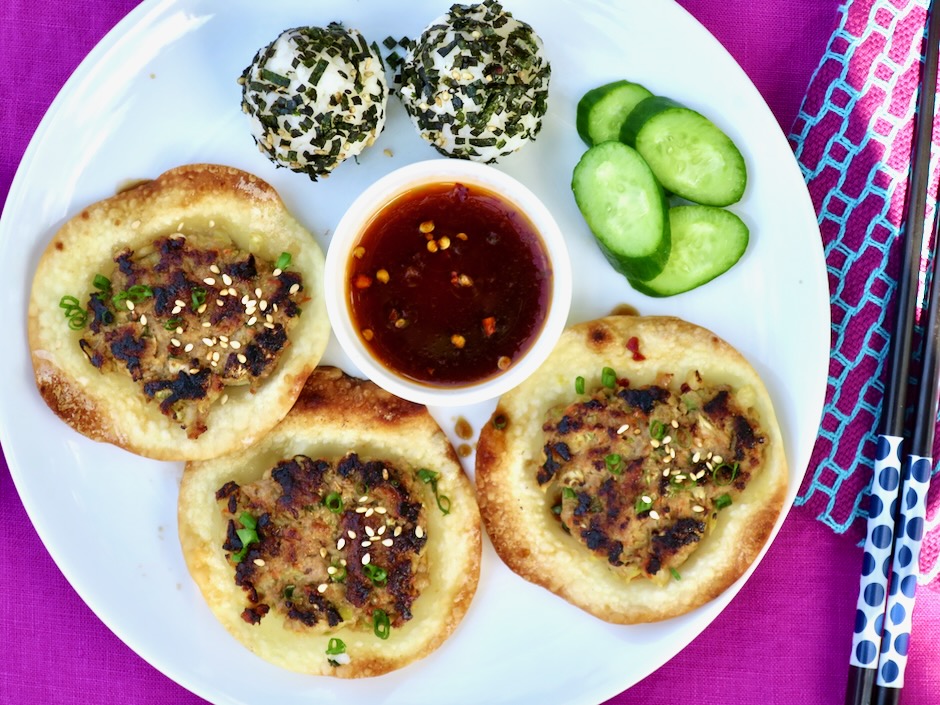
These open-faced gyozas are ingenious as well as delicious. The dumpling wraps become crispy around the edges and the filling has a superb savory...
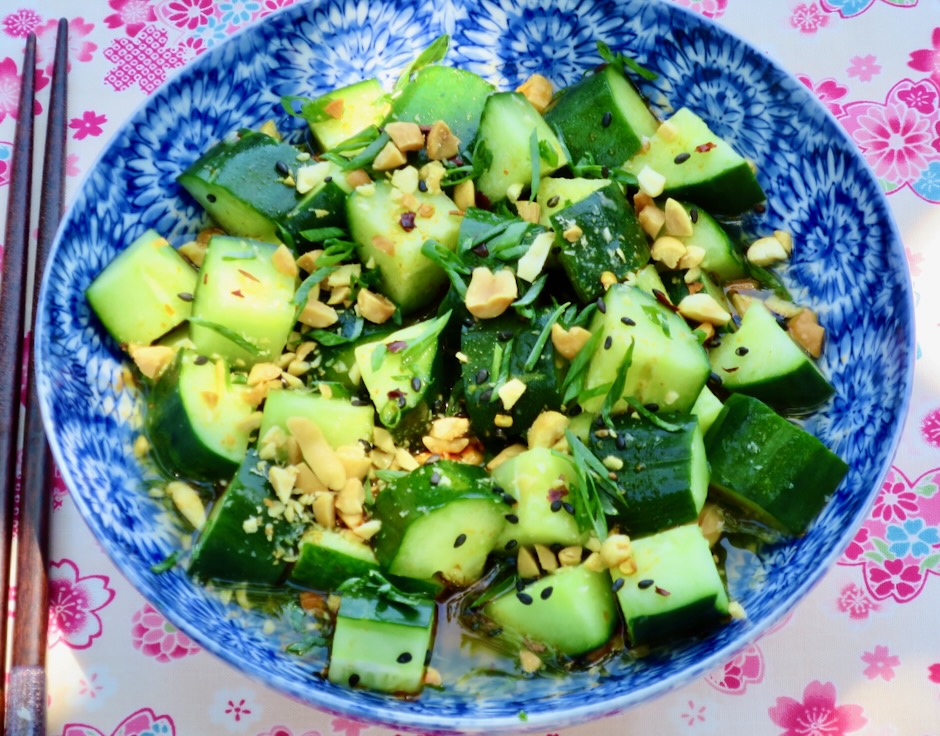
A couple of cucumber plants can easily produce a basket load of cucumbers, much more than the two of us can consume in a...
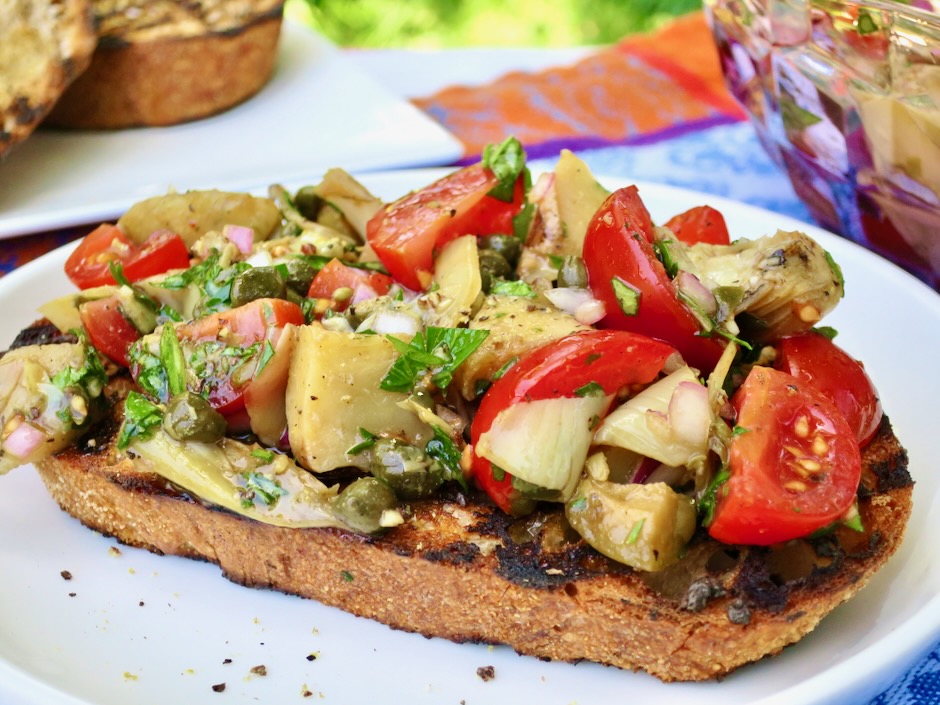
Bruschetta! If there’s a simple way to enjoy juicy summer tomatoes this is it. This is a jazzed up version of the classic tomato...
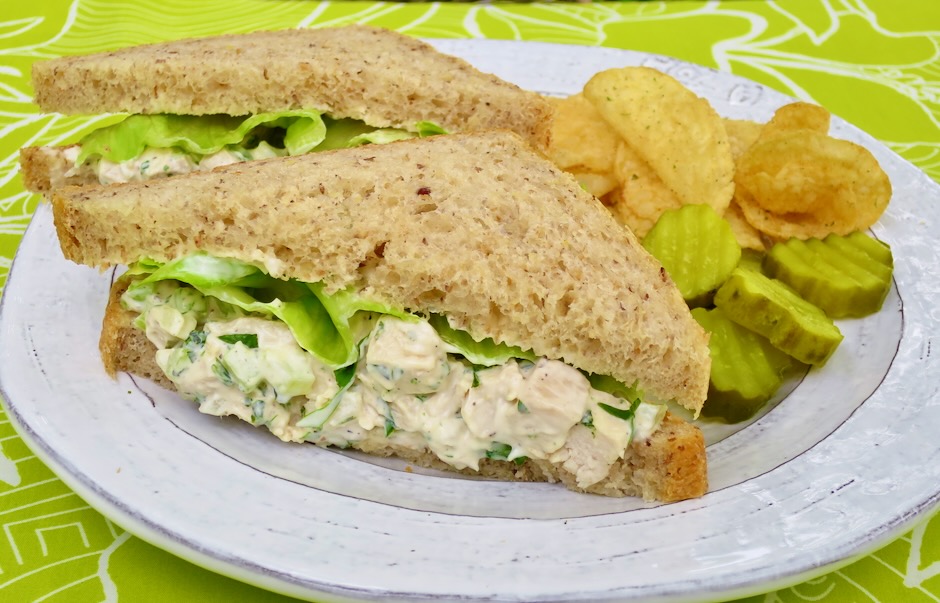
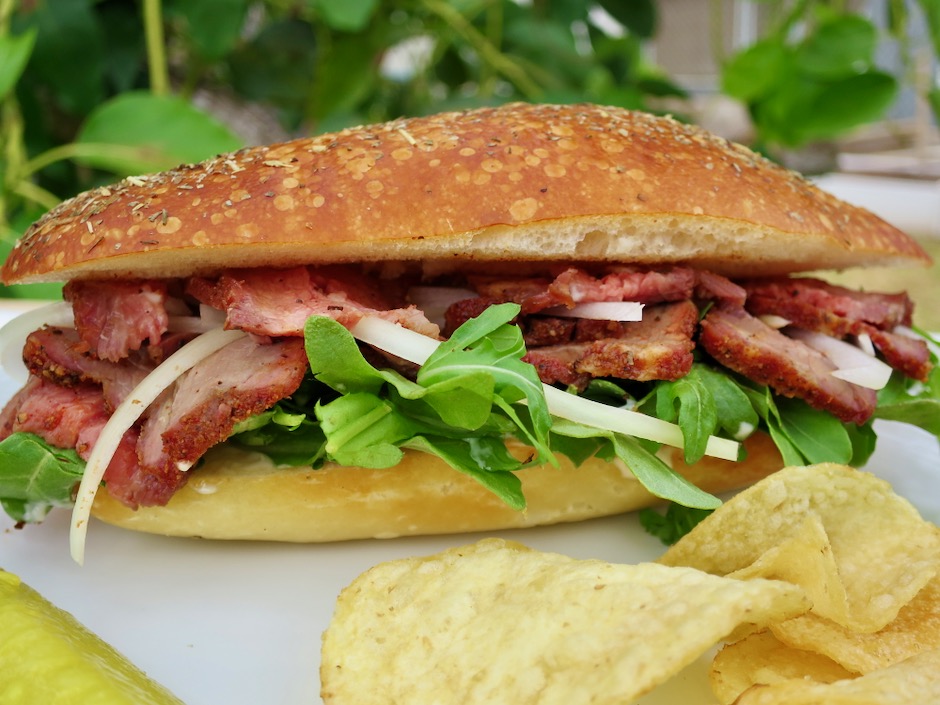
What to do with leftover chicken? In our case, we had extra roast chicken and decided on chicken salad sandwiches. A good sandwich is...

Baking a whole chicken in stock produces some seriously tender and flavorful meat. Full of vegetables, fragrant herbs and a pinch of saffron, this...

Tender and juicy grilled chicken breasts marinated in mayonnaise combined with bold flavorings is a dream come true. It can be a tricky grilling...
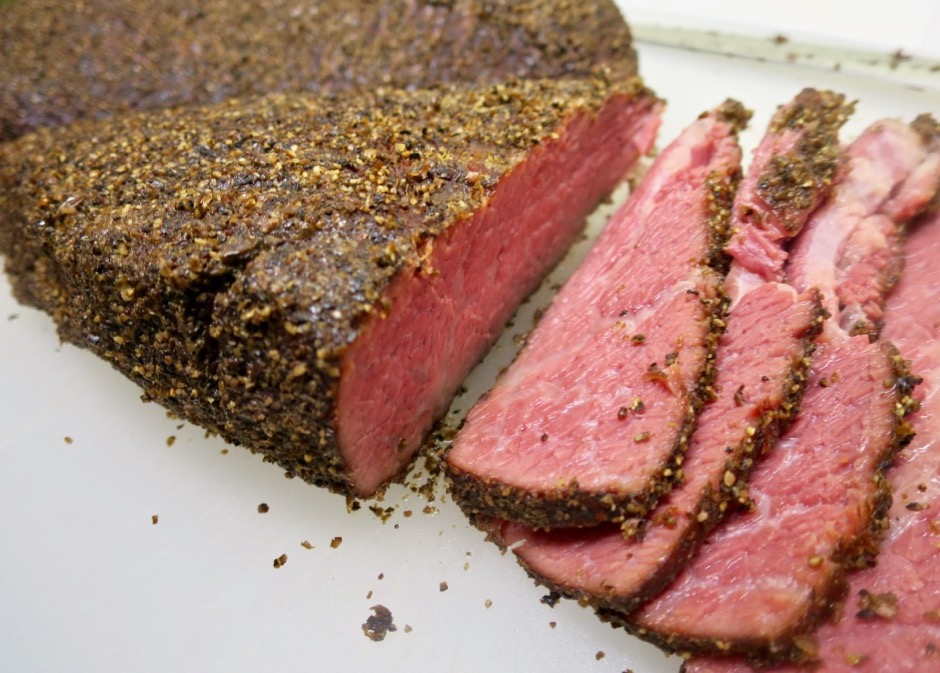
Pellet Smoker Recipes
Try a refreshing and easy pickle recipe