Browsing Category

Chicken

Chicken, Dinner, Lactose Free, Recipes

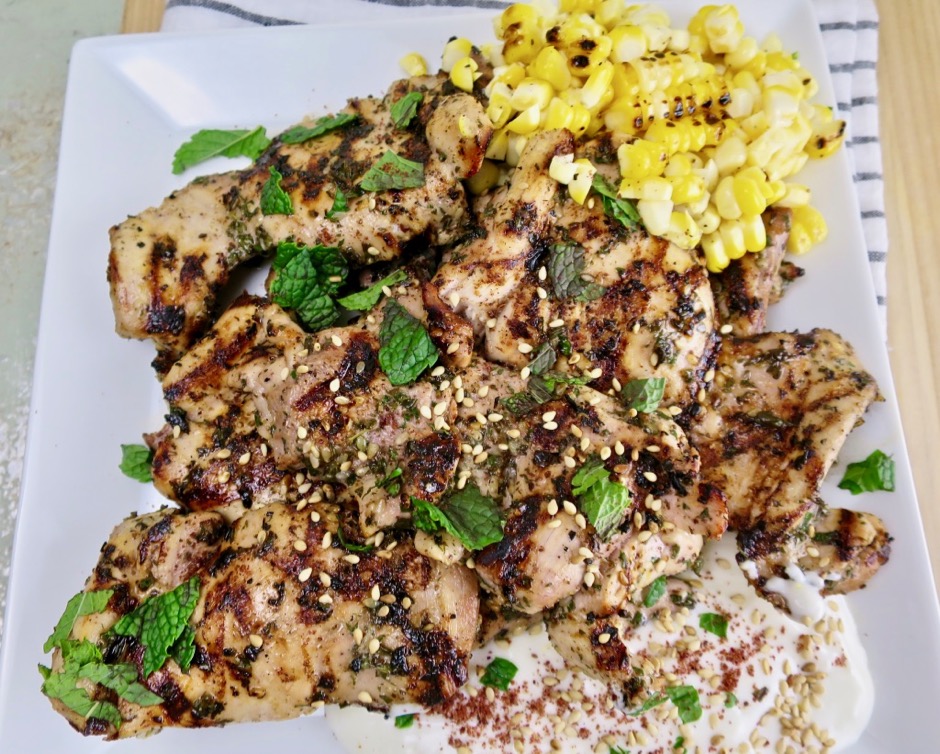
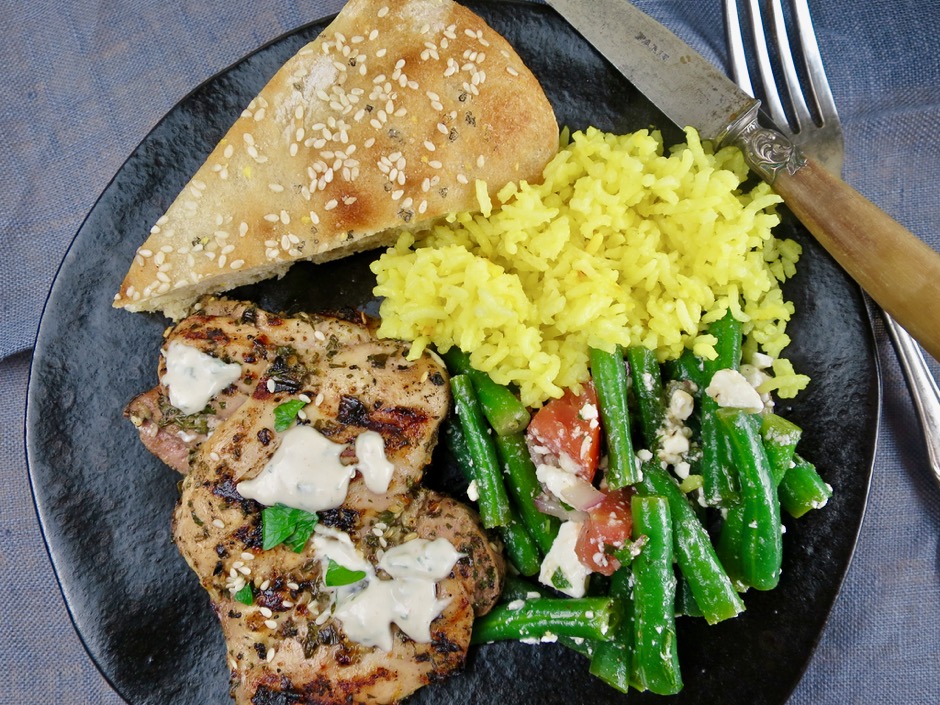
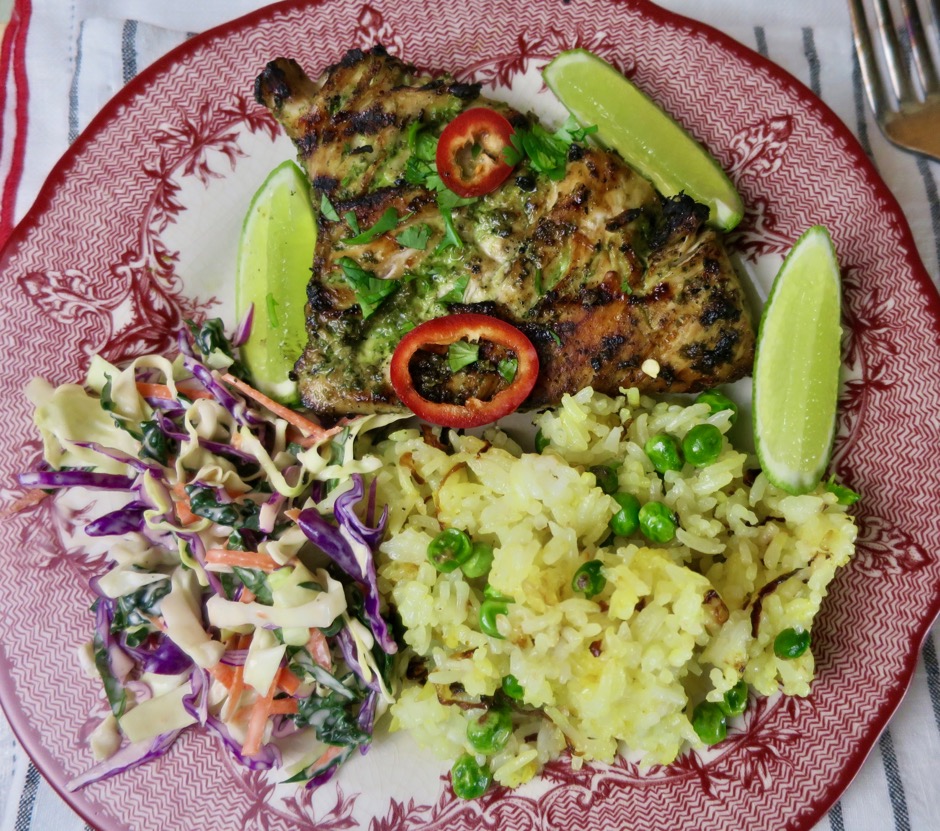
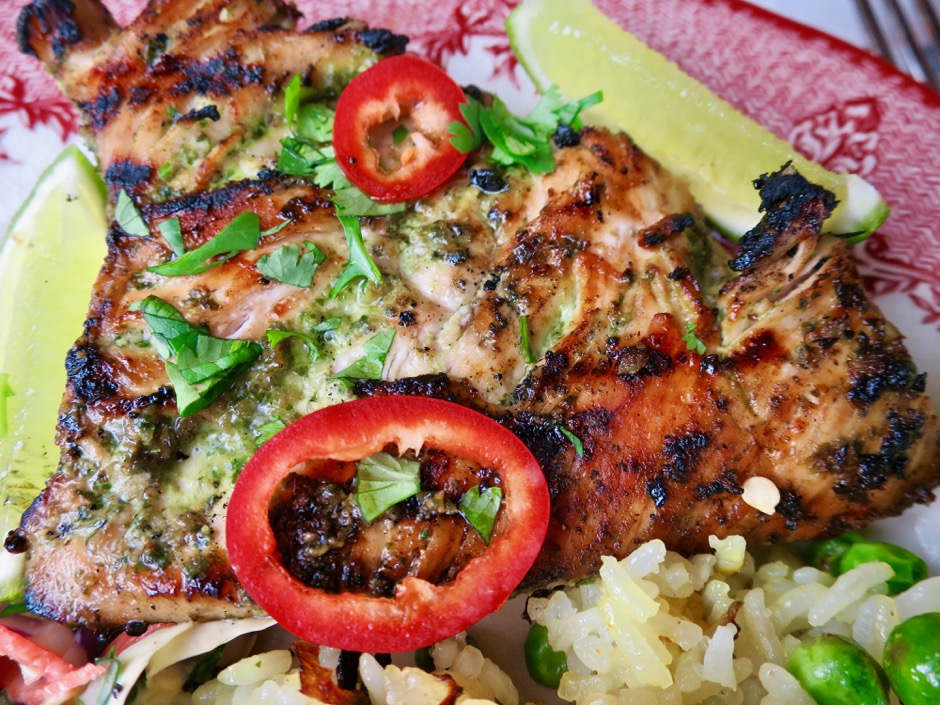
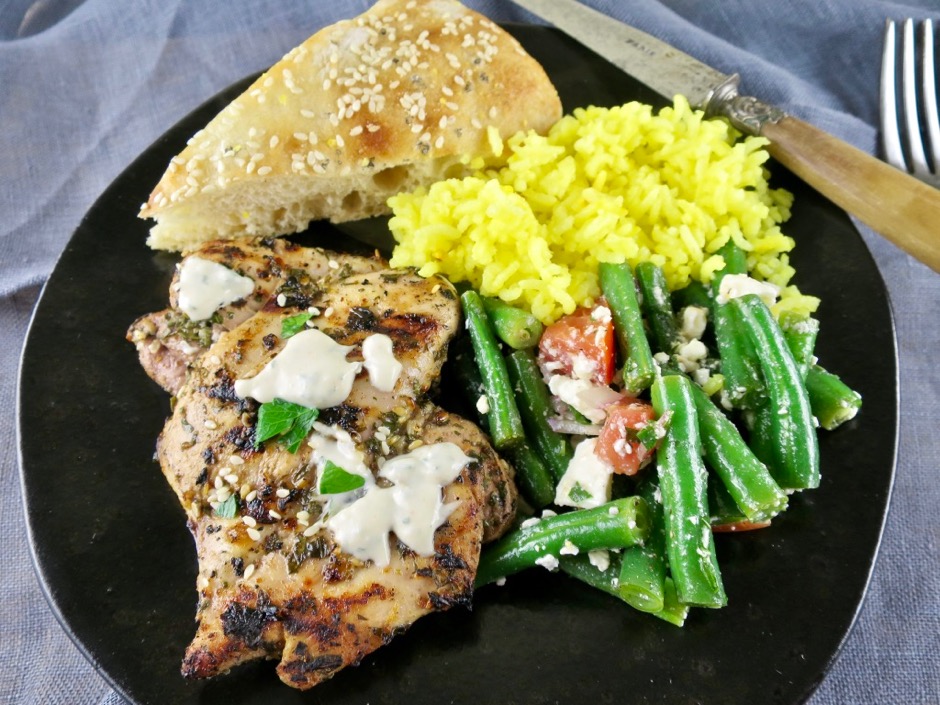
Middle Eastern Herb & Garlic Chicken

July 11, 2017

Middle Eastern Herb & Garlic Chicken

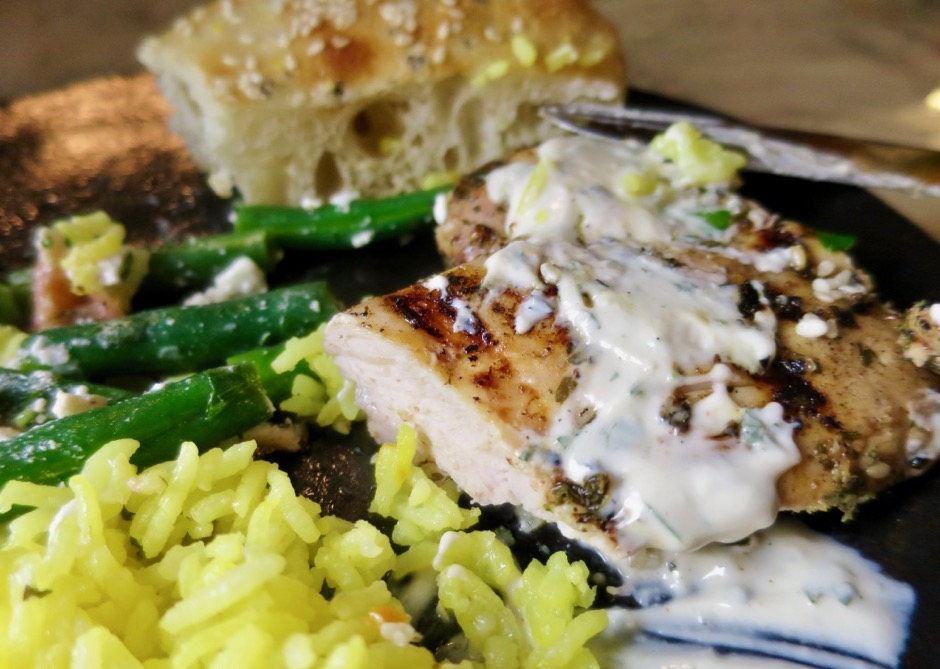
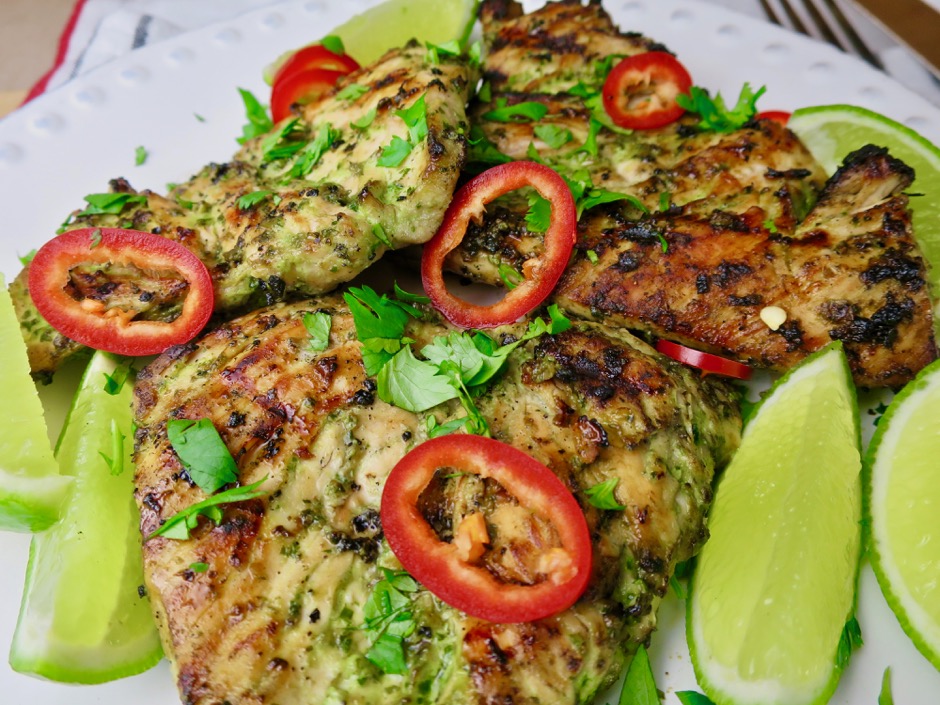
Once upon a time, I thought the only part of the chicken worthy of my attention was the breast.  However, I have since learned that there’s something to be said about chicken thighs and how moist and tender they remain after cooking.  This herby, garlicky grilled chicken is a perfect example.  It doesn’t hurt either, that it marinates in olive oil, lemon juice, garlic and lots of herbs for a few hours rendering it even moister.  It’s a quick and delicious meal, and because the thighs are boneless, they cook quickly on high heat and that gives it a nice char and extra flavor.

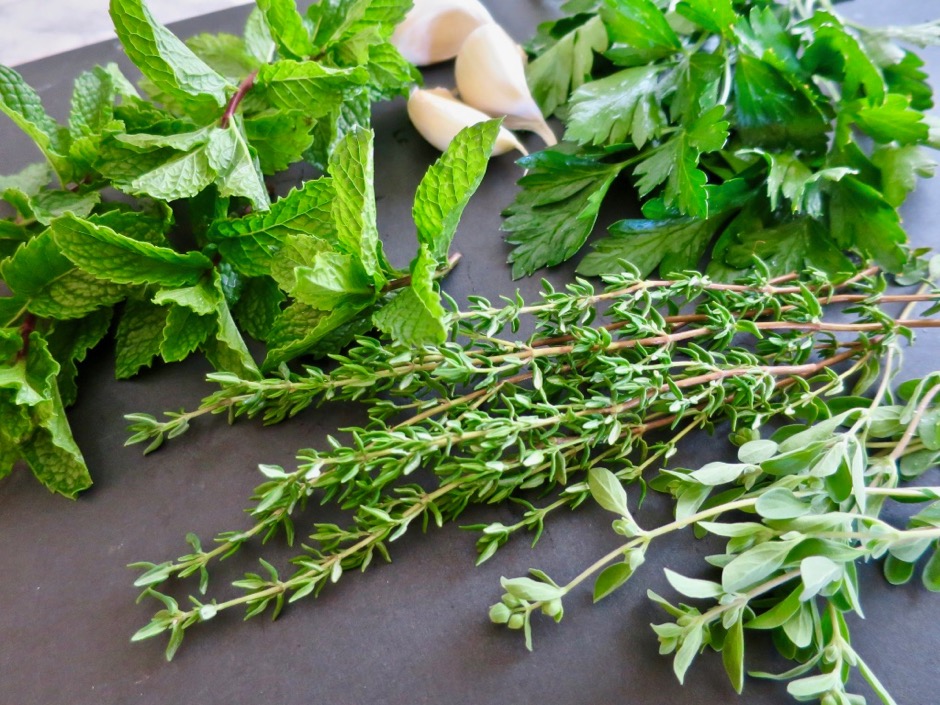
Fresh Herbs from the Garden

Our garden has seen tomatoes, cucumbers and peppers come and go with the seasons however the herbs are true blue.  They tolerate the hot weather we have and rarely do they get bothered by disease or pesky insects.

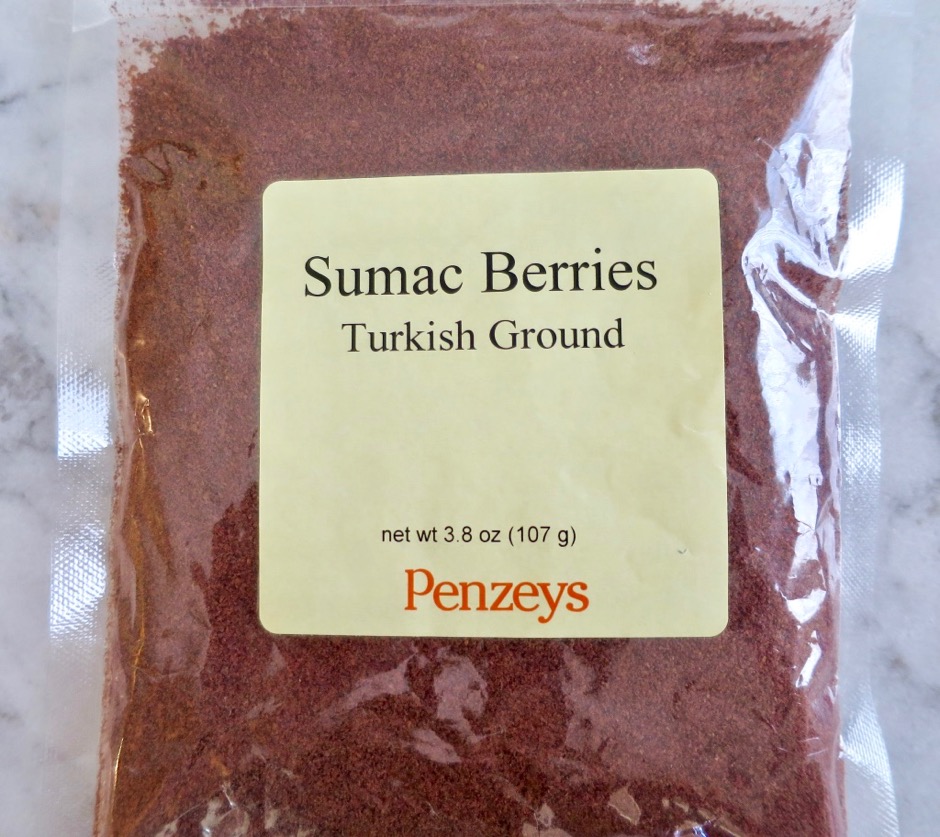
Ground Sumac

The sumac bush grows in the Middle East where the berries are dried and crushed and used in numerous dishes.  It has a lemony tart flavor that goes well in salad dressings, kabobs and rice dishes. It is a main ingredient in one of my favorite spice blends, za’atar.  I had never heard of it until a few years ago but now I see it frequently used both by chefs and home cooks.

Middle Eastern Herb & Garlic Chicken

This recipe comes from Melissa Clark at the New York Times.  She serves the chicken with a yogurt sauce that adds a creamy tanginess and compliments the chicken perfectly.

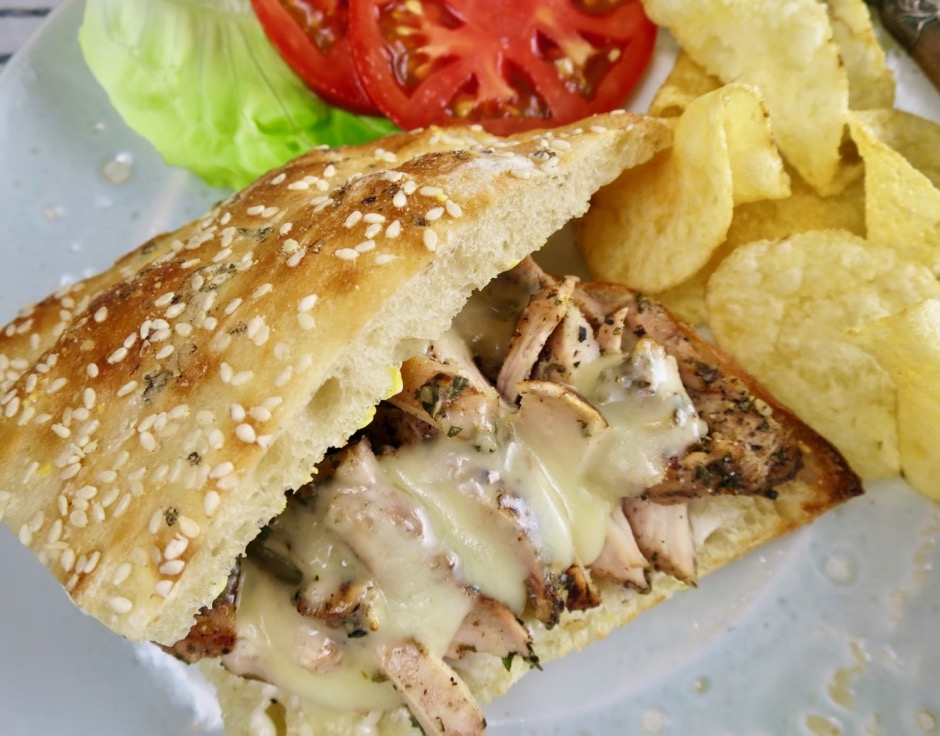
Middle Eastern Herb & Garlic Chicken Sandwich

Some of the leftover chicken was sliced and used in a sandwich with a little melted cheese.  It’s a good recipe to double so that you have leftovers for the next few days.  Use it in salads, stuffed in pita bread, or in sandwich as I did.

Middle Eastern Herb & Garlic Chicken

Middle Eastern Herb & Garlic Chicken
 
Adapted from Melissa Clark's recipe
Author:
Serves: 4
Ingredients
  • 6 boneless skinless chicken thighs (about 1½ - 1¾ pounds)
  • 4 medium garlic cloves, grated on a Microplane or minced finely, divided (reserve ½ teaspoon for yogurt sauce)
  • juice and zest of 2 lemons (more for the marinade if the lemons are very small and if you prefer a more tangy marinade)
  • 3 tablespoons extra virgin olive oil
  • 2 tablespoons minced fresh parsley
  • 2 tablespoons minced fresh mint
  • 1 tablespoon minced fresh thyme
  • 1 tablespoon minced fresh marjoram (or oregano)
  • 1½ teaspoons kosher salt
  • 1 tablespoon sesame seeds + extra for yogurt sauce
  • ¾ teaspoon sumac (optional)
  • 1 6 ounce container whole milk plain yogurt
Preparation
  1. Trim chicken thighs and combine with garlic (reserve ½ teaspoon for yogurt sauce), zest and juice of 1 lemon, olive oil, parsley, mint, thyme, marjoram, salt, sesame seeds and sumac (I use a Ziploc bag). Marinate the chicken in the refrigerator for 6 - 8 hours.
  2. Heat your grill and cook chicken over high heat until charred in spots, about 4 - 6 minutes. Flip pieces and continue grilling until just cooked through, another 4 minutes or so.
  3. While the chicken is cooking, combine yogurt with ½ teaspoon reserved garlic, lemon zest & juice. Season to taste with salt and freshly ground pepper. Sprinkle sesame seeds over the top. Serve chicken with yogurt sauce on the side.

 

Chicken, Dinner, Dressing, Lactose Free, Recipes, Salad, Side Dishes, Veggies

Chinese Chicken Salad

June 19, 2017

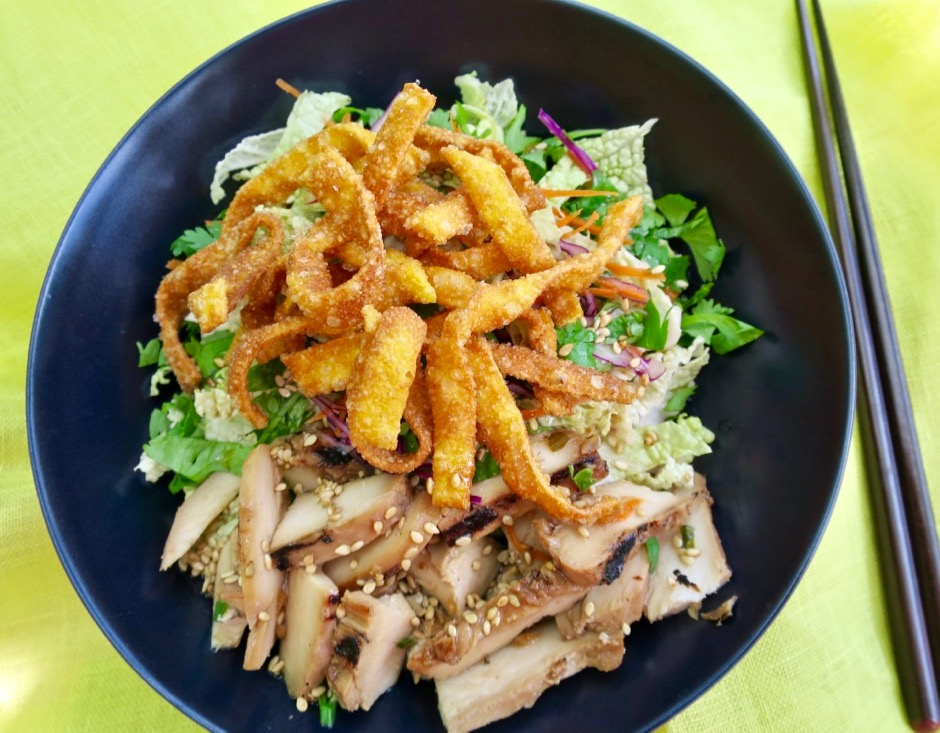
Chinese Chicken Salad

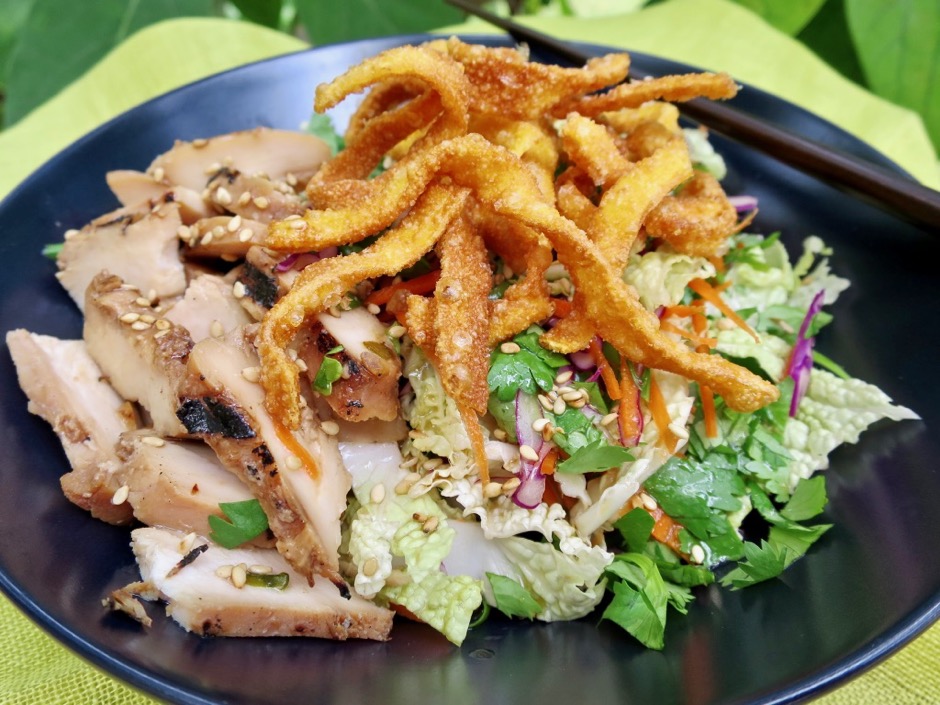
There are a number of stories told about the origins of Chinese Chicken Salad and it appears that none are definitive although most agree that it all began in the ’60s.  Wikipedia states that it became especially popular after Cary Grant asked the chef at Madame Wu’s in Santa Monica to add it to their menu after Grant had the salad at another restaurant. Whatever the case might be, it is one of my favorite salads too.  Now, there are so many variations on this salad you could make a different version every day for months.  Some poach their chicken breasts, others use rotisserie chicken. Some use mandarin oranges (no thanks!) or nuts such as peanuts and almonds.  I prefer to use leftover Granny’s teriyaki chicken and when we make it for dinner we plan for leftovers.  The salad ingredients and dressing are quick to put together, and though it does take 15 minutes or so to fry the won ton strips, it is worth the effort.

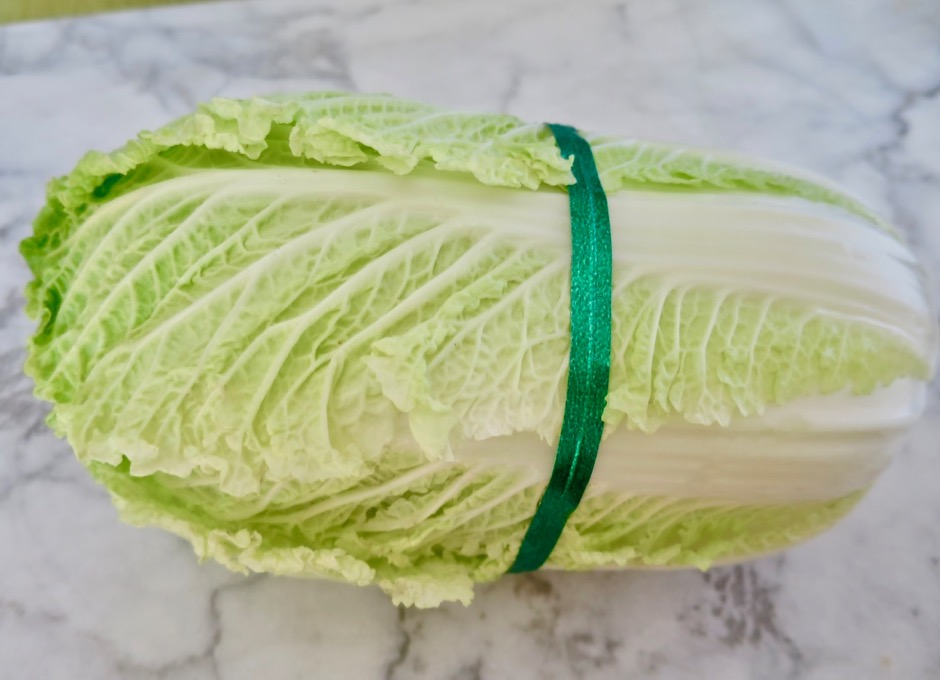
Napa Cabbage

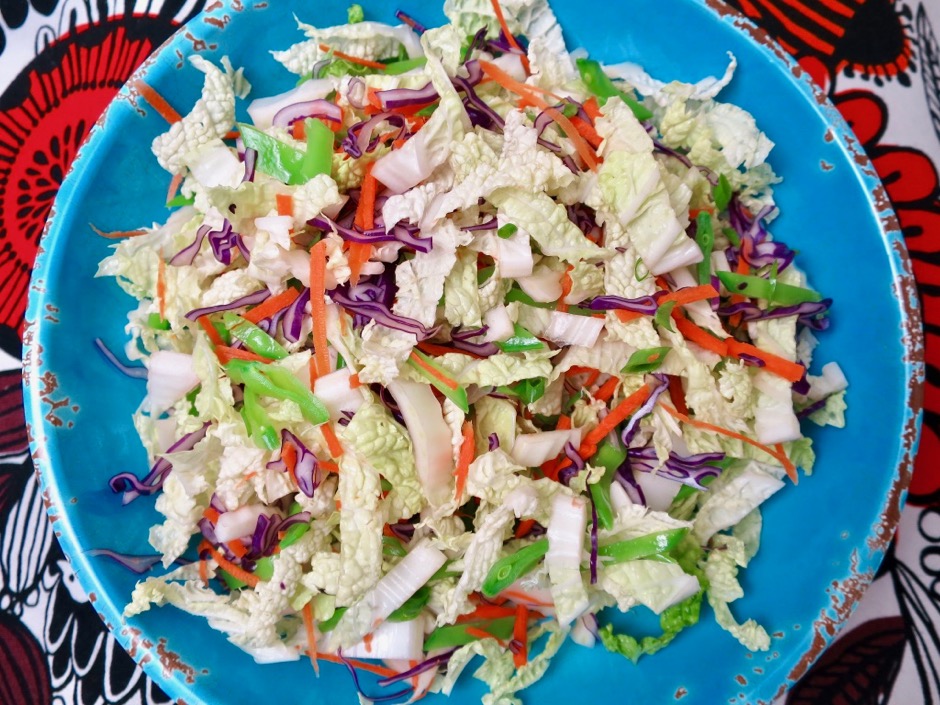
Napa cabbage, Chinese cabbage, won bok, however it’s labeled it’s all the same cabbage.  It has beautiful ripply leaves, a crunchy texture and mild cabbage flavor with just a hint of pepper.  Whatever other ingredients you choose to use in your Chinese chicken salad, please don’t leave this out.

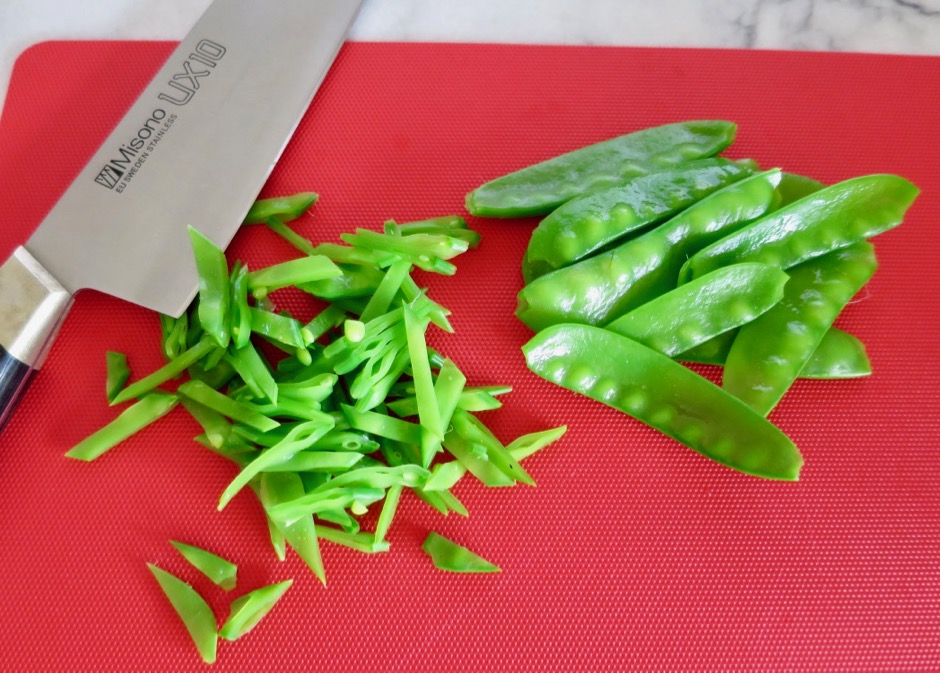
Blanched Snow Peas

I love crispy snow peas.  All they need for this salad is a quick 10 second blanch in boiling water. Drain in an ice bath and pat dry before slicing.

Chinese Chicken Salad Vegetables

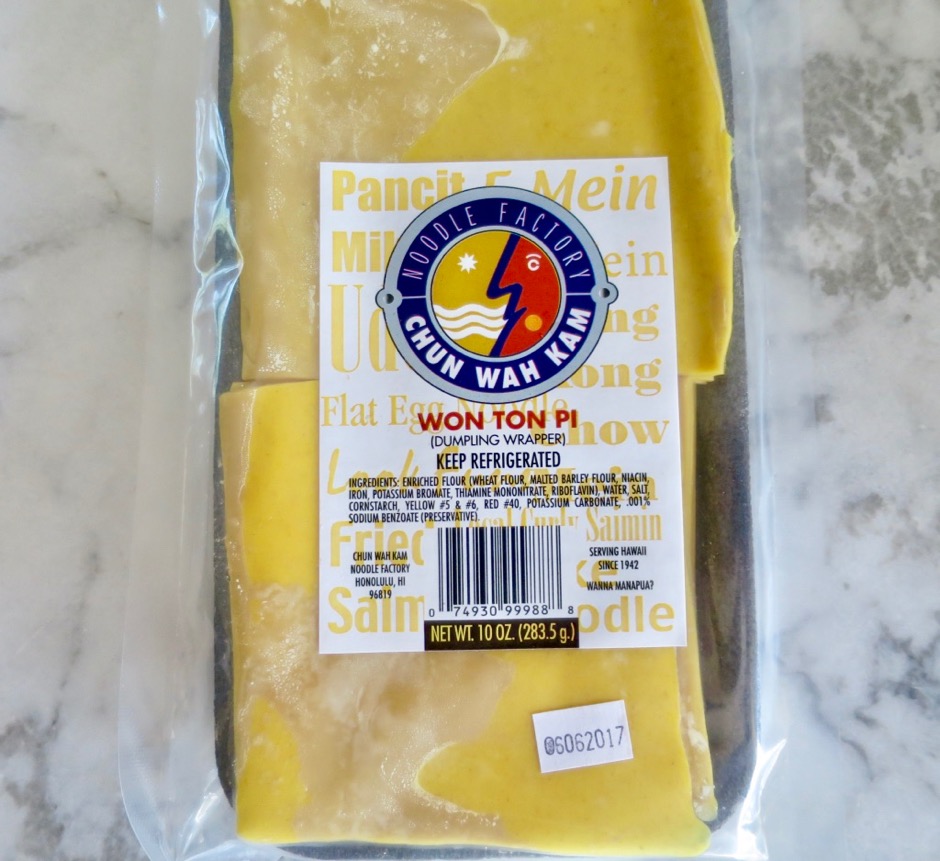
Won Ton Pi

There are many brands of won ton pi at the markets. I just grabbed this locally made brand at Foodland.  Since you won’t need the entire package for the salad, slice the extra pieces up into larger strips and fry them up for a snack.  They are a favorite Island treat.

Fried Wont Ton Pi Strips for Salad

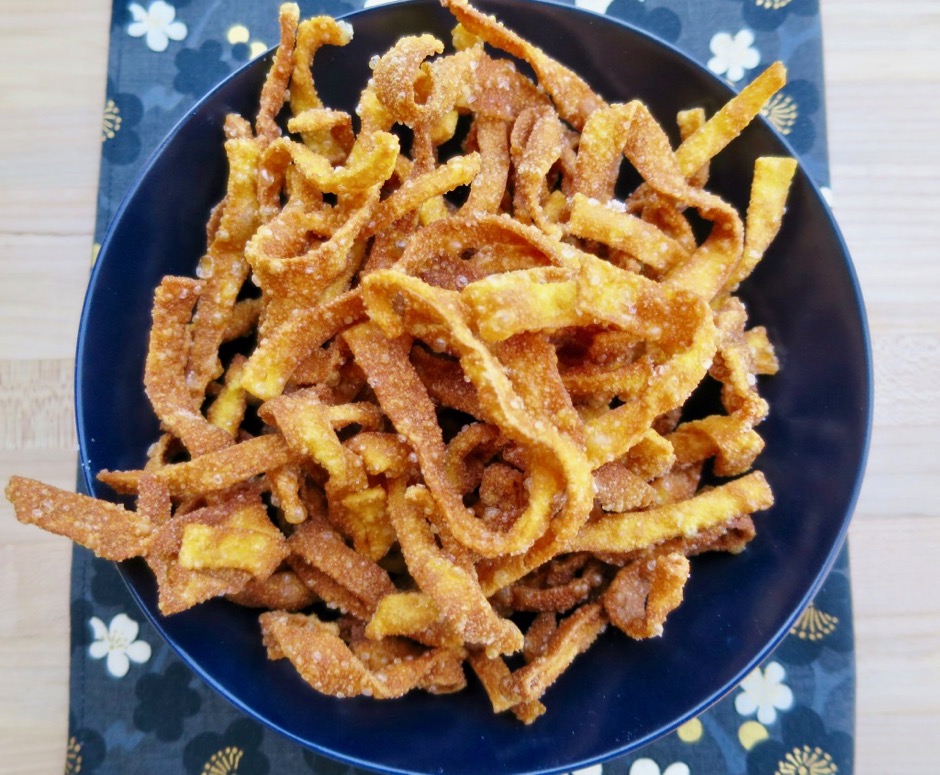
Fried Wont Ton Pi Chips for Snacking

I used the extra won ton pi for chips. Some of them puff up as they fry, making them light and crispy.  Salt the chips as you take them out of the pan.

Chinese Chicken Salad

Chinese Chicken Salad
 
Author:
Serves: 4
Ingredients
  • Salad:
  • 2 grilled teriyaki chicken breasts, sliced thinly (or baked teriyaki chicken)
  • 8 cups chopped napa cabbage
  • 1 cup shredded red cabbage
  • 1 cup shredded carrot
  • 3 ounces snow peas, blanched and sliced thin (optional)
  • 4 green onions, sliced thinly
  • won ton pi cut into thin strips about ⅓" wide (I used about 4 ounces from the 10 ounce package for the salad and the rest I used for larger chips)
  • Dressing:
  • ⅓ - ½ cup rice vinegar, depending on how tangy you like your dressing (unseasoned)
  • 2 tablespoons sweet mirin
  • 2½ tablespoons soy sauce (not light or less sodium)
  • 3 teaspoons sesame oil
  • ¼ cup canola oil
  • 1½ tablespoons brown sugar
  • 1 tablespoon toasted sesame seeds
  • ground black pepper to taste
Preparation
  1. Toss together the shredded napa cabbage, red cabbage, carrots, sliced snow peas and green onions. Keep chilled in the refrigerator until ready to use (either in a bowl or Ziploc freezer bag).
  2. Deep fry the won ton strips until golden brown. I use a medium-sized pot and fry the won ton strips in batches. They cook quickly so watch them closely. Drain on paper towels and sprinkle a little salt over each batch. The won ton strips can be made a day in advance (store in a plastic bag in the refrigerator).
  3. Place all of the dressing ingredients in a jar. Shake well.
  4. When you are ready to serve the salad, toss the vegetables with some of the dressing. Divide salad into 4 bowls placing chicken strips to one side. Scatter won ton strips over the salad. Serve with extra dressing.
 

Chicken, Dinner, Lactose Free, Recipes, Sandwiches

Grilled Thai Chicken with Basil & Lemongrass

February 23, 2017


Grilled Thai Chicken with Basil & Lemongrass

Our lemongrass is tucked away in the corner of the garden which means I forget that it’s there most of the time. It thrives with little attention year after year producing the most fragrant stalks.   We love grilled chicken so when  I came across a recipe for grilled chicken breasts with lemongrass in Fine Cooking magazine, I couldn’t resist it.

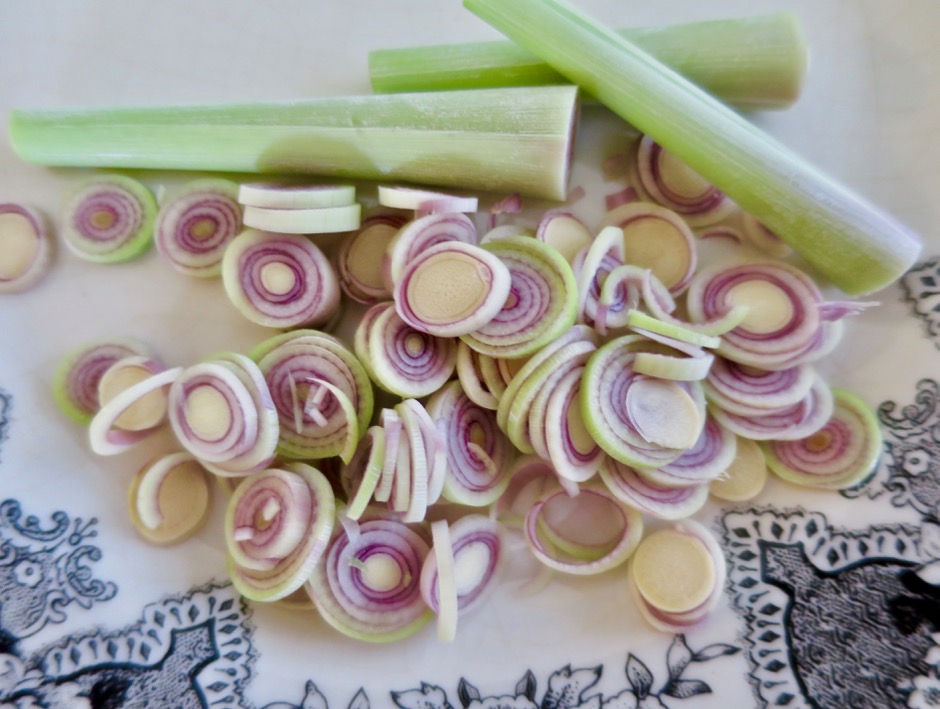
Lemongrass

Once you peel away the tough outer stalks and cut into the stems, you will find the most fragrant and tender section of the lemongrass that will be used in the marinade.

Coconut Milk Marinade

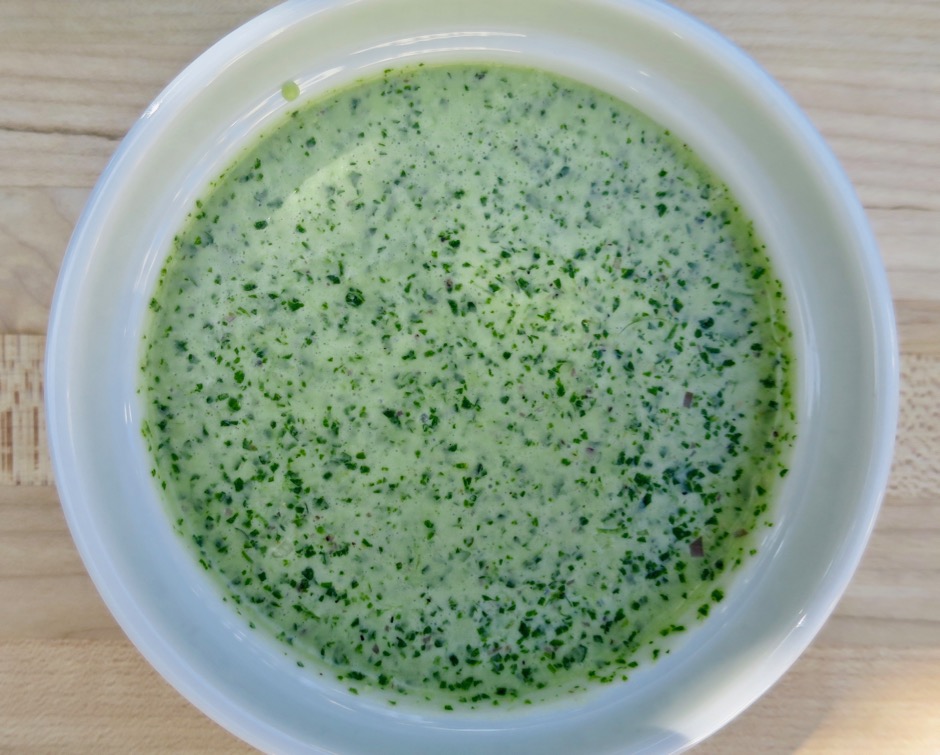
This is a very easy recipe to put together.  I used my immersion blender to combine the ingredients but a food processor or blender work just as well.  Puree the ingredients until smooth, pour it over the chicken, transfer the bowl to the refrigerator for at least 2 hours before you light up your grill.

Grilled Thai Chicken with Basil & Lemongrass

Jasmine rice and a salad pair perfectly with the grilled chicken.  If you have leftovers slice thin pieces of chicken and serve it over a bowl of cold noodles or use it as a filling in a banh mi.

Grilled Thai Chicken with Basil & Lemongrass

Grilled Thai Chicken with Basil & Lemongrass
 
Adapted from Fine Cooking magazine
Author:
Serves: 4
Ingredients
  • ¾ cup chopped cilantro + more for serving
  • ½ cup coconut milk
  • ¼ cup finely chopped lemongrass (from about 3 stalks)
  • 6 fresh basil leaves
  • 6 jalapeño nacho rings (hot) or 1 fresh jalapeño, or to taste
  • 1 large garlic clove, minced
  • 2 teaspoons kosher salt
  • 1 teaspoon packed light brown sugar
  • ¼ teaspoon freshly ground black pepper
  • ¼ teaspoon ground coriander
  • 4 medium or 3 large boneless, skinless chicken breast halves, trimmed (I pound the chicken breasts to even them out and if using large breasts, cut the pounded pieces in half)
  • 1 lime cut into wedges for serving
Preparation
  1. Combine cilantro, coconut milk, lemongrass, basil, jalapeños, garlic, salt, brown sugar, pepper, and coriander in your immersion blender cup and puree ingredients until smooth. Alternatively you may use a blender or food processor. Arrange chicken breasts in a nonreactive baking dish in a single layer. Pour the marinade over the breasts and turn to coat them well. Cover with plastic wrap and refrigerate for at least 2 hours and up to 6 hours.
  2. Heat a gas grill to medium high or prepare a medium-hot charcoal fire. Grill the chicken until it has good grill marks on the first side, about 4 minutes. Flip chicken and continue to cook until firm to the touch and completely cooked through, 4 minutes more (cooking time depends upon the thickness of your chicken). Transfer to a platter and sprinkle with chopped cilantro. Serve with lime wedges.


Chicken, Dinner, Lactose Free, Recipes

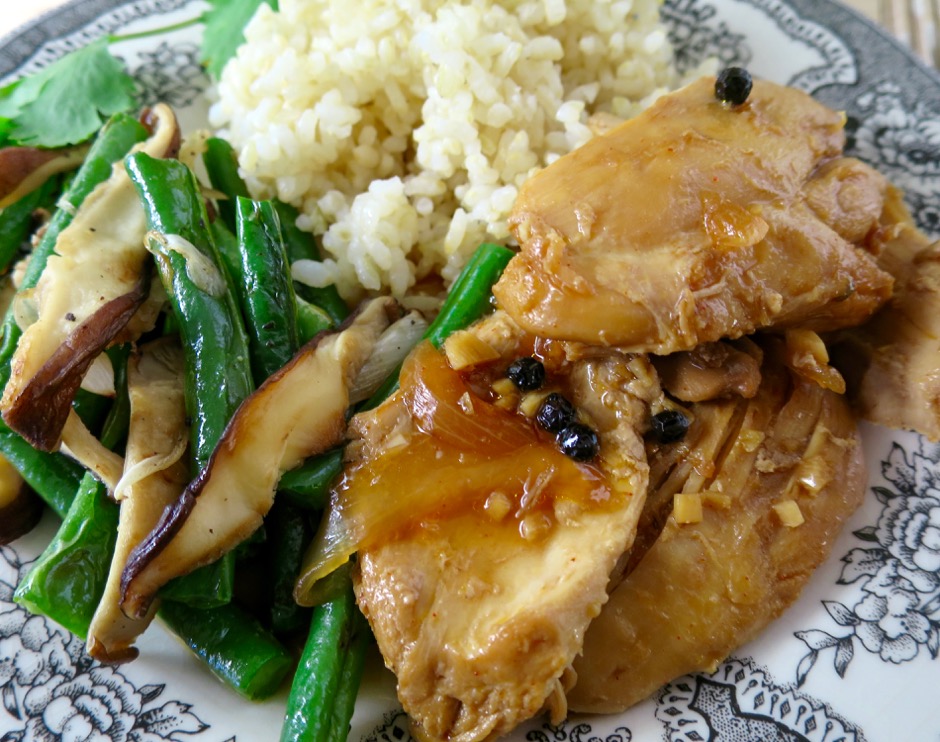
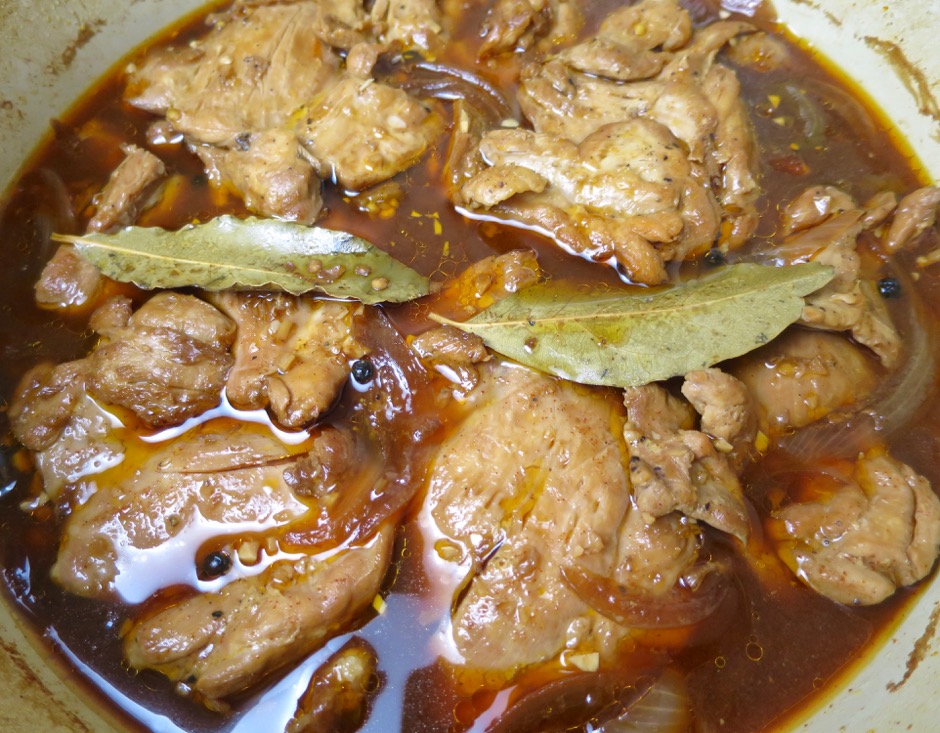
Chicken Adobo

September 14, 2016

Chicken Adobo

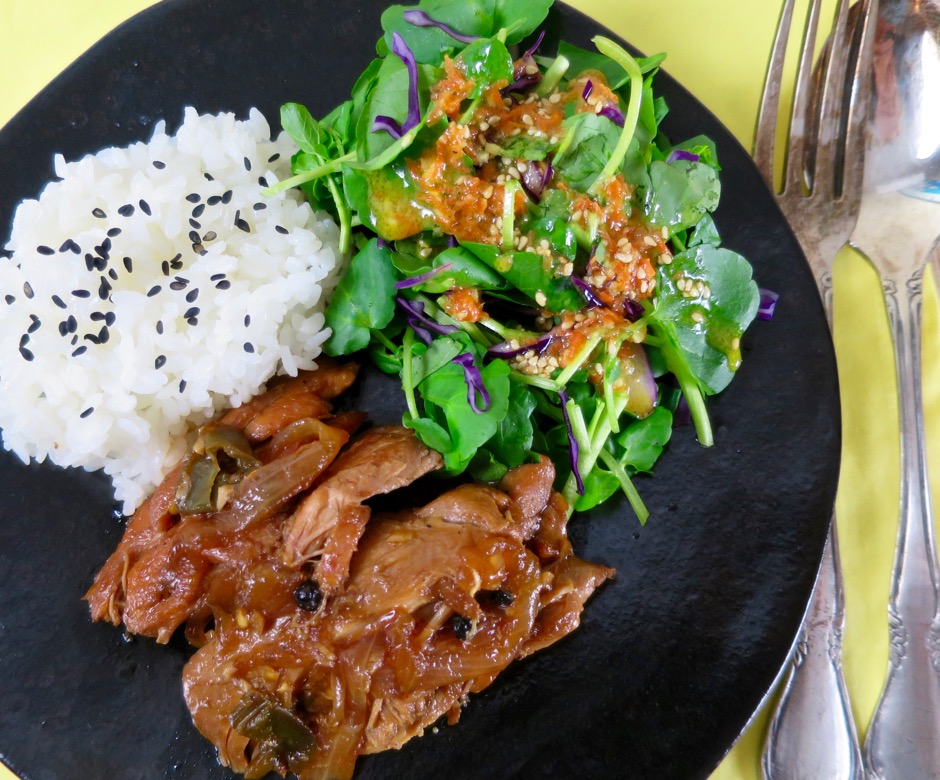
Vinegar of all types are a staple in my pantry.  They all have their place in recipes whether it may be for a dressing, poached eggs, pickles, or in this case, Chicken Adobo (the Filipino version which is popular here in Hawaii).  The combination of vinegar, soy sauce, peppercorns, and garlic are sublime. I saved my mom’s recipe card for this dish and noticed she added paprika to the sauce. She didn’t note down how much to use but 1/4 teaspoon seems to be about right. Oh, and my mom also mentioned that she added chili water or “a piece of pepper” to the sauce so I added a few of our homemade nacho rings to add a bit of zing to the sauce.  What a delight!

Chicken Adobo

I use boneless and skinless chicken thighs though bone-in chicken thighs would work well too.  Add another 5 – 10 minutes cooking time if using bone-in chicken thighs.

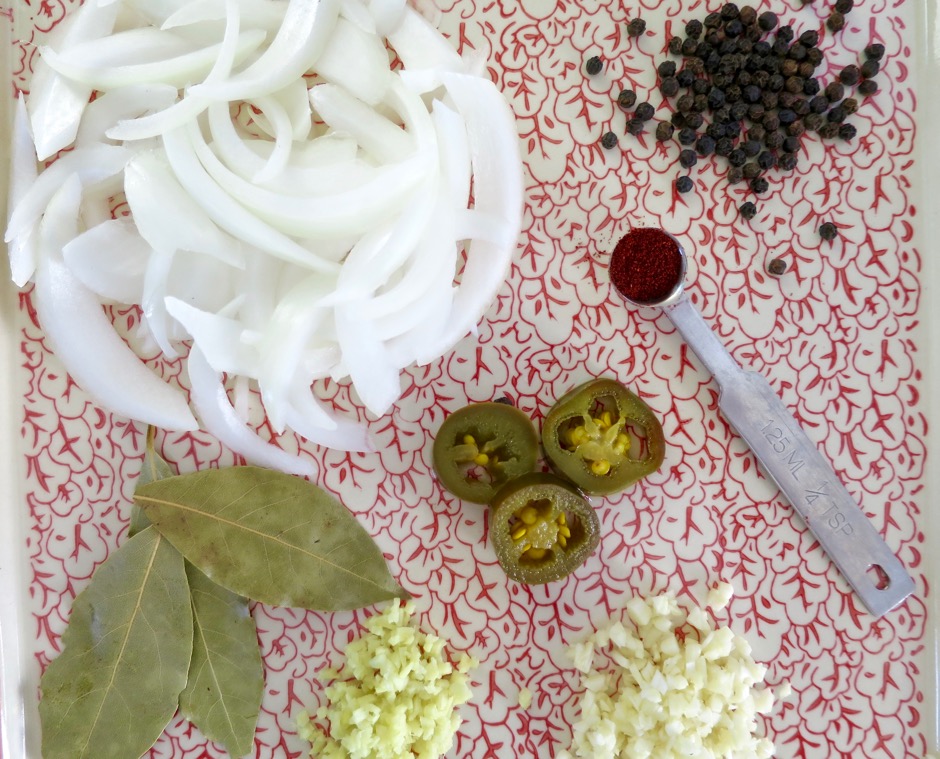
Chicken Adobo Seasonings

I’ve loved chicken adobo from my childhood in Honolulu. It is easy on the budget and so delicious.  Plus, everything goes into one pot!

Chicken Adobo

Chicken Adobo
 
Author:
Serves: 4 servings
Ingredients
  • 2½ pounds boneless skinless chicken thighs trimmed well
  • ¾ cup apple cider vinegar
  • ⅓ cup + 2 tablespoons water
  • ⅓ cup soy sauce (Kikkoman recommended)
  • 1 teaspoon packed brown sugar
  • ¼ teaspoon paprika
  • 3 ounces sliced onion
  • 1 tablespoon minced garlic
  • 2 teaspoons minced ginger
  • 2 nacho rings or hot pepper rings (optional)
  • 2 bay leaves
  • 1½ teaspoons whole black peppercorns
Preparation
  1. Preheat oven to 325 degrees.
  2. Trim any visible fat from chicken.
  3. Combine vinegar, water, soy sauce, brown sugar, and paprika in a medium bowl or measuring cup.
  4. In a medium sized Dutch oven or other oven-proof pot with a lid, brown half of the chicken pieces in a bit of canola oil over medium - medium-high heat. Remove chicken to a plate and brown the rest of the chicken. Once all of the chicken has been browned, return it to the pot. Add the vinegar mixture, onion, garlic, ginger, nacho rings if using, bay leaves and black peppercorns. Give the sauce a stir and bring to a boil over medium-high heat. Cover the pot and transfer to the oven. Set your timer for 50 minutes.
  5. Remove the pot from the oven and let chicken adobo rest for 5 minutes. Serve chicken with steamed white or brown rice and your choice of vegetables. Bok choy, green beans with shiitake mushrooms, snap peas or broccoli go well with this meal. Feel free to drizzle some of the sauce over your chicken and rice.


Chicken, Dinner, Lactose Free, Mexican, Pressure Cooker, Recipes

Pressure Cooker Chicken Chile Verde

July 30, 2016

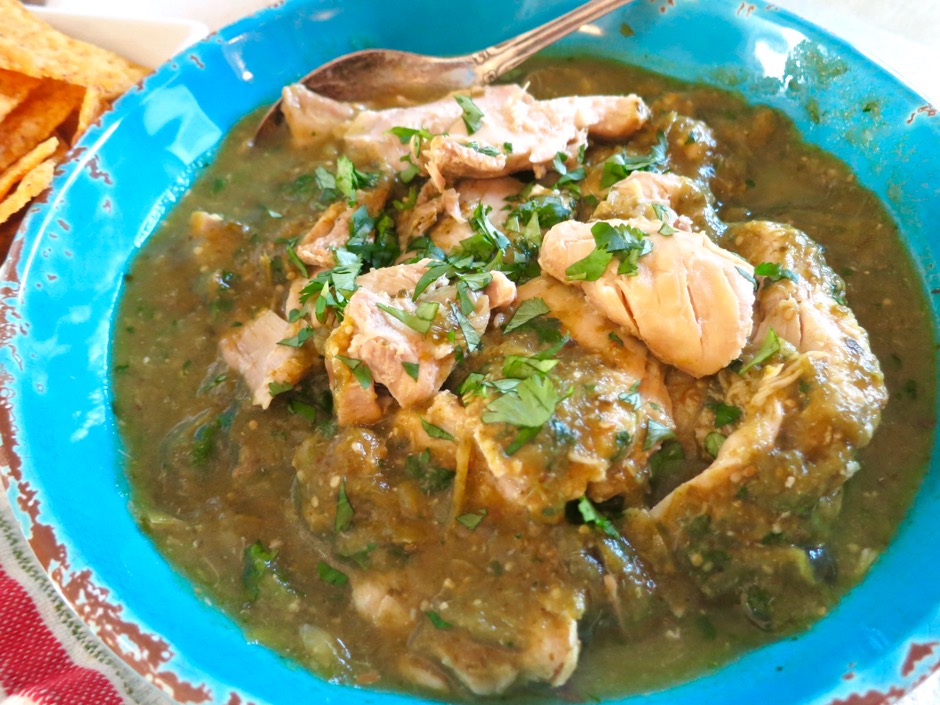
Pressure Cooker Chicken Chile Verde

We bought a pressure cooker several years ago and each time I use it, I appreciate its usefulness more and more. Some say that with pressure cooking there will be less flavor because of the shortened cooking time involved, but the opposite is true.  Your food actually maintains flavor and nutrients when cooking in the closed environment of a pressure cooker unlike with other longer stove top cooking techniques.  Besides being able to serve fork tender meat such as beef stew in just 25 minutes, pressure cooking keeps the kitchen cool and uses less energy.  Chile verde is one of our favorite dishes.  So Serious Eats, Kenji Lopez-Alt’s version of pressure cooker chicken chile verde was definitely a must try recipe.

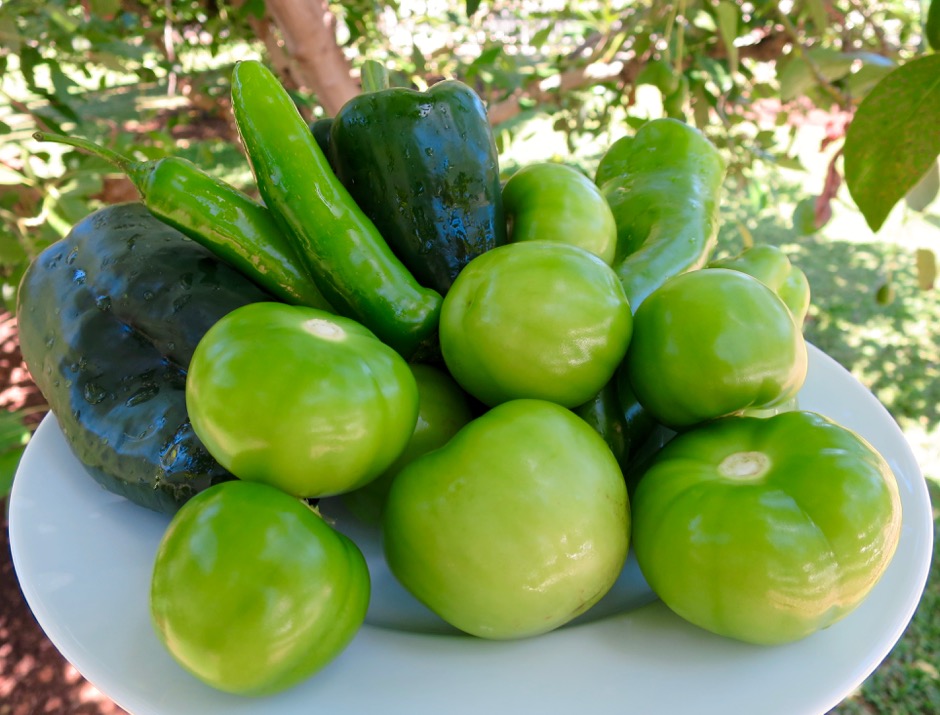
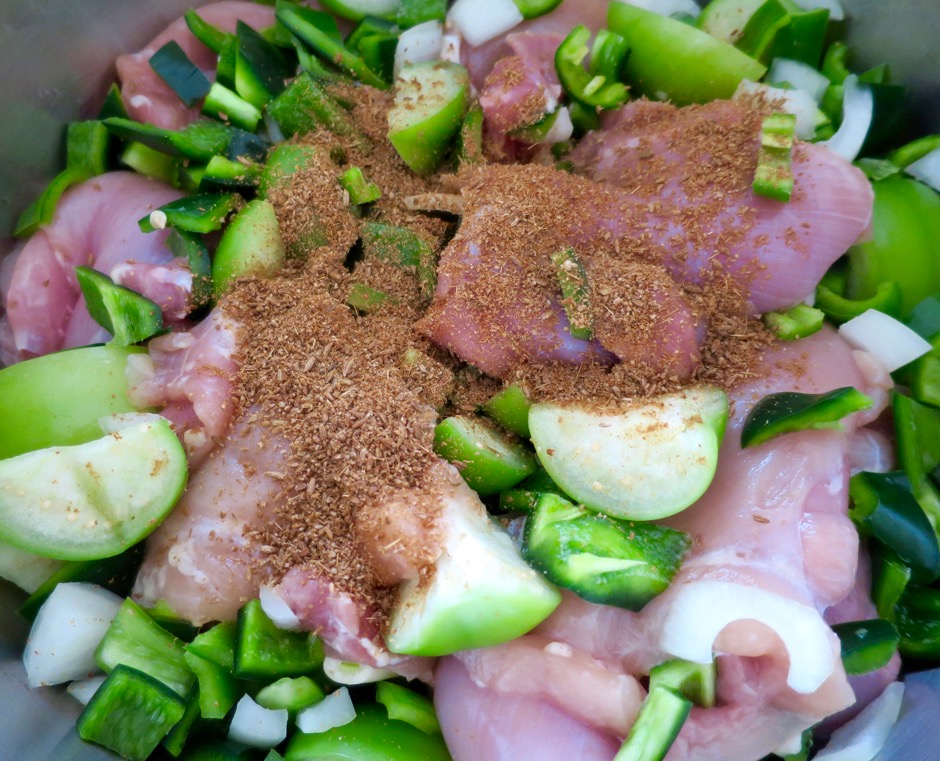
Chiles & Tomatillos

Beautiful chiles, tomatillos, onion and garlic go into the pot along with the chicken.  It couldn’t be easier.  It may seem odd that there is no liquid in the recipe, but under pressure all the liquid necessary comes from the tomatillos, peppers, onions and garlic.

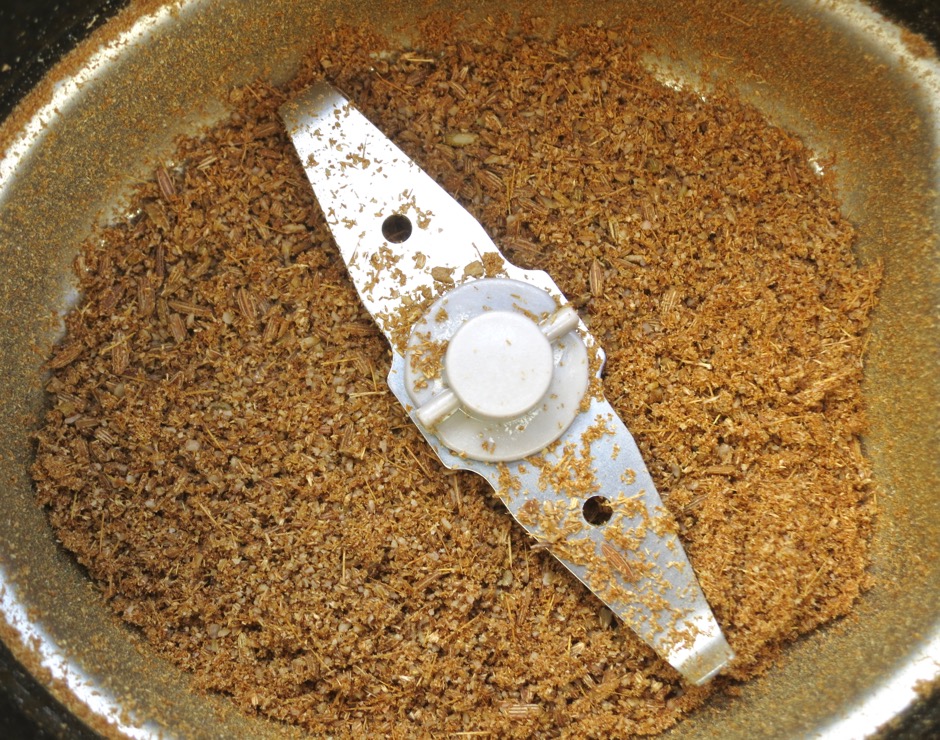
Toasted & Ground Cumin Seeds

You’ll get the freshest flavor if you toast and grind cumin seeds, but in a pinch you can use ground cumin.

Pressure Cooker Chicken Chile Verde Ingredients

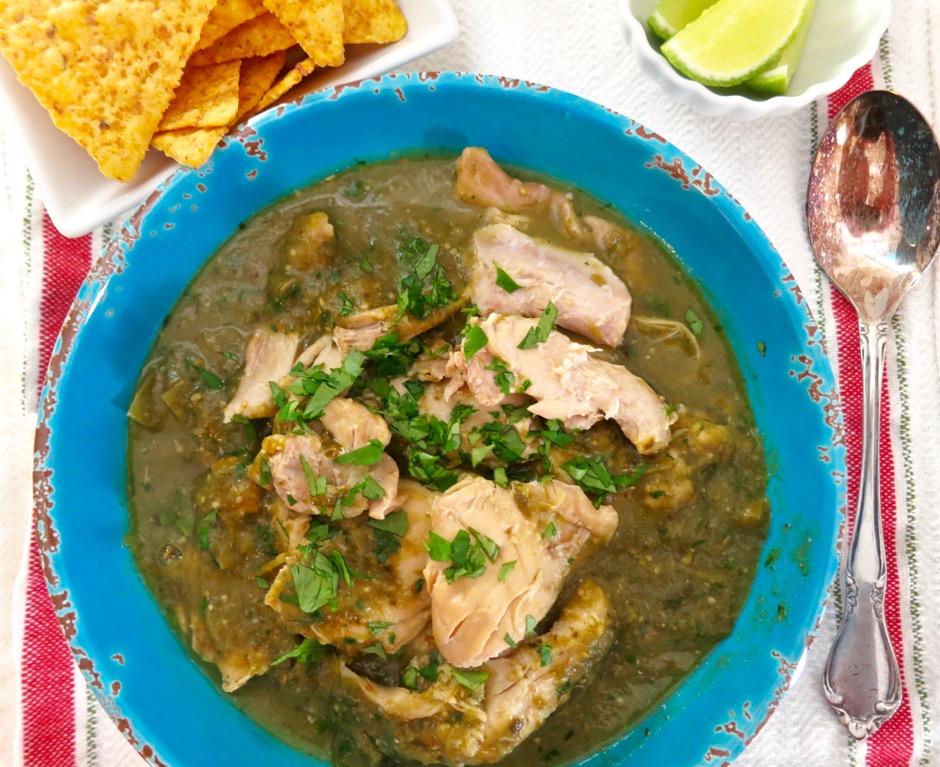
All the ingredients go into the pressure cooker.  Seal the lid and in no time at all you will have the most delicious chicken chile verde.

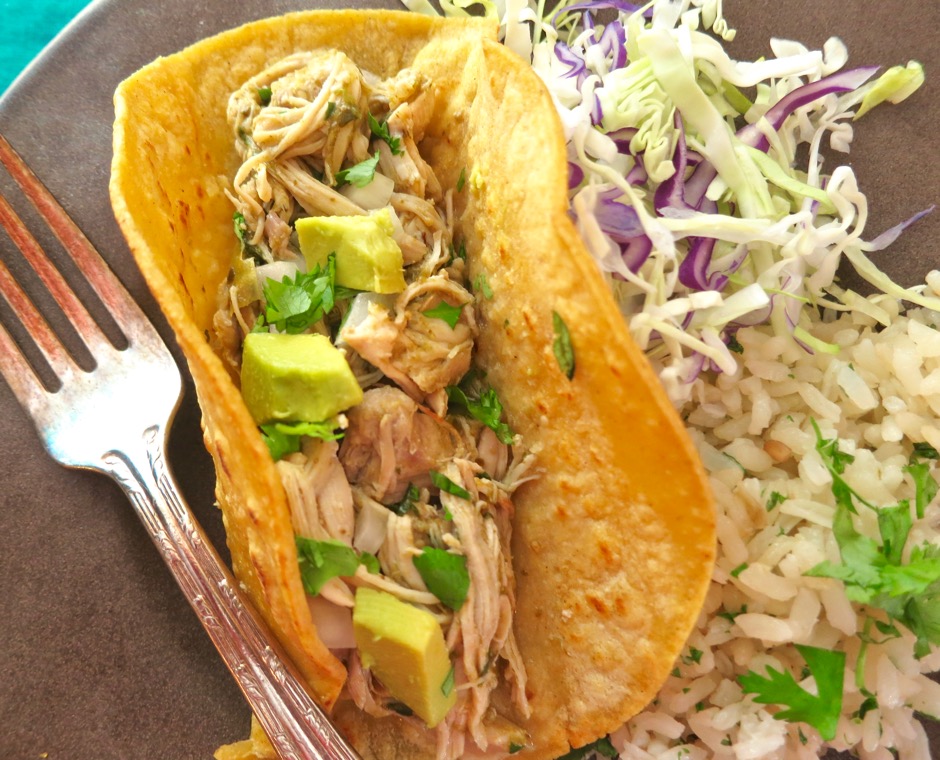
Pressure Cooker Chicken Chile Verde Tacos

The chicken becomes so tender, it pulls apart effortlessly and makes a great filling for tacos or burritos.

Pressure Cooker Chicken Chile Verde

Pressure Cooker Chicken Chile Verde
 
Recipe adapted from Kenji Lopez-Alt (Serious Eats)
Author:
Cuisine: Mexican
Serves: 6
Ingredients
  • 3 pounds boneless, skinless chicken thighs, trimmed well
  • 1 pound tomatillos, husks discarded, rinsed and quartered
  • 1 pound poblano peppers, roughly chopped, seeds and stems discarded
  • 6 ounces Anaheim peppers, roughly chopped, seeds and stems discarded
  • 2 Serrano or jalapeño chiles, roughly chopped, stems discarded
  • 1 medium onion - about 10 ounces, roughly chopped
  • 6 medium garlic cloves, peeled
  • 1 tablespoon whole cumin seeds, toasted and ground
  • 2½ teaspoons kosher salt, divided
  • ½ cup packed cilantro + more for garnish
  • 2 teaspoons fish sauce
  • corn tortillas for serving
Preparation
  1. Combine chicken, tomatillos, poblano, Anaheim peppers, Serrano chiles, onion, garlic, cumin and 1½ teaspoons kosher salt in your pressure cooker. Heat over medium-high heat until gently sizzling then seal pressure cooker. Once the pressure cooker comes up to pressure, lower the heat to a low burner setting so that it maintains pressure without exceeding it. Cook for 20 minutes. Turn off the heat and use the quick pressure release method either by pressing the button on the handle or by running cold water over the lid in the sink. Once all pressure has been released it is safe to open the lid.
  2. Using tongs, transfer chicken to a bowl. Add cilantro and fish sauce to remaining contents of pressure cooker. Blend with an immersion blender and season with additional 1 teaspoon kosher salt to taste (I prefer to keep the sauce a bit on the chunkier side).
  3. Return chicken to sauce and coarsely shred if desired. Serve chicken over rice, in tacos or burritos.


Chicken, Dinner, Lactose Free, Pork, Recipes

Smoked Bacon Wrapped Chicken Skewers

November 16, 2015

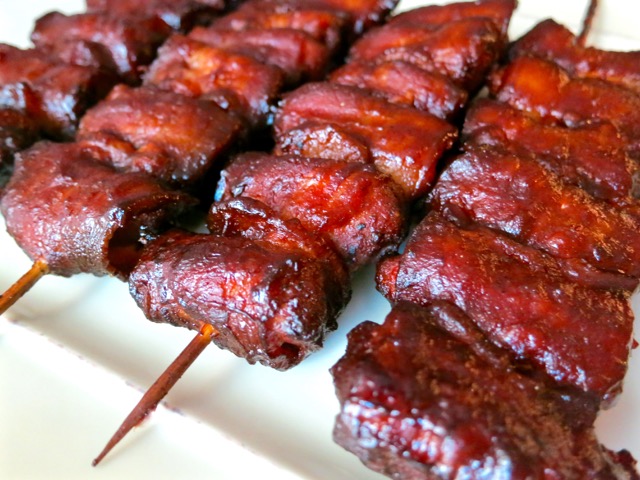
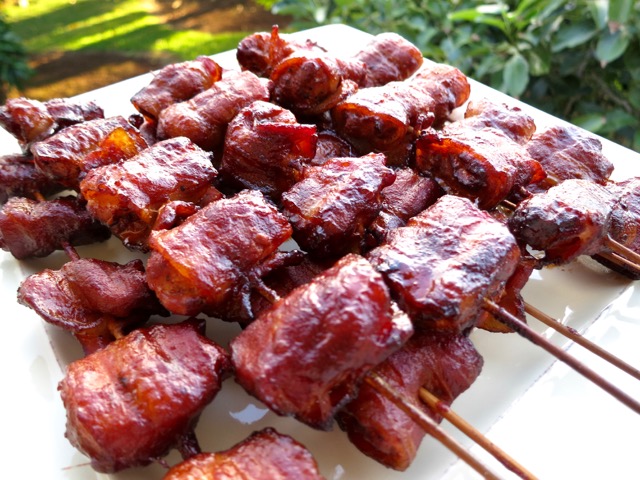
Smoked Bacon Wrapped Chicken SkewersJohn has been contemplating purchasing a Weber smoker for quite some time.  The decision was made easier by Amazon, which until recently did not offer free shipping to Hawaii.  The first thing we smoked was a fresh turkey breast.  It turned out to be easy and delicious, but we didn’t take any pictures or notes, so we’ll do that another time.  This recipe comes from Jeff’s “smoking-meat” blog.  We’ve made it a couple of times and it is so tasty.  It features a nice hint of smoke, a good barbecue sauce, and tender chicken tucked inside smokey bacon.

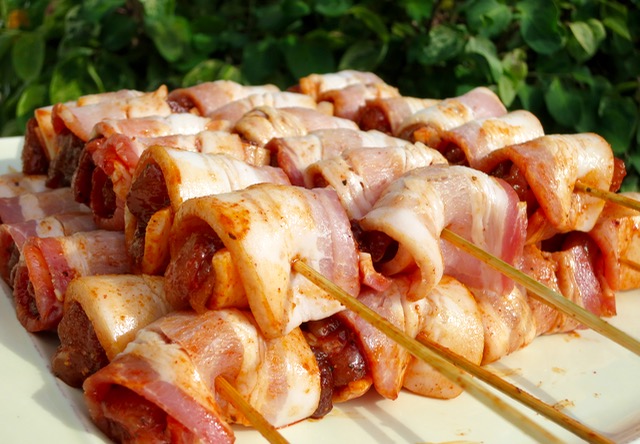
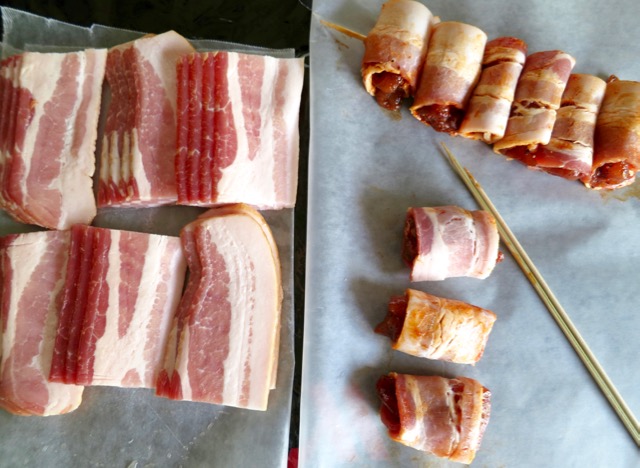
Preparing Smoked Bacon Wrapped Chicken SkewersBuy thin or regular cut bacon so that it has a chance to render and crisp up a bit while in the smoker. I cut my bacon strips into three even pieces but if you have larger pieces of chicken you might cut the bacon in half.

Preparing Smoked Bacon Wrapped Chicken Skewers

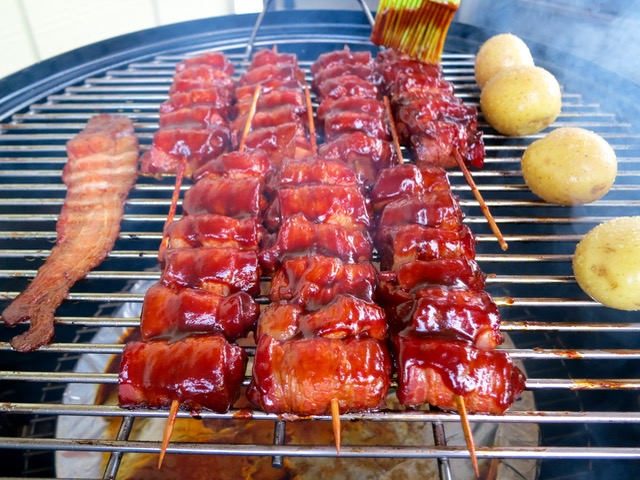
Smoked Bacon Wrapped Chicken SkewersWe had one lonely piece of bacon left and a couple of potatoes lying around so into the smoker they went.

Smoked Bacon Wrapped Chicken Skewers

Smoked Bacon Wrapped Chicken Skewers
 
Author:
Serves: 6
Ingredients
  • 6 boneless, skinless chicken thighs trimmed of any visible fat
  • 3 tablespoons canola oil
  • ⅓ cup of your favorite dry rub
  • 1 pound bacon
  • your favorite barbecue sauce (we like Trader Joe's)
  • wooden skewers
Preparation
  1. Cut the chicken into bite sized pieces, about 6 pieces per chicken thigh ( 8 if you are using a large chicken thigh)
  2. Place chicken pieces in a Ziplock bag and pour about 3 tablespoons canola oil into the bag. Mix chicken and oil so that the chicken is well coated. Add ⅓ cup of your favorite dry rub to the bag. Massage the bag well so all the chicken pieces are evenly coated with dry rub. Place the bag in your refrigerator for at least 2 hours.
  3. Place a piece of bacon on your work surface, top with a piece of marinated chicken, roll and push onto the skewer. Continue to add more bacon & chicken pieces to the skewer, leaving enough space on the skewer for turning during smoking. If you leave a bit of space between each piece of chicken, the bacon tends to crisp up better than if you push the meat together tightly.
  4. Set up your smoker for cooking at 250 degrees. Smoke the chicken for about 1 hour, brush generously with barbecue sauce, and smoke for about 30 minutes longer before removing the from the smoker.


Follow

Get every new post delivered to your Inbox

Join other followers: