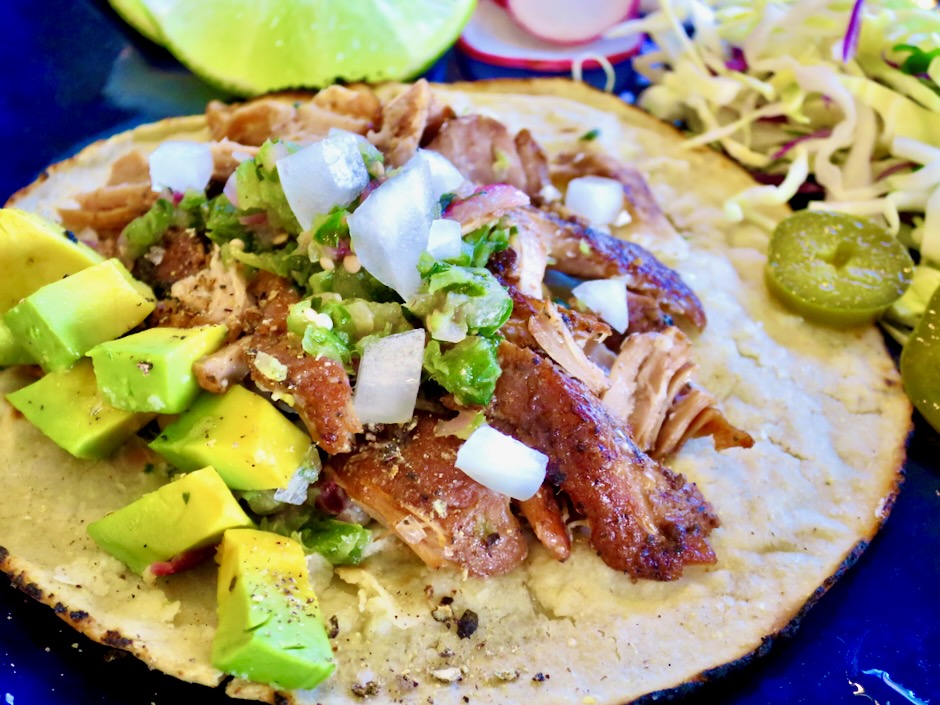
Braising is the ultimate way to cook tougher cuts of meat into flavorful fork-tender perfection. This Coca-Cola braised pork is cooked low and slow in the oven until it is perfectly shreddable for tacos or barbecue sandwiches.

This recipe by Marcela Valladolid comes from Food & Wine magazine. It quickly caught my attention not only because I love braised meat especially if it involves a Mexican meal, but also because of its simplicity. It doesn’t call for any hard-to-find ingredients and you don’t need to watch over it while it’s cooking.
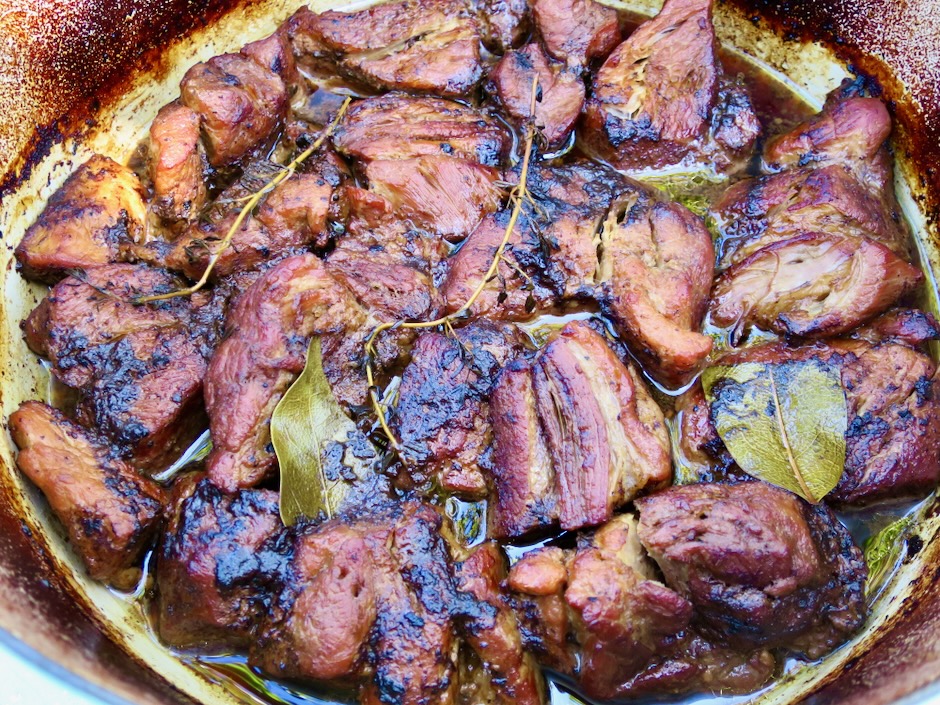
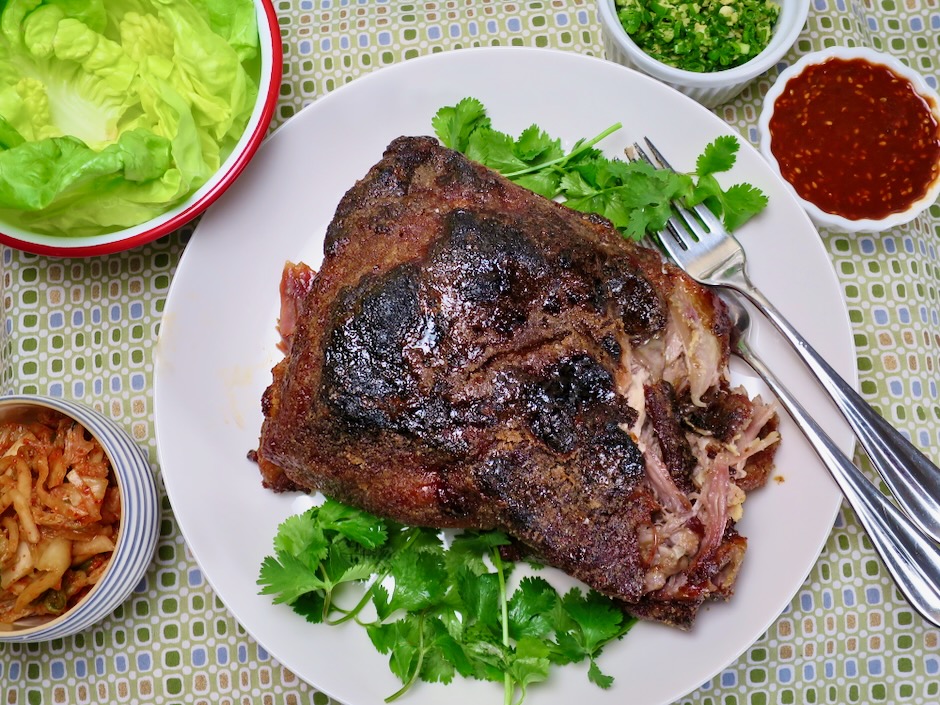
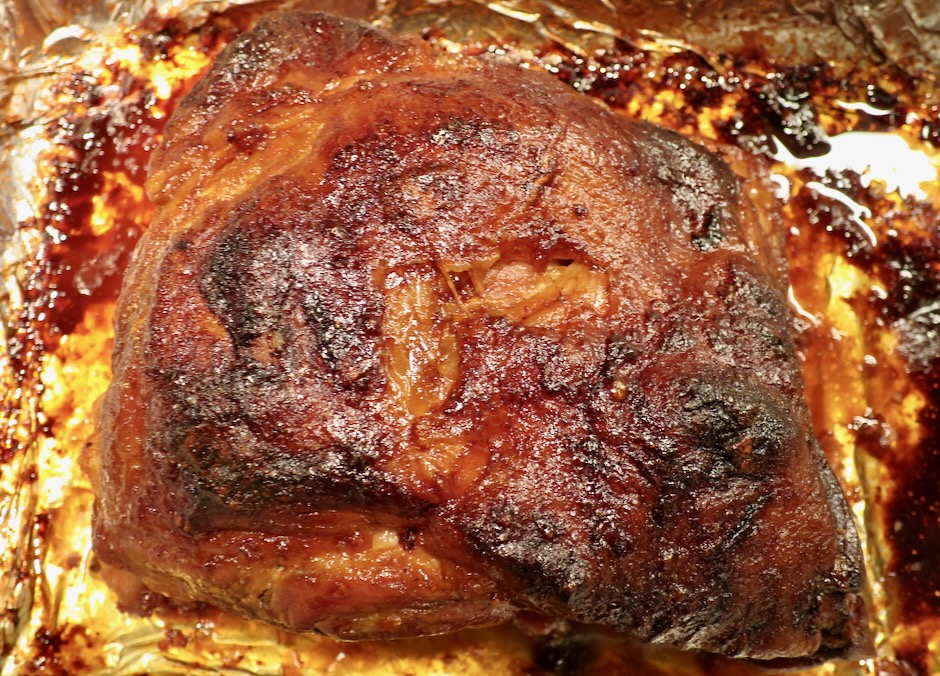
After 2 hours in the oven, the pork is ready to be served.
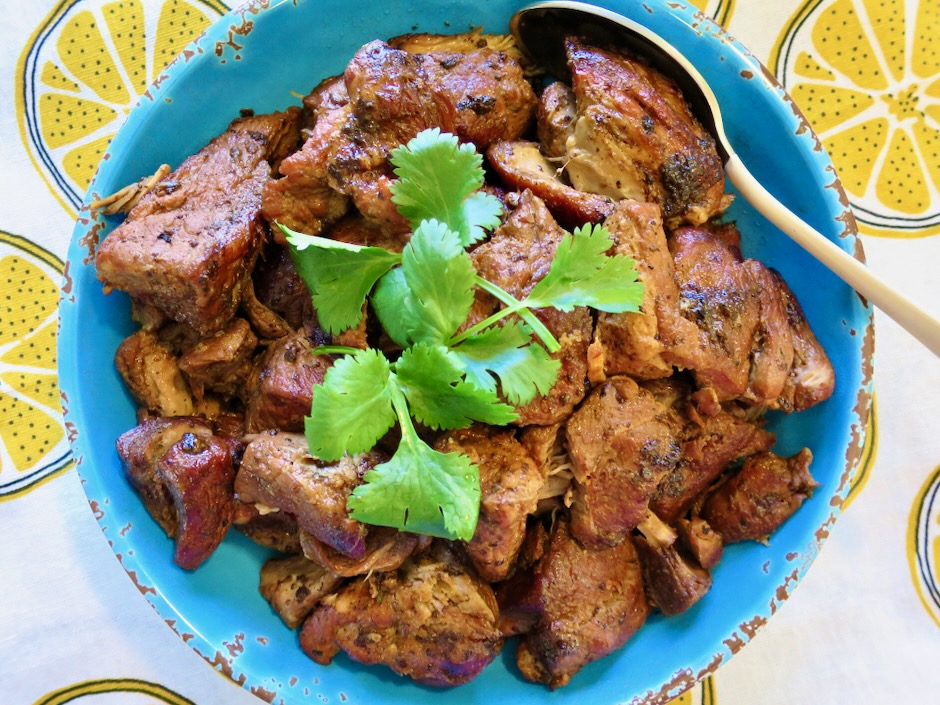
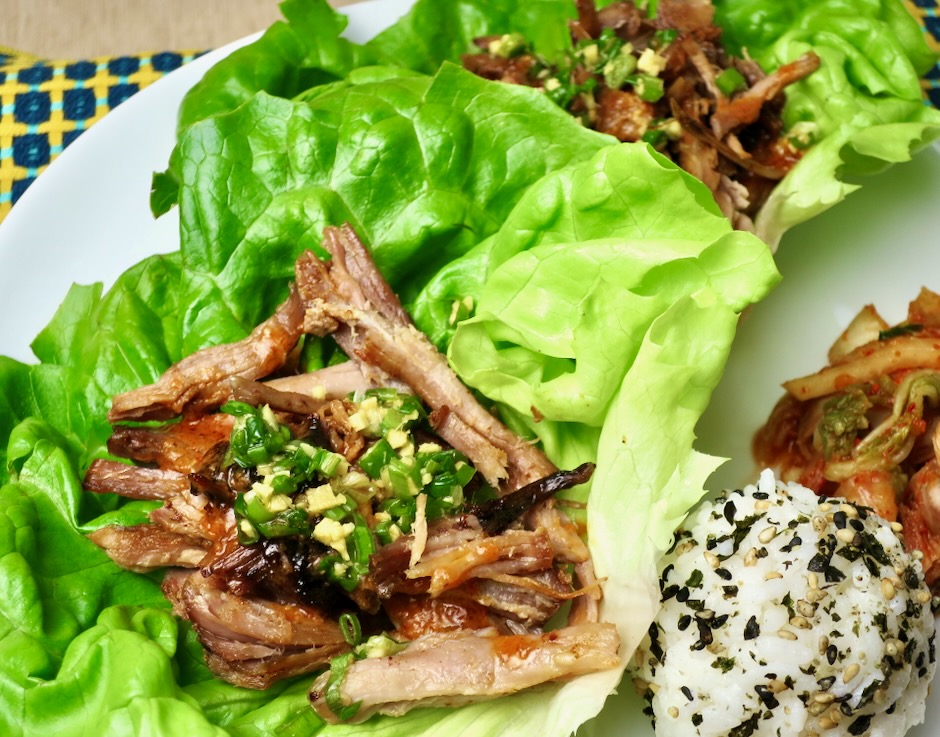
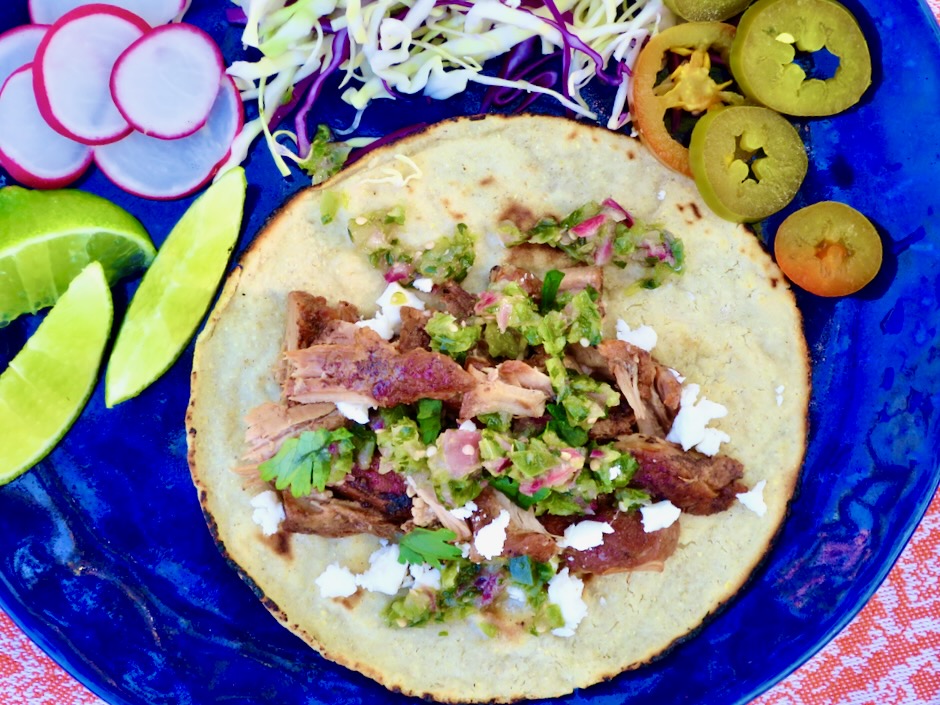
You can serve the pork alongside rice and beans or shred it for tacos.
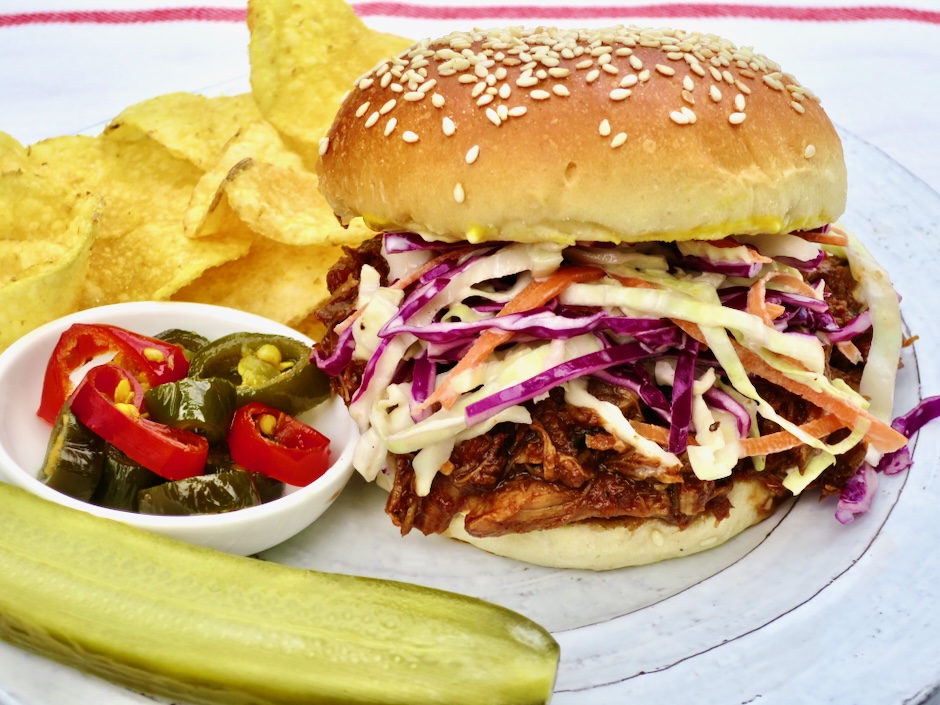
This Coke-braised pork is so versatile. I freeze leftovers and use it for barbecue pork sandwiches.

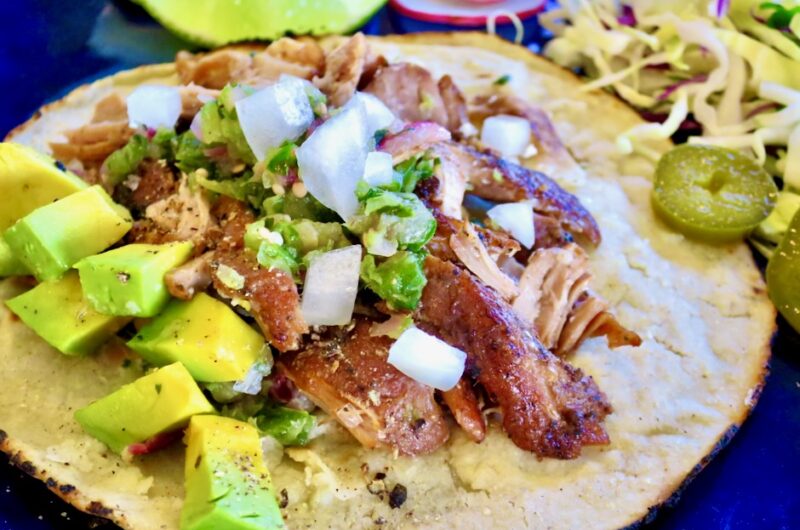
Coke-Braised Pork Tacos
4-6
servingsAdapted from Marcella Valladolid/Food & Wine magazine
Ingredients
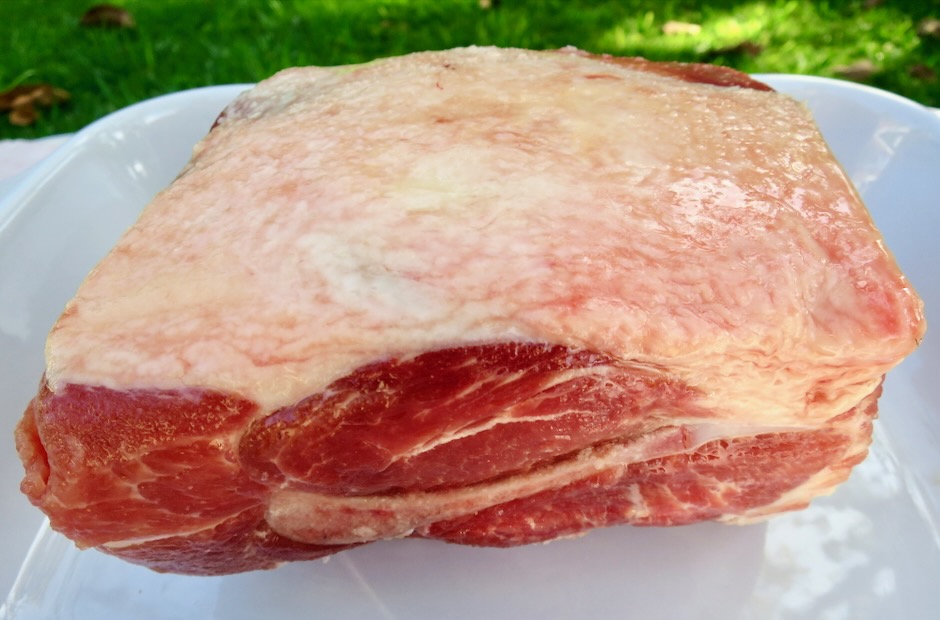
2 pounds pork butt or shoulder, trimmed of excess fat and cut into 4-inch chunks
2 teaspoons garlic powder
2 teaspoons kosher salt
1/2 – 1 teaspoon freshly ground black pepper
1 1/2 cups Coca-Cola (original taste) combined with 3/4 cup water
1 large bay leaf split into two pieces
2 sprigs fresh thyme
Optional for serving: Corn tortillas warmed in a comal, cast iron skillet or directly over a gas burner, diced onions, salsa, guacamole or diced avocado, cheese, hot sauce
Directions
- Preheat the oven to 325 degrees (rack in the middle).
- Place the pork in a large bowl and toss with the garlic powder, 2 teaspoons kosher salt and 1/2-1 teaspoon freshly ground black pepper.
- Heat 1 tablespoon neutral oil in a medium Dutch oven (or other oven-safe pot with lid) over medium-high heat. Add half of the pork and sear on both sides until nicely browned, adjusting heat if too hot. Transfer to a bowl and continue with the remaining pork. Once the second batch of pork has been browned, pour in 1 1/2 cups Coca-Cola along with 3/4 cup water and deglaze the bottom of the pan with a wooden spatula (no need to remove the second batch of pork in the pan while you deglaze). Return the first batch of pork to the pot along with any accumulated juices. Add the split bay leaf and thyme sprigs. Bring to a boil, cover the pot and transfer to the oven. Bake for 2 hours or until the meat is fork tender.
Notes
- If you do not have an oven-safe pot with a lid, you may cook the pork on the stovetop instead. Cover and simmer for about 2 hours until the pork is very tender.
- The pork can be used in multiple ways such as tacos, quesadillas, tostadas, with barbecue sauce for sandwiches and in ramen dishes.