Everyone loves homemade banana bread. Here’s a delicious version that includes lots of melty chocolate in every bite. America’s Test Kitchen came up with this genius recipe that’s packed with two cups of mashed bananas. It includes cocoa powder and chopped chocolate, hence the name Double Chocolate Banana Bread. And what a treat it is.
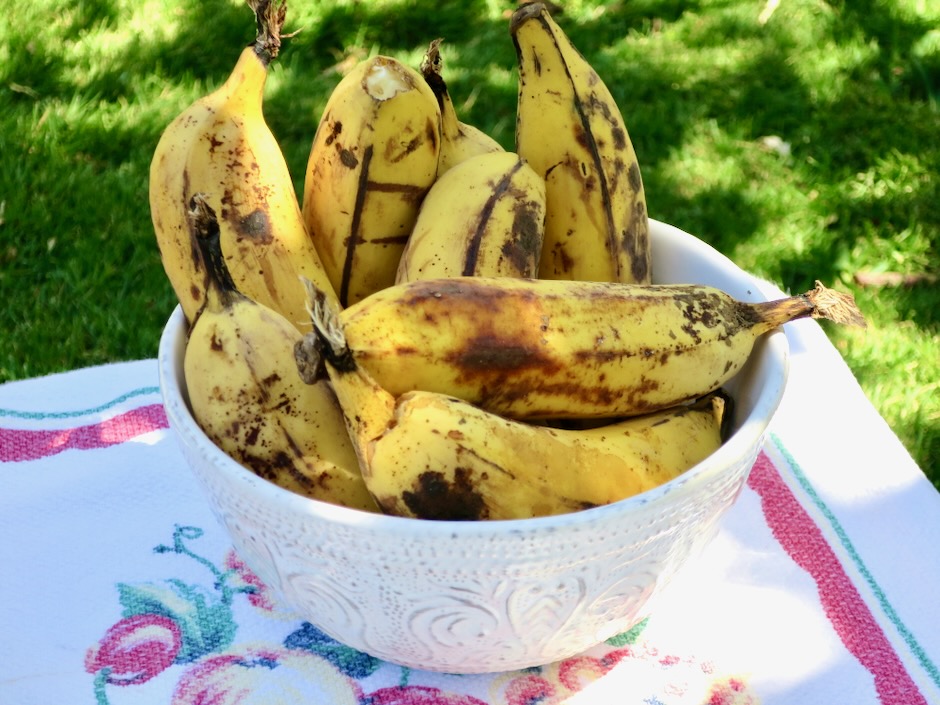
If you can find Apple bananas (Manzano) choose them over the common Cavendish bananas. Apple bananas have a sweet and slightly tangy flavor that is far superior to the Cavendish bananas that are commonly found in markets.
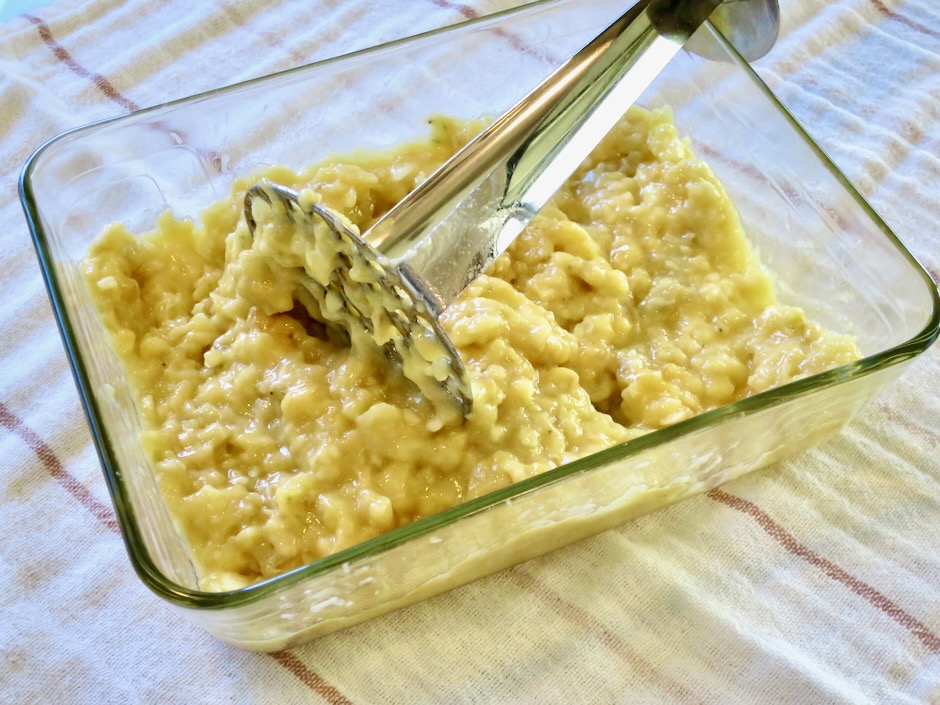
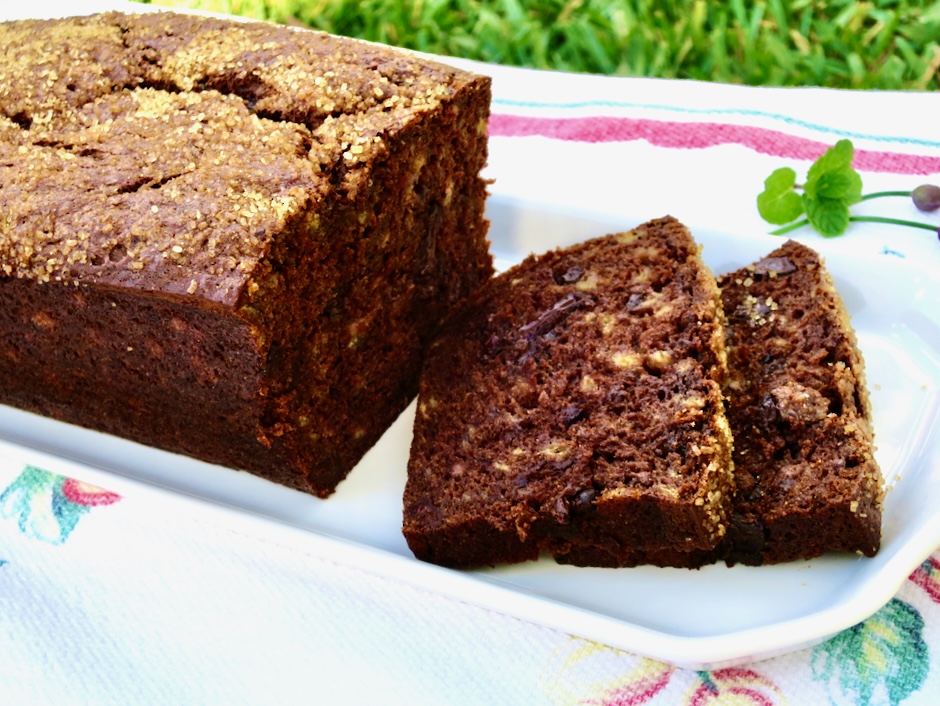
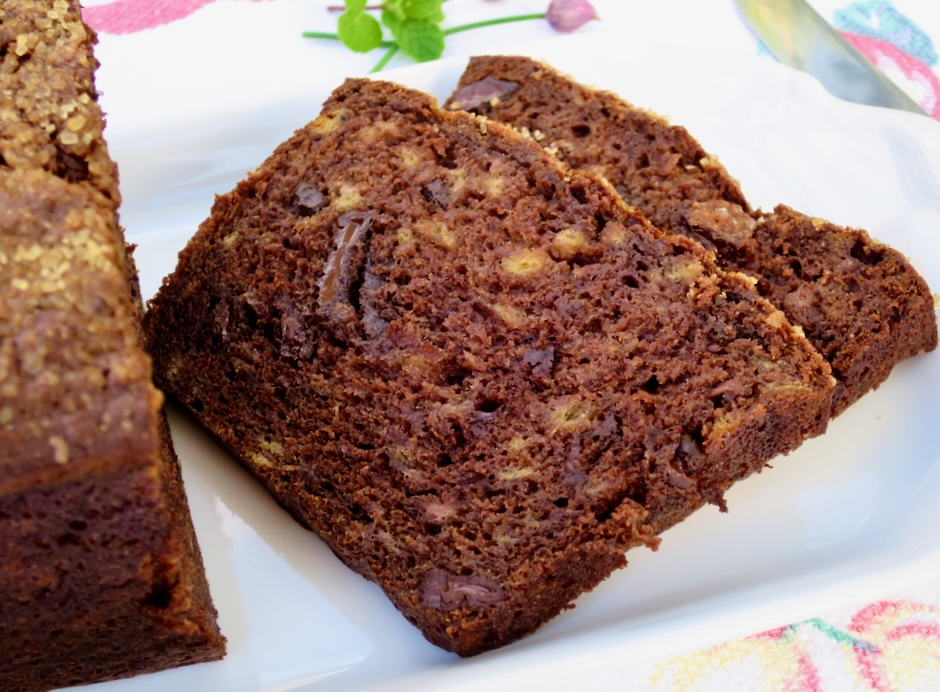
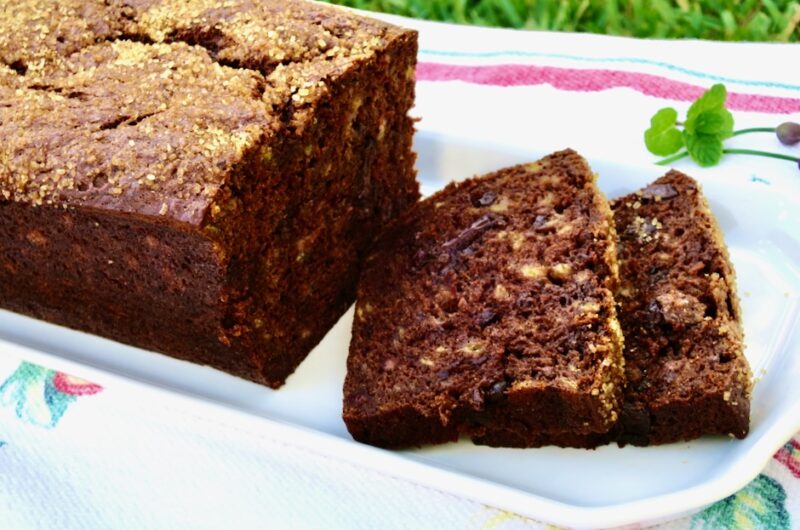
This loaf has an ultra-delicious banana flavor thanks to the two cups of mashed bananas in the recipe.
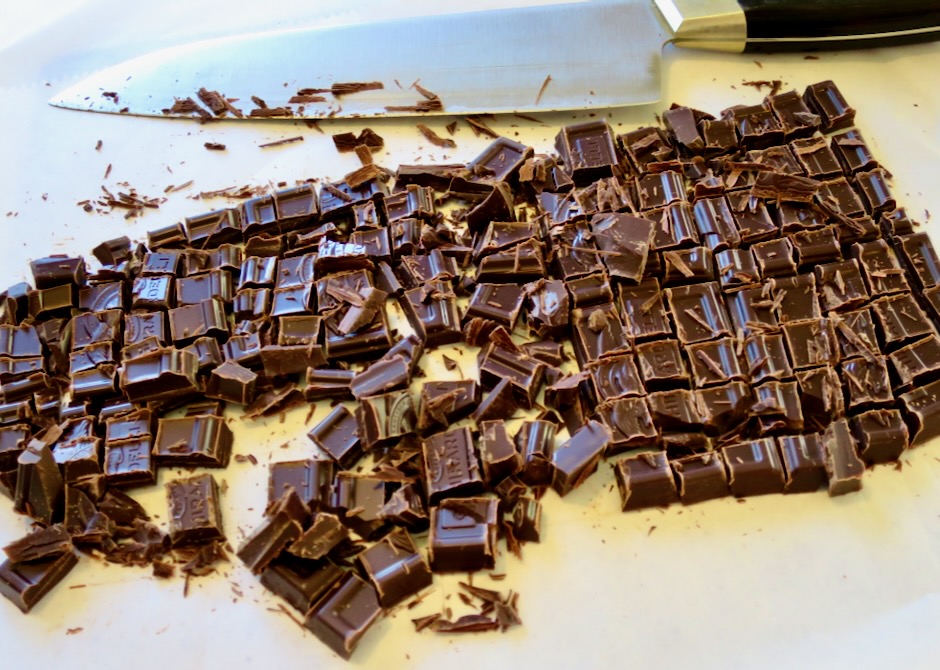
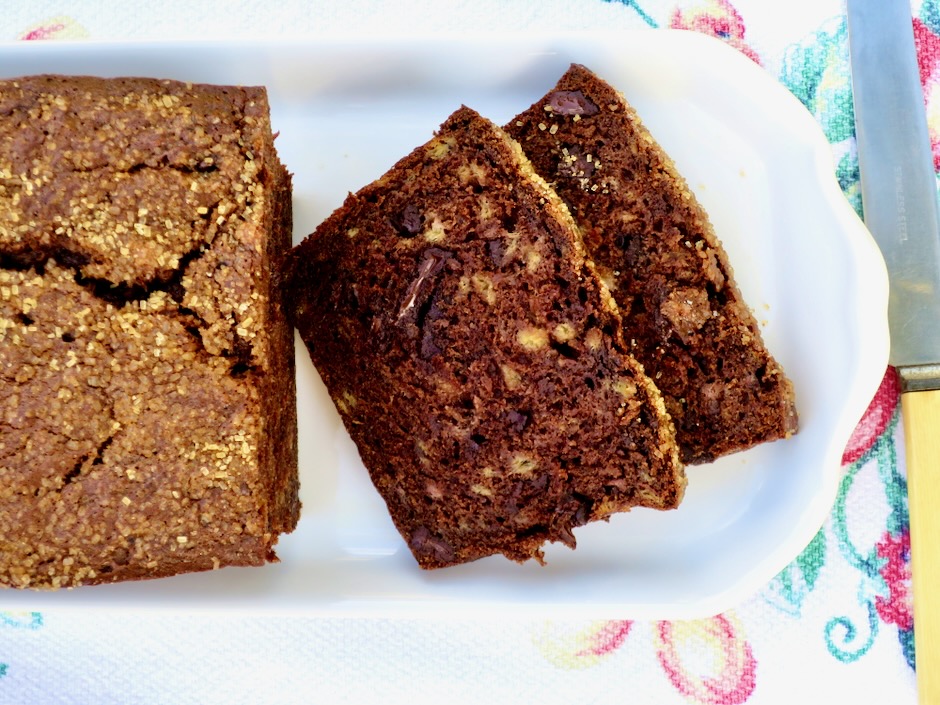
Chopped chocolate transforms this banana bread into something sublime with its melty little pockets of chocolate.
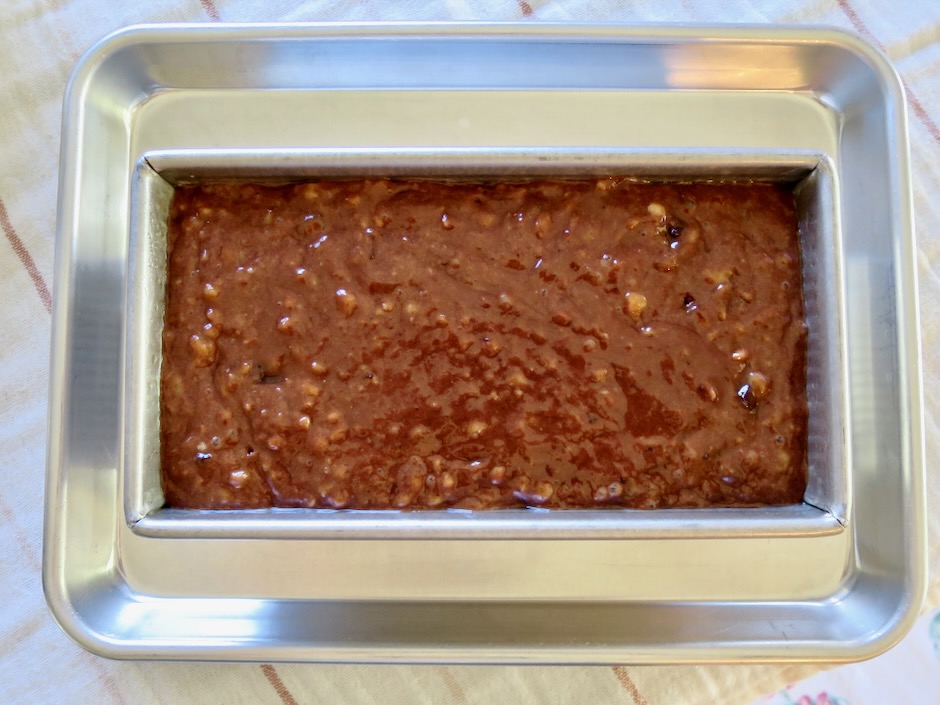
There is a lot of batter for just one loaf pan. I was a bit worried when I peeked through the oven door and saw the batter had risen well over the top rim of the pan. It did not overflow but it was comforting to know there was a baking sheet under the pan just in case. The bread did relax a bit as it baked which was a big relief.
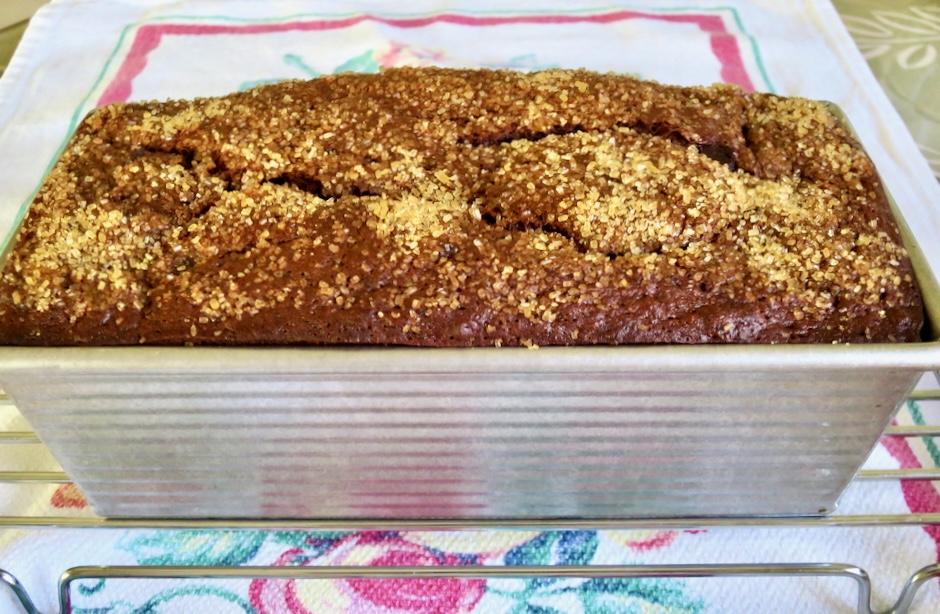
The cake emerges from the oven with the scent of bananas and chocolate and with a splendid crackly sugar topping. The chocolate makes this loaf extra fancy and decadent. It’s the perfect sweet snack for any occasion.
Double Chocolate Banana Bread
Course: Recipes10
servingsAdapted from America’s Test Kitchen
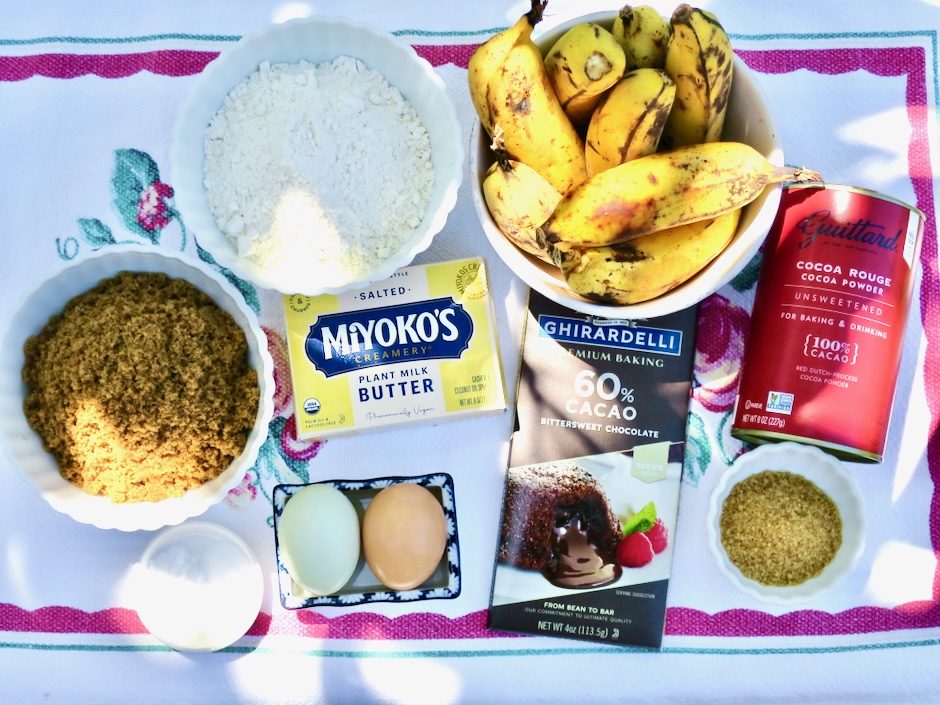
Ingredients
1 1/4 cups (6 1/4 ounces/177g) all-purpose flour
1/4 cup (3/4 ounce/21g) Dutch-processed cocoa powder
1 1/4 teaspoons baking soda
3/4 teaspoon table salt
2 cups mashed very ripe bananas (about 7 Apple bananas or 4 large bananas)
1 cup packed (7 ounces/198g) dark brown sugar
10 tablespoons Miyoko’s vegan butter or regular unsalted butter
2 large eggs
1 bar (4 ounces/113g) bittersweet chocolate, chopped
2 tablespoons Demerara sugar (recommended for a gorgeous crackly topping) or granulated sugar
Directions
- Adjust oven rack to middle position and heat oven to 350 degrees. Spray an 8 1/2 by 4 1/2-inch loaf pan with vegetable oil spray. You may also use a 9×5-inch loaf pan.
- Whisk flour, cocoa, baking soda, and salt together in a bowl. Whisk bananas, brown sugar, melted butter, and eggs in a large bowl until thoroughly combined. Add flour mixture to banana mixture and whisk gently until just combined (batter will be lumpy). Fold in chopped chocolate.
- Place prepared pan on a small rimmed baking sheet. Transfer batter to prepared pan. Bake for 8 minutes then sprinkle demerara or granulated sugar over the top. (You may sprinkle the sugar over the batter before baking but I found that it can be absorbed by the wet batter and will not be as noticeable once the loaf has baked, especially when using granulated sugar). Bake until a toothpick inserted in the center comes out clean, about 60 minutes longer (total baking time is approximately 70 minutes).
- Let bread cool in pan on a wire rack for 30 minutes. Tilt pan and gently remove the bread. Let bread continue to cool on the wire rack for at least 30 minutes longer. Serve warm or at room temperature.
Notes
- This is a big loaf. The cake will rise well over the top rim of the loaf pan while baking. I followed the directions and placed a rimmed baking sheet under the loaf pan just in case, however, the bread did not overflow. If you don’t have an 8 1/2 x 4 1/2-inch pan use a 9×5-inch pan.
- You may freeze the bread for a couple of months. Slice and serve at room temperature.