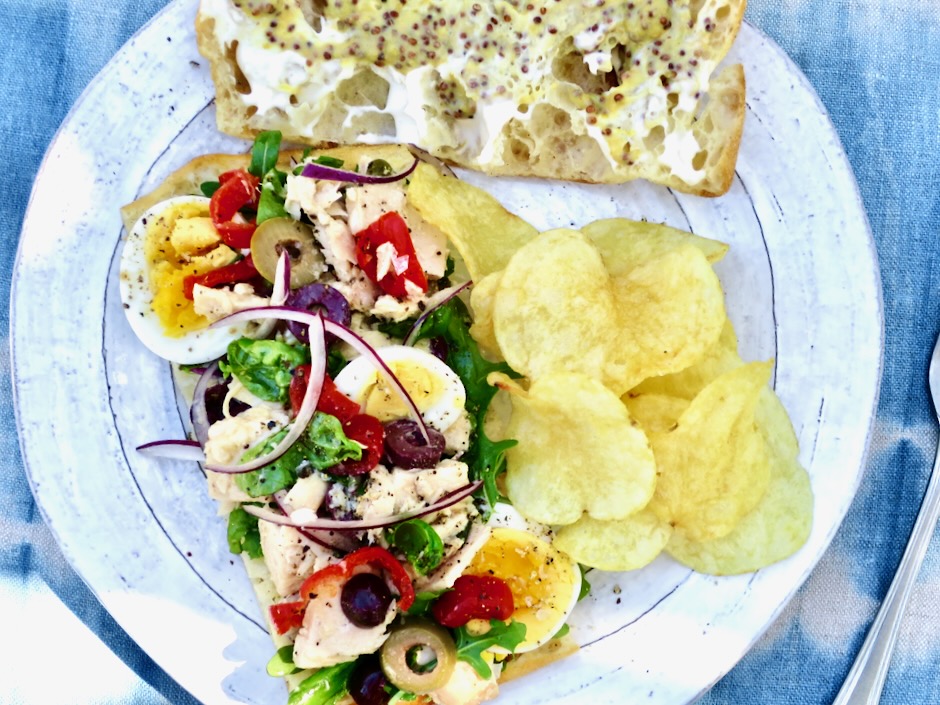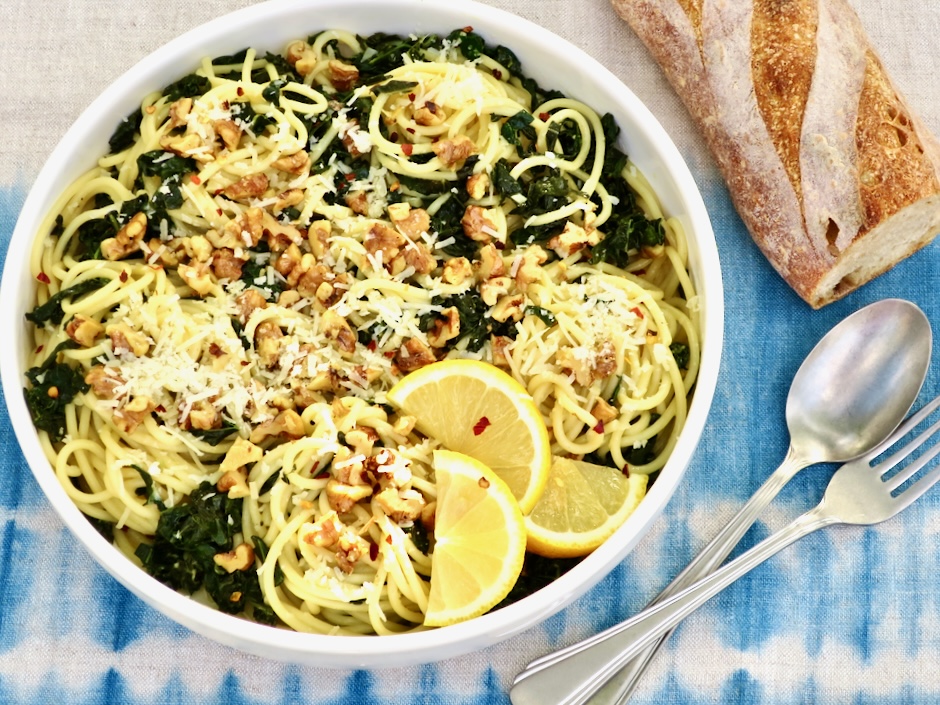
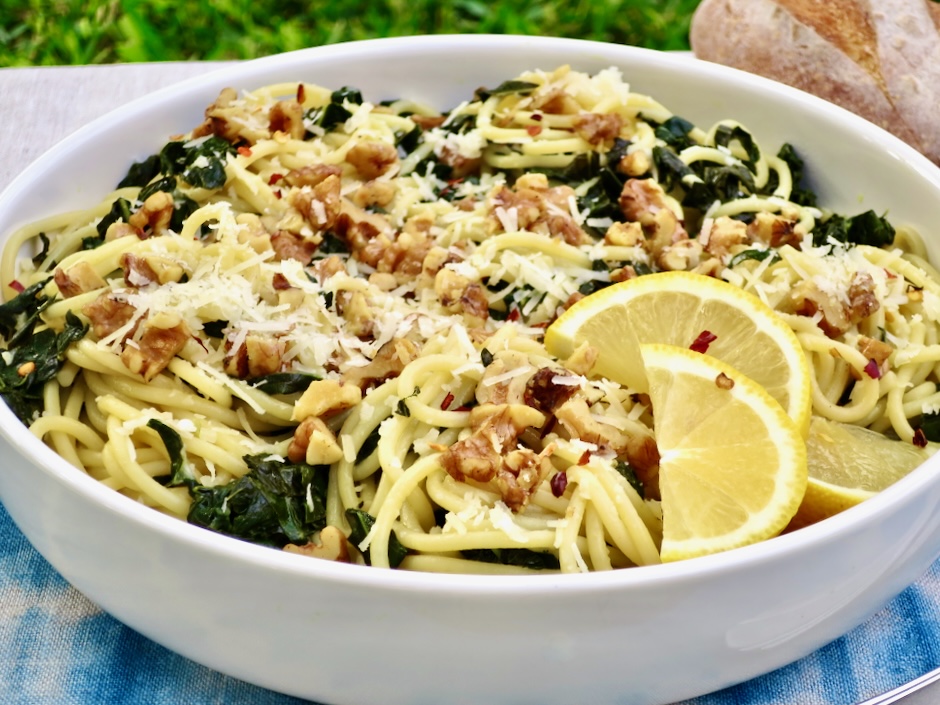
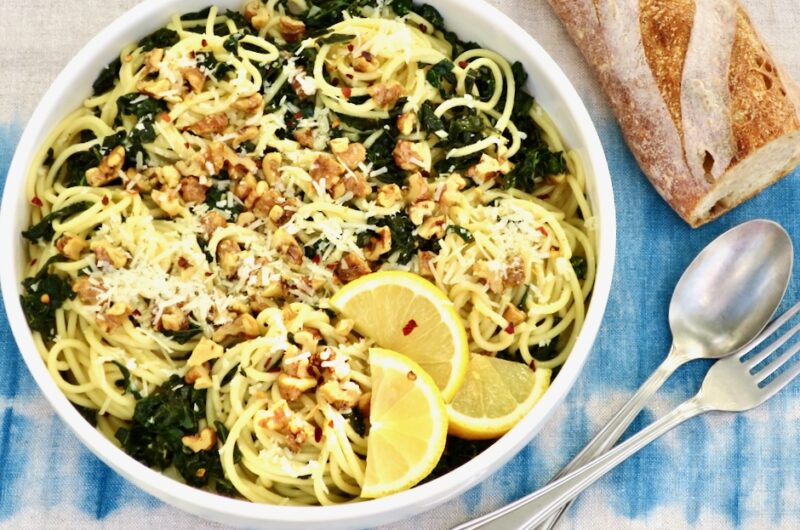
Garlicky kale with toasted walnuts and salty, robust pecorino interlaced between strands of spaghetti is irresistible. So gather up a few ingredients and make this delicious, healthy pasta dinner. It’s a beautiful dish to serve to guests with thick slices of good sourdough bread.
You won’t need to drive around all morning looking for special ingredients. This inexpensive, tasty, and healthy pasta dish is a one-stop shop kind of meal.
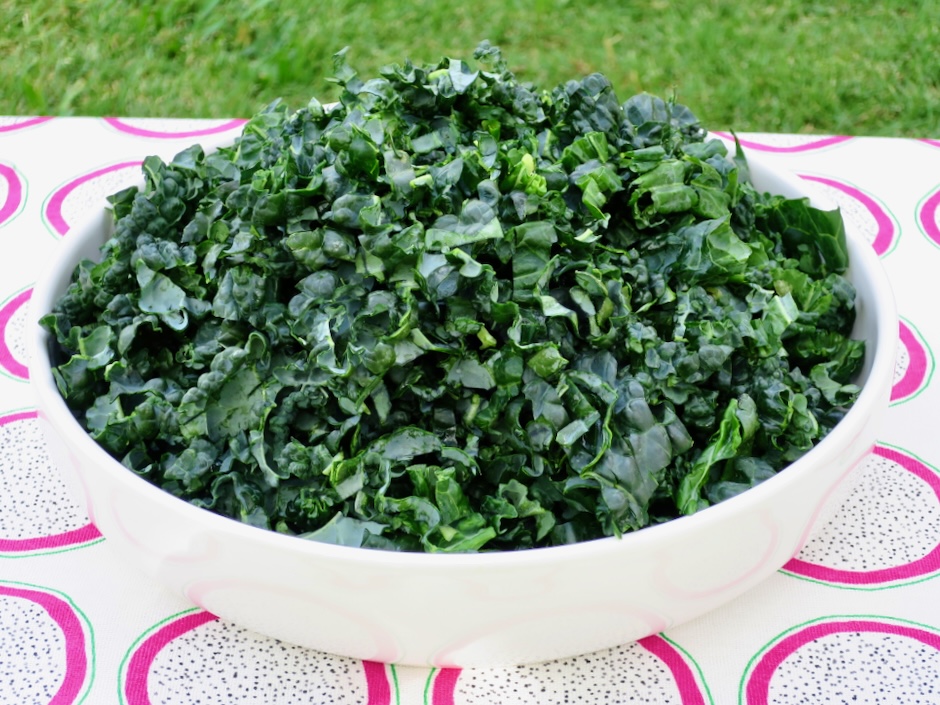
Tuscan kale is preferred for this recipe but you could certainly use curly kale in its place. I love the dark blue-green leaves of Tuscan kale.
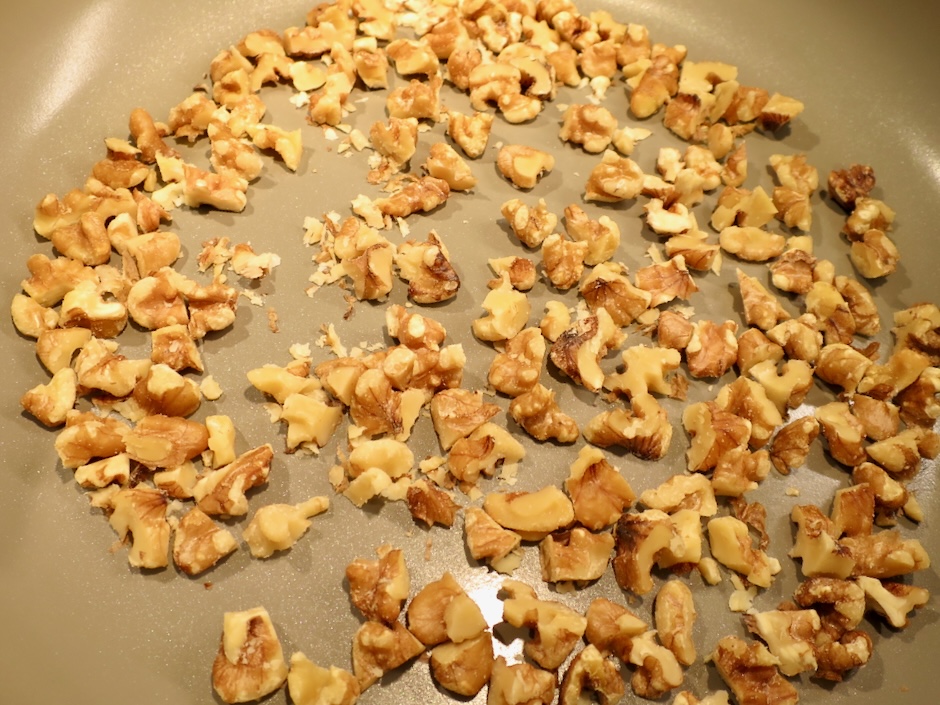
Smell and taste your walnuts before toasting to ensure they are fresh and not rancid. Eating a rancid nut is very unpleasant!
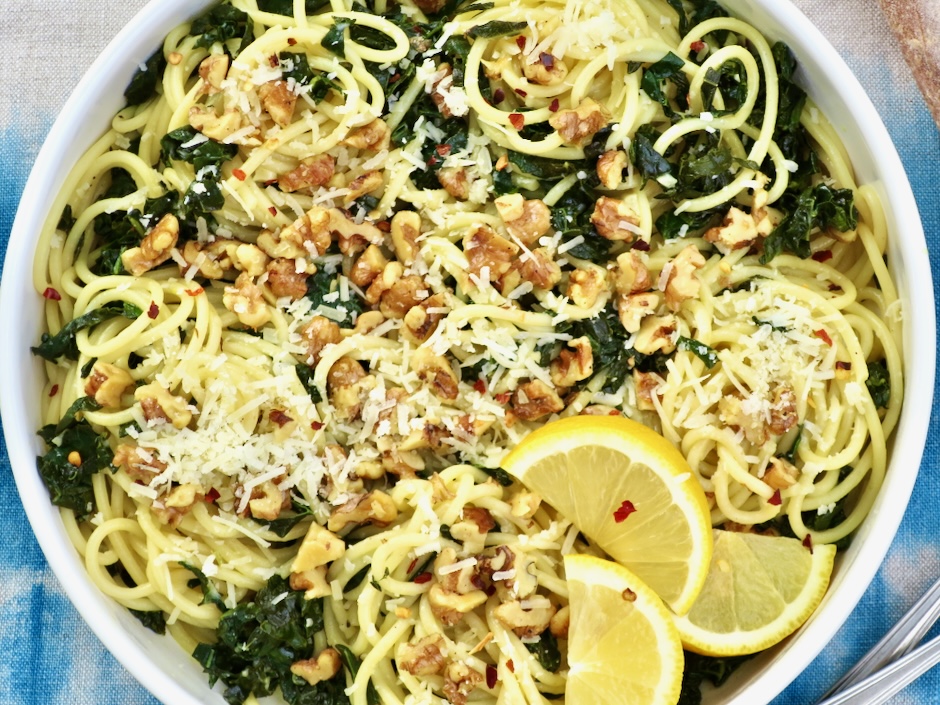
Whether you are a vegetarian or not, this pasta dish is a winner. I especially love the crunchy well-seasoned walnuts. Make sure to add them just before serving so they keep their crispy texture.
Kale and Walnut Pasta
4
servingsAdapted from NYT Cooking
Ingredients
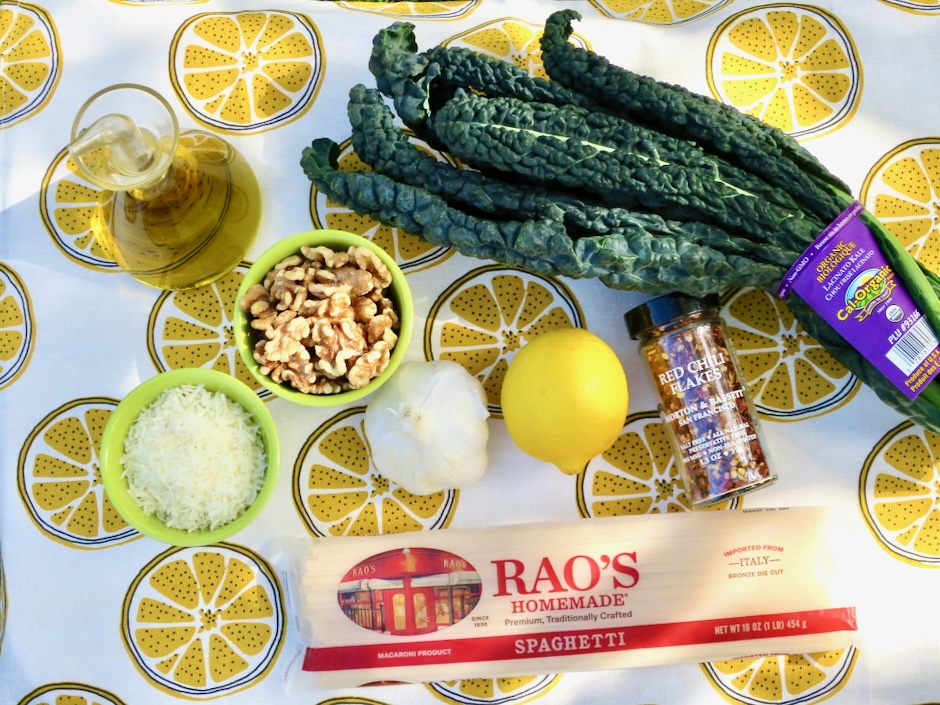
1/2 cup (2 ounces) walnuts, chopped into bite-size pieces
4 1/2 tablespoons extra virgin olive oil, divided + more as needed
Kosher salt (such as Diamond Crystal) and black pepper
3 large garlic cloves, chopped
1/4 teaspoon (or to taste) red pepper flakes
10-12 ounces Tuscan kale, ribs removed, chiffonade leaves into thin ribbons (you want to have at least 7 ounces)
8 ounces spaghetti
1/2 large lemon, cut in half
1/4 cup + 2 tablespoons finely grated pecorino or a combination of pecorino and parmesan
Directions
- Place walnuts in a large pan (12-inch or 10-inch with 2 1/2-inch sides) with a lid, and turn the heat up to medium. Toast the walnuts, stirring occasionally, until just fragrant, about 3 minutes, taking care not to burn them. Add 1/2 tablespoon of the olive oil, season with salt and pepper, give a stir for 1 minute and transfer to a small bowl. Wipe out the pan to make sure there aren’t any walnut pieces remaining.
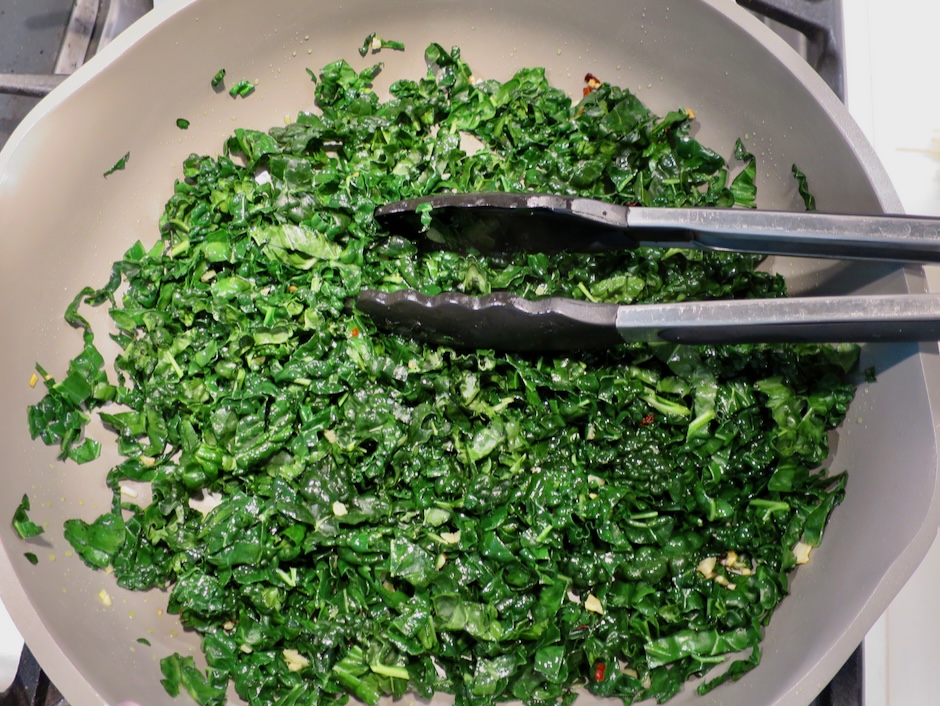
- Bring a large pot of well-salted water to a boil for the pasta. While the pasta water is heating, add 2 tablespoons olive oil and the garlic to the clean (12-inch) pan and cook over low, stirring occasionally, until fragrant, about 2 minutes. Add the red pepper flakes, stir and cook until fragrant, about 30 seconds. Increase heat to medium, add the kale to the pan in batches, using tongs to turn and wilt the kale in the garlicky oil, and season with salt and pepper.
- Once all the kale is in the pan, reduce the heat to medium-low and cover. Add the spaghetti to the pot of water at this point and cook until al dente, according to package directions. As the spaghetti cooks, add a couple of ladles (about 1/2 cup) of the starchy pasta water to the kale to help it wilt down.
- Squeeze 1 piece of the lemon over the kale and toss. Taste the kale and add more lemon juice and salt and pepper to taste. Keep in mind you will be adding salty pecorino or parmesan to the pasta.
- Once the pasta is cooked, set the pot next to the pan and use tongs to transfer the spaghetti to the kale. Ladle in more of the starchy water (about 1/2 cup) add 1-2 tablespoons reserved olive oil, toss well until the pasta is glossy and silky. Add half of the walnuts and 1/4 cup of the grated cheese tossing to combine. Drizzle with a little more olive oil and another squeeze of lemon to taste. Remove from the heat and transfer pasta to a large, low-sided serving bowl. Shower with 2 tablespoons reserved cheese, top with the remaining walnuts and serve.
Notes
- You may increase the pasta to 10 ounces for larger serving portions. If you have leftovers, keep in mind the walnuts will lose their crunchy texture but will still be delicious.