Browsing Category

French

Cookies, Dessert, French, Lactose Free, Recipes

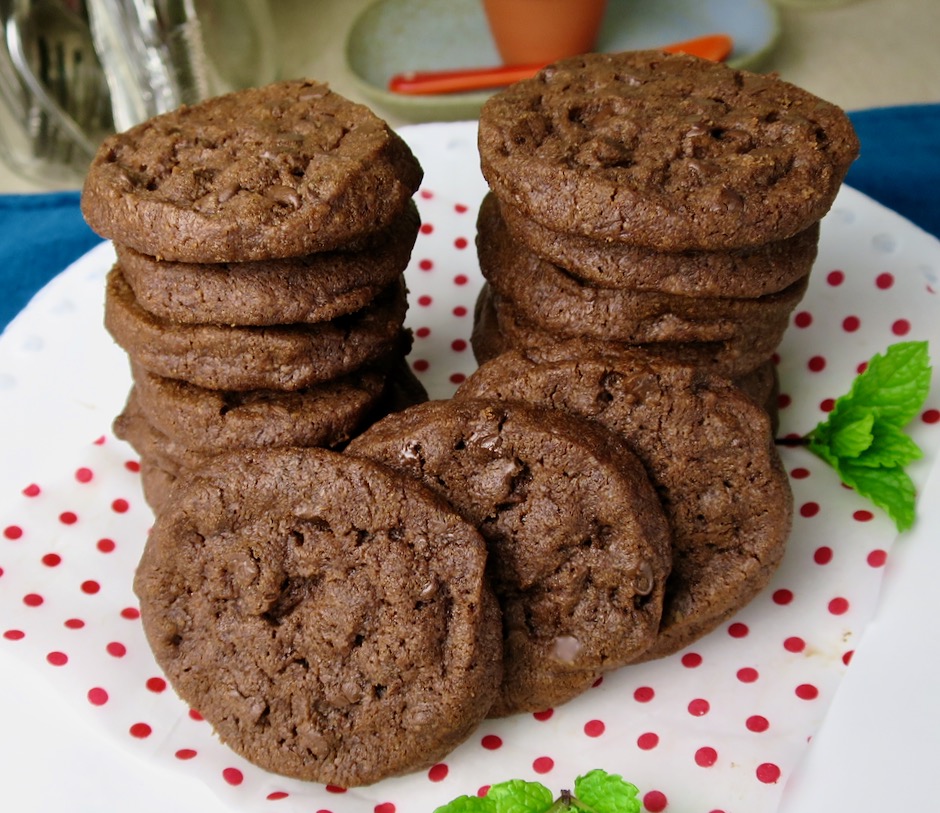
World Peace Cookies

April 18, 2020

World Peace Cookies

Dorie Greenspan, the James Beard award-winning cookbook author never lets us down. Her pastry recipes are world renown and for good reason.  Ms. Greenspan mentions on her web site that she burned her parent’s kitchen down when she was 12 (oops) and didn’t cook again until she got married.  By then, she had given up working on her doctorate in gerontology and started baking cookies in a restaurant basement.  I suppose that’s where it all started.

World Peace Cookies Recipe

The original recipe was given to Dorie by her friend Pierre Hermé who was named the world’s best pastry chef in 2016.  At that time, the cookies were known as Sablés Chocolats (chocolate shortbread).  But according to Dorie, one day her neighbor gave the cookies the name they truly deserve: World Peace Cookies. Her neighbor was convinced that if everyone in the world could taste these cookies, there would be world peace.  Though it may not have brought peace to the world, it has made many of us very happy.

World Peace Cookies Dough

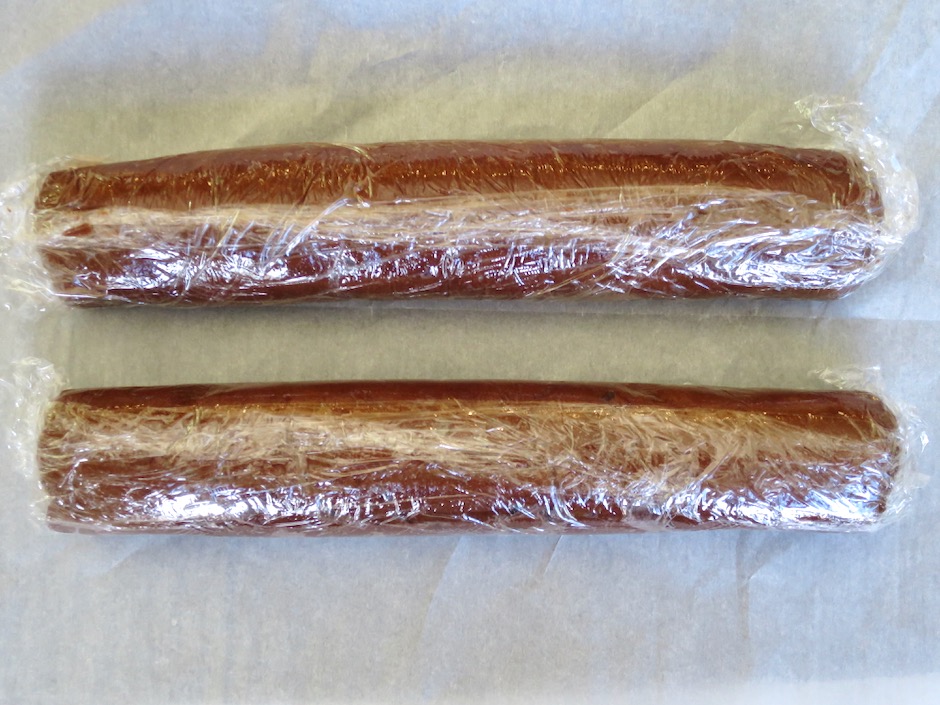
These cookies are very easy to make. Just allow enough time to chill the dough thoroughly before baking the cookies.  The dough is divided into two even logs and chilled for 2 hours or so before they are sliced and baked.  I made these lactose free using Earth Balance Buttery Sticks but go ahead and use regular unsalted butter as the original recipe calls for.

World Peace Cookies

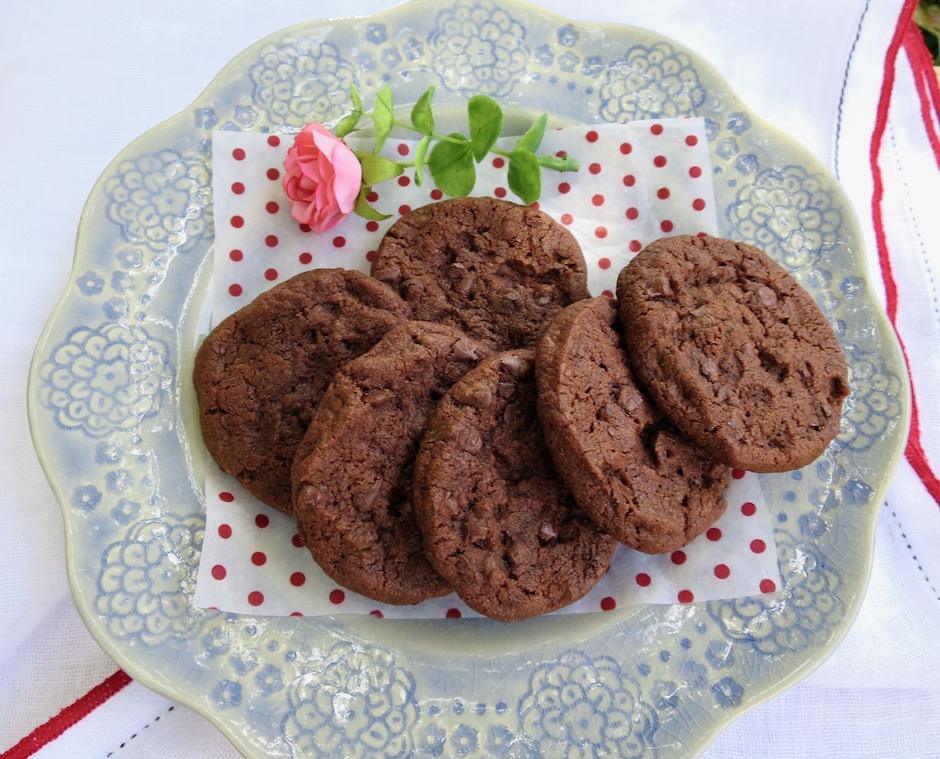
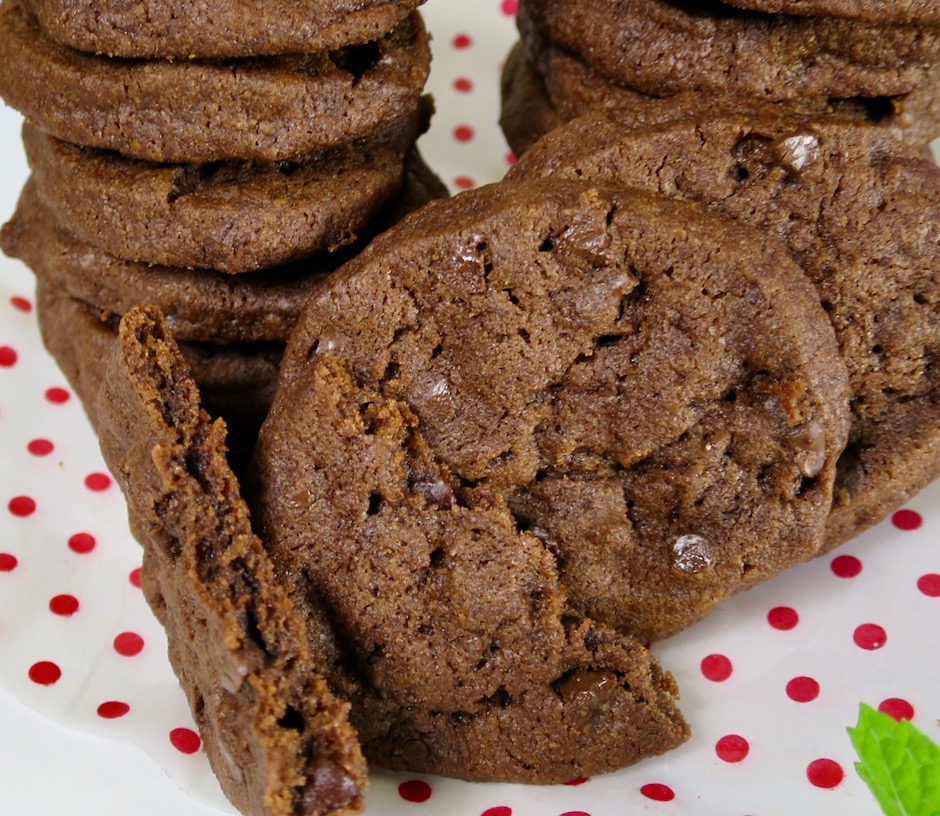
If you love chocolate, you will find these cookies irresistible.

World Peace Cookies

World Peace Cookies
 
Adapted from Dorie Greenspan's World Peace Cookies Recipe
Author:
Serves: 36-40 cookies
Ingredients
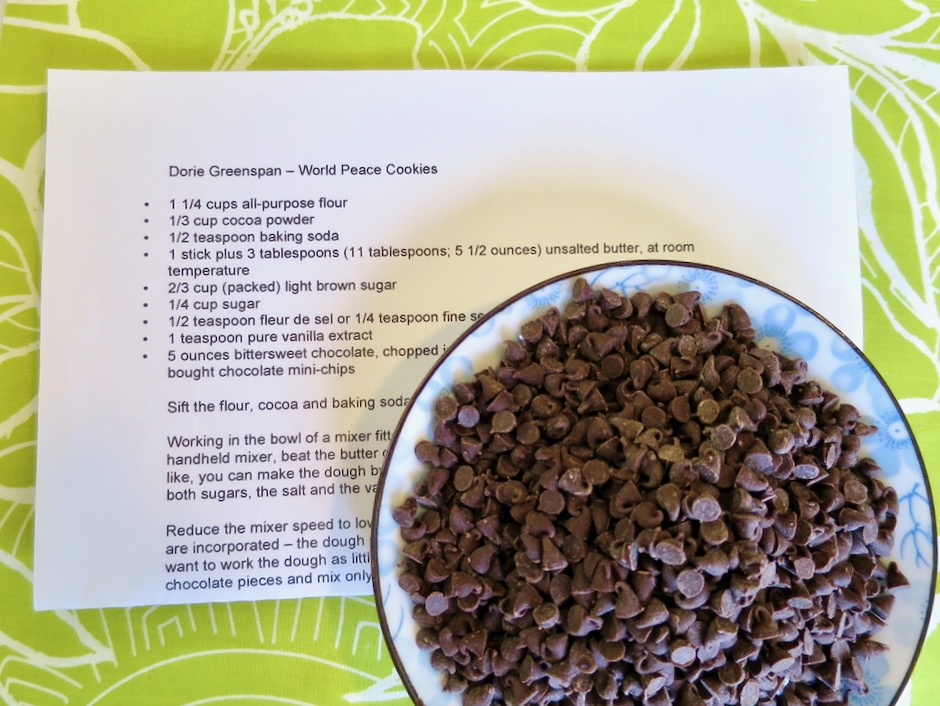
  • 1¼ cups (170 grams) all-purpose flour
  • ⅓ cup (28 grams) unsweetened cocoa powder
  • ½ teaspoon baking soda
  • 1 stick + 3 tablepoons (5½ ounces;155 grams) Buttery Sticks, at room temperature (or regular unsalted butter)
  • ⅔ cup (134 grams) packed light brown sugar
  • ¼ cup (50 grams) granulated sugar
  • ¼ teaspoon fleur de sel (or ½ teaspoon if using unsalted butter, or ¼ teaspoon fine sea salt)
  • 1 teaspoon pure vanilla extract
  • 5 ounces (142 grams) mini chocolate chips or bittersweet chocolate, chopped into chip-size bits
Preparation
  1. Sift flour, cocoa and baking soda together in a small bowl.
  2. In a large bowl with a handheld mixer, beat the Buttery Sticks on medium speed until soft and creamy. (You may also use a stand mixer fitted with the paddle attachment, or mix by hand using a firm spatula or wooden spoon). Add both sugars, the salt and vanilla extract and beat for 2 minutes.
  3. Reduce the mixer speed to low and add the sifted dry ingredients, mixing only until they are incorporated. The dough may look a bit crumbly but it will be fine. You may also use a firm spatula. Work the dough as little as possible once the flour is added. Toss in the chocolate pieces and mix only to incorporate.
  4. Turn the dough out onto a smooth work surface, divide in half and shape each piece into a log that is 1½-inches in diameter and about 9-inches long. Wrap the logs in plastic wrap and chill for at least 2 hours, or up to 3 days.
  5. Center a rack in the middle of the oven and preheat to 325 degrees. Have 2 parchment-lined baking sheets at hand.
  6. Working with a sharp thin-bladed knife, slice rounds that are ½-inch thick. The dough tends to crack as you get down to the bottom of each slice but don't be concerned, just squeeze the bits back onto the cookie. Arrange rounds on baking sheets leaving about 1 inch of space between each cookie. Bake one sheet at a time, for 12 minutes. They may not look done nor will they be firm, but that's just how they should be. Transfer baking sheet to a cooling rack and let the cookies rest until just warm, at which time you can serve them or let them reach room temperature.
  7. Repeat with the second sheet of cookies.
  8. The dough can also be frozen. There is no need to defrost the dough before baking. Let it warm just enough so that you can slice the rounds. Bake the cookies 1 minute longer. Baked cookies can be frozen for up to 2 months.



Dinner, Duck, French, Lactose Free, Recipes, Sous Vide

Sous Vide Duck Confit

October 6, 2019

Sous Vide Duck Confit

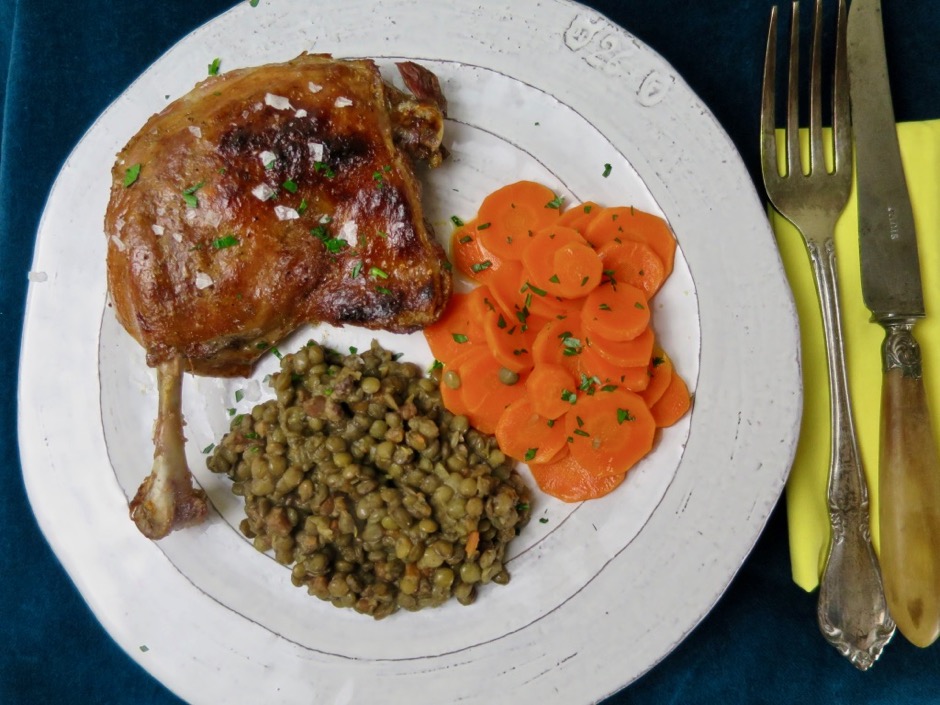
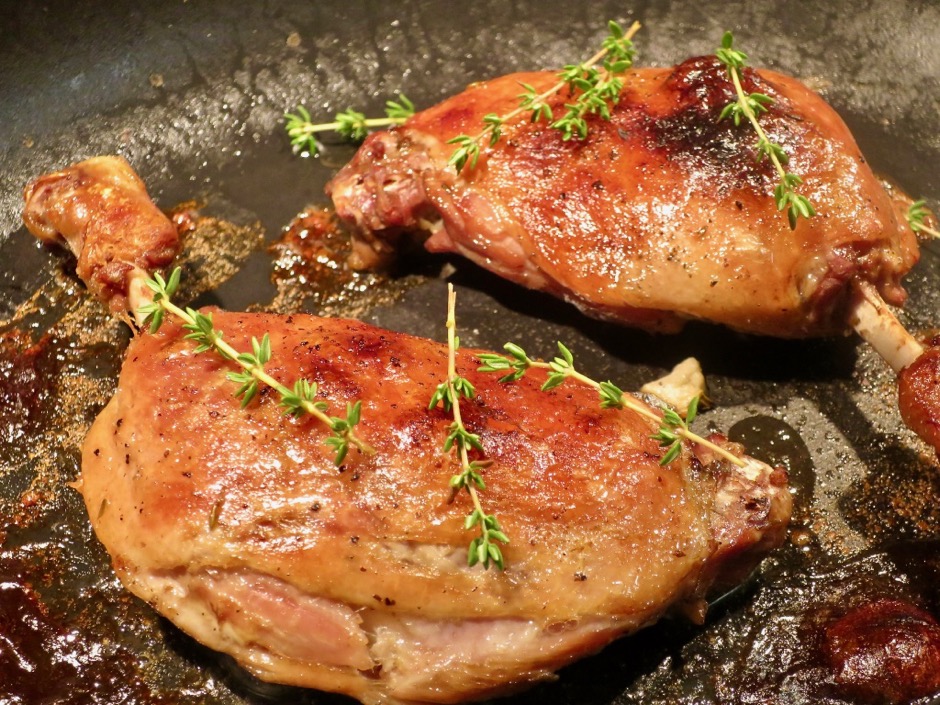
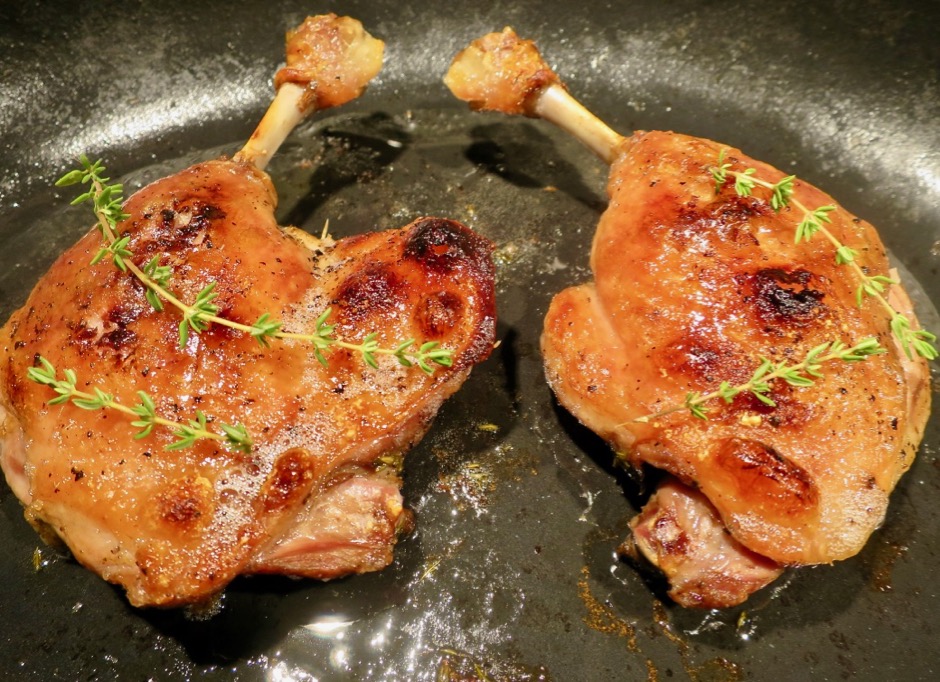
Without a doubt, my favorite classic French dish is duck leg confit. I’ve had this dish every year at Fringale, a small French bistro in San Francisco. It is the one meal I always look forward to each time we are there.  Duck confit is one of those dishes that takes a lot of patience because of the lengthy process of preparing it.  The duck is salt cured and then cooked slowly in lots of duck fat.  The problem of doing this the traditional way, is that you need quite a bit of duck fat as the duck legs need to be submerged in it, then slowly cooked for several hours.  Sous vide duck confit on the other hand allows the home cook to replicate this dish without requiring all that duck fat.  The duck legs are cooked in a sealed bag that holds the small amount of fat that renders from the duck legs, reproducing the submerged effect of the classic method. The first time we made it I thought the 36 hour cooking time would never end.  But it did, and the outcome was fantastic.  When you sous vide meat the first thing you’ll notice is that it looks quite drab.  There’s no browning (yet) but the meat is cooked to perfection.  In this recipe the duck is finished for 7-8 minutes under the broiler until the skin is gloriously browned and crisp.

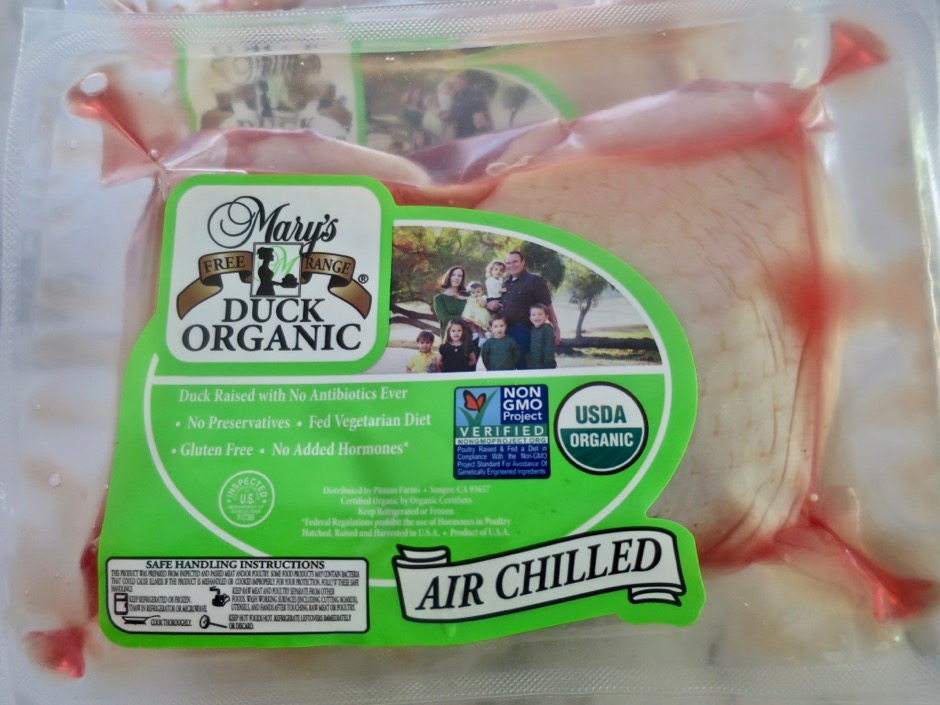
Mary's Organic Duck Legs

Fortunately we can find good duck legs at our local Whole Foods market.  We buy 3 packs of two legs each and sous vide them all at once then vacuum seal and freeze the ones we don’t eat right away.

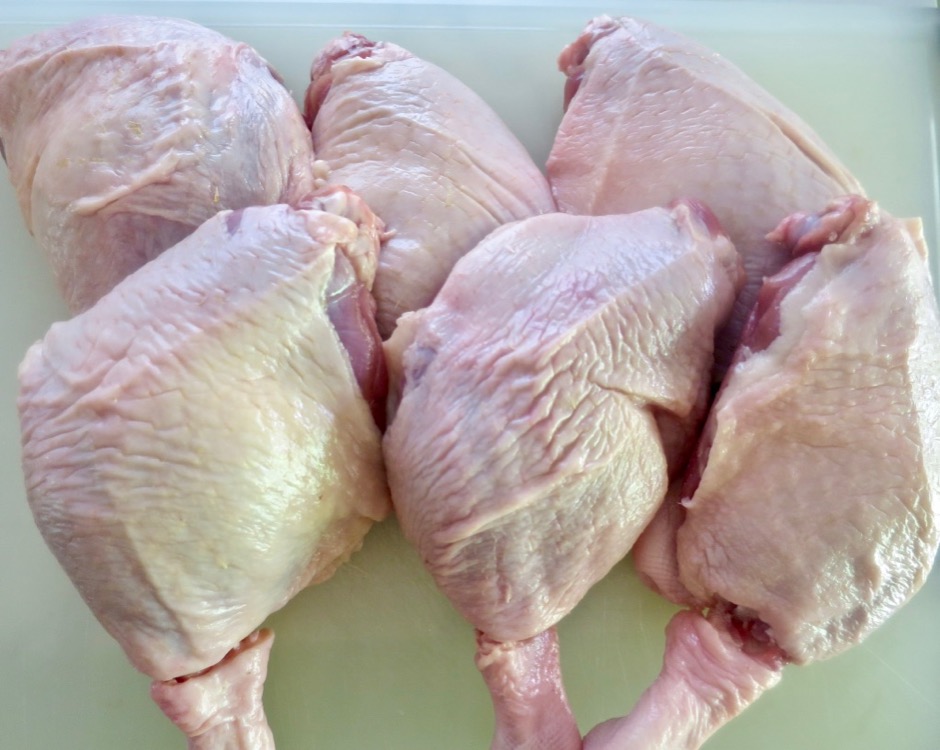
Mary's Organic Duck Legs

Frenching the duck legs (cutting away the meat from the bone) makes for an elegant presentation.  I also trimmed off some of the thick, excess fat from the duck.

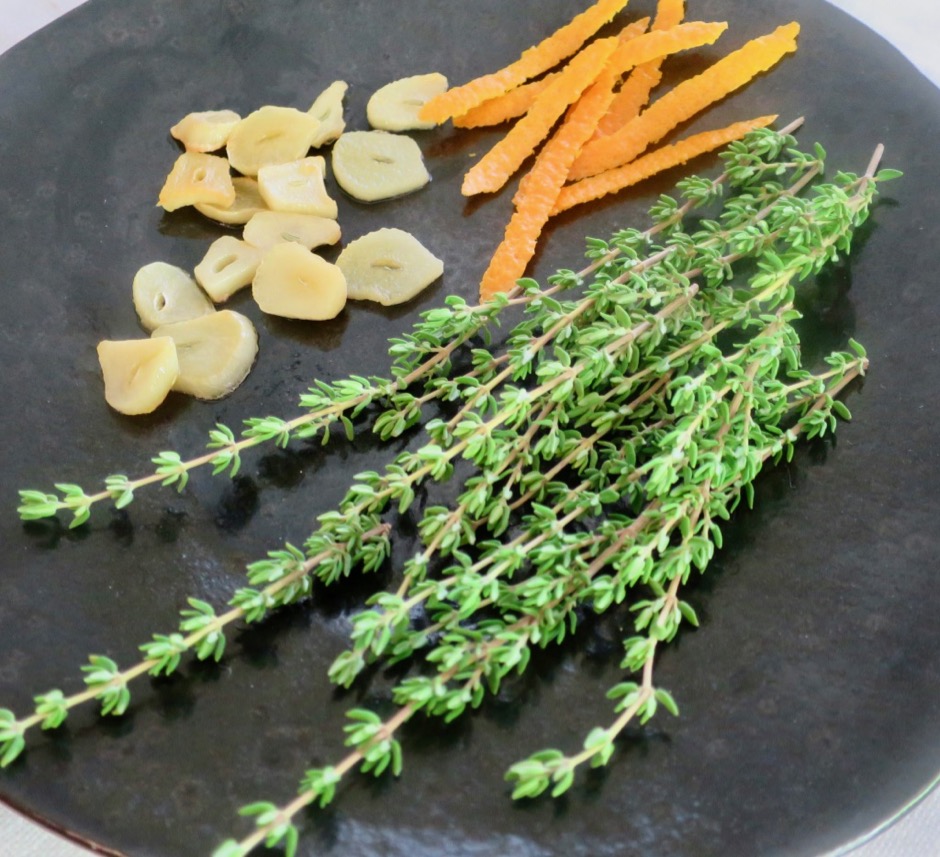
Fresh Thyme, Garlic & Orange Peel

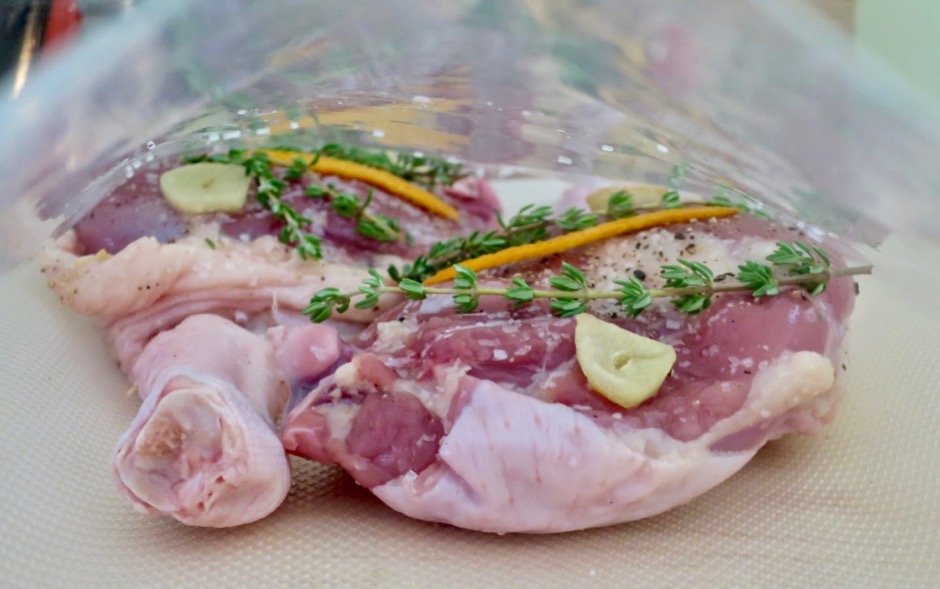
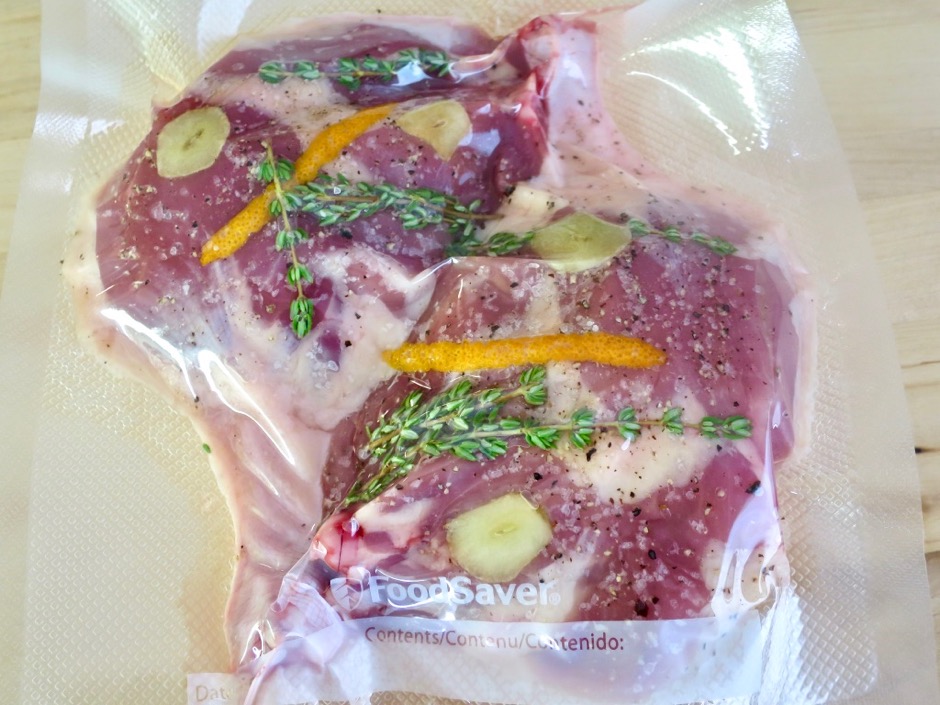
The duck legs are generously salted then sealed in an airtight bag with thyme, garlic and orange peel (optional) and torn bay leaves if you prefer.  There is some discussion as to whether or not using raw garlic at low cooking temperatures is safe. To err on the side of caution, I slice the garlic and gently pan-fry each piece before they go into the sous vide bag with the duck legs.  Alternatively, you can substitute dried minced garlic.

Mary's Organic Duck Legs

Mary's Organic Duck Legs

Joule Sous Vide

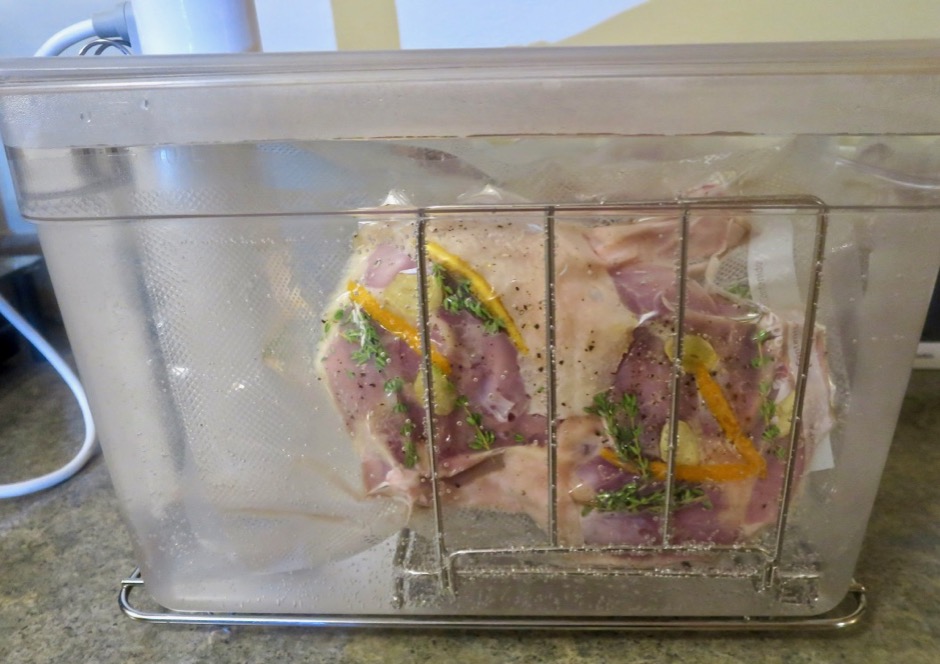
Let the 36 hour timer begin!  Our favorite sous vide device is the ChefSteps Joule.  You may have seen some very large and heavy sous vide machines at various stores.  The Joule is small, light weight and controlled through their app on your phone.

Sous Vide Duck Legs

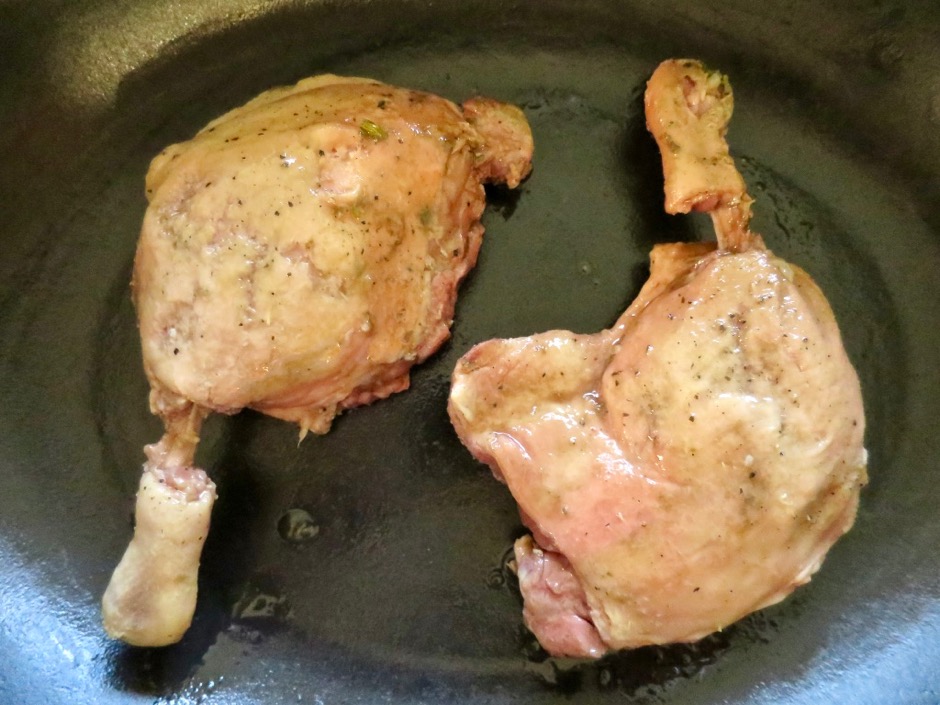
Once the duck leg’s 36 hour sous vide time is up, they are gently wiped clean of any herbs and excess duck fat.  You can clearly see that the duck legs are pale and not very attractive at this point. But they are perfectly cooked and fall off the bone tender.

Sous Vide Duck Confit

The duck legs are placed in a roasting pan (we use a higher sided pan as the duck can splatter a bit) and one that is safe to use under the broiler.  We use a heavy enameled cast iron pan.

Sous Vide Duck Confit

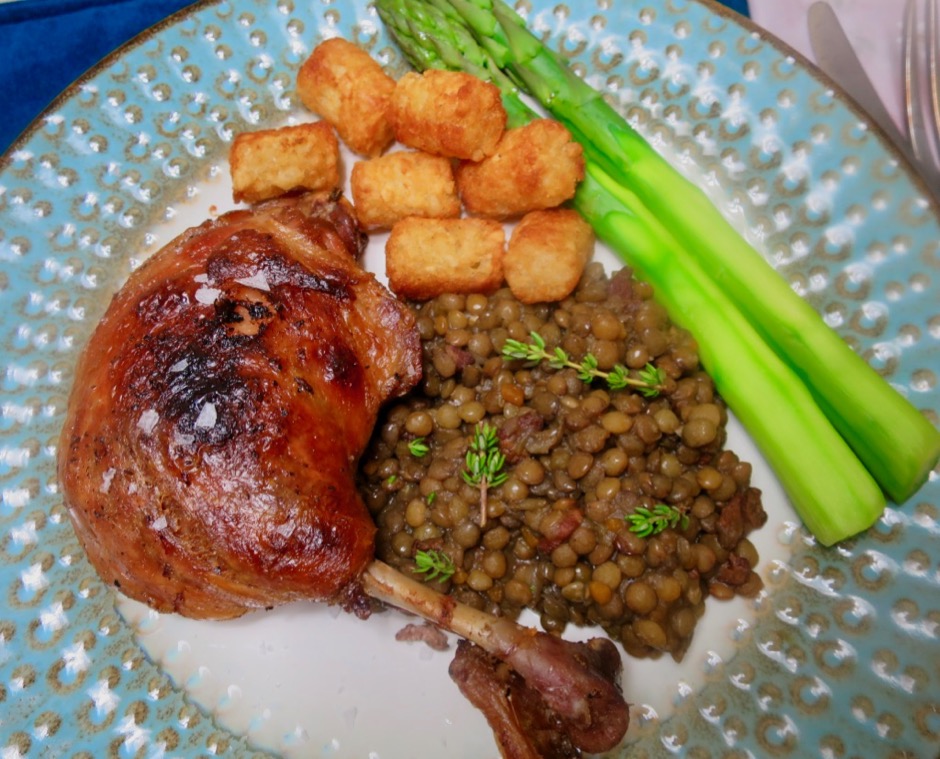
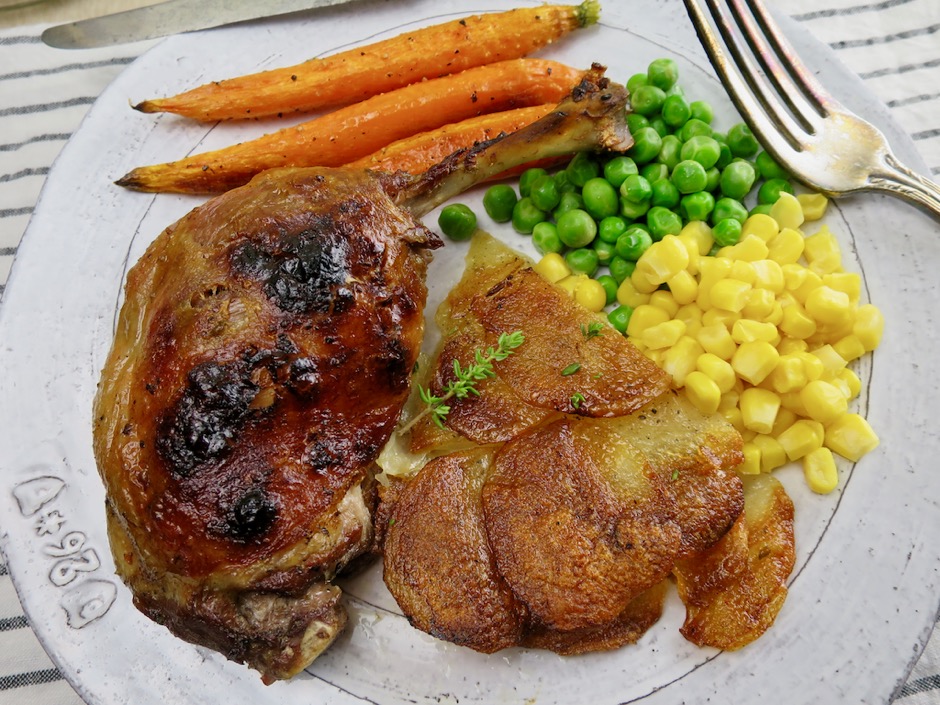
I like to serve this with braised lentils though sometimes you need a quick fix which means any type of potato (even tater tots are welcome) will be just fine. Sometimes you get both.

Sous Vide Duck Confit

Sous Vide Duck Confit

Sous Vide Duck Confit
 
Adapted from Serious Eats & ChefSteps
Author:
Serves: 6
Ingredients
  • Special equipment: Sous vide immersion circulator, vacuum sealer and bags (or Ziploc freezer bags), large pot or dedicated sous vide container with lid (to prevent excessive evaporation)
  • 6 fresh duck legs, trimmed of excess fat
  • kosher salt
  • freshly ground black pepper
  • 2 garlic cloves sliced thin, pan-fried on low heat
  • fresh thyme sprigs
  • slivers of orange peel (optional)
  • 2 bay leaves, torn (optional)
Preparation
  1. Heat water to 155 degrees
  2. Generously salt both sides of the duck legs. Grind fresh pepper over each side (to taste).
  3. Place thyme sprigs, garlic, and orange peel and bay leaf (if using) on meaty side of the duck legs. Place 2 duck legs in each vacuum bag and seal according to vacuum sealer manufacturers instructions (or use 3 separate Ziploc freezer bags using water displacement technique to remove air).
  4. Place sealed bags in preheated water bath. If the bags float, weigh them down. Set timer for 36 hours.
  5. When finished, remove bags from water (If not eating all of the duck right away, transfer to an ice water bath to cool quickly. Then freeze for up 4 months).
  6. Remove duck legs from plastic bags and scrape away thyme, orange peel, bay leaves, excess fat and garlic. Heat broiler to high heat. Place duck legs in oven proof skillet or roasting pan and broil on the second shelf down from the top for 7-8 minutes or until the skin is nicely browned. Serve with braised lentils.


Follow

Get every new post delivered to your Inbox

Join other followers: