Browsing Category

Bread

Bread, Breakfast, Lactose Free, Recipes

Favorite English Muffins

June 16, 2019

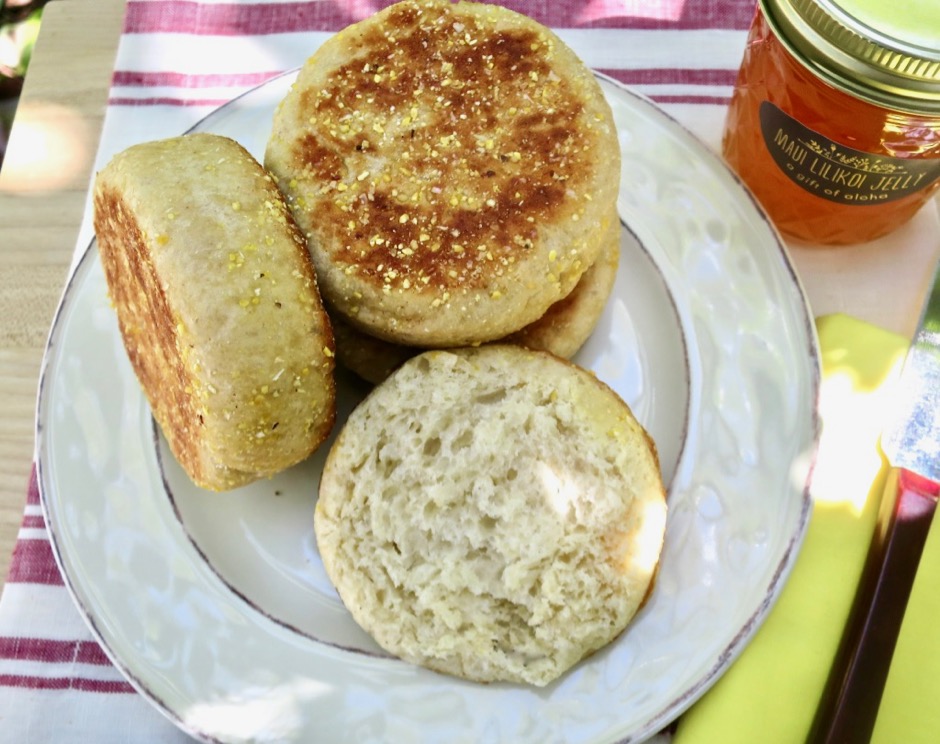
Favorite Homemade English Muffins

Homemade English muffins have been something we have wanted to make for years. Recently John came upon a recipe in Cook’s Country magazine that inspired him to give it a try.  After the first batch and a few adjustments to the recipe, we were hooked.  We always keep our freezer stocked with these beauties.  We enjoy eating them toasted with butter and jam as well as with our favorite eggs Benedict with avocado hollandaise.  The nice thing about these English muffins is that they don’t take very long to make and the finished product is far superior to any commercial product.

Favorite Homemade English Muffins - Fork-Split

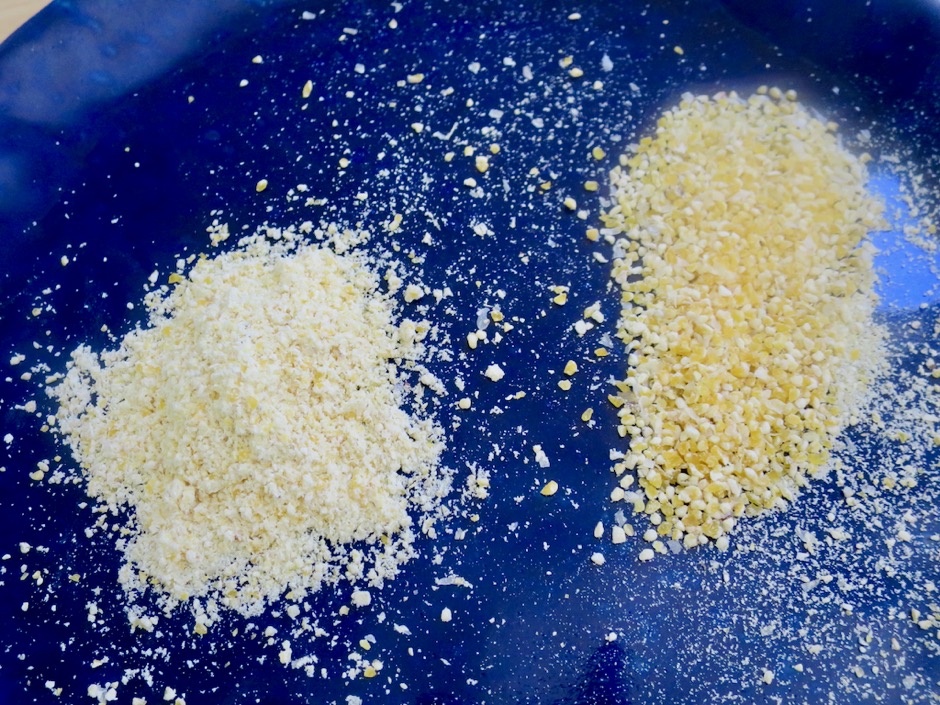
Cornmeal Sifted

If your cornmeal is on the coarse side, you may want to sift out the large, gritty pieces which can become very hard upon toasting the muffins.

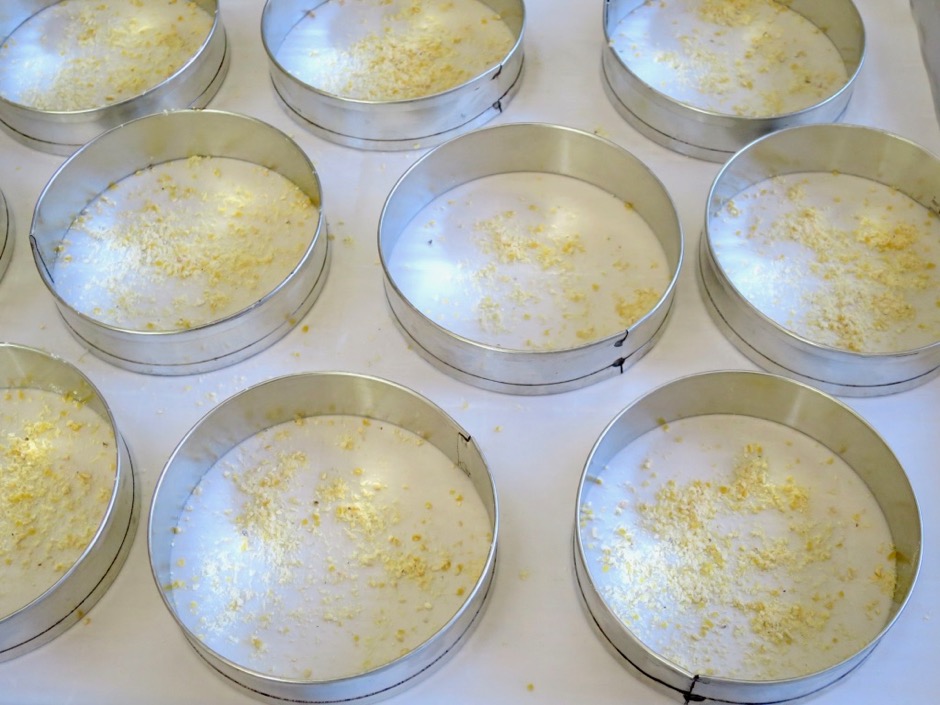
Muffin Rings with Cornmeal

Dough rings help to ensure perfectly tall, well-shaped muffins. We had purchased a dozen rings for another recipe so we were thrilled to be able to make use of them for this recipe.  Sprinkle cornmeal into each muffin ring before placing dough inside.

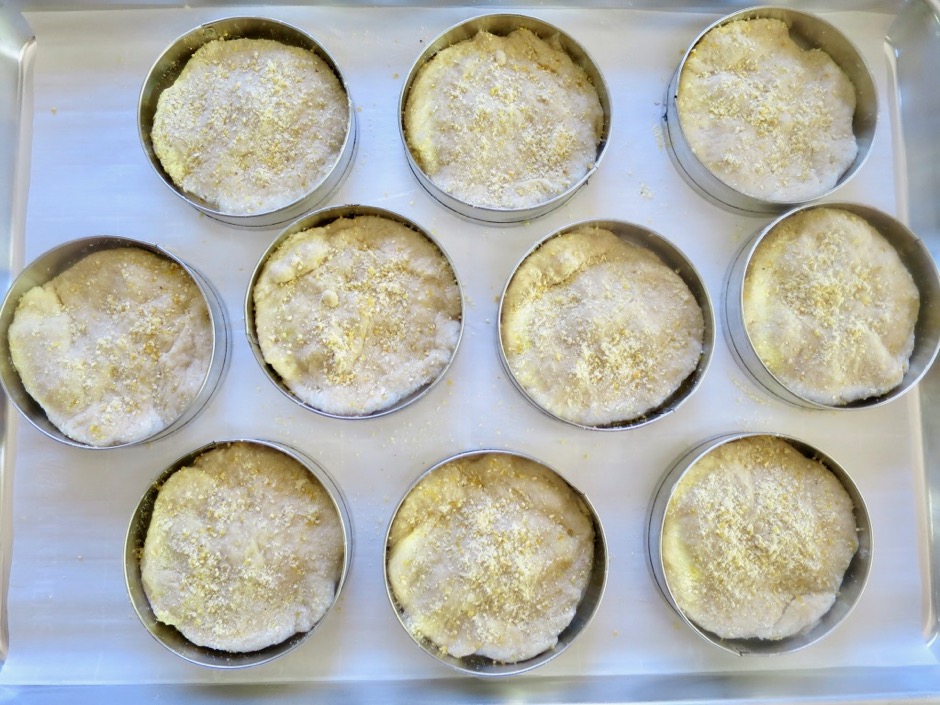
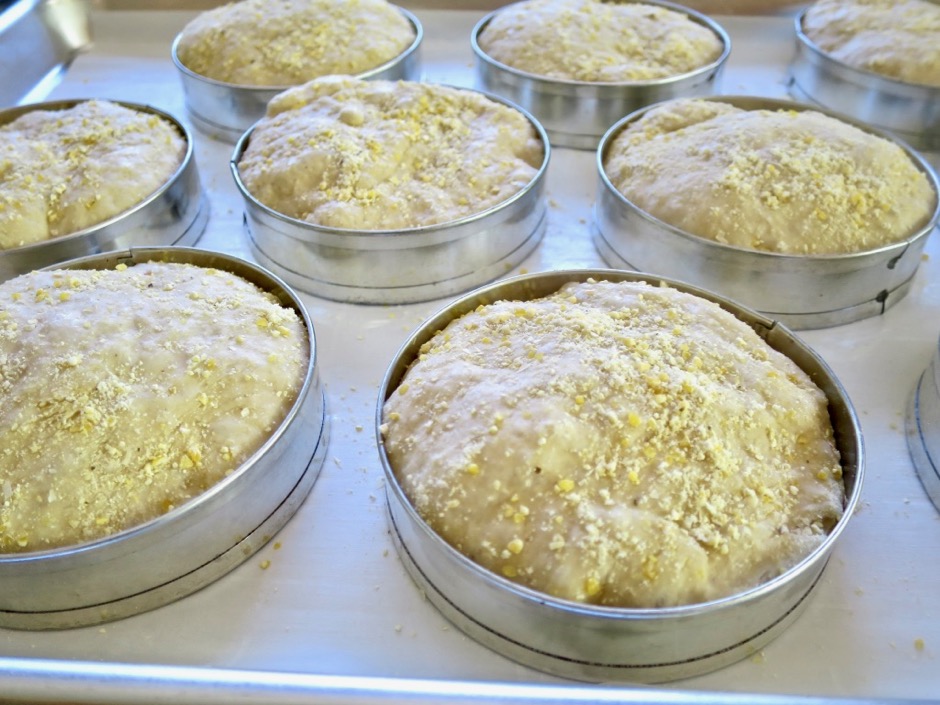
Muffin Rings Filled with Dough & Topped with Cornmeal

After the dough rounds go into the rings, sprinkle more cornmeal over the top and press lightly into the dough.

Muffin Dough Rising

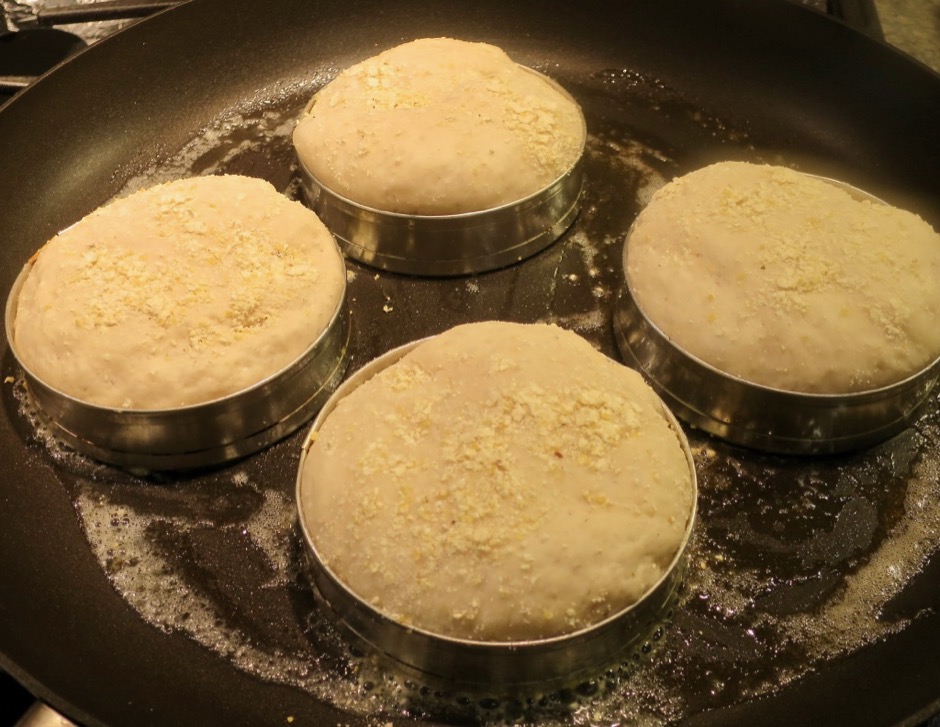
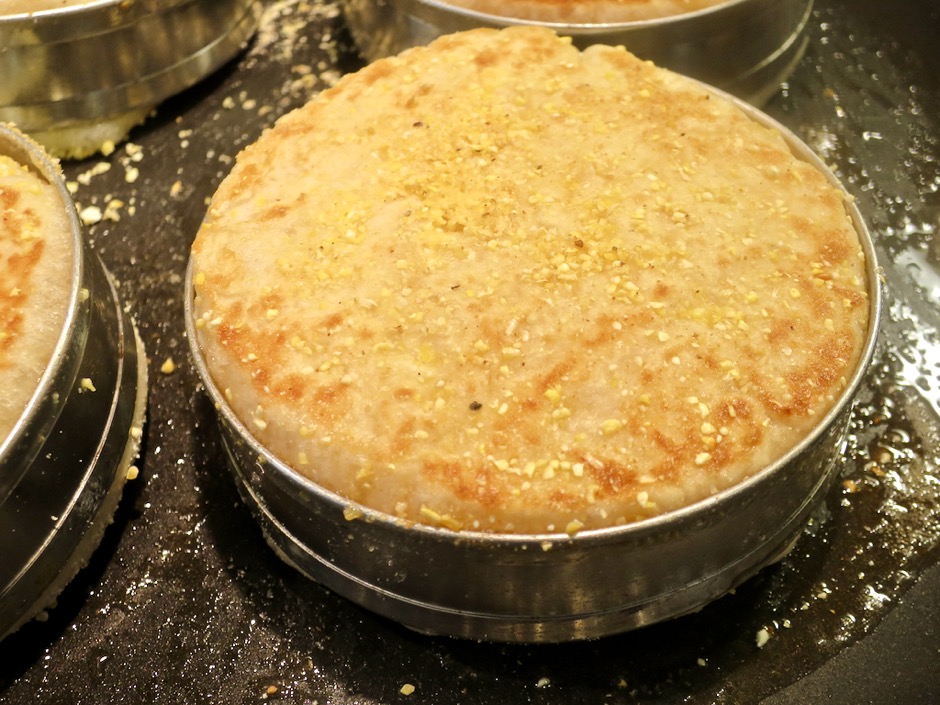
The dough will rise for 1 hour before being fried in butter for a quick 30 seconds or so on each side.  If you don’t mind a chewier and darker crust, they can be fried longer (up to 2 minutes per side).

Frying Muffins Before Baking

Frying Muffins Before Baking

Once all of the dough has been fried they go into the oven to bake.

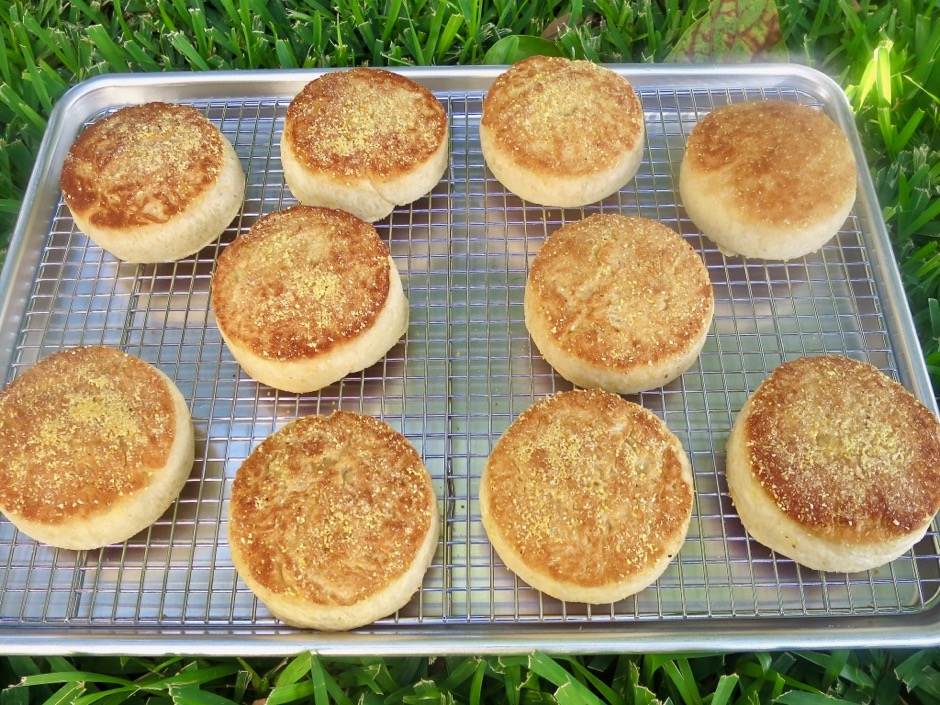
Favorite Homemade English Muffins

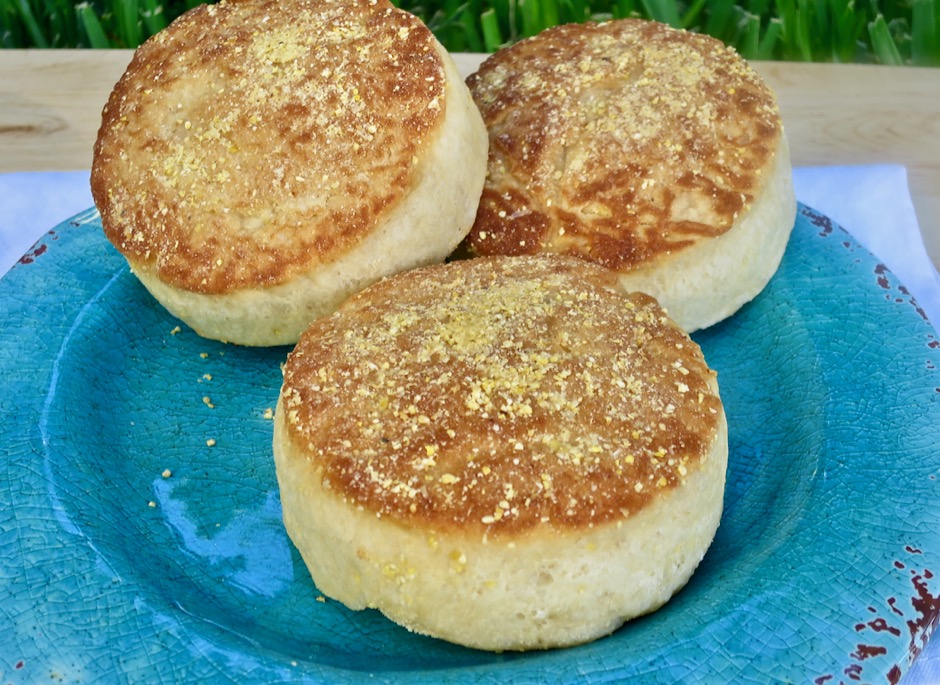
Beautiful English muffins cooling on a wire rack.

Favorite Homemade English Muffins

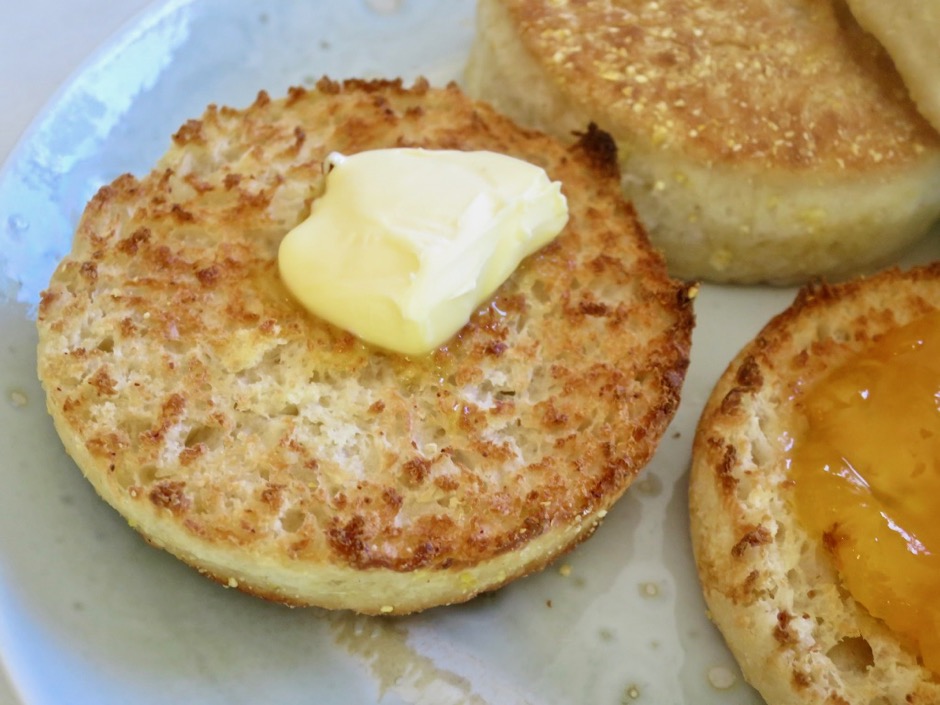
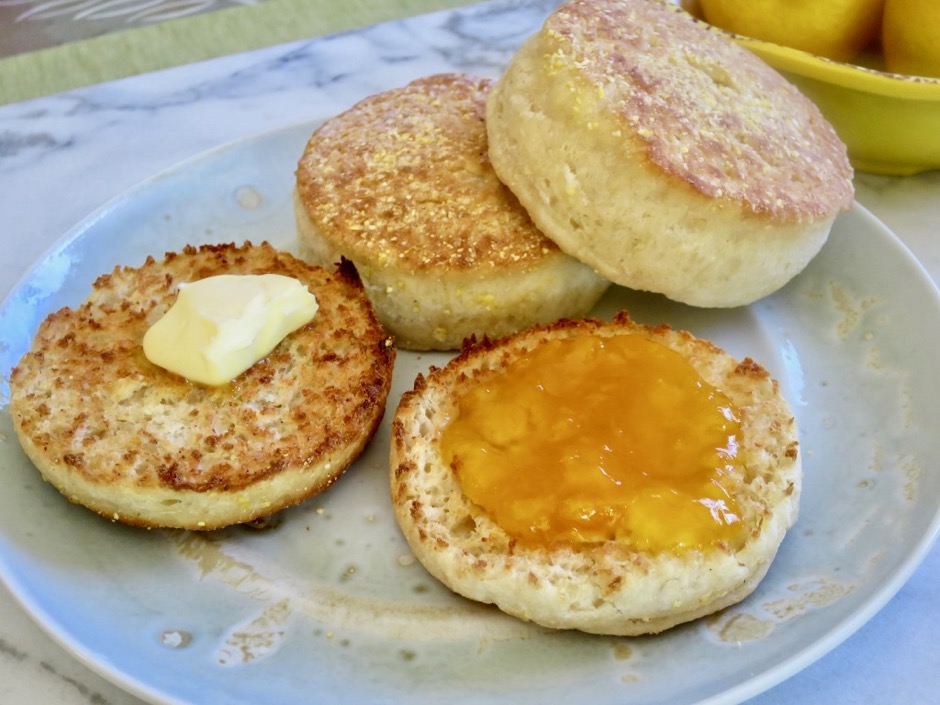
Fork-splitting the muffins rather than slicing them with a knife will ensure little nooks and crannies that not only produce beautiful crispy edges when toasted, but also allow the toppings such as butter and jam to sink in to all the crevices. Yum.

Favorite Homemade English Muffins with Butter & Mango Jam

Favorite English Muffins
 
Adapted from Cook's Country
Author:
Serves: 10
Ingredients
  • 1 cup + 6 tablespoons of warm whole lactose free milk or regular whole milk,110 degrees (312 grams/11 oz.)
  • 2 tablespoons honey (40 grams)
  • 2¾ cups bread flour (428 grams/15⅛ oz.)
  • 1 tablespoon instant or rapid rise yeast (11 grams)
  • 1¼ teaspoons table salt (7 grams)
  • ⅓ cup cornmeal (sifted if very coarse)
  • 2 tablespoons + butter (we use Miyoko's vegan butter)
Preparation
  1. Special equipment: 10 muffin rings 3½-inch size (recommended for perfectly shaped, tall muffins), 2 half-sheet pans, 2 silicone baking mats or parchment paper
  2. Combine milk with honey in a large bowl. Heat in microwave to 110 degrees but no more (about 20 - 30 seconds). A digital thermometer is useful here. We like the Thermapen. Whisk warm milk and honey together.
  3. In a separate smaller bowl, whisk dry ingredients (flour, yeast and salt) together. Combine wet and dry ingredients together in first bowl. Mix thoroughly (we like to use a Danish dough whisk). Cover the bowl and proof for 1 hour. Do one set of stretches and folds after 30 minutes of proofing.
  4. Line a half sheet pan with a silicone baking mat or parchment paper. Place 10 muffin rings on pan. Spray thoroughly with cooking spray making sure the ring interiors are well coated. Sprinkle corn meal inside the rings.
  5. Once dough has proofed, divide into 10 equal pieces (about 79 grams each). Round each piece slightly on a floured surface then flatten the dough pieces until approximately the diameter of the rings. Press the dough gently into the rings. Sprinkle corn meal over the top and press into the dough with your fingers. Cover the pan with a second sheet pan. Proof for about 1 hour or until doubled in size.
  6. Preheat oven to 375 degrees once dough has proofed for 50 minutes.
  7. Once dough has proofed for 1 hour, heat a 12" non-stick skillet on medium to medium-low heat with 1 tablespoon of butter. In batches of up to four, add dough (in rings) to the skillet and cook for 30 seconds on each side, or until lightly browned. Add more butter to the pan for each batch. Transfer fried muffins to second silicone baking mat or parchment lined half sheet pan. Continue frying until all 10 are done. Transfer pan to oven and bake for 12-13 minutes, or until centers register 205-210 degrees.
  8. Remove rings and let muffins cool completely on a wire rack. Fork-split muffins before toasting. Muffins freeze well.



Bread, Dinner, Fruit, Gardening, Italian, Lactose Free, Pasta, Recipes, Vegan, Vegetarian

Summer Tomatoes on Capellini & Sourdough Bread

April 23, 2019

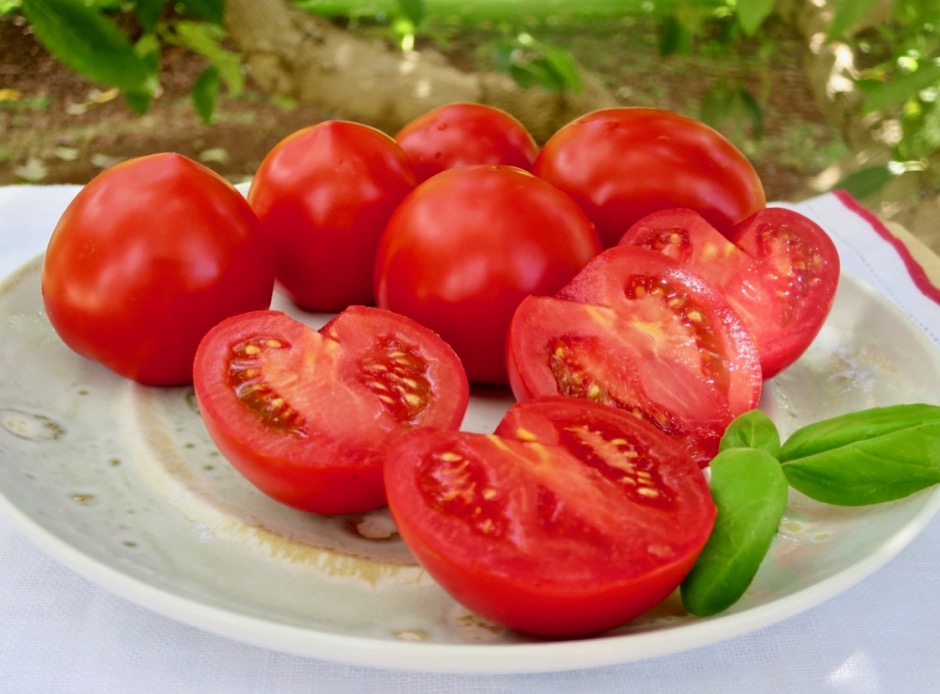
This year we planted two Early Girl tomato seedlings in the garden and were they ever a great surprise.  They produced more than 100 pounds of gorgeous, sweet fruit.  Though the plants are looking rather scraggly after several months, they are still bearing fruit.  These tomatoes are deep red in color, meaty, have very few seeds and a tiny stem that’s not woody when you cut into the fruit. They are the perfect tomato.  Unlike the Big Beef tomatoes that we usually grow, the Early Girls are small in size.  My friend Hano and her sister Charlotte eat them as if they were apples!

With all of these tomatoes ripening faster than we knew what to do with them, I wanted to whip up something delicious that would show off their exceptional flavor.  This was the perfect recipe. It is a raw sauce so there’s no cooking involved and everything goes into one bowl.  This really is the way to showcase your homegrown tomatoes.  The original recipe that I wrote down nearly 10 years ago comes from Deborah Mele. It’s one of my favorite summer meals.
Homegrown Early Girl Tomatoes

This dish requires the best tomatoes you can find.  If you don’t grow your own, check out your local farmer’s markets.  The tomatoes that are sold at supermarket chains in our area just won’t do.  Heirloom tomatoes would work if you can find them.

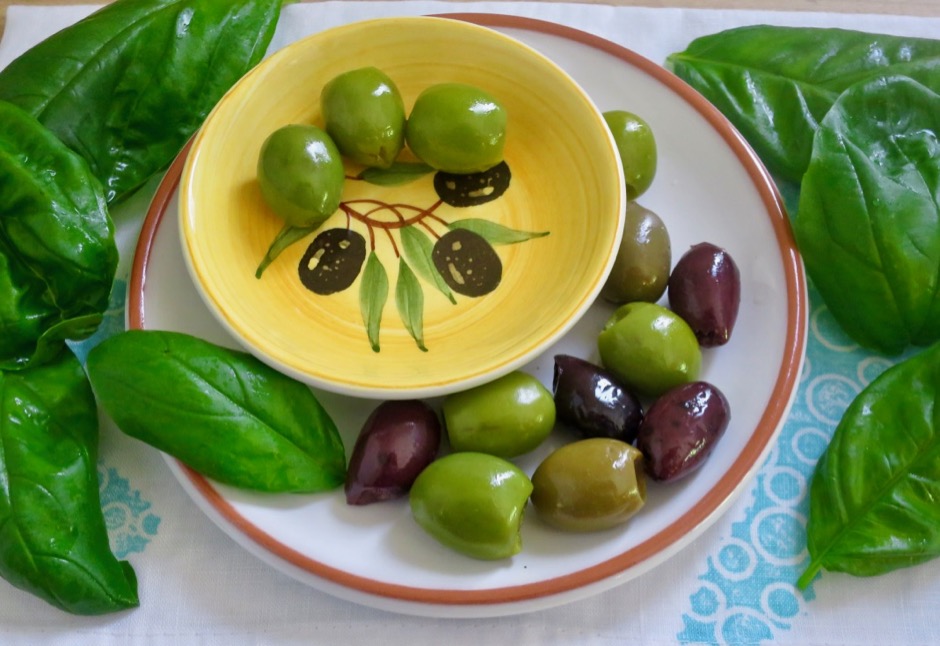
Kalamata & Castelvetrano Olives

You may use kalamata olives or a mix of olives.  I added a few castelvetrano olives along with the kalamatas.

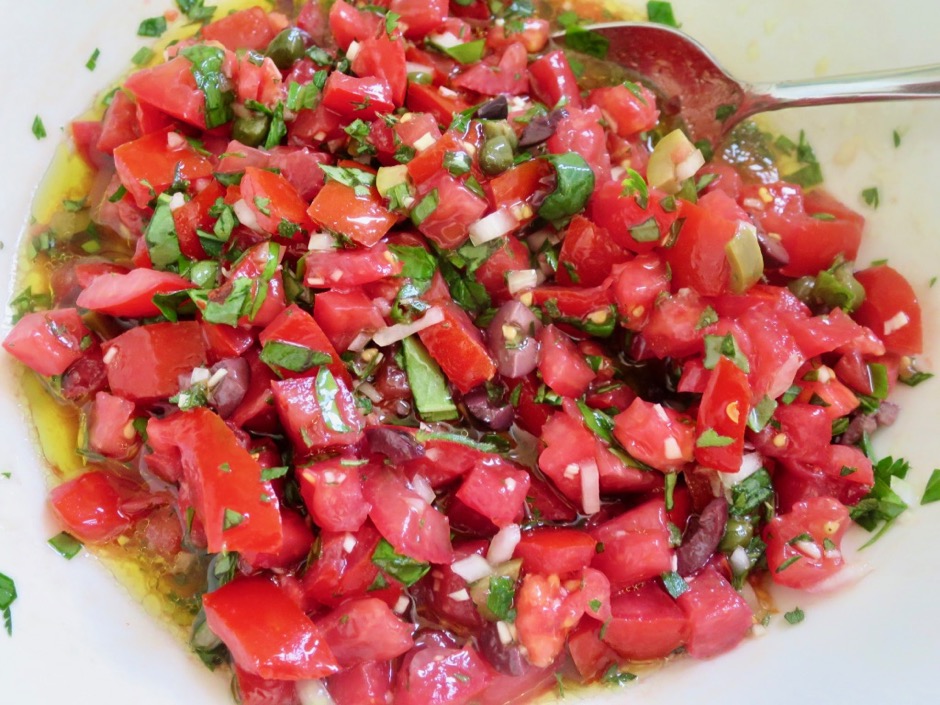
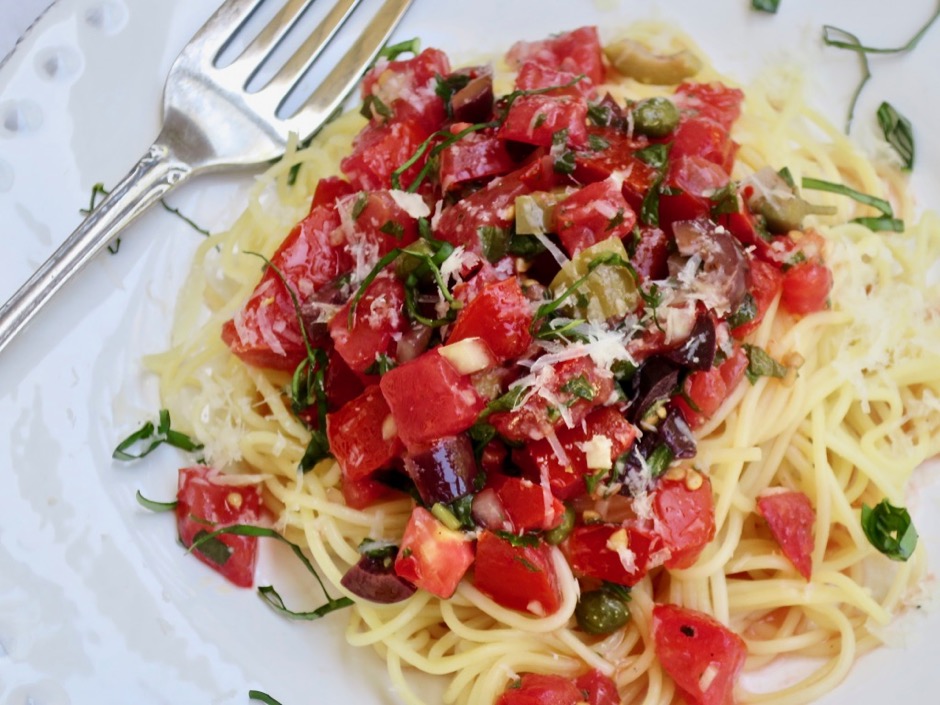
Summer Tomato Sauce

I love that this recipe can be thrown together in 20 minutes.  All you need is a good, sharp knife to chop up all the ingredients.

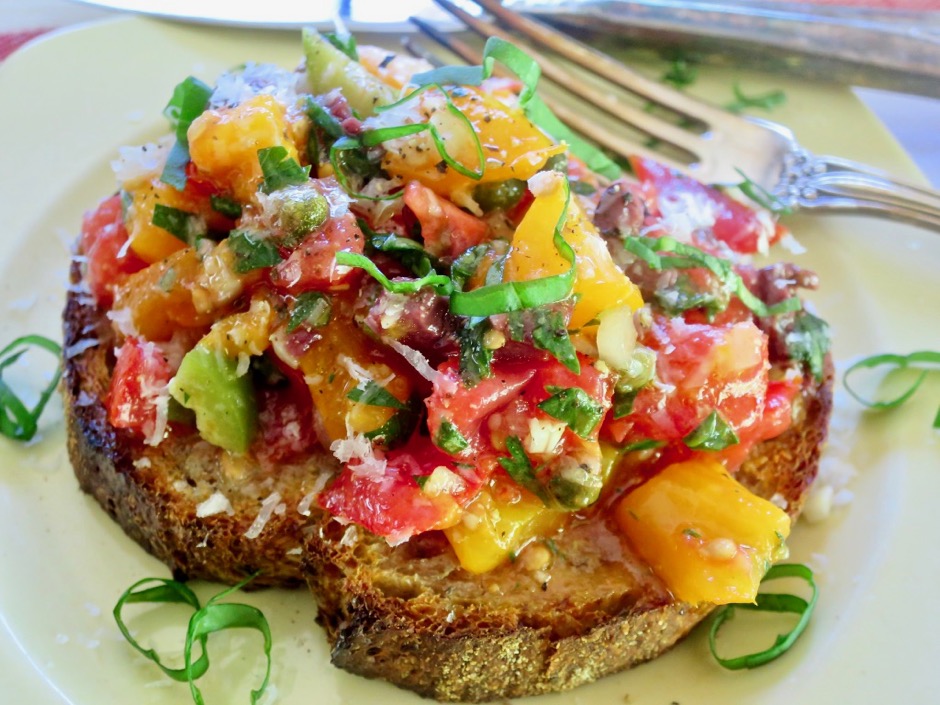
Summer Tomatoes on Toasted Sourdough Bread

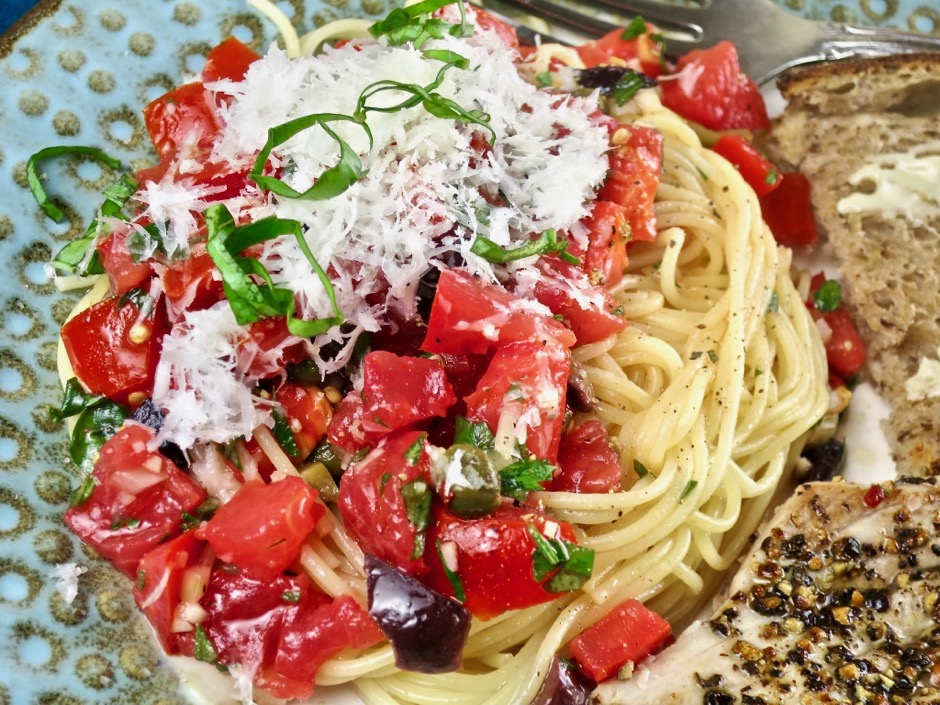
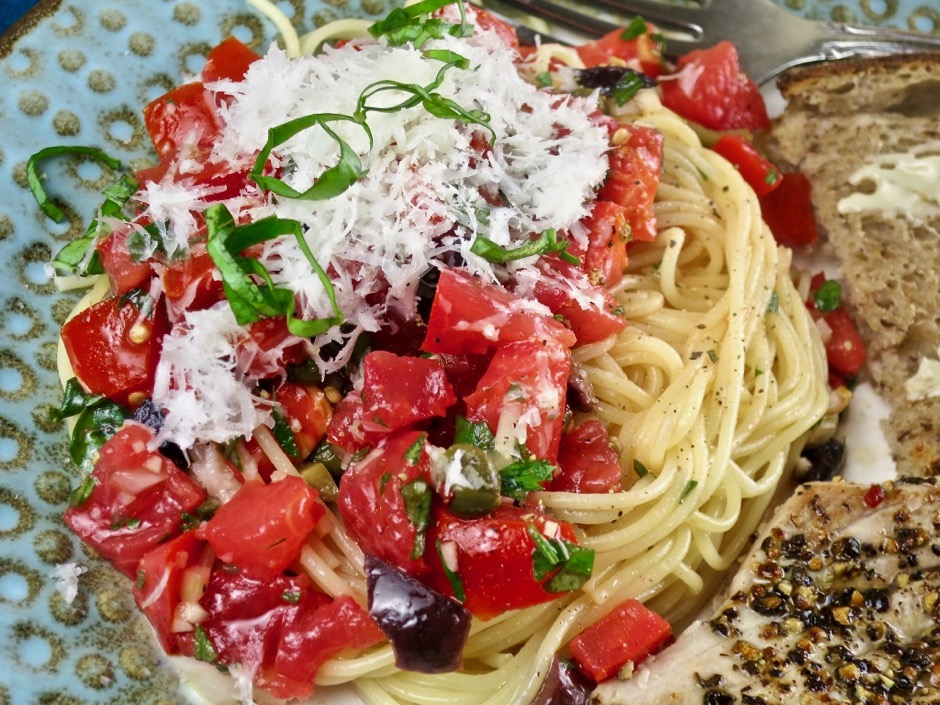
My favorite way to serve the tomato sauce is on thin capellini noodles or on toasted sourdough bread.

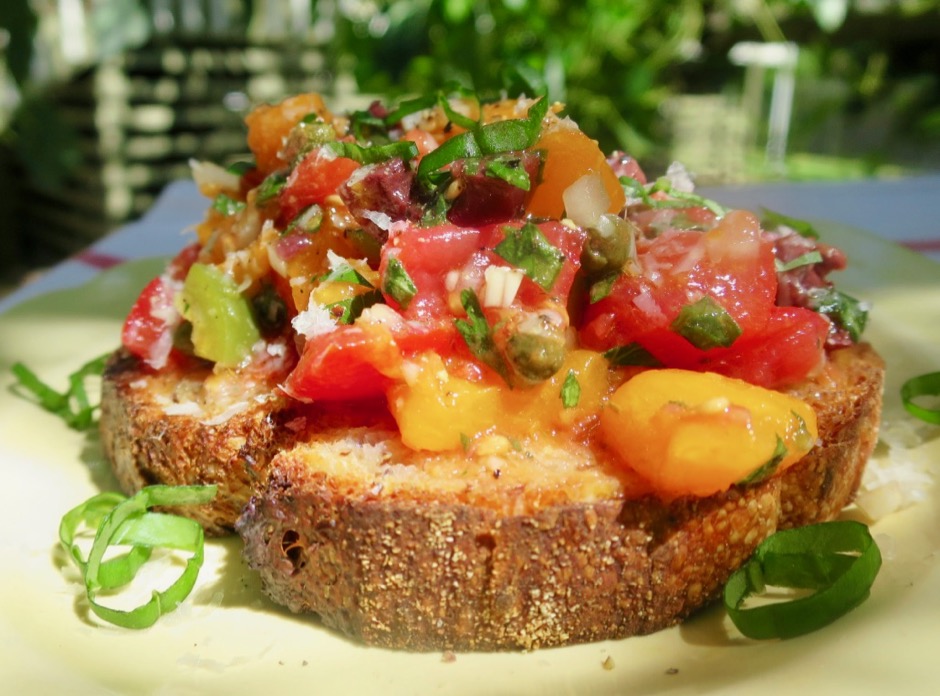
Summer Tomatoes on Toasted Sourdough Bread

Toast the bread until it’s nice and crisp.  Then spoon the tomatoes over the top and let it sit for a minute so that it soaks up all of that delicious sauce.

Summer Tomatoes on Capellini

Summer Tomatoes on Capellini & Sourdough Bread
 
Adapted from Deborah Mele's recipe
Author:
Serves: 6
Ingredients
  • 2 pounds ripe tomatoes, coarsely chopped
  • 2 tablespoons finely diced sweet onion
  • 12 seedless kalamata olives, or a mix of olives, diced
  • 1½ tablespoons drained capers
  • 2 medium garlic cloves, minced
  • 1 tablespoon chopped Italian parsley
  • ½ teaspoon finely chopped oregano
  • ¼ cup finely chopped fresh basil
  • ¼ teaspoon red pepper flakes (optional)
  • 2 tablespoons red wine vinegar
  • ⅓ cup extra virgin olive oil
  • freshly ground black pepper and salt to taste
  • capellini or sourdough bread
  • grated parmesan (optional)
Preparation
  1. Combine tomatoes, onion, olives, capers, garlic, parsley, oregano, basil and red pepper flakes if using. Stir in red wine vinegar and olive oil. I normally don't add any salt since the olives and capers are salty. Add a few grinds of black pepper and salt to taste.
  2. Mix well, cover with plastic wrap and let sit at room temperature for a few hours. Serve over capellini pasta or thinly sliced and toasted sourdough bread. Scatter grated parmesan cheese over the top. Leftovers keep well in the refrigerator for another day.


Bread, Breakfast, Dinner, Eggs, Lactose Free, Recipes, Sandwiches

Egg Salad Tartine with Mixed Herbs

November 10, 2018

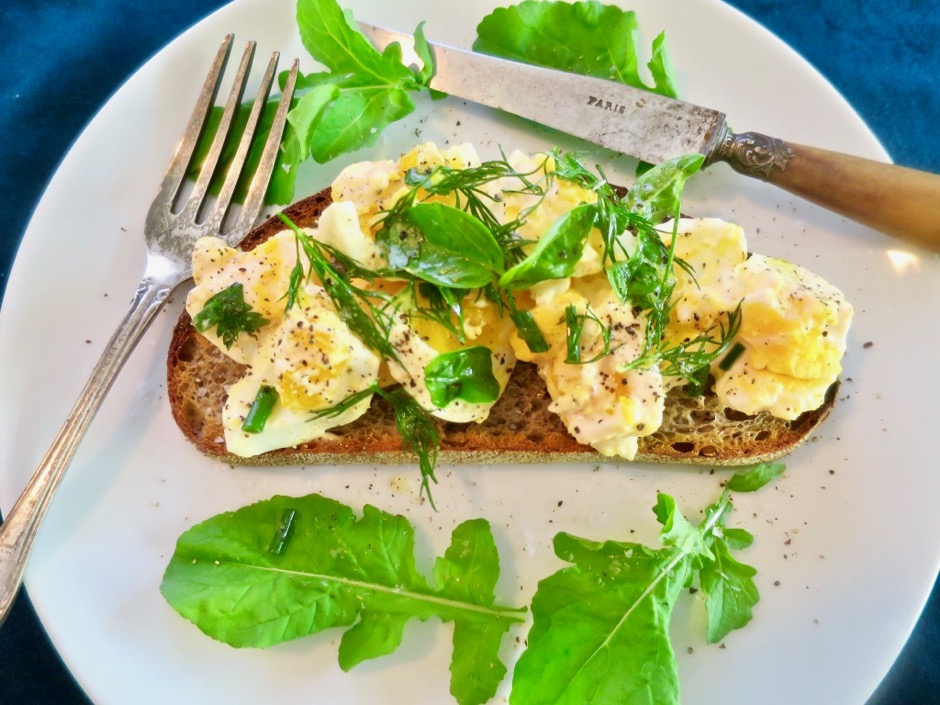
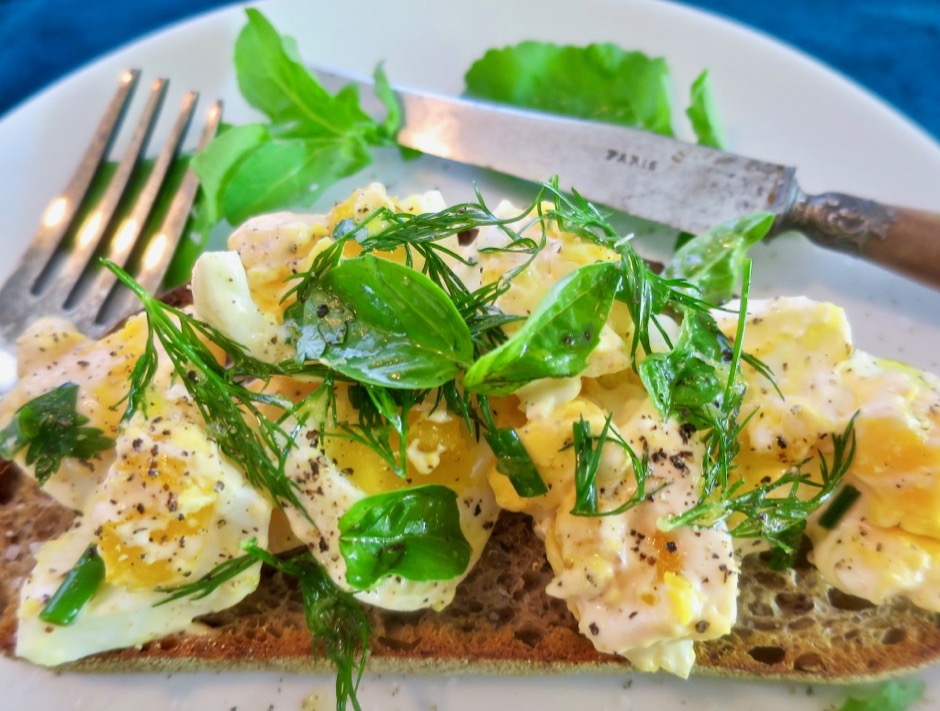
Egg Salad Tartine with Mixed Herbs

Anyone who visits this blog will have noticed that eggs are one of my favorite foods. I’m especially fond of the 6 1/2 minute egg with its perfectly set white and jammy yolk.  I also love egg salad on John’s homemade bread now and then.  In this case, the egg salad is piled on toasted country sourdough bread with herbs scattered over the top. It is delicious for breakfast, lunch or even dinner and ever so simple to prepare.

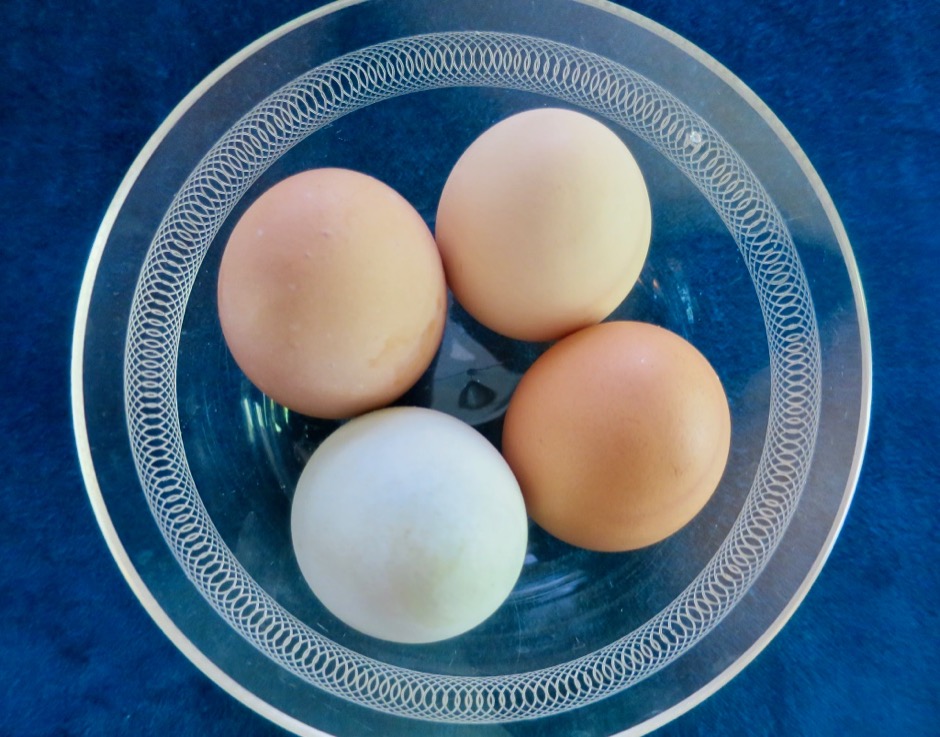
Our Neighbor's Fresh Eggs

Our neighbors Judy and John raise an assortment of chickens that provide them with fresh eggs every day.  Whenever Judy comes by our house with a dozen eggs our faces light up with joy.  I love how her eggs are of various colors and sizes.  They are always so fresh with bright yellow yolks.

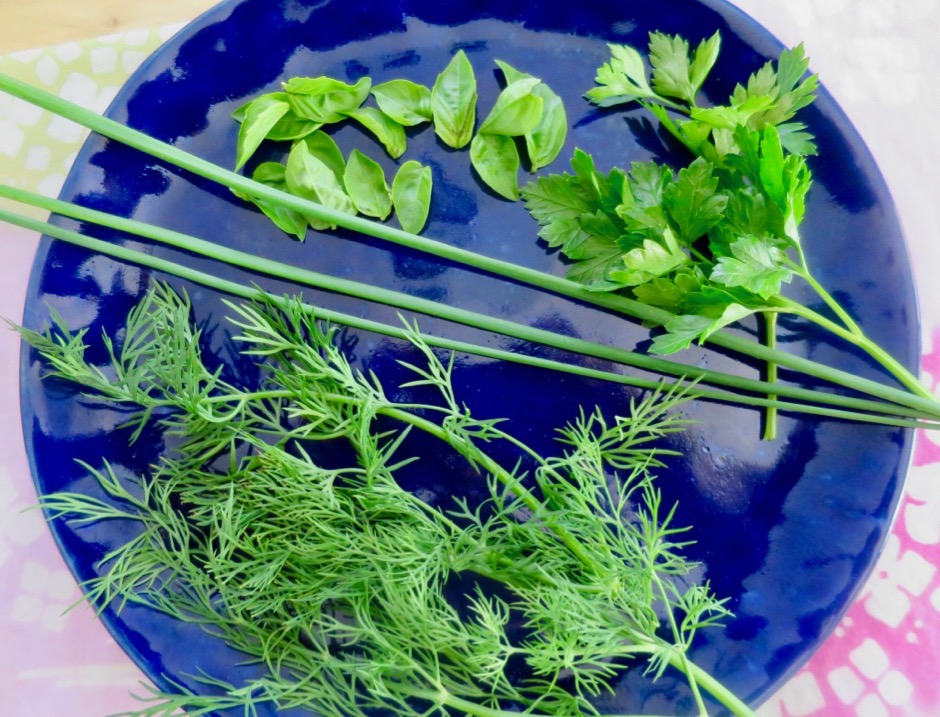
Dill, Chives, Basil, Italian Parsley

The original recipe calls for dill, chives and basil. I added a few torn sprigs of parsley from the garden. This combination is perfect, however, you could switch them out with whatever fresh herbs you happen to have on hand.  The lemon juice adds a nice zing to make the perfect egg salad toast.

Egg Salad Tartine with Mixed Herbs

Egg Salad Tartine with Mixed Herbs
 
Adapted from Bon Appetit magazine
Author:
Serves: 2
Ingredients
  • 3 tablespoons good mayonnaise
  • 1 teaspoon cider vinegar
  • ¼ teaspoon (more, or less) of your favorite hot sauce
  • 4 large eggs, boiled for 8 minutes (10 for fully cooked/hard)
  • kosher salt and freshly ground black pepper
  • 2 large slices country-style bread, toasted
  • 3 teaspoons ½-inch pieces chives
  • handful of baby basil leaves, or larger leaves torn into small pieces
  • a few sprigs of Italian parsley, torn into pieces
  • a few dill fronds, torn into small pieces
  • ½ teaspoon finely grated lemon zest
  • 1 teaspoon fresh lemon juice
  • extra virgin olive oil (for drizzling)
Preparation
  1. Combine mayonnaise with vinegar and hot sauce. Set aside.
  2. Tear eggs into large pieces; add mayonnaise (you may not need all of it). Gently fold to coat, and season with salt and pepper. Spoon egg salad over toasted bread.
  3. Toss chives, basil, parsley, dill, and lemon zest in a small bowl. Add lemon juice, a drizzle of olive oil, and season with salt. Toss to coat and pile on top of egg salad. Season with extra salt and pepper to taste.


Bread, Breakfast, Dinner, Fruit, Lactose Free, Recipes, Sandwiches

Avocado, Tuna & Pickled Red Onion Toast

May 4, 2018

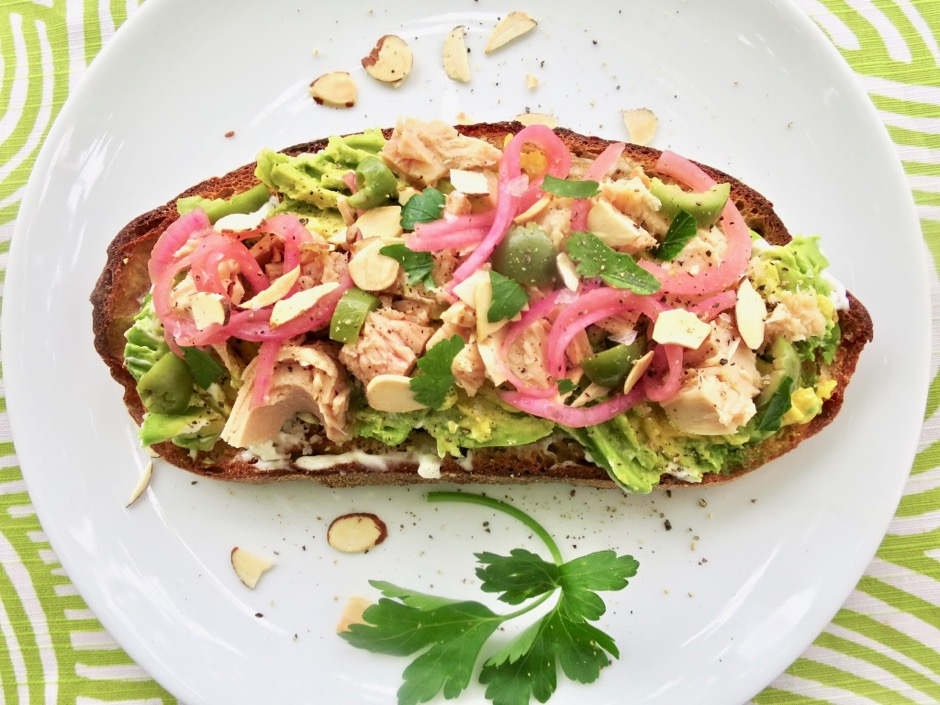
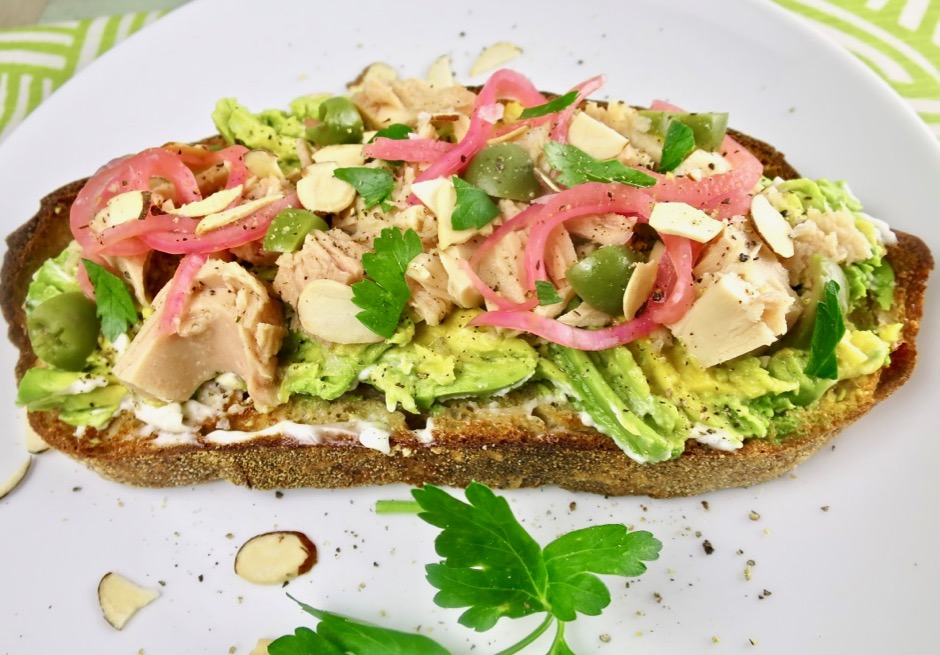
Tuna, Avocado & Pickled Onion Toast

Our “winter” months bring us superb avocados from our Green Gold and Sharwil trees.  They both produce fruit with creamy, rich interiors.  At times the trees are so heavy with fruit the branches must be propped up. And, for several months we have far more avocados than we can eat, but they don’t go to waste. There are many evenings and early mornings when I make big batches of guacamole to take to work and share with our neighbors.  Other favorite avocado dishes are pesto, pan-seared tuna with avocado, and fish tacos with avocado crema and of course avocado toast. I call this version deluxe avocado toast. Pickled red onions and tuna in olive oil along with those delicious Castelvetrano olives make for a fine and satisfying meal.

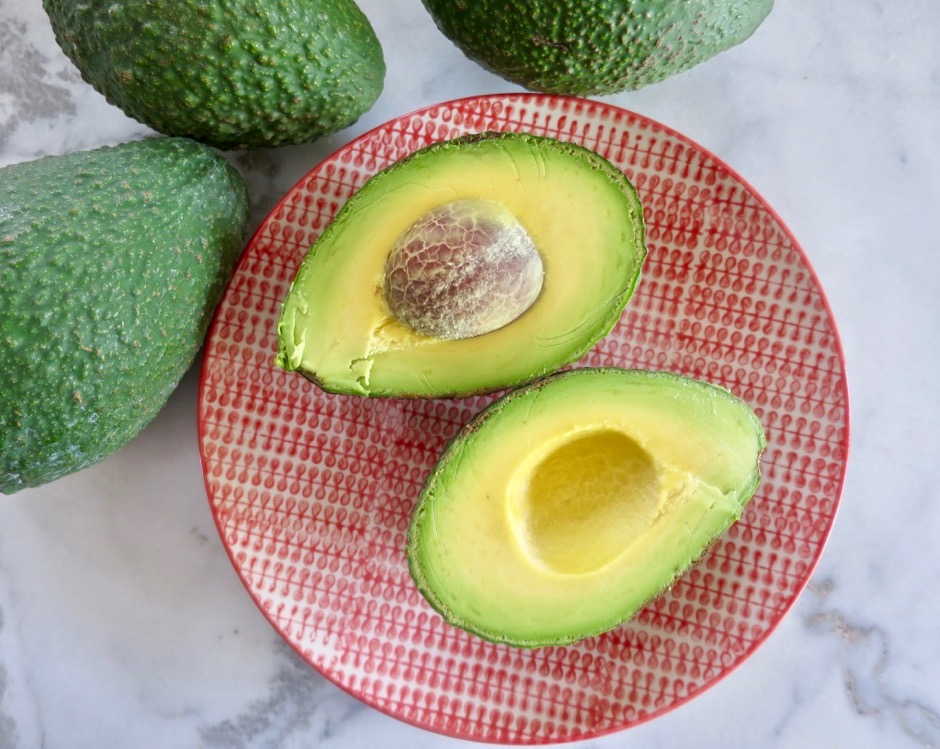
Green Gold Avocados

The Green Gold avocado is probably my favorite.  The tree is a heavy bearer of rich and creamy fruit that never turns brown even when made into guacamole.

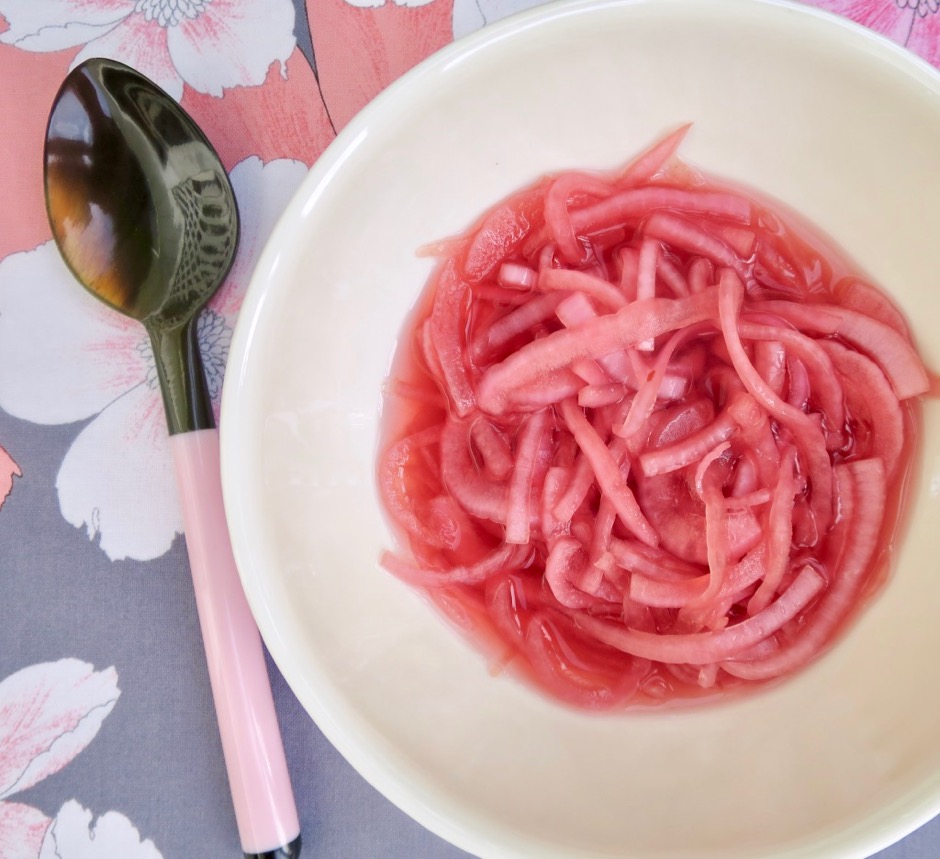
Pickled Red Onions

The pickled red onions are slightly tangy, a perfect, colorful addition to the avocado toast.

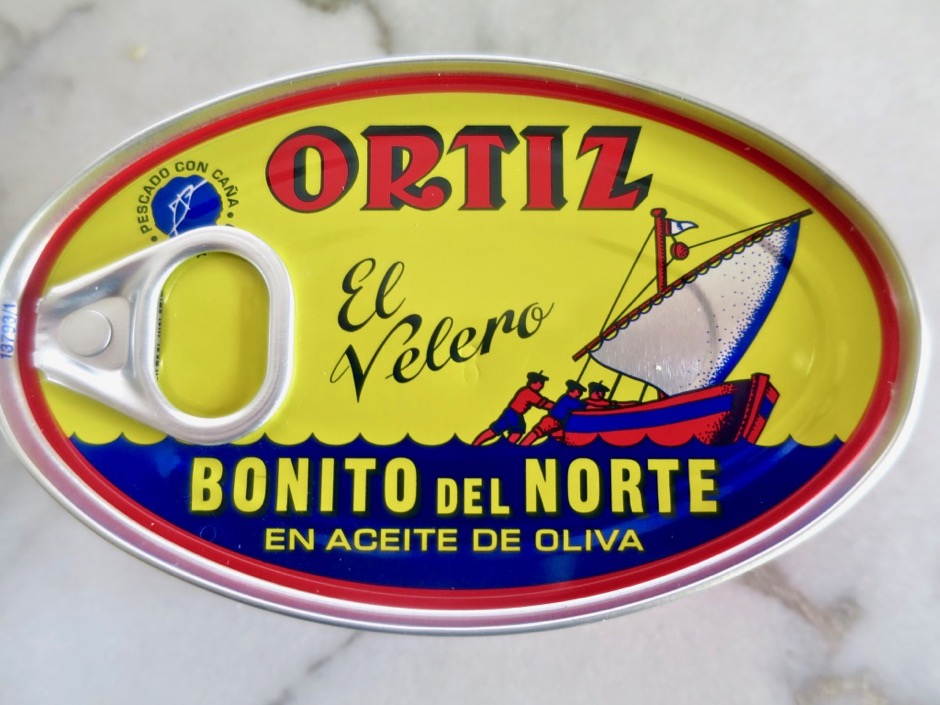
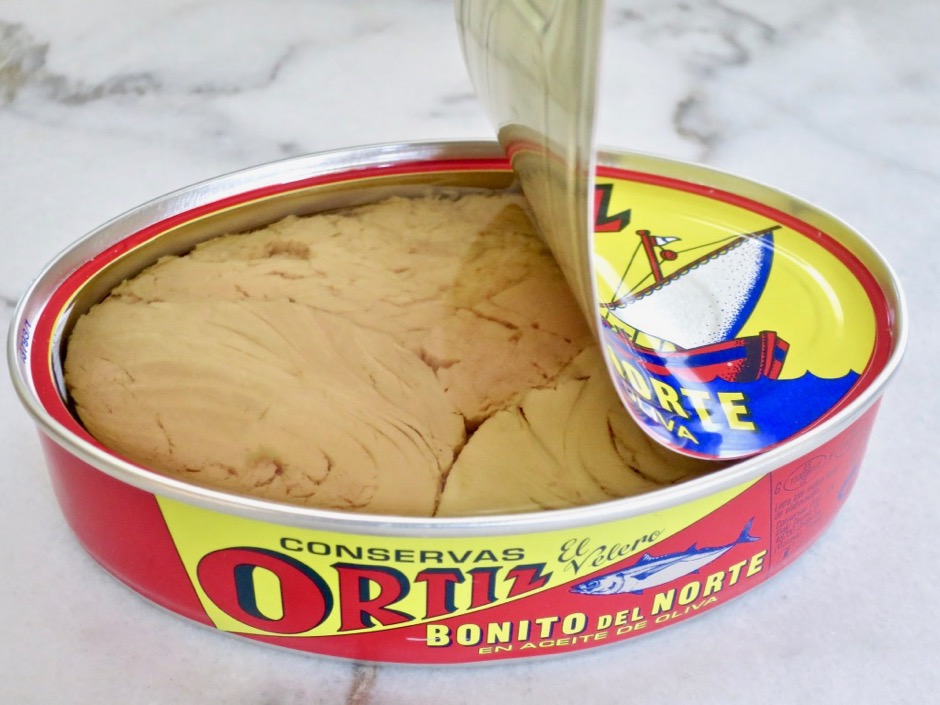
Ortiz Tuna

Ortiz Tuna in Olive Oil

Being a big fan of tuna, I have tried many different brands over the years.  For salad nicoise and toast, tuna in olive oil is the only way to go.  Ortiz and As do Mar are both excellent tuna options.  These days they are readily available on-line for purchase.

Tuna, Avocado & Pickled Onion Toast

Avocado, Tuna & Pickled Red Onion Toast
 
Avocado Toast adapted from Cooking Light magazine Pickled Red Onions from A Farmgirl's Dabbles blog
Author:
Serves: 2
Ingredients
  • For the pickled onions:
  • ½ large red onion, thinly sliced
  • ½ cup apple cider vinegar
  • ¼ cup red wine vinegar
  • ⅛ cup granulated sugar
  • ½ teaspoon kosher salt
  • pinch of allspice
  • pinch of red pepper flakes
  • For the avocado toast:
  • 1 large ripe avocado, sliced
  • 2 large pieces country sourdough bread or 4 pieces whole wheat bread
  • 1 tablespoon Vegenaise (or regular mayonnaise)
  • Maldon sea salt or other flaky salt
  • freshly ground black pepper
  • 1 (4 ounce) can tuna in olive oil (Ortiz recommended)
  • 1 tablespoon fresh flat-leaf parsley torn into pieces
  • 2 tablespoons sliced almonds, toasted
  • 2 tablespoons pitted Castelvetrano olives, coarsely chopped
Preparation
  1. Place onions in a small bowl. Bring vinegars, sugar and salt to a gentle boil, stirring to dissolve sugar. Remove from the heat and add the allspice and red pepper flakes. Pour vinegar mixture over the onions and let cool completely. Store in a jar in the refrigerator until ready to use.
  2. Toast bread until nicely browned. Spread Vegenaise over the toasts. Divide avocado slices between the toast and mash gently with a fork. Season with salt and pepper. Top evenly with tuna, pickled onions, parsley, almonds, and olives.Season again with salt and pepper. Serve right away.


Bread, Breakfast, Dessert, Fruit, Lactose Free

Crisp Sugar Topped Blueberry Muffins

September 9, 2017

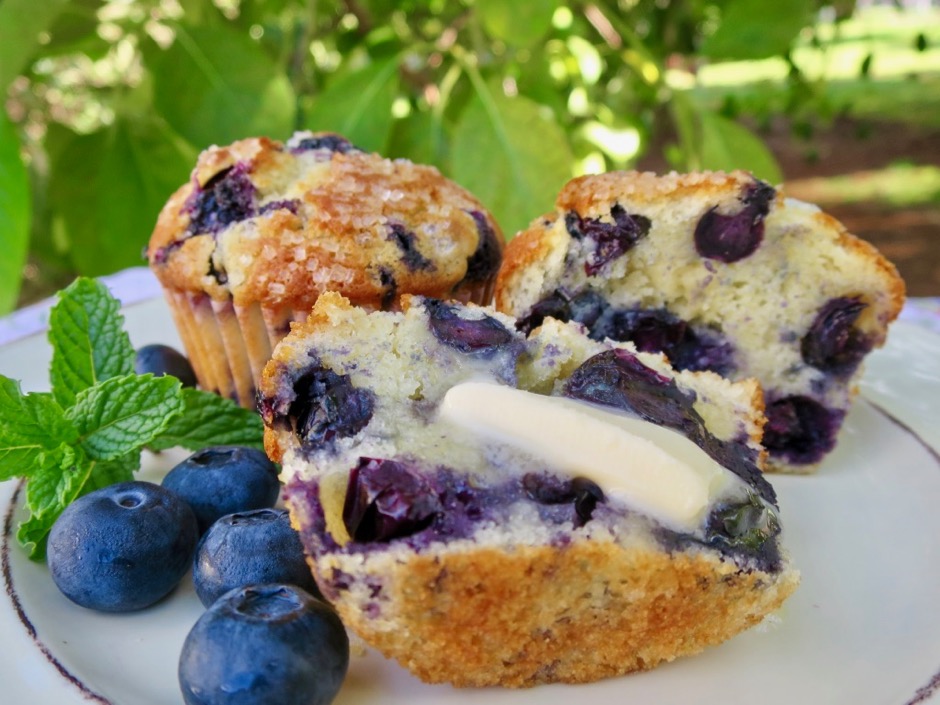
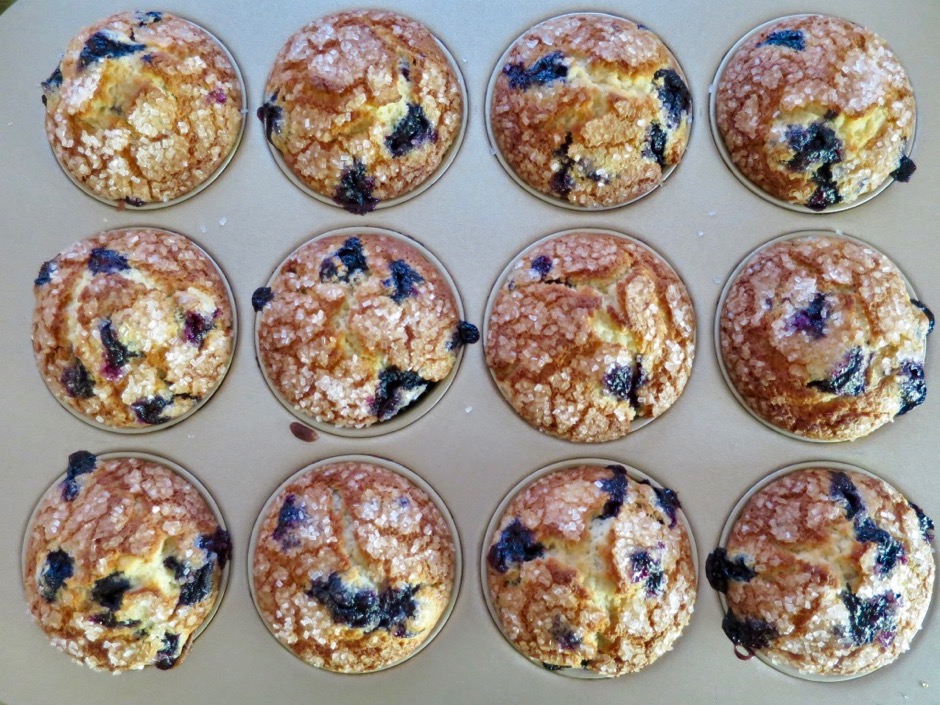
Crisp Sugar Topped Blueberry Muffins

One of my favorite uses of the nutritious blueberry is in muffins. They are one of the easiest breakfast (or dessert) snacks to make.  All you need is a bowl for the dry ingredients and a measuring cup for the wet ingredients. Combine the two, fold in the blueberries and your batter is ready.  In less than 20 minutes you’ll have warm, crispy topped muffins with just the right amount of blueberries.  These are delicious split down the center, toasted and served with a pat of butter.

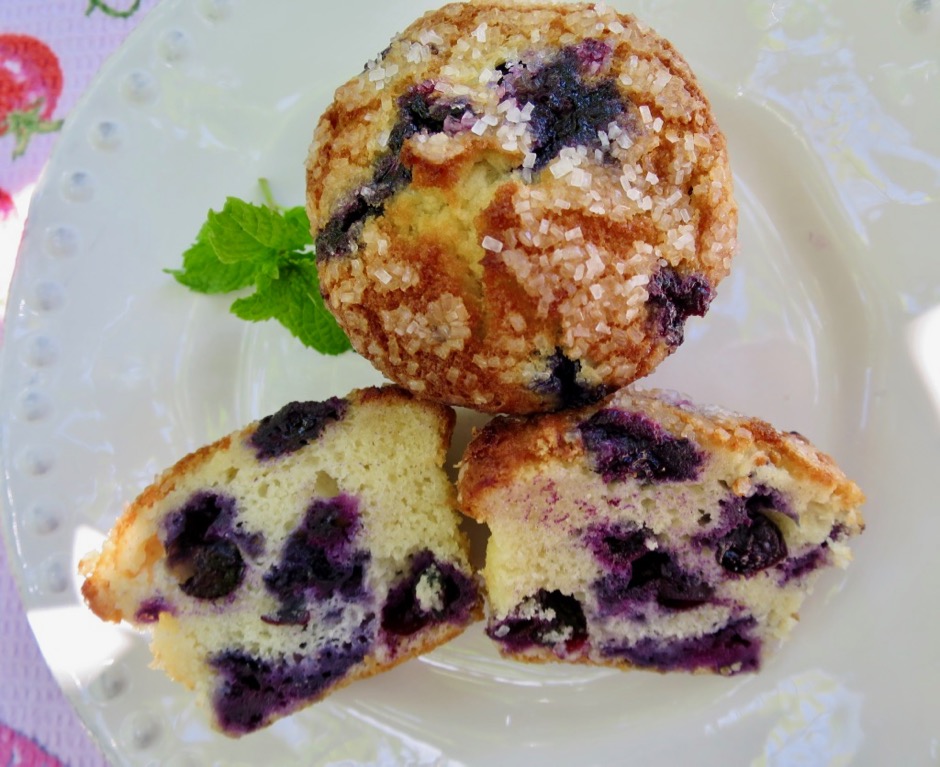
Crisp Sugar Topped Blueberry Muffins

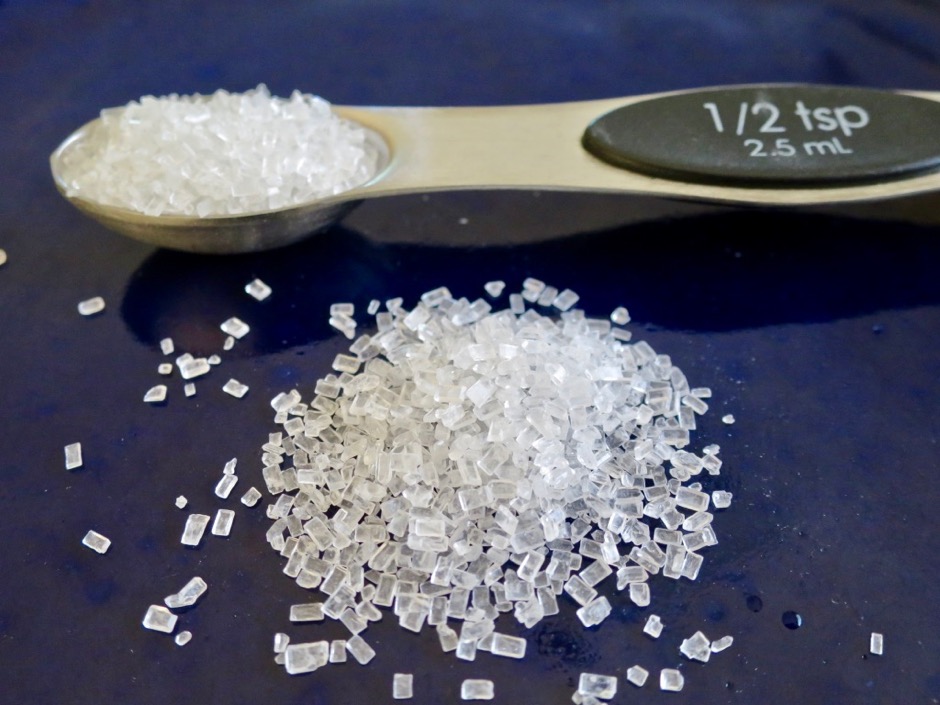
The sparkling sugar ensures the muffins have a perfectly crisp top that is not only a delight to eat but also gives the muffins that certain je ne sais quoi. Bob’s Red Mill decorative sparkling sugar works perfectly.

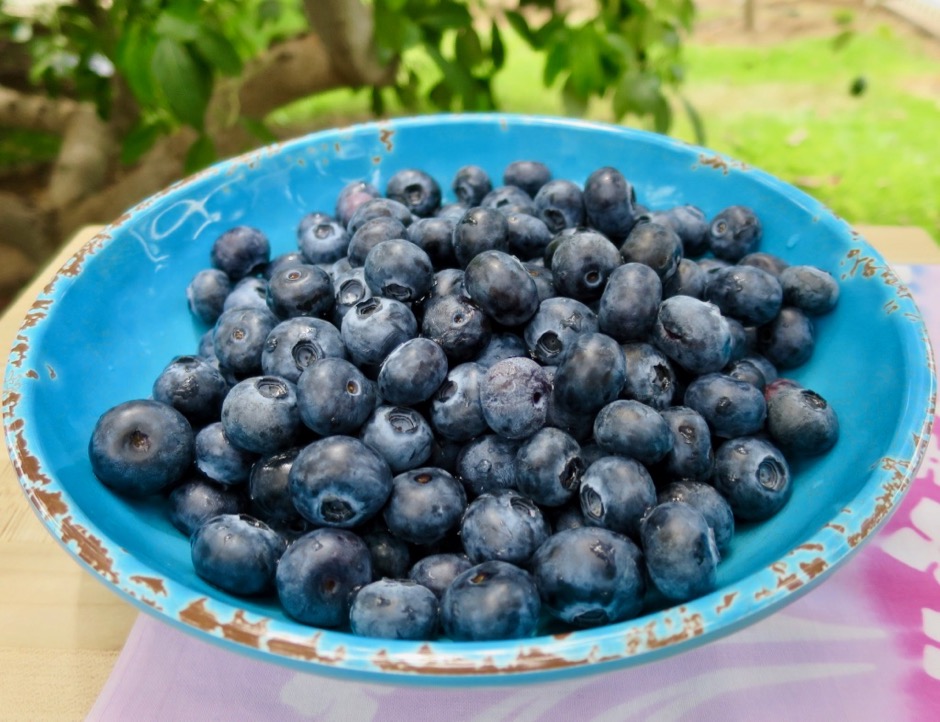
Blueberries

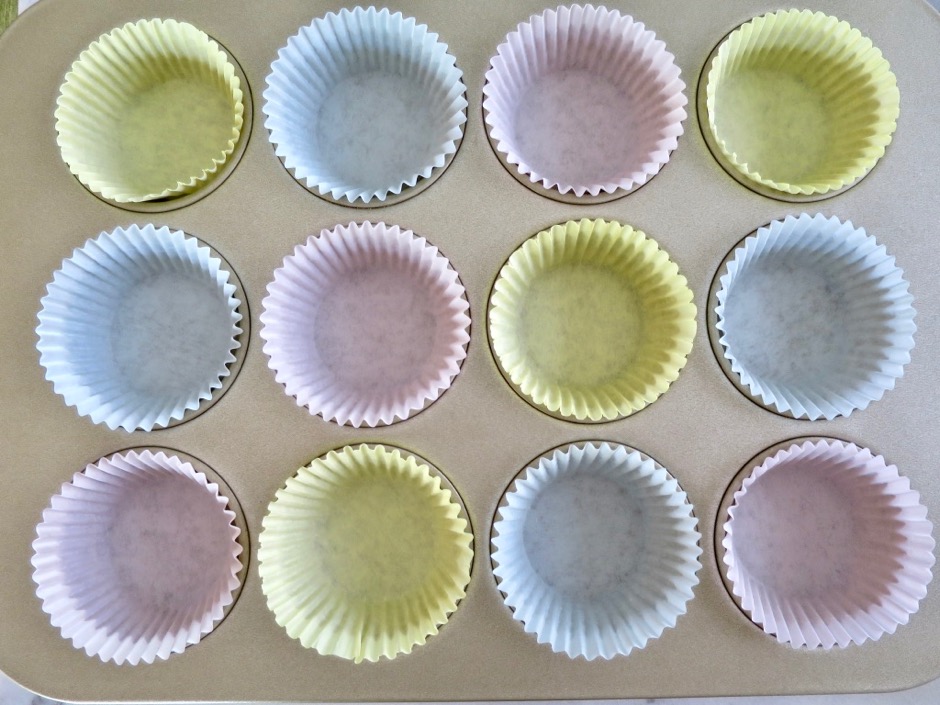
Muffin Liners

It’s best to use liners in your muffin tin to ensure that the muffins won’t stick to your pan.  Liners also mean easier clean up.

Crisp Sugar Topped Blueberry Muffins

These are beautiful muffins with crackly and crispy tops.  If by chance you have any leftover muffins, store them in the freezer in a heavy-duty plastic bag. They will keep well for more than a month.

Crisp Sugar Topped Blueberry Muffins


Crisp Sugar Topped Blueberry Muffins
 
Author:
Serves: 12
Ingredients
  • 2 cups all purpose-flour
  • 1 cup + 1 tablespoon granulated sugar
  • 2 teaspoons baking powder
  • ½ teaspoon salt
  • ¼ teaspoon cinnamon
  • ½ cup lactose free milk (or regular milk)
  • ¼ cup canola oil
  • 4 tablespoons Earth Balance Buttery Sticks, melted and cooled for 5 minutes (or regular salted butter)
  • 2 large eggs
  • 1 teaspoon vanilla extract
  • 2 cups (8 ounces) fresh blueberries
  • Sparkling sugar such as Bob's Red Mill Simply Sweet Decorative Sparkling Sugar
Preparation
  1. Preheat oven to 400 degrees.
  2. Line muffin tin with muffin/cupcake liners.
  3. In a large bowl whisk to combine the flour, sugar, baking powder, salt, and cinnamon. Set aside.
  4. In a 2 cup measuring cup, measure ½ cup milk. Add ¼ cup canola oil, melted Buttery Sticks, eggs, and vanilla extract. Whisk ingredients together.
  5. Pour wet ingredients into bowl of dry ingredients. Stir to combine. Fold in blueberries. Divide batter between a 12 cup paper-lined muffin tin. Sprinkle each muffin with ½ teaspoon of sparkling sugar.
  6. Bake for 18 - 22 minutes or until a toothpick inserted in the center comes out clean. Cool muffins in the pan for 10 minutes before removing to a rack to cool completely.


Bread, Dinner, Lactose Free, Recipes, Sandwiches

Persian Flatbread

August 13, 2017

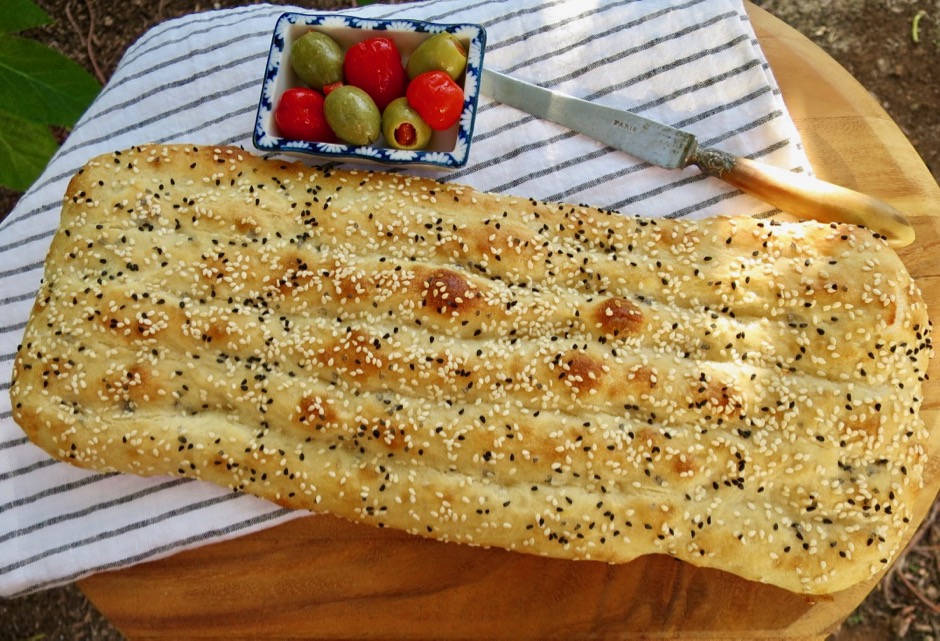
Persian Flatbread - Nan-e barbari

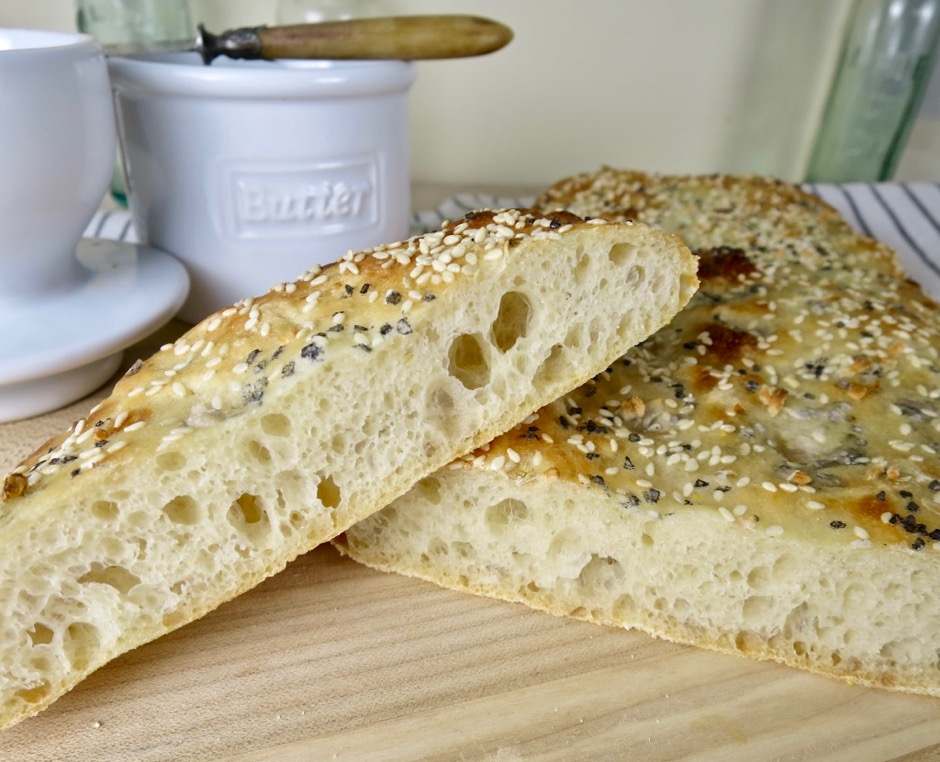
An article in Food and Wine magazine about flatbreads from around the world caught my attention not only because of the beauty of the breads but also the simplicity of making them.  This particular recipe makes two oval flatbreads known as Nan-e Barbari.  This is the Persian version which is known for being one of the thickest flatbreads.  The first time I made this I followed the recipe closely and was very impressed.  I noticed its similarity to focaccia and elected not to stretch the dough so thin next time and the result was fabulous multi-use bread.  Though the dough was very wet, so much so that I worried how it would turn out, it worked out beautifully.

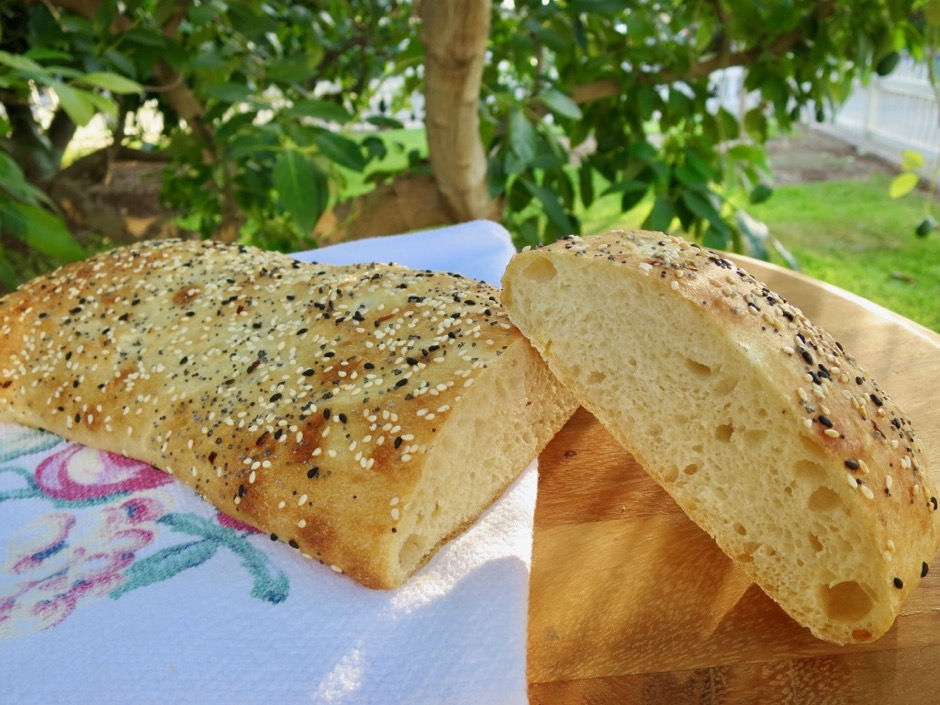
Persian Flatbread/Focaccia

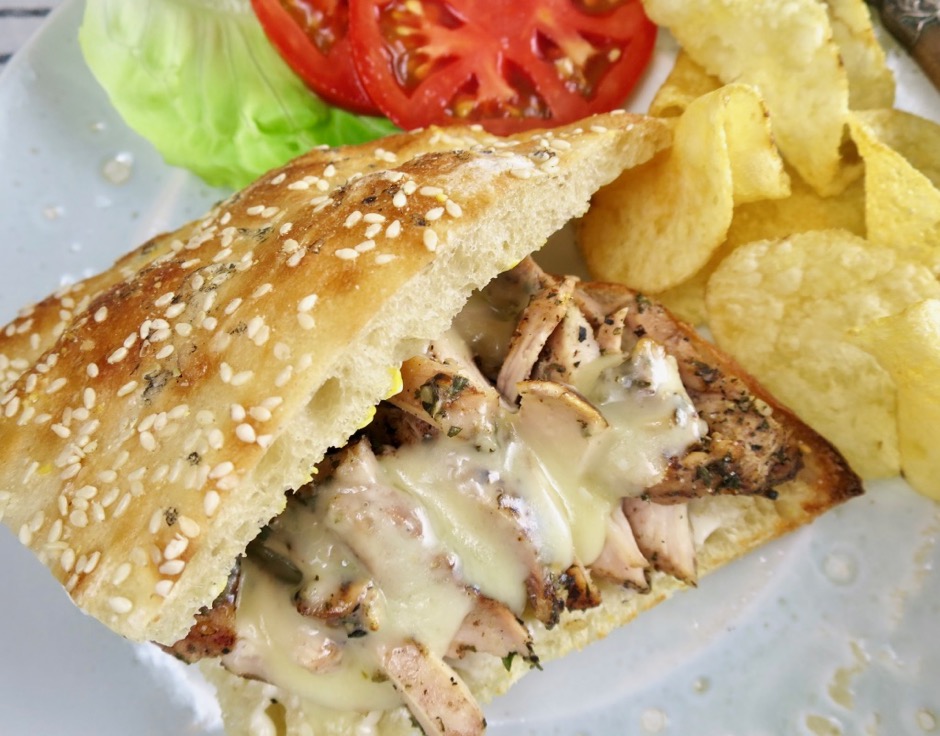
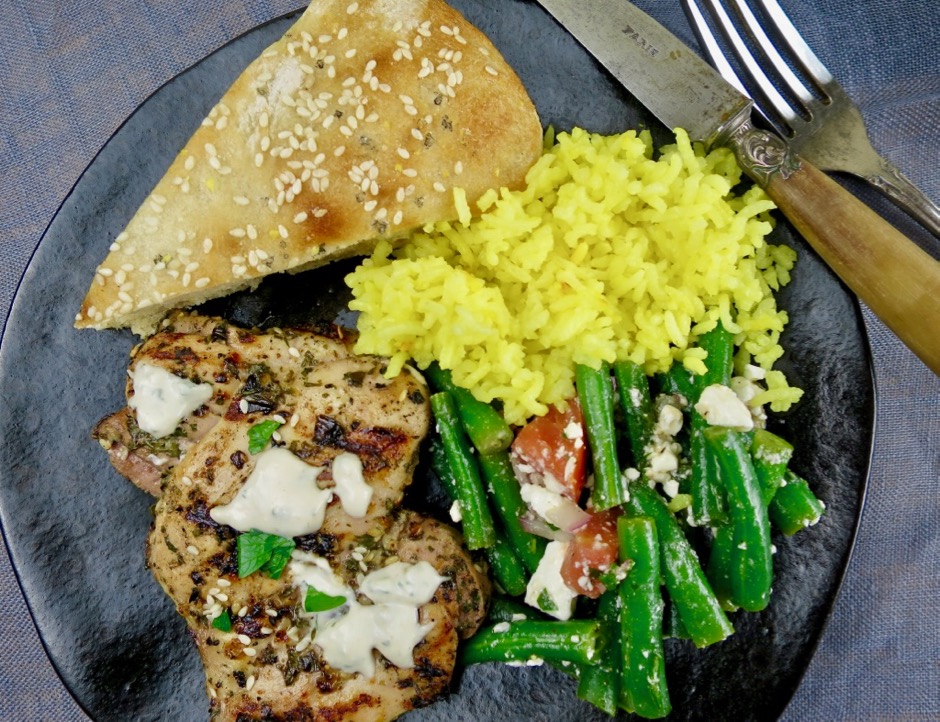
The bread has a wonderful crumb with large air pockets that when sliced in half create the best nooks and crannies for your sandwich spreads.  If you’re not splitting the bread for a sandwich serve it warm with salads, soups, feta & cucumbers, or grilled chicken.

Persian Flatbread/Focaccia

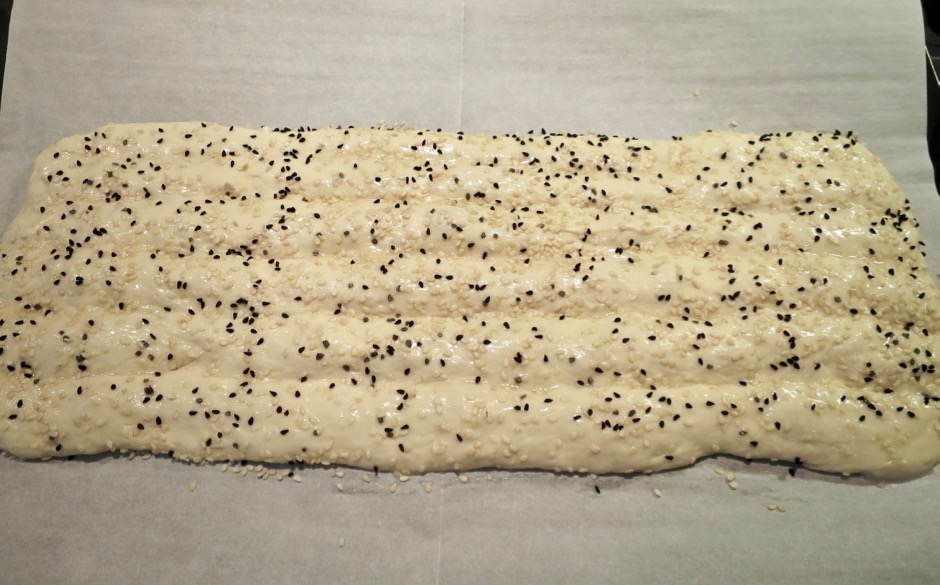
Persian Flatbread dough - Nan-e barbari

At this point the bread has been brushed with the glaze (also known as roomal) which results in a beautiful golden crust.

Persian Flatbread/Focaccia Sandwich

The bread is delicious on its own but makes a fine sandwich.

Persian Flatbread- Nan-e barbari


Persian Flatbread
 
Adapted from Food & Wine magazine
Author:
Serves: 2 loaves
Ingredients
  • Dough:
  • 4 cups bread flour, plus more for kneading
  • 2¼ teaspoons rapid rise yeast (bread machine yeast)
  • 2 teaspoons kosher salt
  • 1⅔ cups water
  • sesame seeds
  • nigella seeds (optional)
  • coarse or flaky sea salt such as fleur de sel or Maldon
  • Glaze:
  • 2 teaspoons all-purpose flour
  • ½ teaspoon sugar
  • ½ teaspoon vegetable oil
  • ⅓ cup water
Preparation
  1. In the bowl of a stand mixer fitted with the dough hook, combine the flour, yeast, salt and water. Mix on medium-low speed until a loose dough forms. (You may also mix the ingredients with your hands or bread machine if you don't have a stand mixer. The dough will be very wet). Increase the speed to medium-high and mix until the dough is supple and smooth, about 5 minutes. If the dough seems too wet, add a teaspoon or so of flour. The dough should be soft and slightly sticky so resist the temptation of adding too much flour. Transfer the dough to a lightly floured work surface and knead for 1 minute. Place the dough in a large oiled bowl. Cover the bowl with lightly oiled plastic wrap and set aside until doubled in volume, about 1 hour.
  2. Gently deflate the dough and divide it into two pieces. Shape each piece into an oval about 9" long. Transfer ovals to a lightly greased baking sheet and cover with a sheet of oiled plastic wrap. Let rise for 30 - 45 minutes.
  3. While the dough is rising, heat the flour, sugar, oil, and water in a small saucepan over medium heat. Cook the flour paste over moderate heat, whisking constantly until slightly thickened, about 2 minutes. The glaze will easily coat the back of a spoon. Set aside to cool.
  4. Place a rack in the lower third of the oven and set a pizza stone on top. Preheat the oven to 450 degrees.
  5. Cover two large cookie sheets with parchment paper and dust very lightly with flour or fine semolina. Working with one piece at a time, gently deflate the dough on the cookie sheet. If making flatbread shape the dough into a 14"x5" rectangle. Using your fingers (floured) press 5 deep, lengthwise ridges into the dough. Brush half of the glaze over the top and sprinkle with sesame seeds, nigella seeds if using, and a little course salt. Slide the dough with the parchment paper on to the pizza stone. If you do not have a pizza stone, bake the bread on the baking sheet on the middle rack of the oven. Bake for about 15 - 18 minutes until the top is golden brown. If you are making focaccia rather than flatbread, shape the dough into a long rectangle that you can later cut into sandwich-sized pieces. (Try not to stretch it too thin). Bake for 15 - 18 minutes. Transfer bread to a wire rack to cool before slicing.


Follow

Get every new post delivered to your Inbox

Join other followers: