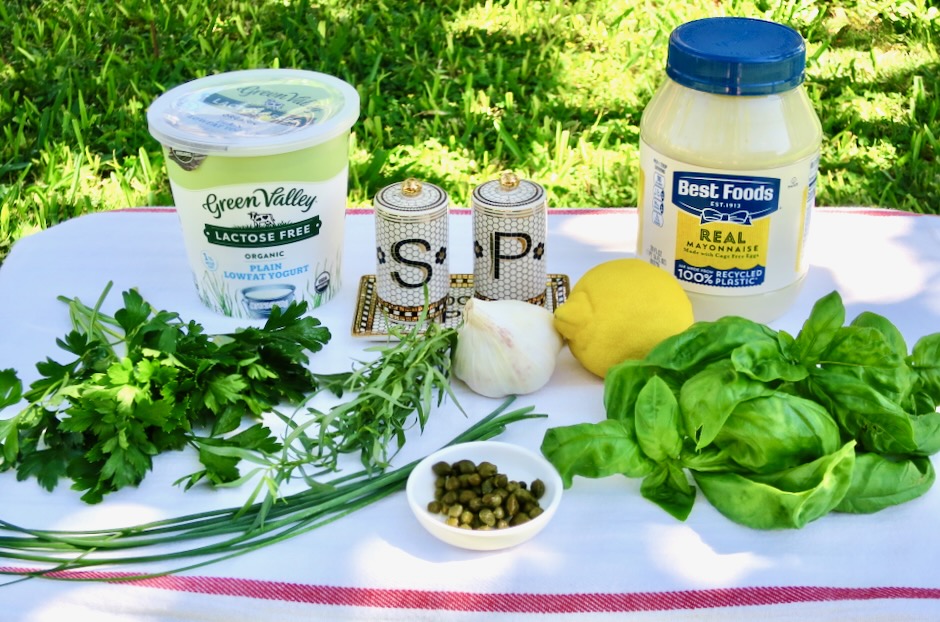
Here’s a lactose free green goddess dressing for those of us who are unable to digest lactose. Green Valley lactose free yogurt comes in handy for all sorts of recipes such as bread, cake and even popsicles. If regular dairy products suit you, go ahead and use your favorite brand of yogurt. Using a good mayonnaise is essential in this recipe as is seeking out the freshest herbs you can find.
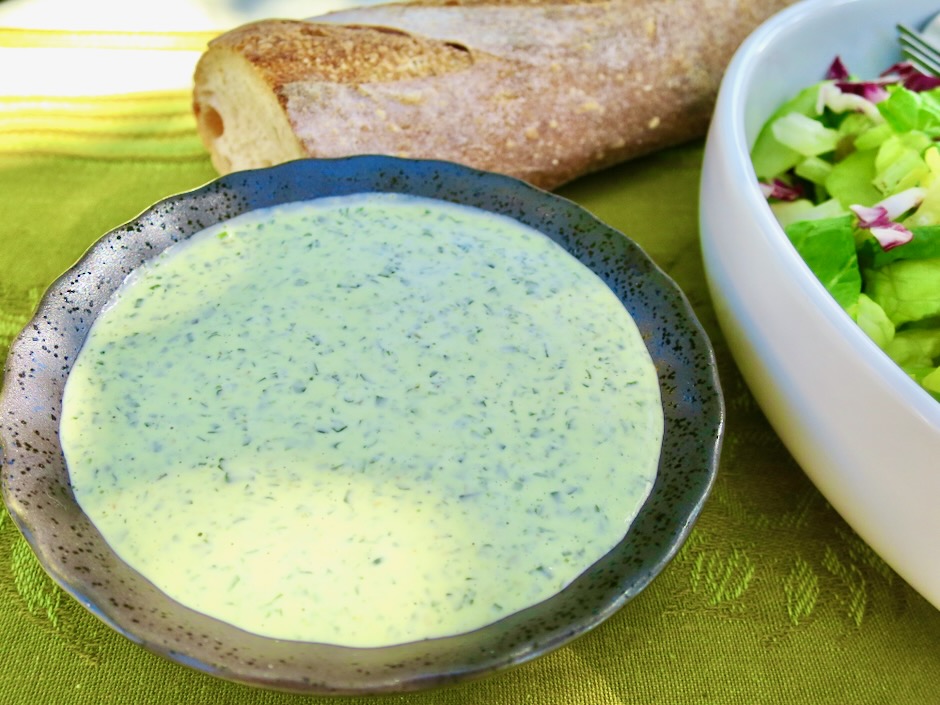
This is one of the easiest and tastiest dressings you can make. It definitely falls into the rich category of dressings given that its main ingredient is mayonnaise, so I make it for special occasions or when I have a produce drawer full of crispy romaine hearts.
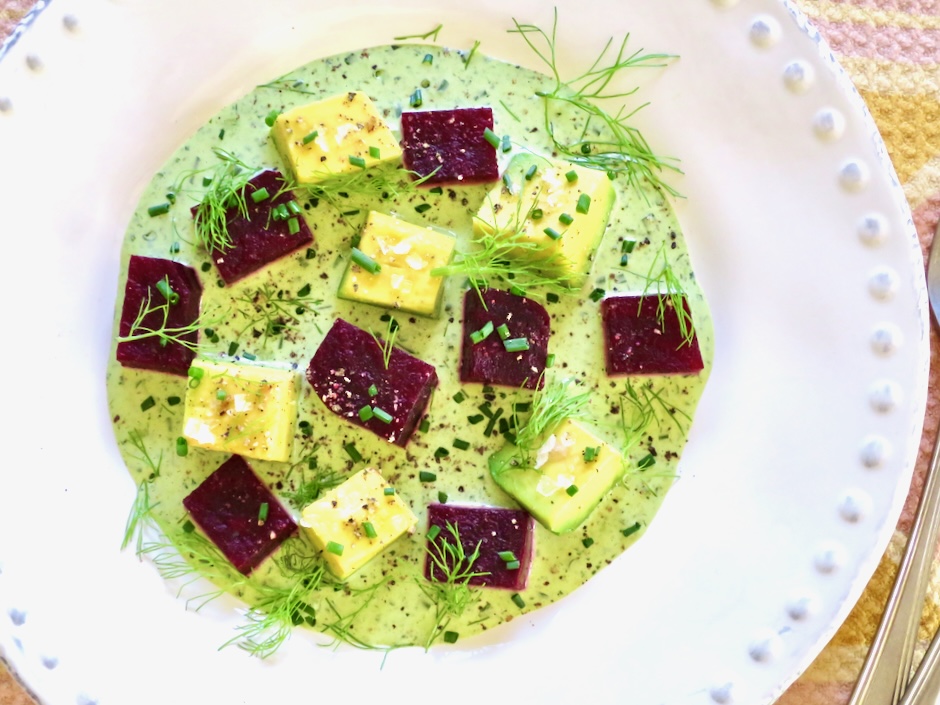
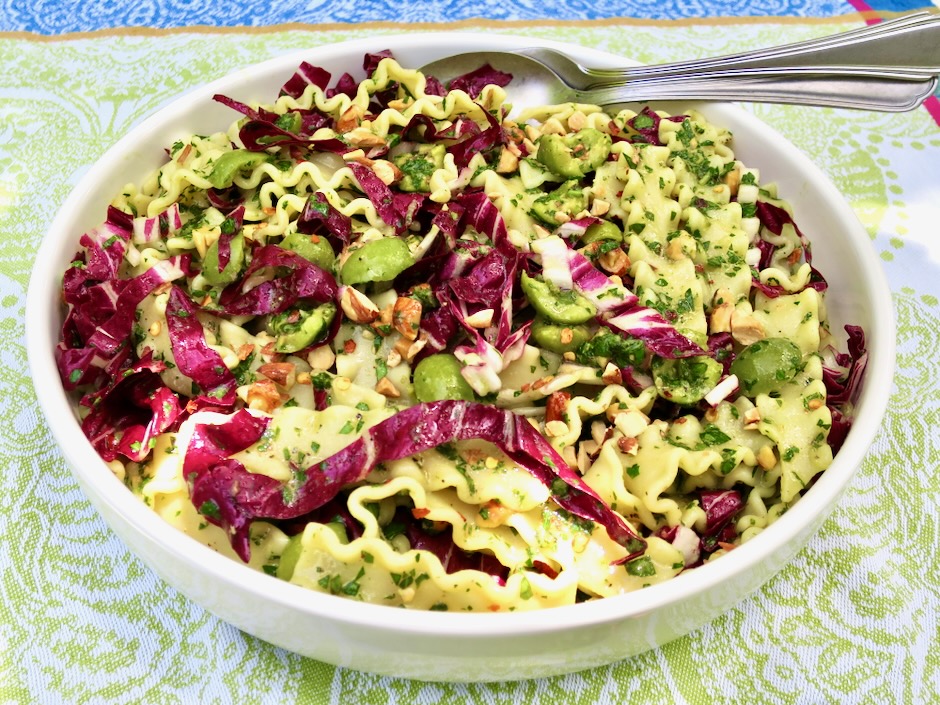
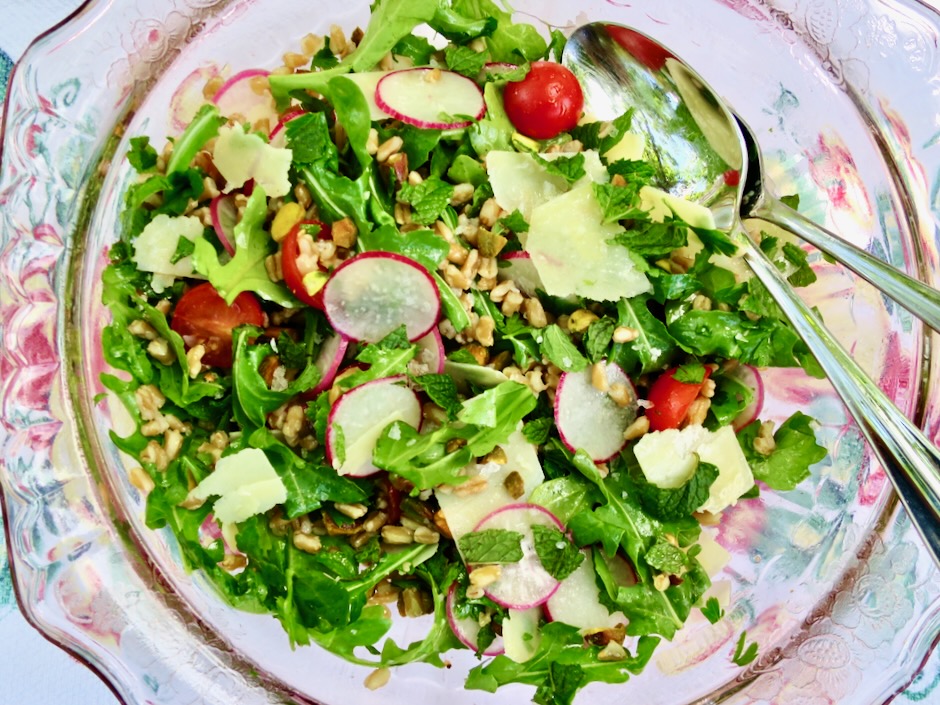
For a stunning salad, arrange steamed diced beets and avocado over green goddess dressing.
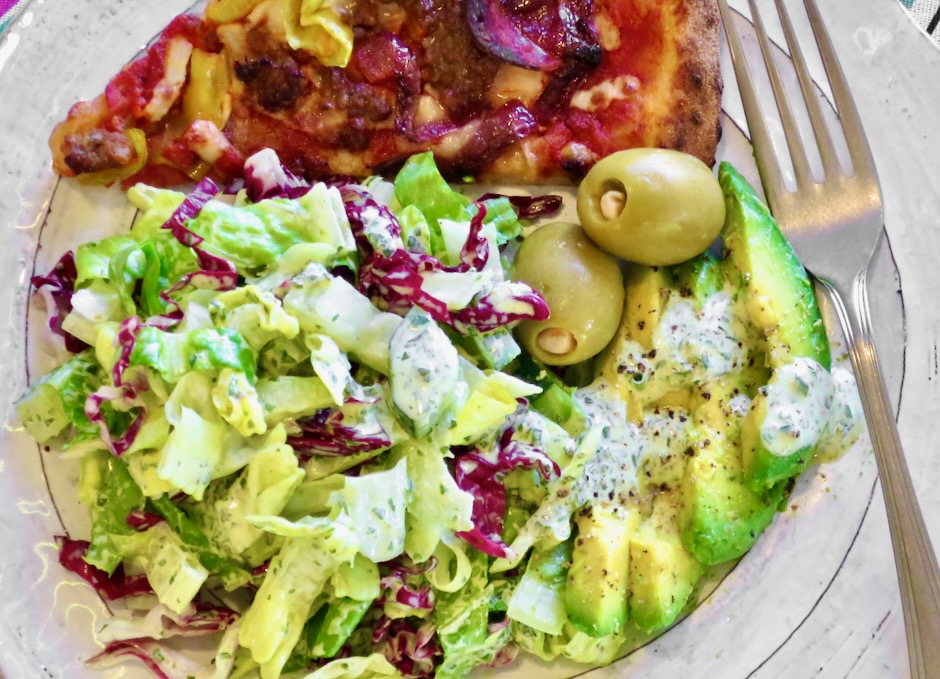
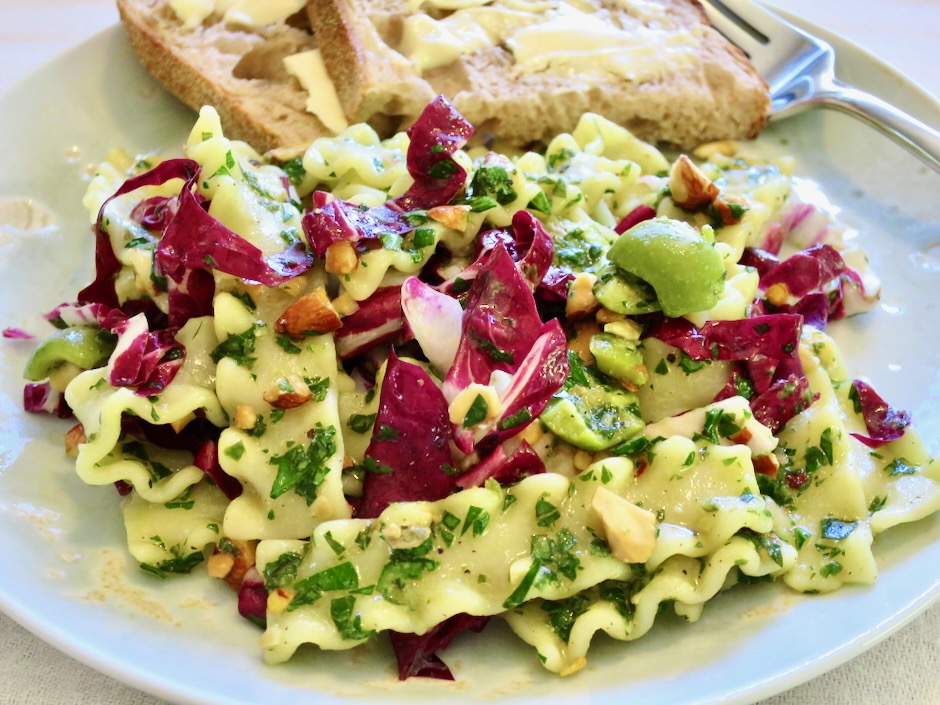
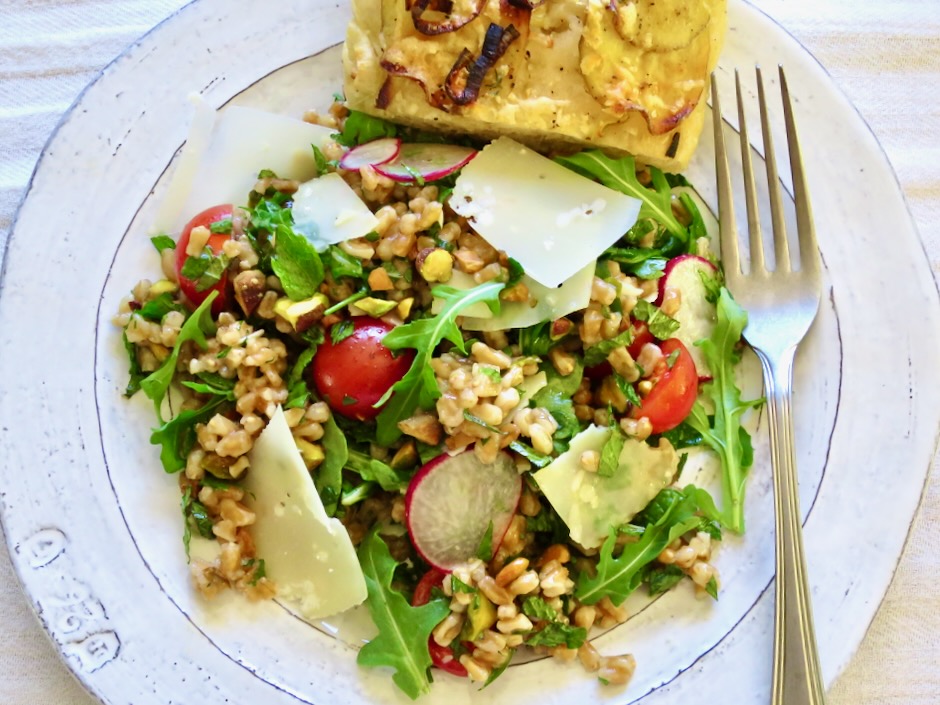
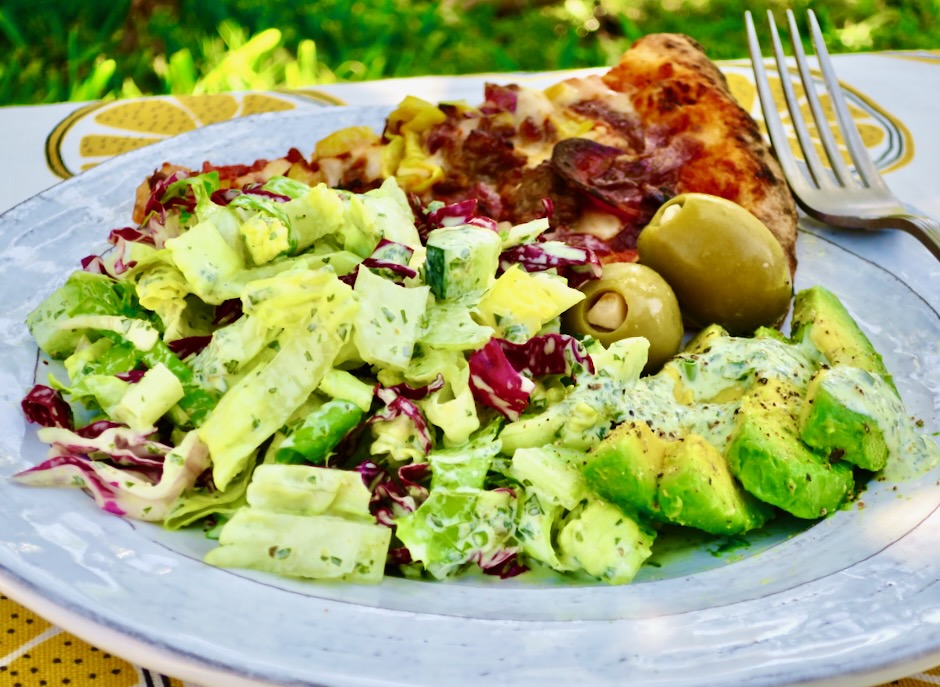
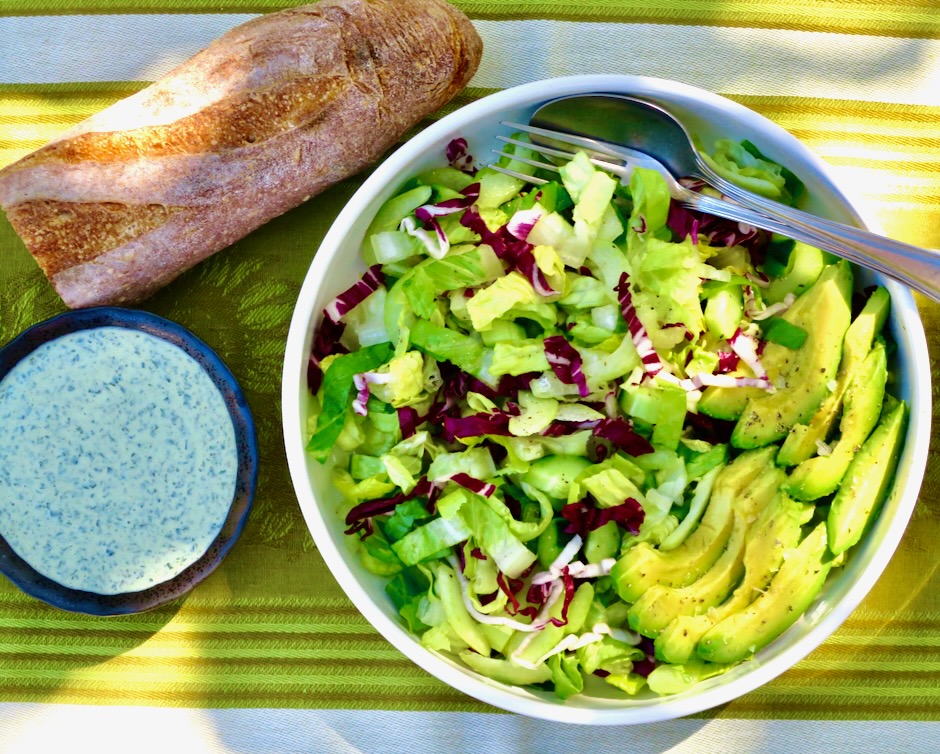
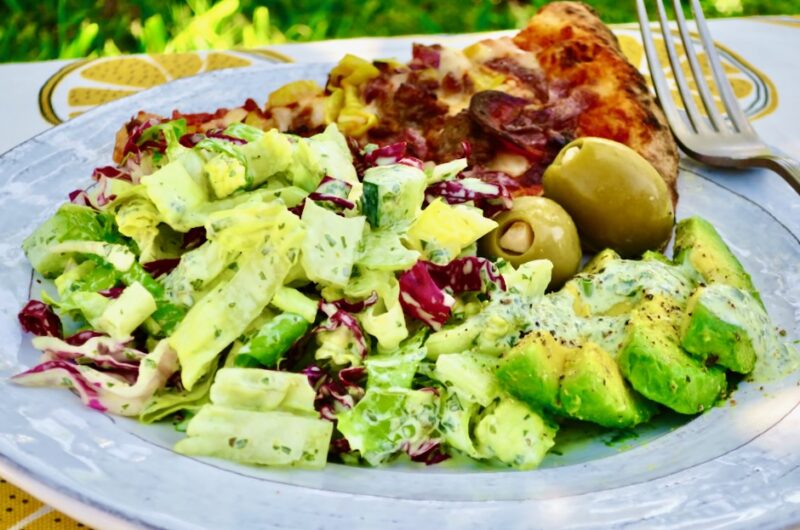
A green goddess dressed salad with a side of sourdough bread makes a splendid meal.
Green Goddess Dressing
1 1/2 c
servingsAdapted from NYT Cooking
Ingredients
1 1/2 teaspoons drained capers
1/2 cup mayonnaise
1/3 cup full fat plain lactose free yogurt (or regular yogurt)
1 cup coarsely chopped flat leaf parsley
1/2 cup roughly chopped basil
1/8 teaspoon finely grated garlic
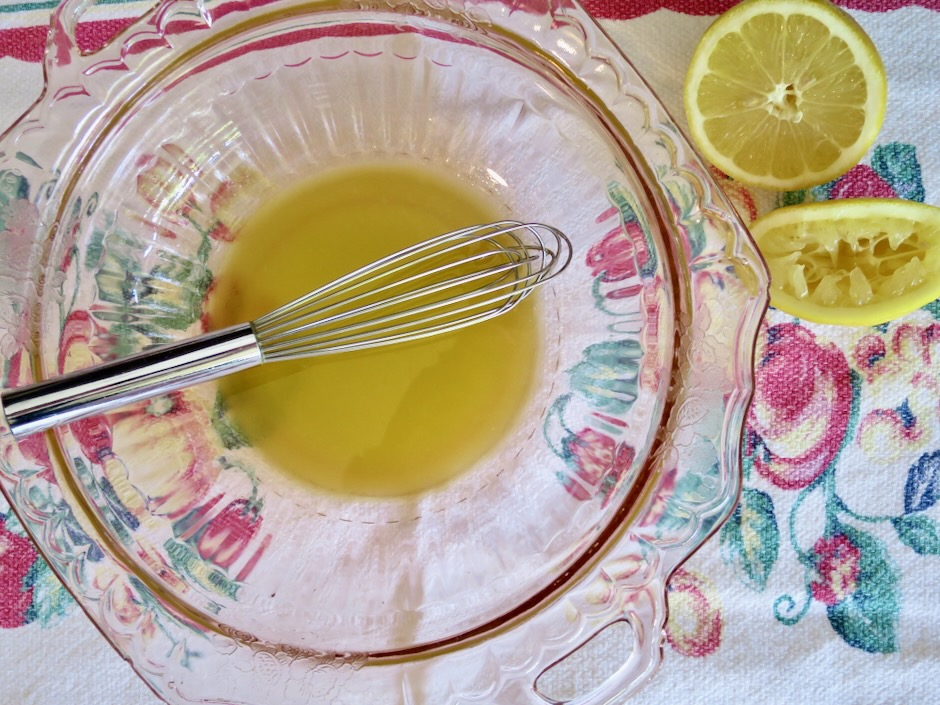
1 1/2 tablespoons fresh lemon juice, divided
2 tablespoons finely chopped tarragon
2 tablespoons finely chopped chives
kosher salt
freshly ground black pepper
Directions
- In a food processor (or use an immersion blender) combine the capers, mayonnaise, yogurt, parsley, basil, grated garlic and 1 tablespoon lemon juice. Process until smooth and uniformly green. Transfer to a lidded jar, and stir in the tarragon, chives, a few dashes of kosher salt, and a few grinds of black pepper. Taste and adjust seasoning as needed with salt, pepper and reserved 1/2 tablespoon lemon juice.
Notes
- Store dressing in the refrigerator for up to 5 days.