Browsing Category

Sauces

Dinner, Fish, Pasta, Recipes, Sauces, Vegetarian

Cilantro Macadamia Nut & Lime Pesto

April 10, 2024

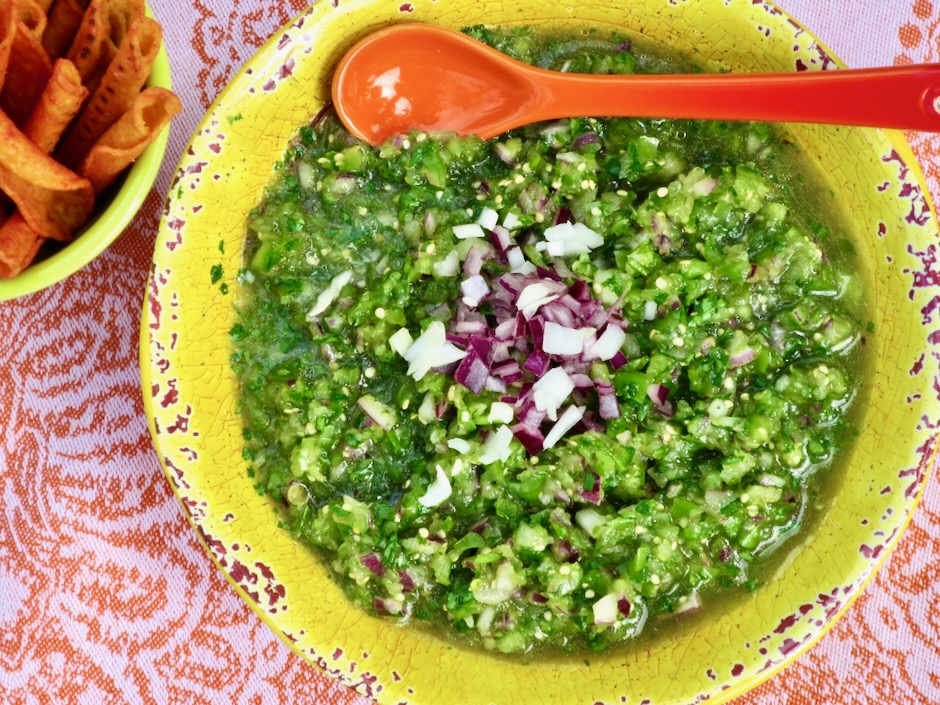
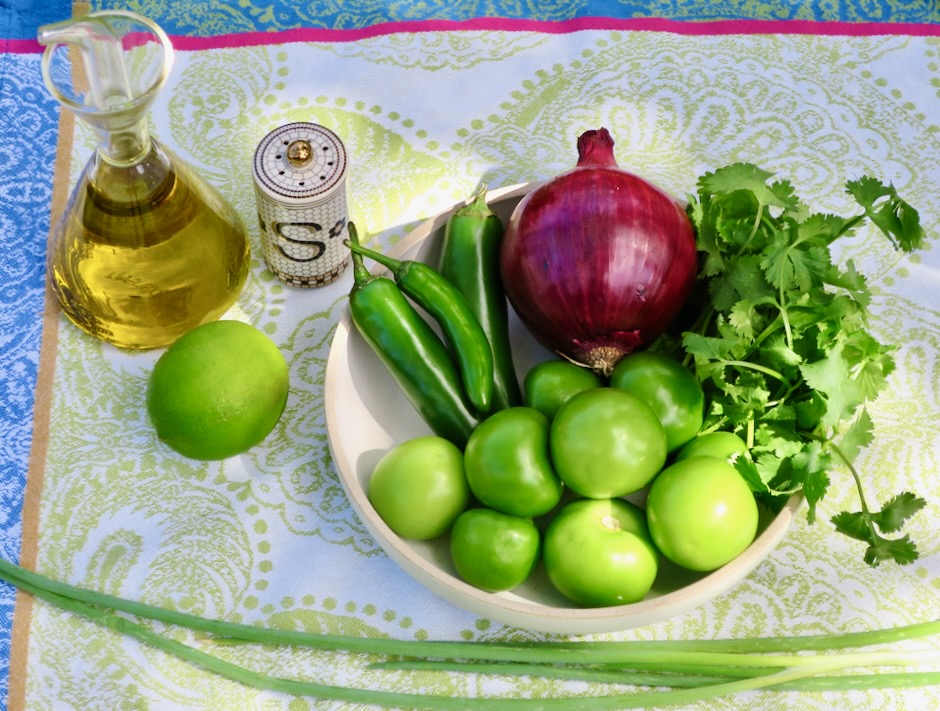
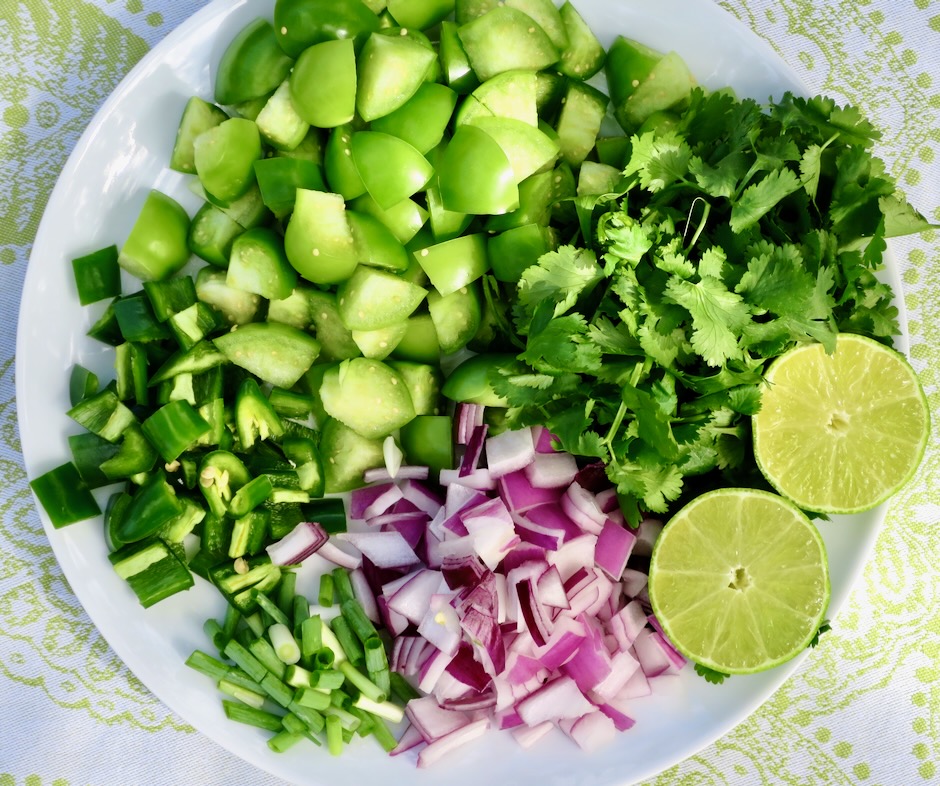
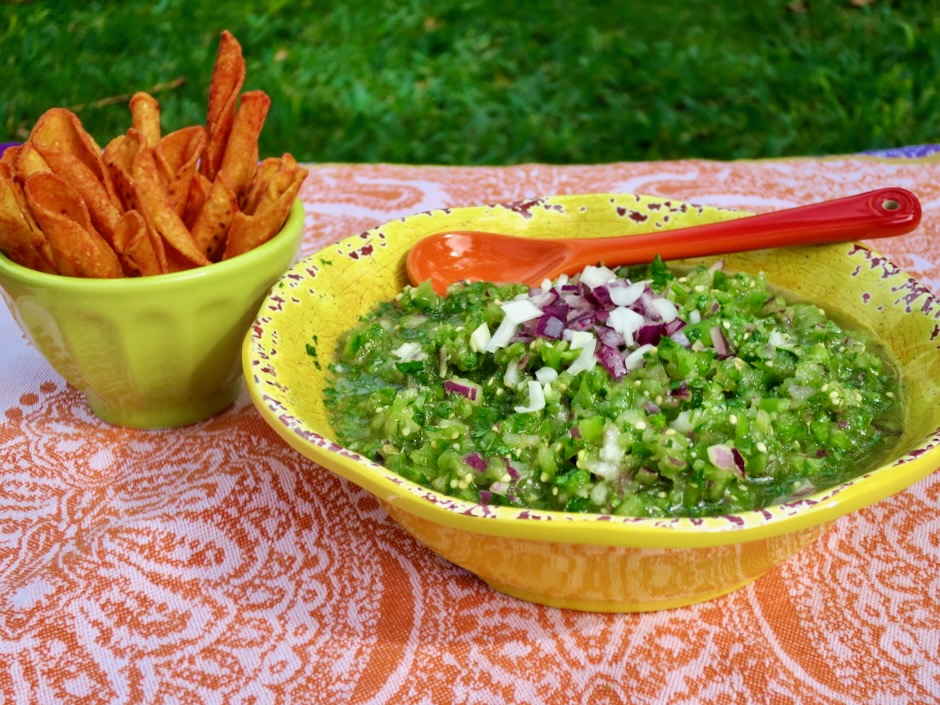
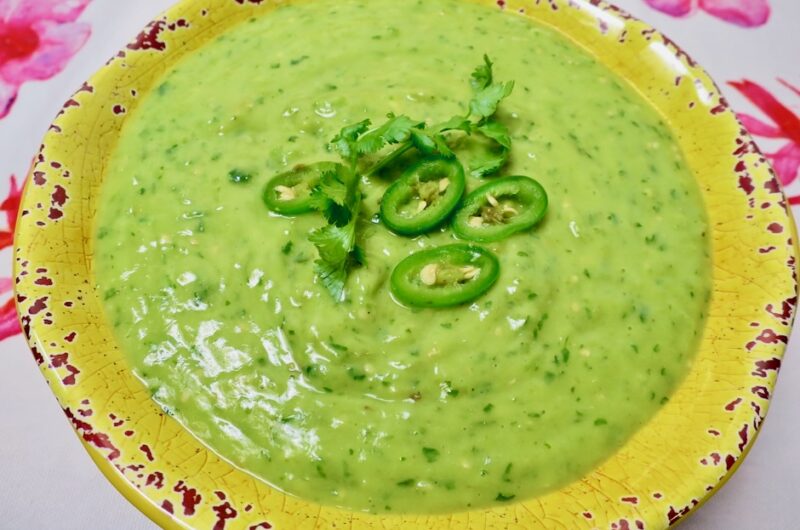
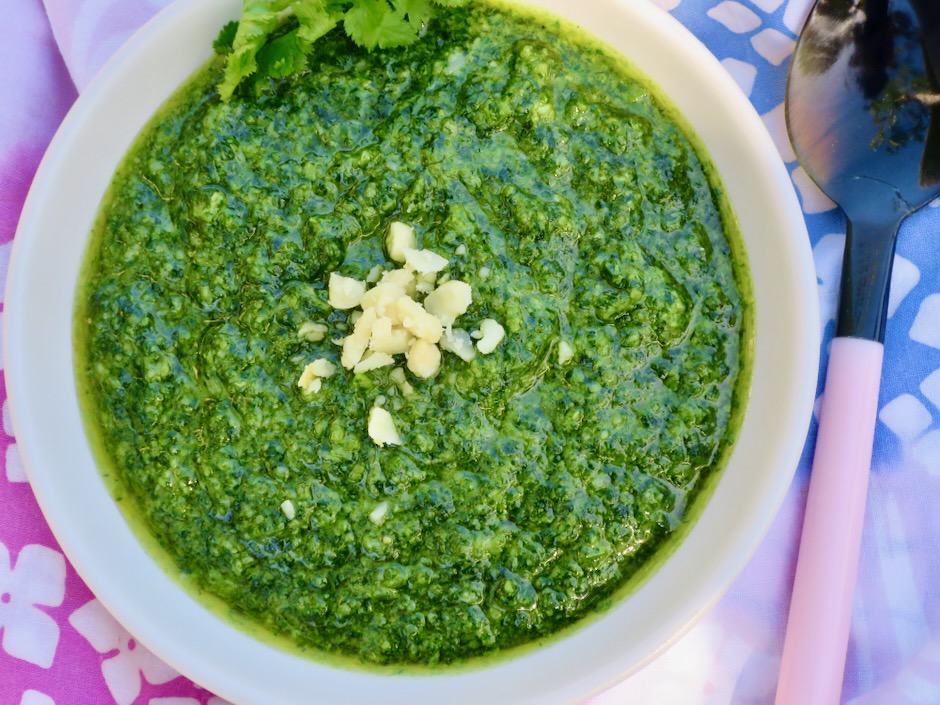
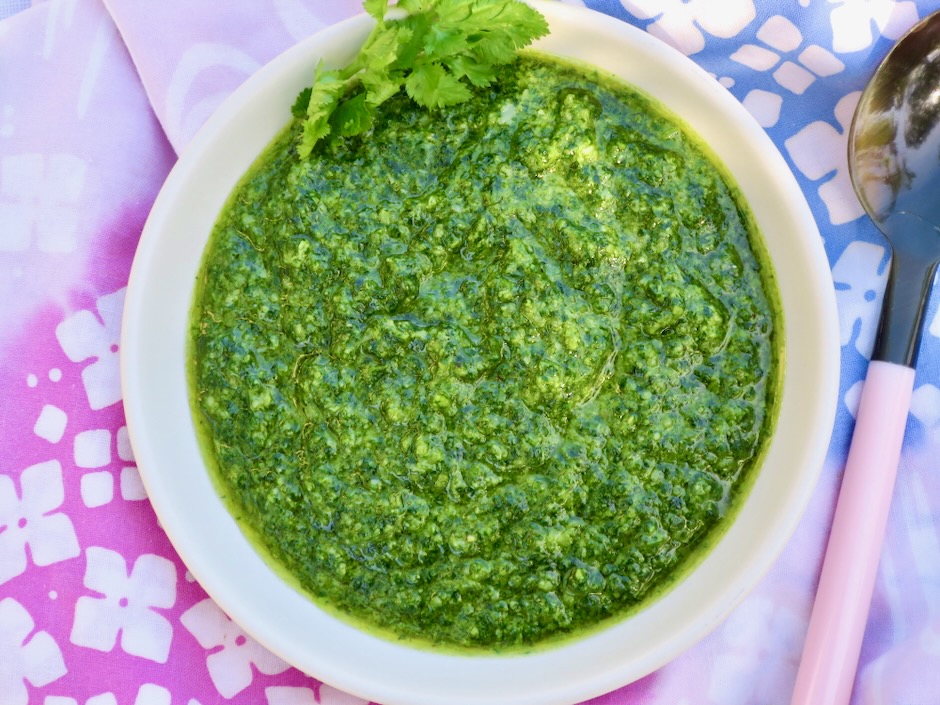
Pesto alla Genovese (basil) is certainly the most classic of all pesto sauces, but there are many other variations that use different herbs in place of basil. Cilantro pesto is a delicious twist on traditional pesto. It has a fresh bright flavor and beautiful vibrant green color. Cilantro pesto is also very versatile. Use it with your favorite pasta, with fish or chicken, as a sandwich spread with salami and cheese, on pizza, with eggs any way, dolloped on tomatoes….

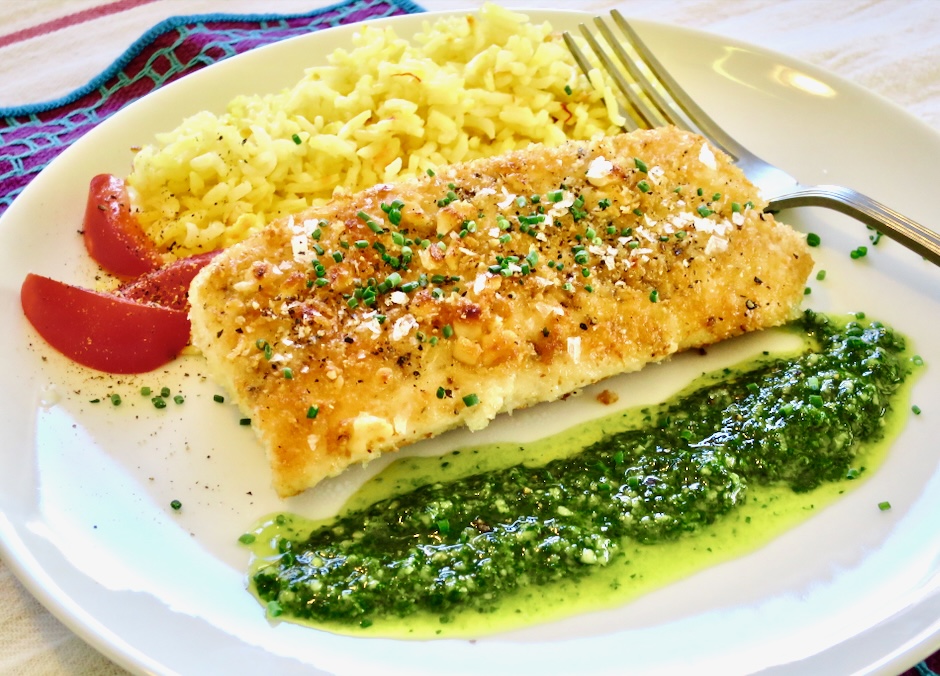
I avoid using pine nuts ever since I had a bad experience many years ago. These days I use raw cashews when making basil pesto. My cilantro pesto uses one of Hawaii’s favorite snacks, macadamia nuts. They are rich and buttery and add a smooth texture to the pesto.

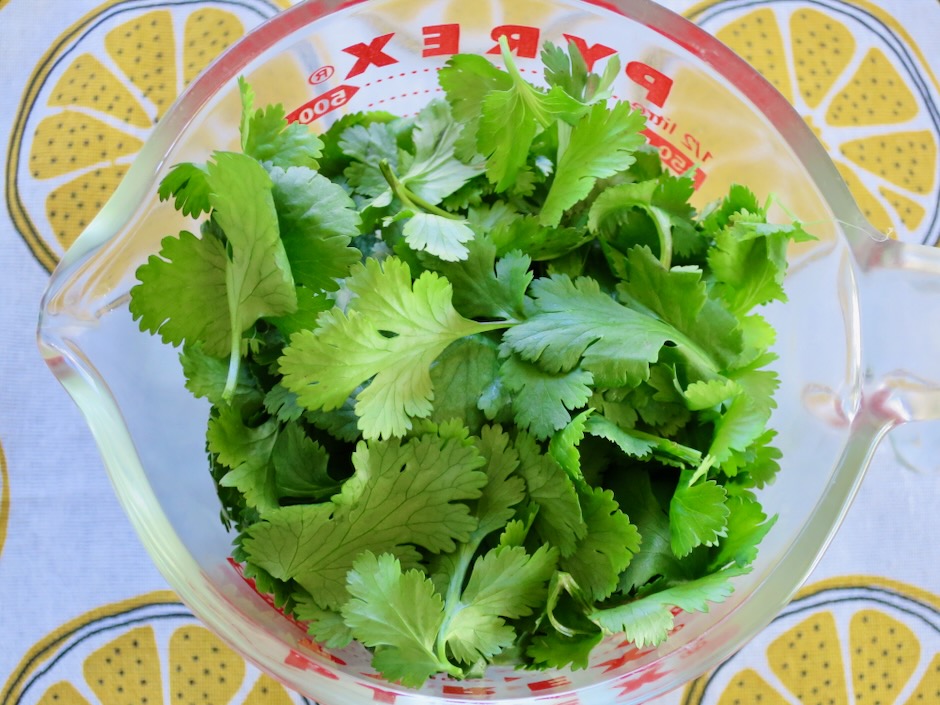
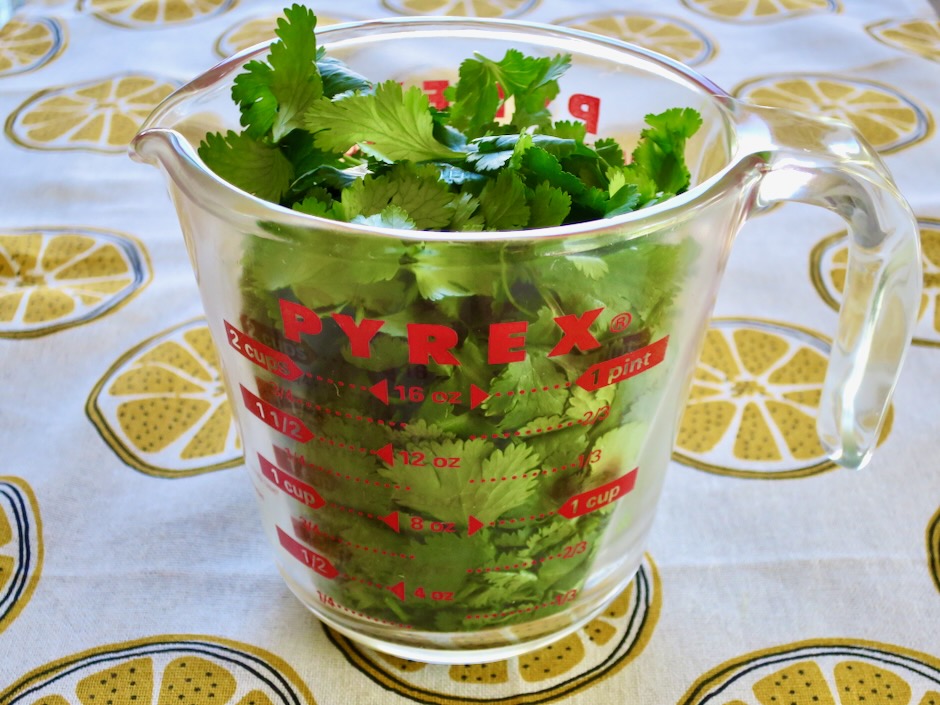
Measure out 2 cups of packed cilantro leaves for this recipe. That would be 1-2 bunches of cilantro, depending on their size.

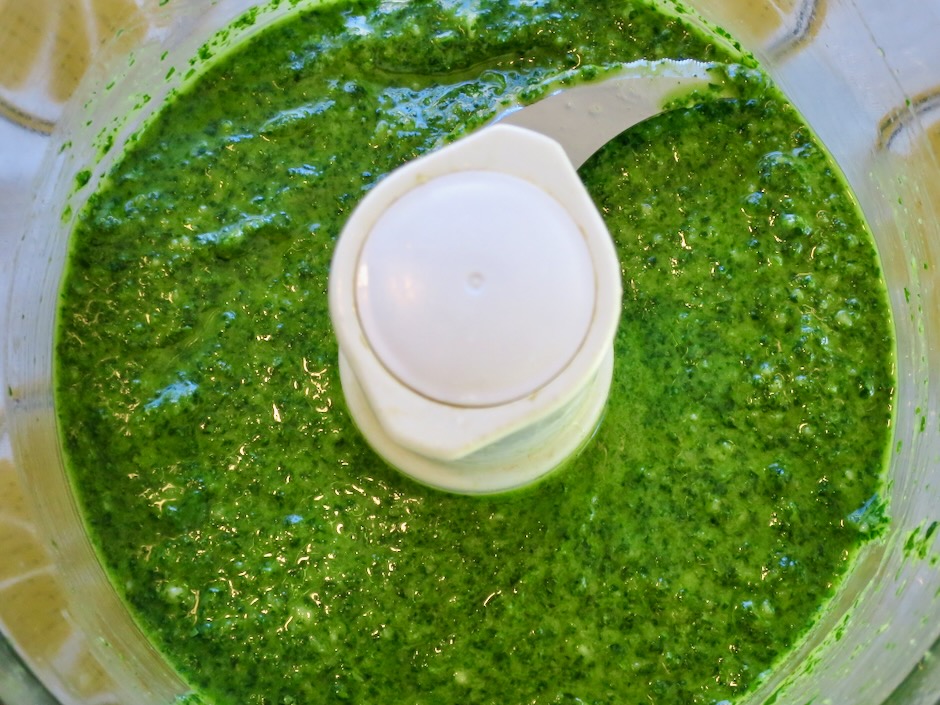
The food processor is a wonderful kitchen appliance to have. I’ve had mine for 15+ years now and it still works like a charm.

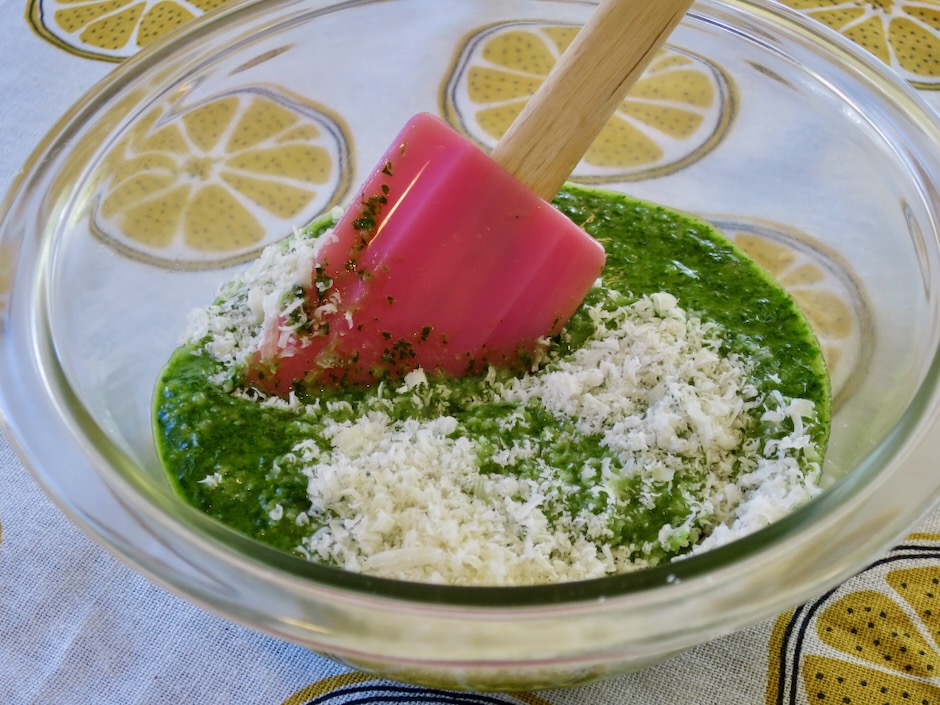
Fold the cheese into the processed pesto. Taste and add additional salt and lime juice if needed.

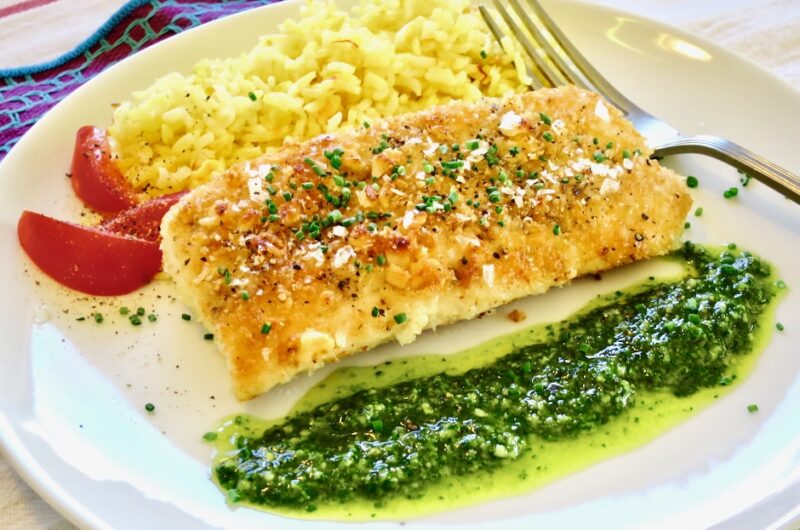
The pesto makes a perfect accompaniment to macadamia nut crusted mahi and saffron rice.

Cilantro Macadamia Nut & Lime Pesto

Recipe by Kiyo
Servings

1 cup

Ingredients

  • 1/3 cup (1.5 ounce) salted roasted macadamia nuts (or substitute with raw cashews)

  • 2 cups (2 ounces) firmly packed cilantro leaves

  • kosher salt

  • 1 large garlic clove, grated or minced

  • 1 tablespoon fresh lime juice

  • 1/2 cup extra virgin olive oil

  • 1/4 cup (.05 ounce) finely grated parmesan cheese

Directions

  • Pulse macadamia nuts in a food processor until coarsely chopped.
  • Add cilantro, 1/2 teaspoon kosher salt, garlic and lime juice. Pulse until the cilantro is finely chopped, scraping down sides of bowl as needed. Pour in olive oil and pulse until the pesto is smooth. Stir in grated parmesan cheese. Taste and adjust seasoning with additional salt and lime juice.

Notes

  • Pesto can be frozen in small containers for a few months.
Appetizers, Dinner, Lactose Free, Mexican, Recipes, Sauces, Summertime Meal, Vegan, Vegetarian

Tomatillo Salsa Cruda

February 14, 2024

This beautiful salsa is so refreshing and very easy to put together. It compliments a wide range of dishes: tacos, scrambled eggs, burritos, quesadillas, tortilla chips and grilled chicken. And since you do not need to cook any of the ingredients you can make this in a jiffy.

This recipe comes from Fermin Nunez, voted best new chef in 2021 by Food & Wine magazine. It caught my attention not only because I love Mexican cuisine, but also because it seemed easy to make. I knew it would be delicious served with tacos I planned for dinner. A little tart from the tomatillos and lime juice, a little spicy from the chiles, this salsa cruda (raw sauce) is delightful.

After a little chopping, everything goes into the food processor for a quick whirl. Lime juice, olive oil and salt are stirred in to balance the flavors. That’s it. The salsa is ready to be served.

Tomatillo based salsas go hand in hand with braised pork tacos and any style of tortilla chips.

Tomatillo Salsa Cruda

Recipe by Kiyo
Servings

8

servings

Adapted from Food & Wine magazine

Ingredients

  • 12 ounces (about 2 1/2 cups) fresh tomatillos, husked, washed and roughly chopped

  • 4 ounces (about 3/4 cup) red onion, roughly chopped

  • 1 cup packed fresh cilantro (from 1 medium bunch)

  • 2 ounces (2 medium) jalapeños, stemmed and roughly chopped

  • 1 ounce (2) scallions, trimmed and roughly chopped

  • 1/8 ounce (1 medium or 1 1/2 tablespoons) serrano chile, stemmed and roughly chopped

  • 2 tablespoons olive oil

  • 2 tablespoons fresh lime juice

  • 1 teaspoon kosher salt, plus more to taste

Directions

  • Pulse tomatillos, onion, cilantro, jalapeños, scallions, and serrano chile in a food processor until finely chopped, 12-16 pulses, stopping to scrape down sides of bowl as needed. Transfer mixture to a medium bowl. Stir in olive oil, lime juice, and salt. Season with additional salt to taste.

Notes

  • For a milder salsa, remove the pith from the chiles. Salsa will keep well for up to 3 days stored in the refrigerator.
Bread, Dressing, Lactose Free, Recipes, Sandwiches, Sauces, Vegetarian

Tarragon Aioli

December 29, 2023

I’ve been a fan of fresh tarragon ever since I started making béarnaise sauce for our filet mignon dinners. An aromatic herb with a very subtle and delicate licorice flavor, adding tarragon elevates an assortment of sauces and dishes.

This recipe is a snap to make and it will take your sandwich to the next level. Using prepared mayonnaise means you can whip up this tarragon aioli in less than 10 minutes. Slather it on grilled or toasted sourdough bread and layer on sliced tomatoes, or use it for BLT and chicken sandwiches, sliced hard boiled eggs or a dip for asparagus.

My favorite way to use tarragon aioli is on our homemade sourdough bread topped with juicy tomatoes. Grilling the bread with a bit of olive oil elevates the flavor and makes for a scrumptious open-faced sandwich.

Be generous with the aioli! You want your sandwich to be well seasoned.

Tarragon Aioli

Recipe by Kiyo
Servings

1/2 cup

Ingredients

  • 1/2 cup mayonnaise

  • 1 medium garlic clove, finely grated (microplane works great)

  • 1 1/2 tablespoons finely chopped tarragon

  • 1 1/2 teaspoons fresh squeezed lemon juice

  • 1 teaspoon lemon zest

  • salt and pepper to taste

Directions

  • In a small bowl mix together the mayonnaise, garlic, tarragon, lemon juice and lemon zest. Add a pinch of salt and a few grinds of pepper. Taste and adjust salt and pepper as needed. Serve right away or keep refrigerated for up to 5 days.

Notes

  • Here on Maui tarragon can be found at Whole Foods
Beef, Dinner, Lactose Free, Recipes, Sauces, Vegan, Vegetarian

Béarnaise Butter

September 1, 2023

A good sauce will elevate that most decadent cut of beef, the filet mignon. And especially béarnaise sauce, one of the fundamental sauces of French cuisine. It can transform any dish into one that is truly extraordinary. The piquant flavor of the reduced wine, butter, eggs, and fresh tarragon whisked into a silky sauce is divine. But we don’t always have time to whip up béarnaise sauce so that’s where béarnaise butter comes in. It can be made well in advance and stored in the refrigerator for a month or in the freezer for several months.

A perfectly cooked steak right off the grill with a generous pat of béarnaise butter is the epitome of steak perfection.

Known as “the King of Herbs” in France, tarragon is highly aromatic and essential in béarnaise sauce and this butter. It lends itself well to many dishes such as potatoes, chicken, omelettes, pasta and just about anything you use it with.

It doesn’t take but 5 minutes or so for the liquid to evaporate from the pan of shallots. You will then be left with the most flavorful shallots imaginable.

Once the shallots have cooled, they are mixed with the softened butter along with the minced tarragon, parsley, salt and pepper. The butter is transferred to a piece of plastic wrap and shaped into a tube then chilled in the freezer until slightly firm (it will be quite soft). Once it firms up a bit you will be able to re-shape the tube into a perfect circular log and re-wrap until ready to use.

Lightly smoked then grilled filet mignon with béarnaise butter is surely one of the grandest meals imaginable.

Leftover béarnaise butter is delicious tossed with long strands of linguine and asparagus. Use leftover béarnaise butter on sautéed vegetables, steamed green peas, on baked fish or chicken. Swirl some béarnaise butter in a pan before pouring in lightly beaten eggs then serve on toast.

Béarnaise Butter

Recipe by Kiyo
Servings

8-10

servings

Adapted from Food & Wine magazine

Ingredients

  • 1/4 cup finely minced shallots

  • 1/4 cup dry white wine

  • 1 1/2 tablespoons white wine vinegar

  • 6 ounces (170g) Miyoko’s hint of salt vegan butter or regular butter
    (1 1/2 sticks), at room temperature

  • 1/4 cup minced tarragon

  • 1 tablespoon minced flat leaf parsley

  • kosher salt and freshly ground black pepper

Directions

  • In a medium saucepan, combine shallots with wine and vinegar. Cook over moderate heat until all of the liquid has evaporated, about 5 minutes. Transfer shallots to a small bowl to cool to room temperature. You can speed up the cooling process by placing shallots in the refrigerator.
  • Scrape shallots into bowl with butter. Beat together with a handheld mixer until creamy. Fold in herbs and season to taste with salt and pepper. Transfer butter to a piece of plastic wrap and shape into a log. The butter will be soft at this point so don’t worry too much about getting the perfect shape. Transfer to the freezer for 10 minutes then re-shape as needed. Wrap a piece of foil around the plastic wrapped butter. Store in the refrigerator for up to 1 month or freezer for up to 3 months.

Notes

  • Remove butter from the refrigerator 30 minutes before serving. The butter will be easier to slice into neat rounds and will melt perfectly over the steak.
Appetizers, Dinner, Dressing, Lactose Free, Mexican, Recipes, Sauces, Vegan, Vegetarian

Guacamole Salsa

February 12, 2023

This guacamole salsa is creamy, spicy, and has just the right amount of acidity to make it one of my new favorite condiments for all things Mexican. After watching The Taco Chronicles on Netflix, I was intrigued by this beautiful salsa that was drizzled on tacos throughout Mexico. The combination of avocado and tomatillos with spicy peppers is delicious.

Each ingredient contributes loads of flavor to the salsa. Browning the vegetables a bit intensifies their flavor even more so.

It doesn’t take very long to impart a bit of color to the vegetables. A little goes a long way in developing flavor. Anyone who happens to walk by the kitchen will immediately know something tasty is in the works.

A medium avocado is all you need for this recipe. It adds texture to the salsa as well as a silky richness when combined with the other ingredients.

Everything goes into the blender before serving. I like to make this a few hours in advance and chill it before serving.

The salsa is delicious on tacos, but don’t stop there. I serve it with burritos, quesadillas, corn chips and tamales. It is quite versatile. You can even serve it with grilled fish, Mexican style grilled chicken, as a salad dressing for cabbage or crispy iceberg lettuce and as a topping for Mexican rice.

Guacamole Salsa

Recipe by Kiyo

2

cups

Ingredients

  • 1/2 pound tomatillos, husked, washed and sliced in half

  • 1 jalapeño pepper (you may use jalapeños or serrano peppers or a combination)

  • 2 serrano peppers

  • 1/2 small onion cut into 4 wedges

  • 2 medium garlic cloves, peeled

  • canola or vegetable oil for the pan

  • generous handful of cilantro

  • 1 medium avocado, seeded and peeled

  • 1 tablespoon freshly squeezed lime juice

  • 2 teaspoons kosher salt

Directions

  • Drizzle a teaspoon of canola oil into a medium sized fry pan and place over medium heat. Arrange tomatillos cut side down, along with the onion wedges, whole peppers, and garlic. Cook until vegetables are lightly charred turning as needed, about 5 minutes. Remove garlic ahead of time so that it doesn’t burn. Transfer to a bowl to cool slightly. Once cool enough to handle, slice peppers in half and remove seeds. Taste peppers to see how spicy they are and use just what you need according to how spicy you want the salsa to be.
  • Transfer tomatillos, peppers, onion and garlic to a blender. Add avocado, a handful of cilantro, 1 tablespoon of lime juice, 2 teaspoons kosher salt, and 3/4 cup water. Blend until smooth. Taste and adjust seasoning with more salt and lime juice if needed.
  • Transfer to a bowl and chill until ready to serve. The salsa is best used within 4 days. Any leftover salsa may be frozen in a plastic container. Defrost in the refrigerator overnight and stir before serving.

Notes

  • A plastic squeeze bottle is the most convenient way to serve and store the salsa.
Chicken, Dinner, Lactose Free, Recipes, Sauces

Best Make Ahead Gravy for Poultry

November 10, 2021

Best Make Ahead Gravy for Poultry with Roasted Chicken

It must be more than 15 years ago that I first made this all-purpose gravy.  I don’t recall where the recipe came from, but  I’ve made it many times.  So many, that the recipe card is looking rather ragged.  One day, John suggested adding a bit of demi-glace to the recipe.  Best idea ever.  Demi-glace adds an “umami” essence similar to but possibly better than pan drippings and makes the gravy extra delicious.  This is our go to recipe for poultry gravy.  This is a real plus when you want to roast a small turkey breast or chicken that may not provide enough pan drippings to make gravy.

Gravy Ingredients

The only special ingredient required is demi-glace.  I highly recommend Williams Sonoma demi-glace.  Once you pop open the cap, you’ll know why demi-glace is king.  We use the veal demi-glace in the gravy because that’s what we keep on hand.  We use it in other recipes such as filet mignon with bordelaise sauce, pork tenderloin saltimbocca , and pressure cooker beef stew.  Williams Sonoma also sells beef and chicken demi-glace so feel free to use which ever one suits you.

Williams Sonoma Demi-Glace

I whisk the demi-glace with a bit of the chicken broth to thin it out, then add it back to the rest of the broth.  If you add the demi-glace to the 4 cups of broth without doing this step, it will be difficult to obtain a smooth mixture without any lumps.

Williams Sonoma Demi-Glace

Earth Balance Buttery Sticks

Since I am lactose intolerant, I use Earth Balance Buttery Sticks because they are lactose free.  Feel free to use regular butter if you make this recipe.

Earth Balance Buttery Sticks with Flour

Once the Buttery Sticks have melted, the flour is whisked in, followed by the broth mixture and seasonings.

Best Make Ahead Gravy for Poultry

In less than 30 minutes you will have a delicious gravy that can be made in advance and stored in the refrigerator for a few days or frozen until ready to use.

Best Make Ahead Gravy for Poultry

Best Make Ahead Gravy for Poultry with Roasted Chicken

The gravy is delicious over roasted chicken, turkey, mashed potatoes and stuffing.  

Best Make Ahead Gravy for Poultry with Roasted Chicken

Best Make Ahead Gravy for Poultry
 
Author:
Serves: 4 cups
Ingredients
  • 2 14.5-ounce cans chicken broth poured into 4-cup measuring cup topped off with water to equal 4 cups total liquid
  • 4 tablespoons demi-glace (Veal, Beef or Chicken - Williams Sonoma brand recommended)
  • 1 stick (4 ounces) Earth Balance Buttery Sticks (lactose free version) or regular butter
  • ¼ cup + 3 tablespoons (7 tablespoons total) all-purpose flour
  • 1 teaspoon poultry seasoning
  • kosher salt
  • freshly ground black pepper
Preparation
  1. Place demi-glace in a small bowl with high sides. Add four tablespoons of the broth & water mixture to the demi-glace. Cover bowl and microwave for about 10 seconds, just enough to warm the liquid slightly. Whisk the mixture until smooth. Stir the demi-glace mixture into the chicken broth. This step helps to ensure the demi-glace and broth are well combined.
  2. Heat Buttery Sticks or butter in a medium sized sauce pan or Dutch oven over medium heat. Once melted, add flour and whisk constantly to form a smooth paste. Adjust heat if it seems too high. Slowly add the chicken broth mixture to the pan, whisking constantly. Add poultry seasoning, a few pinches of salt and freshly ground pepper. Once the gravy starts to bubble turn the heat down to a very gentle simmer. Let gravy simmer for about 5 - 10 minutes, or until slightly thickened, stirring now and then, especially around the bottom and sides of the pan.
  3. Turn heat off. Taste gravy and adjust seasoning adding more pepper and salt as needed. Let cool slightly, then transfer to containers and store in the refrigerator for up to 3 days. When ready to use, heat gravy in a sauce pan over medium-low to medium heat. Whisk the gravy to ensure it is smooth. If the gravy seems too thick, add water by the tablespoon to thin out to desired consistency. Gravy may be frozen in sealed containers for up to 4 months.


Follow

Get every new post delivered to your Inbox

Join other followers: