Browsing Category

Beef

Beef, Dinner, Lactose Free, Recipes, Sauces, Vegan, Vegetarian

Béarnaise Butter

September 1, 2023

A good sauce will elevate that most decadent cut of beef, the filet mignon. And especially béarnaise sauce, one of the fundamental sauces of French cuisine. It can transform any dish into one that is truly extraordinary. The piquant flavor of the reduced wine, butter, eggs, and fresh tarragon whisked into a silky sauce is divine. But we don’t always have time to whip up béarnaise sauce so that’s where béarnaise butter comes in. It can be made well in advance and stored in the refrigerator for a month or in the freezer for several months.
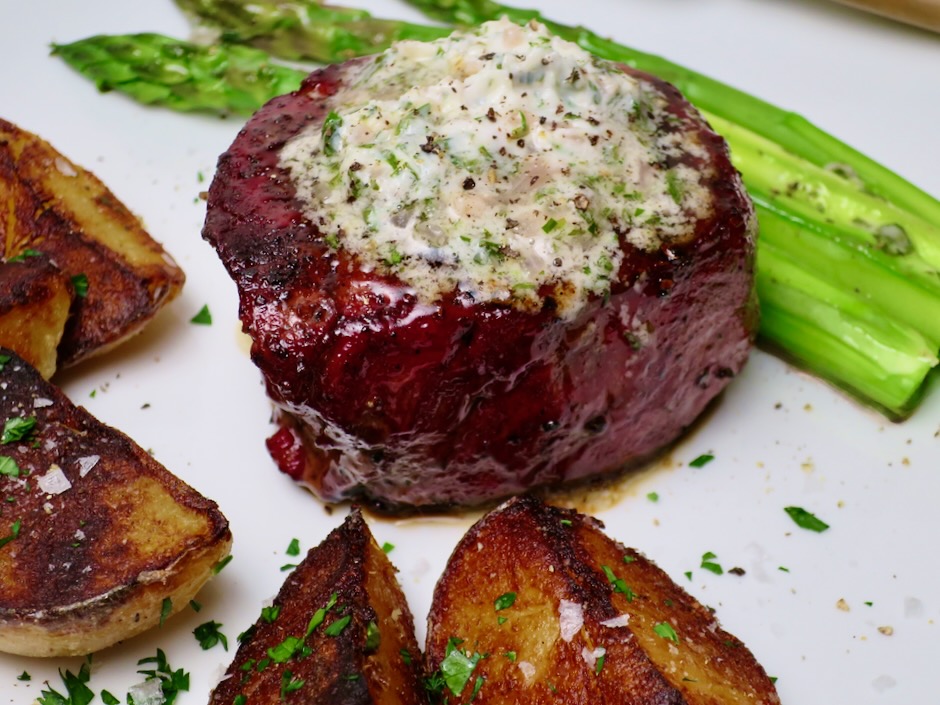
A perfectly cooked steak right off the grill with a generous pat of béarnaise butter is the epitome of steak perfection.

Known as “the King of Herbs” in France, tarragon is highly aromatic and essential in béarnaise sauce and this butter. It lends itself well to many dishes such as potatoes, chicken, omelettes, pasta and just about anything you use it with.
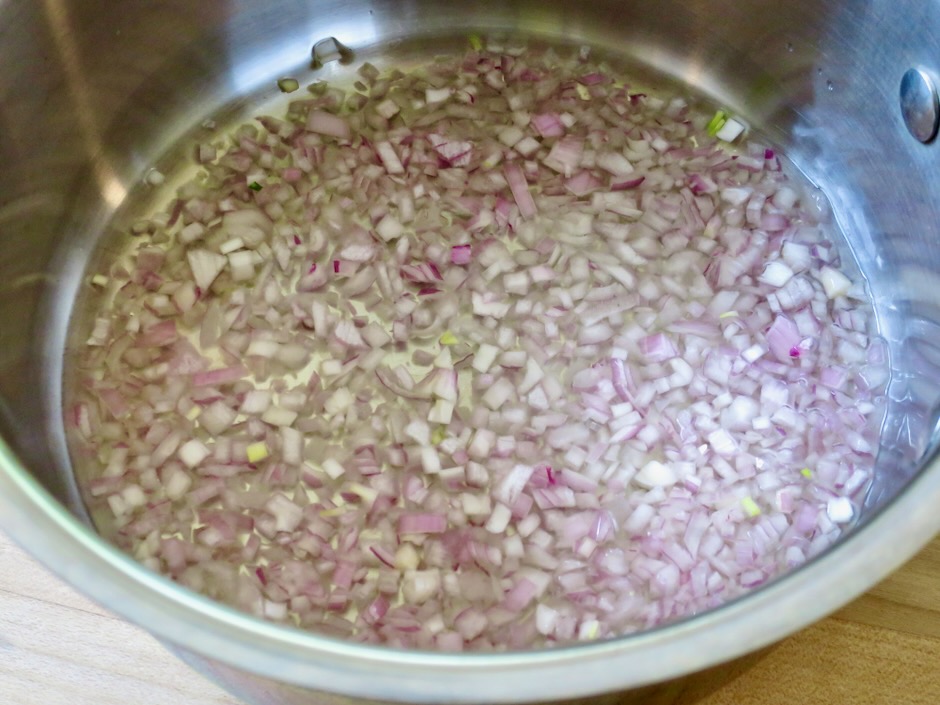
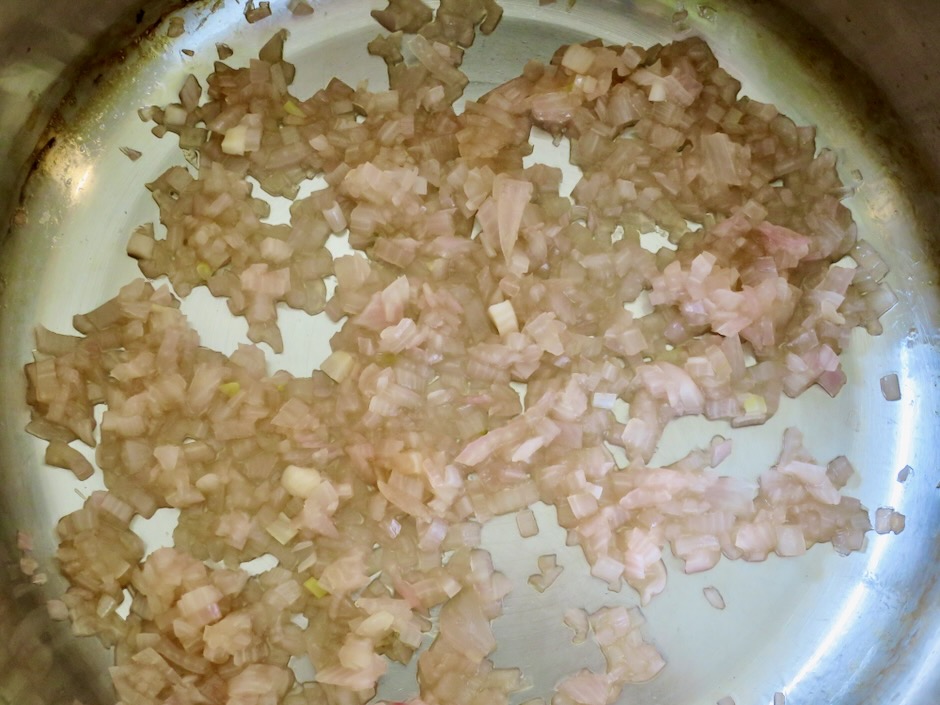
It doesn’t take but 5 minutes or so for the liquid to evaporate from the pan of shallots. You will then be left with the most flavorful shallots imaginable.
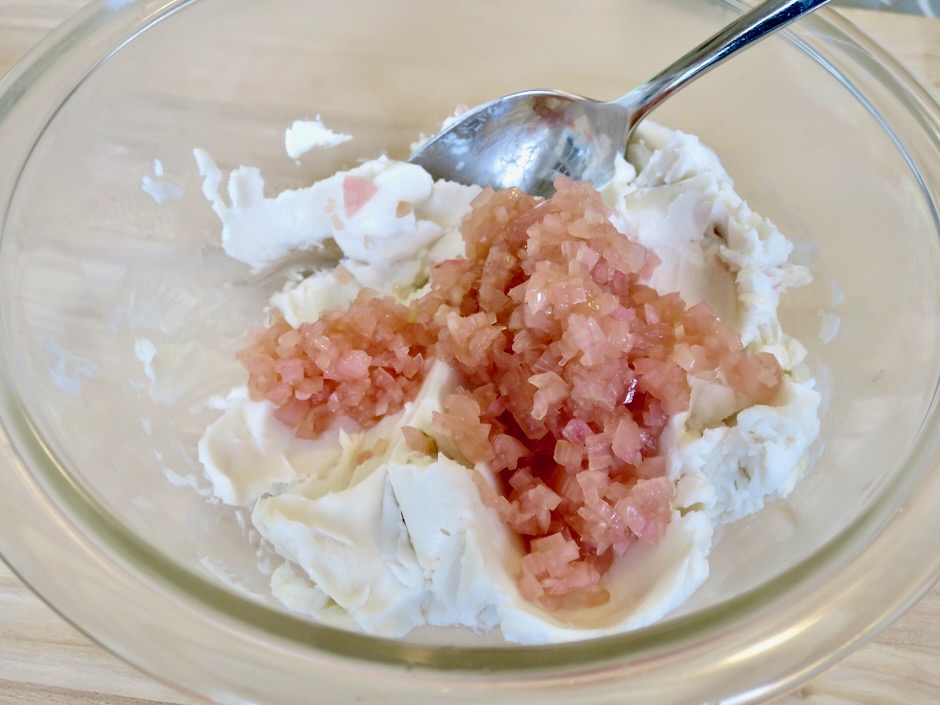
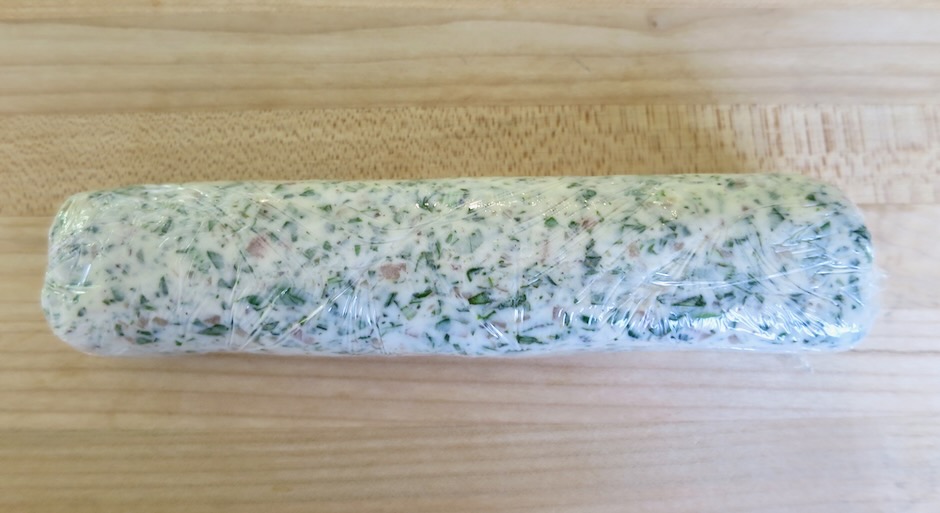
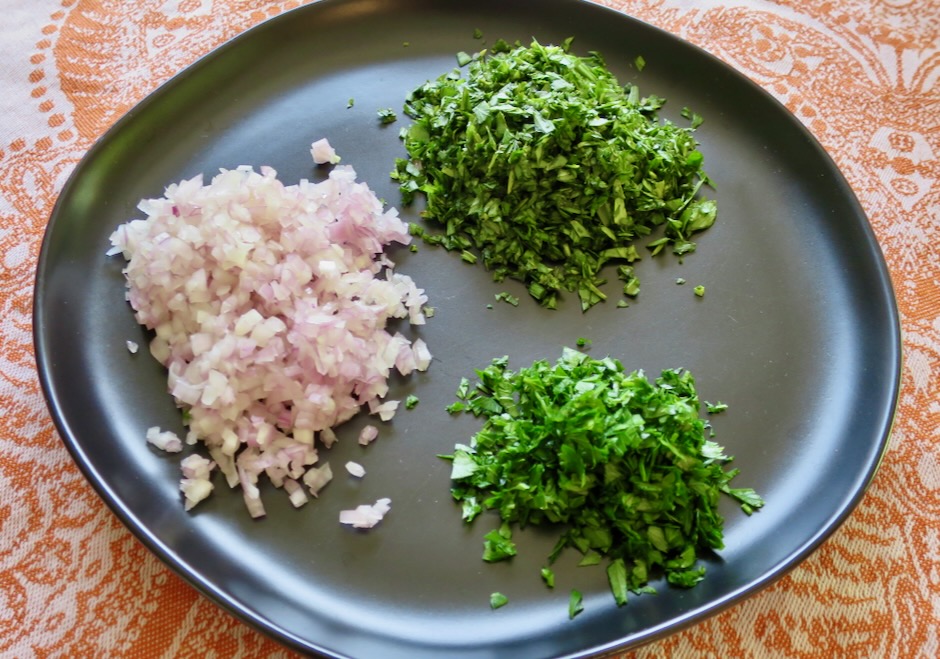
Once the shallots have cooled, they are mixed with the softened butter along with the minced tarragon, parsley, salt and pepper. The butter is transferred to a piece of plastic wrap and shaped into a tube then chilled in the freezer until slightly firm (it will be quite soft). Once it firms up a bit you will be able to re-shape the tube into a perfect circular log and re-wrap until ready to use.
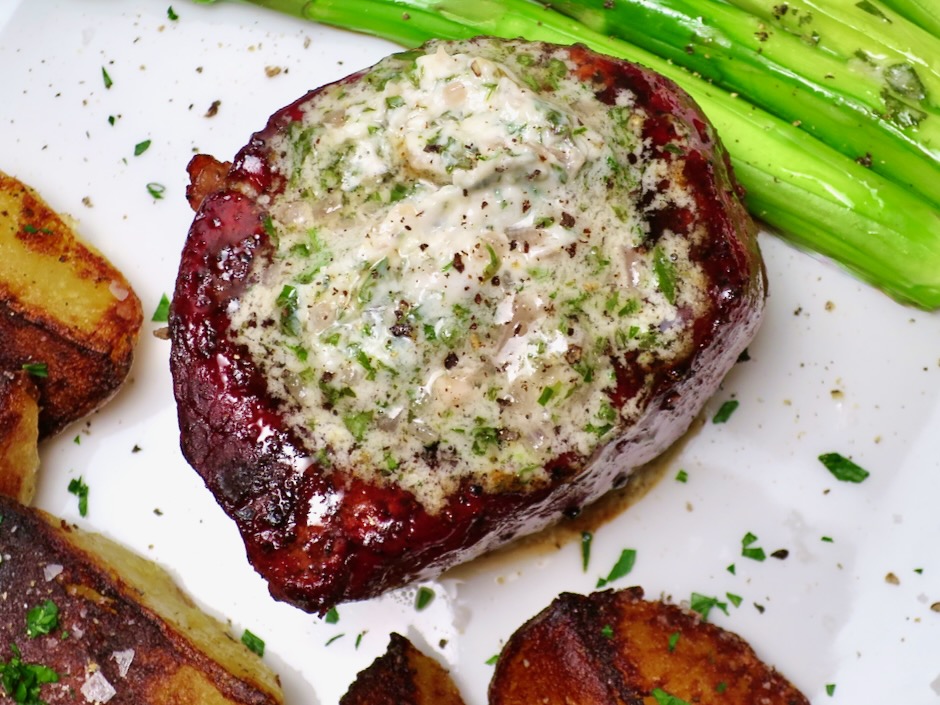
Lightly smoked then grilled filet mignon with béarnaise butter is surely one of the grandest meals imaginable.
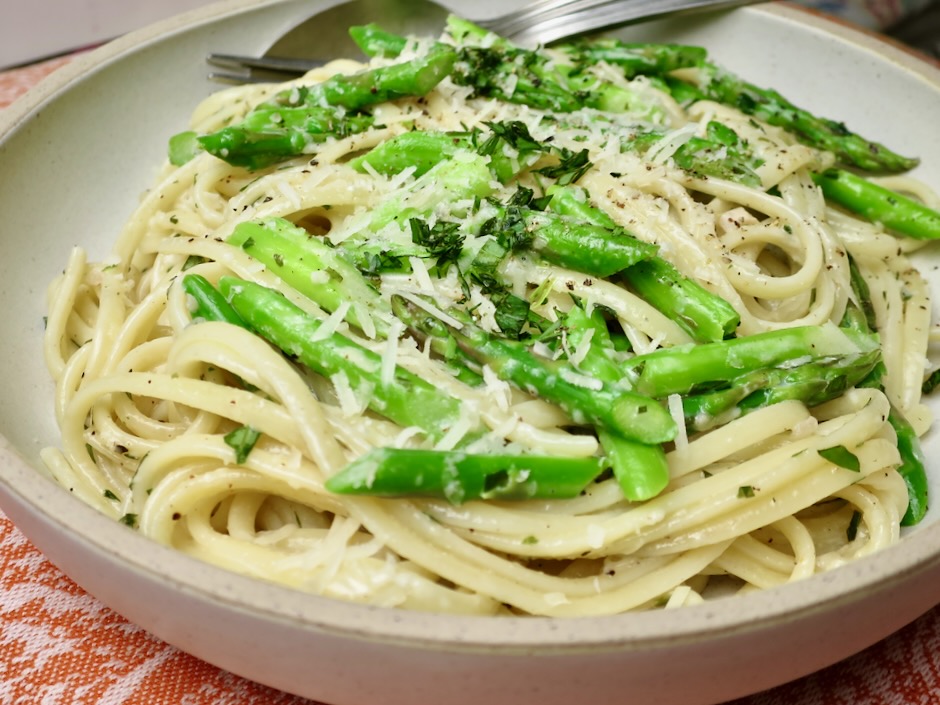
Leftover béarnaise butter is delicious tossed with long strands of linguine and asparagus. Use leftover béarnaise butter on sautéed vegetables, steamed green peas, on baked fish or chicken. Swirl some béarnaise butter in a pan before pouring in lightly beaten eggs then serve on toast.

Béarnaise Butter

Recipe by Kiyo
Servings

8-10

servings

Adapted from Food & Wine magazine

Ingredients

  • 1/4 cup finely minced shallots

  • 1/4 cup dry white wine

  • 1 1/2 tablespoons white wine vinegar

  • 6 ounces (170g) Miyoko’s hint of salt vegan butter or regular butter
    (1 1/2 sticks), at room temperature

  • 1/4 cup minced tarragon

  • 1 tablespoon minced flat leaf parsley

  • kosher salt and freshly ground black pepper

Directions

  • In a medium saucepan, combine shallots with wine and vinegar. Cook over moderate heat until all of the liquid has evaporated, about 5 minutes. Transfer shallots to a small bowl to cool to room temperature. You can speed up the cooling process by placing shallots in the refrigerator.
  • Scrape shallots into bowl with butter. Beat together with a handheld mixer until creamy. Fold in herbs and season to taste with salt and pepper. Transfer butter to a piece of plastic wrap and shape into a log. The butter will be soft at this point so don’t worry too much about getting the perfect shape. Transfer to the freezer for 10 minutes then re-shape as needed. Wrap a piece of foil around the plastic wrapped butter. Store in the refrigerator for up to 1 month or freezer for up to 3 months.

Notes

  • Remove butter from the refrigerator 30 minutes before serving. The butter will be easier to slice into neat rounds and will melt perfectly over the steak.
Beef, Dinner, Grill, Korean, Lactose Free, Recipes

Kalbi Ribeye

December 23, 2021

Korean kalbi ribs are a local island favorite in Hawaii.  It is most common to use flanken-style short ribs for this recipe. It is sometimes difficult to find this cut of meat, however, your butcher should be able to accommodate your request. Though this is the most common cut of meat used for kalbi, I found that using a boneless ribeye is superb.  The ribeye is tender and so flavorful.

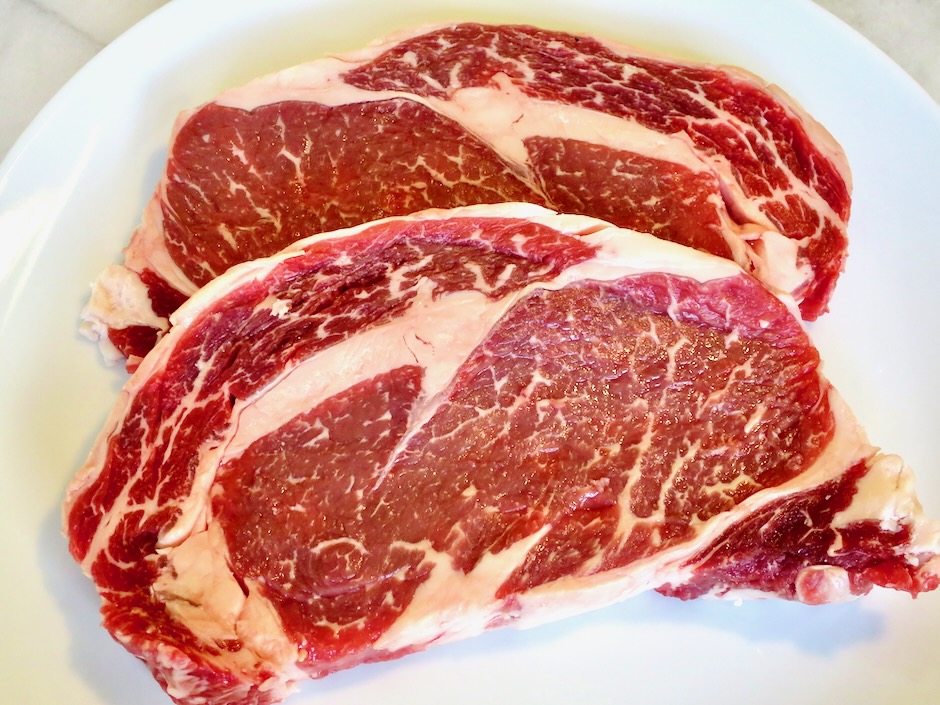
Ribeye Steaks

I bought a thick cut ribeye from Whole Foods and asked the butcher to slice it into two thinner pieces. It worked out perfectly for kalbi.

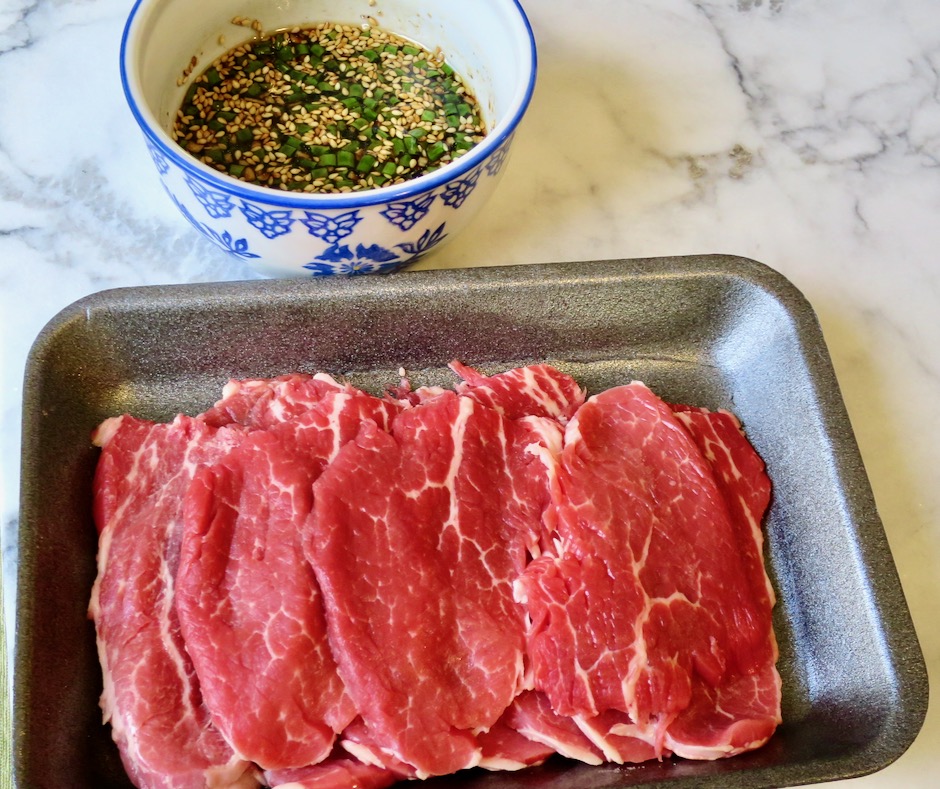
Ribeye Steaks & Marinade

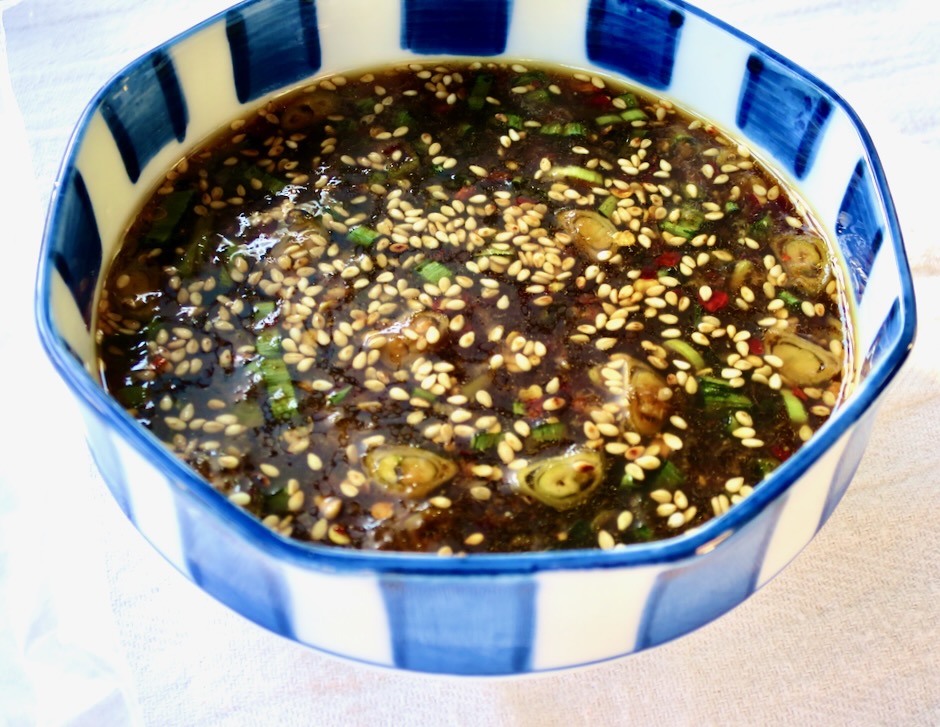
Kalbi Marinade

The marinade is easy to prepare with ingredients you most likely have on hand.

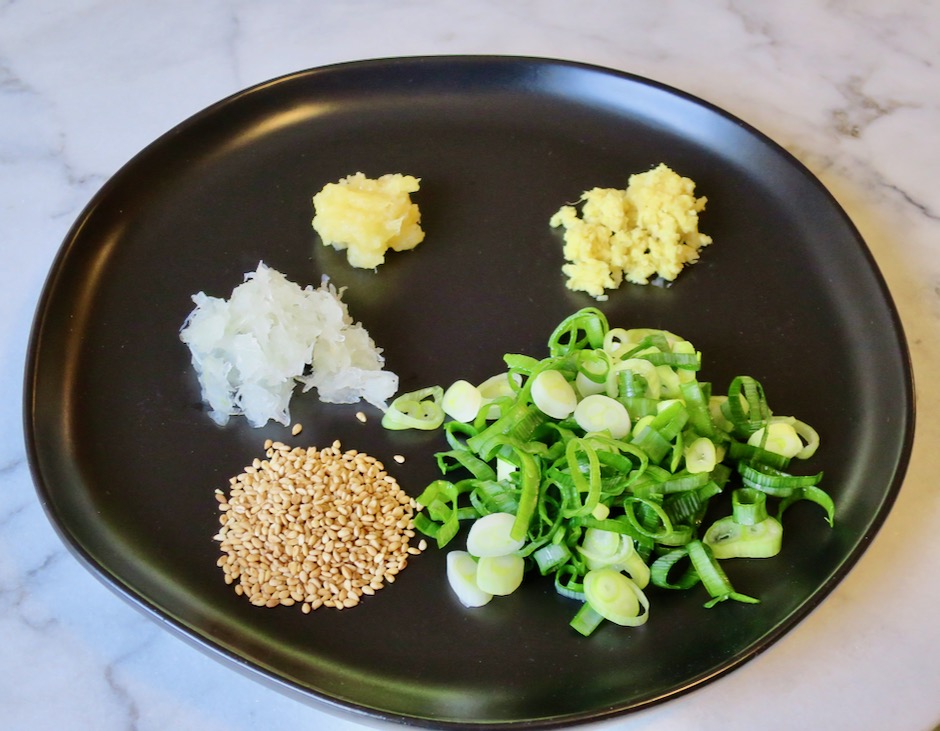
Garlic, Ginger, Green Onions, Sesame Seeds, Onion

The main ingredients for the marinade are garlic, ginger, green onion, sesame seeds and onion.  Though it may seem very ordinary, these common ingredients come together to make the best marinade.

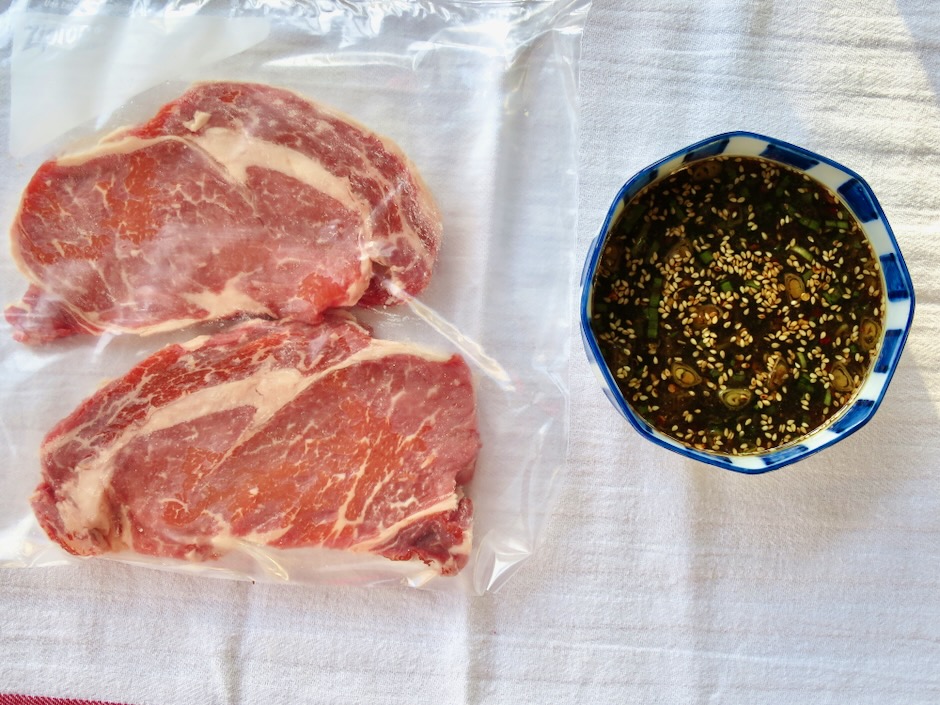
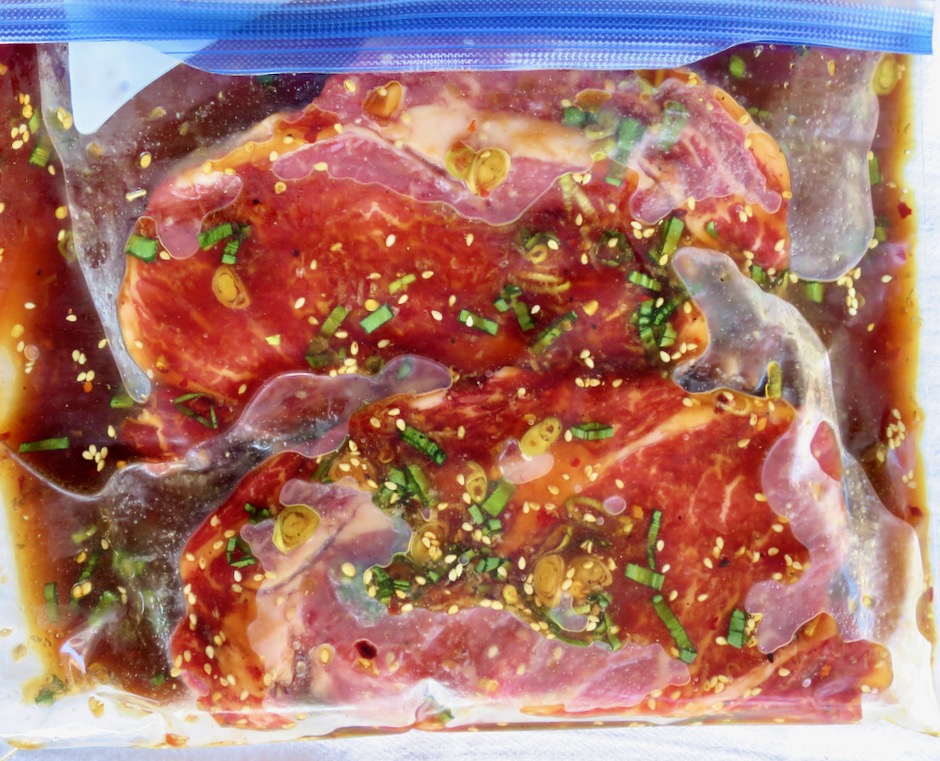
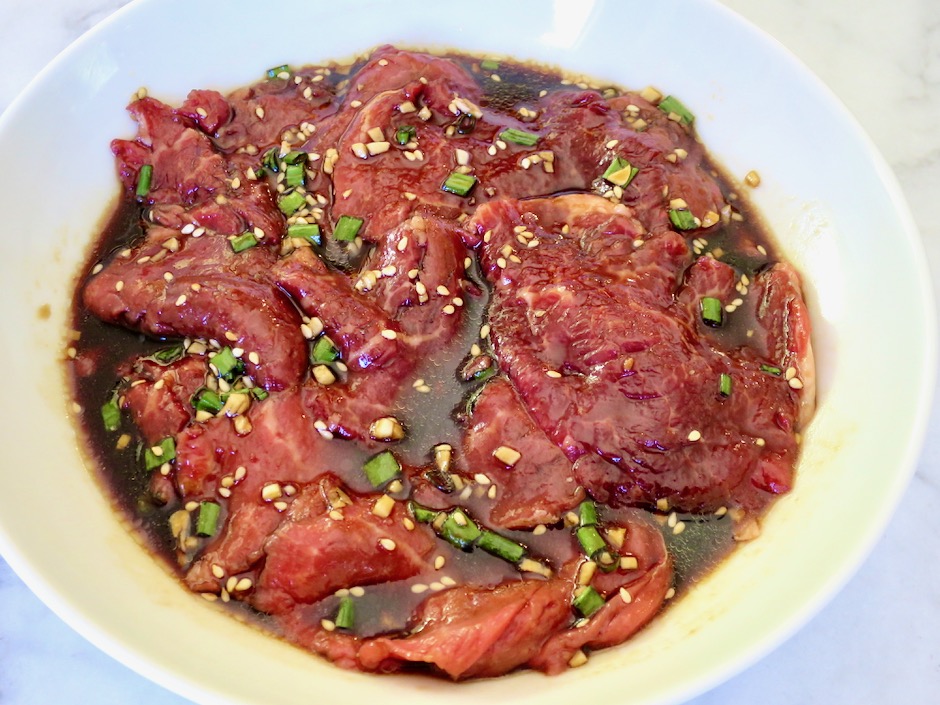
Marinating Kalbi Steaks

I mix up the marinade early in the morning and let the steaks soak up the tasty sauce for about 10 hours.

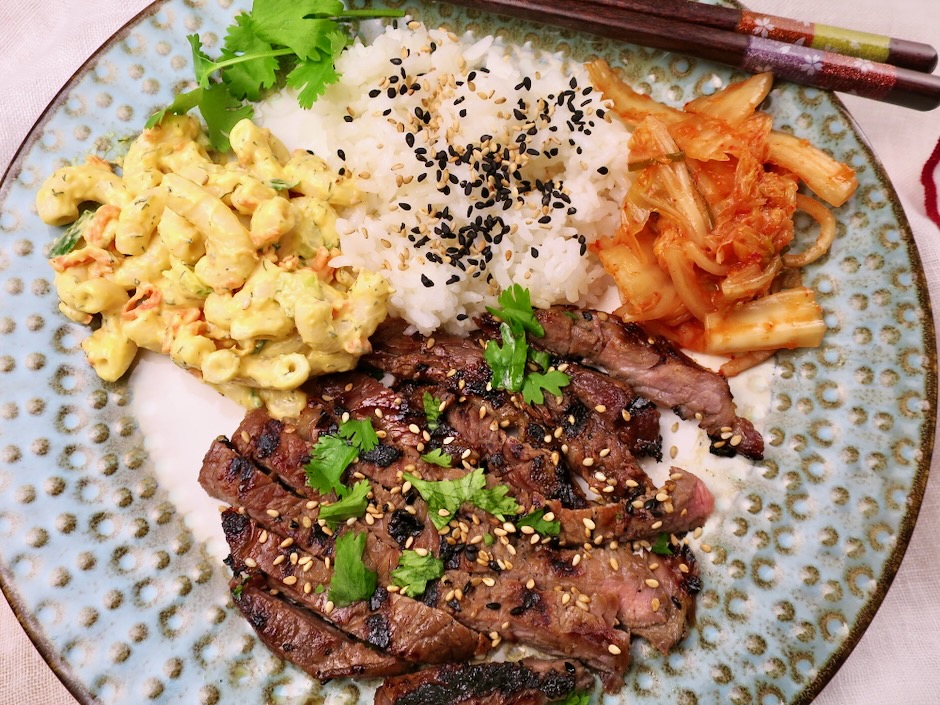
Kalbi Steak, Mac Salad, Rice & Homemade Kimchi

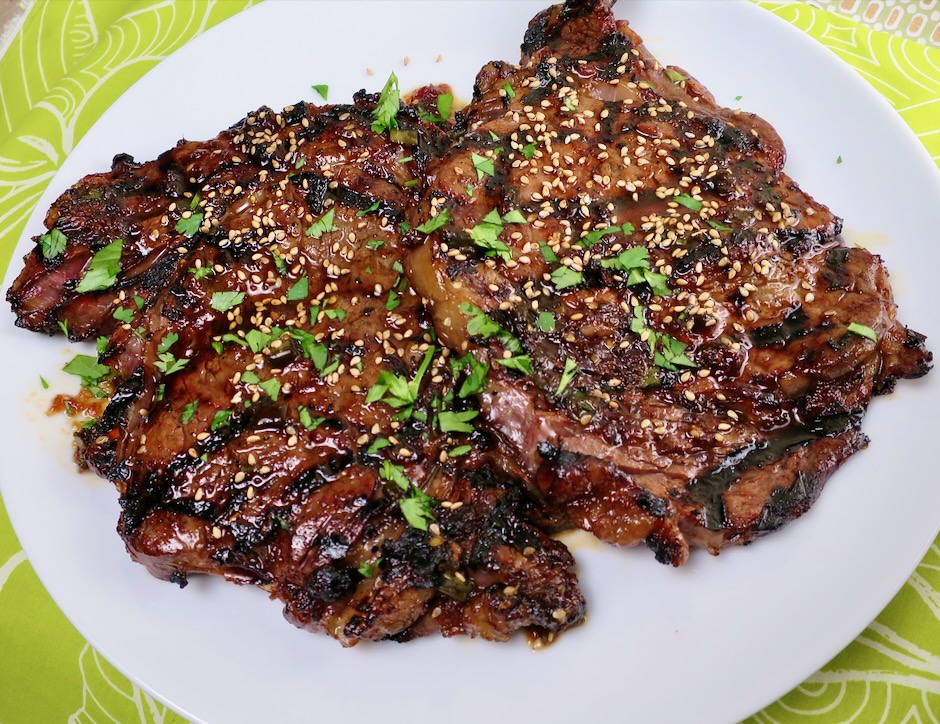
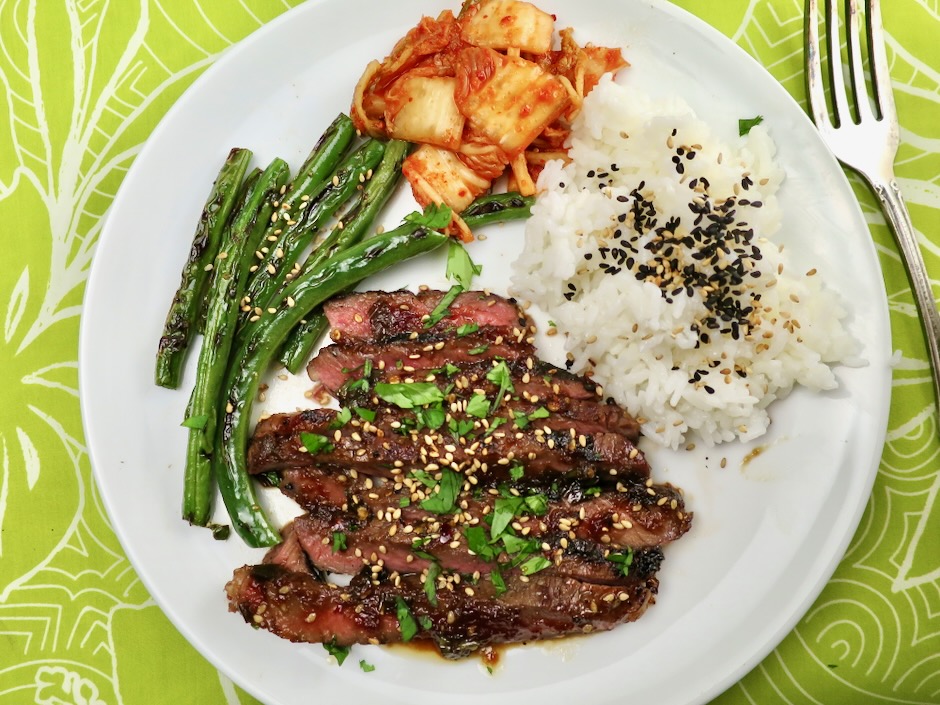
The end result is a delicious kalbi-style ribeye steak that is perfectly seasoned and grilled to perfection.  Sometimes we serve the kalbi with mac salad and homemade kimchi, other times with charred green beans.  Rice is always a part of the meal.

Kalbi Steak, Charred Green Beans, Homemade Kimchi &  Rice

Kalbi Ribeye
 
Author:
Serves: 2
Ingredients
  • 1 thick cut ribeye steak (about 1 pound, cut into two ¾-inch thick each pieces)
  • Marinade:
  • ¼ cup soy sauce
  • ¼ cup mirin
  • ¼ cup sesame oil
  • ¼ cup packed dark or light brown sugar
  • 2 tablespoons water
  • 1 tablespoon finely grated onion
  • 1 tablespoon finely grated garlic (A Microplane works great for the garlic and ginger)
  • 2 teaspoons finely grated ginger
  • 5 green onions finely sliced
  • ¾ teaspoon red pepper flakes
  • 2 teaspoons roasted sesame seeds
  • freshly ground black pepper
Preparation
  1. Whisk together the marinade ingredients in 2-cup glass measuring cup or medium sized bowl. Reserve ¼ cup of marinade.
  2. Place the steaks in a single layer in a ziplock bag. Pour marinade over top and bottom of steaks making sure each steak is coated well. Place bag in the refrigerator for 8 - 10 hours, turning the bag occasionally.
  3. For gas grill: Turn all burners to high, cover and heat grill until very hot, about 15 minutes. Clean and oil grates liberally once grill is hot. Grill steaks for about 5 minutes total, brushing reserved marinade over the steaks and turning several times for an even char. Check temperature with Thermapen or other digital thermometer. Remove when internal temperature reaches 140 degrees.
  4. ***The steaks can also be cooked over a hot charcoal grill.


Beef, Dinner, Lactose Free, Recipes, Sandwiches, Smoker

Smoked Tri-Tip Sandwiches

September 14, 2021

Smoked Tri-Tip sandwich

Tri-Tip is a cut of meat that I was not familiar with just a few years ago and one that I did not grow up eating as a child. However, last summer I went to my local market and asked the butcher what would be the best cut of meat for my teriyaki meat sticks.  I was surprised when he said “Tri-Tip.”  I went along with his recommendation and never looked back.  This recipe showcases the delicious flavor the Tri-Tip is known for. The lean yet slightly marbled cut of meat is just perfect for the smoker.  It allows the meat to cook slowly, picking up that slightly smoky flavor yet keeping the meat tender and juicy, perfect for a tri-tip sandwich.
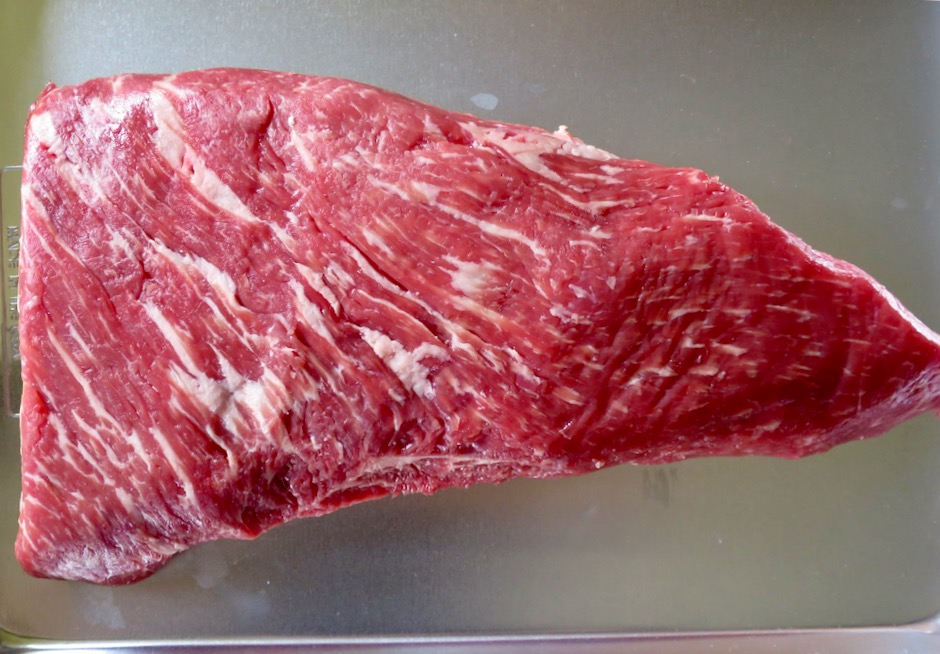
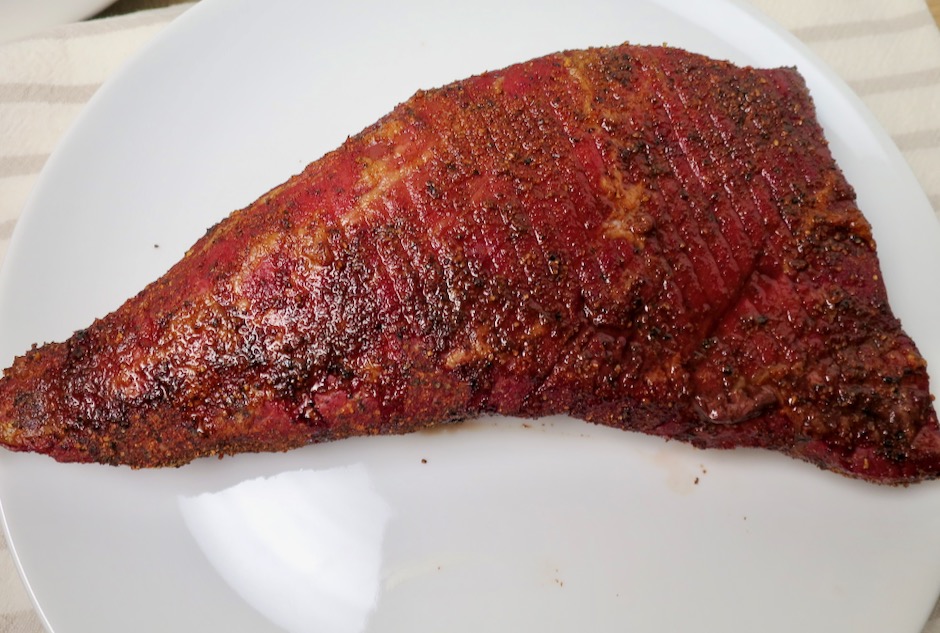
Tri-Tip

This is a perfect example of what a Tri-Tip should look like. 

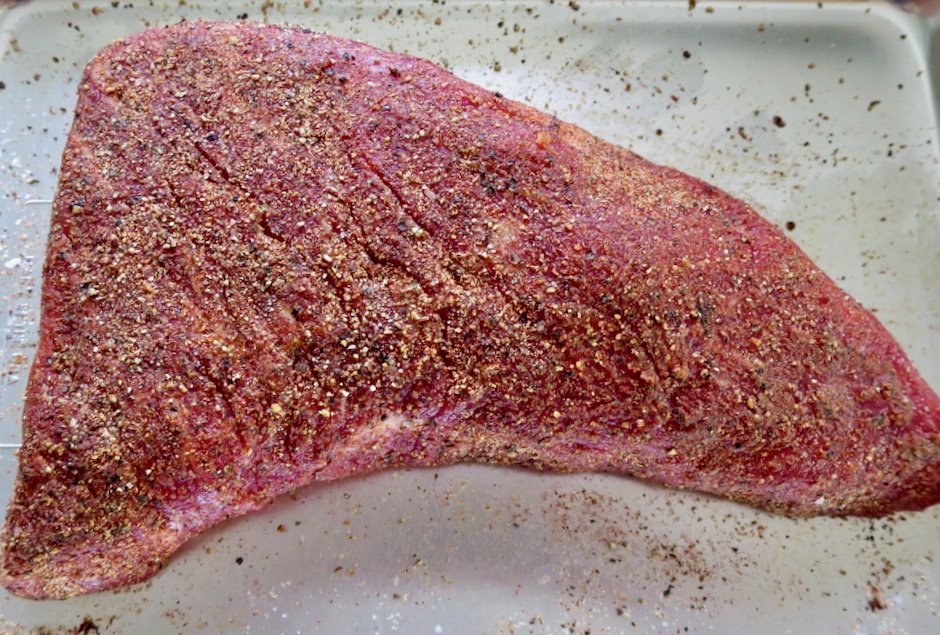
Tri-Tip with Dry Rub

A flavorful and simple dry rub is all you need for this recipe.  The smoky flavor and dry rub create the perfect seasoned meat when sliced up for a sandwich.

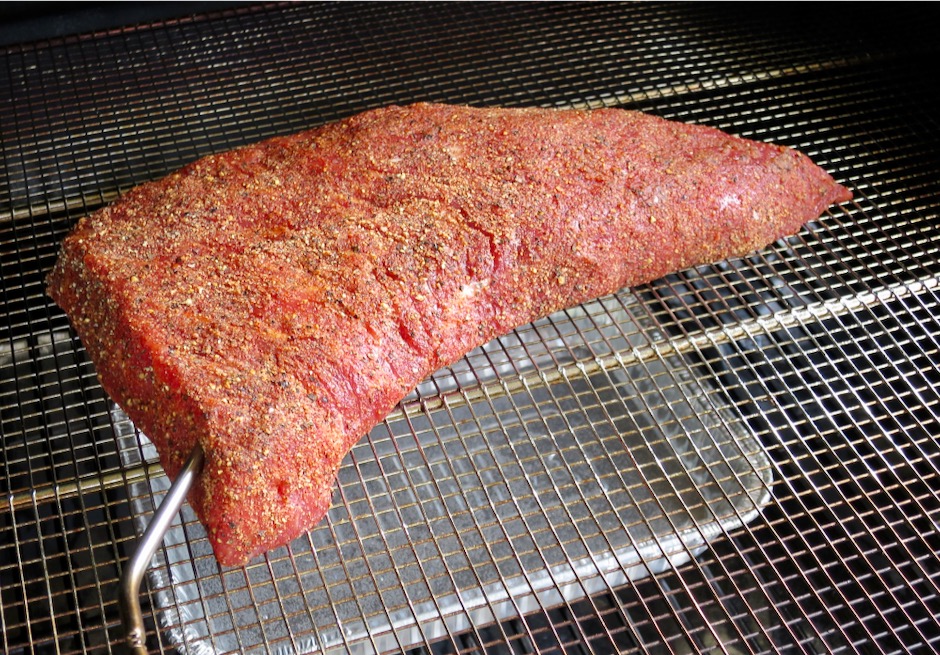
Tri-Tip on the Smoker

A remote thermometer probe helps to monitor the process of the meat and avoid overcooking.  If you don’t have one, check the meat with a instant read thermometer periodically.

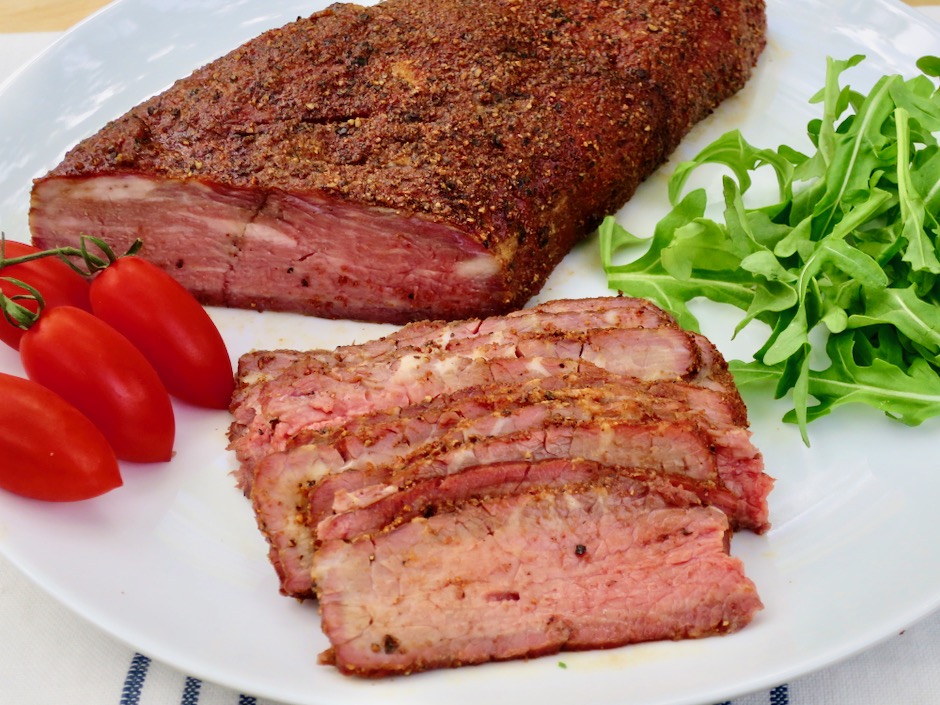
Smoked Tri-Tip

This glorious Tri-Tip is done!  It’s best to let the meat rest for 20 minutes, then transfer to the refrigerator until slightly chilled before serving.  This helps to firm up the meat when slicing into thin pieces for the most delectable steak sandwich. 

Smoked Tri-Tip

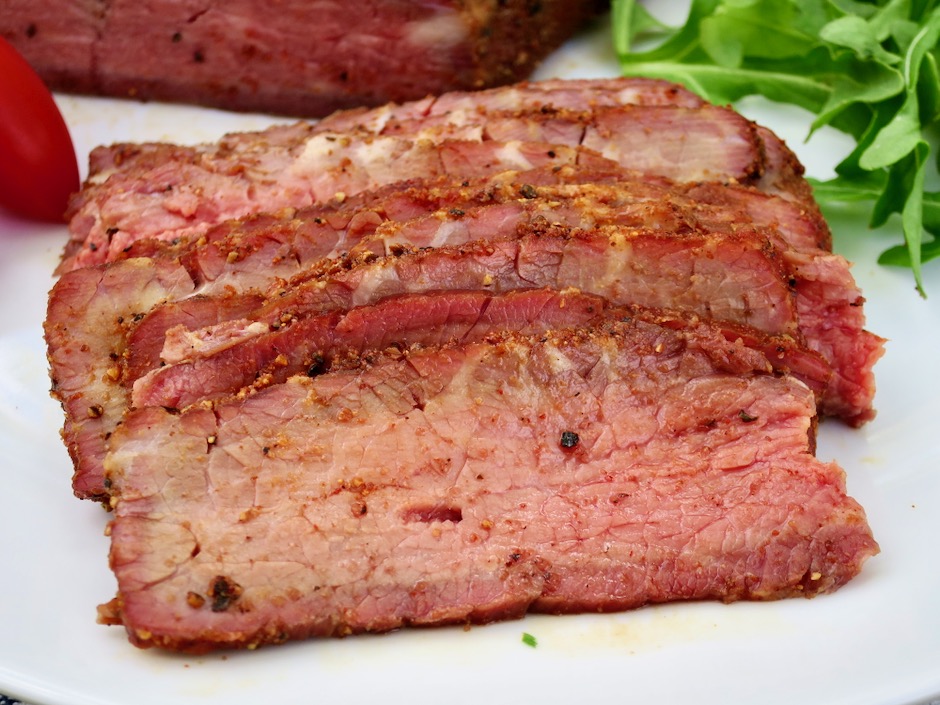
Smoked Tri-Tip

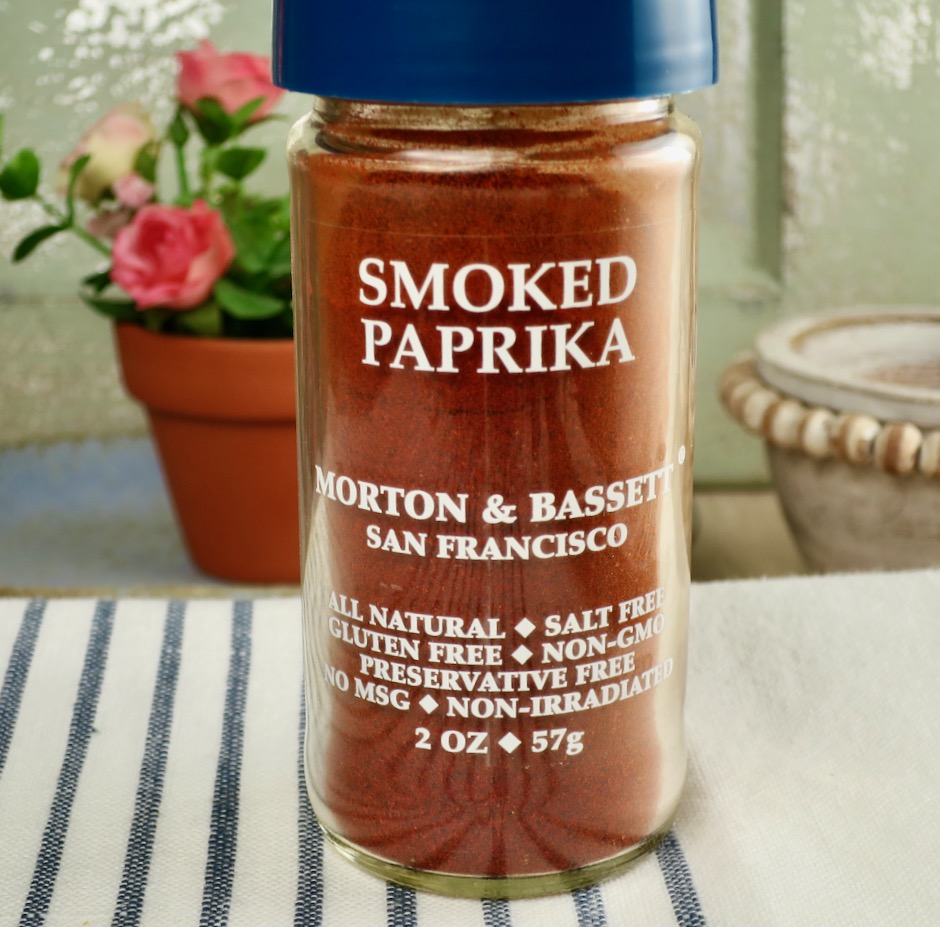
The Tri-Tip is perfectly tender and so flavorful.  If you don’t already have smoked paprika pick up a jar at your favorite market.

Smoked Paprika

Smoked Tri-Tip Sandwich

We like our Tri-Tip sandwiches stuffed in a roll served with mayo-horseradish sauce, thinly sliced sweet onions, and lots of arugula.  Pickles and chips on the side are a good accompaniment, or if time allows, this potato salad or one with a vinaigrette would certainly be a hit.

Smoked Tri-Tip Sandwich

Smoked Tri-Tip Sandwiches
 
Author:
Serves: 4-6
Ingredients
  • 1½ pound Tri-Tip
  • 2 teaspoons kosher salt (I use Diamond Crystal, if using Morton's decrease to 1½ teaspoons)
  • 1 teaspoon freshly ground black pepper
  • 1 teaspoon garlic powder
  • 1 teaspoon smoked paprika (mild)
  • 4 - 6 sandwich rolls, buns, or your favorite bread
  • mayonnaise
  • prepared horseradish
  • sweet onion slices
  • arugula
Preparation
  1. Pat meat dry with paper towels. Sprinkle both sides of meat with kosher salt. Place in the refrigerator (on a plate or rack) for 2-3 hours, uncovered.
  2. Heat smoker to 225 degrees. Just before cooking sprinkle meat with pepper, garlic powder and smoked paprika. Massage spices into meat.
  3. Place Tri-Tip directly on rack in smoker and cook for approximately 2½ hours, or until interior temperature reaches 145 degrees. If you prefer your beef more rare, shoot for 135 - 140 degrees. Let beef cool for 20 minutes or so, cover and transfer to the refrigerator to chill for a few hours before slicing into thin pieces. You may also choose to slice the beef before chilling (refrigerating firms it up and makes it easier to slice thin pieces). Serve with mayo-horseradish sauce, sweet onions, and arugula on your favorite rolls, buns, or sandwich bread.


Beef, Dinner, Italian, Pork, Recipes, Sandwiches

Italian Meatloaf

December 26, 2020

Italian Meatloaf

When I was growing up meatloaf was a mainstay of my mom’s repertoire.  She was an excellent cook who made tasty, old fashioned recipes such as beef stew, creamed tuna, pan-fried pork chops and the best brownies and lemon meringue pie ever.  Here we are nearing the end of 2020, and meatloaf is just as popular as it was when I was a kid.

Italian Meatloaf Ingredients

This Italian version of meatloaf is an excellent way to put a new twist on an old classic.  The sweet Italian sausage creates an intensely flavorful meatloaf.  A can of crushed tomatoes along with a few other ingredients turns into a luscious, rich sauce that certainly requires garlic bread to round out the meal.

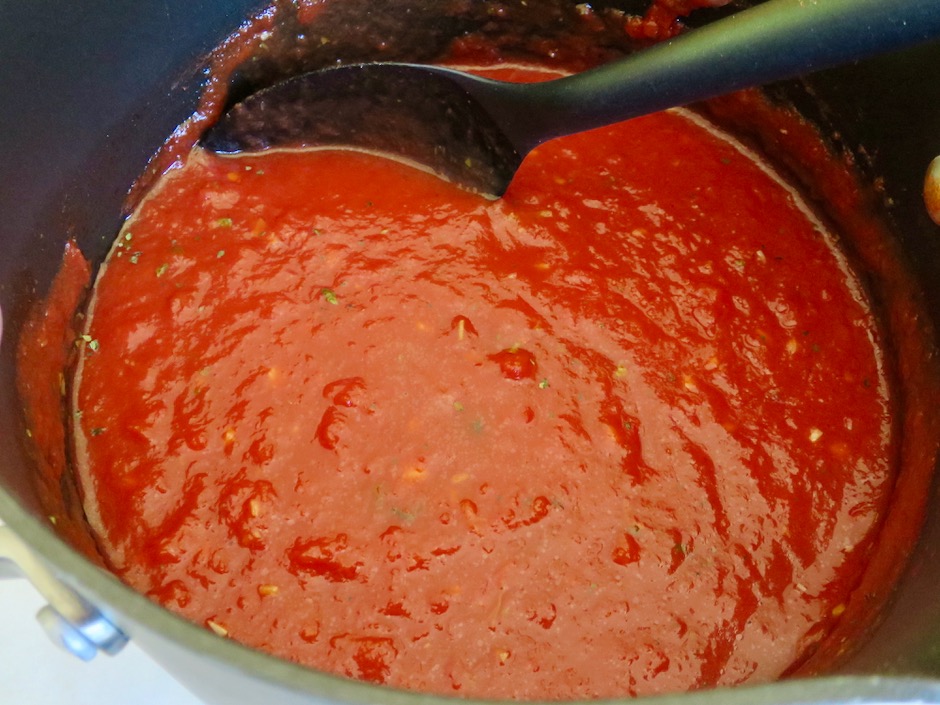
Italian Meatloaf Tomato Sauce

The sauce is so simple to make.  Crushed tomatoes, tomato sauce, garlic, dried oregano, salt and red pepper flakes are all you need.

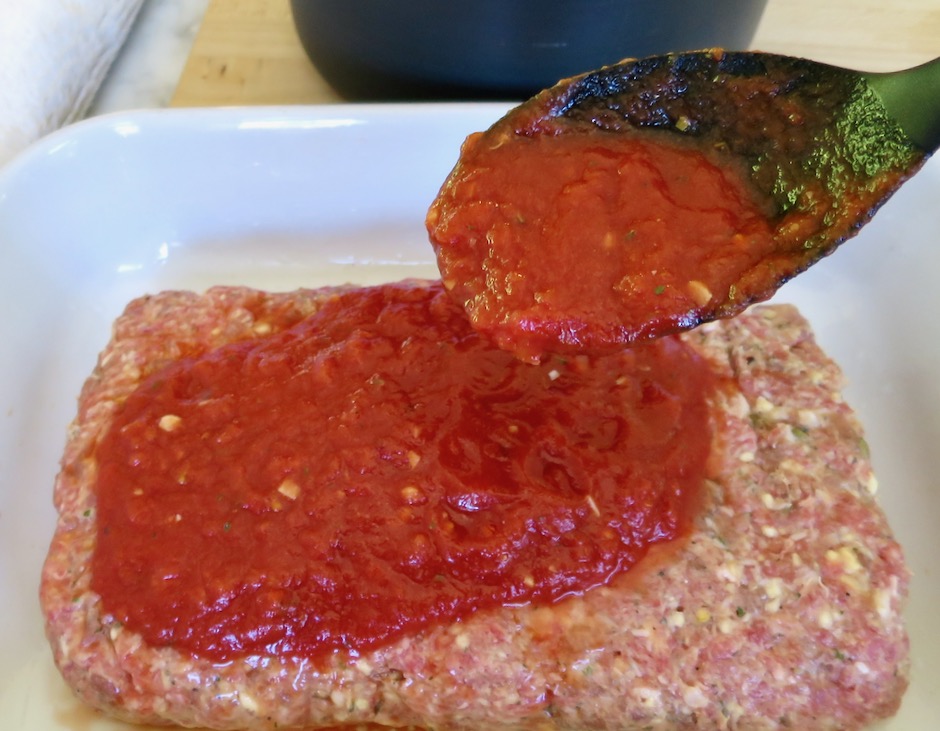
Italian Meatloaf with Sauce

The first time I made this recipe I was shocked at how much sauce there was prior to baking the meatloaf.  I was almost certain that the entire dish might be a flop because of the amount of sauce called for.  I was pleasantly surprised to see that it had reduced to a thick, rich and delicious sauce, in fact just the perfect amount for the meatloaf.

Italian Meatloaf

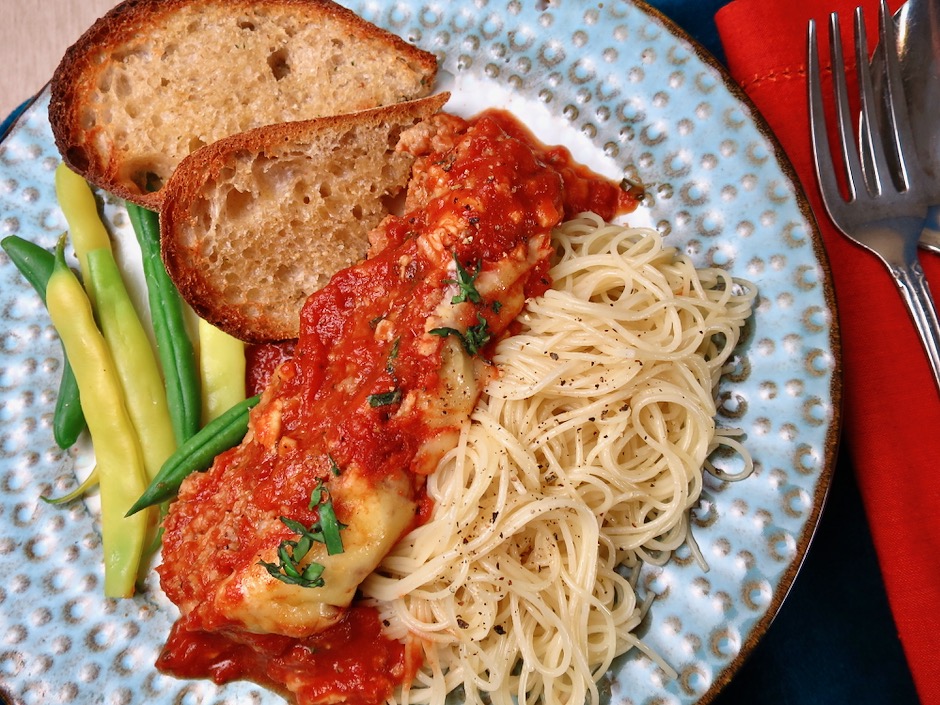
We have eaten the meatloaf with many different sides such as buttered pasta, mashed potatoes, and in a sandwich.  It is a very versatile main dish that freezes and reheats well.  You can switch out the cheddar and mozzarella cheese with pepper jack cheese, or use mozzarella with a sprinkling of parmesan cheese.

Italian Meatloaf with Pasta, Green Beans & Garlic Toast

Italian Meatloaf
 
Adapted from Cook's Country
Author:
Serves: 8
Ingredients
  • Sauce:
  • 1 tablespoon extra virgin olive oil
  • 3 large garlic cloves, minced
  • 1 (28-ounce) can crushed tomatoes
  • 1 (15-ounce) can tomato sauce
  • ¼ teaspoon red pepper flakes (more if you want a spicy sauce)
  • 1 teaspoon dried oregano
  • ¼ teaspoon fine sea salt
  • Meatloaf:
  • 35 squares saltines
  • ¾ cup whole milk
  • 2 large eggs
  • 1 pound ground sirloin or other lean ground beef
  • 1 pound sweet Italian sausage, casings removed
  • 2 ounces Parmesan cheese, grated (1 cup)
  • ½ teaspoon garlic powder
  • 1 teaspoon dried oregano
  • ½ teaspoon fine sea salt
  • ½ teaspoon freshly ground black pepper
  • ¼ teaspoon red pepper flakes
  • 2 ounces sharp white cheddar cheese, shredded (1/2 cup)
  • 2 ounces mozzarella cheese, shredded (1/2 cup)
  • 3 tablespoons fresh basil (julienned or chopped just before serving)
Preparation
  1. Special equipment: Broiler safe 13 by 9-inch baking dish
  2. Adjust oven rack to middle position and heat to 400 degrees.
  3. Sauce: Heat oil in large saucepan over medium-low heat. Add garlic and cook until softened but not browned, about 1-2 minutes. Stir in tomatoes, tomato sauce, pepper flakes, oregano and salt. Increase heat to medium and bring to a simmer, stirring occasionally, for about 5 minutes. Remove from the heat, cover to keep warm.
  4. Meatloaf: Spray broiler-safe 13 by 9-inch baking dish with vegetable oil spray. Place saltines in a large zipper lock bag, seal bag, and using a rolling pin crush crackers to fine crumbs. In a large bowl, whisk saltines with milk and eggs. Let sit until the saltines are softened, about 5 minutes. Whisk saltine mixture until a smooth paste forms. Mix in beef, sausage, Parmesan, garlic powder, oregano, salt, pepper and pepper flakes with your hands (I use disposable gloves) until thoroughly combined.Transfer beef mixture to prepared dish. Using wet hands (or disposable gloves) shape into a 9 by 5-inch rectangle. The top should be flat and the meatloaf should be 1½-inches thick. Pour sauce over the meatloaf. Cover the dish with aluminum foil and place on rimmed baking sheet. Bake until the meatloaf registers 160 degrees, about 1 hour 5 minutes to 1¼ hours.
  5. Remove sheet pan from oven, uncover dish, and sprinkle cheese evenly over the top of the meatloaf. Heat broiler. Broil meatloaf until cheese is melted, about 2 minutes. Let rest for 15 minutes.
  6. To serve, transfer the meatloaf using 2 spatulas to a cutting board to make 1-inch thick slices. Or, slice directly in the baking dish. Spoon off any excess oil from the tomato sauce. Scatter julienned or chopped basil over the top and into the sauce just before serving.

Beef, Dinner, Korean, Lactose Free, Recipes

Meat Jun

November 3, 2020

Meat Jun, Cucumber Salad, Rice, Korean Potatoes

I was only vaguely familiar with meat jun until my sister sent me a text with a photo of her “plate lunch” which featured this dish.  That piqued my interest enough for me to delve into the subject of this simple and homey dish.  I discovered that meat jun was introduced by a local Korean restaurant on Oahu many years ago.  It is a type of jeon, which refers to a Korean method of preparing seasoned meat or vegetables that are coated in flour and egg wash before being fried.  As is the case with many cross-cultural dishes in Hawaii, meat jun is a local island style invention.

Filet Mignon & Marinade

The meat for this recipe should be very thin so that it cooks quickly.  Many use top sirloin or ribeye.  I went to my local Safeway and asked the butcher if he would slice some filet mignon for me.  He asked me what I was going to make with it and when I told him, he said “that is going to be the best meat jun ever!”  As it turned out, filet mignon worked well because it’s so tender.

Marinating Meat Jun

Because the meat is sliced thin, it only needs to marinate in the sauce for 20 minutes before it is coated with flour, dipped in egg and pan-fried.

Meat Jun, Cucumber Salad, Rice, Korean Potatoes

Meat jun is delicious served with  rice and crunchy cucumbers or kimchi.  Leftovers hold up very well and need just a quick zap in the microwave to warm the meat up a bit.  The dipping sauce is excellent drizzled over the meat.  It has a good dose of vinegar which adds a nice zing to the soy marinated meat.  This unassuming dish is most addicting.

Meat Jun, Cucumber Salad, Rice, Korean Potatoes

Meat Jun
 
Author:
Serves: 2 - 4
Ingredients
  • For meat jun:
  • ½ pound thinly sliced filet mignon
  • ¼ cup less sodium soy sauce (Kikkoman recommended)
  • 1½ tablespoons sugar
  • 2 teaspoons sesame oil
  • 1 garlic clove, minced
  • 1 tablespoon thinly sliced green onion
  • 1 teaspoon roasted sesame seeds
  • ½ cup flour
  • 3 large eggs
  • canola oil for frying
  • For dipping sauce:
  • 2 tablespoons less sodium soy sauce
  • 1 tablespoon white vinegar
  • 2 teaspoons sugar
  • 2 teaspoons finely chopped green onion
  • ½ teaspoon roasted sesame seeds
  • ½ - 1 teaspoon gochugaru
Preparation
  1. Combine soy sauce through sesame seeds in a medium sized bowl. Add meat slices and marinate for 20 minutes (up to 30 minutes for thicker slices). Place marinated slices of meat on paper towels to drain slightly, just before you are ready to cook them (discard sauce).
  2. Meanwhile, combine dipping sauce ingredients in a small bowl. Mix well and set aside.
  3. Place flour in a wide shallow bowl, and whisk eggs in another wide shallow bowl. Heat ¼ cup of canola oil in a large skillet over medium heat (enough to generously coat the entire bottom of the pan). Use tongs to dip meat in the flour making sure to cover each piece well. Gently shake off any extra flour, then dip meat in whisked eggs making sure to coat well. Place on a piece of foil. Continue with all of the meat slices. Working in batches, fry meat until golden brown, about 45-60 seconds per side. Transfer to a paper towel lined plate. Continue cooking the rest of the meat. Slice meat into strips about 1-inch wide. Arrange meat on platter and serve with dipping sauce on the side.


Beef, Dinner, Eggs, Korean, Lactose Free, Recipes, Rice Dishes, Veggies

Korean Soybean Sprouts Rice Bowl

September 26, 2020

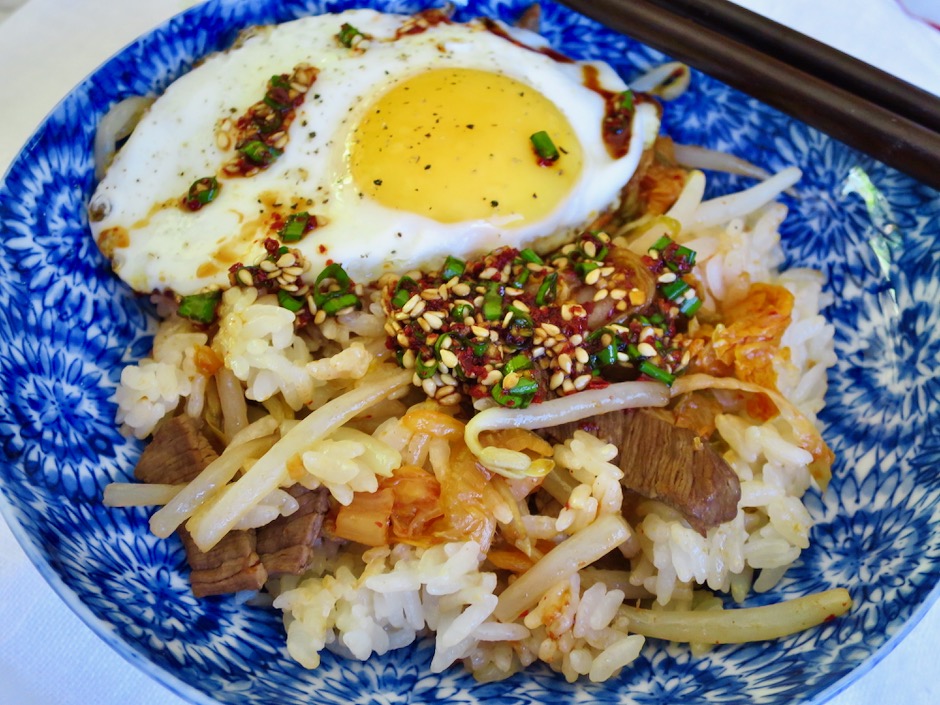
Soybean Sprouts Rice Bowl with Sunny-Side Up Egg

To say that I love rice would be an understatement, so making this umami filled rice bowl was an easy decision.  Once you do a little prep work, everything goes into a rice cooker.  It’s a suitable meal for lunch or dinner.

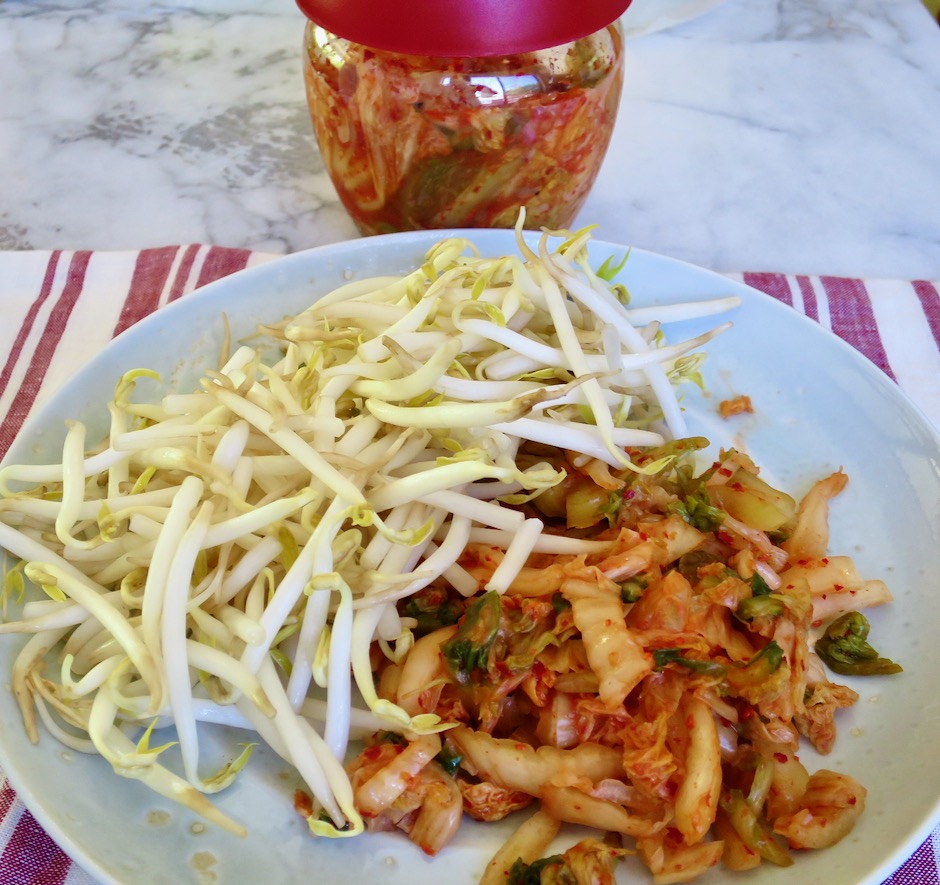
Soybean Sprouts & Kimchi

Even thought the sprouts are cooked with the rice and other ingredients, they still retain a nice texture.  The kimchi adds such a wonderful flavor to the rice, with just a bit of heat.

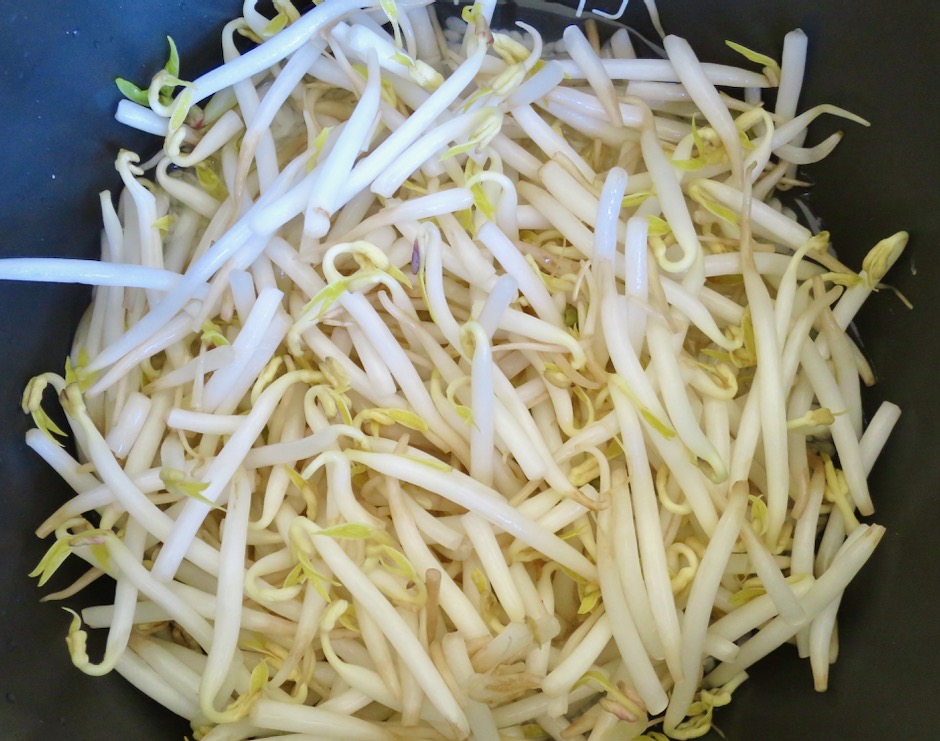
Soybean Sprouts

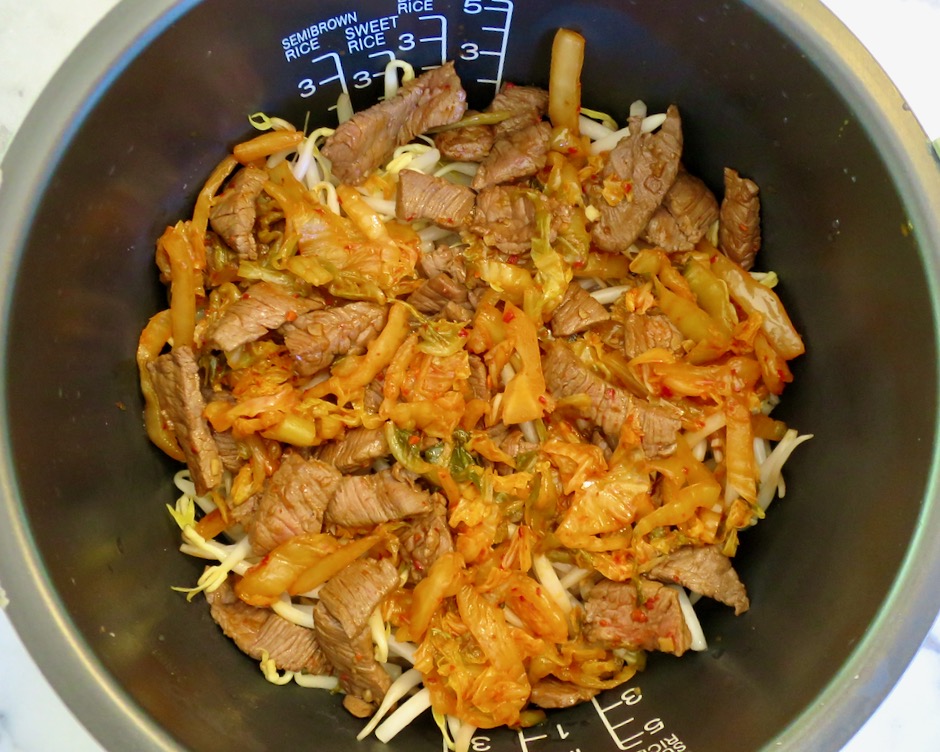
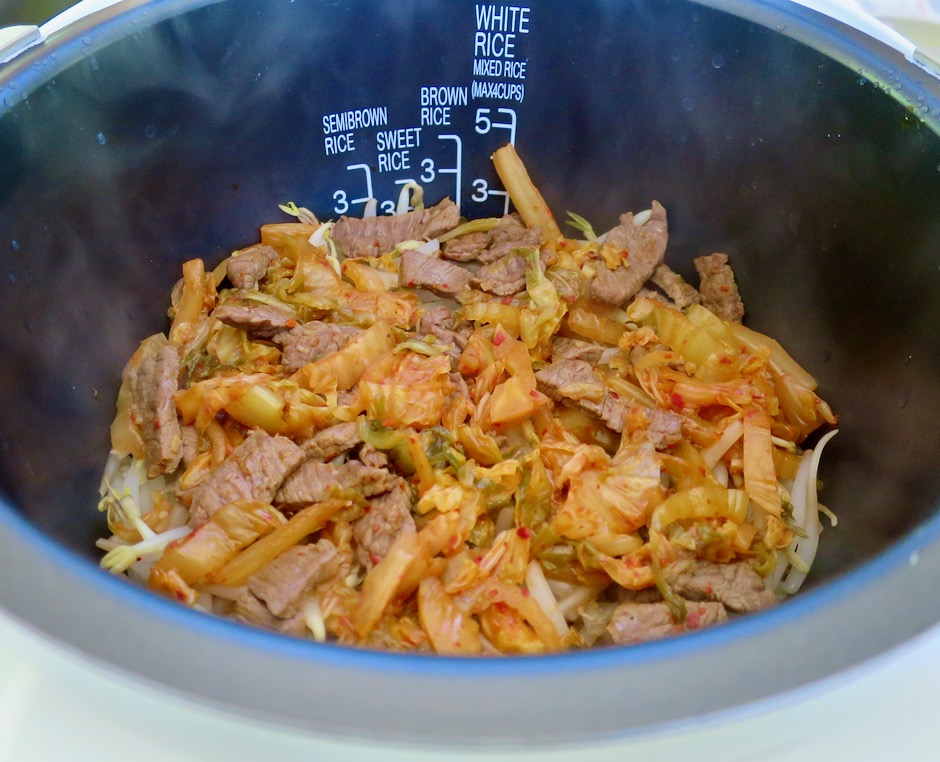
Soybean Sprouts, Kimchi & Filet Mignon over Rice

The original recipe from Korean Bapsang calls for adding a bit of seasoned beef or pork to the rice dish as an option. However, you can omit this for a vegetarian version. I have cooked this dish with and without meat and both are equally delicious.  All ingredients are added on top of the rice (pictured above) then cooked together.

Cooked Soybean Sprouts, Kimchi & Filet Mignon over Rice

Once your rice timer goes off, you are ready to serve your meal.

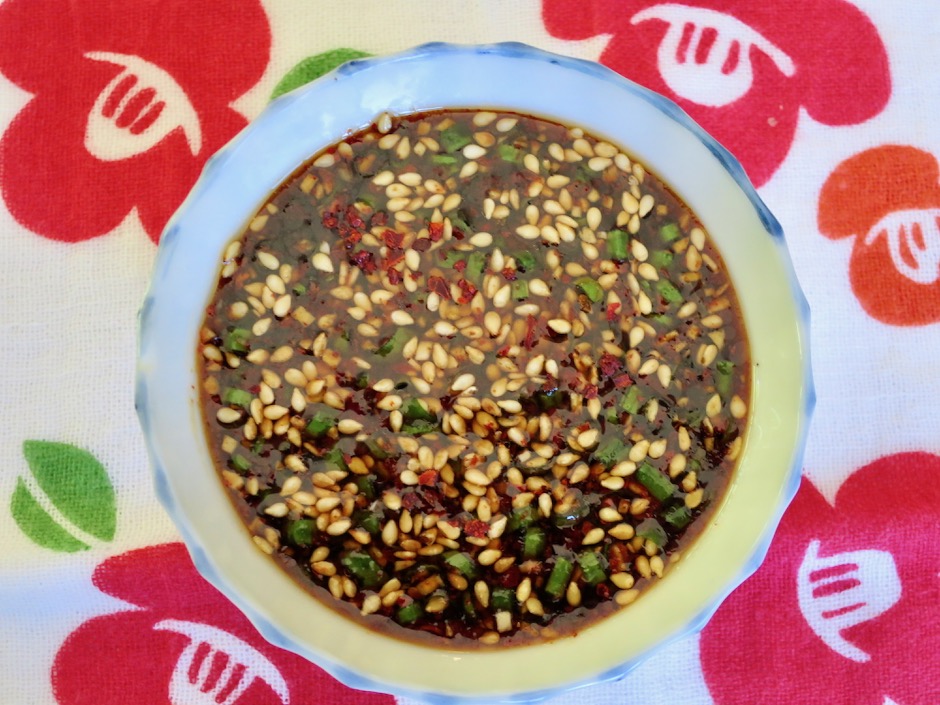
Rice Bowl Sauce

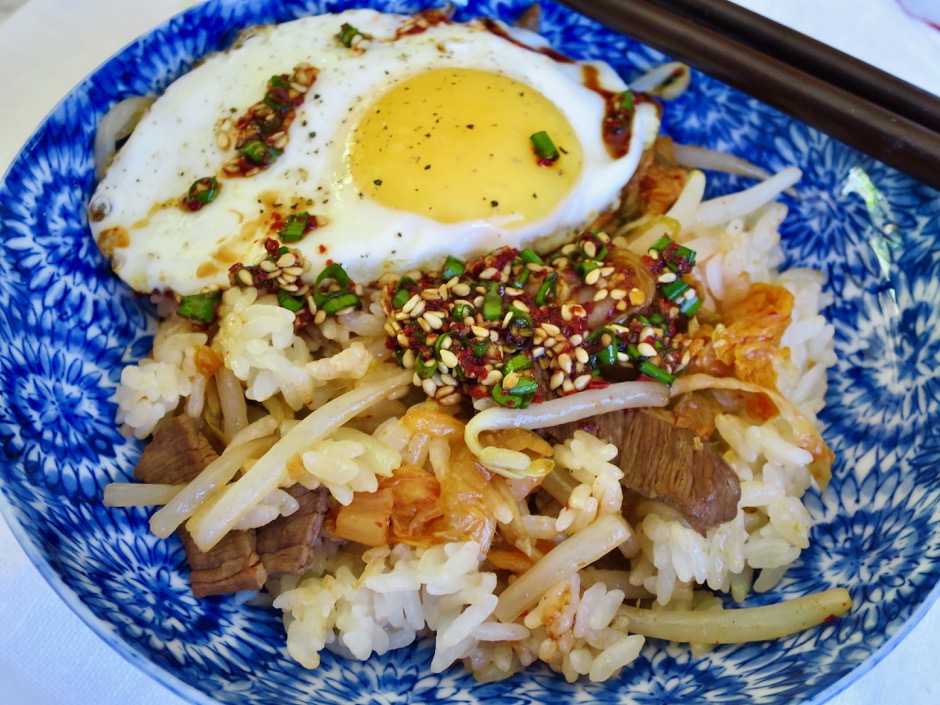
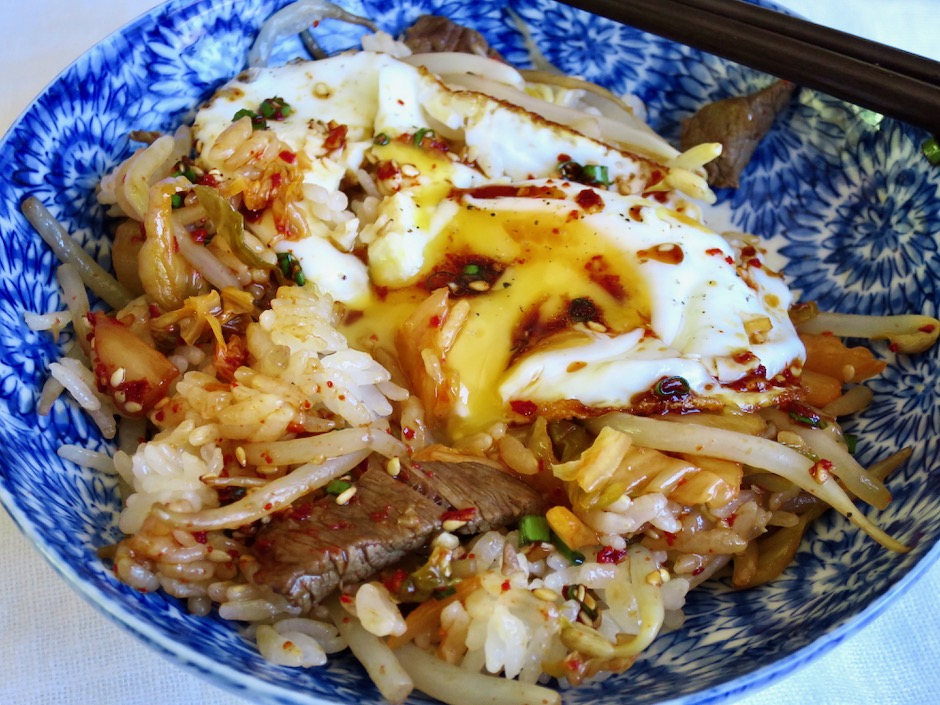
The sauce is drizzled over the rice bowl.  I couldn’t resist adding a sunny-side up egg to mine.

Soybean Sprouts Rice Bowl with Sunny-Side Up Egg

Soybean Rice Bowl
 
Adapted from Korean Bapsang blog
Author:
Serves: 2
Ingredients
  • 1 cup (measuring cup for rice cooker) short grain white rice
  • Vegetables & Meat:
  • 8 ounces soy bean sprouts, rinsed and drained well
  • 3 ounces filet mignon, thinly sliced (omit meat and next 4 ingredients for vegetarian version)
  • ½ teaspoon minced garlic
  • 2 teaspoons soy sauce
  • 1 teaspoon mirin
  • 1 teaspoon sesame oil
  • ½ cup kimchi, thinly sliced
  • 1 tablespoon kimchi juice
  • Sauce:
  • 2 tablespoons soy sauce
  • 1 teaspoon sesame oil
  • ½ teaspoon gochugaru (Korean red pepper flakes)
  • 1 teaspoon roasted sesame seeds
  • ½ teaspoon garlic, minced
  • ½ teaspoon sugar
  • 2 green onions, finely chopped
  • 2 sunny-side up eggs (optional)
Preparation
  1. Rinse rice and drain well. Place in rice cooker. Add water to 1 cup line minus 1 tablespoon.
  2. Marinate meat (if using) with garlic, soy sauce, mirin and sesame oil. Meanwhile, heat a small skillet with a 1½ teaspoons of canola oil over medium high heat. Stir fry kimchi for 2 minutes, adding some juice from the kimchi to intensify the flavor. Remove to a small plate. Add meat (if using) to the same pan and stir fry for a minute or two, just until barely cooked through.
  3. Spread soy bean sprouts over the the rice, followed by the kimchi, and meat. Start the rice cooker (do not use quick cooking option).
  4. While the rice is cooking, mix all of the sauce ingredients together in a small bowl. When the rice is nearly done, cook your sunny-side up eggs. When the rice timer goes off, gently fluff the rice distributing the bean sprouts, kimchi and meat. Serve in bowls with sauce drizzled over the rice and top with sunny-side up eggs.


Follow

Get every new post delivered to your Inbox

Join other followers: