Browsing Tag

Soy Sauce

Appetizers, Dinner, Japanese, Lactose Free, Recipes, Side Dishes, Vegan, Vegetarian

Spinach Ohitashi

February 22, 2021

Spinach Ohitashi

This is one of my favorite Japanese side dishes served with rice and cold tofu.  It makes for a very quick and delicious lunch.  It can be prepared well in advance and doesn’t need any attention until you drizzle the sauce over it. It is so refreshing and healthy.  

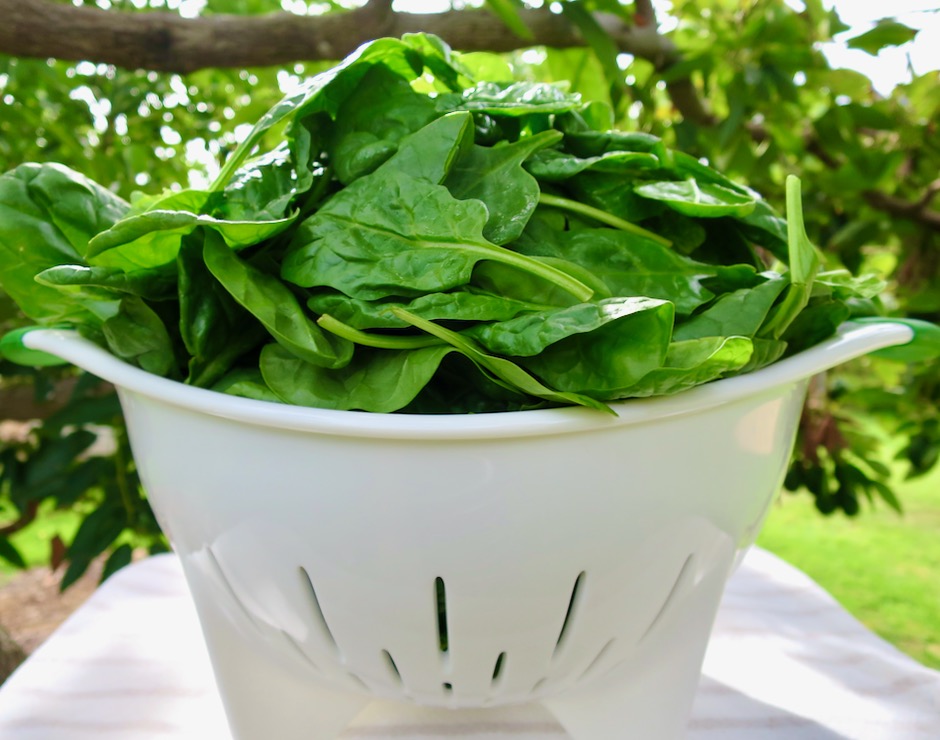
Fresh Baby Spinach Leaves

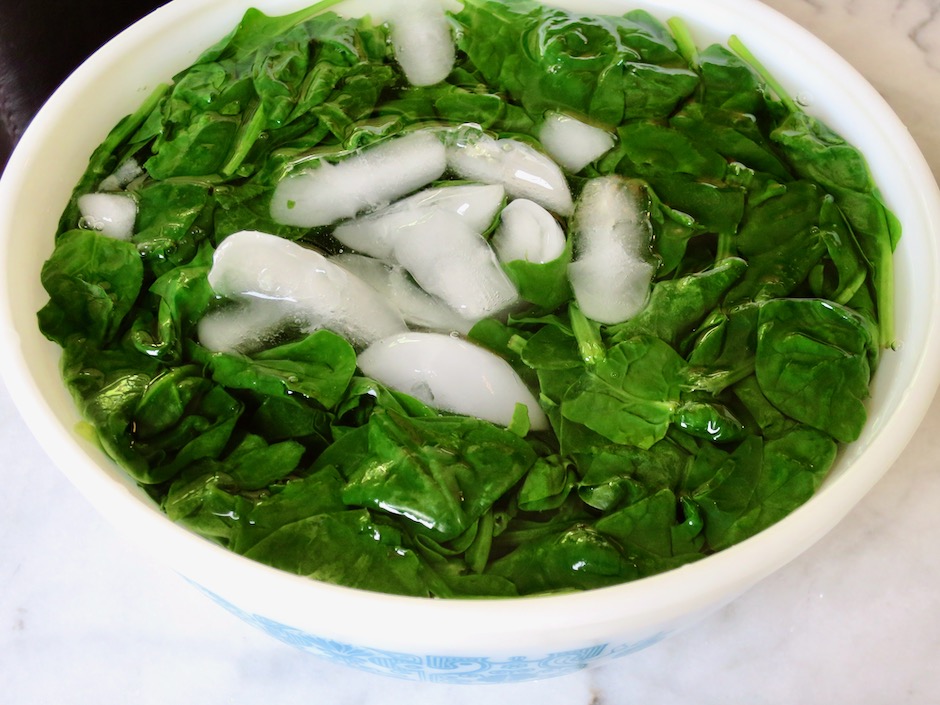
Spinach shrinks drastically when blanched so you’ll need a pound of fresh spinach for two servings.  Once blanched, the spinach goes into an ice bath to stop the cooking quickly.  

Spinach in Ice Bath

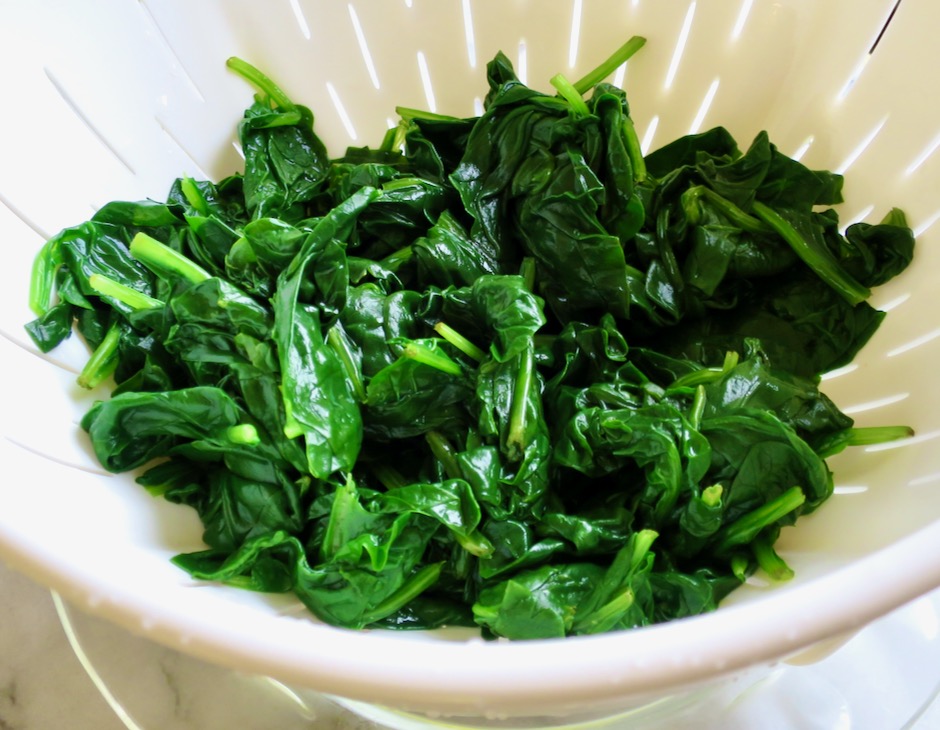
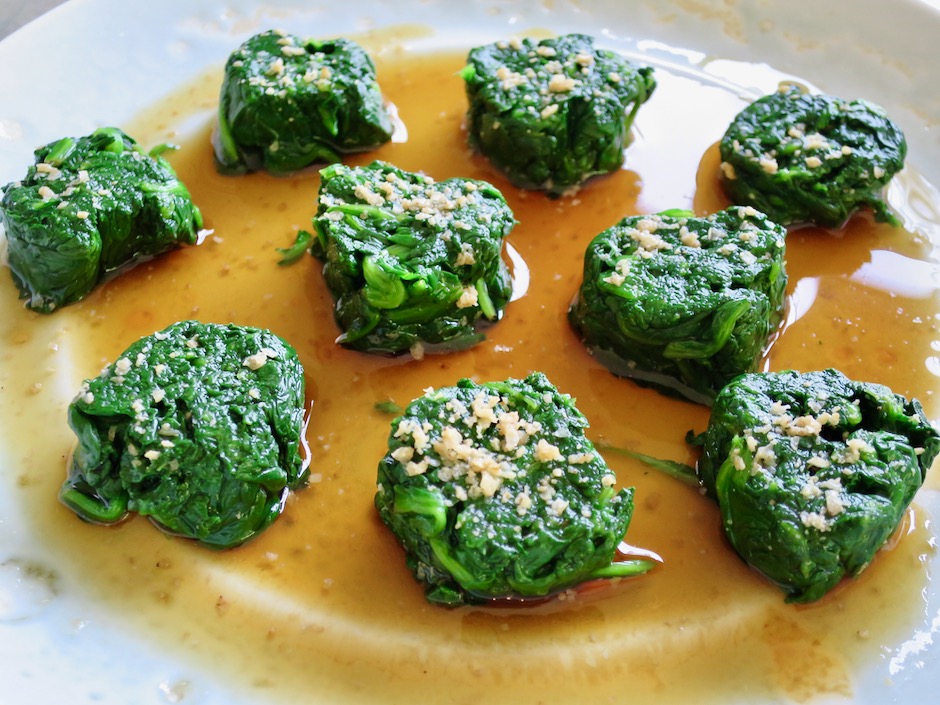
Blanched spinach has a gorgeous bright green color to it.  And with the sauce drizzled over and around the spinach it makes for a beautiful presentation.

Drained Blanched Spinach

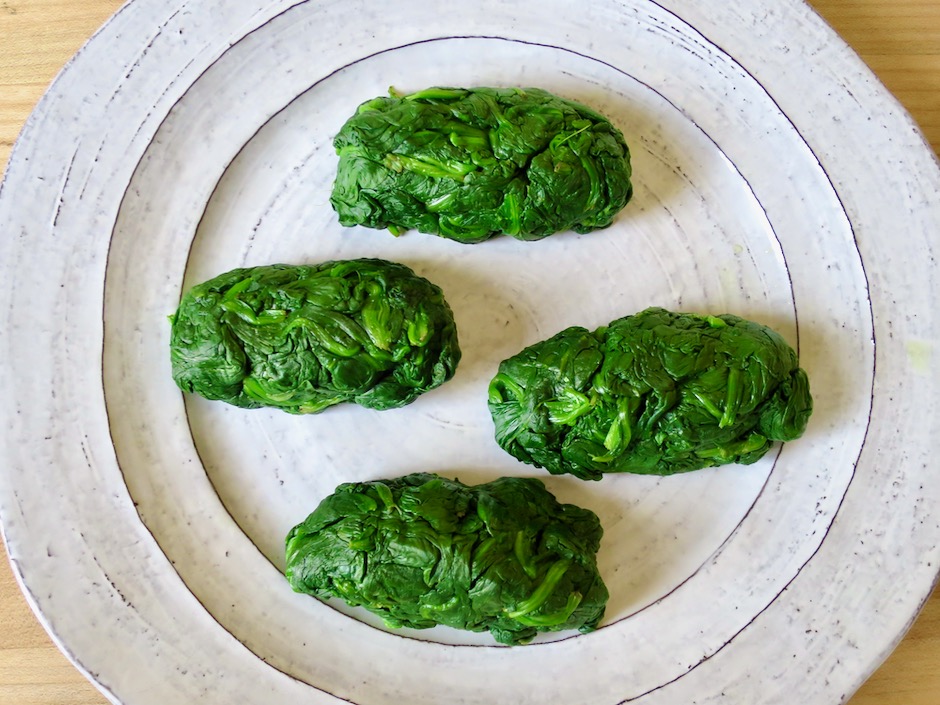
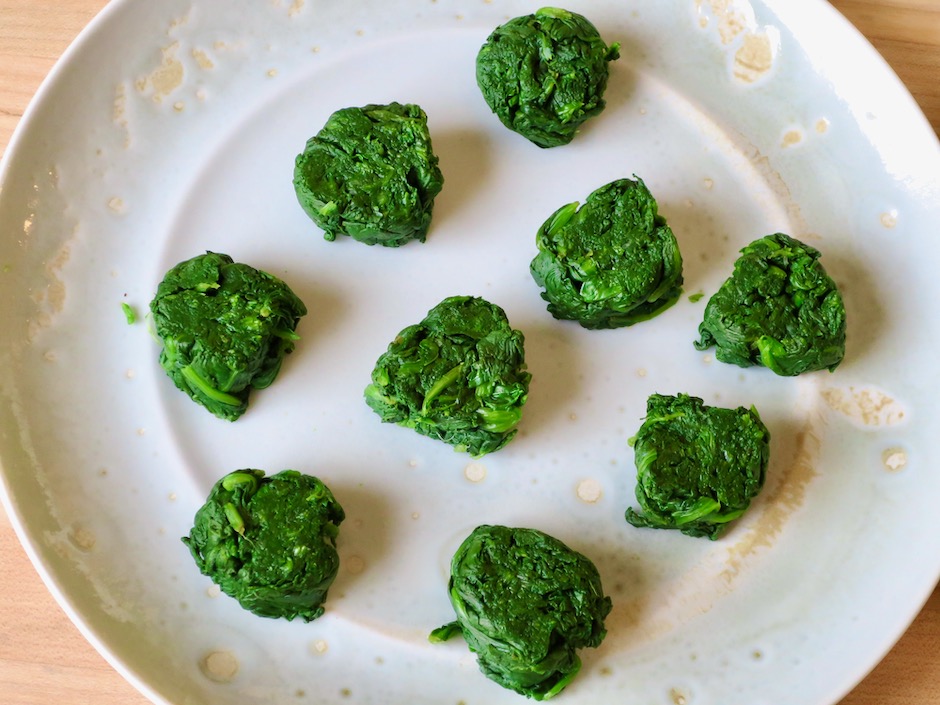
Spinach Rolls

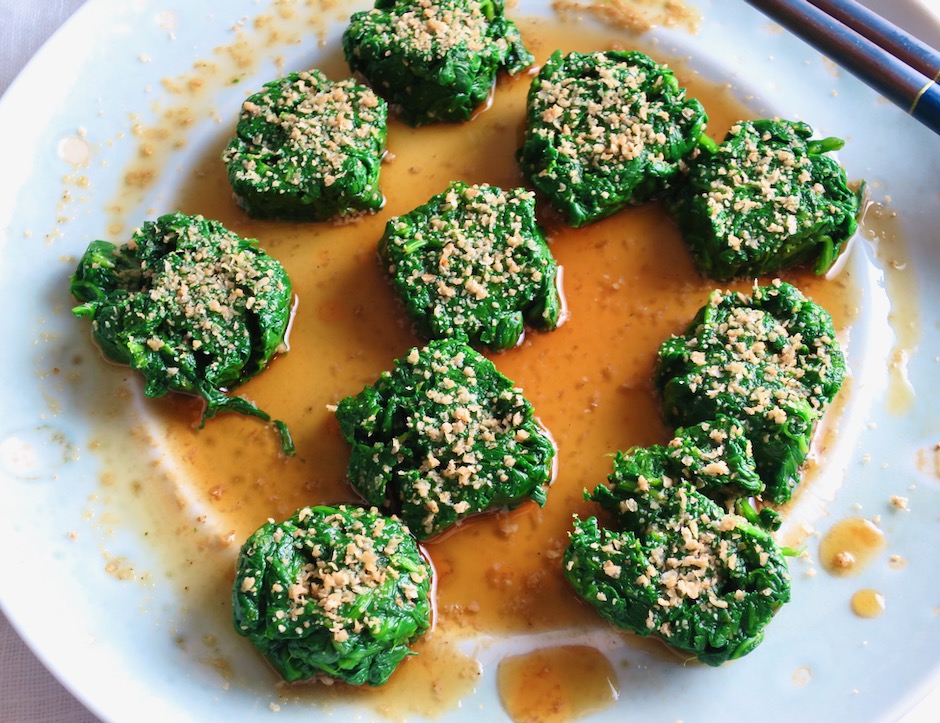
I divided the spinach (squeezed dry) into four equal pieces and shaped them into short rolls, then sliced them into rounds before adding the sauce.  

Sliced Spinach Rounds

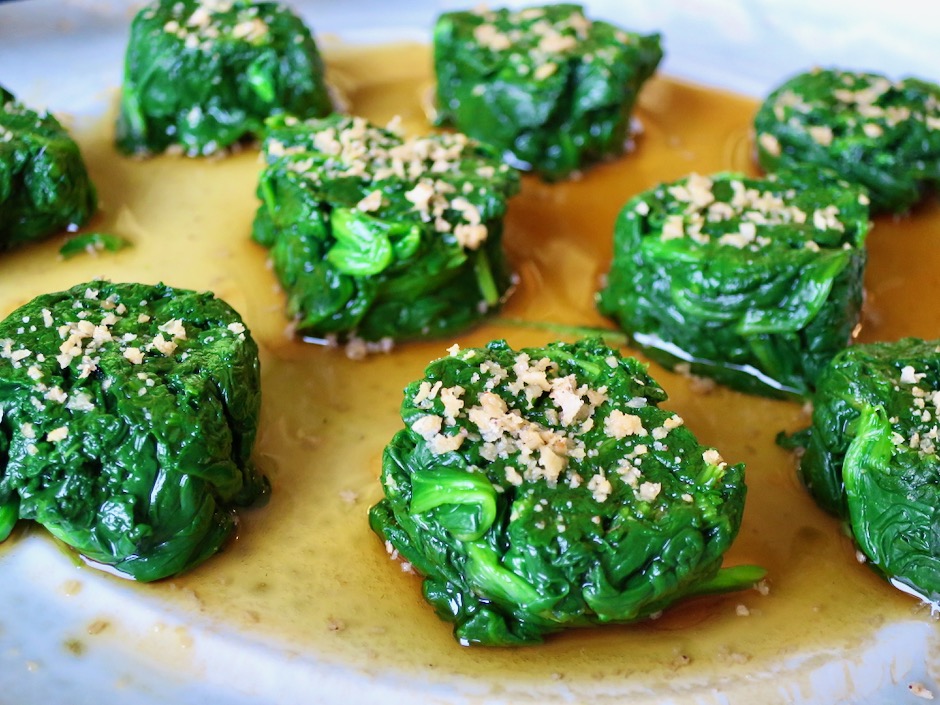
Spinach Ohitashi

Ground roasted sesame seeds are one of my favorite additions to this dish.  Not only does it give the spinach a delicious nutty flavor, it also adds contrast to the bright green rounds and golden sauce.  

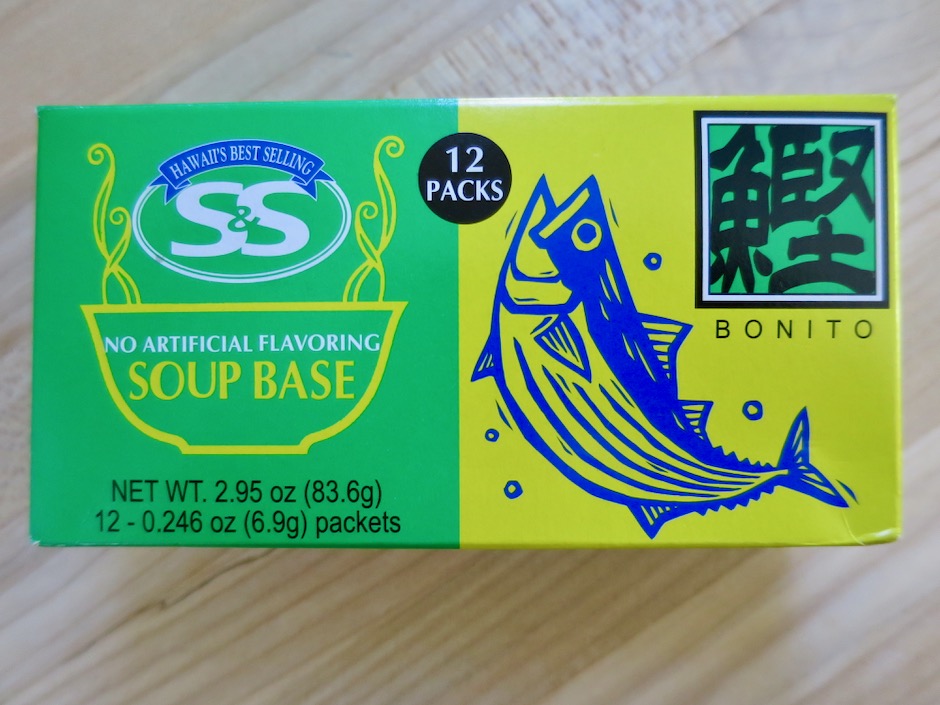
Instant Dashi

I opted to use instant dashi because of the small amount needed for the recipe.  It is convenient and tastes great in this sauce.

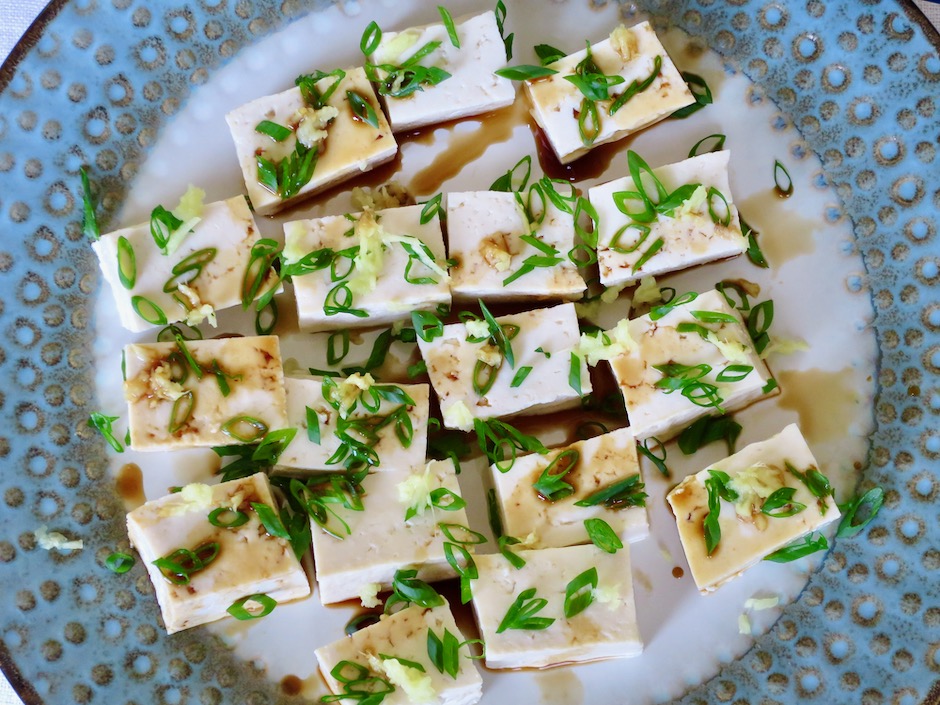
Tofu with Green Onions, Ginger & Soy Sauce

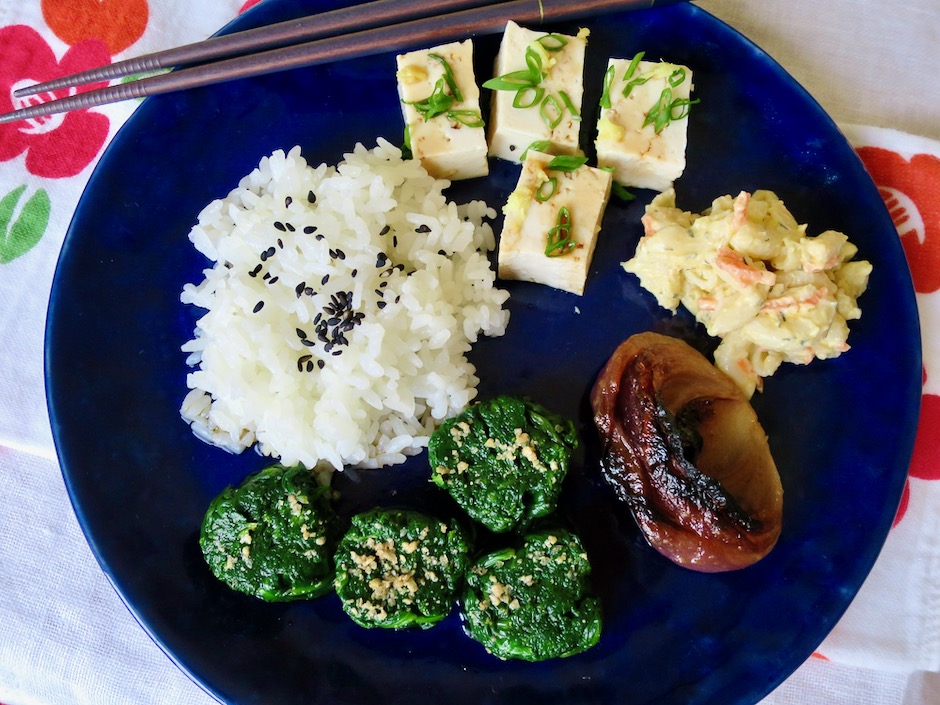
A side of tofu with green onions, ginger and soy sauce (and rice) complete a healthy meal for any day of the year. 

Spinach Ohitashi

Spinach Ohitashi with Rice, Tofu, Mac Salad, Miso Onion

Spinach Ohitashi
 
Author:
Serves: 2
Ingredients
  • 1 pound fresh baby spinach leaves
  • ½ cup dashi (I used instant dashi picture above. ½ cup warm water mixed with 1½ teaspoons dashi powder)
  • 2 tablespoons soy sauce
  • 1 tablespoon mirin
  • roasted ground sesame seeds
Preparation
  1. Bring a large pot of water to a boil. Blanch the spinach just until wilted, about 30-40 seconds. Immediately drain and transfer spinach to an ice bath. Once thoroughly chilled, remove spinach to a colander to drain.
  2. Meanwhile, combine dashi with soy sauce and mirin in a glass measuring cup (can be made in advance and kept refrigerated until ready to use). Set aside.
  3. Divide spinach into four equal portions. Squeeze out as much water as possible from each portion and form into short rolls. Slice each roll into equal sized rounds (serrated knife works best). Place rounds of spinach on serving plate. Drizzle sauce over and around the spinach. Sprinkle tops with ground sesame seeds. Serve at room temperature or slightly chilled.

 

Dinner, Korean, Lactose Free, Recipes, Side Dishes, Vegan, Vegetarian, Veggies

Asian Cucumber Salad

January 24, 2021

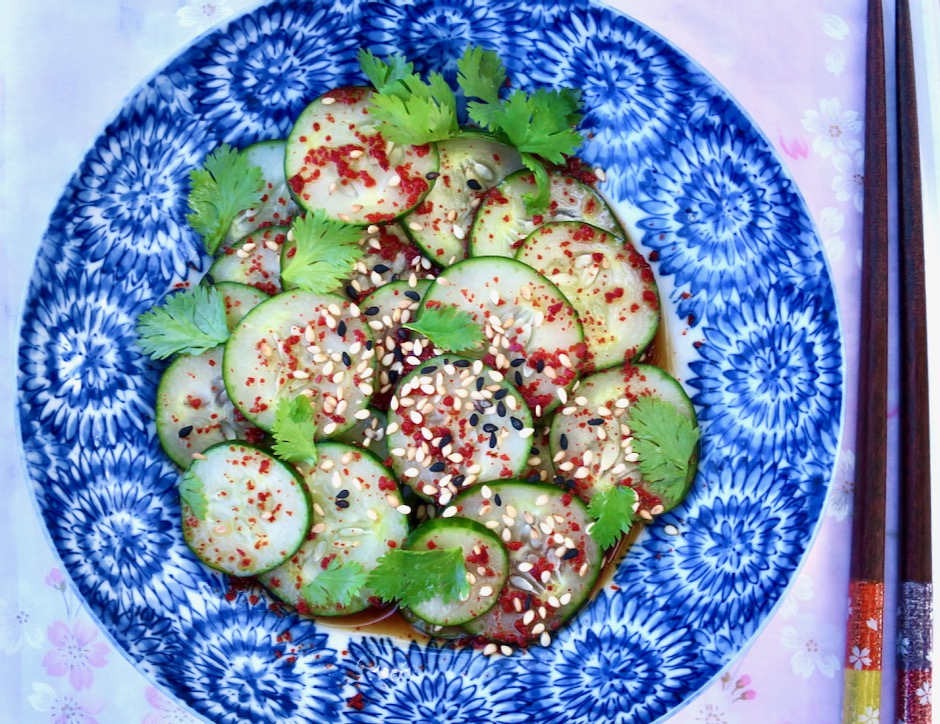
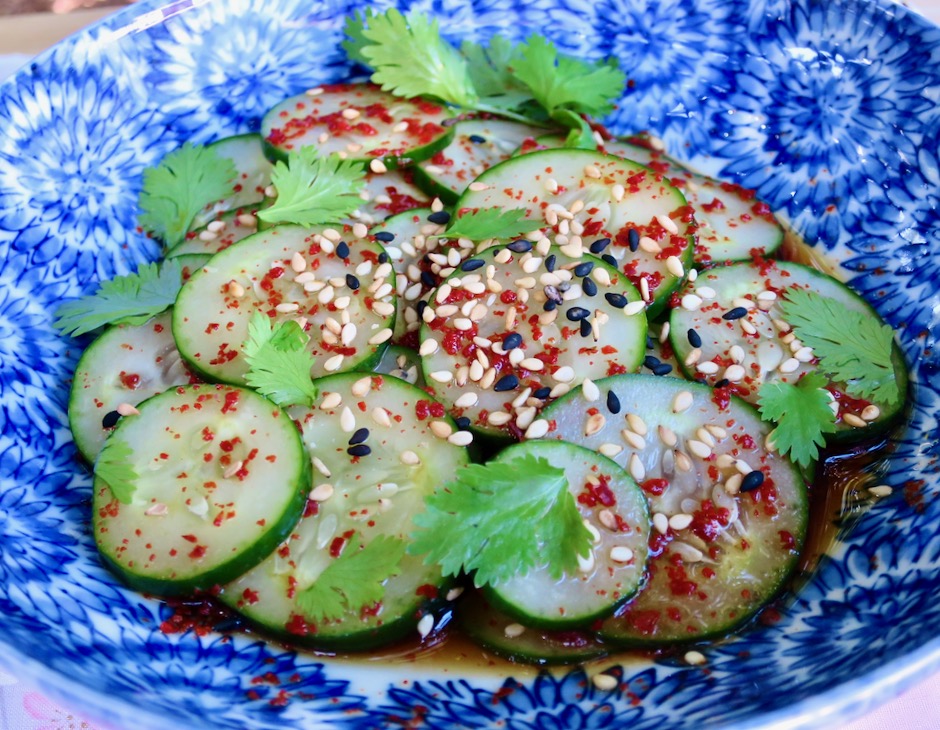
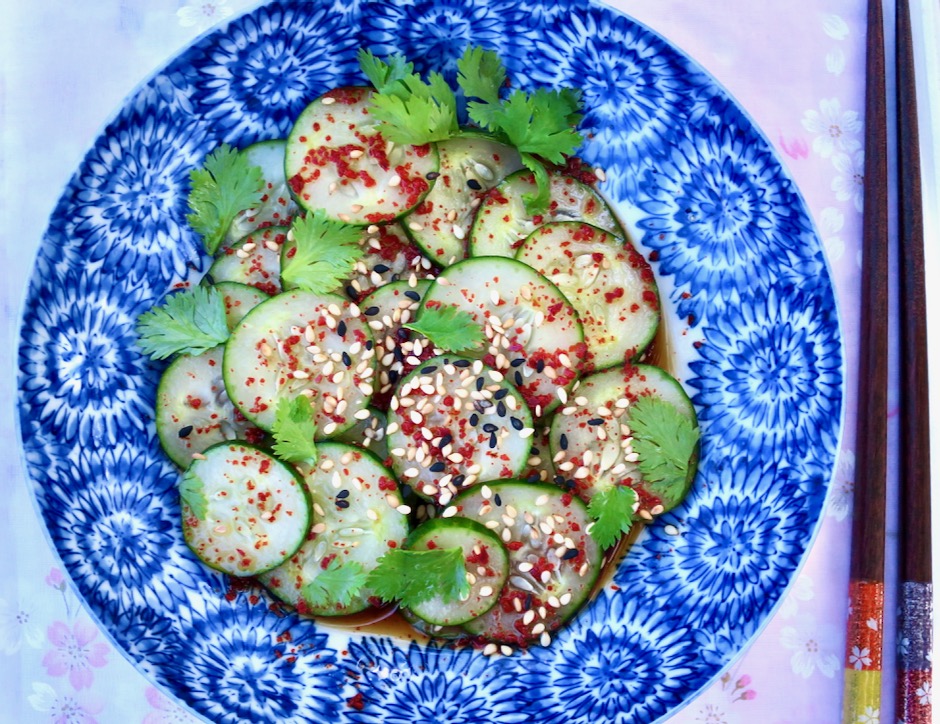
Asian Cucumber Salad

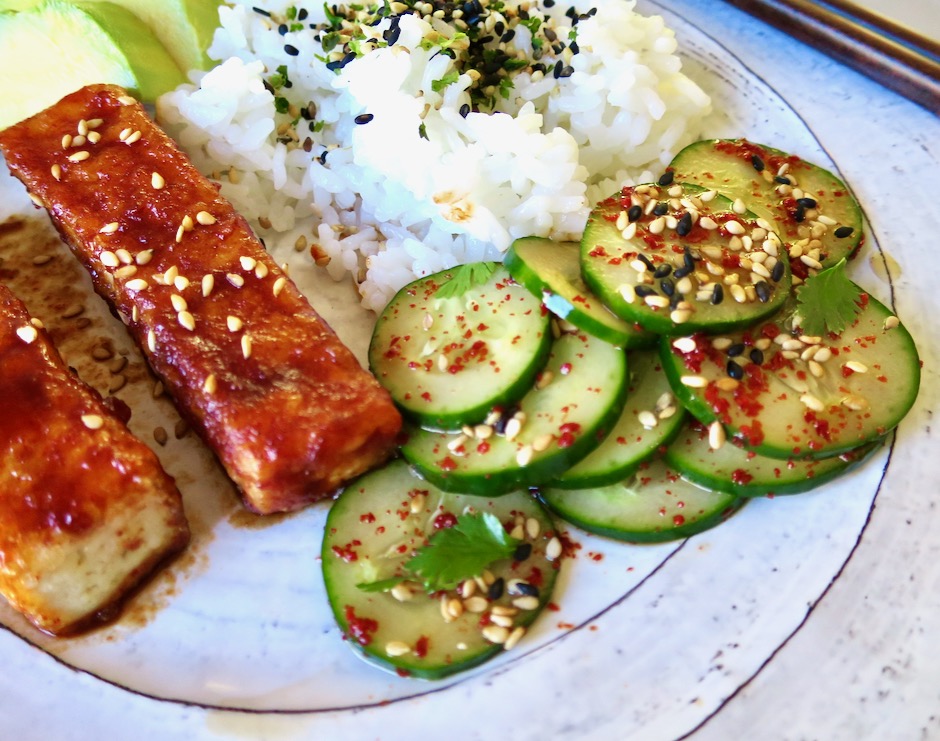
This is a quick (10 minutes max) cucumber dish that is perfect to serve alongside teriyaki meat sticks, lemon grass tofu, and Korean hamburger patties.  It’s a very refreshing salad that everyone will enjoy.

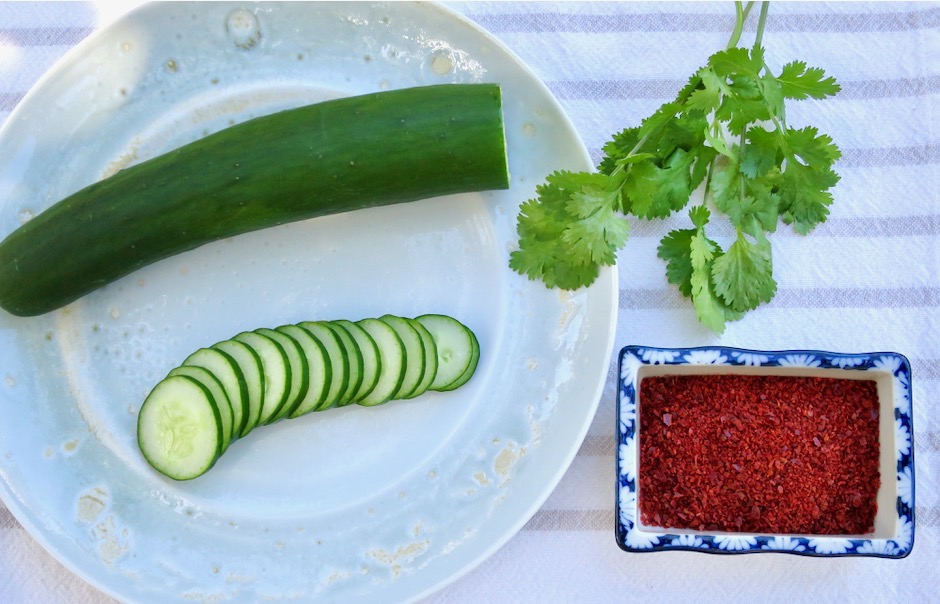
Japanese Cucumber, Cilantro & Gochugaru

Japanese cucumbers are the best choice for this salad.  They are super crispy with tender skins and have very few seeds.  I always have a big jar of gochugaru (Korean chili flakes) on hand.  The chili flakes add a subtle heat and beautiful pop of color to salads like this one.

Asian Cucumber Salad

We have some beautiful cilantro growing in the garden so I added a few tender leaves to the salad.  If you’re not a fan of cilantro, use thinly sliced green onions or chives.  If you are not planning to eat the salad right away, store cucumbers and dressing separately until ready to serve.

Asian Cucumber Salad with Tofu & Rice

Asian Cucumber Salad
 
Author:
Serves: 2
Ingredients
  • 1 Japanese cucumber (about 5 ounces)
  • 1 tablespoon soy sauce (Kikkoman recommended)
  • 2 tablespoons rice vinegar (unseasoned)
  • 2 teaspoons sugar
  • ½ teaspoon gochugaru (Korean red chili flakes)
  • ¼ - ½ teaspoon roasted sesame seeds
  • few sprigs of fresh cilantro torn into pieces (may substitute thinly sliced green onions or chives)
Preparation
  1. Slice the cucumbers into thin rounds, about ⅛th-inch thick.
  2. Combine the soy sauce, rice vinegar, and sugar in a small bowl. Mix well until sugar has dissolved. Mix in gochugaru and and most of the sesame seeds.
  3. Place cucumbers in a low sided bowl. Spoon sauce over the cucumbers. Sprinkle remaining sesame seeds over the top followed by the cilantro.


Beef, Dinner, Korean, Lactose Free, Recipes

Meat Jun

November 3, 2020

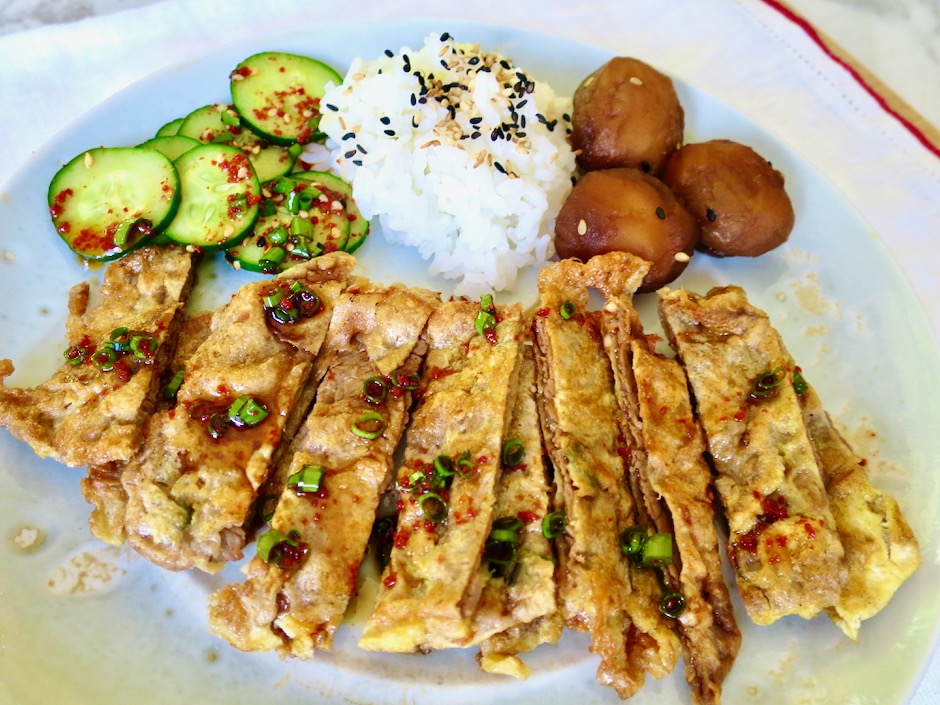
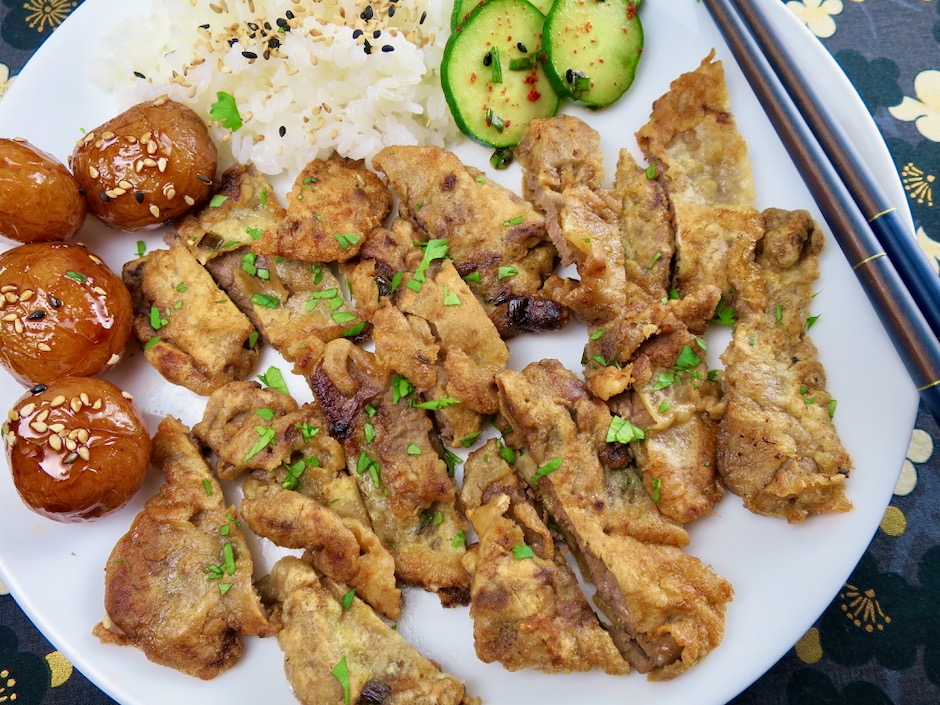
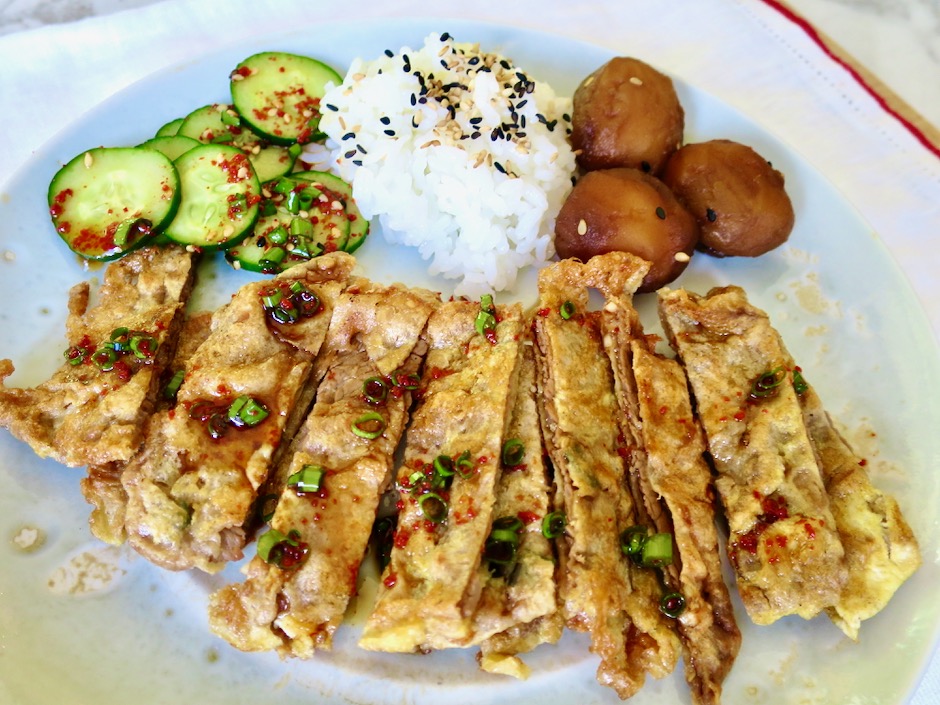
Meat Jun, Cucumber Salad, Rice, Korean Potatoes

I was only vaguely familiar with meat jun until my sister sent me a text with a photo of her “plate lunch” which featured this dish.  That piqued my interest enough for me to delve into the subject of this simple and homey dish.  I discovered that meat jun was introduced by a local Korean restaurant on Oahu many years ago.  It is a type of jeon, which refers to a Korean method of preparing seasoned meat or vegetables that are coated in flour and egg wash before being fried.  As is the case with many cross-cultural dishes in Hawaii, meat jun is a local island style invention.

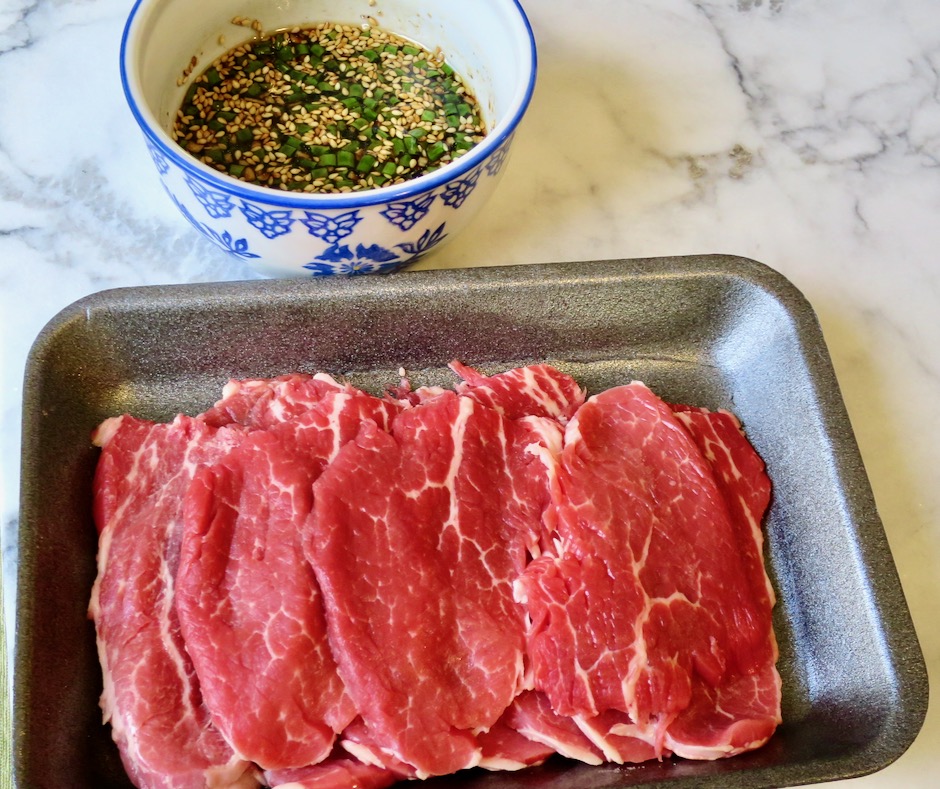
Filet Mignon & Marinade

The meat for this recipe should be very thin so that it cooks quickly.  Many use top sirloin or ribeye.  I went to my local Safeway and asked the butcher if he would slice some filet mignon for me.  He asked me what I was going to make with it and when I told him, he said “that is going to be the best meat jun ever!”  As it turned out, filet mignon worked well because it’s so tender.

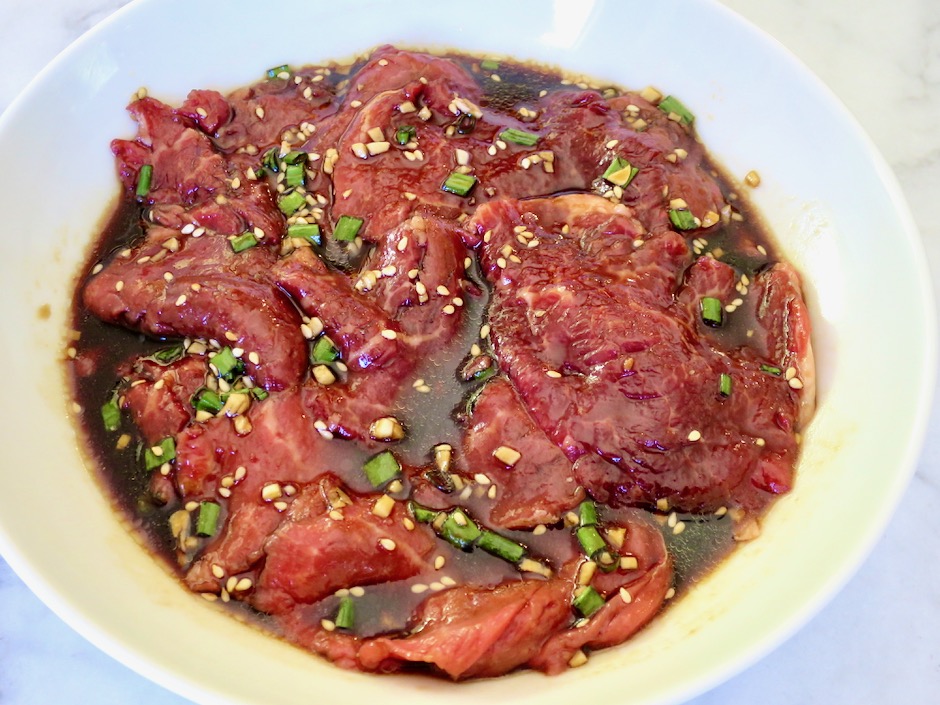
Marinating Meat Jun

Because the meat is sliced thin, it only needs to marinate in the sauce for 20 minutes before it is coated with flour, dipped in egg and pan-fried.

Meat Jun, Cucumber Salad, Rice, Korean Potatoes

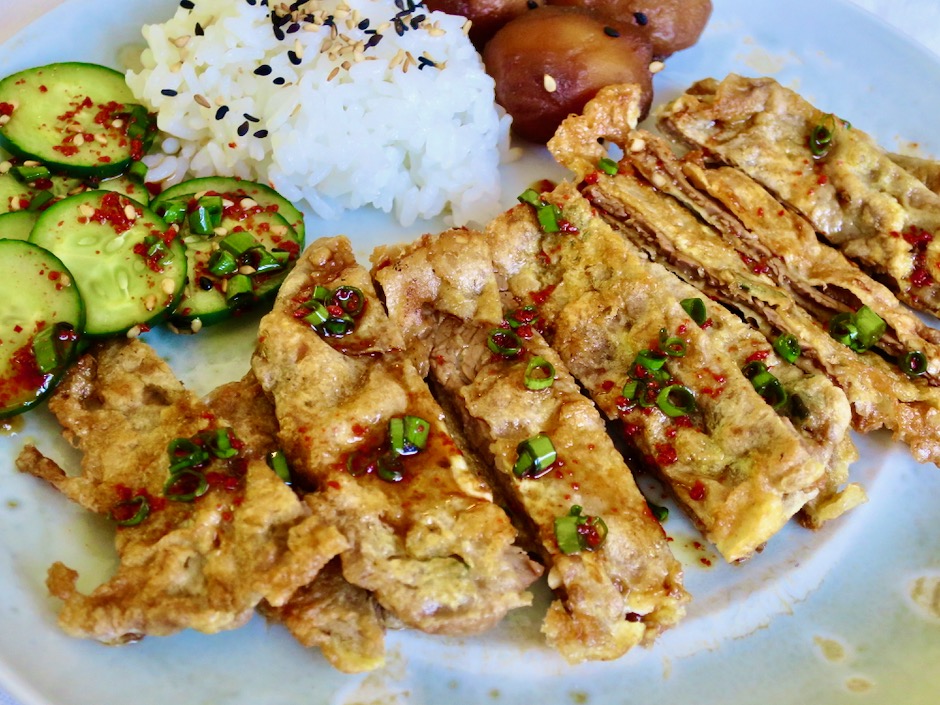
Meat jun is delicious served with  rice and crunchy cucumbers or kimchi.  Leftovers hold up very well and need just a quick zap in the microwave to warm the meat up a bit.  The dipping sauce is excellent drizzled over the meat.  It has a good dose of vinegar which adds a nice zing to the soy marinated meat.  This unassuming dish is most addicting.

Meat Jun, Cucumber Salad, Rice, Korean Potatoes

Meat Jun
 
Author:
Serves: 2 - 4
Ingredients
  • For meat jun:
  • ½ pound thinly sliced filet mignon
  • ¼ cup less sodium soy sauce (Kikkoman recommended)
  • 1½ tablespoons sugar
  • 2 teaspoons sesame oil
  • 1 garlic clove, minced
  • 1 tablespoon thinly sliced green onion
  • 1 teaspoon roasted sesame seeds
  • ½ cup flour
  • 3 large eggs
  • canola oil for frying
  • For dipping sauce:
  • 2 tablespoons less sodium soy sauce
  • 1 tablespoon white vinegar
  • 2 teaspoons sugar
  • 2 teaspoons finely chopped green onion
  • ½ teaspoon roasted sesame seeds
  • ½ - 1 teaspoon gochugaru
Preparation
  1. Combine soy sauce through sesame seeds in a medium sized bowl. Add meat slices and marinate for 20 minutes (up to 30 minutes for thicker slices). Place marinated slices of meat on paper towels to drain slightly, just before you are ready to cook them (discard sauce).
  2. Meanwhile, combine dipping sauce ingredients in a small bowl. Mix well and set aside.
  3. Place flour in a wide shallow bowl, and whisk eggs in another wide shallow bowl. Heat ¼ cup of canola oil in a large skillet over medium heat (enough to generously coat the entire bottom of the pan). Use tongs to dip meat in the flour making sure to cover each piece well. Gently shake off any extra flour, then dip meat in whisked eggs making sure to coat well. Place on a piece of foil. Continue with all of the meat slices. Working in batches, fry meat until golden brown, about 45-60 seconds per side. Transfer to a paper towel lined plate. Continue cooking the rest of the meat. Slice meat into strips about 1-inch wide. Arrange meat on platter and serve with dipping sauce on the side.


Beef, Dinner, Japanese, Lactose Free, Pork, Recipes, Sandwiches

Japanese Burgers

November 26, 2016

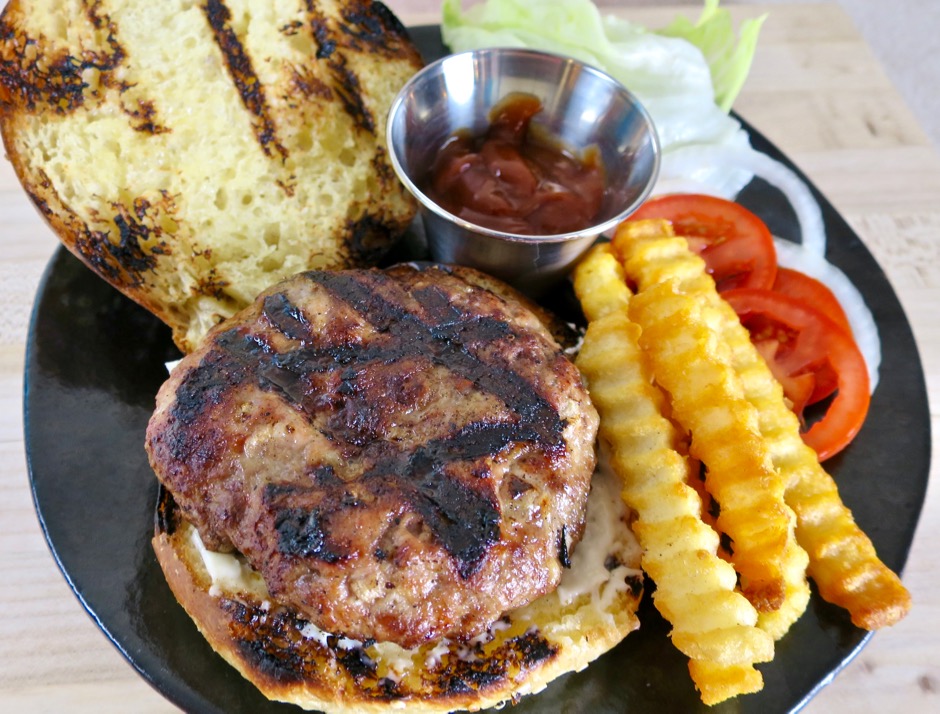
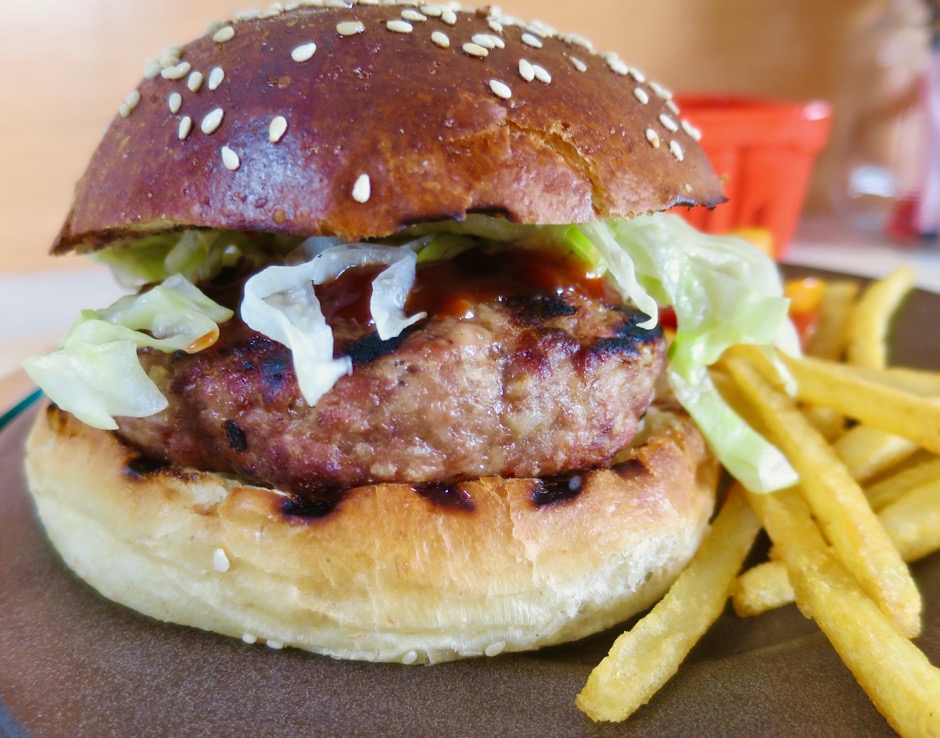
Japanese Burger

The moment I saw this recipe from the New York Times I knew I wanted to make it right away.  I was curious to know why these were called Japanese burgers.  Upon reading the ingredients, panko bread crumbs, soy sauce, and the combination of ground beef and pork, the answer was clear.  The recipe comes from Tadashi Ono, owner of Matsuri restaurant in New York. Tadashi is Japanese.  The article also lists a recipe for wasabi (Japanese!) ketchup to go along with the burger. In the end, it didn’t matter what they called these burgers.  They are so good I just call them “ono burgers!”

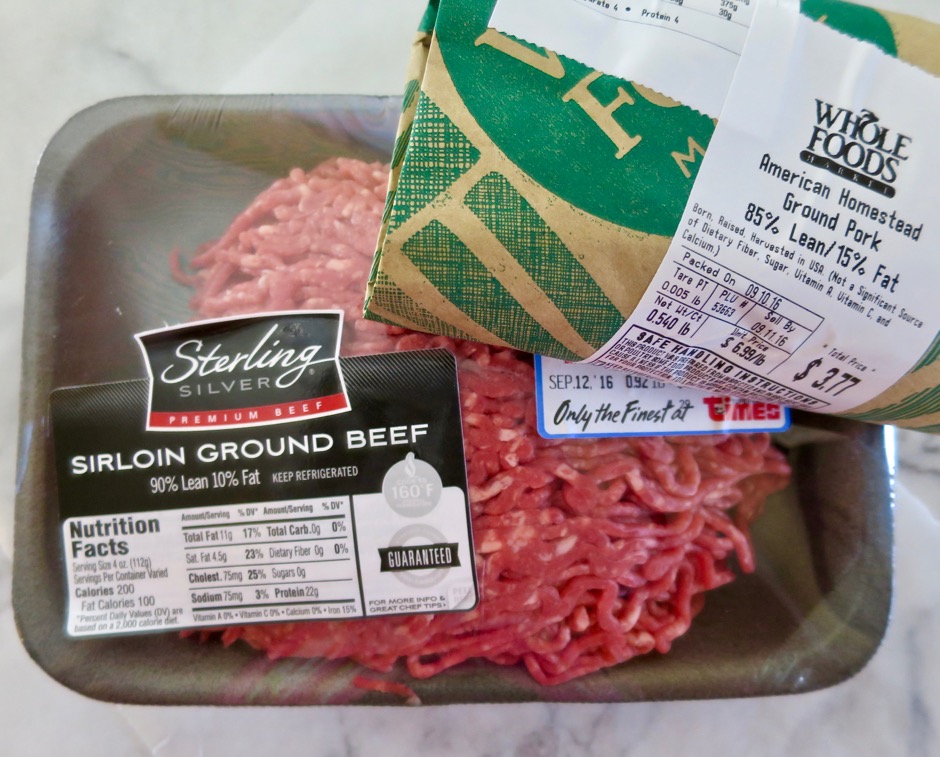
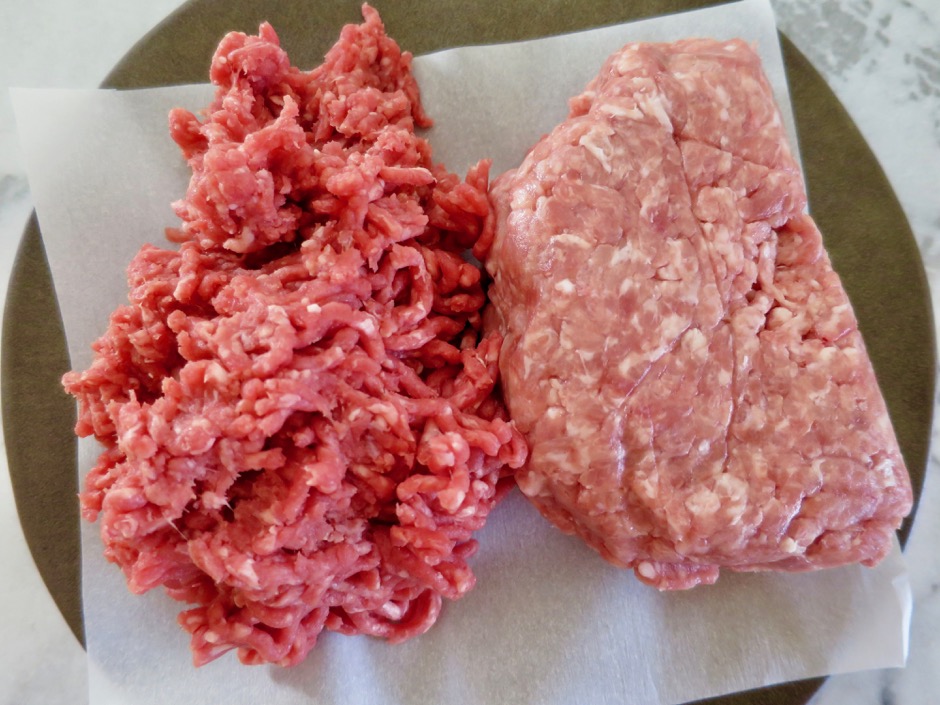
Ground Sirloin & Ground Pork

Times market in Kihei sells specific types of excellent ground beef (including sirloin and chuck), rather than the usual generic version. Whole Foods market ground the pork for me while I waited at the counter.

Ground Sirloin & Ground Pork

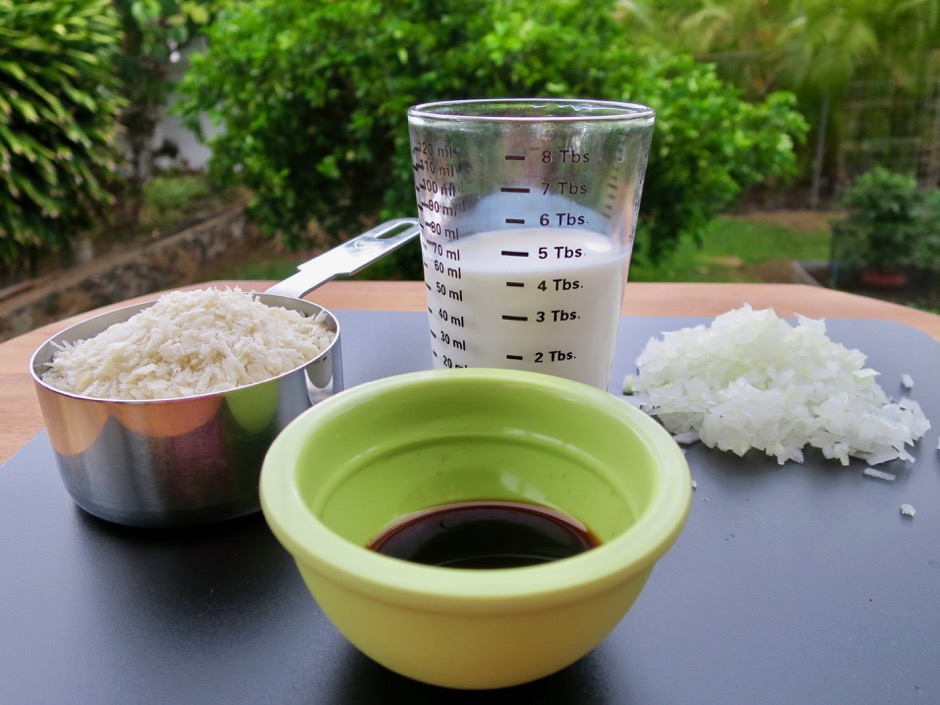
Panko, Milk, Onion, Soy Sauce

A bit of panko and milk moisten the meat.  Very finely minced onion and soy sauce flavor the ground beef and pork along with a little salt and pepper.

Japanese Burger

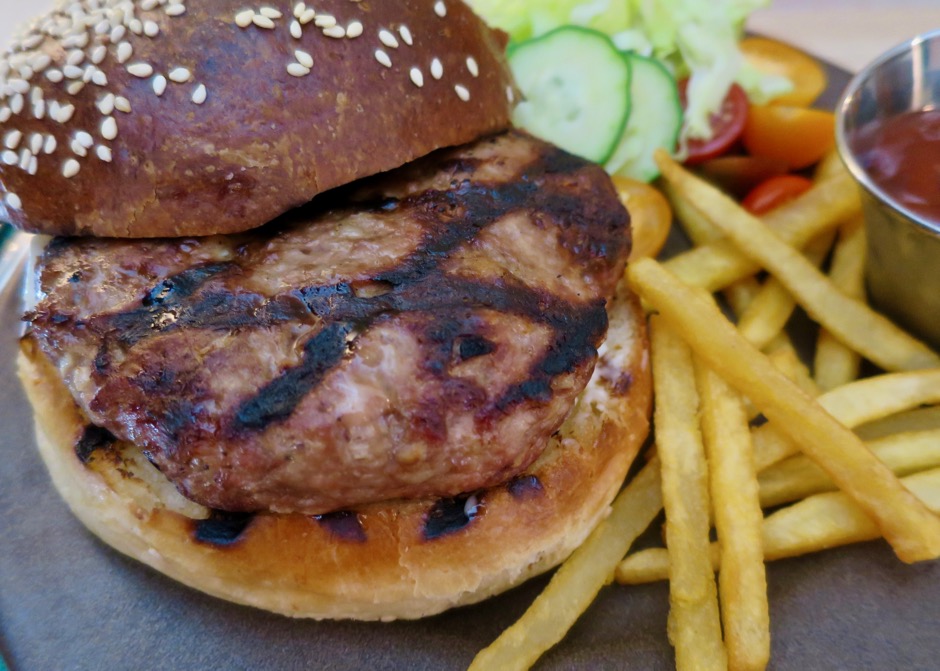
These are juicy, moist burgers.  We heated leftover patties wrapped in foil in the toaster oven the following day and they were equally delicious as they were on the first day.  In place of the wasabi ketchup suggested in the article, we opted to mix up sriracha with ketchup because sriracha enhances nearly every food imaginable (pizza, noodles, eggs, mayonnaise, ketchup).

Japanese Burger

Japanese Burgers
 
Adapted from the New York Times
Author:
Serves: 4
Ingredients
  • ½ cup panko
  • ¼ cup 2% or whole milk
  • 10 ounces ground sirloin
  • 10 ounces ground pork
  • ¼ cup finely chopped white onion
  • 1½ teaspoons soy sauce
  • ½ teaspoon salt
  • ¼ teaspoon pepper
  • sesame oil for coating hands
  • 4 brioche buns for serving
Preparation
  1. In a large mixing bowl, combine the panko bread crumbs and milk and let rest for a few minutes. If the mixture seems too dry add a few extra drops of milk to moisten the bread crumbs.
  2. Add sirloin, pork, onion, soy sauce, salt and pepper. Knead the meat until it becomes sticky and binds together. Divide into 4 equal parts (a scale comes in handy).
  3. Lightly dab your hands with sesame oil. Using your palms, roll each part of the meat into a ball, then pat the ball flat, shifting it from hand to hand to form a ½-inch-thick patty. Make a shallow indentation across the center of the patty to keep it from puffing while it grills.
  4. Grill the burgers, flipping twice, until browned and cooked through with no pink in the middle, about 10 minutes (160 degrees). Serve on buns, topped with spicy ketchup and shredded iceberg lettuce.


Beef, Chicken, Dinner, Japanese, Recipes, Vegan, Vegetarian

Granny’s Teriyaki Sauce

November 20, 2012


A recipe named after “Granny” might not sound all that exciting but if you love homemade teriyaki sauce this is really delicious. My mom gave me her recipe card for this sauce a long time ago and she made a note on it “the best.”  She was right. It’s the best teriyaki sauce I have ever had.

The secret ingredient that makes this sauce so tasty is sherry.  So go ahead and buy a bottle of sherry.  Not the cooking sherry they sell in the condiment aisle, decent sherry like Hartley & Gibson’s Amontillado sherry which you can find at a full service grocery store or liquor store.  Stash the bottle in your cupboard until your next craving for really good teriyaki sauce, it will last indefinitely.

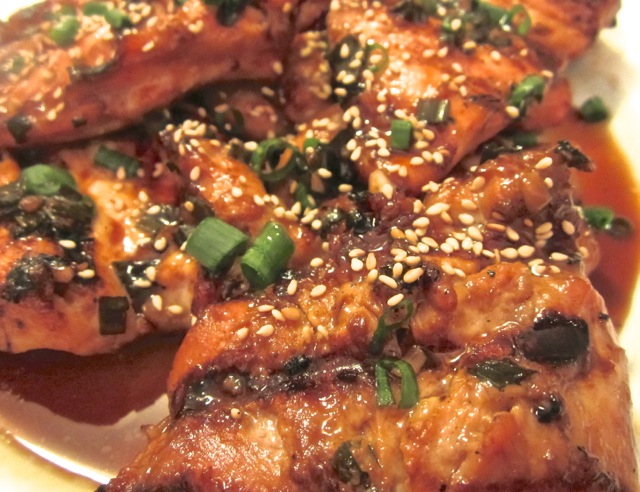
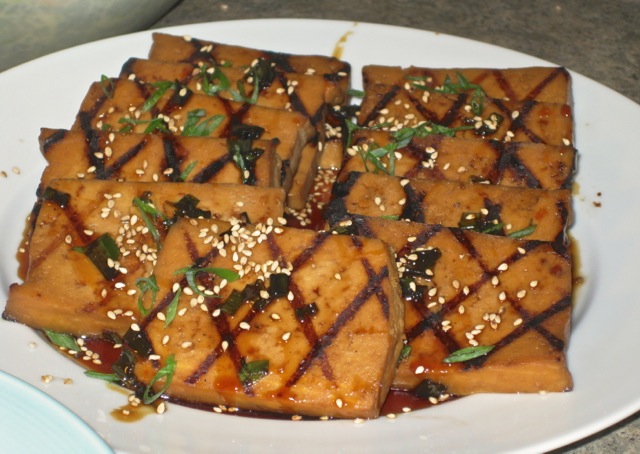
You can use this marinade for chicken, tofu, fish and beef.  I use part of the sauce to marinate whatever I’m cooking and simmer the rest of the sauce until it becomes thick and syrupy.  I drizzle this on grilled chicken, tofu or fish and finish with a few sliced green onions before serving.  Really good.

Granny’s Teriyaki Sauce

Ingredients

1/2 cup sugar

1/2 cup plus 2 tablespoons soy sauce (Kikkoman recommended)

4 tablespoons sherry (Hartley & Gibson’s or similar quality)

1 tablespoon canola oil

2 large garlic cloves chopped

green onions, sliced (use a good amount since they tend to shrink quite a bit once mixed into the sauce)

Preparation

Combine sugar with soy sauce and sherry until the sugar has dissolved.  Add oil, garlic and chopped green onions.

Use to marinate boneless chicken breasts chicken thighs, or your favorite cut of steak for about 3 hours.  For tofu and fish such as salmon or ahi marinate for just one hour or so.  Turn pieces occasionally.

Note: Prior to marinating your chicken, fish, beef or tofu reserve part of the sauce and simmer until syrupy, about 10 minutes on medium low heat.  Watch so the sauce does not boil and burn.  You can do this in advance, the sauce will thicken as it cools.  Drizzle over grilled chicken, fish, beef or tofu.  Sprinkle on green onions and roasted sesame seeds before serving. For a larger quantity of meat double the recipe.

Chicken, Dinner, Japanese, Recipes

Mochiko Chicken

November 3, 2012

With the tsunami warning taking place the other night, many of us stayed up way past our bedtime listening to updates from the Pacific Tsunami Center.  Luckily there was no damage caused by the tsunami here in Hawaii.  The following day was like any other Sunday, people picnicking at the beach, shopping, doing errands and going about their merry way.  Since I was one of those people who didn’t get much sleep the night before, I wasn’t too keen on making anything fancy for dinner.

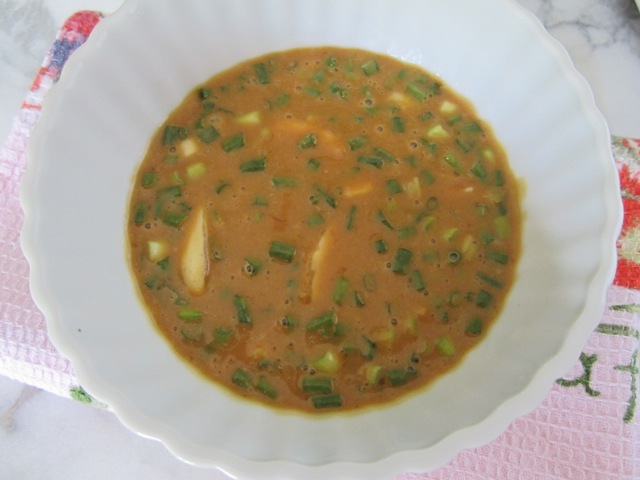
Mochiko Chicken Marinade

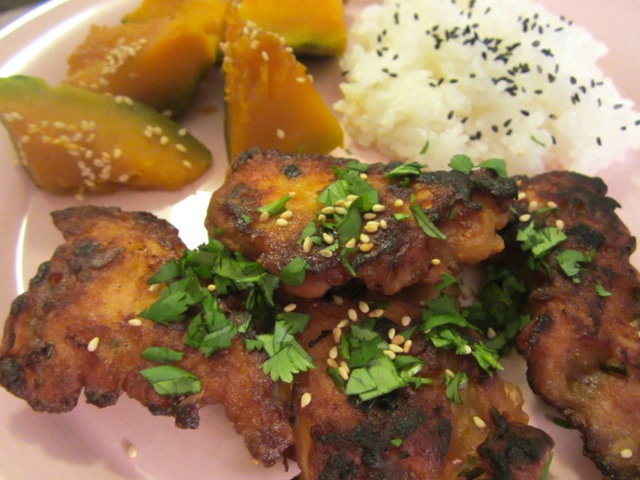
I found this recipe in our local newspaper years ago.  This version of mochiko chicken is delicious.  It makes a great picnic lunch along with some onigiri and Kabocha No Toroni. All of these dishes can be eaten without heating up.

Mochiko Chicken

Serves 4

Ingredients

4 tablespoons sugar

5 tablespoons soy sauce

1/4 cup sesame oil

1 tablespoon oyster sauce

2 eggs, beaten

5 tablespoons cornstarch

3 tablespoons flour

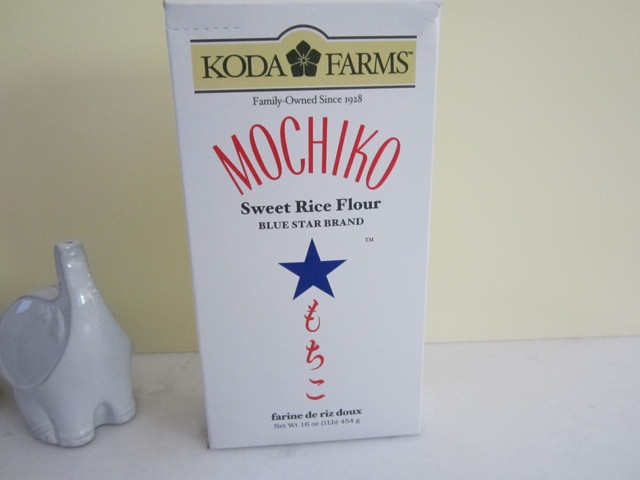
6 tablespoons mochiko flour

3 garlic cloves, crushed

1/2 cup chopped green onions

few dashes of salt

4 large boneless, skinless chicken breasts cut into pieces about two inches in length

canola oil for frying

Preparation

Combine the sugar and soy sauce until the sugar has dissolved.  Add the rest of the ingredients except the chicken.  Mix marinade well and pour into a large bowl or Ziplock bag.  Add the chicken and marinate in the refrigerator for a minimum of two hours.

Pour enough oil into a large fry pan to a depth of 1/4 inch and heat over medium high heat.  Fry the chicken in batches for about 3 – 4 minutes per side or until the chicken is cooked through.  The cooking time will depend on how thick your pieces of chicken are.  I prefer to pound the chicken breasts so they cook evenly and quickly.  This also tenderizes the chicken.  Alternately you can use chicken tenders or if you prefer, chicken thighs.

Remove the chicken and drain on a paper towel lined plate.  Serve right away or pack it up and take it to the beach.


Follow

Get every new post delivered to your Inbox

Join other followers: