Browsing Tag

Smoked Paprika

Appetizers, Dinner, Lactose Free, Recipes, Side Dishes, Summertime Meal, Vegan, Vegetarian, Veggies

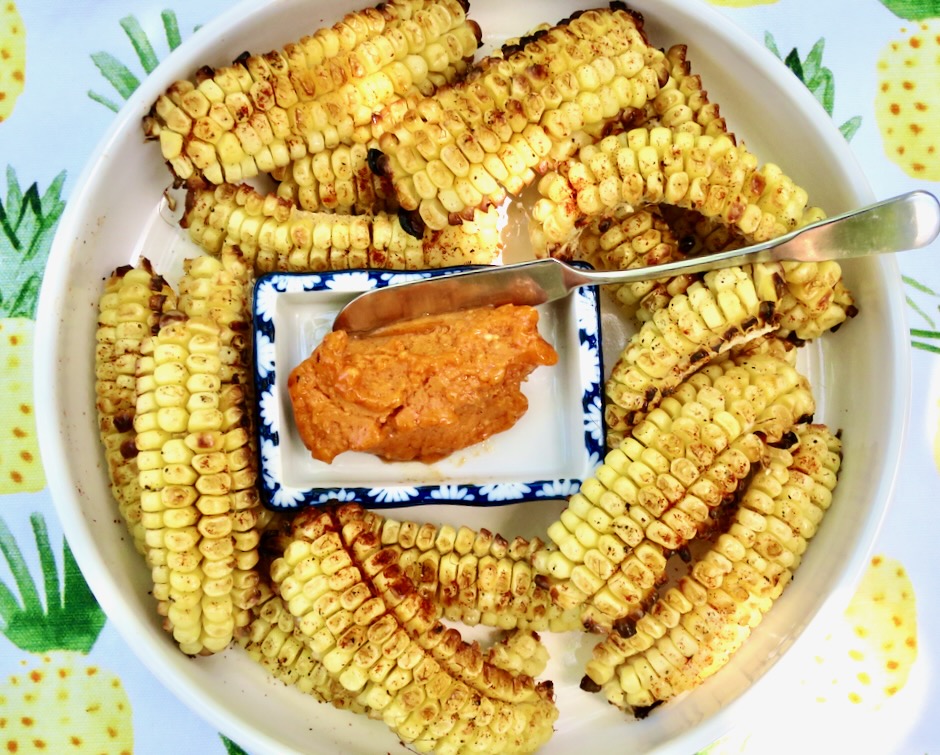
Smoky Sweet Corn Riblets

September 9, 2023

If there is a better way to do corn on the cob than as corn “ribs” I have yet to find it. They are so good I’ve made them twice a week for three weeks in a row. I know I’m late to the game, corn ribs became a thing back in 2021. A recipe for corn ribs went viral on TikTok and ever since, people have been making corn ribs their thing too. There are tons of variations for seasoning corn ribs. Spicy, sweet, cheesy, buttery, herby and so on. This recipe comes from Bon Appetit and it’s just about perfect. Buttery, sweet and smoky.
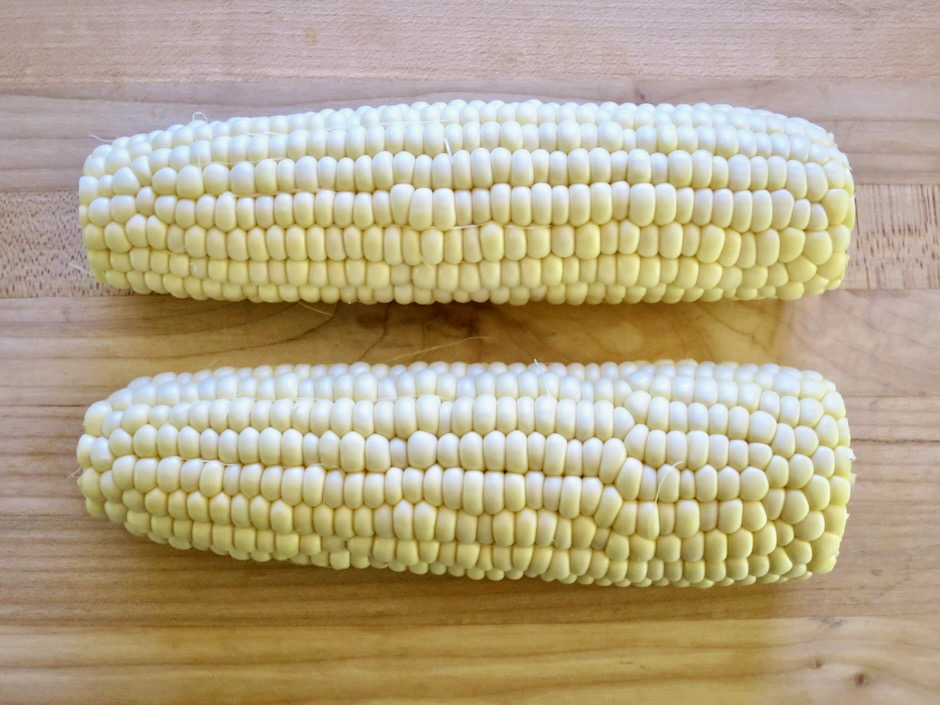
The first time I tried to cut the corn into ribs I almost gave up. The corn cob is tough and hard to cut through. There were corn kernels on the floor, counter and backsplash, oops. I asked my husband to give me a hand. We tried a few different knives and found two that worked great along with a mezzaluna. I know that not everyone has a mezzaluna but it sure came in handy for cutting corn ribs.
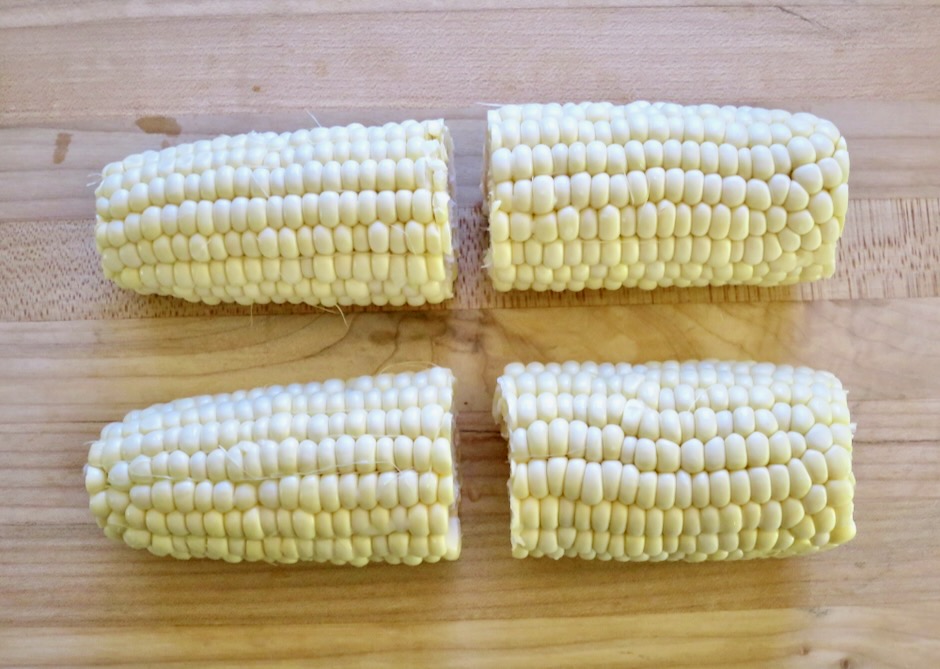
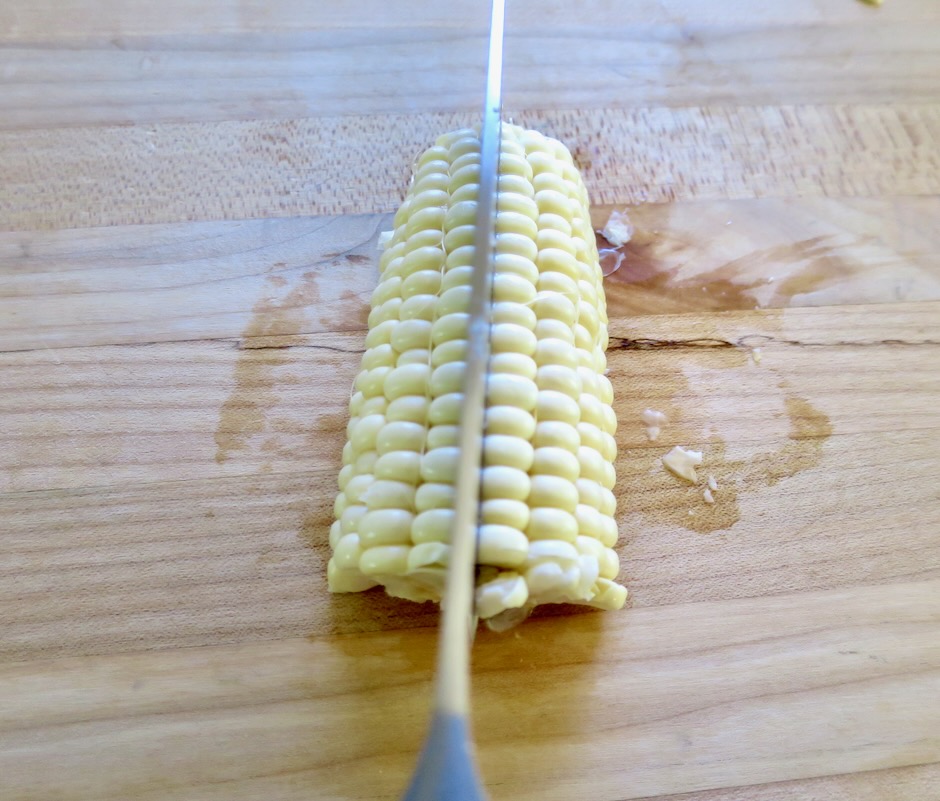
The first step after removing the husk and silk from the corn is to cut off the ends of the corn so they are flat. This is important! The next step is to cut the corn in half diagonally. This will make it much easier to cut the corn into riblets and being shorter to cut through means less risk of accidents. It is much more difficult to cut down the entire length of the corn cob when it is long. You will now be able to stand the corn on end and cut into riblets.
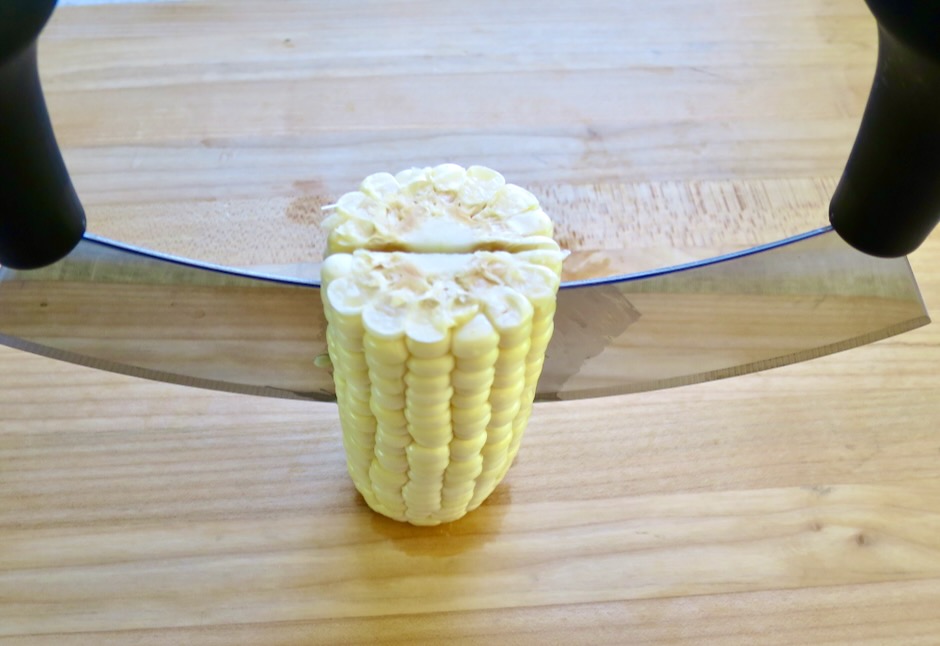
Here we are cutting the corn in half with a mezzaluna. It worked well because you are able to control your cutting with both hands. It’s very stable.
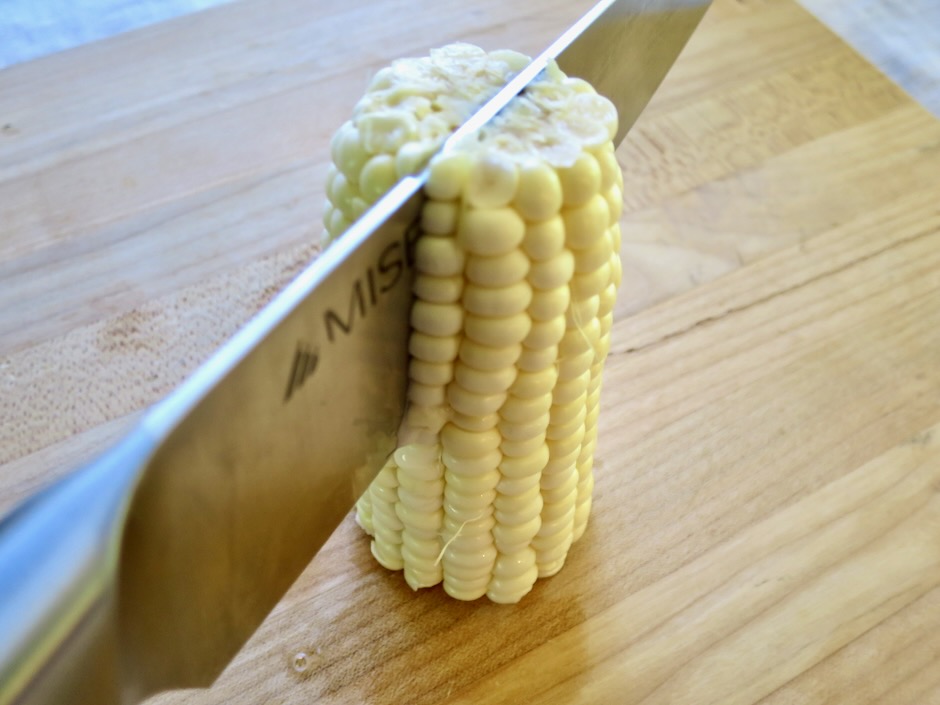
This time we cut the corn in half with a very sharp chef’s knife. It also worked well and will likely be what most people have available.
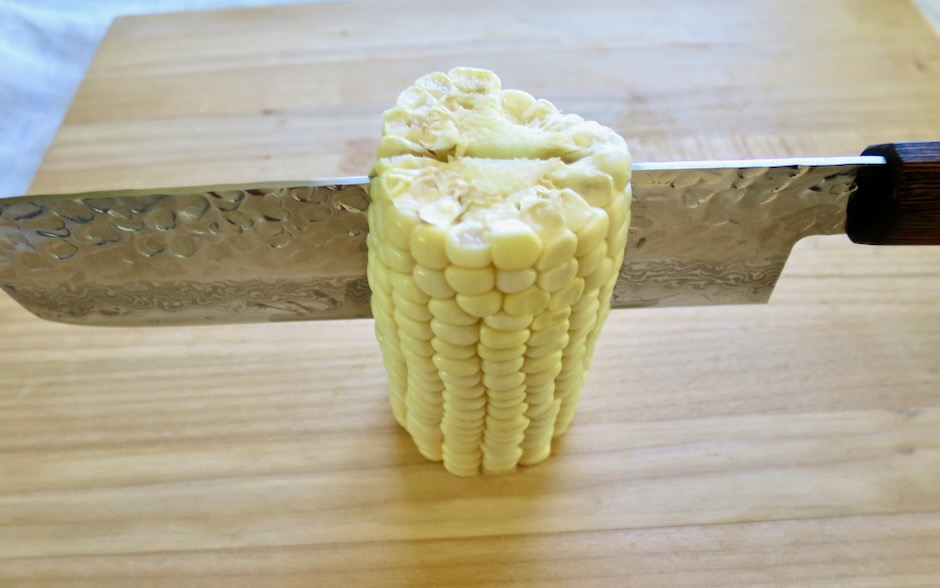
The third option is to use a very sharp Nakiri knife which is a traditional Japanese vegetable knife.
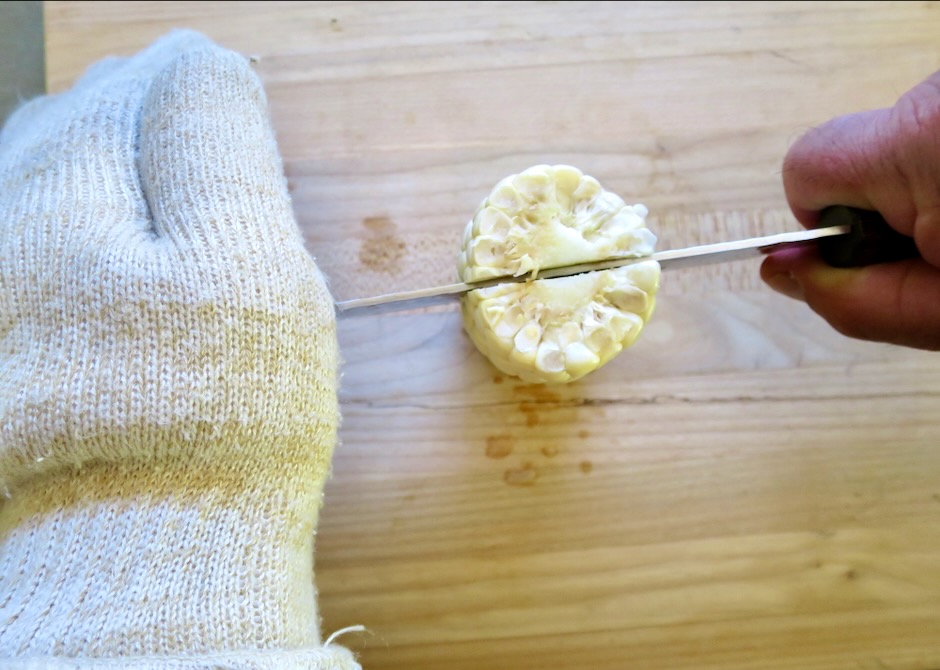
When slicing the corn with a chef’s or Nakiri knife, wearing a thick oven glove will help to stabilize the knife while you use pressure to cut through the corn cob.
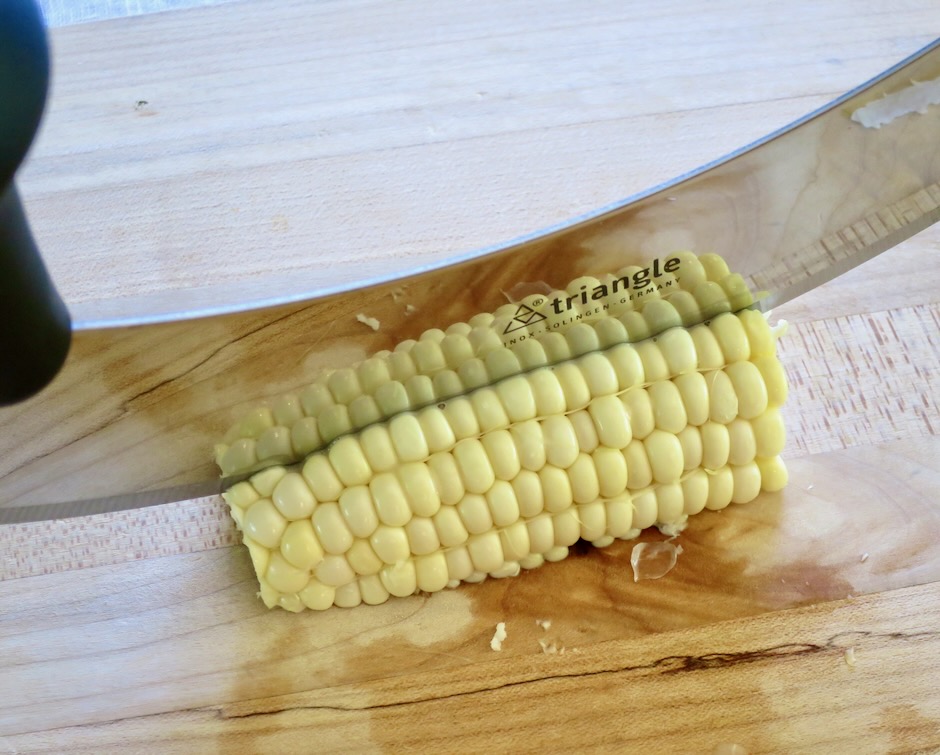
The mezzaluna was the winner for cutting the corn into quarters but both the chef’s knife and Nikiri knife also worked.
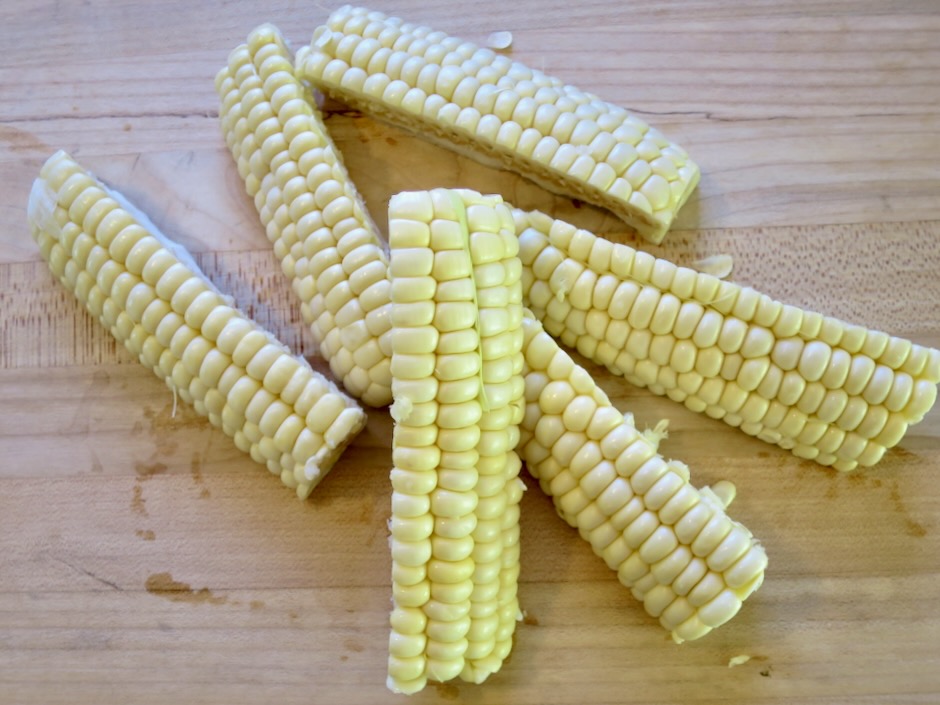
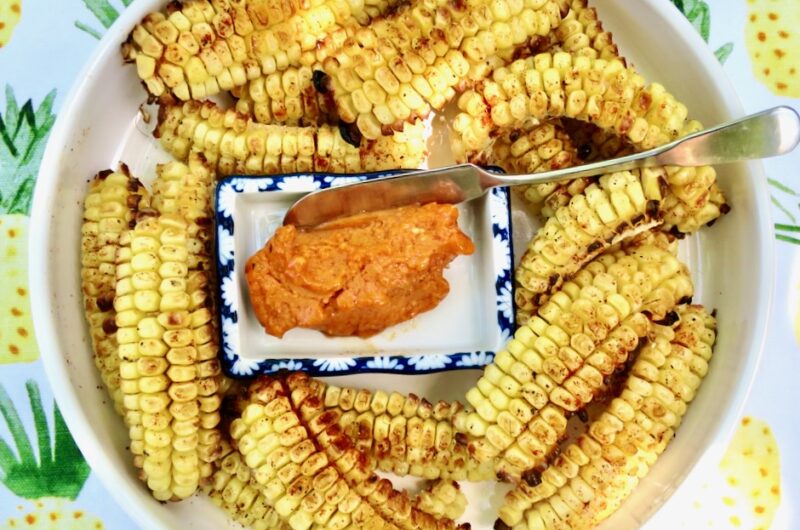
This is what your corn should look like once you cut it into riblets.
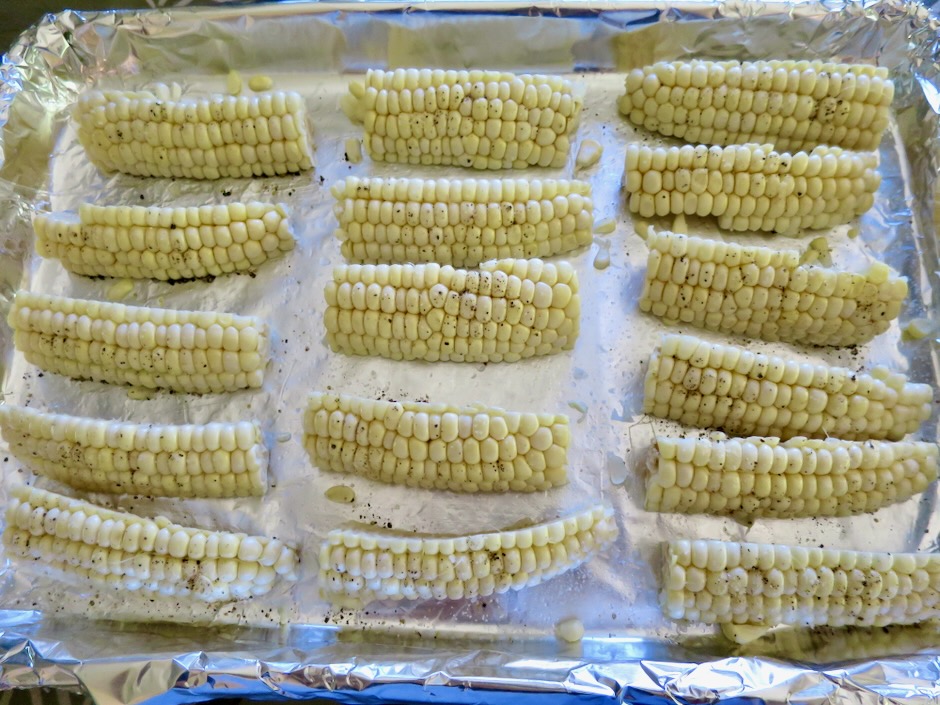
The corn is seasoned with a little oil, salt and pepper. It roasts at 450 degrees for 10 minutes before being turned.
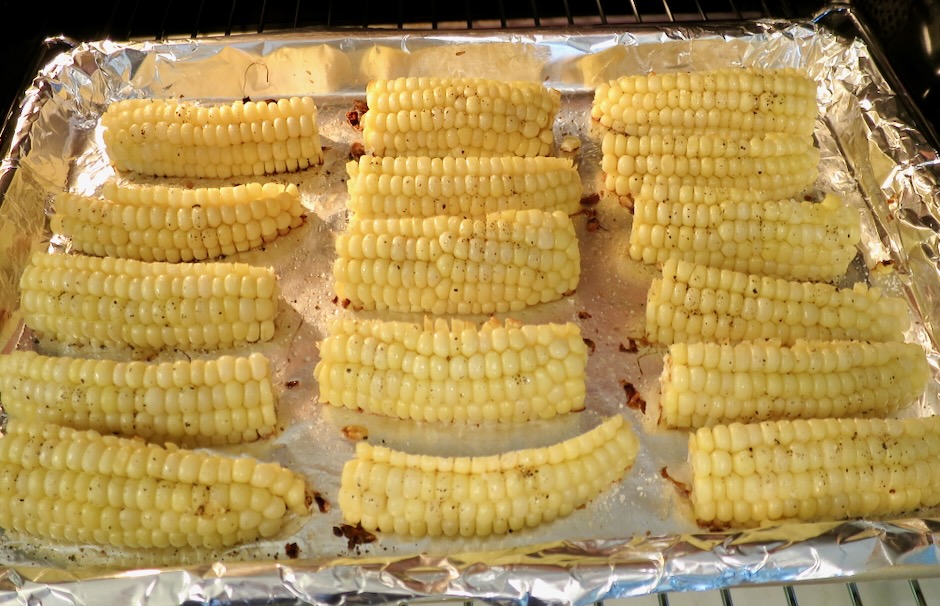
The corn already looks delicious after being in the oven for a short time.
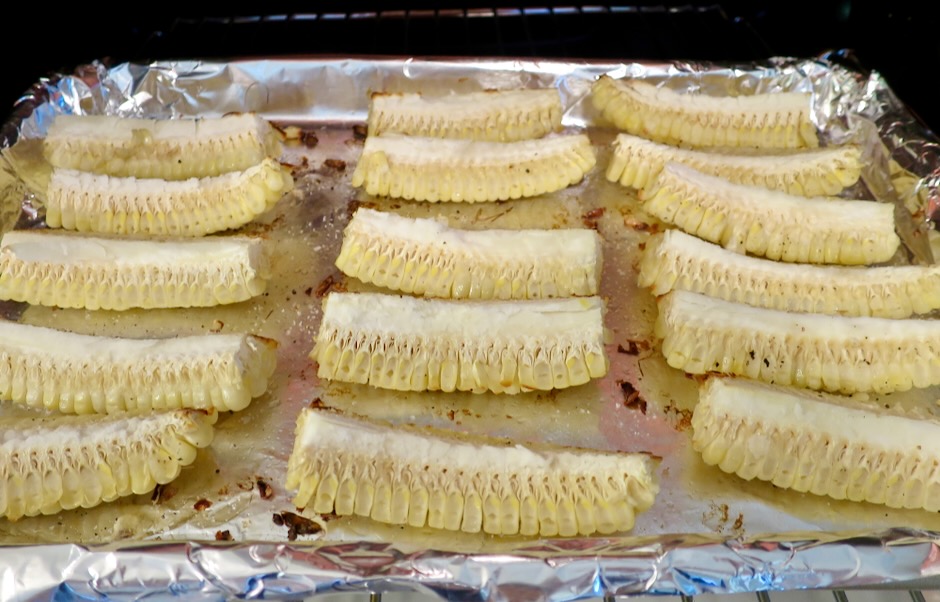
After roasting for 10 minutes, the corn wedges are turned cob side up and roasted for another 10 minutes.
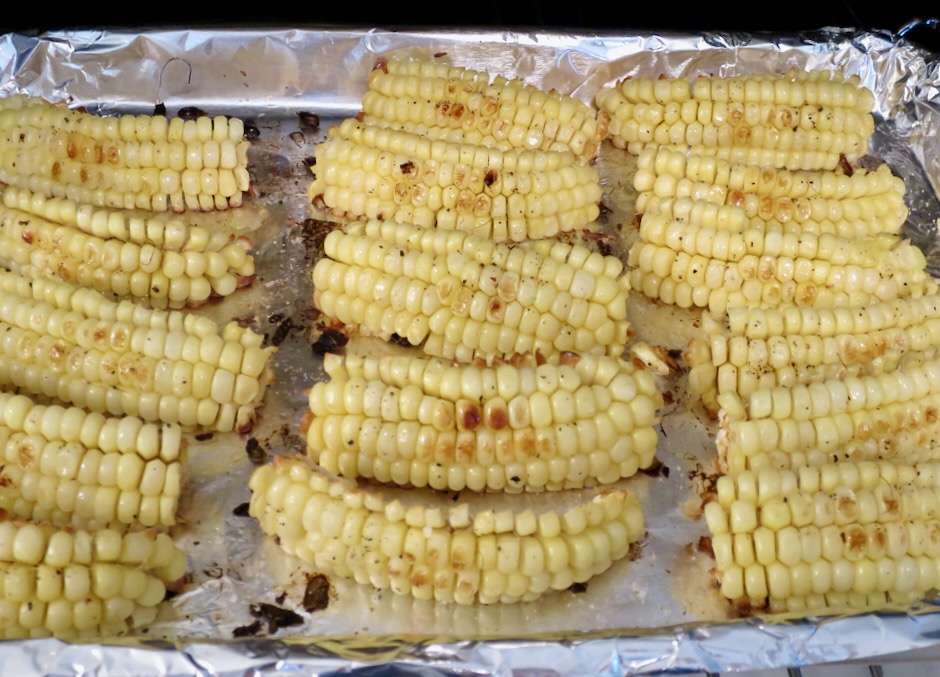
The corn riblets have been in the oven for 20 minutes and have taken on a nice color and smell divine. At this point they are cooked and ready to eat. But broiling the riblets for a minute or two will encourage lots of smoky flavor and a bit of charring around the edges which is always a good thing.
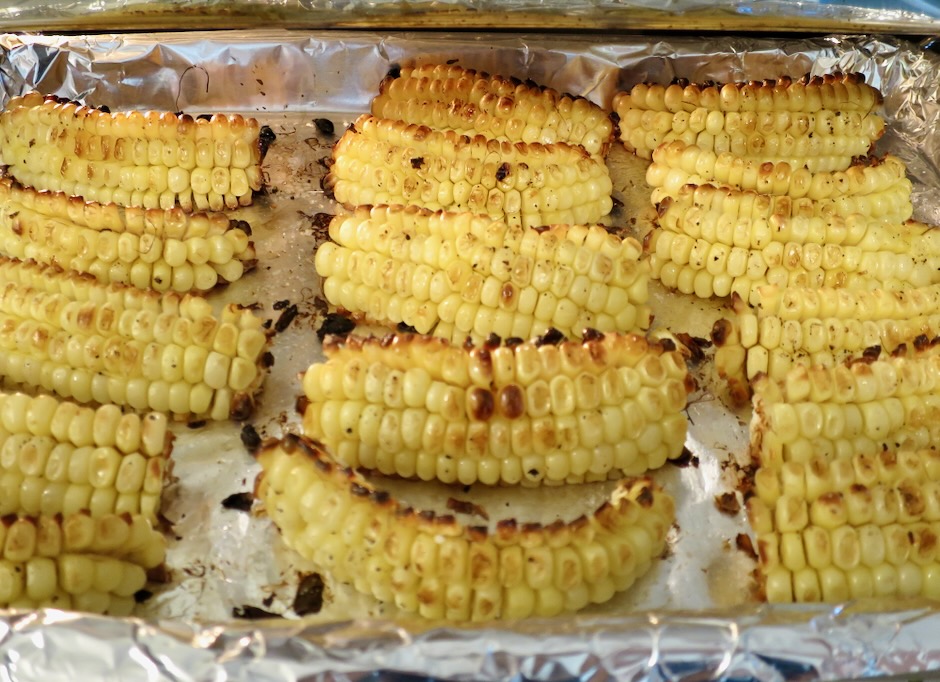
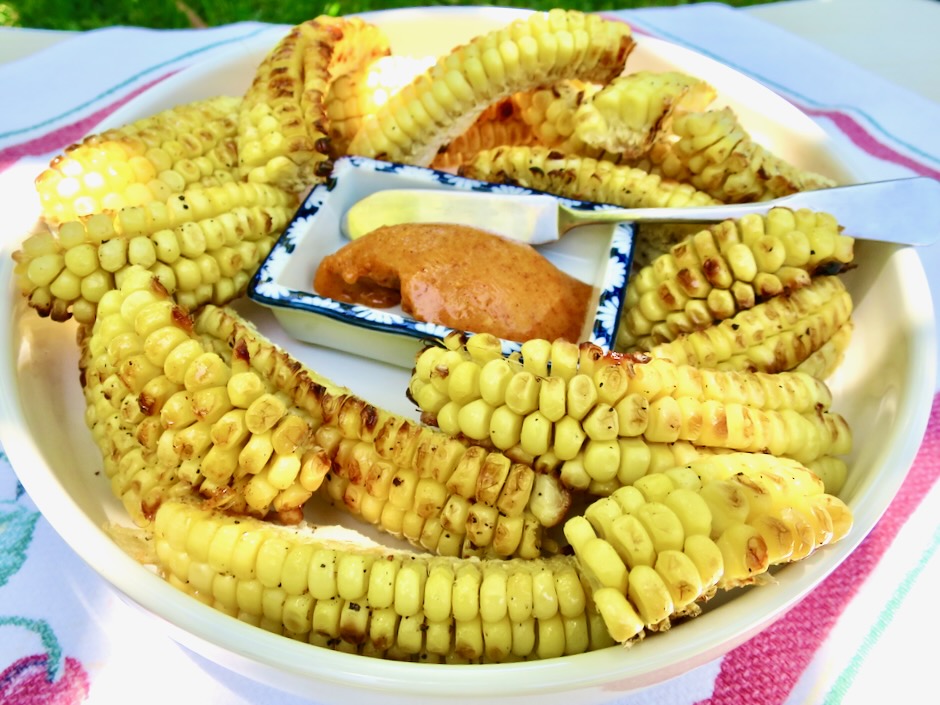
Corn riblets are best served soon after they emerge from the oven while still warm. Slather with smoky sweet butter and start nibbling on those delectable corn riblets. There’s no better way that I can think of, to prepare fresh corn.
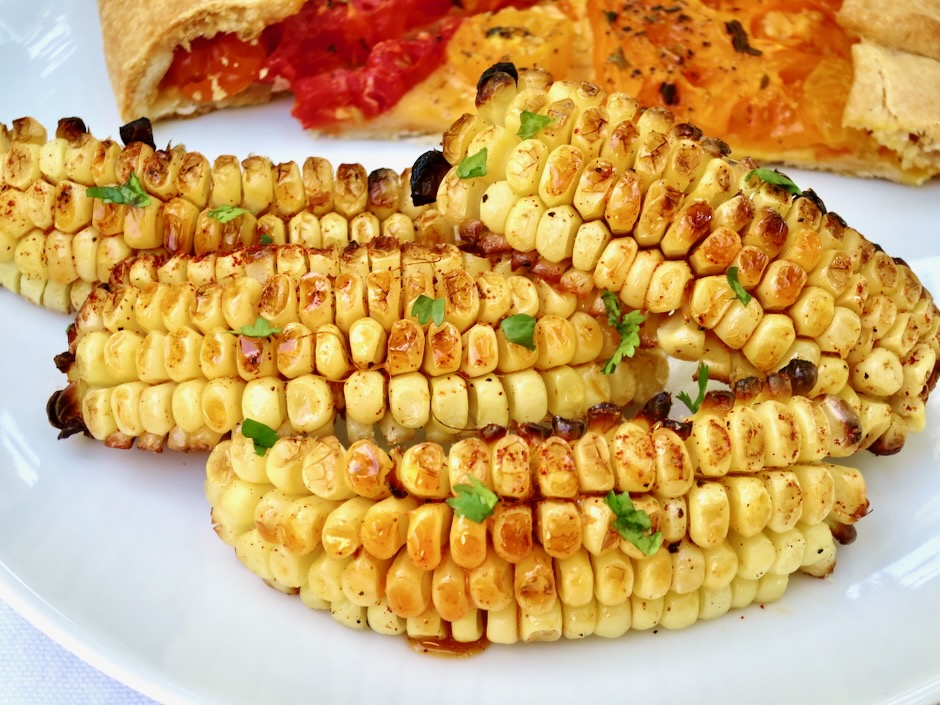
Smoky Sweet Corn Riblets

Recipe by Kiyo
Servings

4

servings

Recipe adapted from Bon Appetit magazine.

Ingredients

  • For the corn
  • 4 ears of corn, husked and silk removed

  • 3 tablespoons vegetable oil

  • 3/4 teaspoon Diamond Crystal of 1/2 teaspoon Morton kosher salt

  • Freshly ground pepper

  • Smoky Sweet Butter
  • 1 stick (1/2 cup) Earth Balance Buttery Sticks (for lactose free version) or unsalted butter, room temperature

  • 1 tablespoon light brown sugar

  • 1 teaspoon apple cider vinegar

  • 1 teaspoon smoked paprika

  • 1/2 teaspoon garlic powder

  • few dashes of cayenne (more for spicier flavor)

  • 3/4 teaspoon Diamond Crystal or 1/2 teaspoon Morton kosher salt if using unsalted butter

Directions

  • Preheat oven to 450 degrees. Line a baking pan with foil.
  • Using a chef’s knife or Nakiri knife and securing your cutting board by placing a damp kitchen towel underneath, cut the top of the cob and bottom stem so the ends of the corn are flat. Cut each ear of corn in half crosswise. Working one at a time, stand each piece up on a cut end and slice lengthwise in half. Lay each half cob side down on cutting board and using a chef’s knife, Nakiri knife, or mezzaluna cut each in half again. You should have 8 wedges per ear. Continue with the remaining 3 ears of corn. Drizzle wedges with 3 tablespoons of vegetable oil, season with kosher salt and pepper, toss to coat. Spread out wedges evenly arranging kernel side up.
  • While oven is preheating, mix together the Buttery Sticks or unsalted butter, brown sugar, apple cider vinegar, smoked paprika, and garlic powder. If using unsalted butter mix in 3/4 teaspoon Diamond Crystal or 1/2 teaspoon Morton kosher salt.
  • Roast corn for 10 minutes then turn corn over cob side up. Continue to roast for 10 more minutes. Remove pan from oven and turn corn kernel sides up. Broil corn on upper rack for about 1 minute, or until the corn takes on more color. Watch closely so the corn doesn’t burn.
  • Transfer corn riblets to a platter and serve with seasoned butter.
Dinner, Grill, Mexican, Recipes, Salad, Side Dishes

Mexican Corn Salad

November 16, 2022

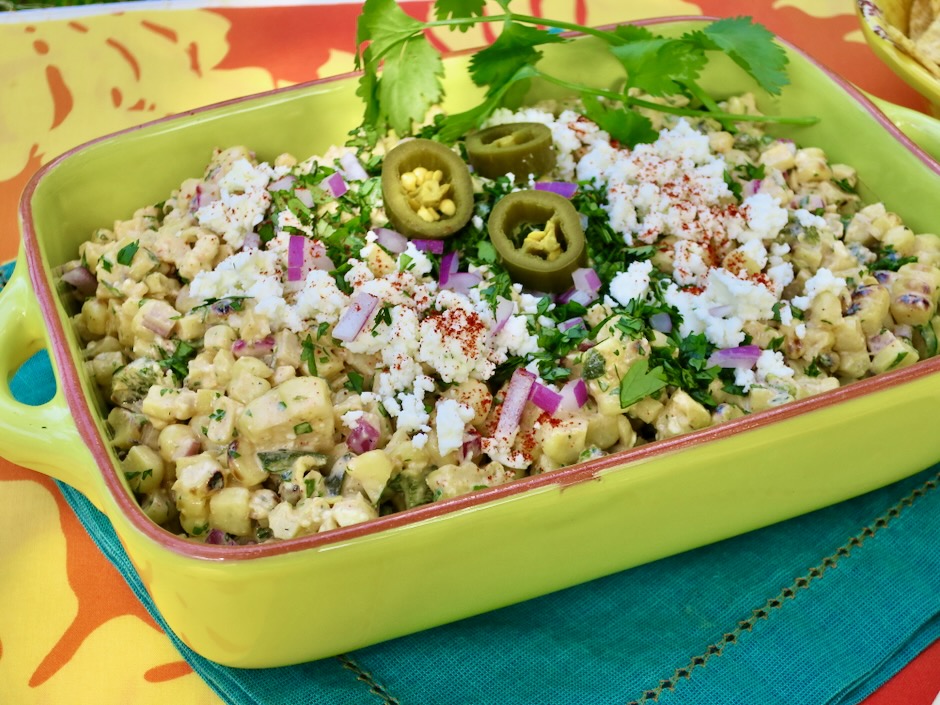
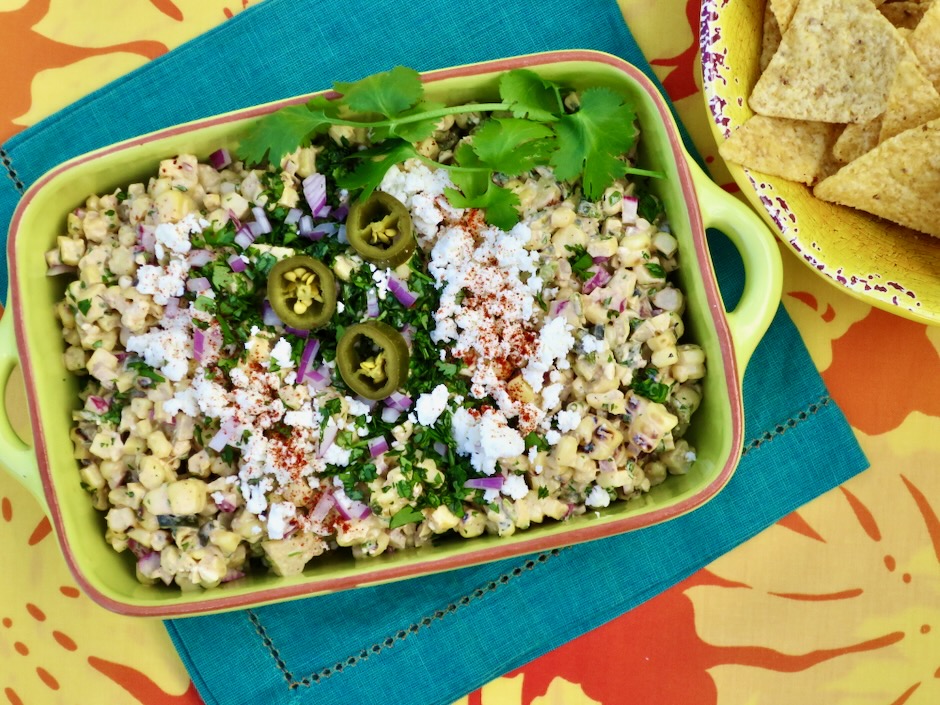
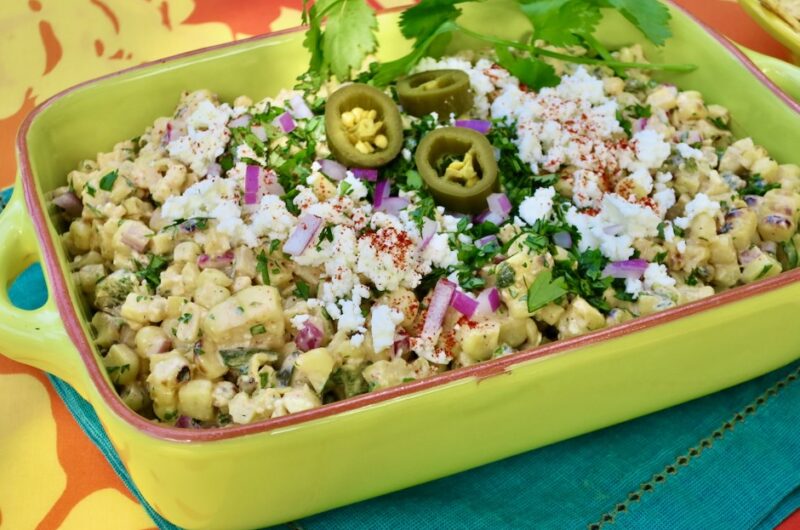
Mexican corn salad, also known as Esquites (Mexican street food snack using corn kernels as the main ingredient) is ideal for serving alongside burritos, quesadillas, tacos, grilled chicken, avocado and tomato sandwiches or simply as a meal in itself. The combination of flavors and textures make this a standout side dish and a lively addition to any meal. Crisp charred corn, creamy dressing, tangy feta cheese, a bit of heat from the peppers. Pure deliciousness.

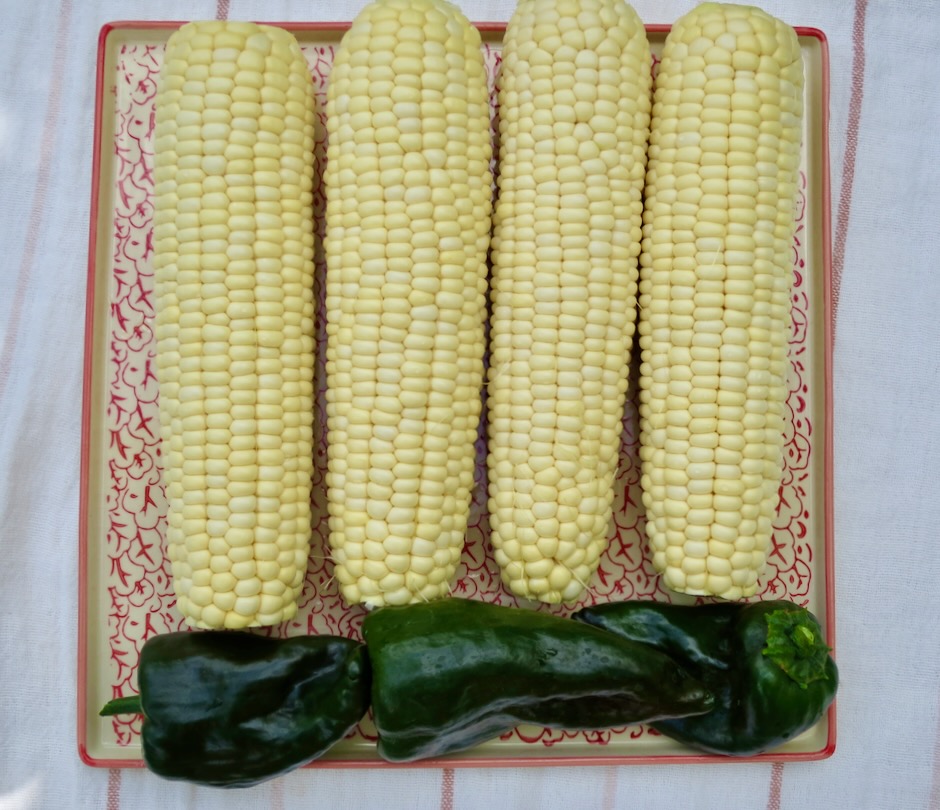
When I see fresh corn at the market with nice green husks and no sign of deterioration, I usually buy a few ears to grill and eat right away as corn loses sweetness when stored in the refrigerator for too long. On this occasion, I bought 4 ears with the intent of making this delicious salad which keeps well for several days and is perfect to pack up for a picnic.

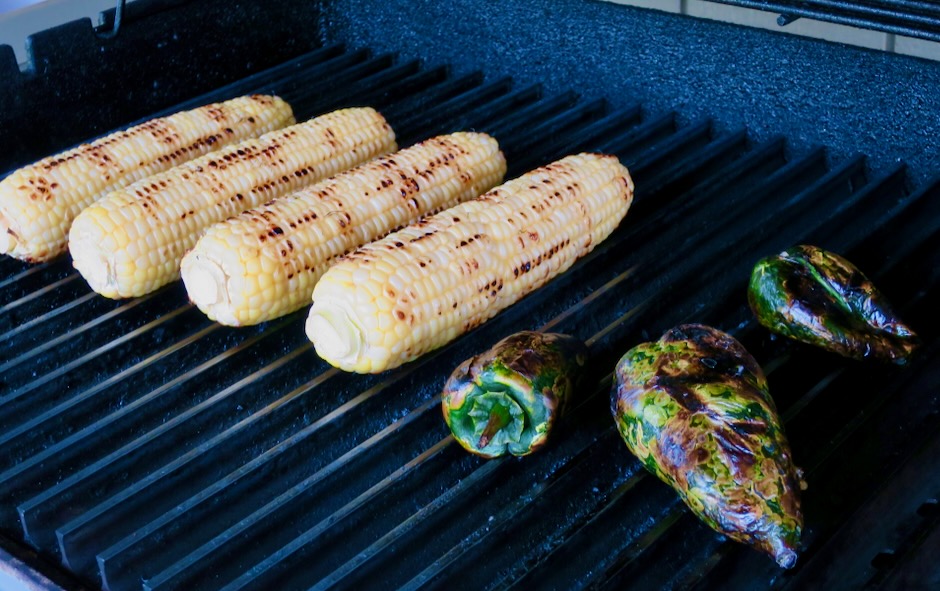
Grilling the corn and peppers adds another dimension of flavor to the salad. Those smoky, charred bits of corn kernels and peppers are hard to resist. If you don’t have a grill, you can use a stovetop grill pan instead.

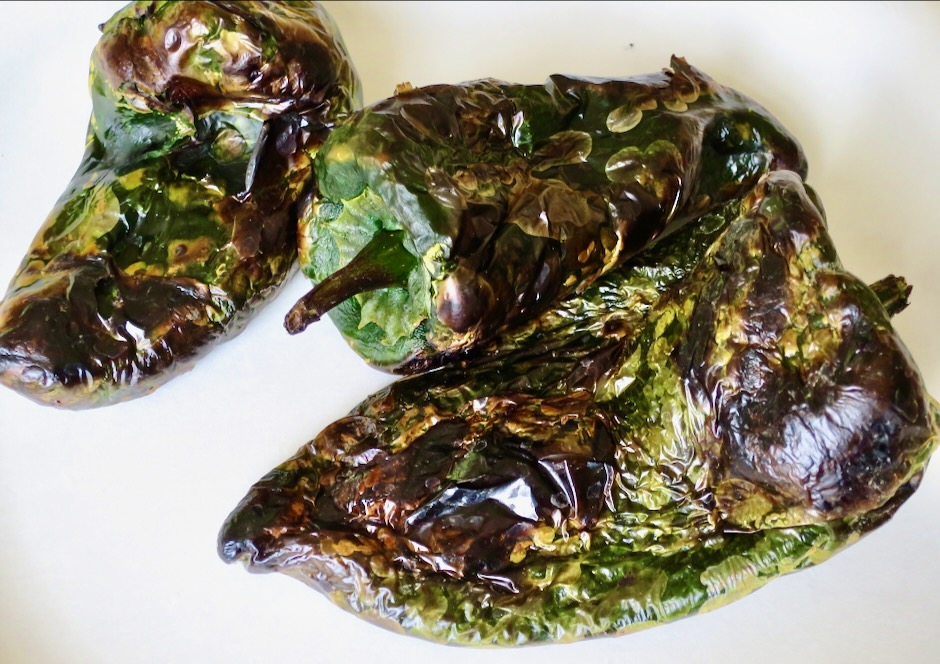
I picked a few small poblano peppers from the garden and grilled them with the corn. The charred peppers smell divine and add a mild heat to the salad.

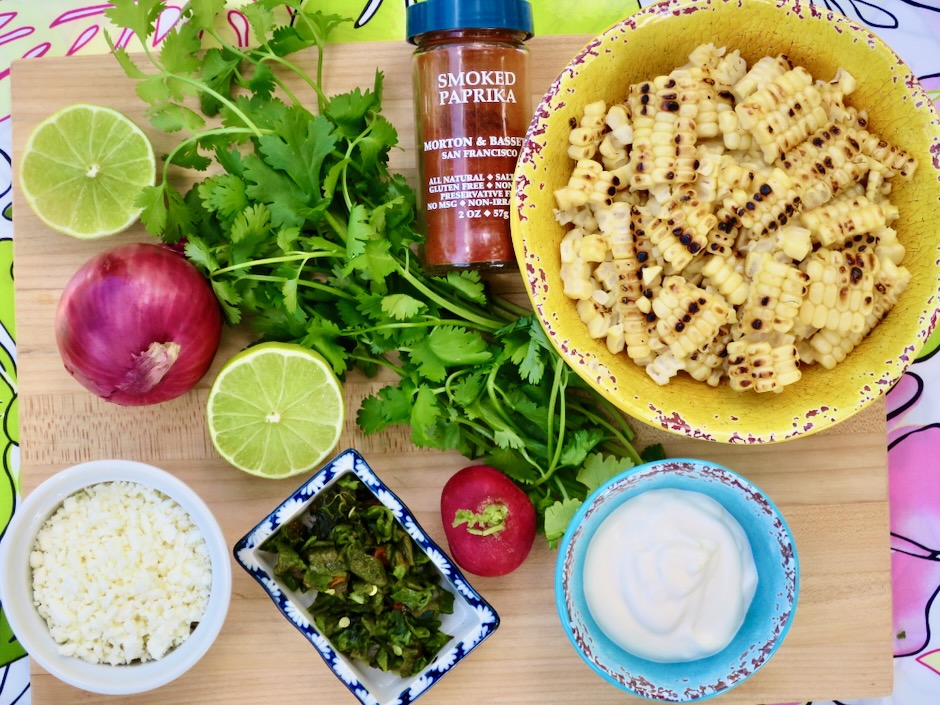
Mt. Vikos feta is a favorite of mine but feel free to use cotija cheese. The radish is optional but adds color and crunch to the salad. All of the ingredients are easily found at your local market. I always keep a jar of smoked paprika on hand. It perks up every dish you add it to.

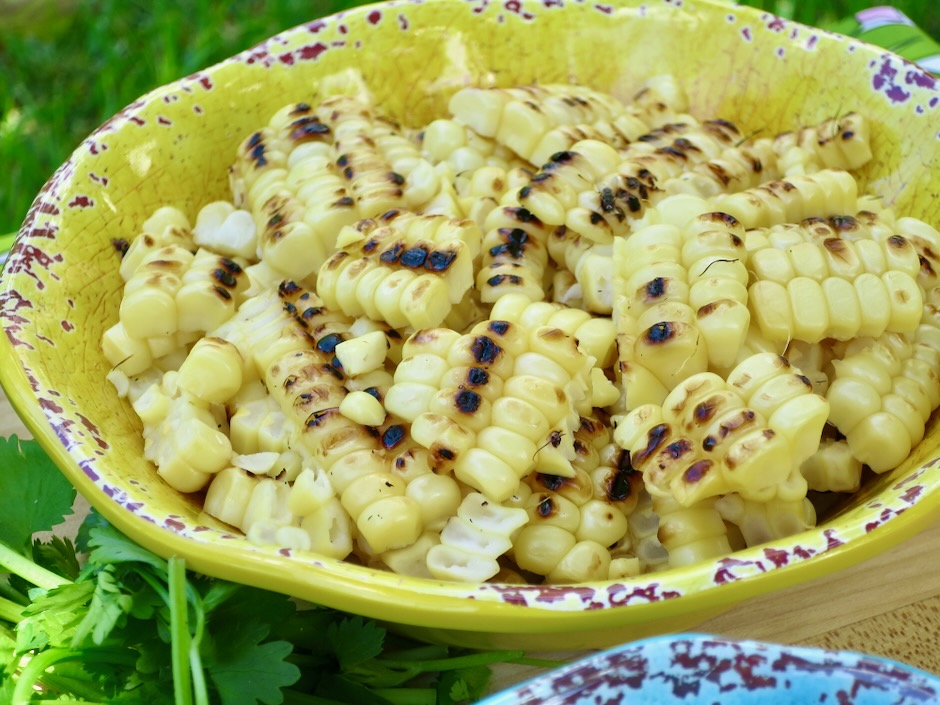
The charred corn kernels are so tasty….

Mexican Corn Salad

Recipe by KiyoCourse: Recipes
Servings

4

servings

Ingredients

  • 4 ears fresh corn, husks and silk removed

  • 1 medium poblano pepper

  • 2 tablespoons + 2 teaspoons red onion, chopped

  • 1 red radish, chopped (optional)

  • 1/3 cup finely chopped cilantro (reserve 1 tablespoon for serving)

  • 2 ounces Mt. Vikos feta, crumbled or substitute with cotija cheese

  • 2 tablespoons mayonnaise

  • 3 tablespoons sour cream

  • 3 tablespoons fresh lime juice

  • 1/2 teaspoon smoked paprika

  • 1/4 teaspoon mild chile powder

  • 1/2 – 3/4 teaspoon kosher salt

  • sweet paprika or smoked paprika for topping

  • pickled jalapeños for garnish (optional)

Directions

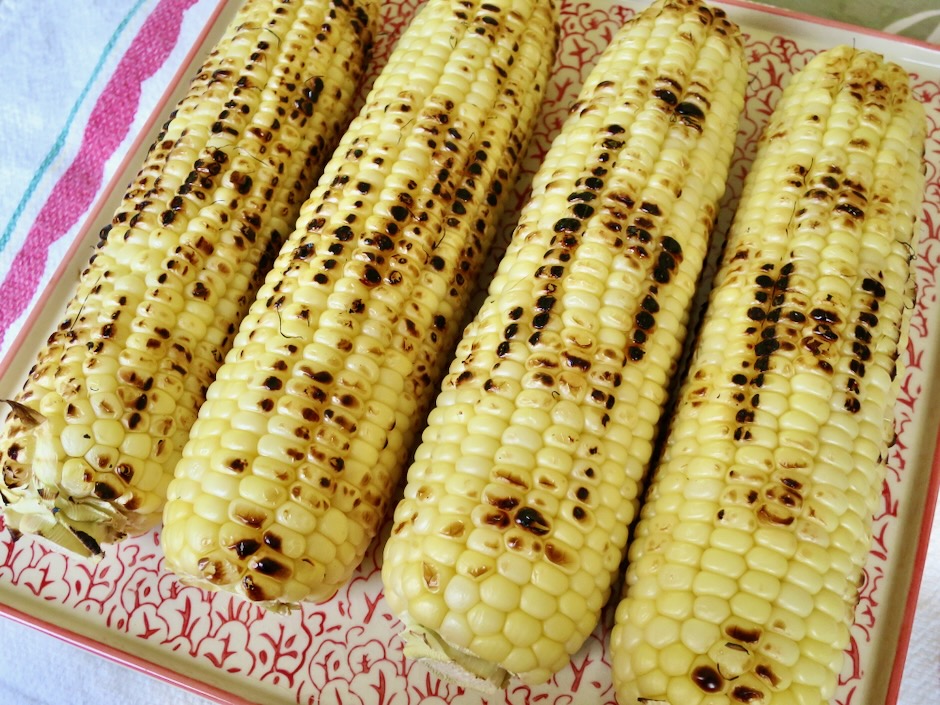
  • Grill corn and poblano pepper over high heat, turning occasionally for even cooking. Remove poblano pepper once it is fully charred. Remove corn when there are patches of charred kernels. Set aside.
  • Meanwhile, mix mayonnaise, sour cream, lime juice, smoked paprika, chile powder, and salt in a small bowl.
  • Once corn has cooled, slice off kernels and place in a medium bowl. Remove skin from poblano, chop into small pieces and add to corn. Poblanos can vary in heat but are typically on the mild side. Add as much as you want according to your taste. Add 2 tablespoons red onion, chopped radish if using, and cilantro (reserve 1 tablespoon cilantro for serving). Stir in the dressing making sure to evenly coat the vegetables. Taste, adding more salt if needed.
  • Transfer salad to a shallow serving dish. Distribute feta over the top. Add reserved red onion and cilantro and sprinkle paprika over the feta cheese. Top with pickled jalapeño rings.

Notes

  • Salad can be made a day in advance. Add cilantro topping just before serving. Salad will keep well for up to 3 days stored in the refrigerator.
Beef, Dinner, Lactose Free, Recipes, Sandwiches, Smoker

Smoked Tri-Tip Sandwiches

September 14, 2021

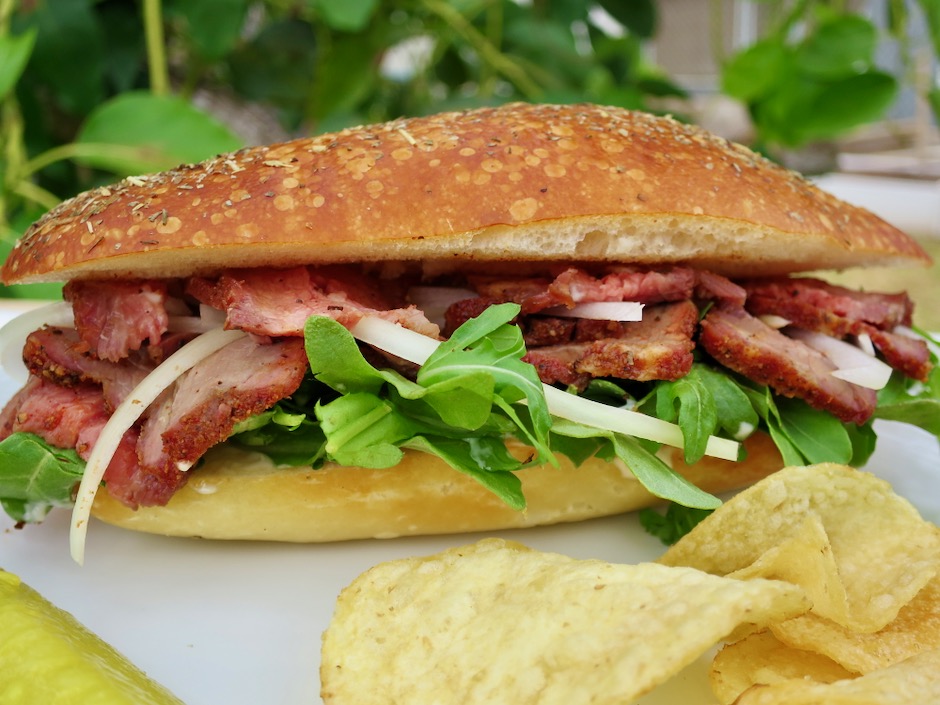
Smoked Tri-Tip sandwich

Tri-Tip is a cut of meat that I was not familiar with just a few years ago and one that I did not grow up eating as a child. However, last summer I went to my local market and asked the butcher what would be the best cut of meat for my teriyaki meat sticks.  I was surprised when he said “Tri-Tip.”  I went along with his recommendation and never looked back.  This recipe showcases the delicious flavor the Tri-Tip is known for. The lean yet slightly marbled cut of meat is just perfect for the smoker.  It allows the meat to cook slowly, picking up that slightly smoky flavor yet keeping the meat tender and juicy, perfect for a tri-tip sandwich.

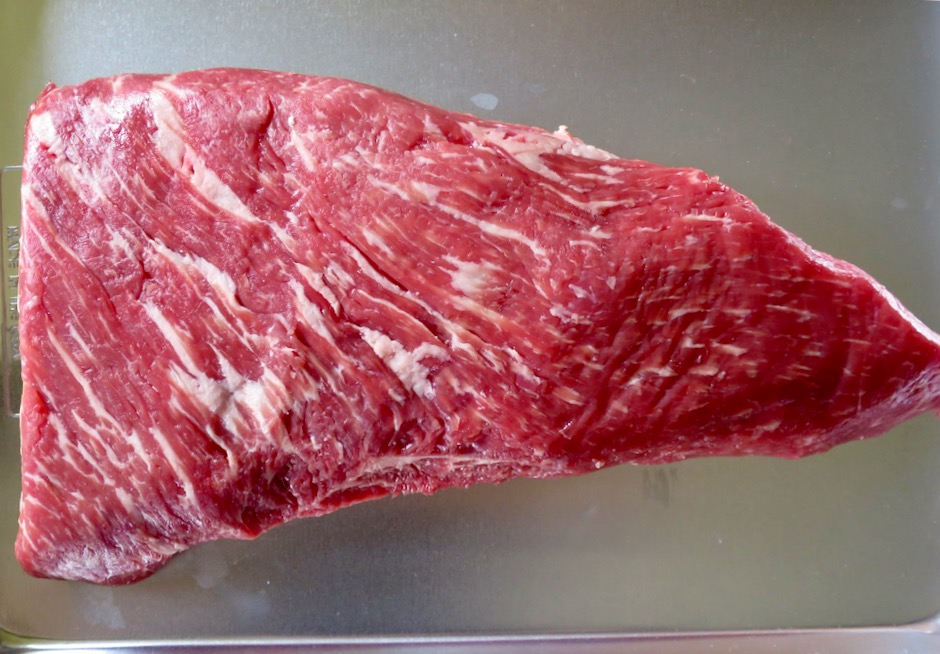
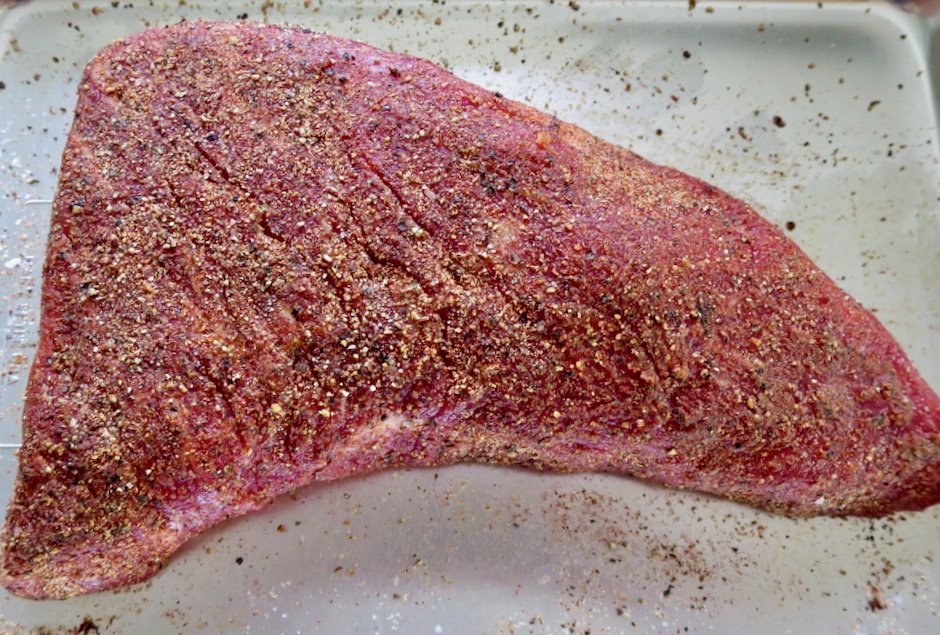
Tri-Tip

This is a perfect example of what a Tri-Tip should look like. 

Tri-Tip with Dry Rub

A flavorful and simple dry rub is all you need for this recipe.  The smoky flavor and dry rub create the perfect seasoned meat when sliced up for a sandwich.

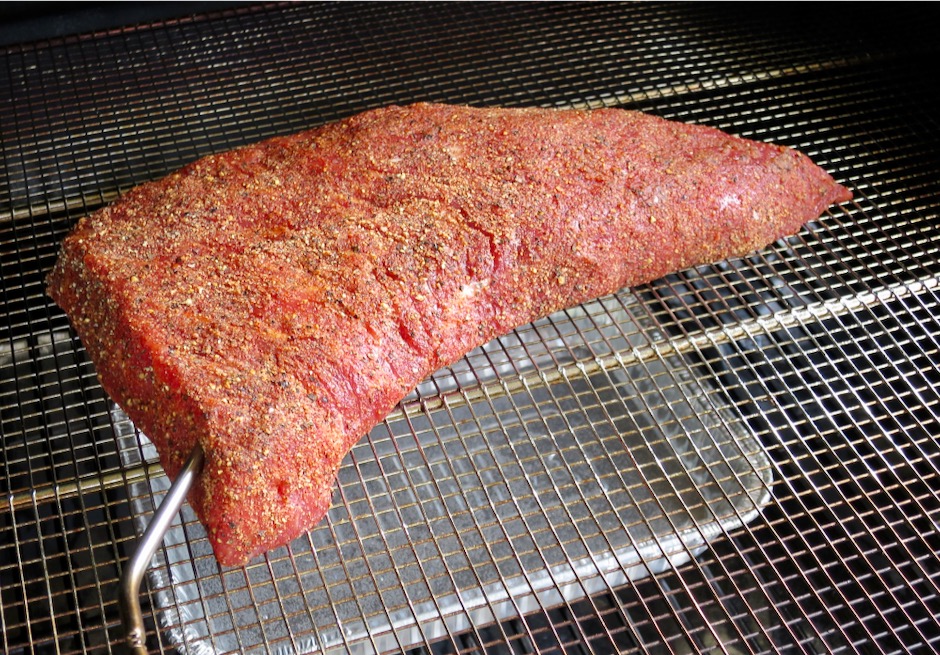
Tri-Tip on the Smoker

A remote thermometer probe helps to monitor the process of the meat and avoid overcooking.  If you don’t have one, check the meat with a instant read thermometer periodically.

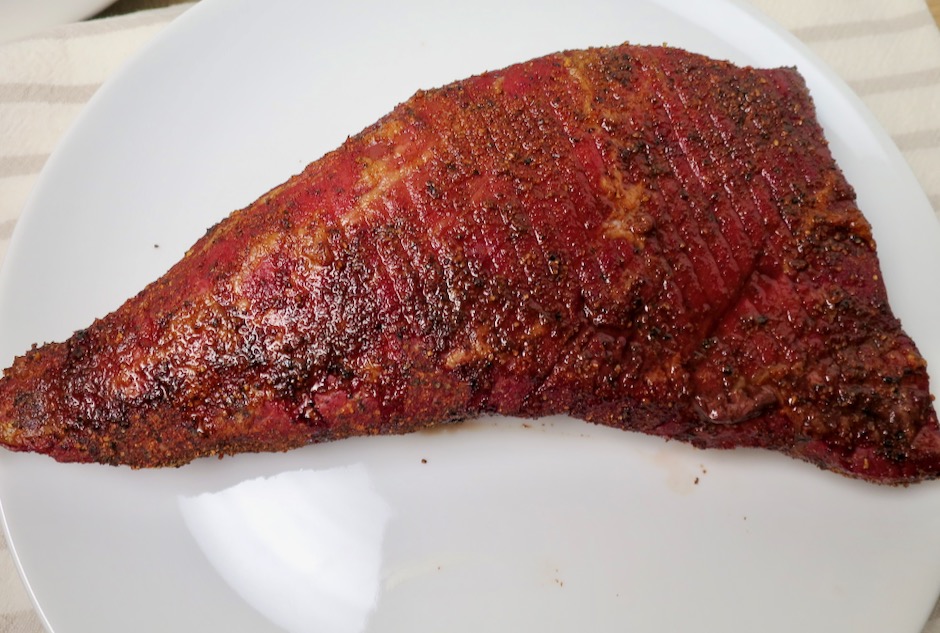
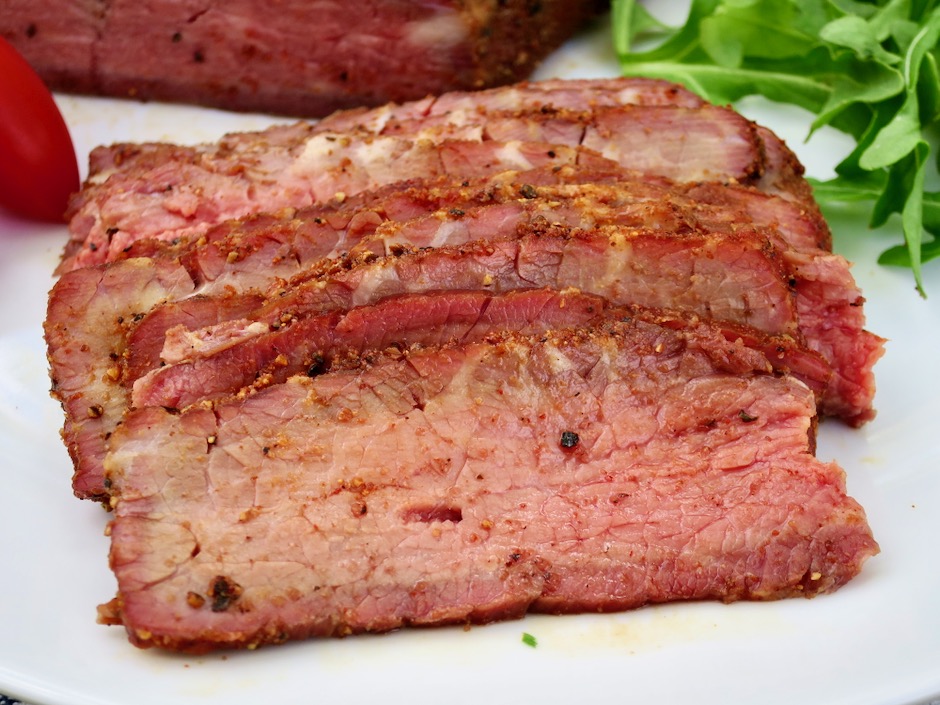
Smoked Tri-Tip

This glorious Tri-Tip is done!  It’s best to let the meat rest for 20 minutes, then transfer to the refrigerator until slightly chilled before serving.  This helps to firm up the meat when slicing into thin pieces for the most delectable steak sandwich. 

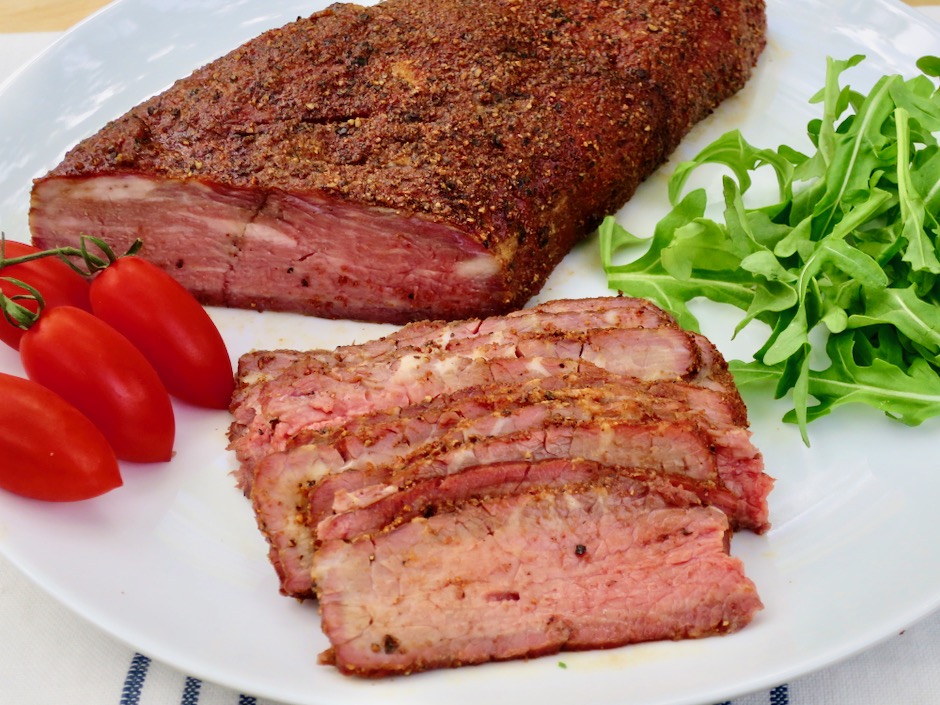
Smoked Tri-Tip

Smoked Tri-Tip

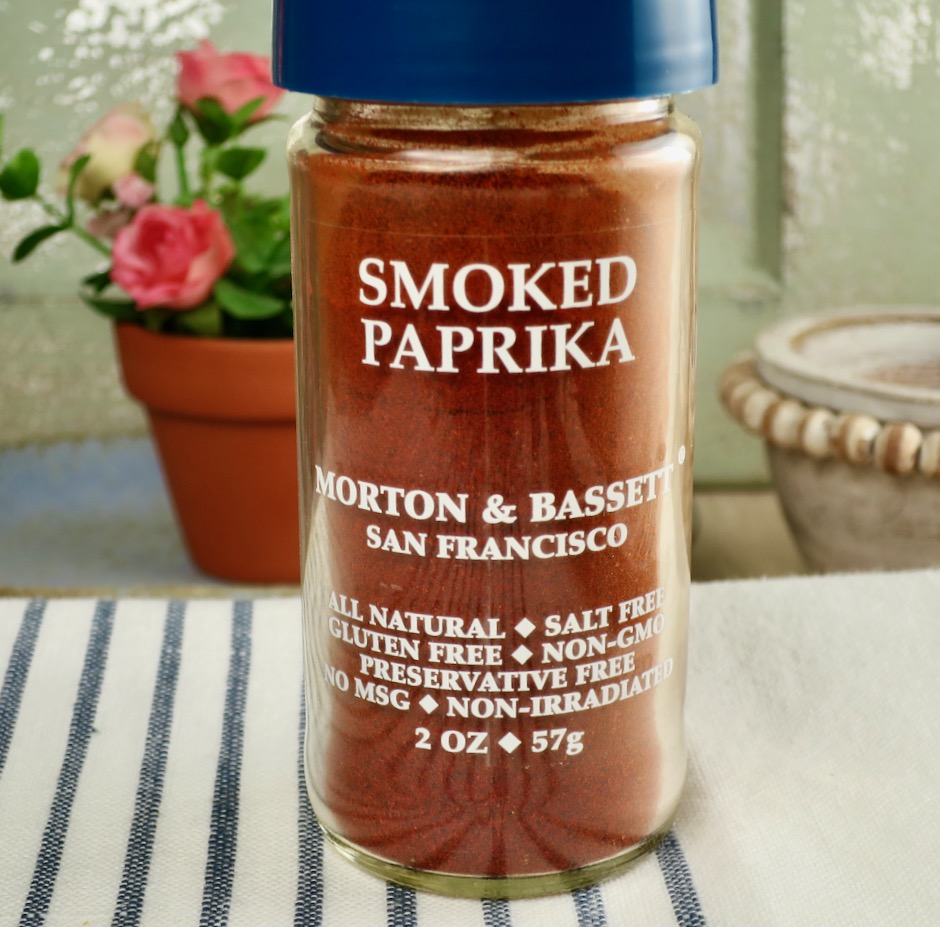
The Tri-Tip is perfectly tender and so flavorful.  If you don’t already have smoked paprika pick up a jar at your favorite market.

Smoked Paprika

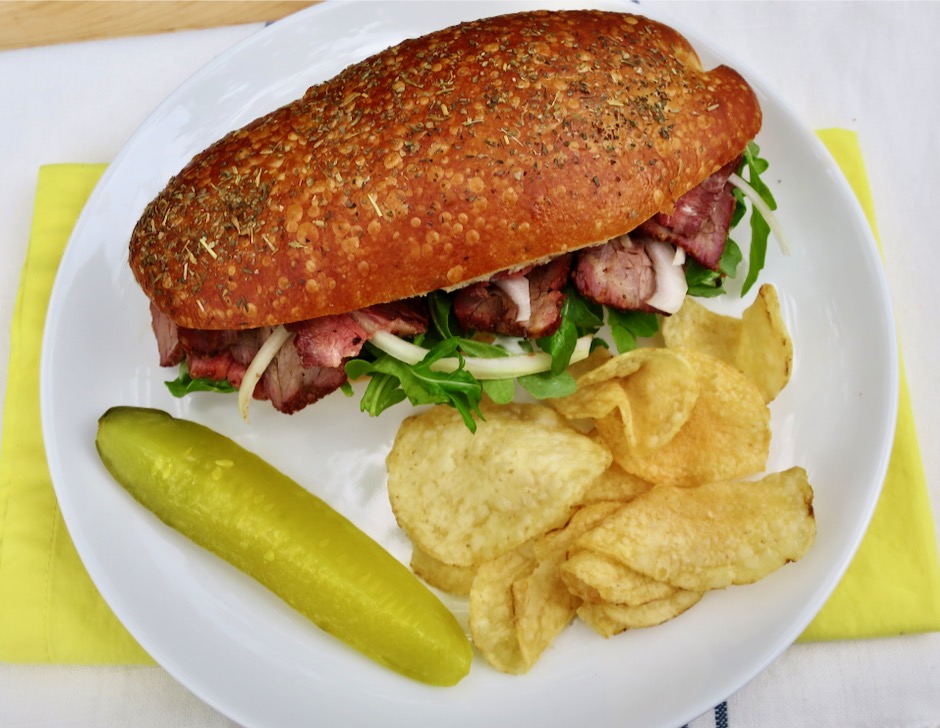
Smoked Tri-Tip Sandwich

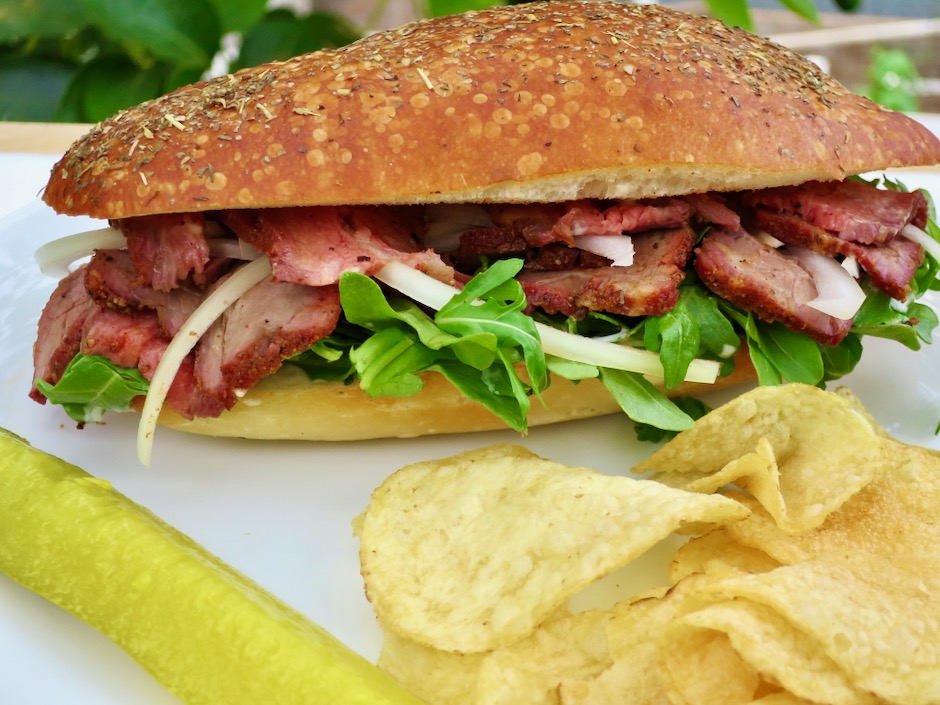
We like our Tri-Tip sandwiches stuffed in a roll served with mayo-horseradish sauce, thinly sliced sweet onions, and lots of arugula.  Pickles and chips on the side are a good accompaniment, or if time allows, this potato salad or one with a vinaigrette would certainly be a hit.

Smoked Tri-Tip Sandwich

Smoked Tri-Tip Sandwiches
 
Author:
Serves: 4-6
Ingredients
  • 1½ pound Tri-Tip
  • 2 teaspoons kosher salt (I use Diamond Crystal, if using Morton's decrease to 1½ teaspoons)
  • 1 teaspoon freshly ground black pepper
  • 1 teaspoon garlic powder
  • 1 teaspoon smoked paprika (mild)
  • 4 - 6 sandwich rolls, buns, or your favorite bread
  • mayonnaise
  • prepared horseradish
  • sweet onion slices
  • arugula
Preparation
  1. Pat meat dry with paper towels. Sprinkle both sides of meat with kosher salt. Place in the refrigerator (on a plate or rack) for 2-3 hours, uncovered.
  2. Heat smoker to 225 degrees. Just before cooking sprinkle meat with pepper, garlic powder and smoked paprika. Massage spices into meat.
  3. Place Tri-Tip directly on rack in smoker and cook for approximately 2½ hours, or until interior temperature reaches 145 degrees. If you prefer your beef more rare, shoot for 135 - 140 degrees. Let beef cool for 20 minutes or so, cover and transfer to the refrigerator to chill for a few hours before slicing into thin pieces. You may also choose to slice the beef before chilling (refrigerating firms it up and makes it easier to slice thin pieces). Serve with mayo-horseradish sauce, sweet onions, and arugula on your favorite rolls, buns, or sandwich bread.


Follow

Get every new post delivered to your Inbox

Join other followers: