Browsing Tag

Miyoko’s vegan butter

Beef, Dinner, Lactose Free, Recipes, Sauces, Vegan, Vegetarian

Béarnaise Butter

September 1, 2023

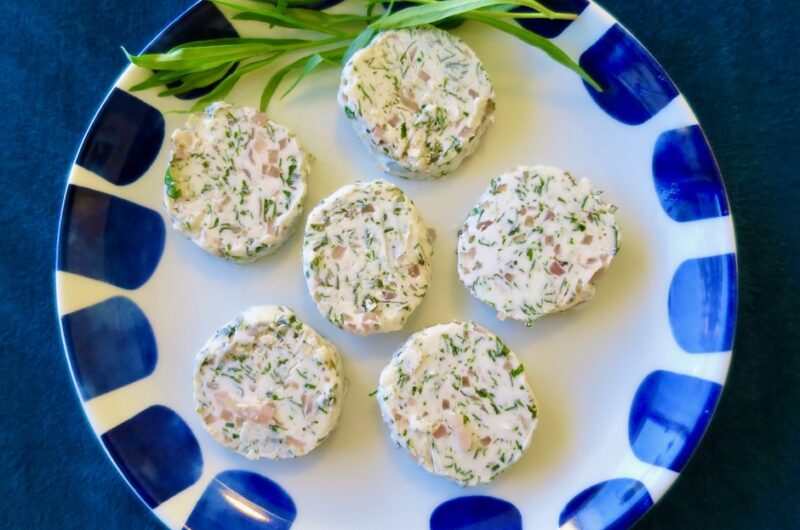
A good sauce will elevate that most decadent cut of beef, the filet mignon. And especially béarnaise sauce, one of the fundamental sauces of French cuisine. It can transform any dish into one that is truly extraordinary. The piquant flavor of the reduced wine, butter, eggs, and fresh tarragon whisked into a silky sauce is divine. But we don’t always have time to whip up béarnaise sauce so that’s where béarnaise butter comes in. It can be made well in advance and stored in the refrigerator for a month or in the freezer for several months.
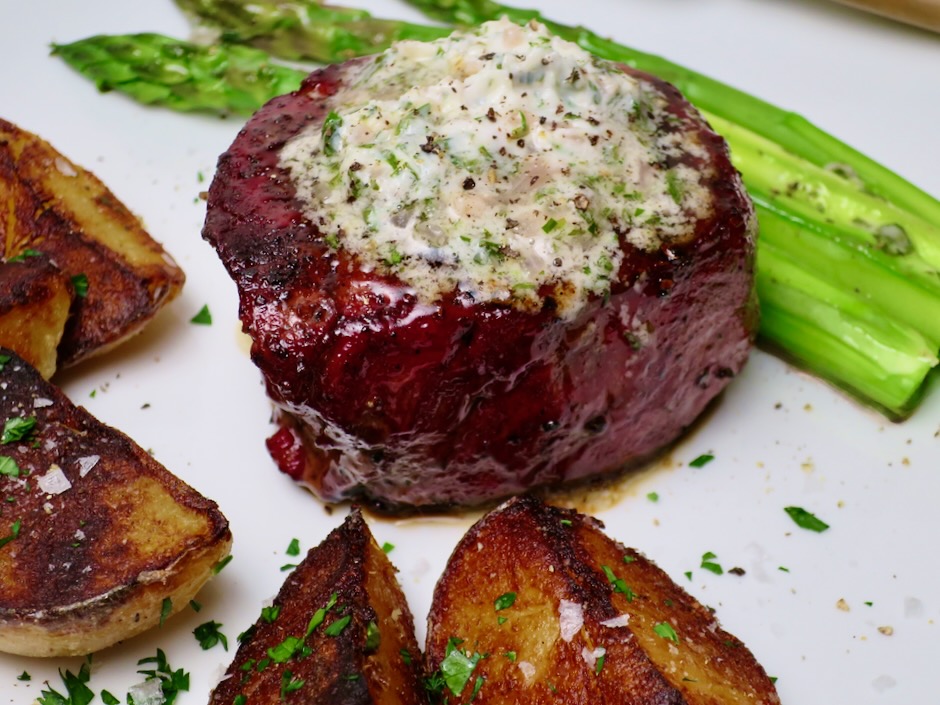
A perfectly cooked steak right off the grill with a generous pat of béarnaise butter is the epitome of steak perfection.
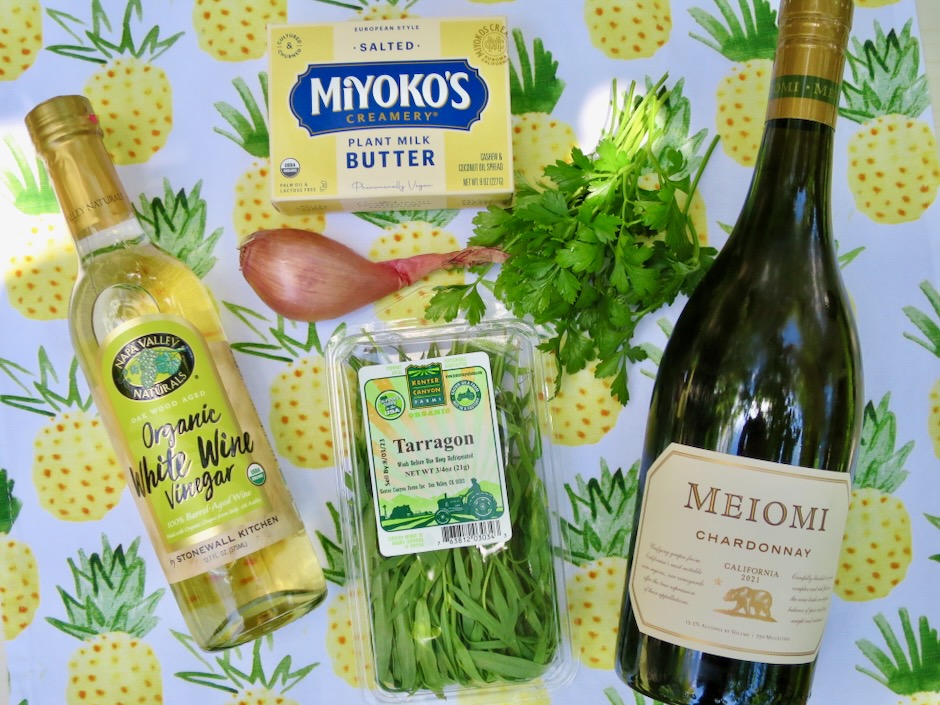
Known as “the King of Herbs” in France, tarragon is highly aromatic and essential in béarnaise sauce and this butter. It lends itself well to many dishes such as potatoes, chicken, omelettes, pasta and just about anything you use it with.
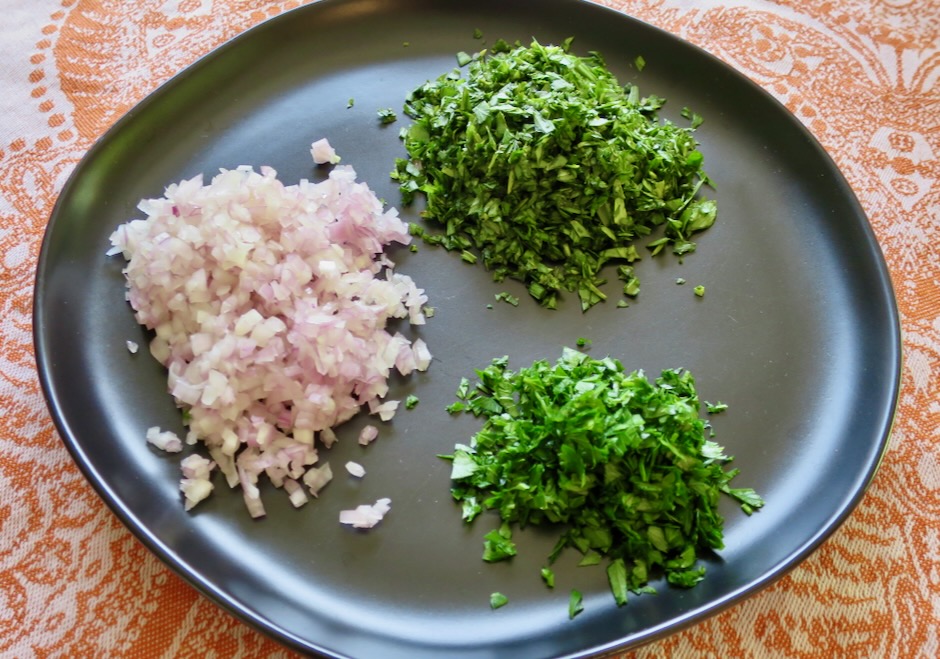
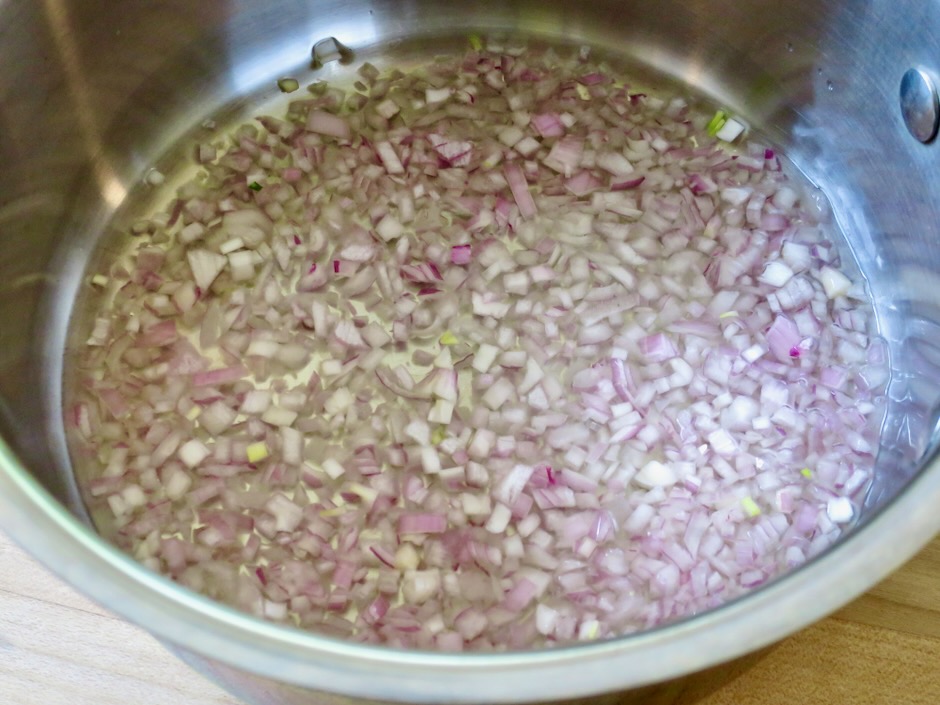
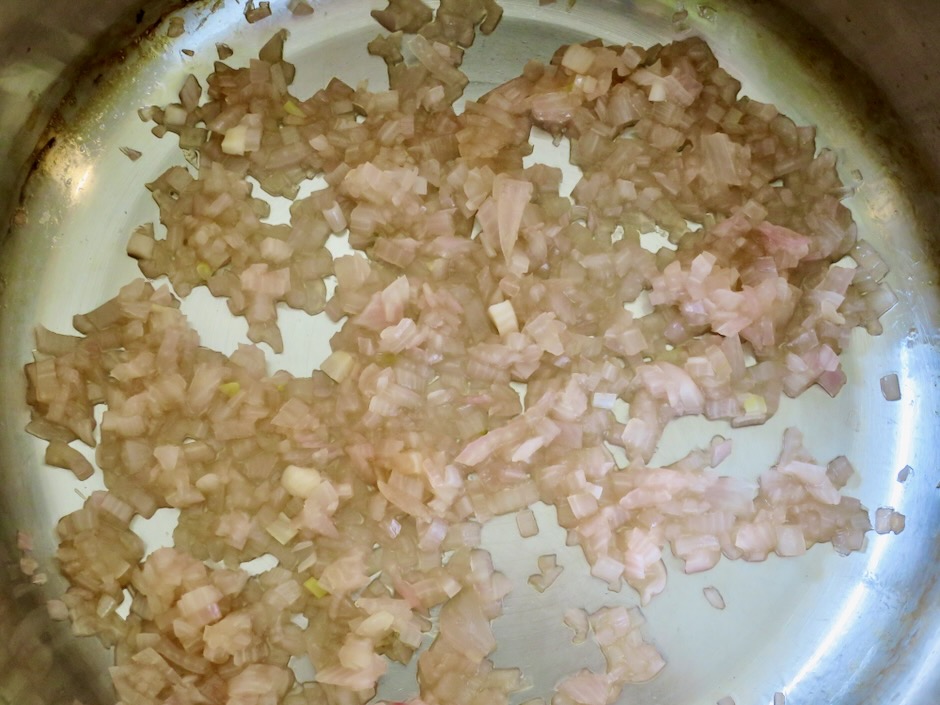
It doesn’t take but 5 minutes or so for the liquid to evaporate from the pan of shallots. You will then be left with the most flavorful shallots imaginable.
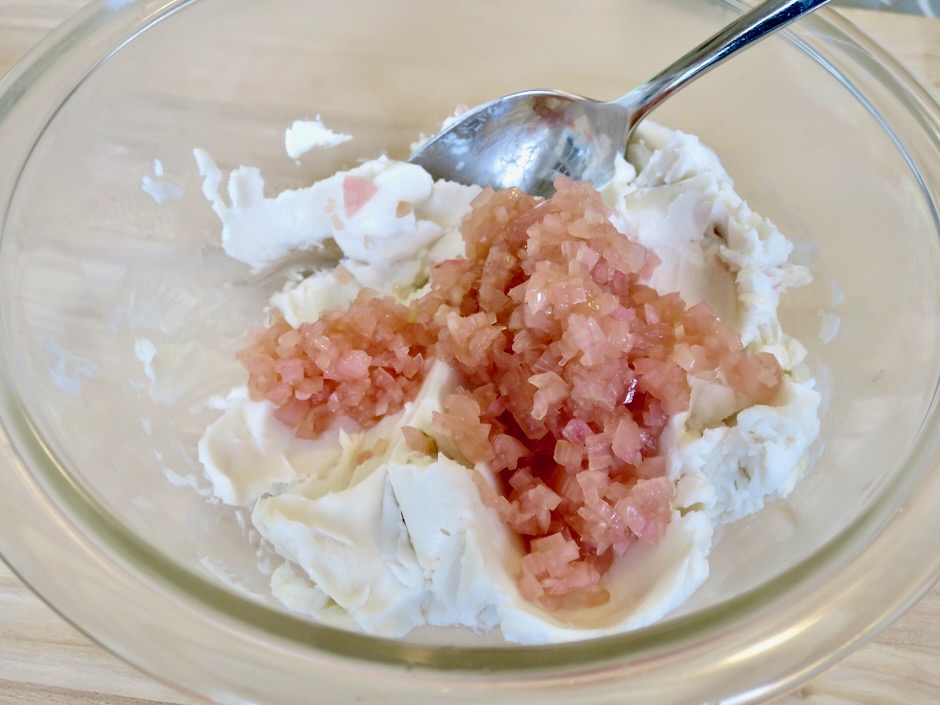
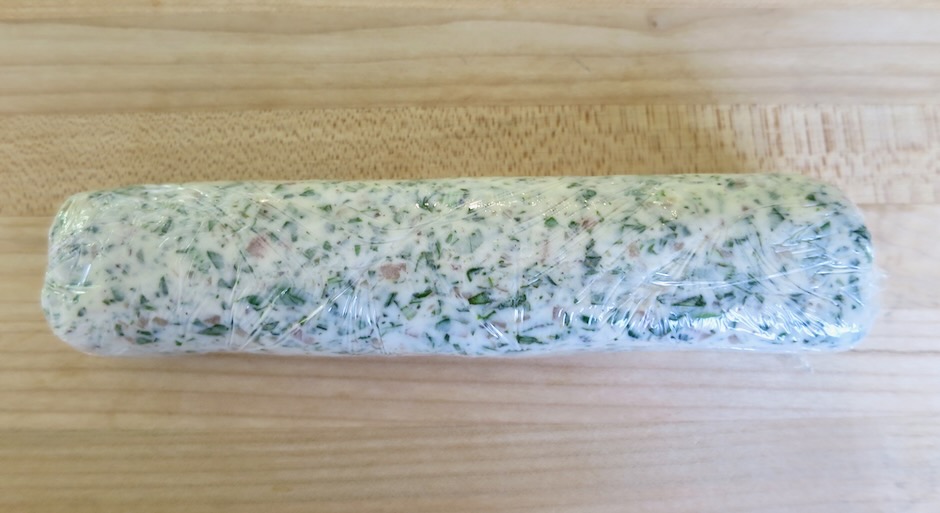
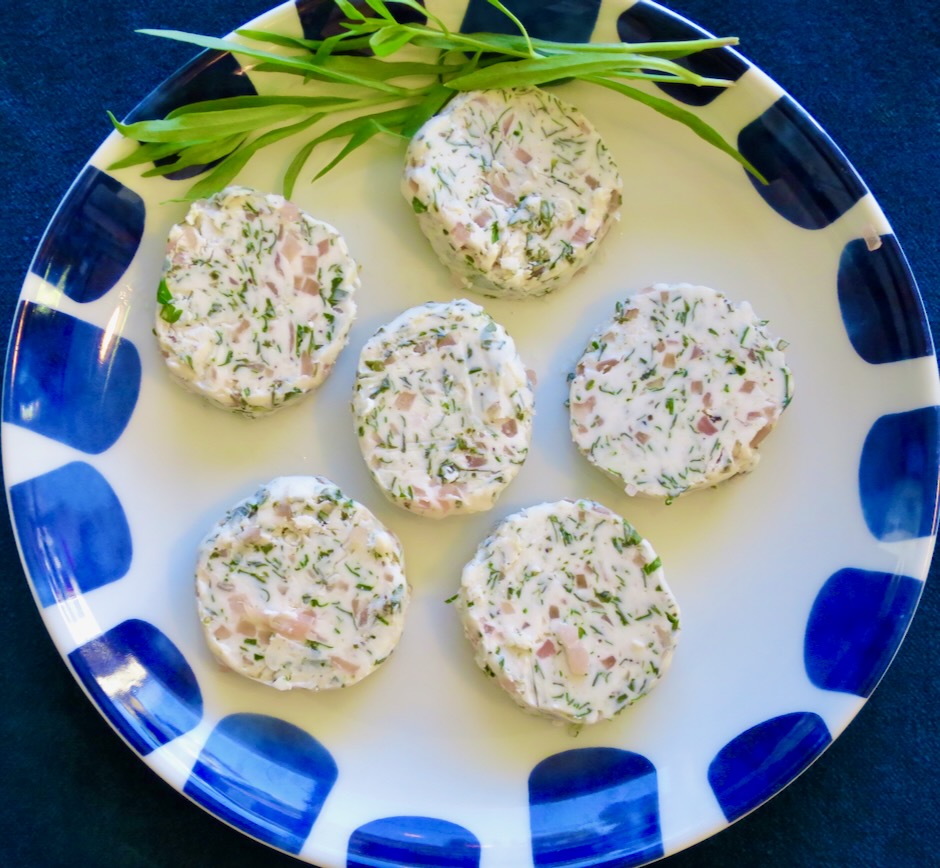
Once the shallots have cooled, they are mixed with the softened butter along with the minced tarragon, parsley, salt and pepper. The butter is transferred to a piece of plastic wrap and shaped into a tube then chilled in the freezer until slightly firm (it will be quite soft). Once it firms up a bit you will be able to re-shape the tube into a perfect circular log and re-wrap until ready to use.
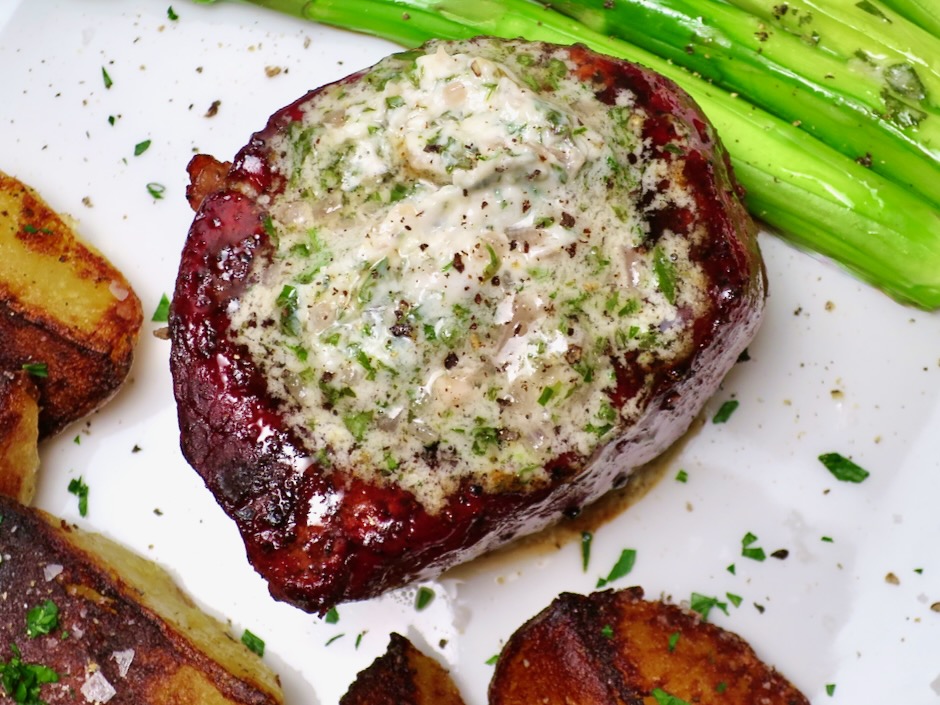
Lightly smoked then grilled filet mignon with béarnaise butter is surely one of the grandest meals imaginable.
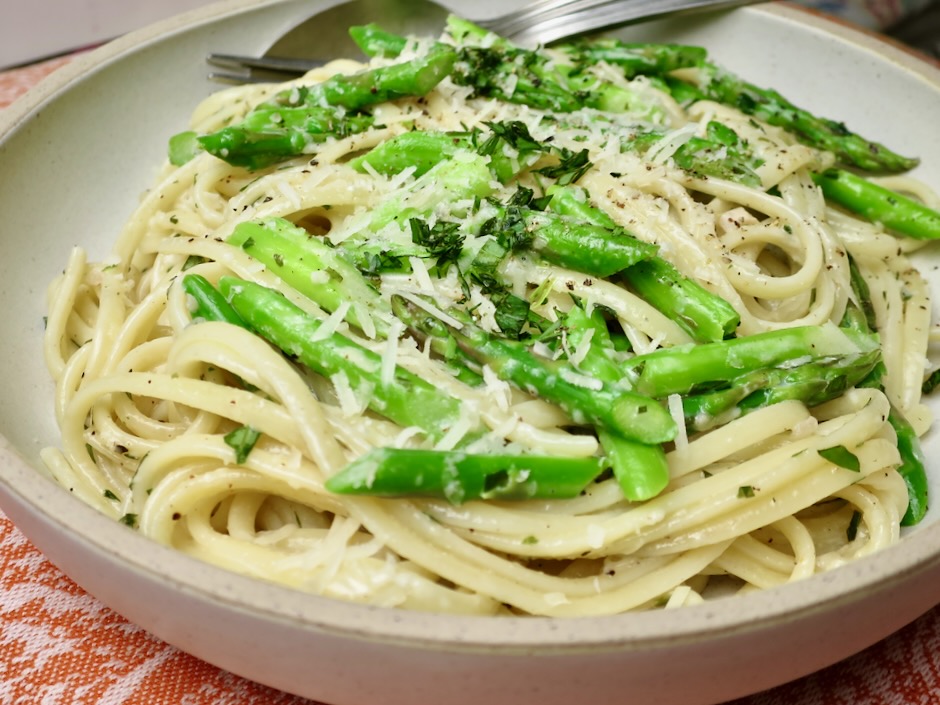
Leftover béarnaise butter is delicious tossed with long strands of linguine and asparagus. Use leftover béarnaise butter on sautéed vegetables, steamed green peas, on baked fish or chicken. Swirl some béarnaise butter in a pan before pouring in lightly beaten eggs then serve on toast.

Béarnaise Butter

Recipe by Kiyo
Servings

8-10

servings

Adapted from Food & Wine magazine

Ingredients

  • 1/4 cup finely minced shallots

  • 1/4 cup dry white wine

  • 1 1/2 tablespoons white wine vinegar

  • 6 ounces (170g) Miyoko’s hint of salt vegan butter or regular butter
    (1 1/2 sticks), at room temperature

  • 1/4 cup minced tarragon

  • 1 tablespoon minced flat leaf parsley

  • kosher salt and freshly ground black pepper

Directions

  • In a medium saucepan, combine shallots with wine and vinegar. Cook over moderate heat until all of the liquid has evaporated, about 5 minutes. Transfer shallots to a small bowl to cool to room temperature. You can speed up the cooling process by placing shallots in the refrigerator.
  • Scrape shallots into bowl with butter. Beat together with a handheld mixer until creamy. Fold in herbs and season to taste with salt and pepper. Transfer butter to a piece of plastic wrap and shape into a log. The butter will be soft at this point so don’t worry too much about getting the perfect shape. Transfer to the freezer for 10 minutes then re-shape as needed. Wrap a piece of foil around the plastic wrapped butter. Store in the refrigerator for up to 1 month or freezer for up to 3 months.

Notes

  • Remove butter from the refrigerator 30 minutes before serving. The butter will be easier to slice into neat rounds and will melt perfectly over the steak.
Cakes, Dessert, Lactose Free, Recipes

Coconut and Cardamom Cake

August 14, 2023

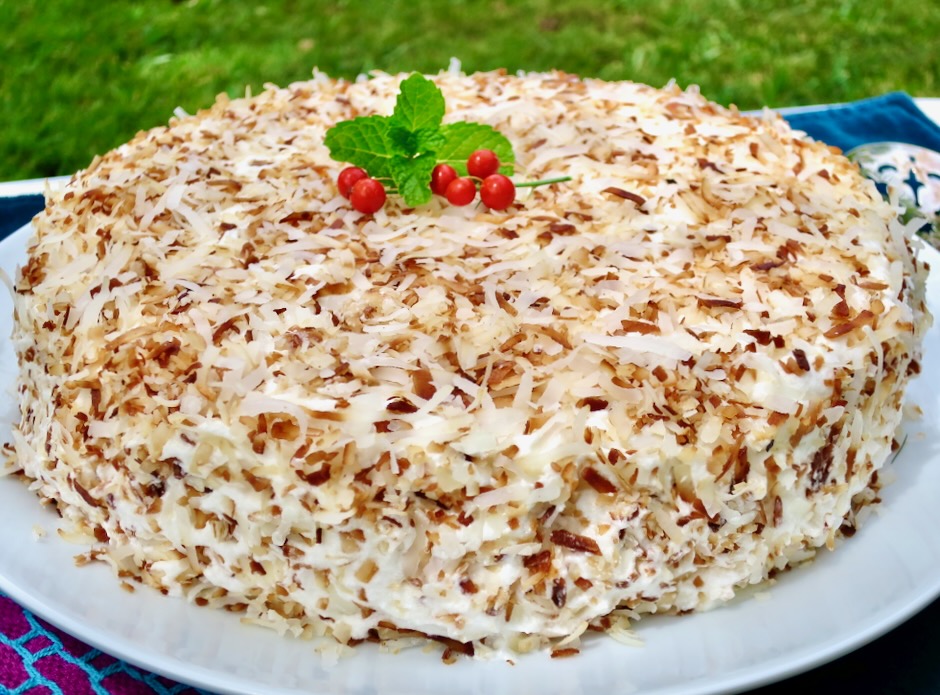
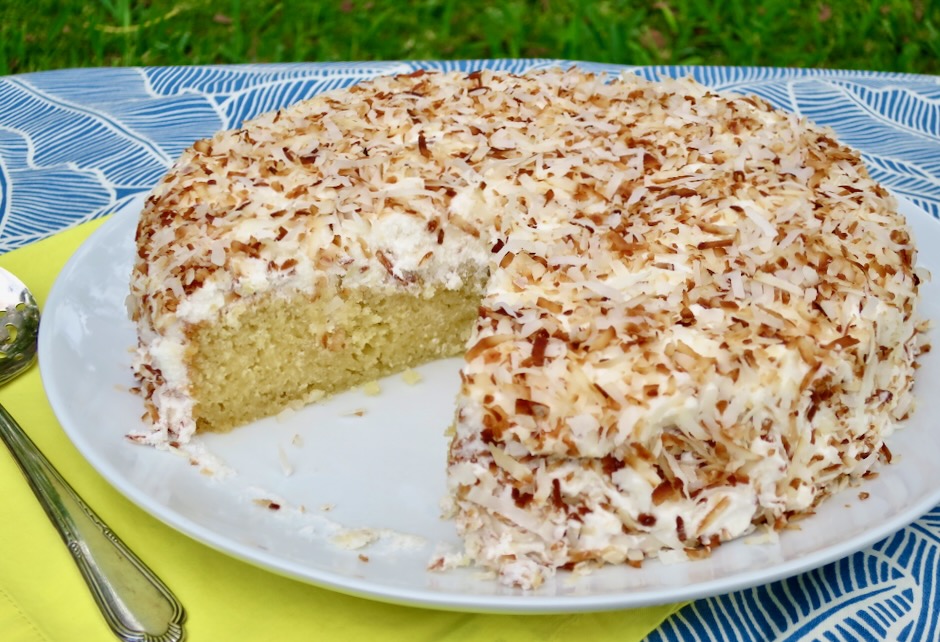
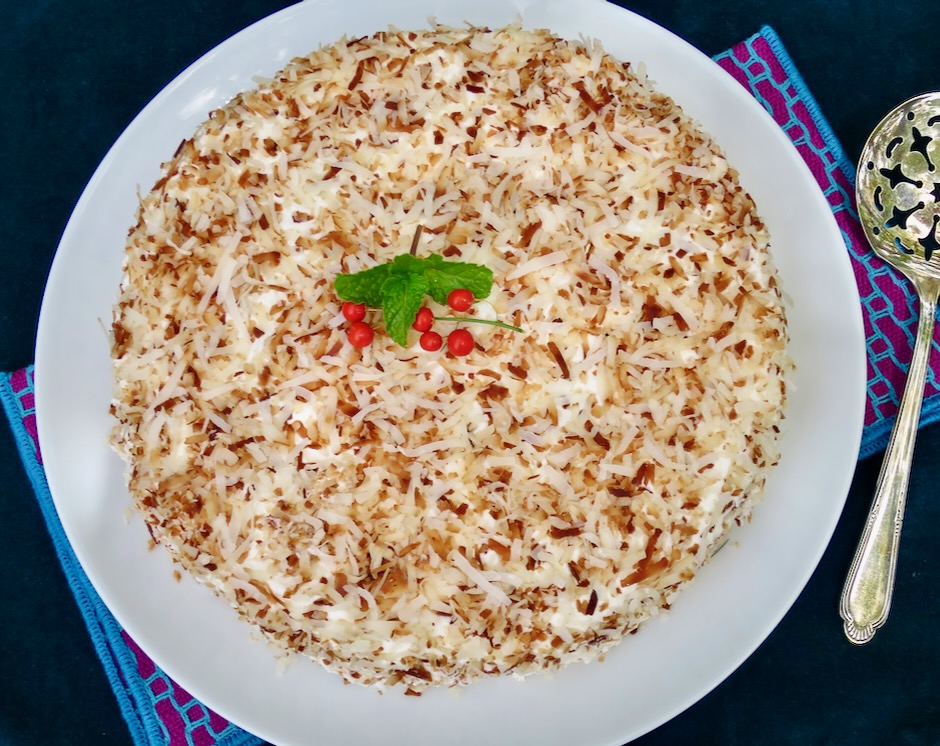
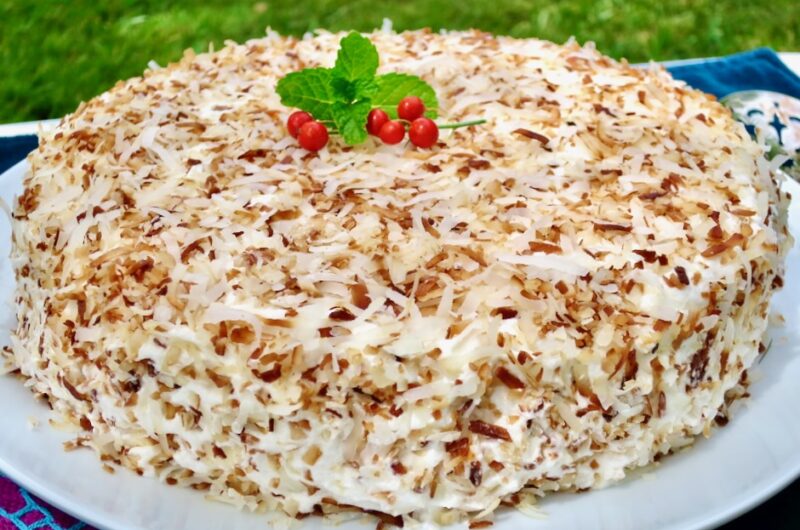
The irresistible flavor of toasted coconut is not only delicious but makes a beautiful topping on this cardamom scented cake. A simple yellow cake that pairs well with the rich, buttery frosting (yes you should lick the bowl) checks all the dessert boxes. I can’t imagine a better cake.

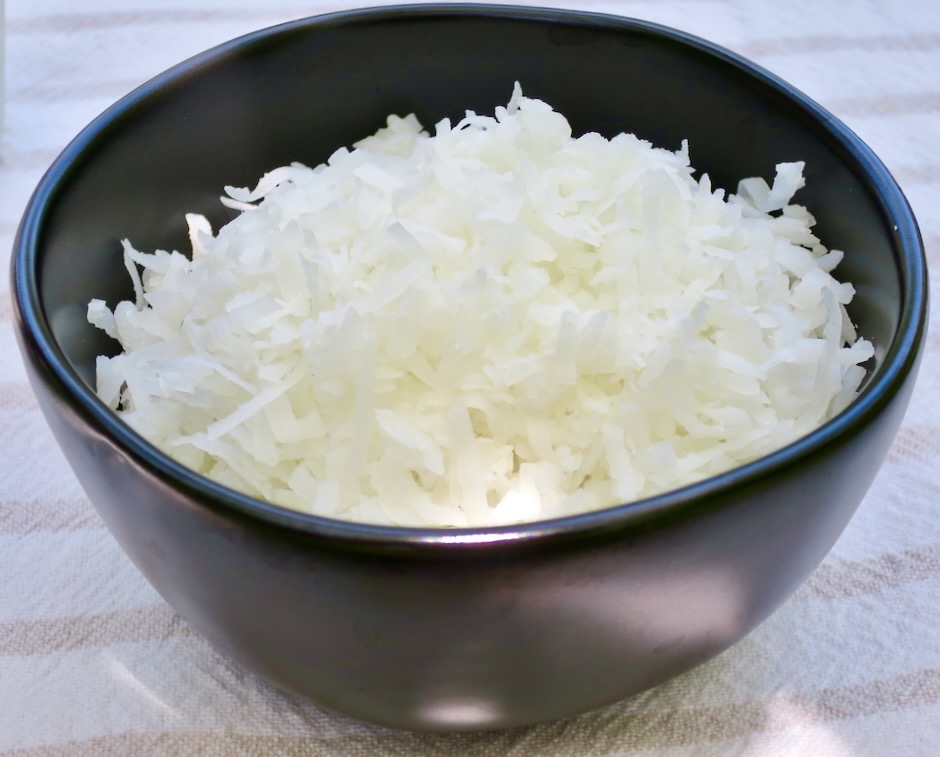
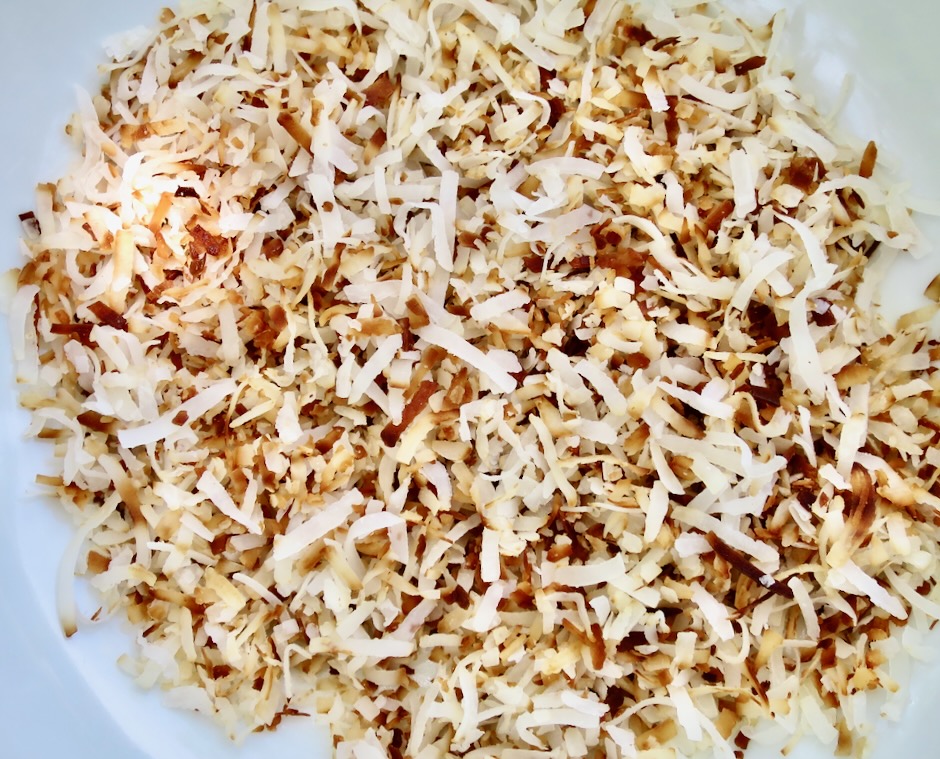
It takes just 5-7 minutes to toast shredded coconut. This step is important as it intensifies the coconut flavor and adds a little crunch and color to the cake. Make a little extra to snack on while you are frosting the cake.

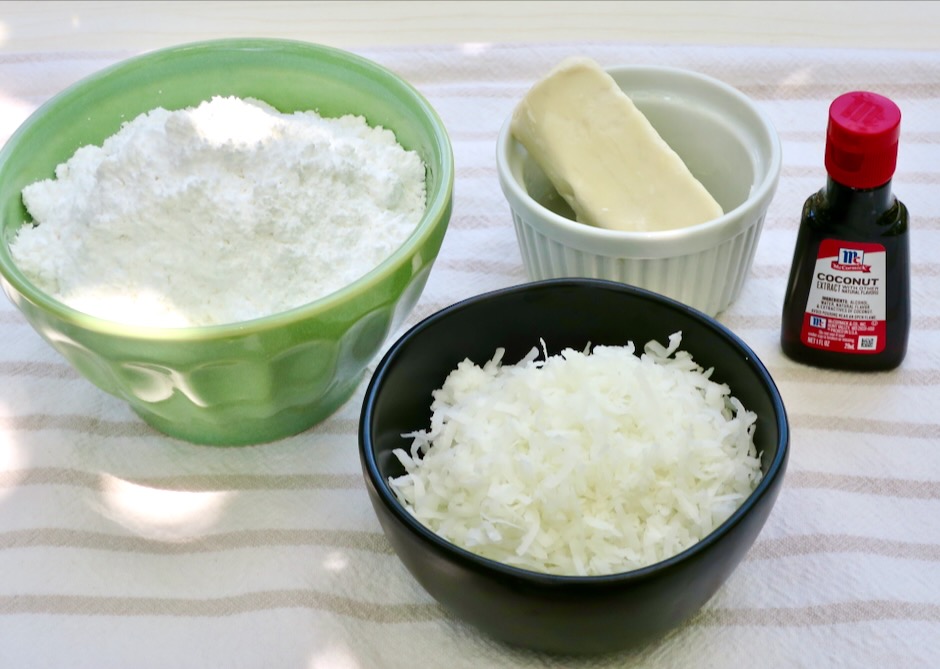
The frosting consists of powdered sugar, butter, a bit of half and half or cream, coconut extract, a dash of salt and toasted coconut.

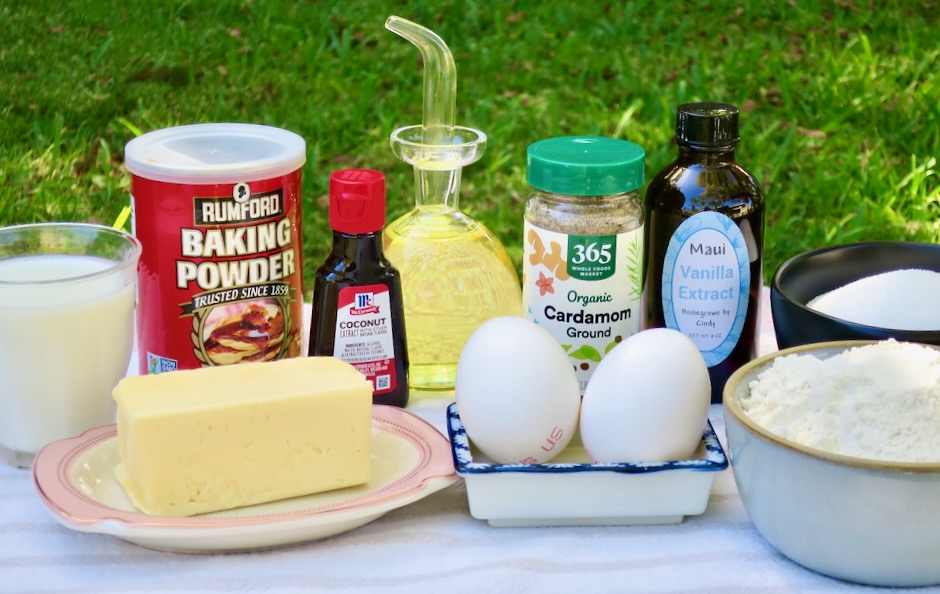
Most of the cake ingredients will be in your pantry. I made a quick trip to the market to purchase coconut extract and cardamom.

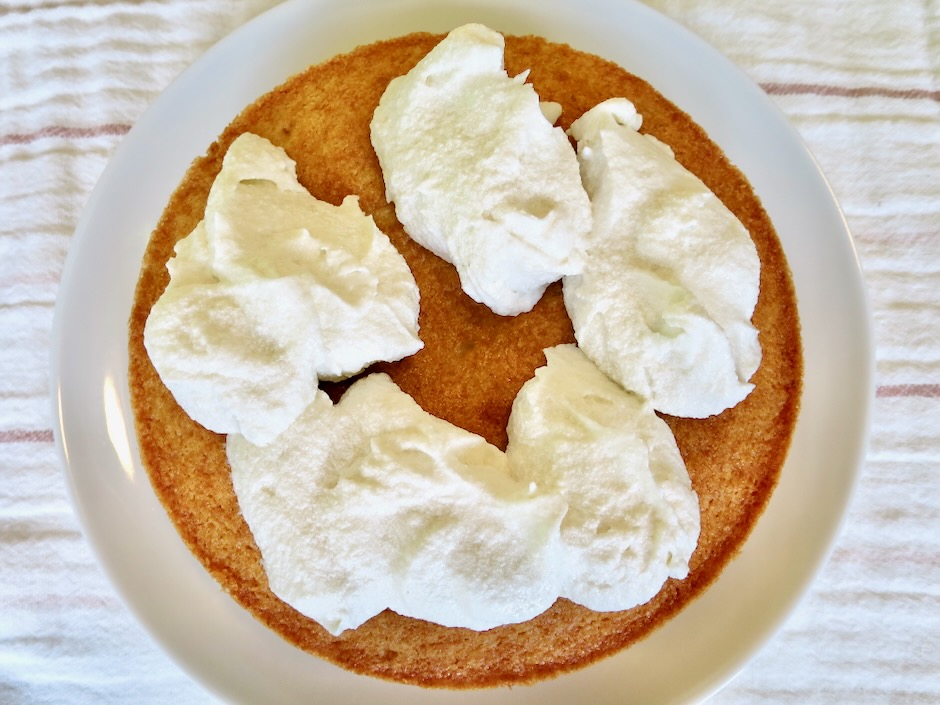
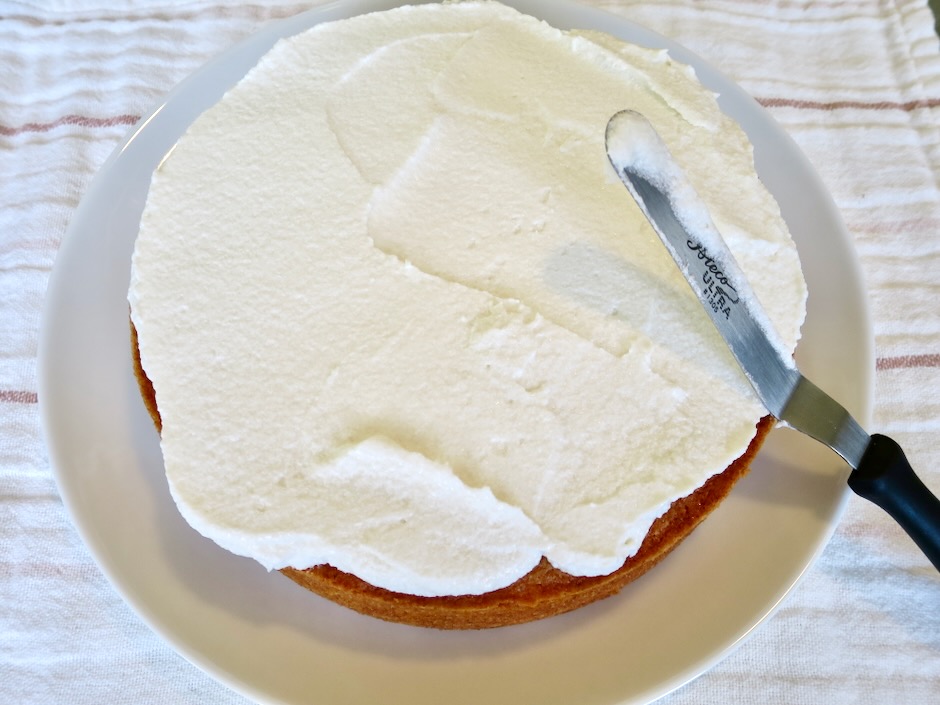
Dollop spoonfuls of the frosting over the top of the cake then using an offset cake spatula smooth over the sides.

It can be a little tricky applying the coconut to the sides of the cake. Just do your best to gently pat small handfuls on the sides then tidy up later.

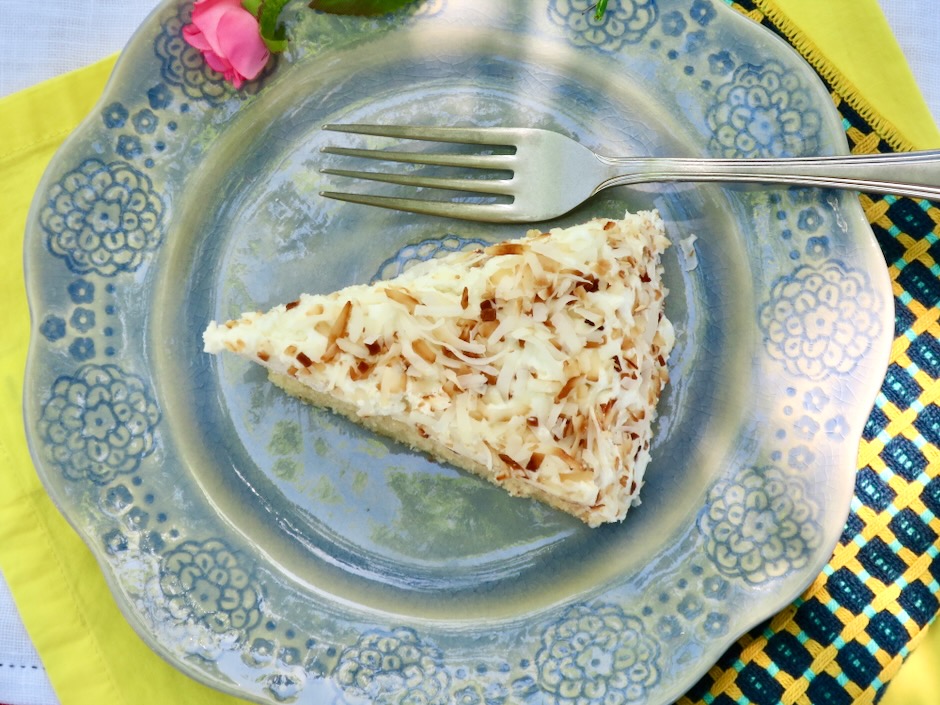
This is a gorgeous coconut cake that can be served alone or with a small scoop of vanilla ice cream. The flavor of the cake with that hint of cardamom and coconut is intoxicating.

Coconut and Cardamom Cake

Recipe by Kiyo
Servings

10

servings

Adapted from Bon Appetit magazine

Ingredients

  • Cake
  • 1/2 cup (1 stick, 113g) Earth Balance Buttery Sticks or unsalted butter, room temperature, plus more for the pan

  • 1 1/3 cups (167g) all-purpose flour

  • 1 1/4 teaspoons baking powder

  • 3/4 teaspoon Diamond Crystal or 1/4 + 1/8 teaspoon Morton kosher salt if using Earth Balance Buttery Sticks (increase to 1 teaspoon Diamond Crystal or 1/2 teaspoon Morton if using unsalted butter)

  • 1/2 teaspoon ground cardamom

  • 1 cup (200g) granulated sugar

  • 2 large eggs

  • 2 tablespoons vegetable or canola oil

  • 1 teaspoon vanilla extract

  • 1/2 teaspoon coconut extract

  • 1/2 cup lactose free or regular whole milk

  • Frosting
  • 1 cup (85g) sweetened shredded coconut

  • 1/2 cup (113g) Miyoko’s Hint of Salt vegan butter or unsalted butter, room temperature

  • 2 cups (220g) powdered sugar

  • 1/2 scant teaspoon Diamond Crystal or 1/4 + 1/8 teaspoon Morton kosher salt if using Miyoko’s vegan butter (increase to 3/4 teaspoon Diamond Crystal or 1/2 teaspoon Morton kosher salt if using unsalted butter)

  • 1/4 teaspoon coconut extract

  • 1/4 cup lactose free half and half or regular heavy cream or half and half

Directions

  • Cake
  • Place a rack in middle of oven and preheat to 325 degrees. Butter an 8″ round cake pan and line the bottom with a parchment paper round.
  • Whisk flour, baking powder, salt, and cardamom in a medium bowl to combine.
  • Beat granulated sugar and 1/2 cup Buttery Sticks or unsalted butter in a large bowl using a hand mixer on medium speed until light and fluffy, about 3 minutes. You may also use a stand mixer (medium speed) with a paddle attachment. Add eggs one at a time, beating until incorporated after each addition. Add oil, vanilla extract, and coconut extract beating until combined. Reduce speed to low and gradually pour in milk; beat until incorporated. Scrape down sides of bowl and mix to combine. Add dry ingredients and gently fold in with spatula just until no dry spots remain.
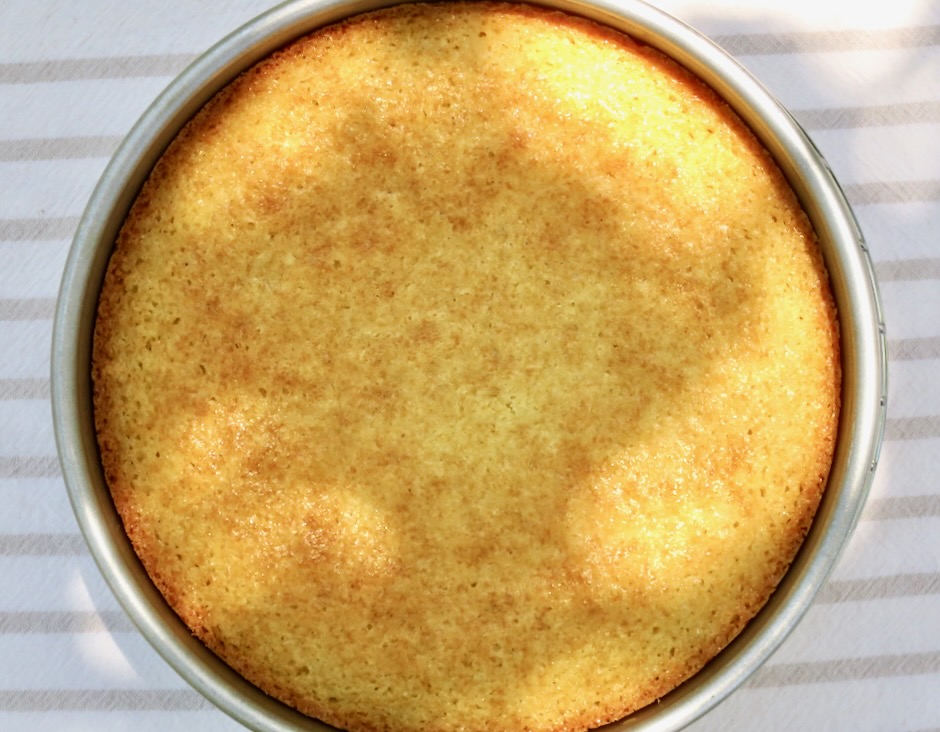
  • Scrape batter into prepared pan, smooth surface. Bake cake until a tester inserted in the center comes out clean, about 45 minutes. Transfer pan to a wire rack and let cake cool for 1 hour then invert onto a small cooling rack. Remove parchment paper then invert cake onto another cooling rack so it is right side up. Allow to cool completely before frosting (1 more hour or so).
  • Frosting and assembly
  • While the cake is cooling, heat a medium skillet (9-inch works well) over medium-low heat. Toast shredded coconut, stirring often, until mostly golden brown, 5-7 minutes. Immediately transfer to a shallow bowl and let cool (coconut will continue to darken slightly as it cools).
  • Using a hand mixer on medium speed, beat Miyoko’s vegan butter or unsalted butter in a medium bowl until light and fluffy, about 3 minutes. Add powdered sugar in 2 additions, beating until combined after each addition. Add salt and coconut extract and beat until incorporated. Reduce speed to medium-low and beat, scraping down sides of bowl as needed, until mixture is very light and fluffy, about 5 minutes. Add half and half or cream and beat until frosting is smooth. Frosting should be thick but spreadable; if it’s too thick beat in more cream 1 tablespoon at a time.
  • Transfer cake to a serving platter. Using an offset spatula, spread frosting evenly over top and sides of cake. Sprinkle shredded coconut over top and sides, pressing gently to adhere. You may chill the cake (covered) for 15 minutes before serving. This will allow the frosting to set up a bit (especially for those of us who live in a warmer climate).

Notes

  • The cake can be baked 1 day in advance of serving. Store in a plastic cake container or cover with plastic wrap once the frosting has set. Remove from the refrigerator 1 hour prior to serving. The cake can also be frozen for up to 1 month. Defrost overnight in the refrigerator before serving.
Dinner, Japanese, Lactose Free, Recipes, Vegan, Vegetarian

Sesame Brown Butter Udon Noodles

March 16, 2023

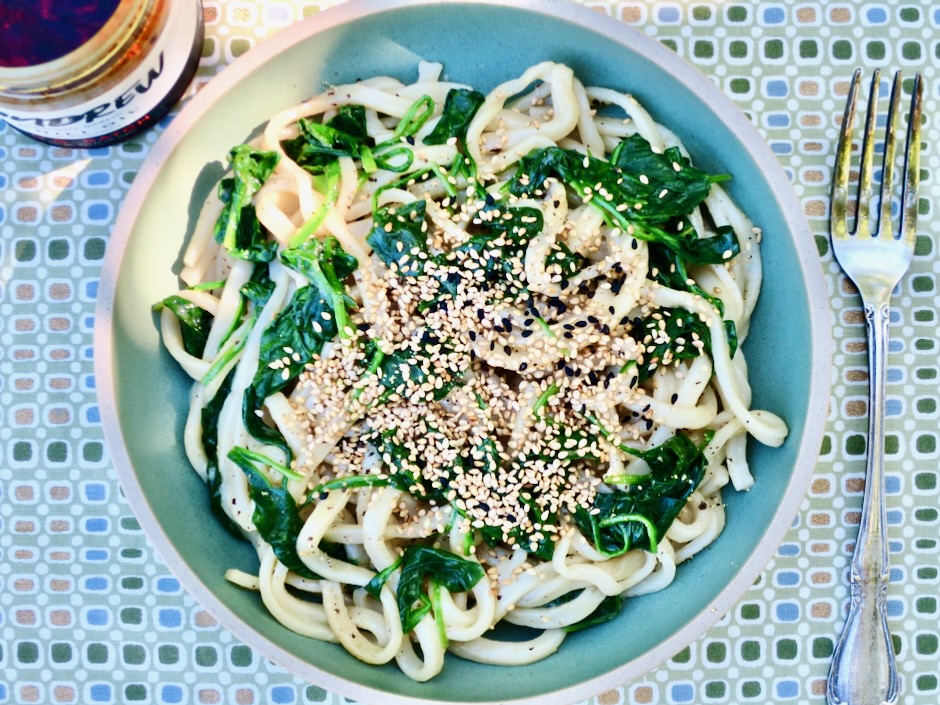
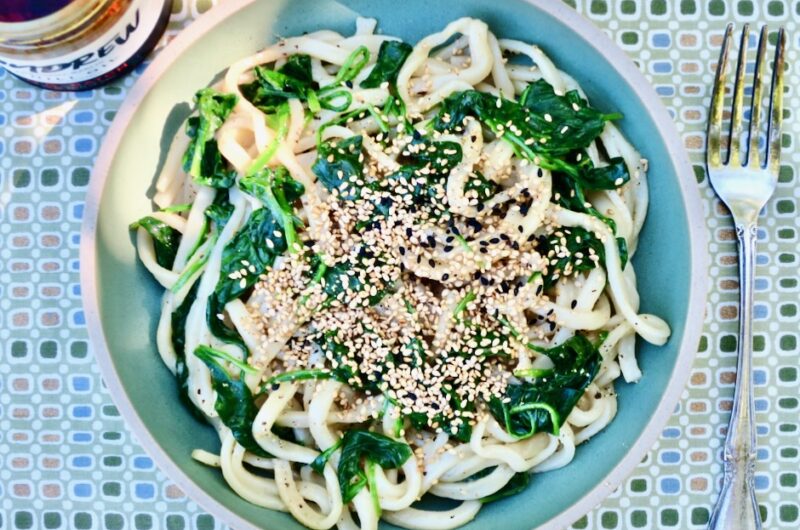
Here is a quick and delicious dish to satisfy a craving for udon. Given that it includes fresh spinach, it’s nutritious as well. This is a broth-less bowl of chewy noodles flavored with browned butter and lots of sesame seeds. It’s scrumptious.

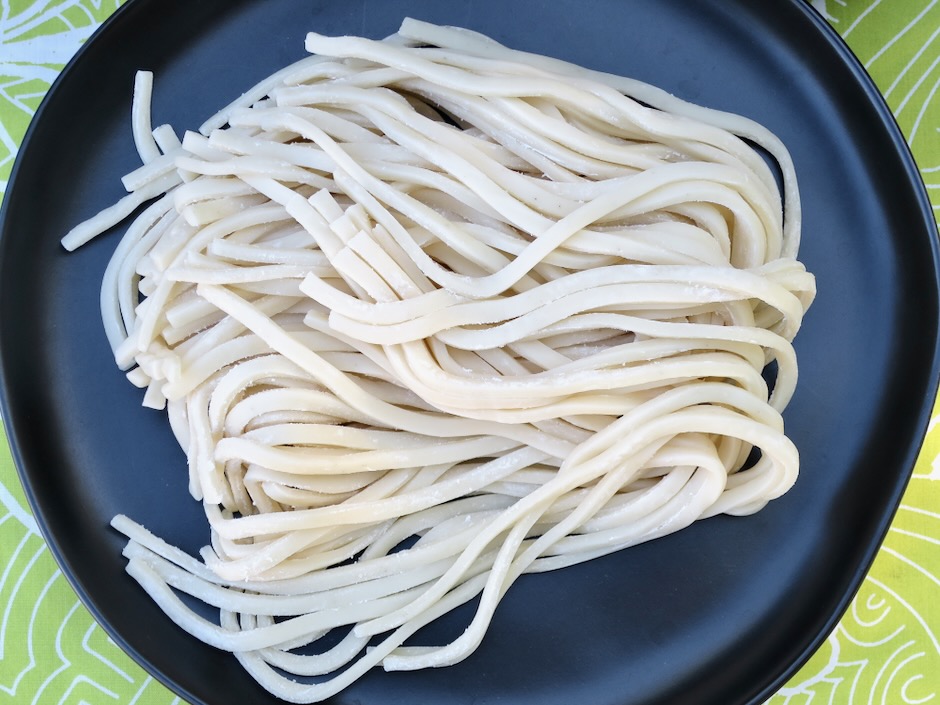
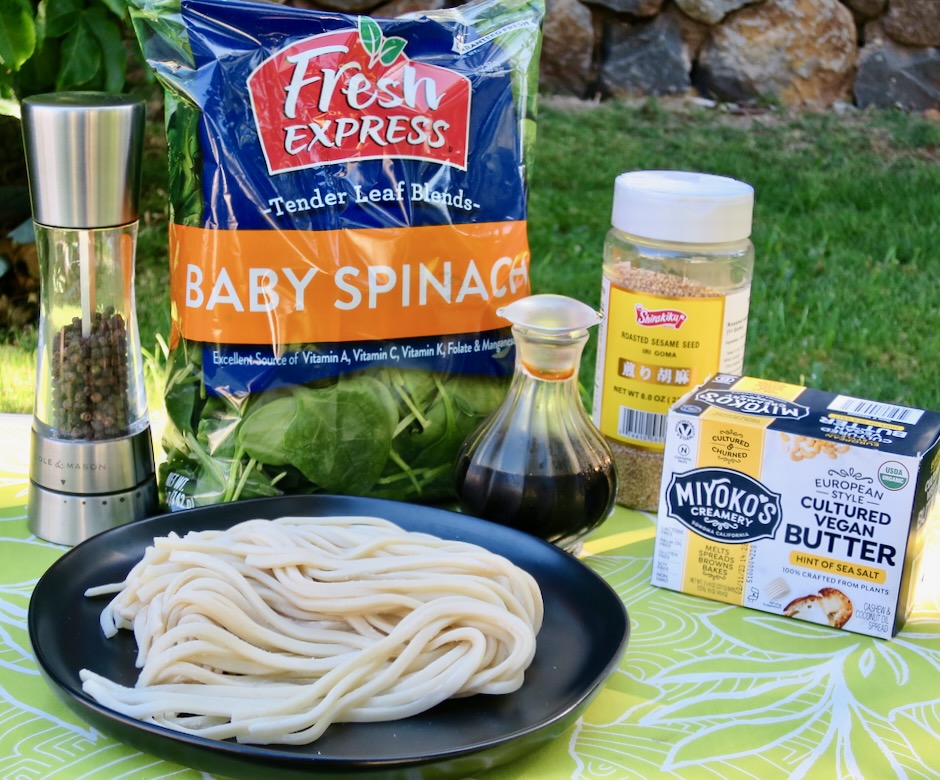
I highly recommend you seek out fresh udon. Here on Maui I buy Sun Noodle udon which is available at Island Grocery. If you are unable to find fresh udon, frozen udon would be the next option. Dried udon is very thin and lacks the wonderful chewy texture of fresh udon that makes this particular dish so delightful.

My version is vegan since I used Miyoko’s in place of regular unsalted butter. It’s an excellent substitute if you are lactose intolerant. Another plus is that you can actually brown Miyoko’s vegan butter.

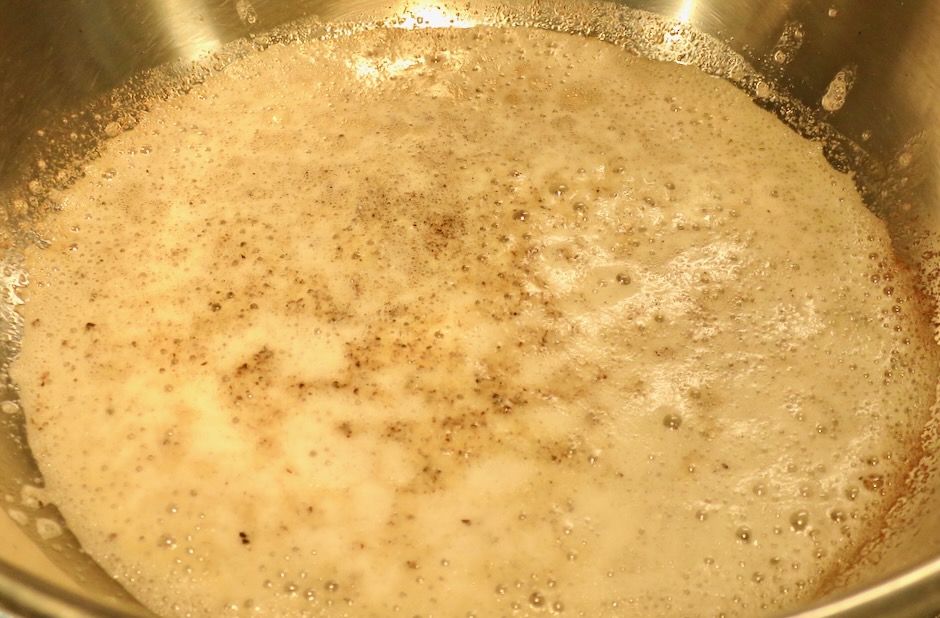
The “butter” browns quickly so you’ll want to keep a close eye on it.

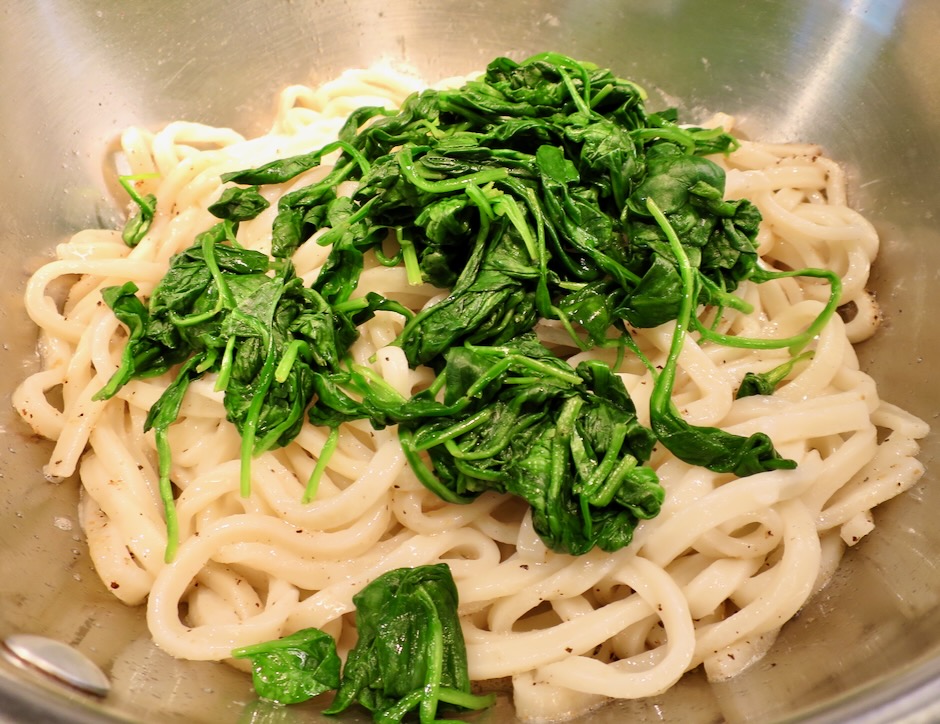
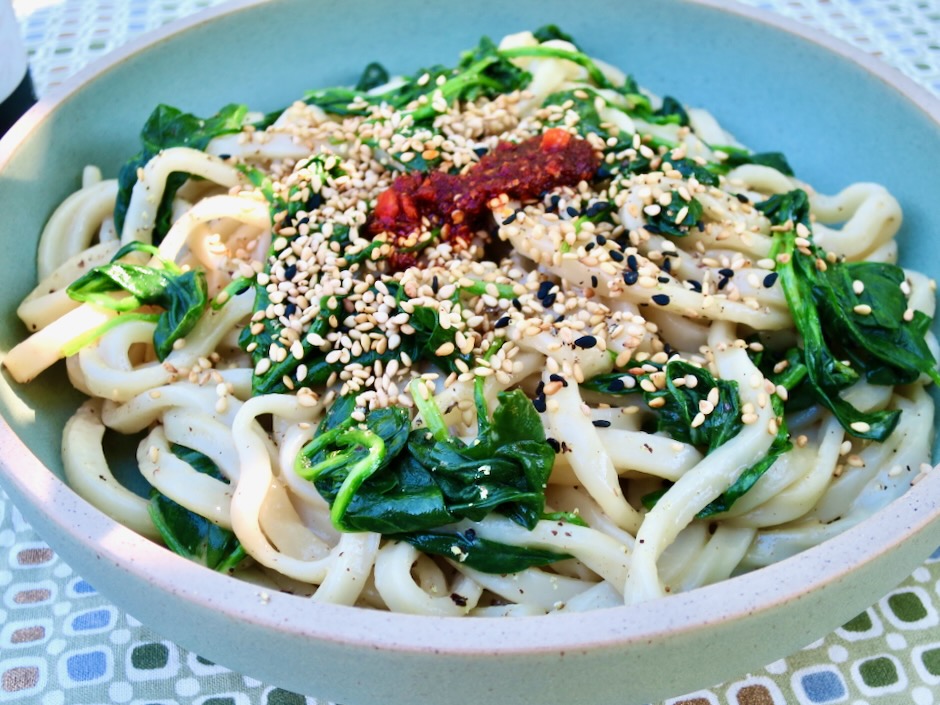
Once the “butter” has browned, it gets tossed with the cooked udon and spinach. Divide the noodles into bowls, sprinkle with a generous amount of roasted sesame seeds and a dollop of chili crisp and devour your bowl of noodles.

Sesame Brown Butter Udon Noodles

Recipe by Kiyo
Servings

2

servings

Adapted from NYT Cooking

Ingredients

  • 8 ounces fresh udon (in a pinch, substitute with frozen udon)

  • 5 ounce container of baby spinach (or up to 8 ounces)

  • 2 tablespoons Miyoko’s Vegan Butter (or regular unsalted butter)

  • 1/2 teaspoon coarsely ground black pepper

  • 1/2 tablespoon soy sauce

  • pinch of granulated sugar

  • 1 tablespoon roasted sesame seeds

  • Chili crisp for serving, optional

Directions

  • Bring a large pot of water to a boil. Add the noodles and cook according to package directions until just tender. Reserve 1/4 cup of cooking water. Drain the noodles in a colander and set aside.
  • Microwave spinach with 1 1/2 tablespoons water in a large bowl (cover with damp paper towel or microwavable plastic wrap with a small corner left open for steam to escape, or use microwavable steamer).
    Drain and add to noodles.
  • Set the pot used for cooking the pasta, over medium heat. Add 2 tablespoons Miyoko’s Vegan Butter and cook, stirring occasionally, until the foam subsides and the butter turns golden brown, about 3-4 minutes. Watch closely so the butter does not burn. Add the black pepper and stir until fragrant. Add 2 tablespoons reserved pasta water, plus noodles and spinach, soy sauce and sugar, and toss until the sauce is thickened and silky. Add more pasta water a tablespoon at a time if needed to ensure the sauce clings to the noodles.
  • Remove from the heat and season to taste with more soy sauce and black pepper if needed. Divide into two bowls, sprinkle with sesame seeds and serve with chili crisp.
Cookies, Dessert, Lactose Free, Recipes

Crisp Molasses Cookies

February 5, 2022

Crisp Molasses Cookies

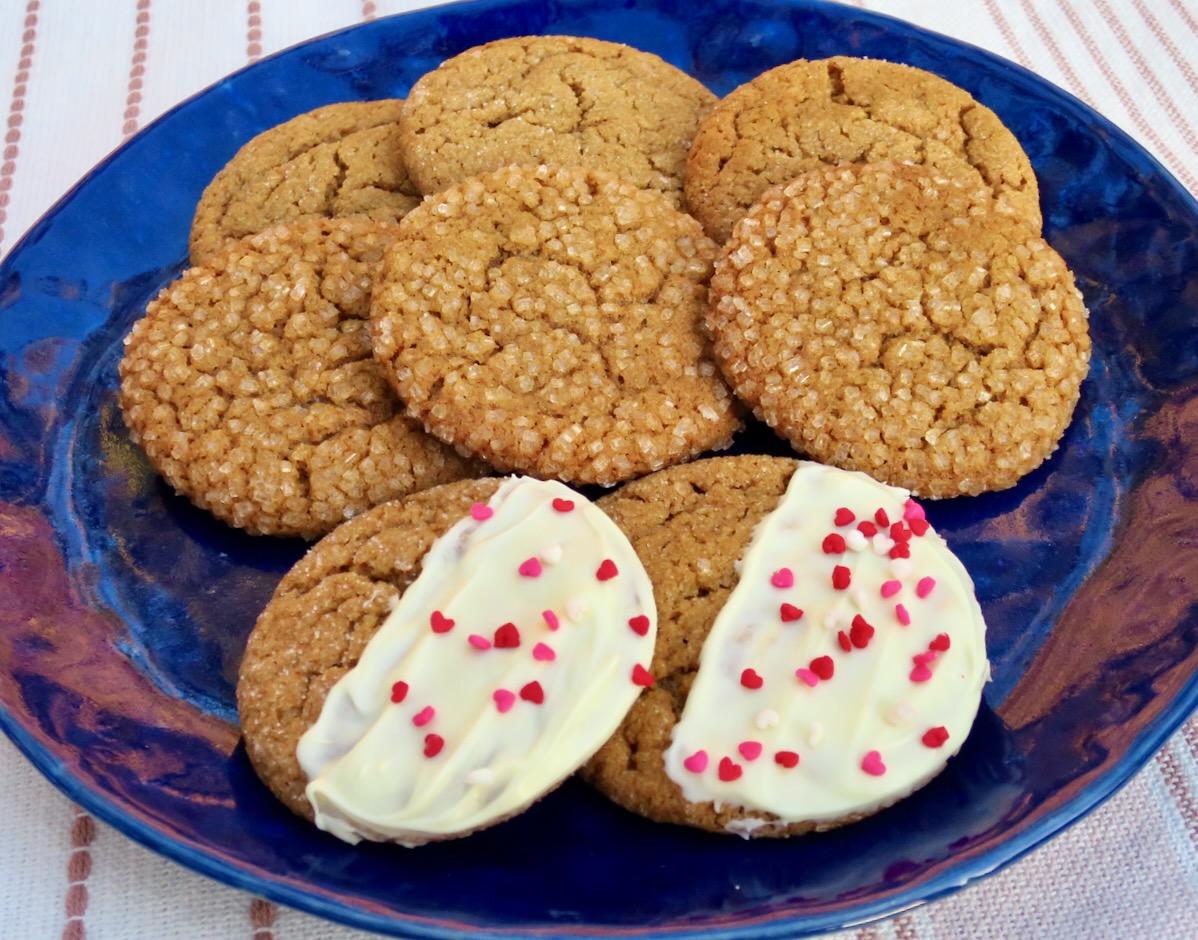
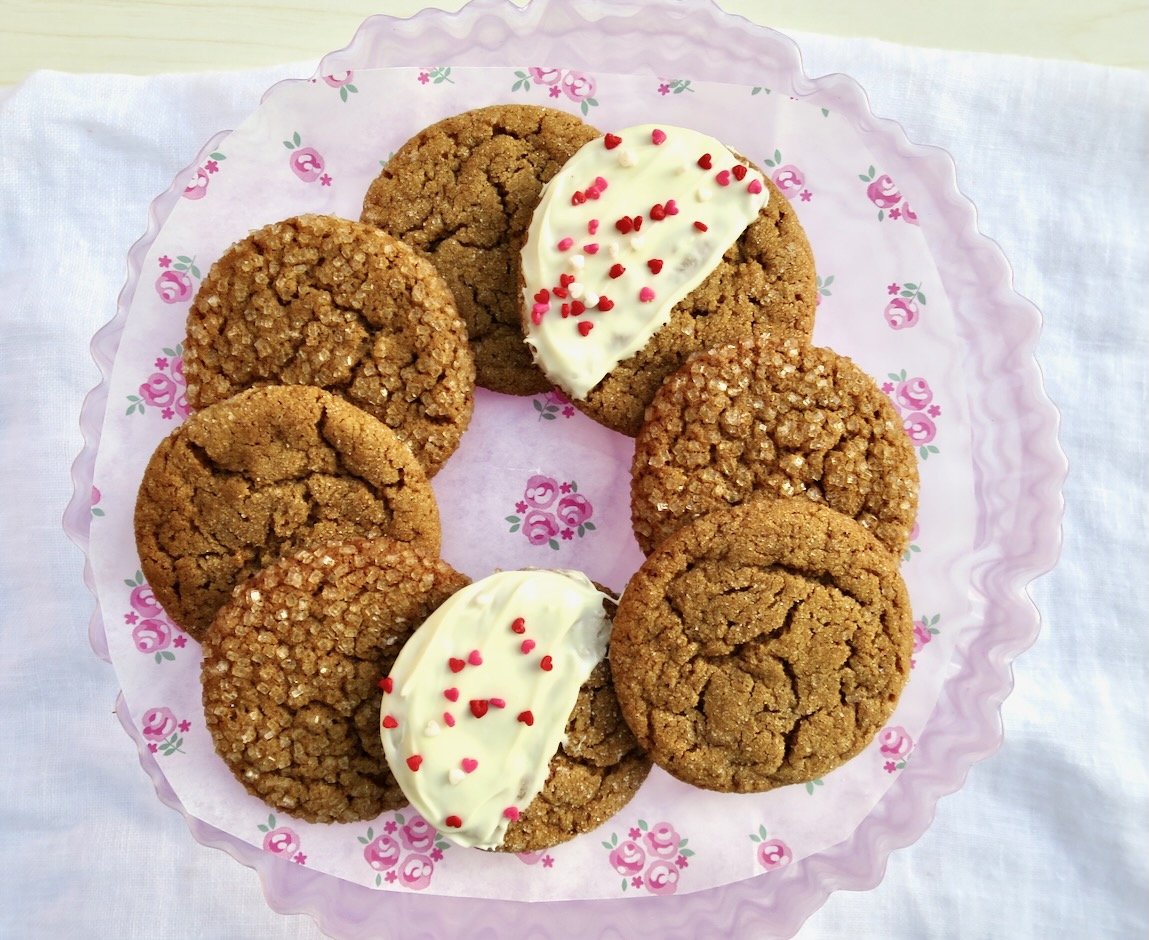
These crispy, spice scented cookies are now one of our favorite desserts.  They have a crunchy exterior and centers that are a bit softer.  I love how the sugar coating gives them even more texture.  This is a simple recipe for those who want a quick sweet treat. 

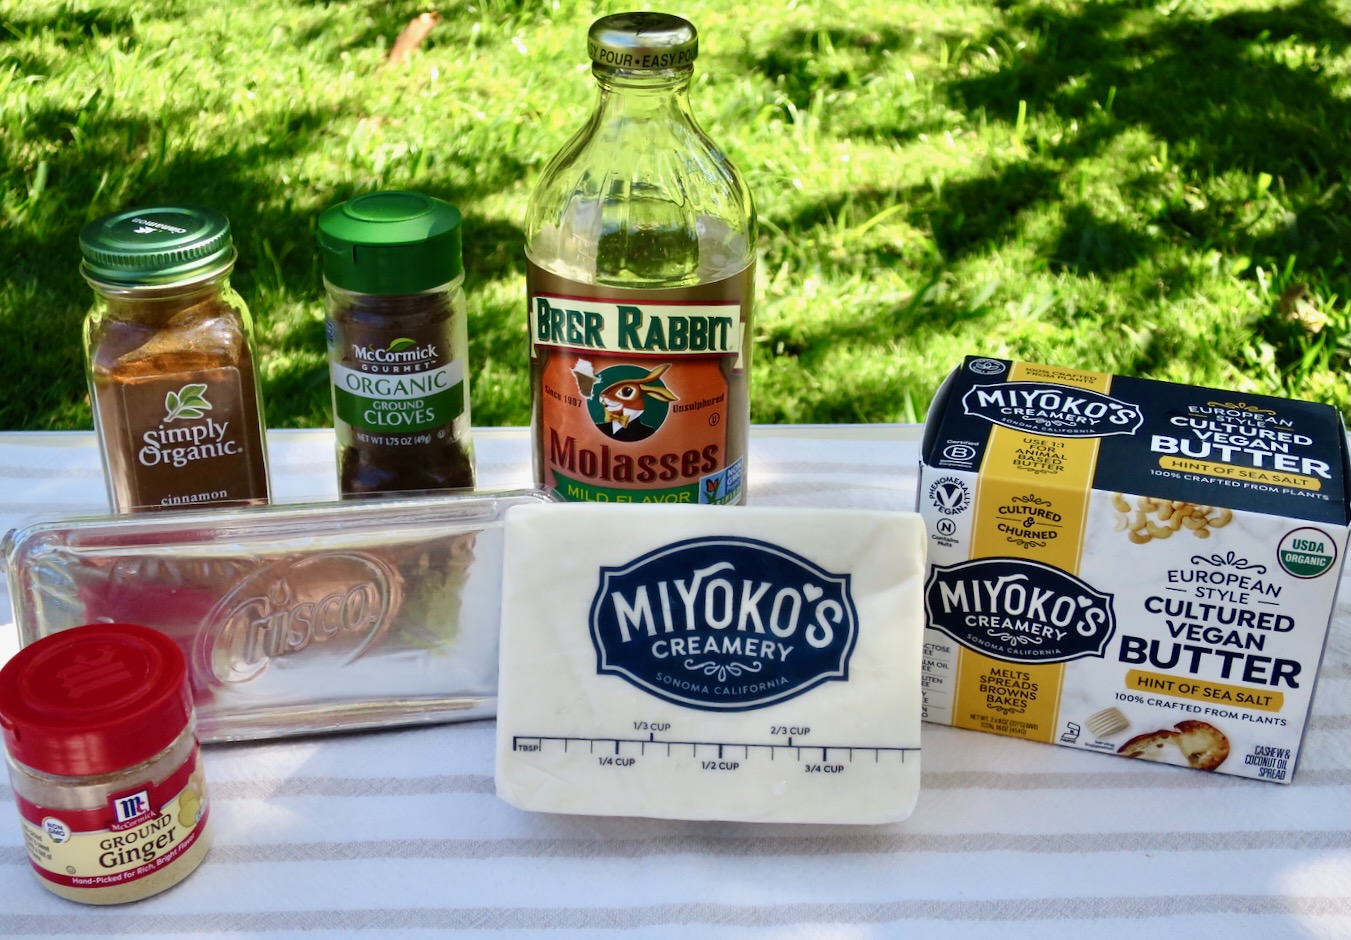
Molasses Cookie Ingredients

Most of the ingredients are probably already in your pantry.  There’s nothing fancy about the recipe yet it turns out delicious, rustic little cookies that are hard to resist.  I used Miyoko’s vegan butter for a lactose free cookie, however, you may use regular butter or coconut oil.

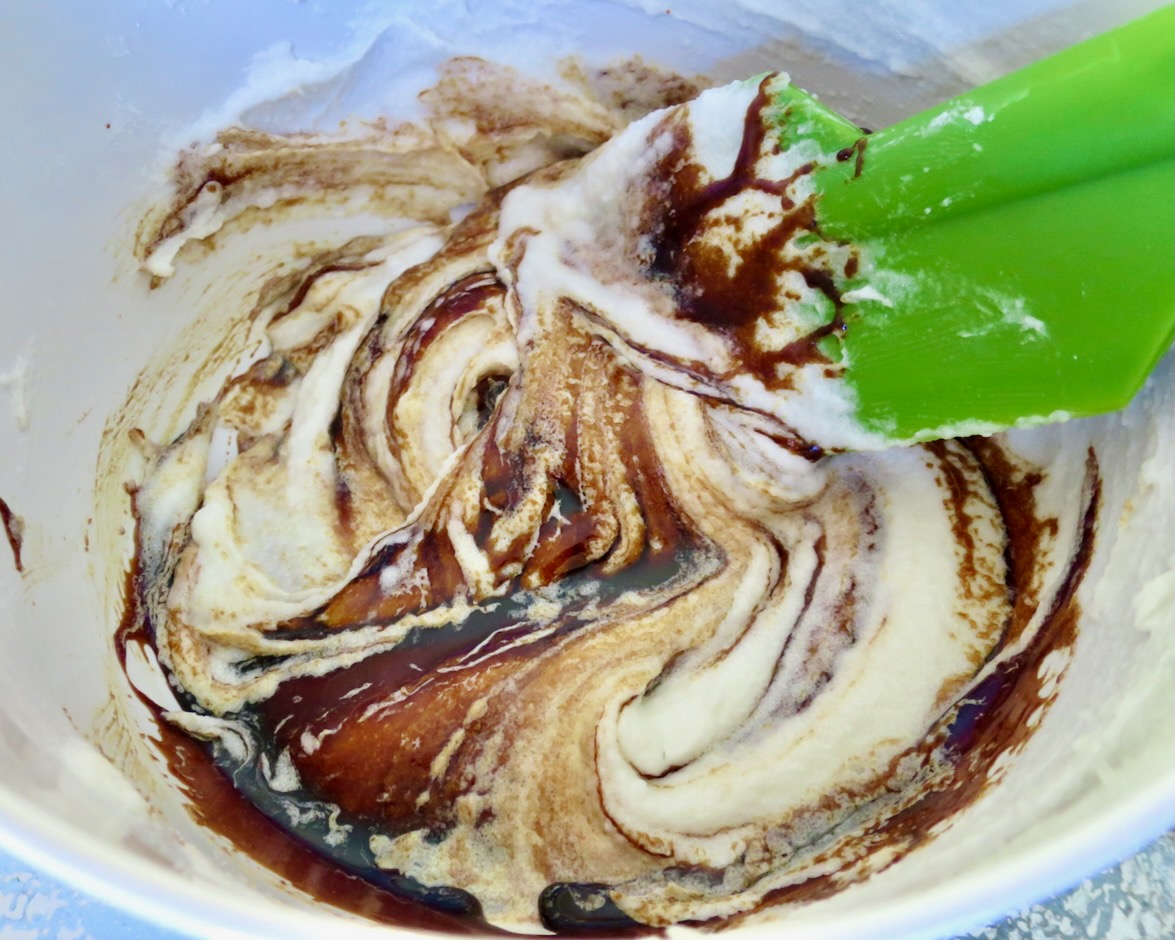
Molasses Cookie Dough

Molasses Cookie Dough

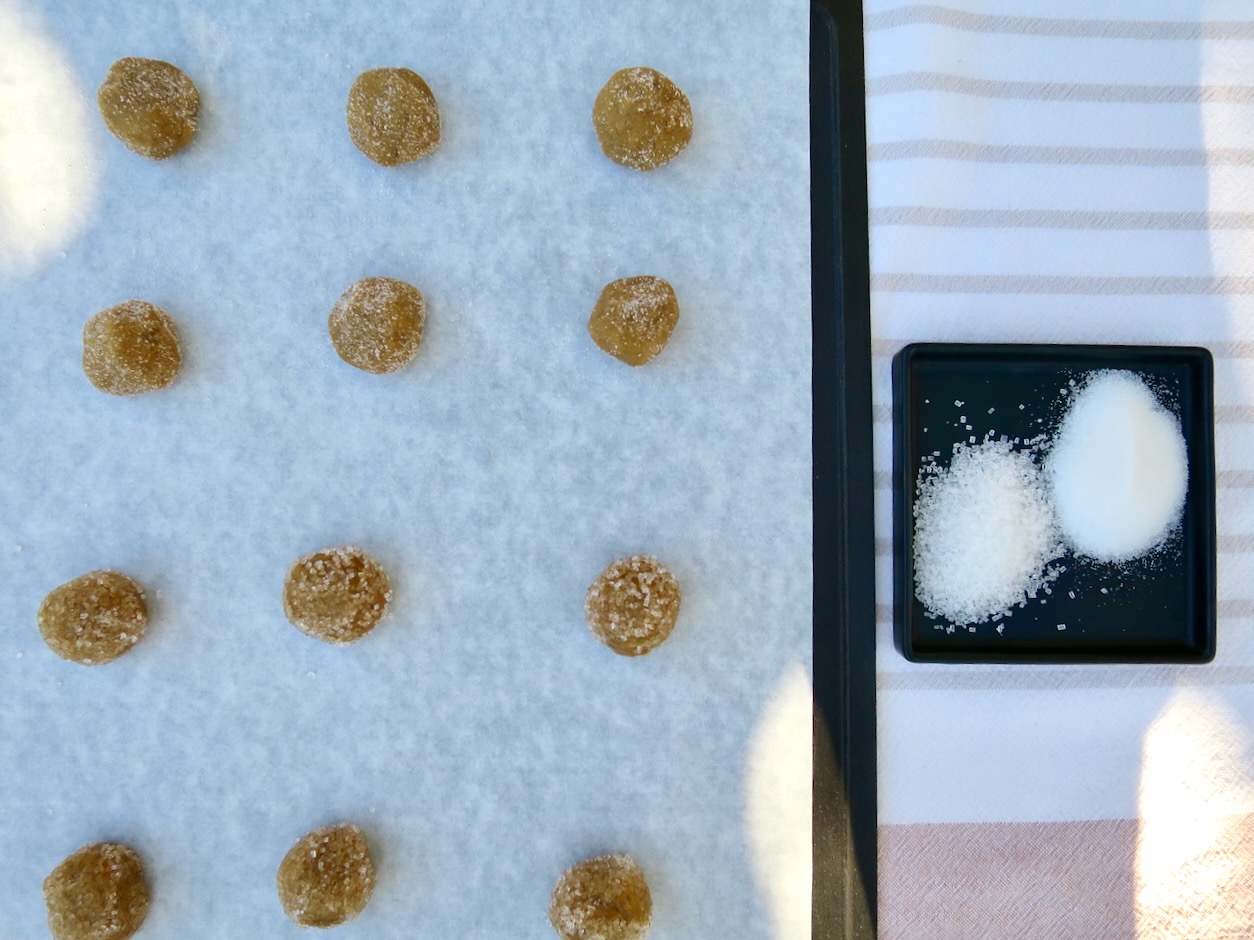
The dough is chilled for 30 minutes or so.  Depending on your weather it may take longer than 30 minutes.  Here on Maui the weather is always warm so I find that chilling the dough for an hour is best.  The original recipe calls for rolling the cookie dough balls into granulated sugar.  This works great but if you happen to have coarse sparkling sugar it will bump up the crispy texture once the cookies are baked and cooled.  

Crisp Molasses Cookies

I had a bit of white chocolate hanging around so I melted it in my homemade double boiler.  I quickly spread it over the top of some of the cookies then sprinkled mini hearts confetti on the white chocolate.  I placed the frosted cookies in the refrigerator uncovered for a few minutes to set the white chocolate.  A perfect little treat to share with friends for Valentine’s Day.

Crisp Molasses Cookies

Crisp Molasses Cookies
 
Author:
Serves: 2½ dozen
Ingredients
  • 4 tablespoons (57g) Miyoko's vegan butter, at room temperature (substitute with regular butter or ¼ cup (53g) coconut oil
  • ½ cup (92g) vegetable shortening
  • 1 cup (198g) granulated sugar
  • ¼ cup (85g) molasses (I used Brer Rabbit mild)
  • 1 large egg
  • 2 cups (240g) unbleached all-purpose flour
  • 1 teaspoon baking powder
  • ½ teaspoon baking soda
  • ½ teaspoon salt
  • 1 teaspoon ground cinnamon
  • 1 teaspoon ground ginger
  • ½ teaspoons cloves
  • Coating: Granulated sugar, coarse sparkling sugar (optional), melted white chocolate and sprinkles (optional)
Preparation
  1. In a medium bowl, beat together the butter, shortening, and sugar until smooth. Stir in molasses and egg.
  2. In a separate bowl, whisk together the flour, baking powder, baking soda, salt, and spices. Add to wet ingredients and mix until smooth. Cover and refrigerate for 30-60 minutes.
  3. Preheat oven to 350 degrees. Line 2 baking sheets with parchment paper.
  4. Scoop dough with a tablespoon scoop and roll into 1-inch balls. Roll the balls in sugar and place on the baking sheet, leaving 1½-inch space between them.
  5. Bake for about 10 minutes. Tap pan on rack to flatten cookies. Bake an additional 1-2 minutes until cookies are cracked on top and not yet browned at the edges. Remove from the oven and let cool on the pan for 5 minutes before transferring to a rack to finish cooling.
  6. If your climate is cool, store in an airtight container for up to one day. I prefer to store in an airtight container with waxed paper layers, in the freezer.
  7. Optional: Decorate some of the cookies with white chocolate and sprinkles.


Dinner, Japanese, Lactose Free, Recipes, Side Dishes, Vegan, Vegetarian, Veggies

Miso Butter Onions

January 17, 2021

Miso Butter Onions

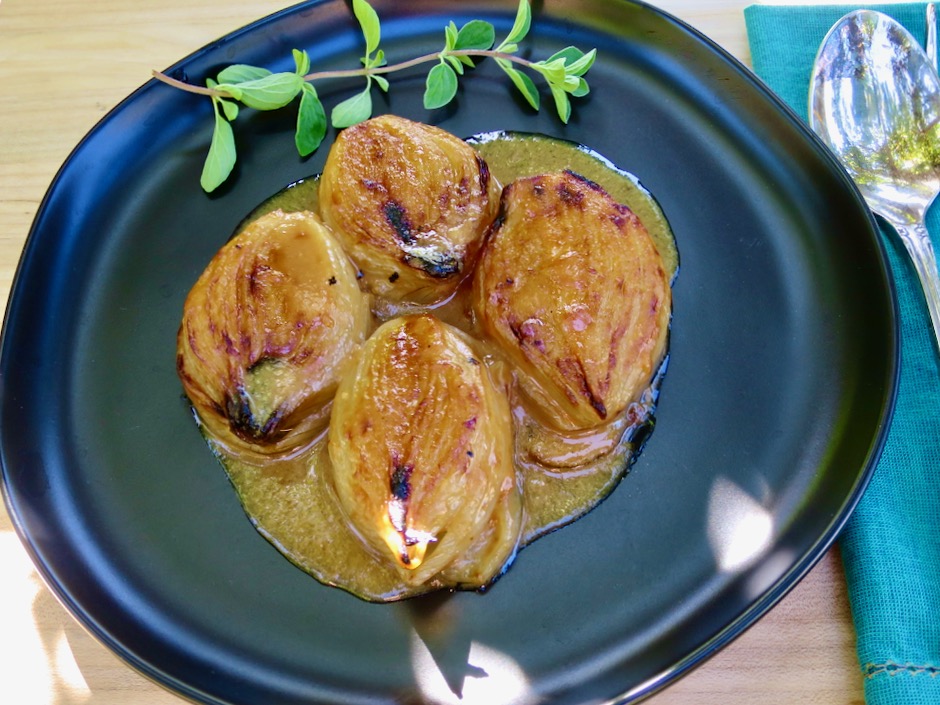
With just three ingredients, onions, butter and miso (+ water), you might wonder how this dish from Yotam Ottolenghi, can turn out so gorgeous and flavorful.  Of course these three ingredients are among the most delectable in the world of cuisine.  Serve the onions alongside grilled steak or chicken, or simply over a bowl of steaming rice.

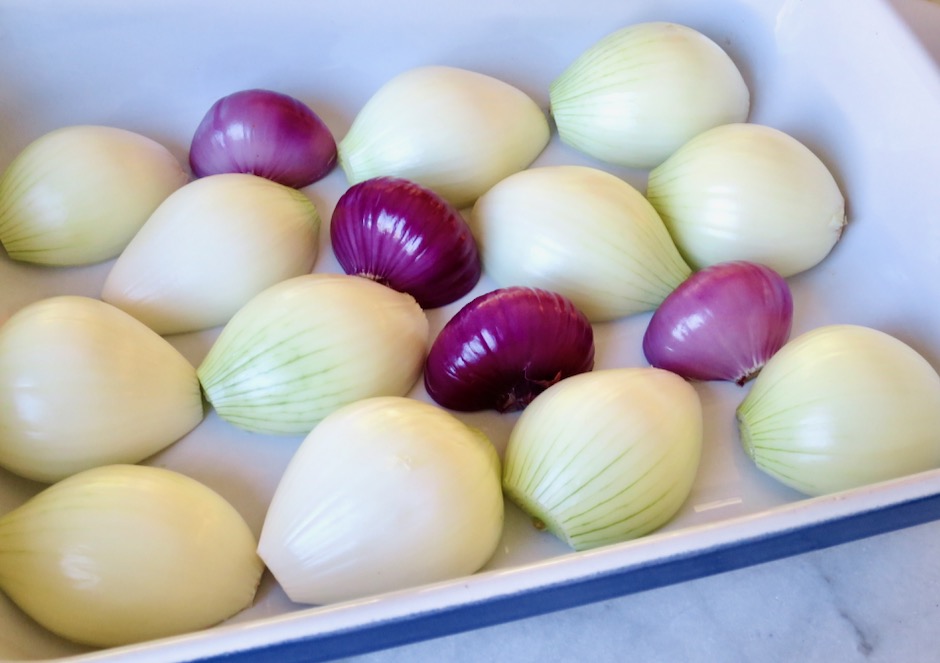
Maui Onions & Cipollini Red Onions

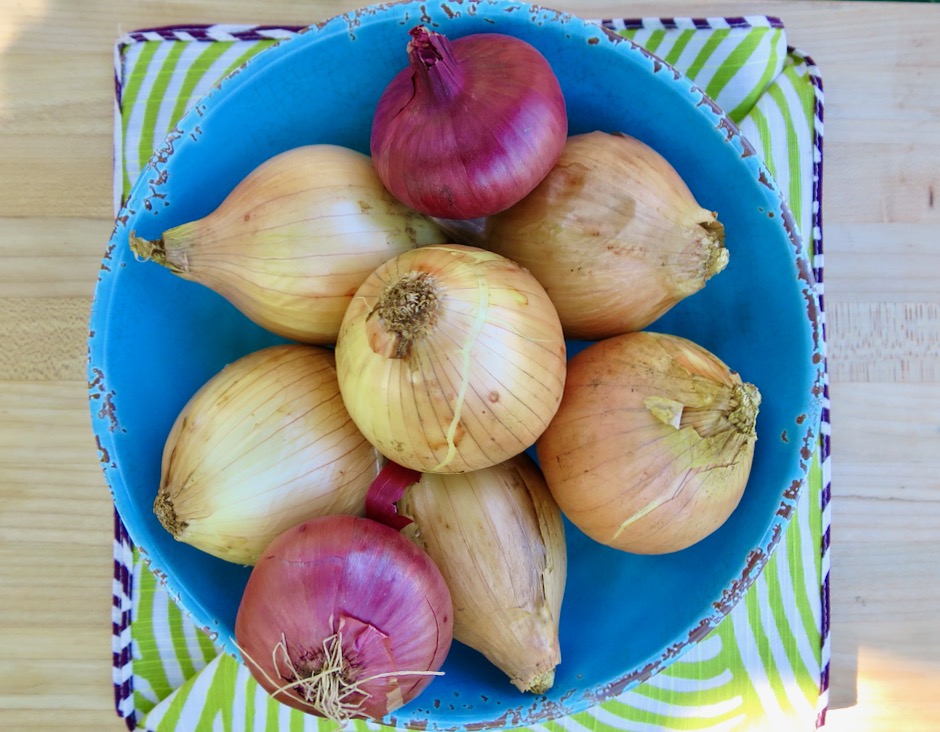
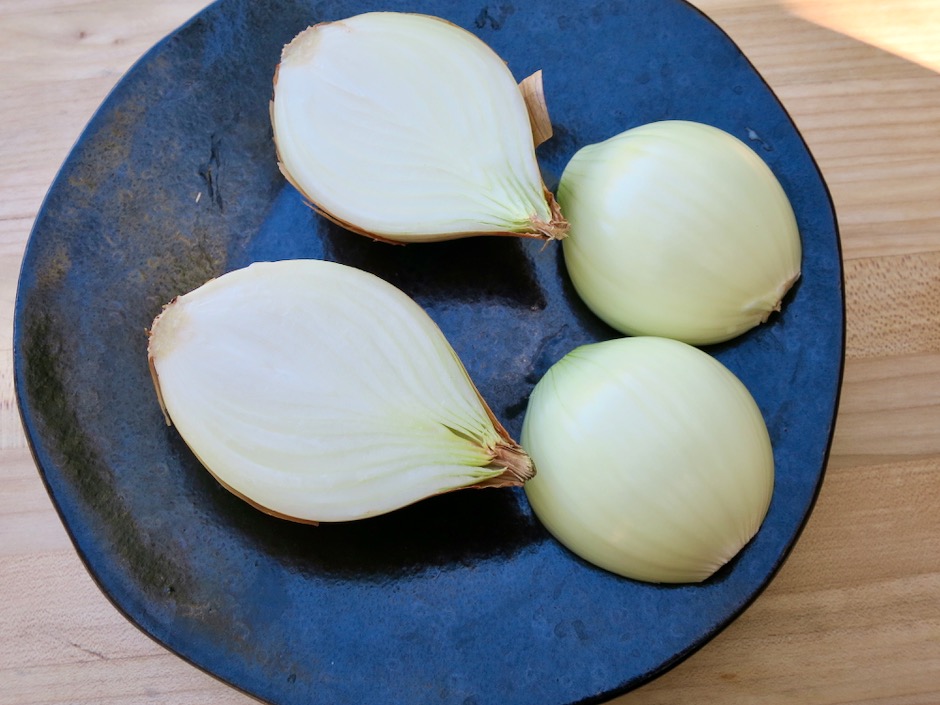
The recipe calls for very small onions, or very large shallots.  Both can be difficult to find.  The best option I found was to use Maui onions which tend to be on the small side.  I threw in a couple of red cipollini (Italian for small onions) that I had bought at Whole Foods.

Halved Maui Onions

The onions are sliced lengthwise with ends trimmed ever so slightly in order to keep the onion halves intact while baking.

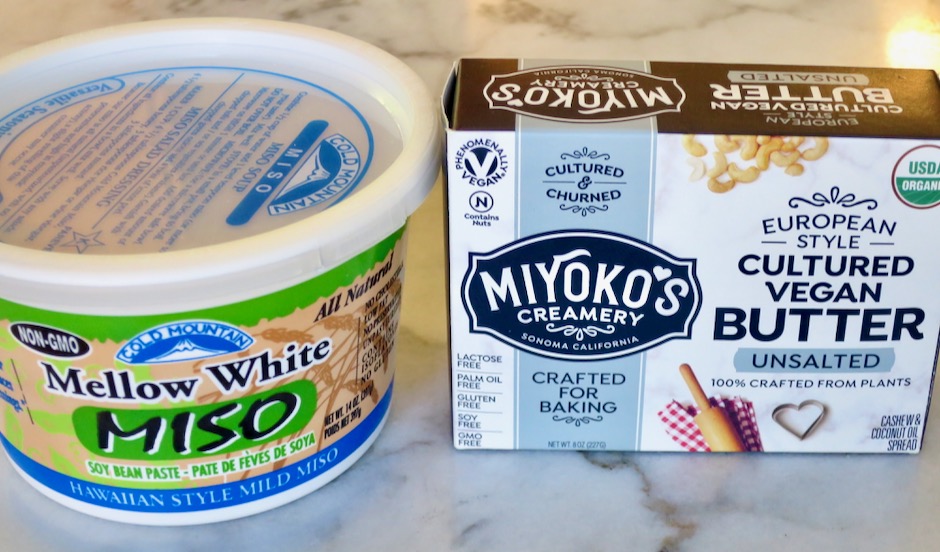
White Miso & Miyoko's Vegan Butter

My version of the recipe is vegan as I switched out the butter for Miyoko’s vegan butter. It works great in this dish and all baking recipes if you are looking for a lactose free substitute for regular unsalted butter.

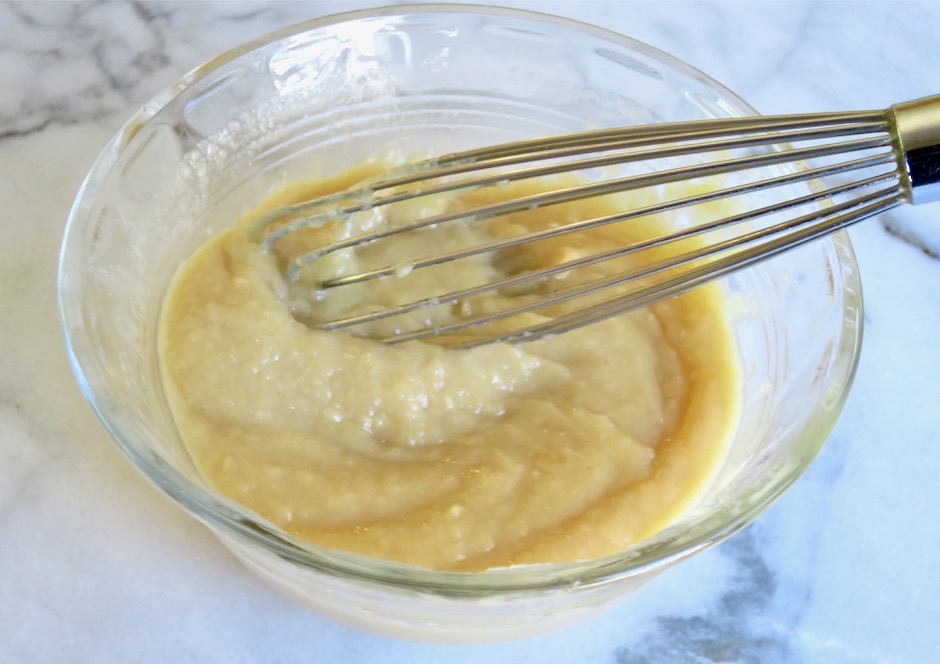
Miso & Melted Vegan Butter

Light miso paste is whisked together with the melted vegan butter and warm water.  This simple mixture eventually turns into a luscious sauce that coats the onions and gives them a rich, savory flavor.

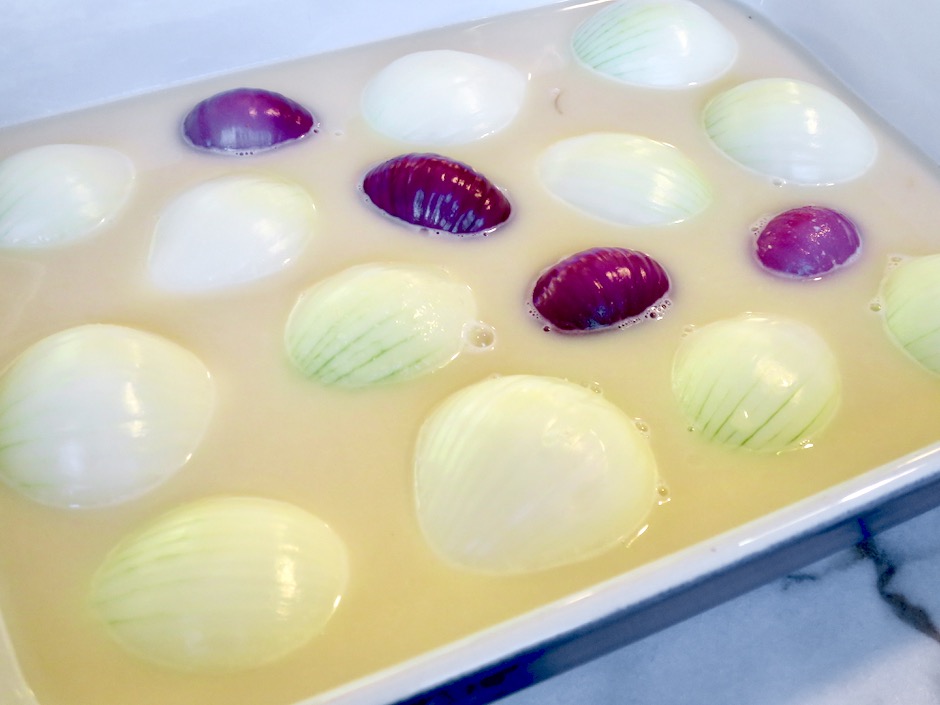
Maui Onions & Red Cipollini Onions

Maui Onions & Red Cipollini Onions with Miso-Butter Water

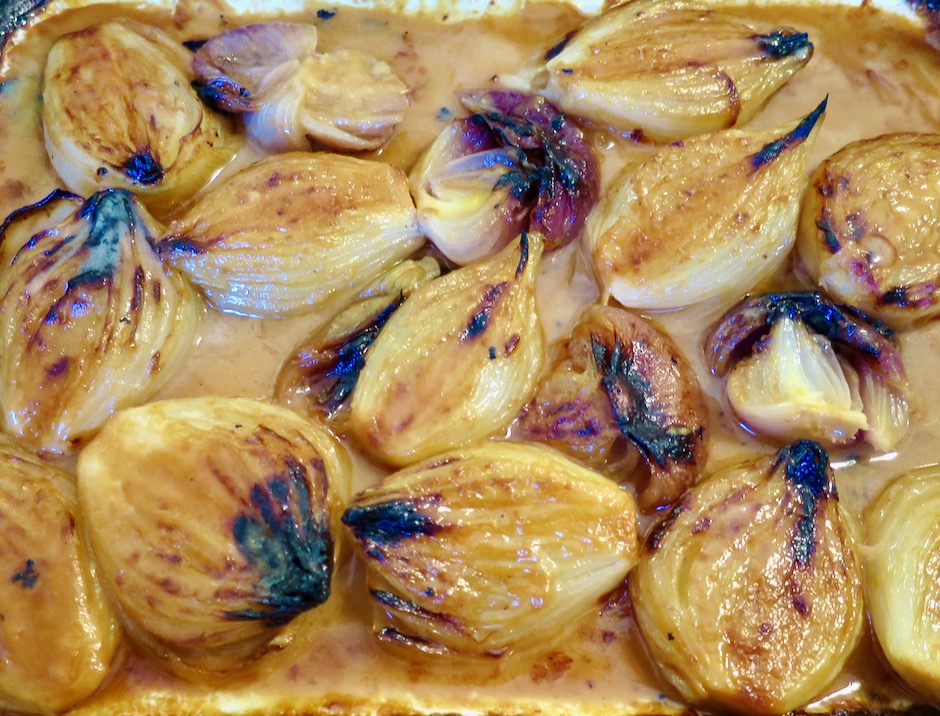
The first time I made this dish, I was surprised at how much liquid there was.  It crossed my mind that this might not work out!  But eventually, the pale liquid reduces to a thick, flavorful sauce.

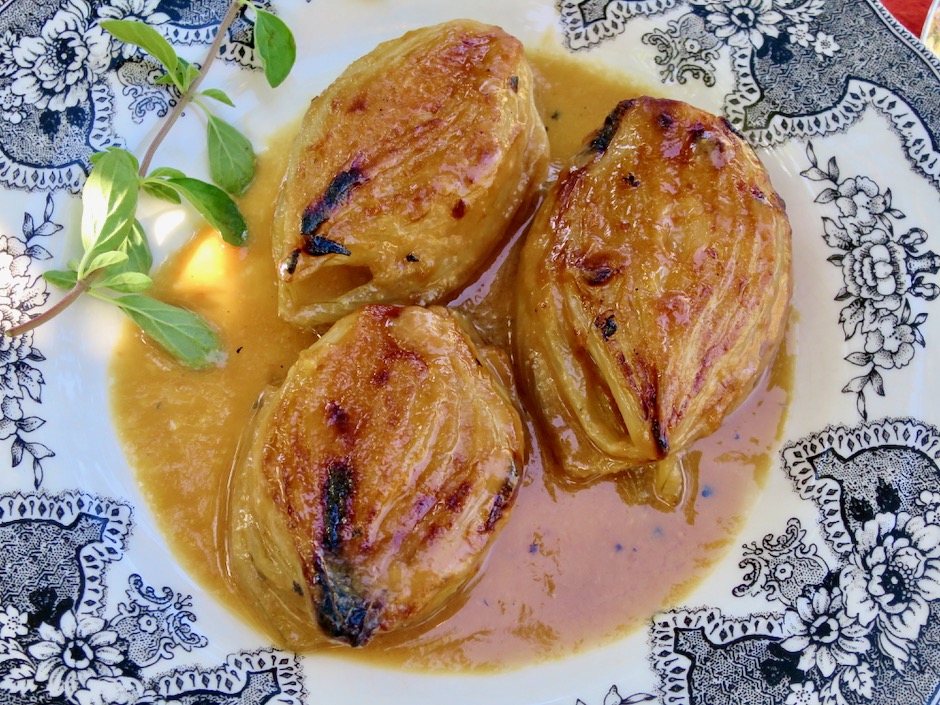
Miso Butter Onions

Beautifully glazed onions ready to serve alongside your favorite dinner entree.

Miso Butter Onions

Miso Butter Onions
 
Adapted from Yotam Ottolenghi's recipe
Author:
Serves: 4
Ingredients
  • 1¾ pounds very small onions
  • 3½ tablespoons Miyoko's unsalted vegan butter (or regular unsalted butter)
  • 3 tablespoons + 1 teaspoon white miso
  • 1½ cups warm water
Preparation
  1. Special equipment needed: Heavy baking dish safe for 500 degree oven
  2. Preheat oven to 500 degrees
  3. Halve the onions lengthwise, discarding the papery skin as well as the layer beneath it if it's tough or dry. Trim the tops and a bit off the bottom (not too much, you want to ensure the onion halves stay held together at the base). Place onions halves, cut-side down slightly spaced apart, in a 9x13-inch baking dish or one that fits your onion halves.
  4. In a medium bowl, whisk together the melted butter and miso paste. Whisk in the warm water. Pour mixture over the onions. Cover the pan tightly with heavy duty aluminum foil. Bake for 35 minutes. Remove foil and turn the onions over so they are cut-side up. Baste onions very well, then return to the oven, uncovered for another 40-45 minutes, basting every 10 minutes, until the onions are very soft and deeply browned on the tops. The sauce should be reduced to a gravy consistency.
  5. Transfer onions to a platter, pouring the sauce over and around them before serving. Any leftovers can be refrigerated for up to 2 days. Reheat before serving.


Dessert, Lactose Free, Recipes

Fudge Brownies

September 19, 2020

Fudge Brownies

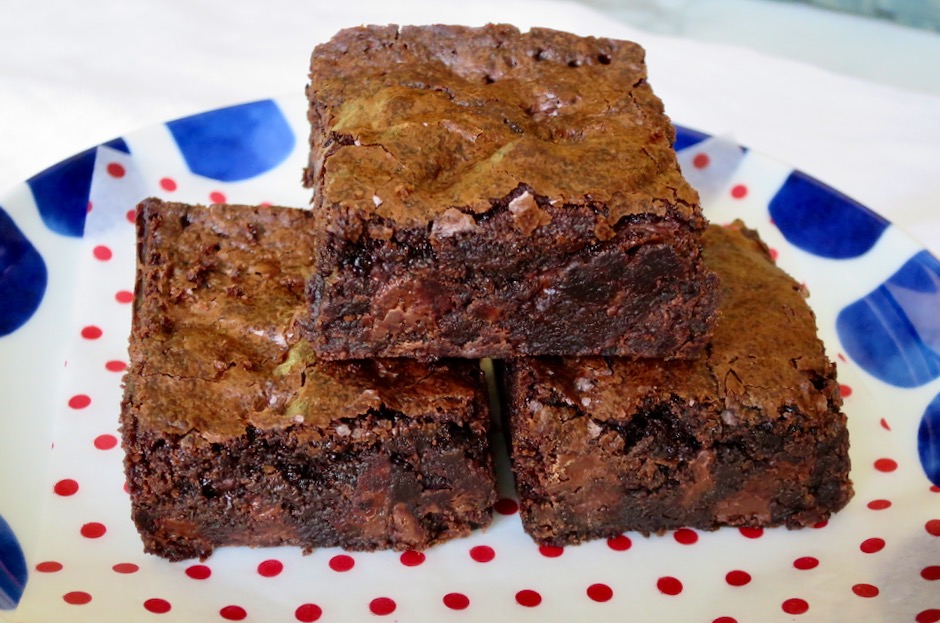
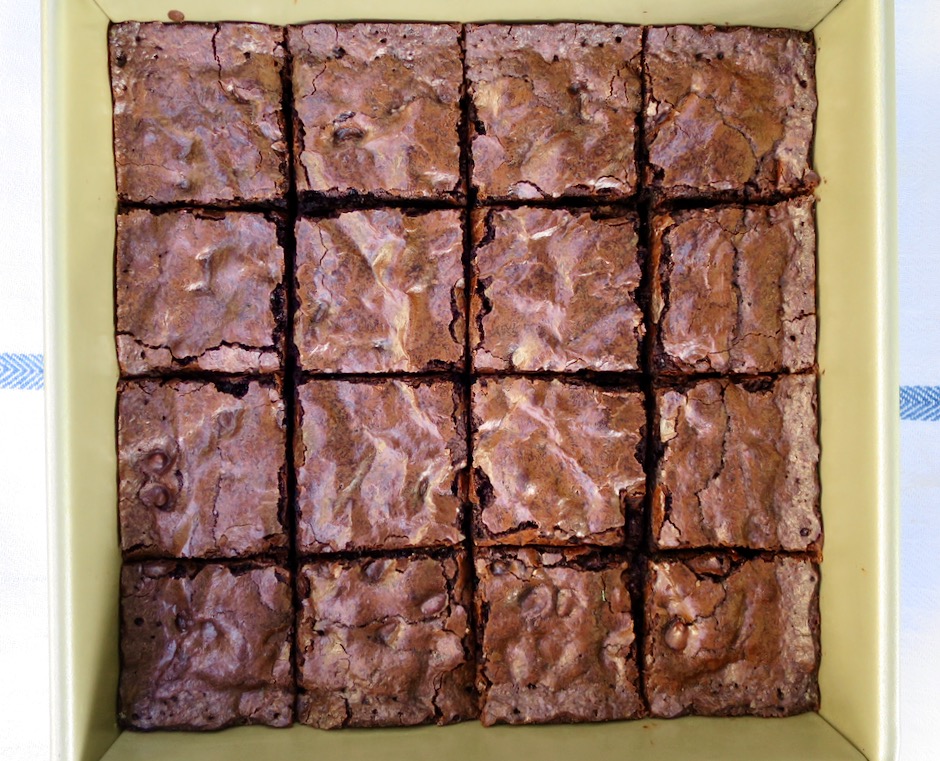
These fudge brownies are ultra moist with tons of chocolatey flavor thanks to both the Dutch-process cocoa and chocolate chips.  This combination makes for a divine brownie that will surely satisfy any chocolate craving.

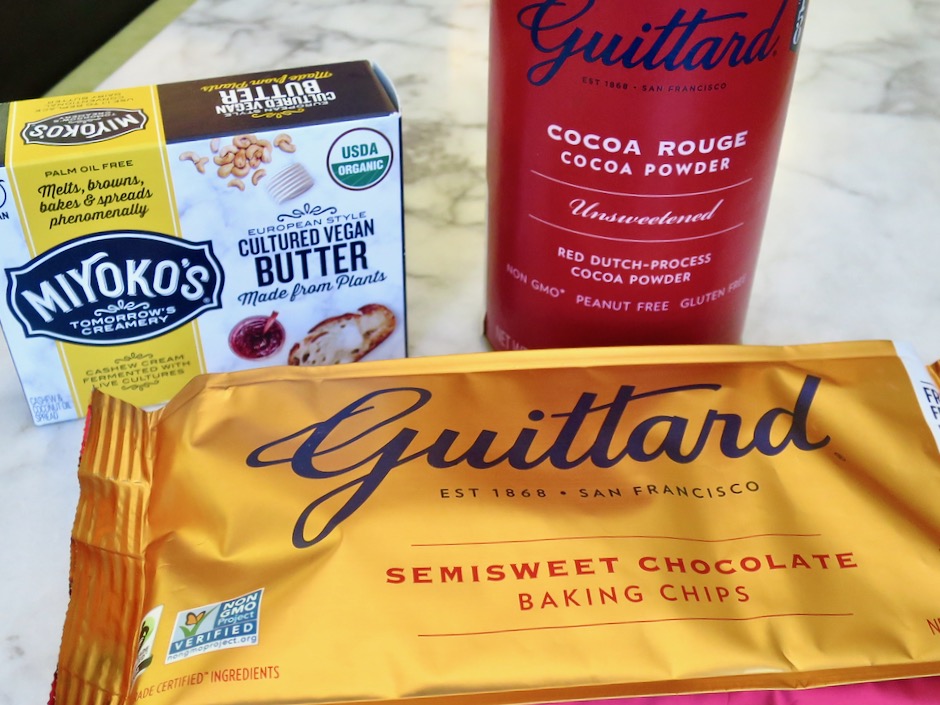
Miyoko's Vegan Butter, Guittard Dutch Process Cocoa, Guittard Semisweet Chocolate Chips

Dutch-process cocoa powder is treated with an alkali that neutralizes its acidity that makes it darker in color with a milder flavor than natural cocoa powder.  When baking, Dutch-process cocoa powder is usually combined with another neutralized ingredient such as baking powder.  When a recipe calls for Dutch-process cocoa powder, it is not always interchangeable with natural cocoa powder especially when baking.  Many brownie recipes that call for natural cocoa such as Hershey’s, do not use any leavening, or very little (baking soda).  So for this recipe, it is essential to stay with Dutch-process cocoa.  Safeway stores carry the excellent Guittard brand in their baking aisle.

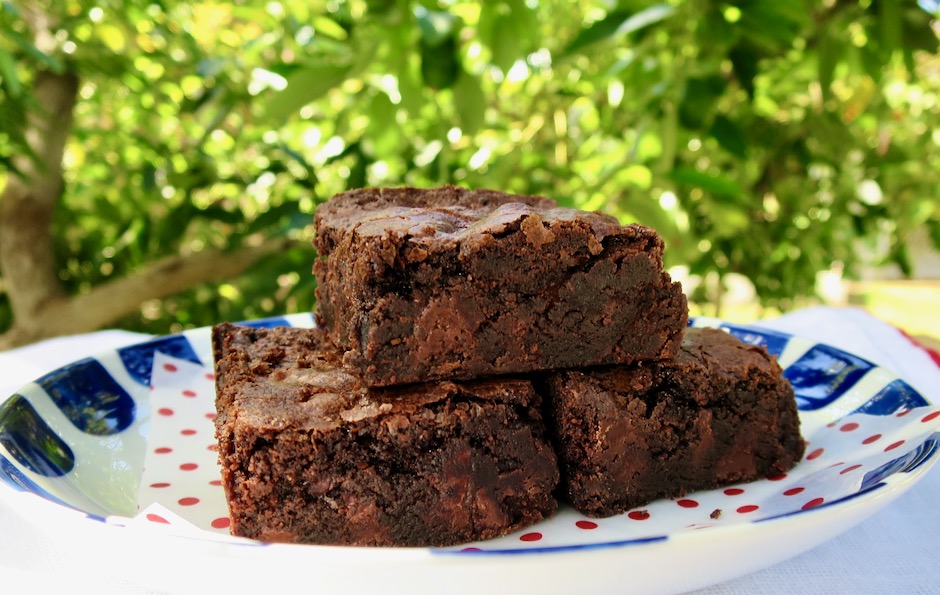
Fudge Brownies

Rich, decadent brownies with crackly tops.

Fudge Brownies

Fudge Brownies
 
Adapted from King Arthur Baking Company
Author:
Serves: 16
Ingredients
  • 2 large eggs
  • ½ cup + 2 tablespoons (53g) Dutch-process cocoa
  • ½ teaspoon kosher salt
  • ½ teaspoon baking powder
  • ½ teaspoon espresso powder (optional)
  • 1½ teaspoons vanilla extract
  • 8 tablespoons (113g) MIyoko's cultured vegan butter (or 1 stick regular unsalted butter)
  • 1⅛ cups (224g) granulated sugar
  • ¾ cup (89g) King Arthur unbleached all-purpose flour
  • 1 cup (170g) semisweet chocolate chips
Preparation
  1. Preheat oven to 350 degrees. Lightly grease an 8" x 8" pan.
  2. Beat eggs with a hand mixer on medium speed with cocoa, salt, baking powder, espresso powder (if using), and vanilla for about 1 minute until smooth.
  3. Melt butter over low heat in a medium saucepan, then add the sugar. Stir to combine. Continue to stir until mixture is hot, but not bubbling (about 110-120 degrees). Add the hot butter/sugar mixture to the egg/cocoa mixture, stirring until smooth. Add the flour and chips, stir until smooth.
  4. Spoon the batter into the prepared pan, smoothing the top to make an even layer. Bake the brownies for about 32 minutes (check after baking for 28 minutes as oven temperatures vary). A toothpick inserted into the center should come out clean or with just a few moist crumbs clinging to it. Remove pan from the oven and cool on a rack before cutting and serving, about 45-60 minutes.


Follow

Get every new post delivered to your Inbox

Join other followers: