Browsing Tag

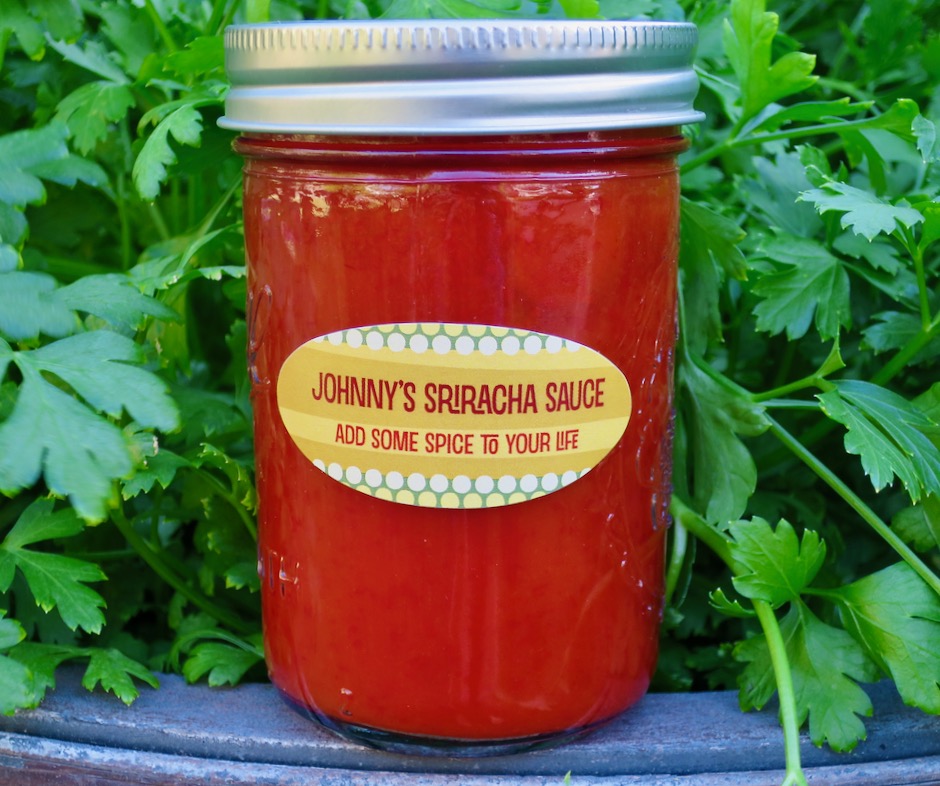
Homemade Sriracha

Dinner, Fish, Kimchi, Korean, Lactose Free, Recipes

Kimchi Tuna Salad

April 9, 2023

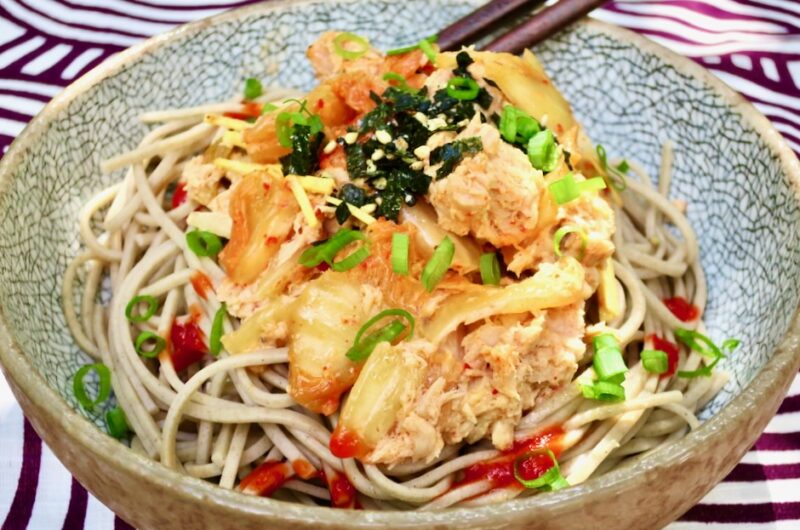
From the first time I made this kimchi tuna salad I knew it would become a regular on our lunch menu. Making kimchi has inspired me to use the spicy and crunchy Korean side dish in all types of recipes. Dishes such as fried rice, kimchi soup and cheesy kimchi ramen illustrate the versatility of this fiery fermented vegetable. In this dish it is paired up with tuna, fresh ginger, sesame oil, rice vinegar, and celery (for added crunch). You can have it as is, however, my favorite way to serve it is over soba or with rice.
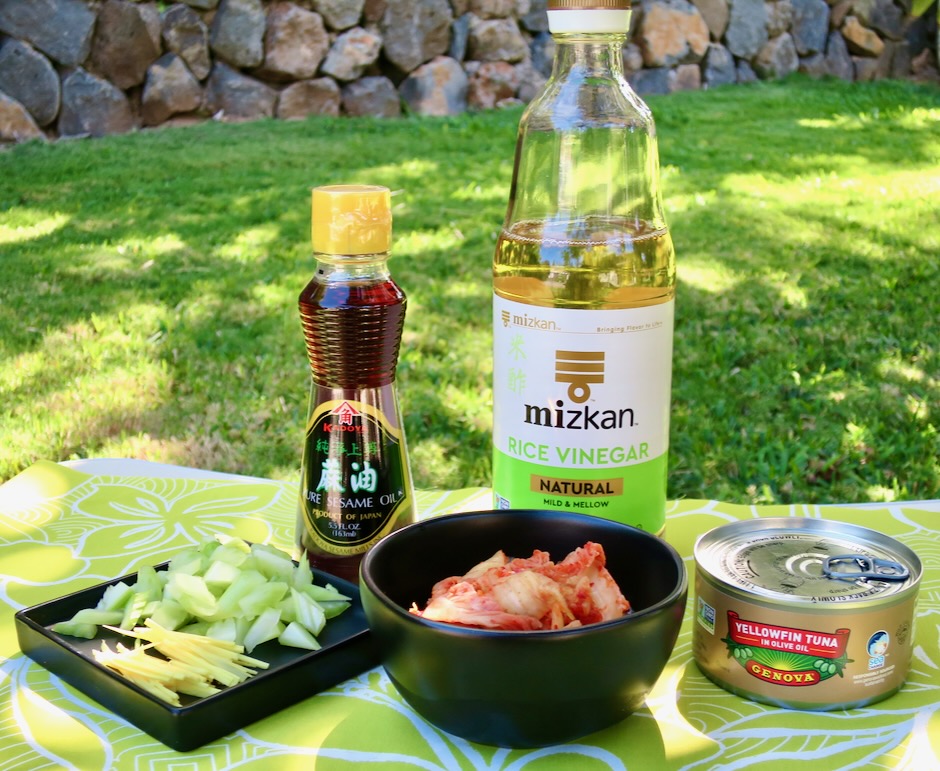
A short list of ingredients make up this recipe adapted from NYT Cooking. Tuna in olive oil makes this extra luxurious but a good brand of tuna in water will work fine.
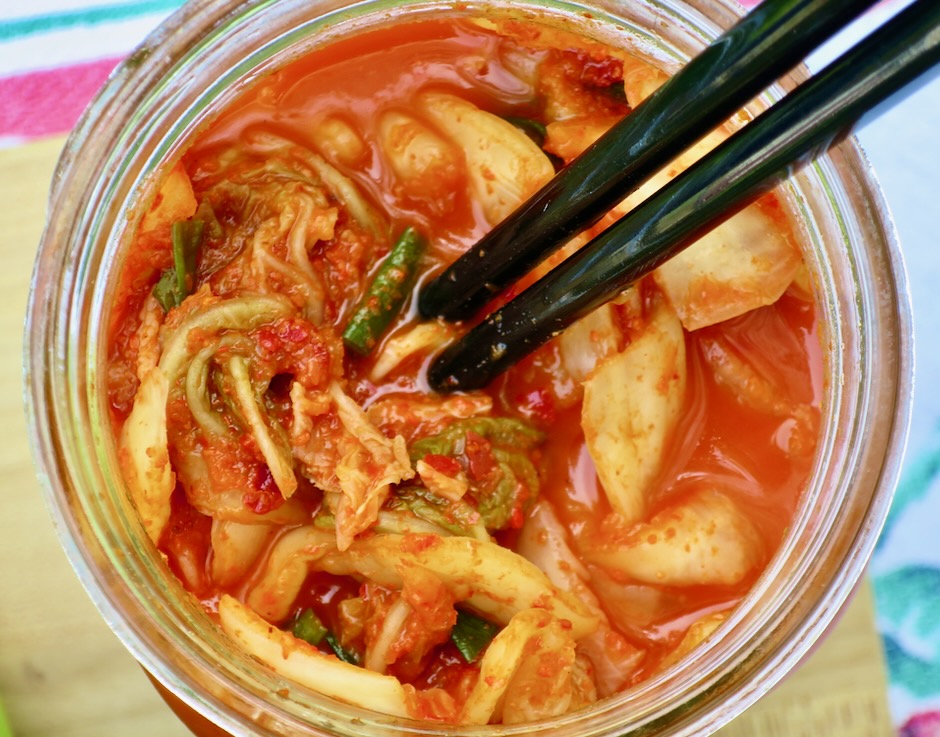
If homemade kimchi is not something you have in your refrigerator, use your favorite store-bought brand. There are so many to choose from these days, from mild to spicy (go spicy!).
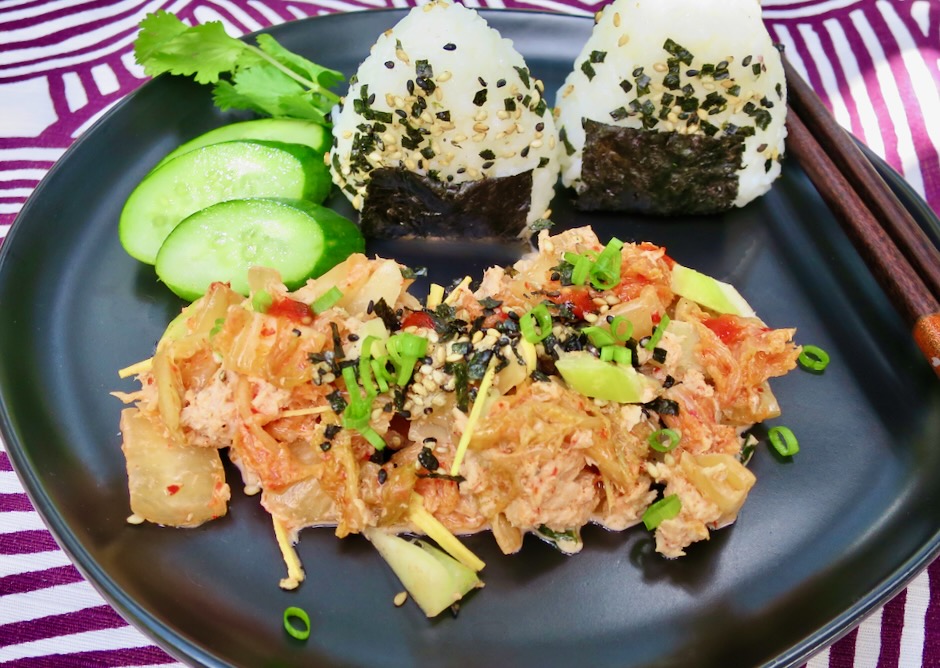
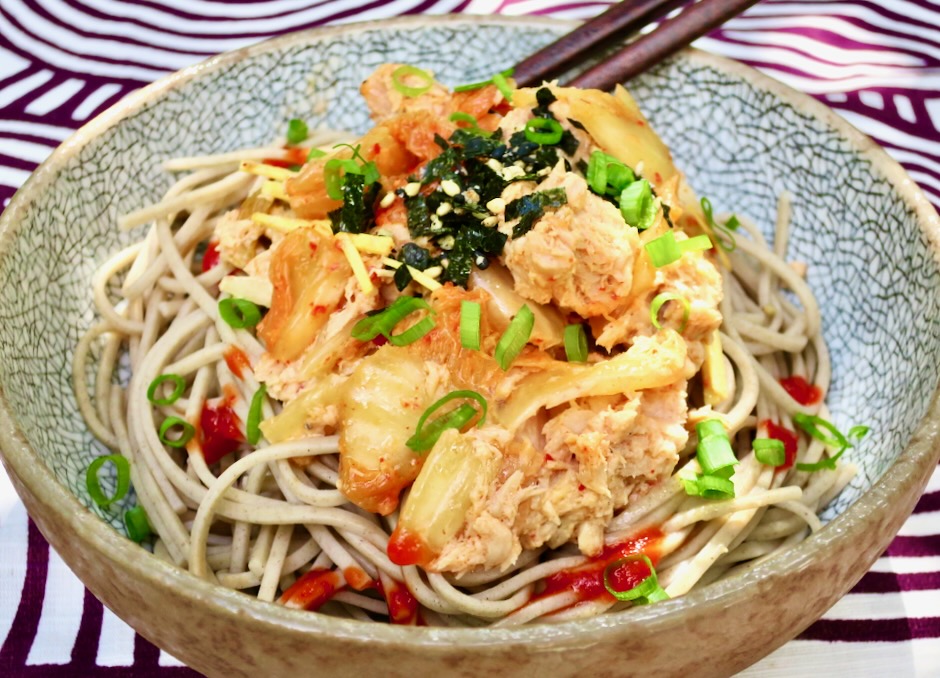
Serve the kimchi tuna salad over rice or make onigiri (rice balls) to accompany the salad. A drizzle of sriracha adds extra spice.
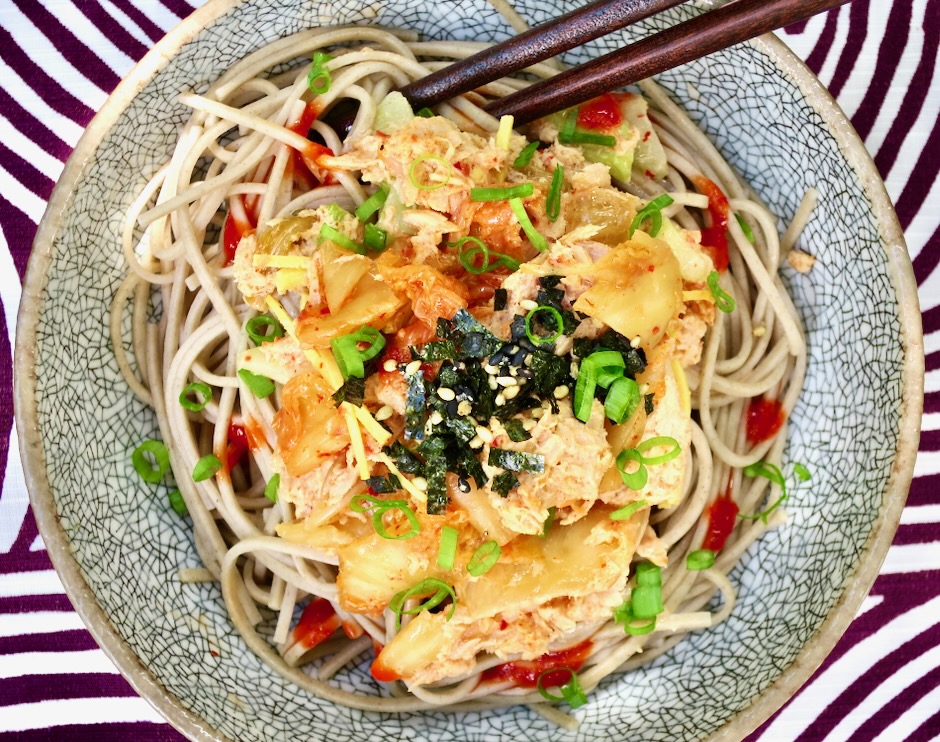
Kimchi Tuna Salad

Recipe by Kiyo
Servings

2

servings

Adapted from NYT Cooking

Ingredients

  • 8 ounces kimchi + 2 1/2 tablespoons kimchi juice

  • 1 tablespoon unseasoned rice vinegar

  • 1 1/2 teaspoons toasted sesame oil

  • 5 to 7 ounce canned tuna (preferably oil-packed), drained

  • 1 celery stalk, thinly sliced

  • 1 (1-inch) piece fresh ginger, peeled and sliced into 1/8-inch matchsticks

  • 2 1/2 tablespoons mayonnaise

  • 2 teaspoons roasted sesame seeds

  • 1-2 tablespoons thinly sliced green onions

  • Nori furikake (optional)

  • Sriracha sauce (optional)

  • Cooked soba noodles or rice

Directions

  • Cook soba noodles or rice according to package directions. If serving salad with onigiri (rice balls), make these once the rice is cool enough to handle and wrap in plastic wrap until ready to serve. Set aside.
  • Place kimchi in a small colander set over a bowl and drain the kimchi. Reserve the kimchi juice. Coarsely chop the kimchi (you should have about 1 cup)
  • In a medium bowl, whisk together 2 1/2 tablespoons of the reserved kimchi juice, rice vinegar, sesame oil and mayonnaise. If you prefer a thicker sauce, add another 1/2 tablespoon mayonnaise. Gently stir in the drained tuna and celery, breaking up the tuna into large chunks.
  • Add the chopped kimchi and ginger, and gently stir to combine. Because kimchi batches taste different, adjust seasonings as needed by adding a bit more vinegar if the salad needs more tang or a few extra drops of sesame oil if you prefer a toasty flavor.
  • Serve over soba noodles or rice or alongside onigiri. Sprinkle salad with green onions, roasted sesame seeds, furikake, and sriracha sauce.

Notes

  • Kimchi tuna salad is best eaten the day it is made, however, any leftovers can be stored in the refrigerator for a few days.
Canning, Lactose Free, Recipes

Fresno Pepper Sriracha

October 22, 2021

Fresno Pepper Sriracha

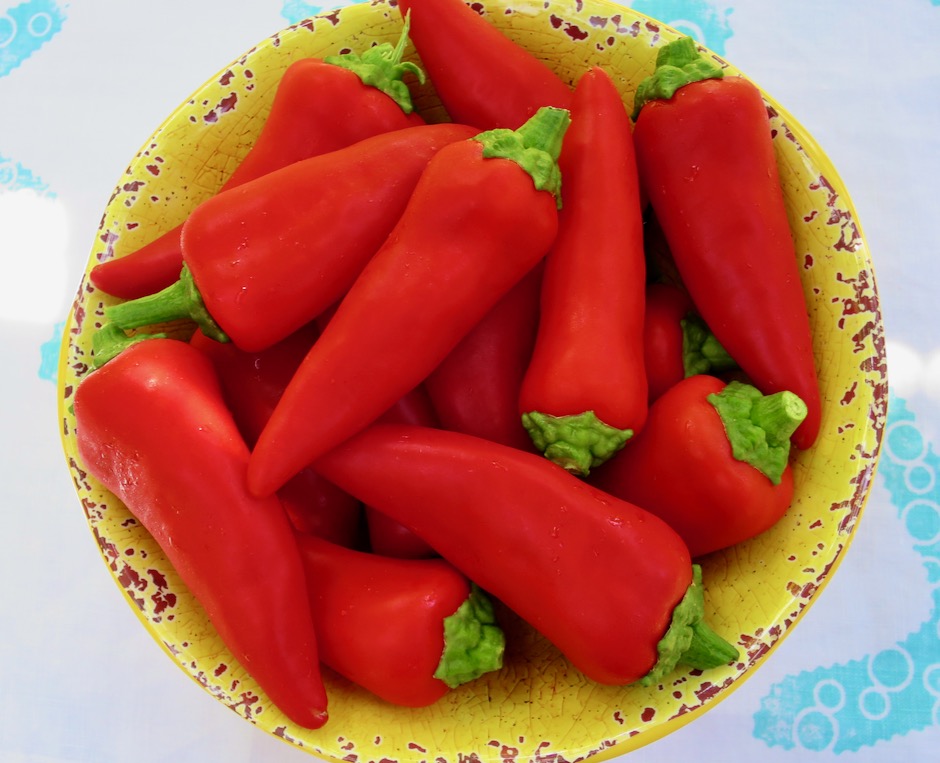
This recipe has two versions: a long one and a not so long one.  The long version is a labor of love involving growing your own Fresno peppers, specifically the Flaming Flare variety.  It is notably hotter and more productive than other Fresnos. As this option is not practical for everyone, we’ll skip to the short version in which you purchase fresh Fresnos from your market.  This sauce will bear a resemblance to the widely available Huy Fong’s rooster sauce (made with red, ripe jalapeños) but it has brighter and fresher flavors.

Flaming Flare Fresno Peppers

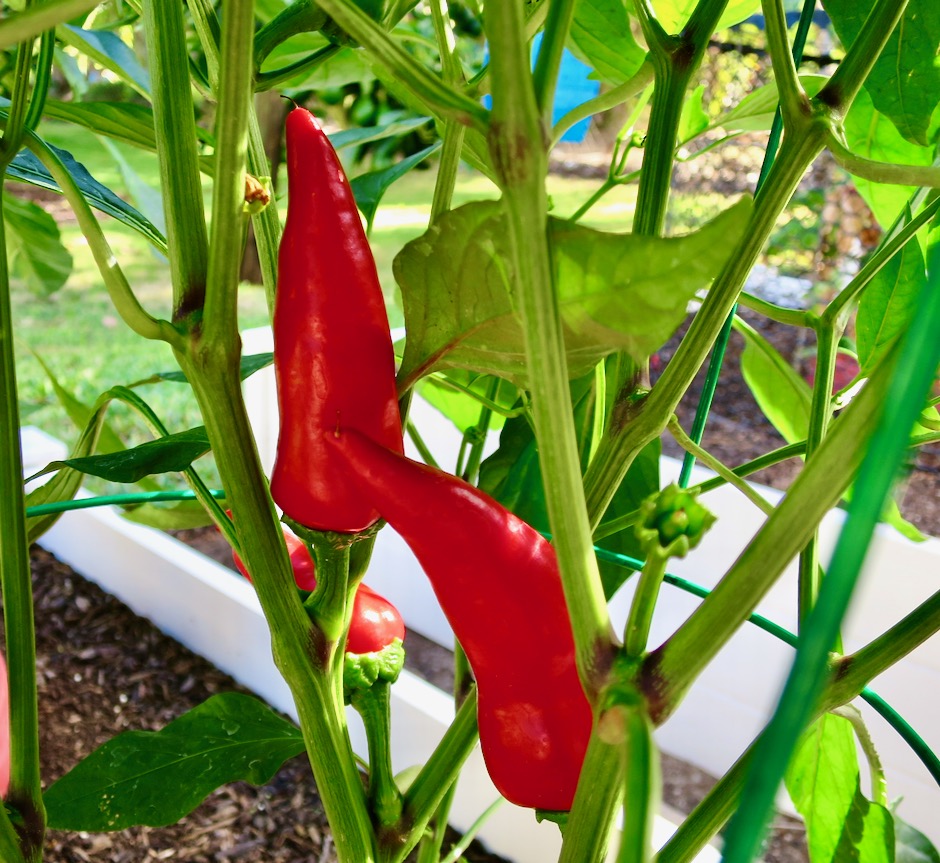
Flaming Flare Fresno Peppers in the Garden

We had a very successful crop of Fresnos.  They are beautiful peppers that grow upright.  And their name says it all, Flaming Flare.

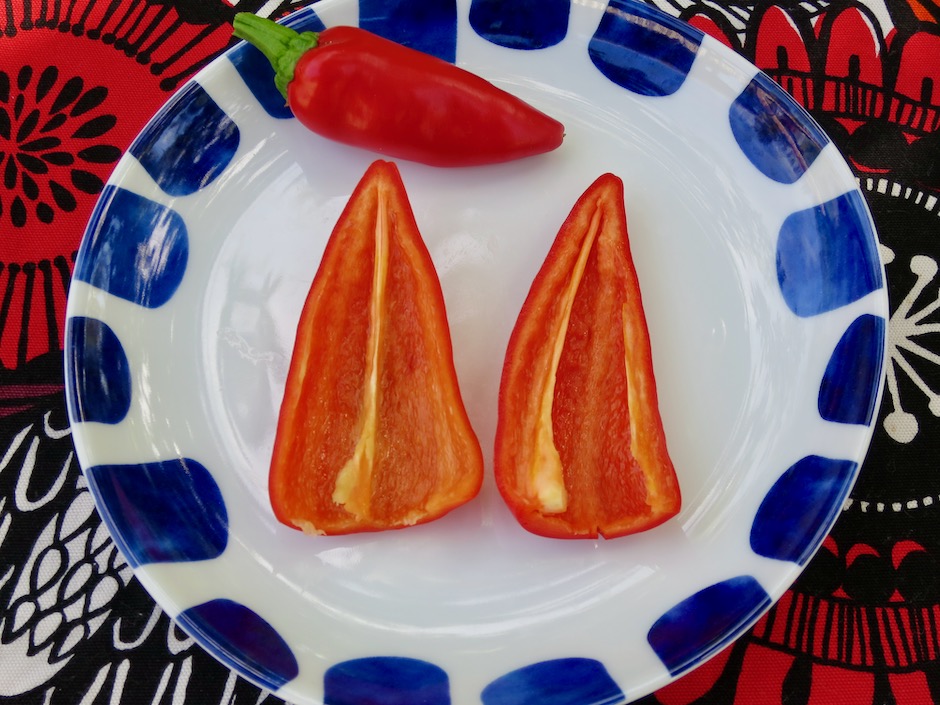
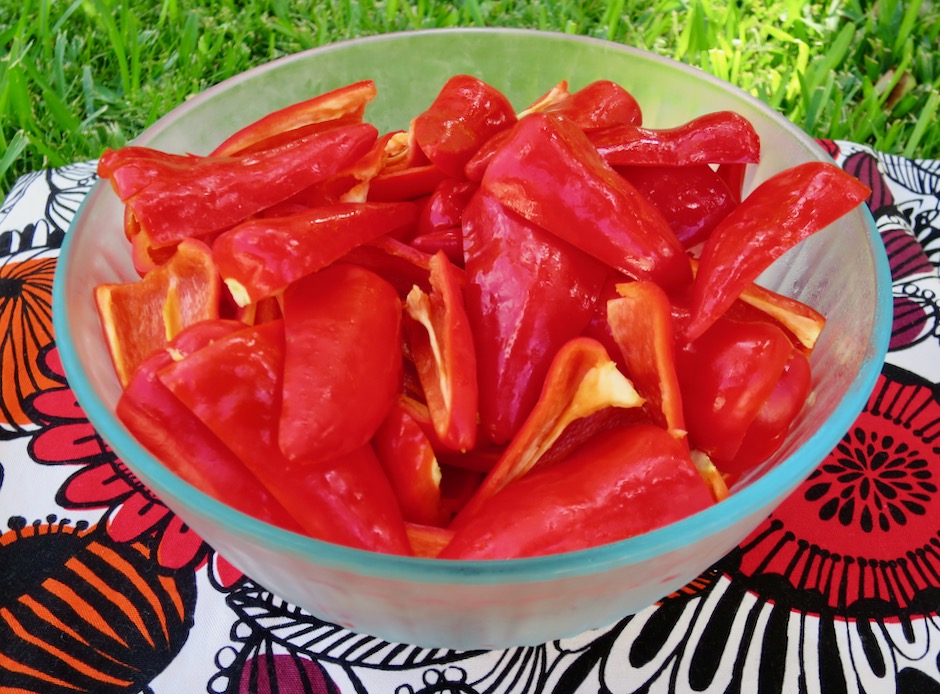
Flaming Flare Fresno Peppers Halved & Seeded

The peppers are halved and seeded before proceeding with the recipe.

Flaming Flare Fresno Peppers Halved & Seeded

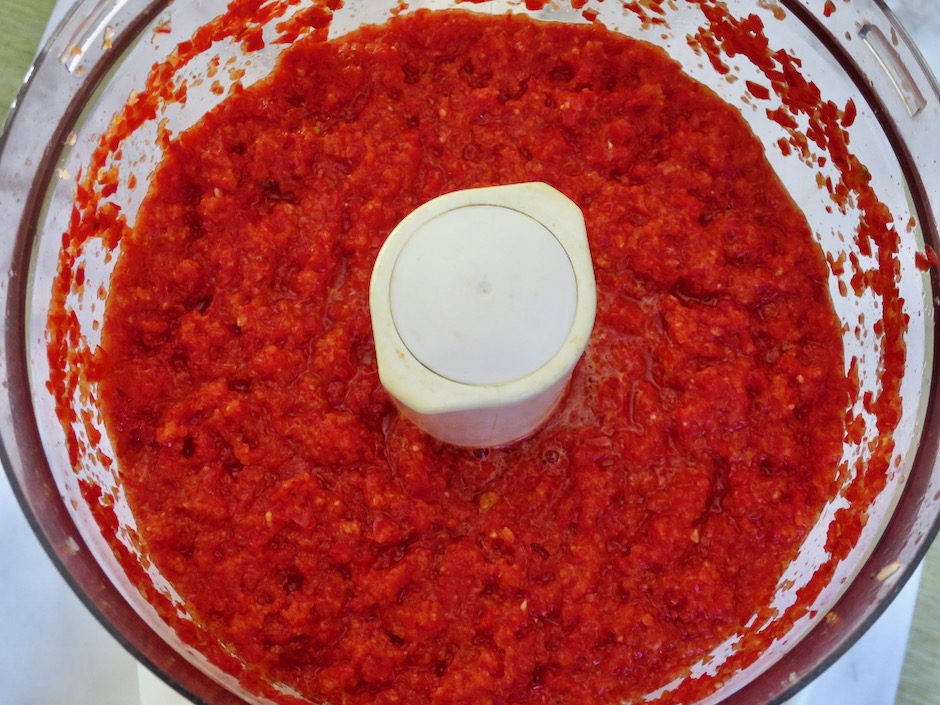
Fresno Peppers, Garlic, Brown Sugar, Kosher Salt

The seeded and stemmed peppers, garlic, sugar and salt are pulsed together in the food processor until finely chopped.  This mixture goes into a clean quart mason jar.  It will ferment for about seven or eight days.

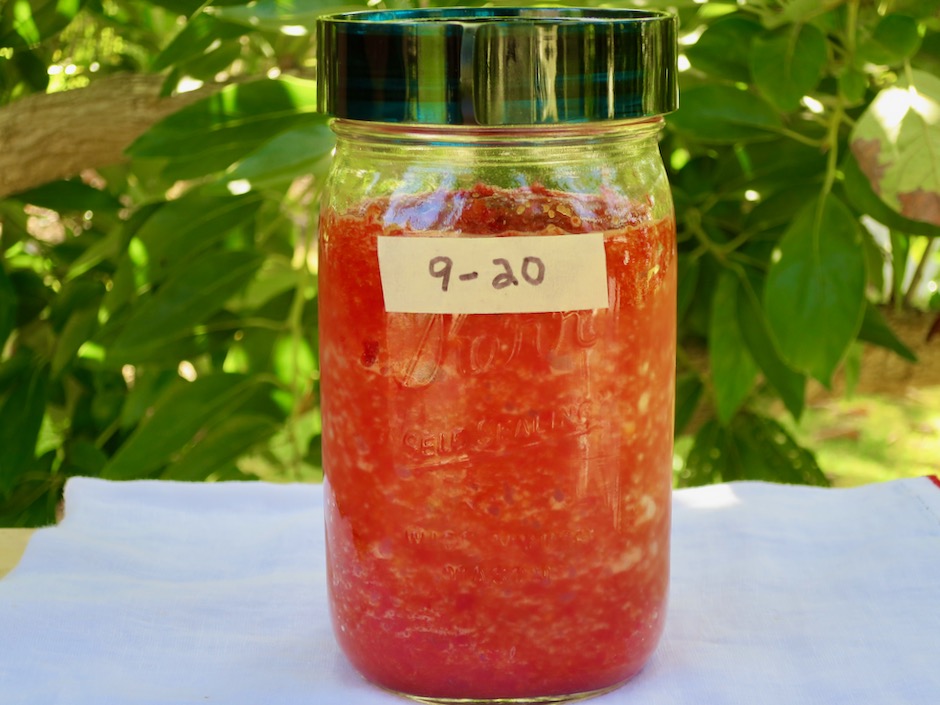
First Day of Fermentation

Place a small piece of tape at the upper most limit of the pepper mixture with the date so you can monitor the progress of fermentation.  Check the jar each day and stir the contents.  Little bubbles will start forming by day three or four and the level of the mixture will rise above the piece of tape.  After seven or eight days, the mixture will cease rising in volume and the fermentation is complete.

Fifth Day of Fermentation

Fresno Pepper Sriracha

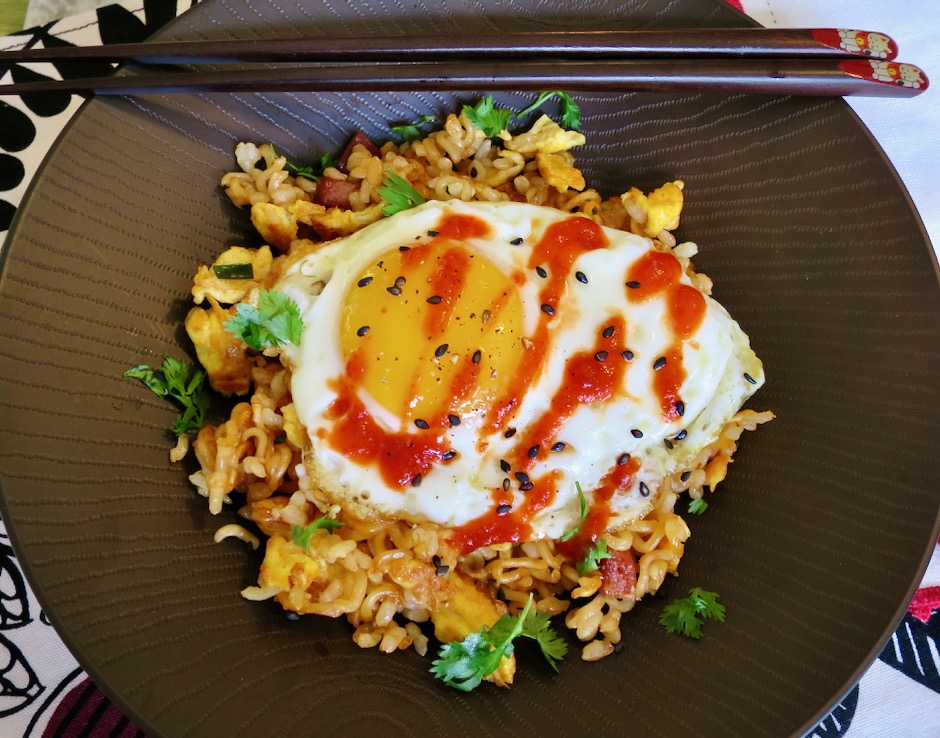
Fresno Pepper Sriracha on Sunny-Side-Up Egg with Kimchi Fried Rice


Fresno Pepper Sriracha
 
Author:
Serves: four 8-ounce jars
Ingredients
  • 1¾ pounds fresh Fresno peppers
  • 6 garlic cloves, peeled
  • 4 tablespoons light brown sugar
  • 1 tablespoon kosher salt
  • 1¼ cups distilled white vinegar
Preparation
  1. Snip off green stems from peppers. Slice peppers in half lengthwise and remove all the seeds, taking care to leave ribs and pith intact (that's where the heat lies). Use disposable gloves when handling hot peppers.
  2. When all the peppers have been seeded, place them in the bowl of a food processor along with the garlic, brown sugar, and salt. Pulse until pepper mixture is finely chopped, scraping down the sides as necessary. Transfer mixture to a clean quart mason jar and cover (we like the Easy Fermenter Lid). Place a small piece of tape on the jar at the upper most point of the pepper mixture so you can monitor the progress of fermentation. Check jar each day and stir contents. Little bubbles should start forming by day 3 or 4. You will notice the level of the mixture rising above the piece of tape. After 7 or 8 days the mixture will cease rising in volume.
  3. Transfer pepper mixture to a blender. Add the vinegar and blend on highest setting until completely smooth, about 2-3 minutes. If you are planning to can the sauce, prepare your boiling water bath canner and place 4 8-ounce mason jars inside the canner. Bring water to a simmer, wash lids and rings and set aside.
  4. Transfer mixture to a medium saucepan and bring to a boil over medium high heat, stirring often. Reduce heat and simmer for 5 minutes Turn off heat. Remove jars from canner pot and ladle hot sauce into jars leaving ¼-inch headspace. Secure lids and rings, finger tight. Place jars in canner, cover pot and bring water to a boil. Process for 15 minutes. Turn off heat and leave jars in water an additional 5 minutes. Carefully remove jars from canner and transfer to a kitchen towel or cooling rack. Let cool for 24 hours. Remove rings and check lid seal. Sauce is shelf stable and can be stored for 18 months. Refrigerate after opening.
  5. Note: Alternatively, you may skip the canning process and transfer the pepper mixture back to a quart mason jar and store in the refrigerator for up to 6 months. You may also use red ripe jalapeños if Fresnos are not available.


Follow

Get every new post delivered to your Inbox

Join other followers: