Browsing Category

Summertime Meal

Bread, Breakfast, Lactose Free, Recipes, Summertime Meal

Fresh Corn Muffins

August 22, 2023

Corn is in peak season now and the markets are stocked with beautiful fresh ears of corn. I don’t always have a plan for what I’m going to do with the corn I buy but I make sure to use it within a day to ensure it is fresh and sweet. Here is a great recipe to make when you have fresh corn on hand and aren’t quite sure how you want to use it. I adapted this recipe from Cook’s Country magazine to make a lactose-free version. Feel free to use standard dairy ingredients when you make these.
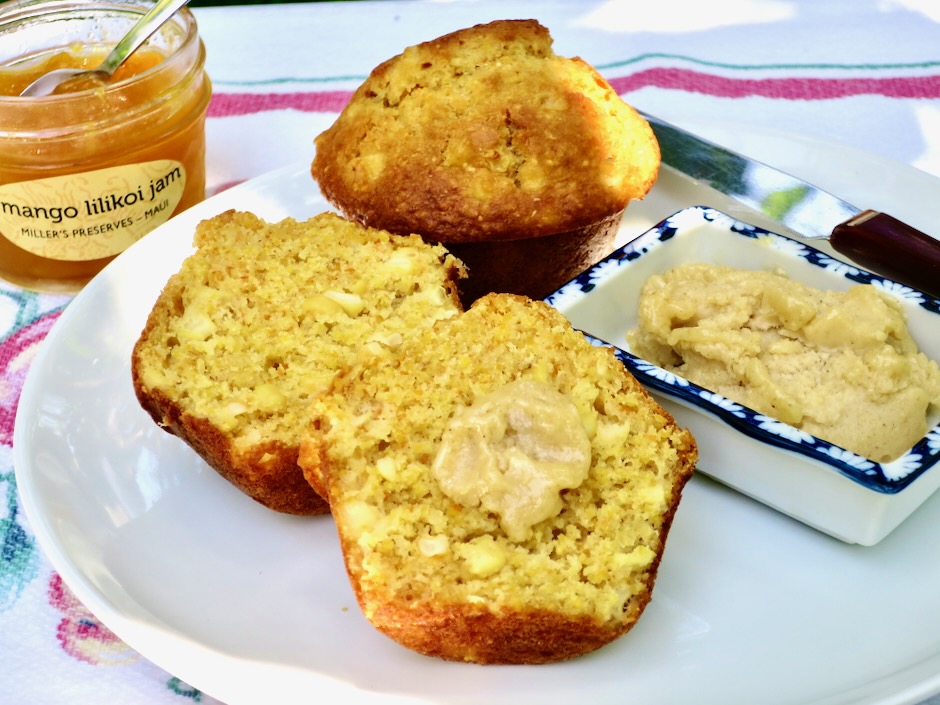
You can whip up a cardamom-brown sugar butter that pairs well with the fresh corn flavor of these muffins. The sweet and salty butter with a hint of cardamom takes these muffins over the top.
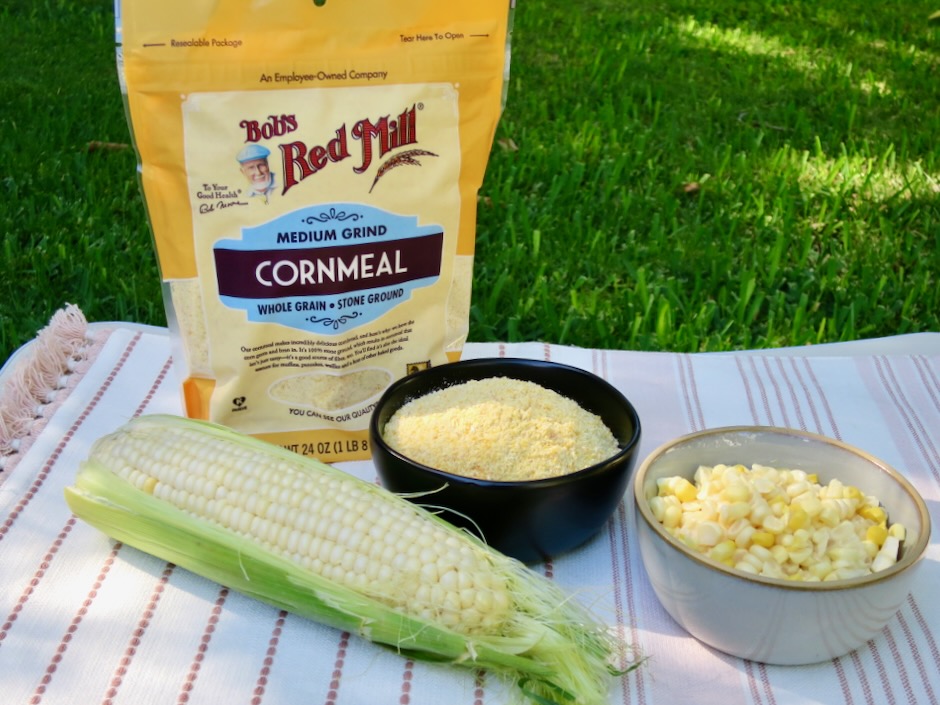
Bob’s Red Mill is known for quality products and their cornmeal is no exception. The medium grain cornmeal is just the right texture for these muffins.
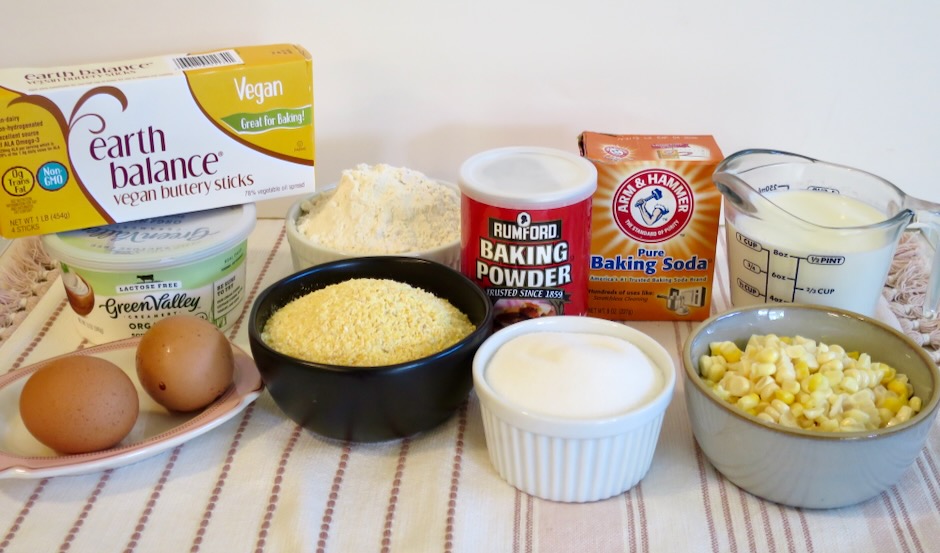
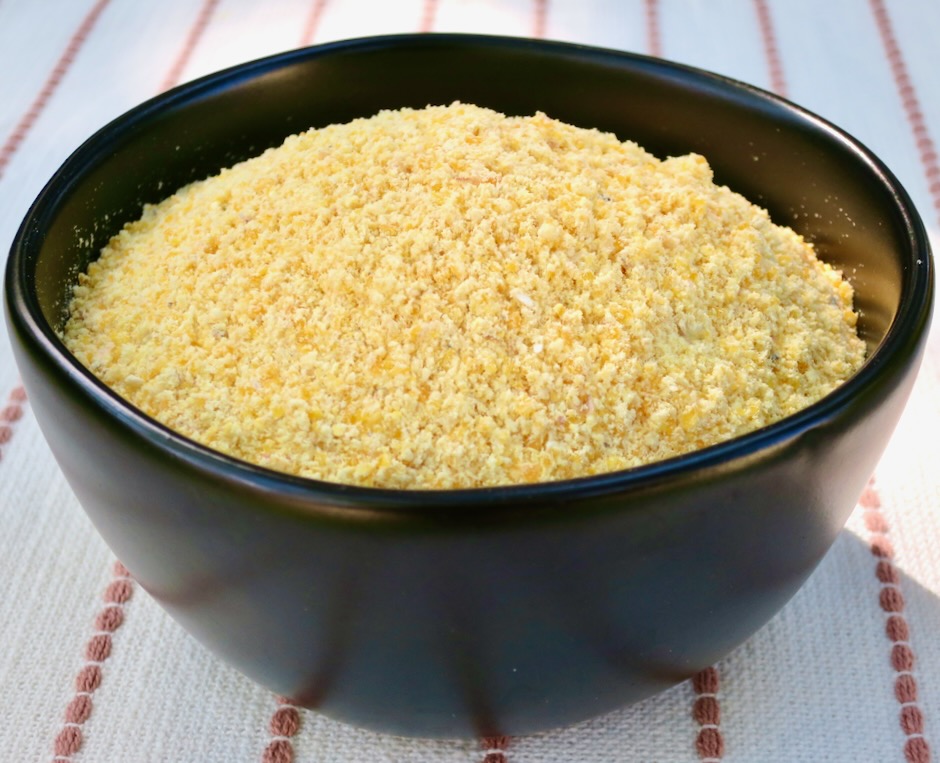
Beautiful cornmeal such as Bob’s Red Mill can be found at Safeway on Maui.
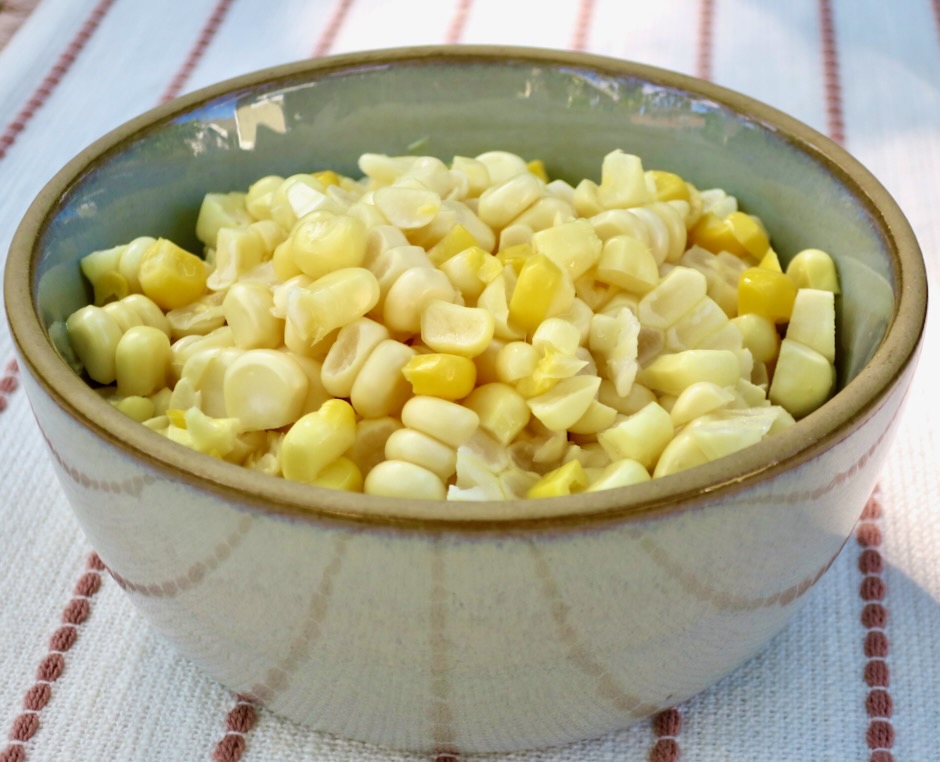
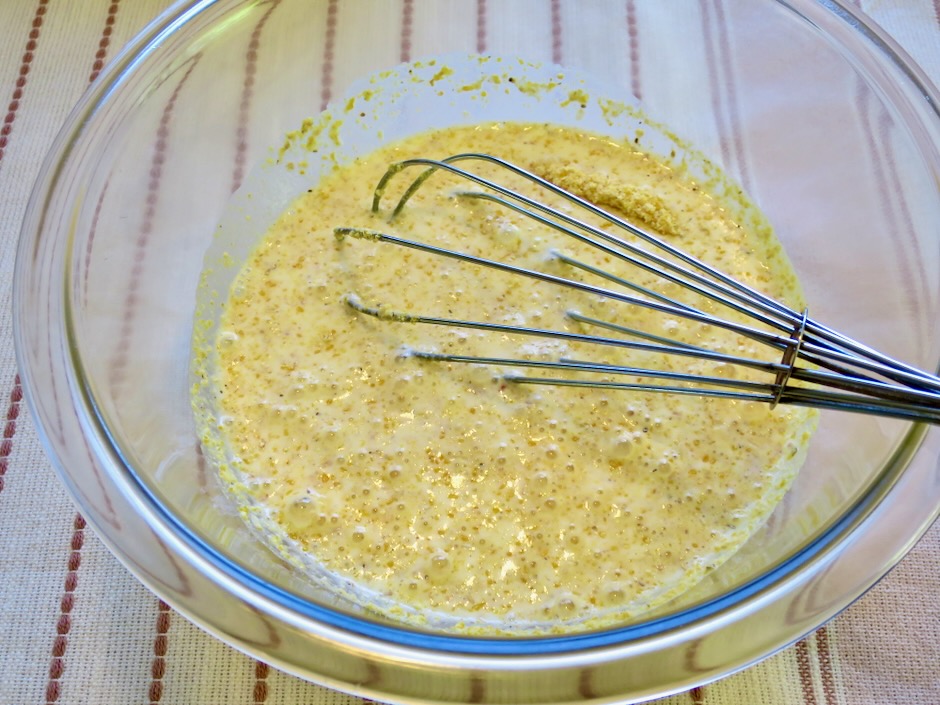
Hydrating a portion of the cornmeal with milk in the microwave before adding it to the rest of the ingredients produces a muffin with a tender crumb and a boost of fresh corn flavor.
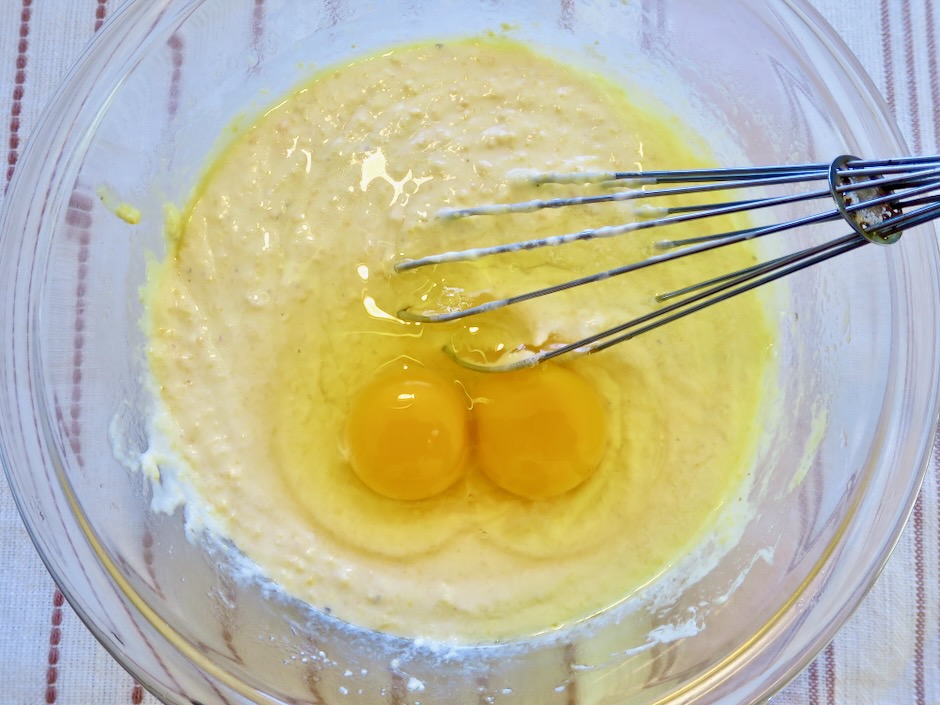
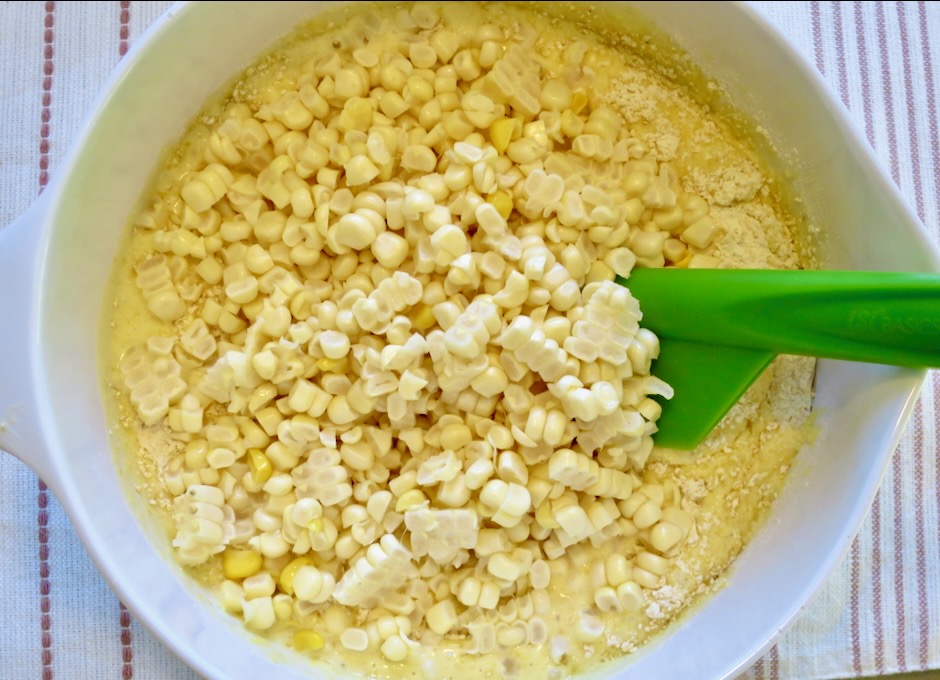
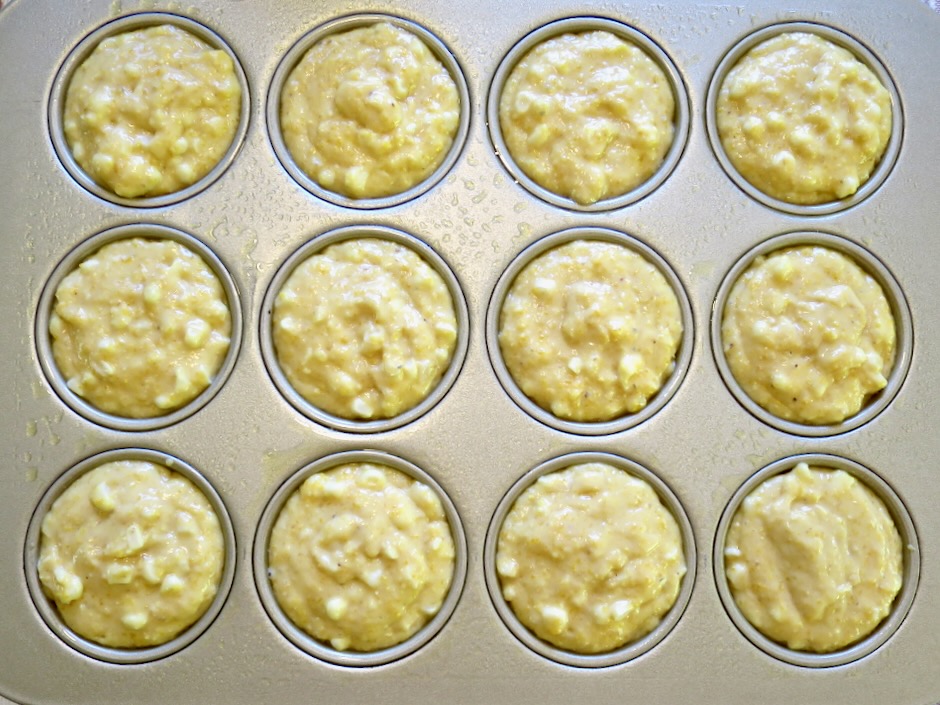
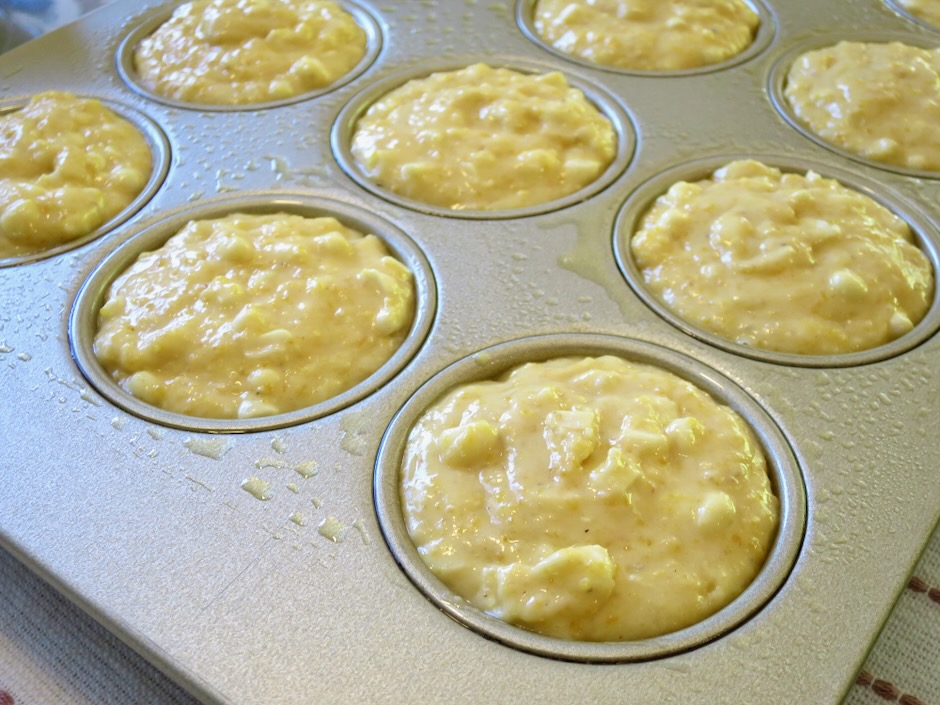
You might think there is too much batter for 12 muffin cups. I read a few comments from others who made 16-24 muffins. If you have a muffin pan that has a smaller than usual cup capacity, you may need to bake more than 12 muffins. However, for this recipe I found the batter to be perfect for my 12-cup muffin pan. The batter should fill the entire cup and even be a bit higher than level.
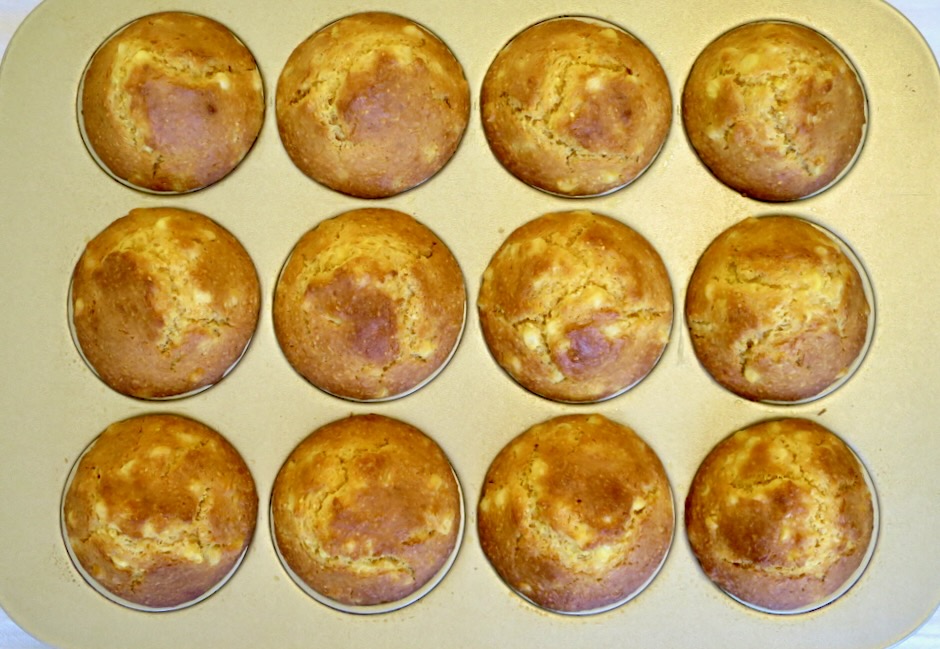
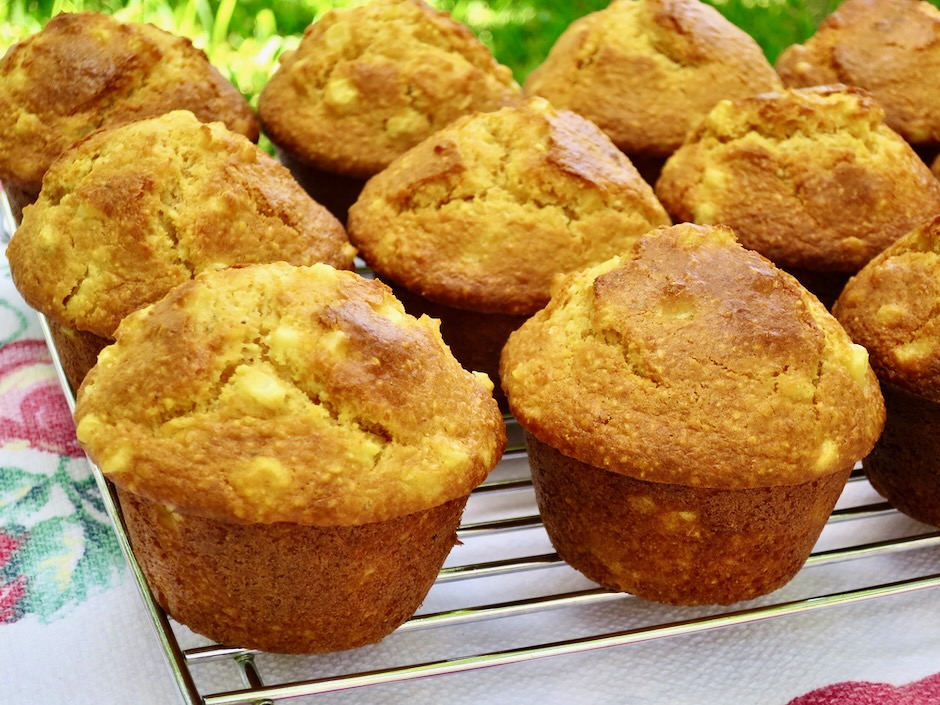
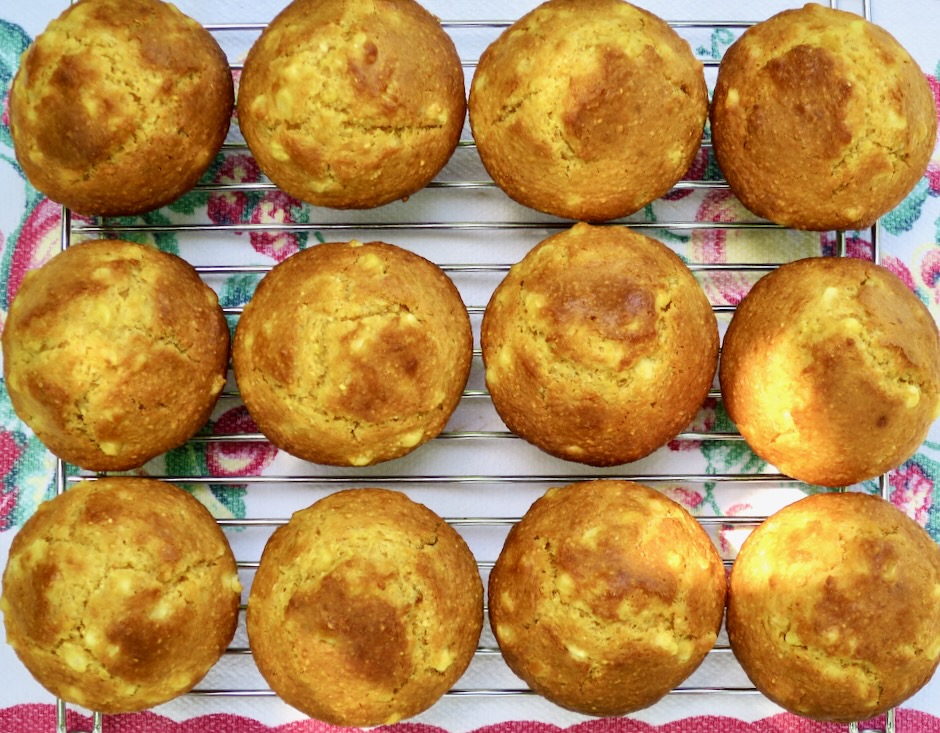
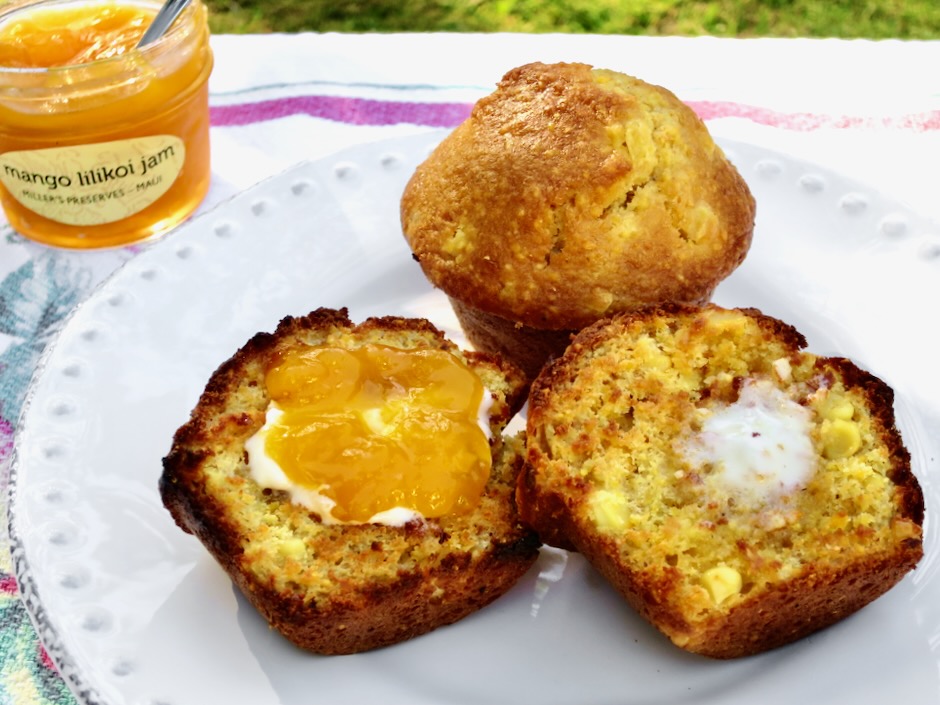
Beautifully high domed muffins show off the fresh corn beneath. One of my favorite ways to eat these corn muffins is to split them, toast them until the edges are browned and crispy, then serve with a pat of butter and homemade jam.
Fresh Corn Muffins

Recipe by Kiyo
Servings

12

servings

If you don’t have a scale use the spoon and level method for measuring dry ingredients. Recipe adapted from Cook’s Country magazine.

Ingredients

  • 1 1/2 cups (190g, 6.8 oz.) all-purpose flour

  • 1 1/2 cups medium grain cornmeal, divided (1 cup=140g, 5 oz.,
    1/2 cup=70g, 2.5 oz.)

  • 3/4 cup (150g, 5.3 oz.) granulated sugar

  • 1 teaspoon fine sea salt (if using unsalted butter increase to 1 1/4 teaspoons)

  • 1 1/2 teaspoons baking powder

  • 1 teaspoon baking soda

  • 1 cup (227g, 8 oz.) lactose free whole milk or regular whole milk

  • 1/2 cup (113g, 4 oz.) lactose free or regular sour cream

  • 1/2 cup (1 stick, 113g, 4 oz.) Earth Balance Buttery Sticks or unsalted butter (see adjustment for salt if using unsalted butter)

  • 2 large eggs

  • 2 cups (304g, 10.7 oz.) fresh corn kernels, about 2 large ears of corn

  • Cardamom Butter
  • Mash together until well combined: 1 stick Earth Balance Buttery Sticks or unsalted butter (softened), 1/8 cup + 1 tablespoon packed light brown sugar, 1/2 teaspoon ground cardamom (add 1/4 teaspoon fine sea salt if using unsalted butter).

Directions

  • Adjust oven rack to middle position and heat oven to 400 degrees. Generously spray 12-cup muffin tin, including top, with vegetable oil spray.
  • Whisk flour, 1 cup cornmeal, sugar, salt, baking powder, and baking soda together in a large bowl; set aside.
  • Whisk milk and remaining 1/2 cup cornmeal together in a medium bowl. Microwave until mixture begins to thicken to a paste-like consistency, about 1 1/2 minutes, whisking every 30 seconds to combine. Whisk sour cream and melted butter into cornmeal paste. Whisk in eggs. Stir cornmeal mixture and corn kernels into flour mixture until just combined.
  • Divide batter equally among prepared muffin cups; evenly distribute any remaining batter among cups (cups will be full or slightly over the top level).
  • Bake until muffins are golden brown and a toothpick inserted in the center comes out with just a few crumbs attached, 20 – 24 minutes. Let muffins cool in pan on wire rack for 5 minutes. Gently remove muffins and let cool on wire rack for 15 minutes. Serve warm with cardamom butter or split muffins and toast in toaster oven until edges are browned and crispy.

Notes

  • Muffins can be frozen for 1 month.
Dinner, Italian, Pasta, Recipes, Summertime Meal, Vegetarian, Veggies

Pasta Primavera with Asparagus & Peas

August 1, 2023

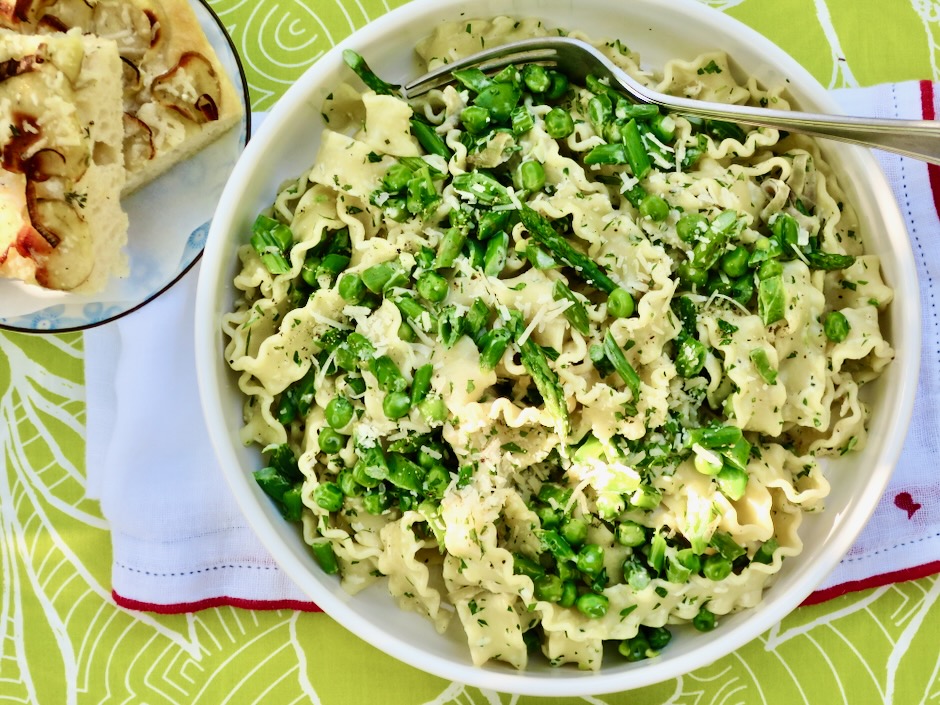
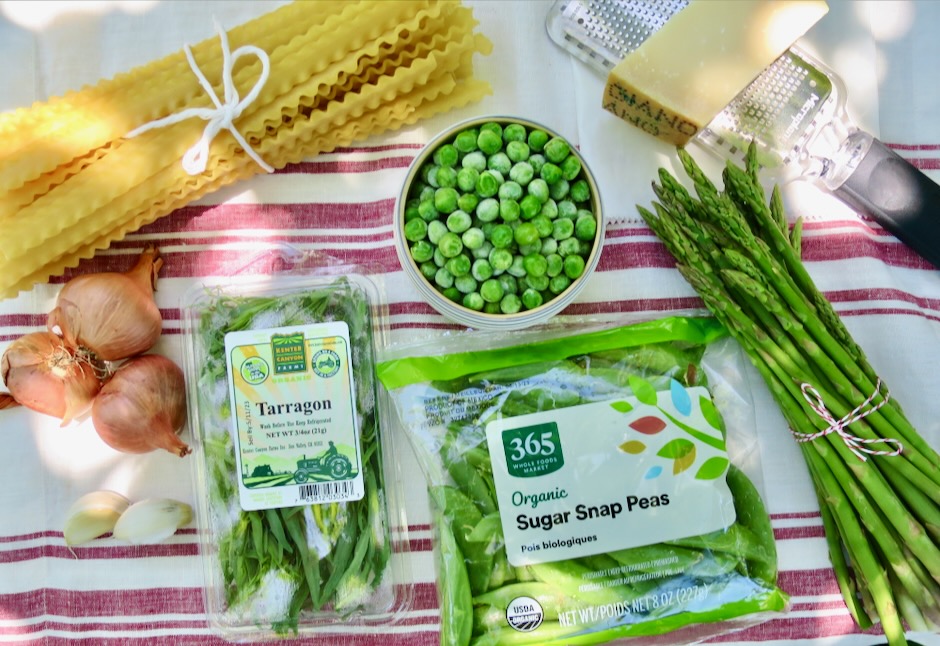
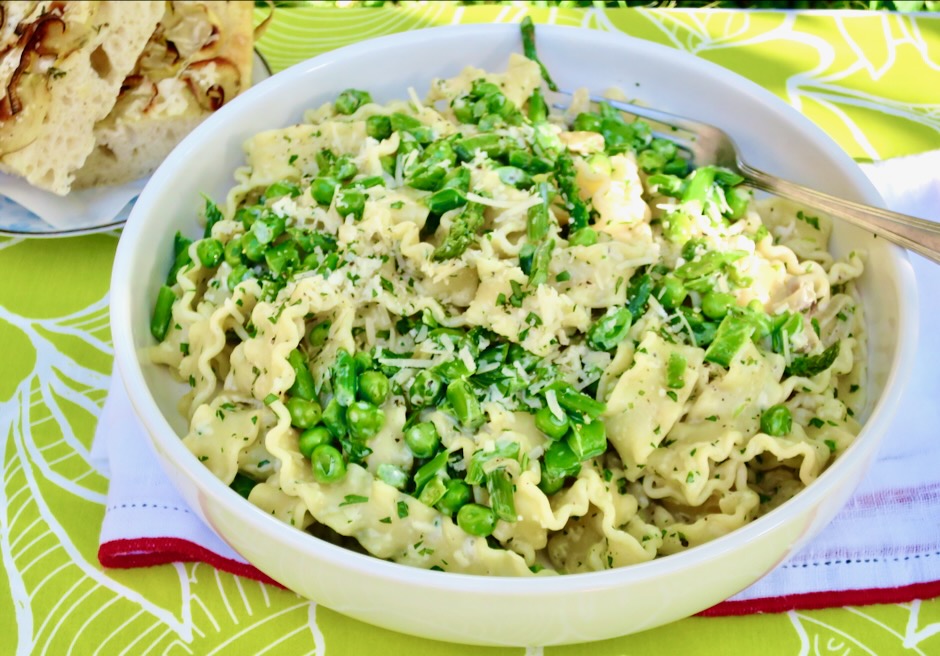
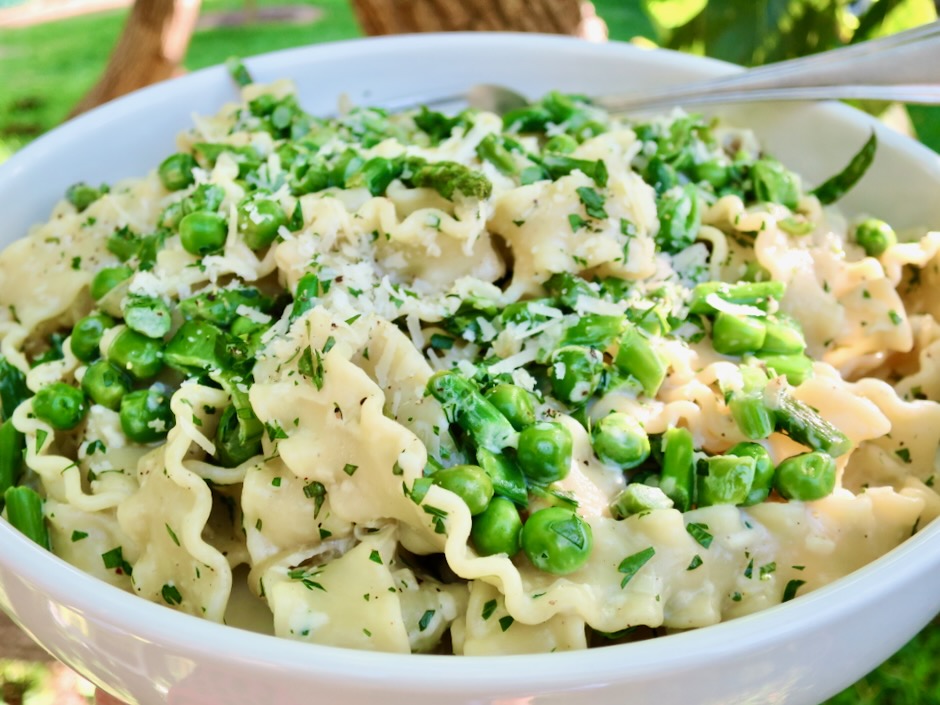
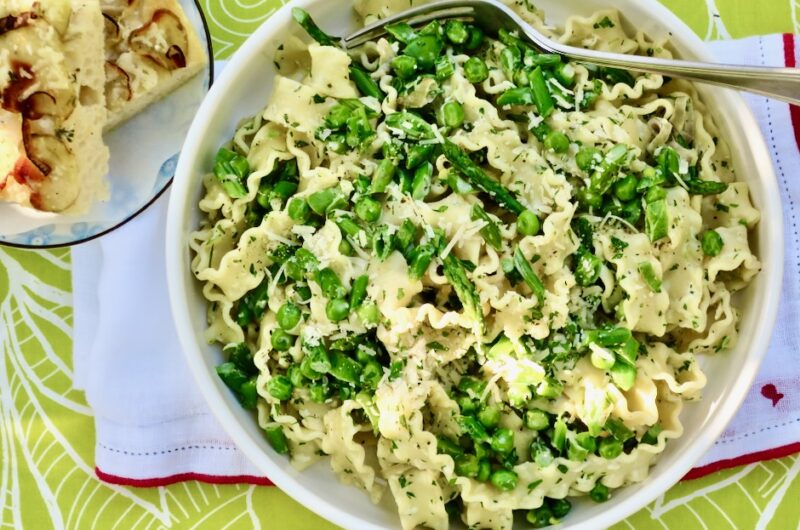
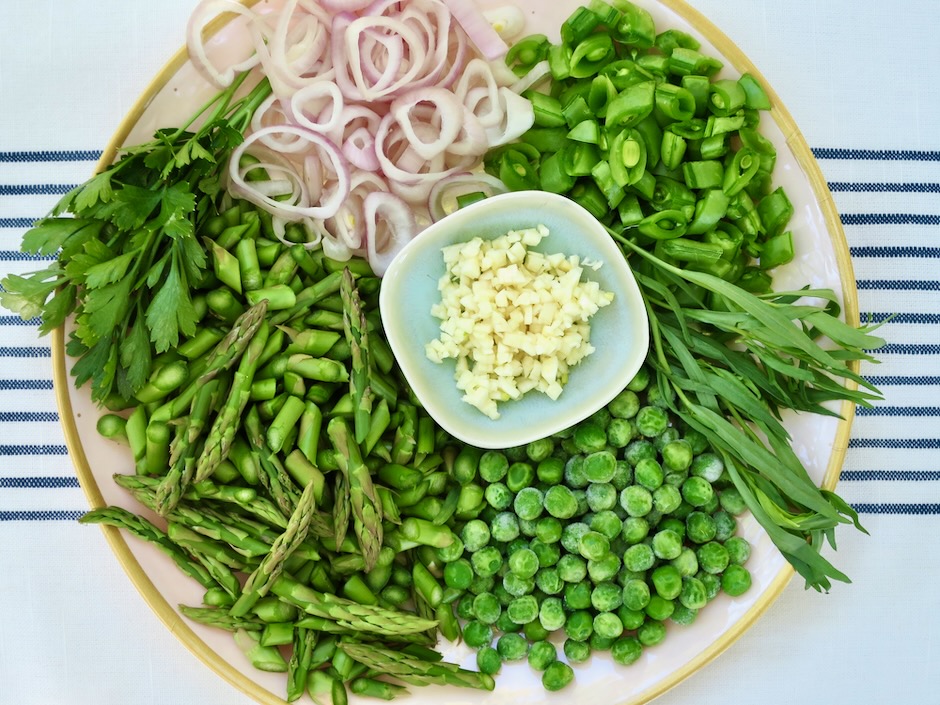
With its beautiful bright green colors and aromatic tarragon, this pasta primavera earned 5* ratings on NYT Cooking site. After making this dish I can see why everyone loves it. It’s loaded with fresh asparagus, snap peas and green peas. Fresh tarragon is what makes this dish special.

The pasta I used (Mafaldine) is wide and flat with ruffled edges. It has a striking appearance when cooked and works well with many pasta dishes. The original recipes calls for fettuccine or tagliatelle which are much easier to find. If you want to try malfadine, you can find it at Amazon. Fresh tarragon can be found at Whole Foods.

Pasta Primavera (Spring in Italian) is a dish that combines lightly cooked vegetables with fresh herbs. Now that spring has passed and summer is here, it’s still a perfect time to find fresh asparagus at the markets. Sugar snap peas seem to be available year round as well as peas (frozen). I bought a well known brand of frozen peas that were chalky and had no flavor. I searched online for reviews of peas and found multiple top ratings for Woodstock Organic Peas. They are sweet and have a nice texture. So these are the only peas I buy now. You can find Woodstock Organic Peas at Hawaiian Moons on Maui.

Serve your pasta primavera with focaccia or good sourdough bread and you have the perfect summer meal.

Pasta Primavera with Asparagus & Peas

Recipe by Kiyo
Servings

4

servings

Adapted from NYT Cooking

Ingredients

  • 1/4 pound sugar snap peas, stems trimmed

  • 1/2 pound asparagus, woody ends trimmed

  • 2 tablespoons Earth Balance Buttery Sticks or unsalted butter

  • 3/4 cup frozen peas, defrosted

  • 1/4 cup thinly sliced shallot

  • 2 garlic cloves, finely chopped

  • kosher salt

  • freshly ground black pepper

  • 10 ounces mafaldine, fettuccine, or tagliatelle

  • 2/3 cup finely grated Parmigiano Reggiano + more for serving

  • 1/2 cup warm half and half (I used Organic Valley Lactose Free)

  • 3 tablespoons finely chopped flat leaf parsley

  • 1 tablespoon finely chopped tarragon

Directions

  • Bring a large pot of salted water to a boil.
  • While the water is coming to a boil, slice snap peas and asparagus spears into 1/3-inch wide pieces; leave asparagus tips whole.
  • Melt Buttery Sticks or unsalted butter over medium-high heat. Add snap peas, asparagus, and shallots. Cook until vegetables are barely tender (not soft or mushy), about 3 minutes. Stir in peas and garlic and cook 1 minute more. Season with salt and pepper. Transfer to a large bowl and set aside.
  • Cook pasta until al dente. Drain pasta and transfer to the bowl with vegetables. Immediately toss pasta with vegetables, Parmigiano Reggiano, half and half, and herbs. Season generously with salt and pepper to taste. Grate extra cheese over the top before serving.
Dinner, Lactose Free, Potato Salad, Recipes, Side Dishes, Summertime Meal, Vegetarian

Tri-color Fingerling Potato Salad with Red Onions

July 7, 2023

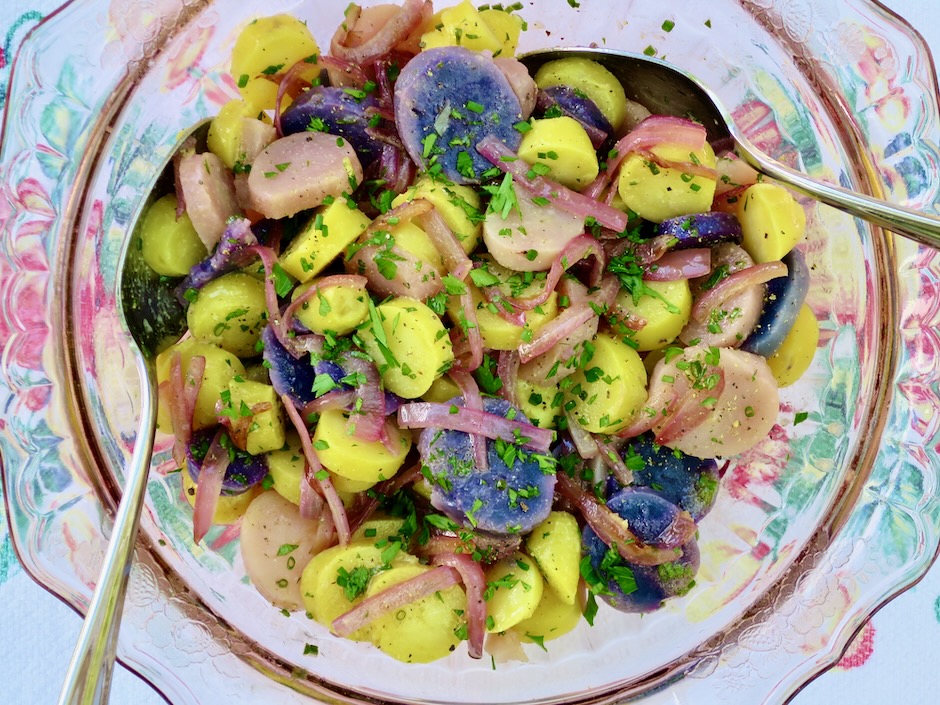
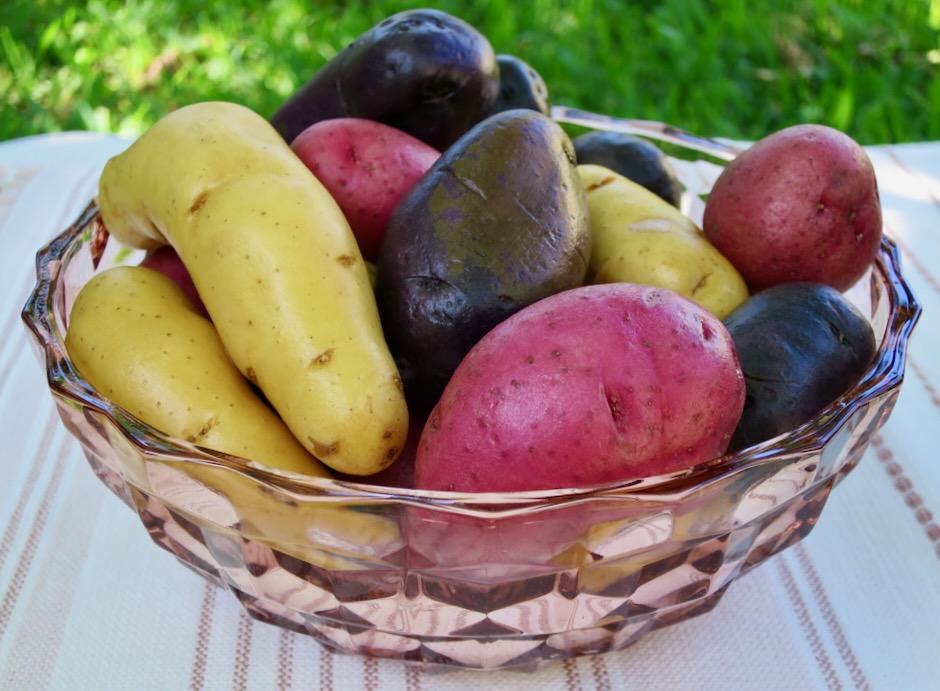
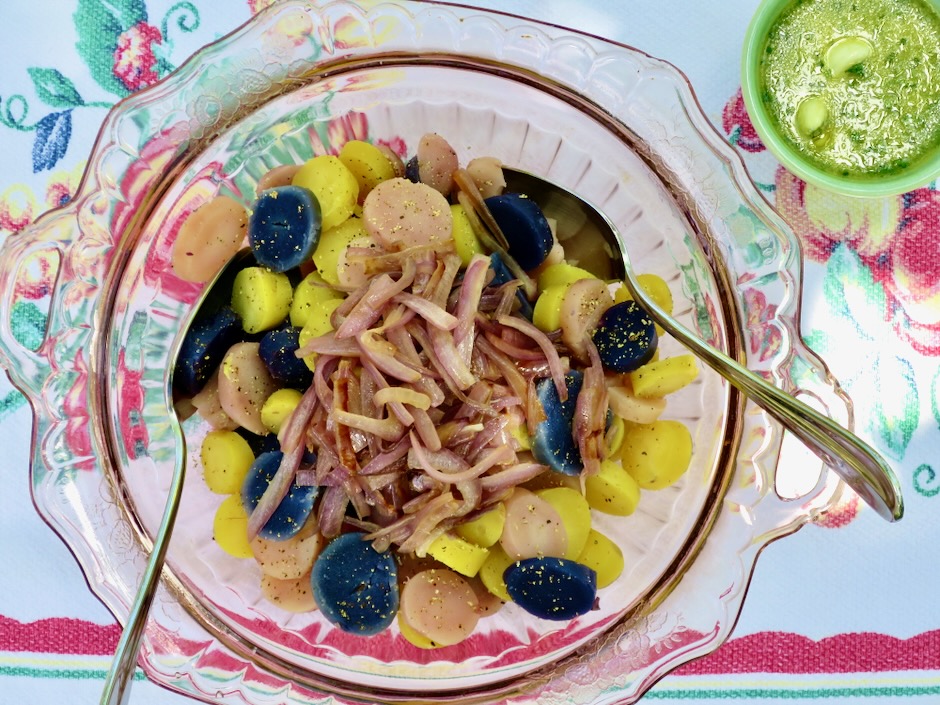
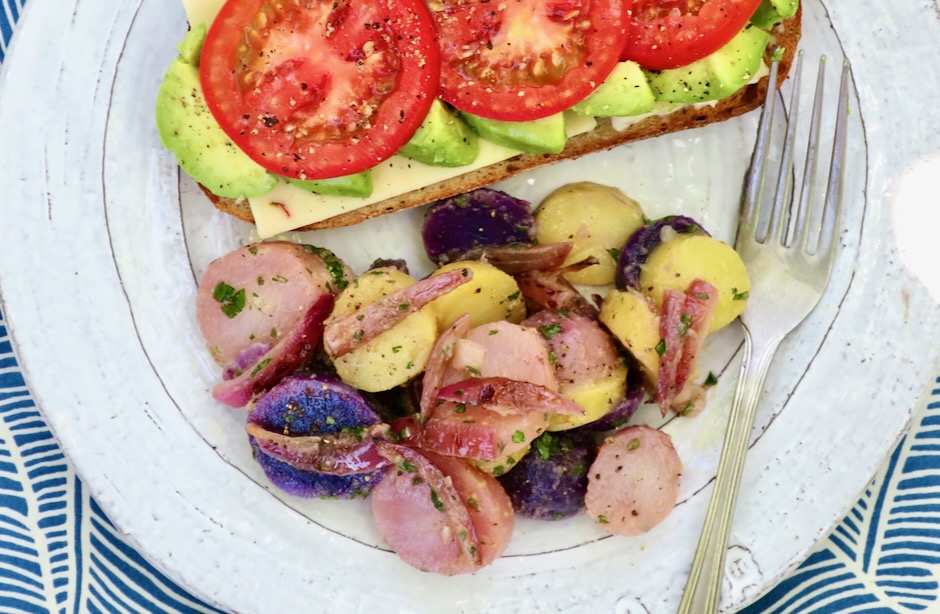
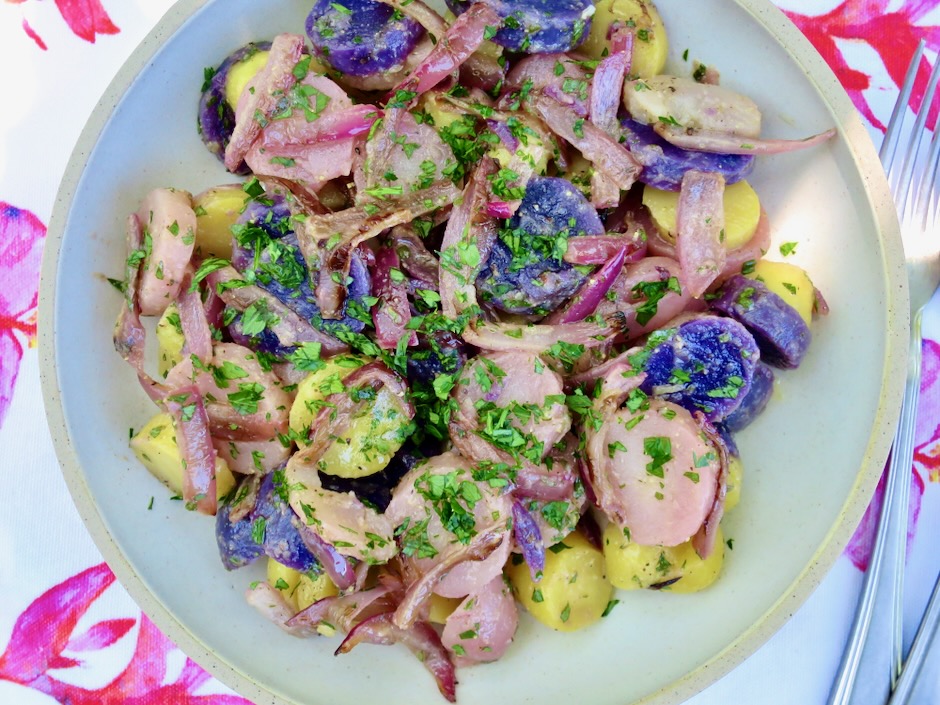
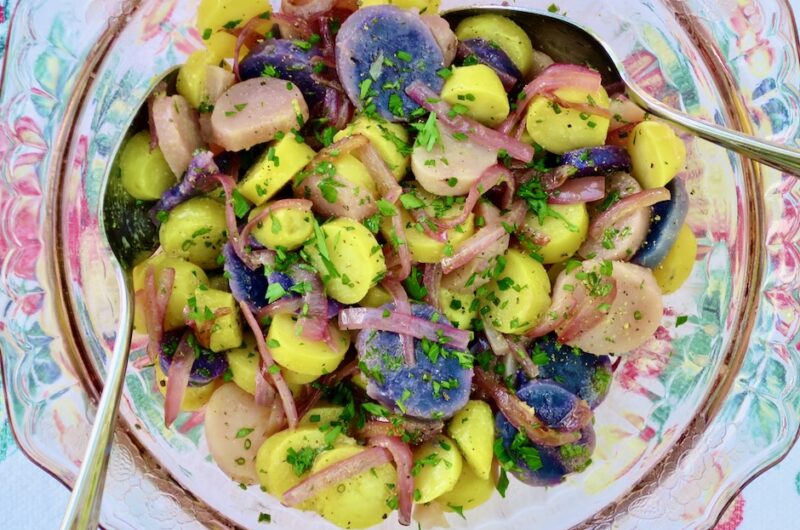
I remember not long ago markets featured only four types of potatoes; russets, white, red, and yellow. Today there are many more varieties to choose from. One of my favorites is fingerlings. They have a firm yet creamy texture which makes them perfect for this potato salad. The array of colors add a visual beauty to this dish.

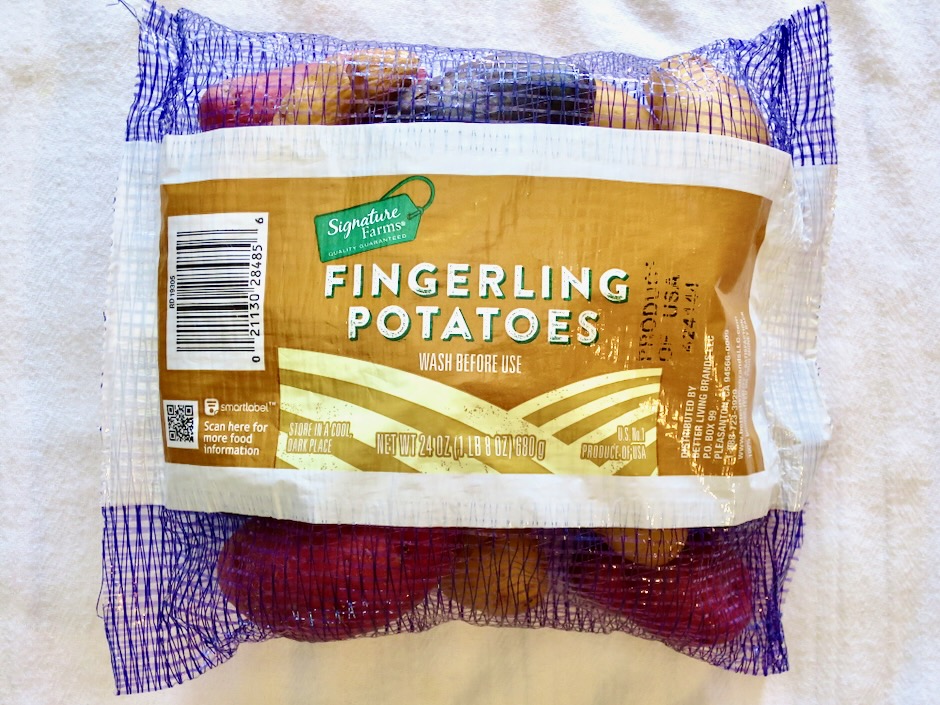
Fingerlings come in many shapes and sizes so when purchasing them (I found them at Safeway) look for the bag with the most uniform sized potatoes. This makes for even cooking.

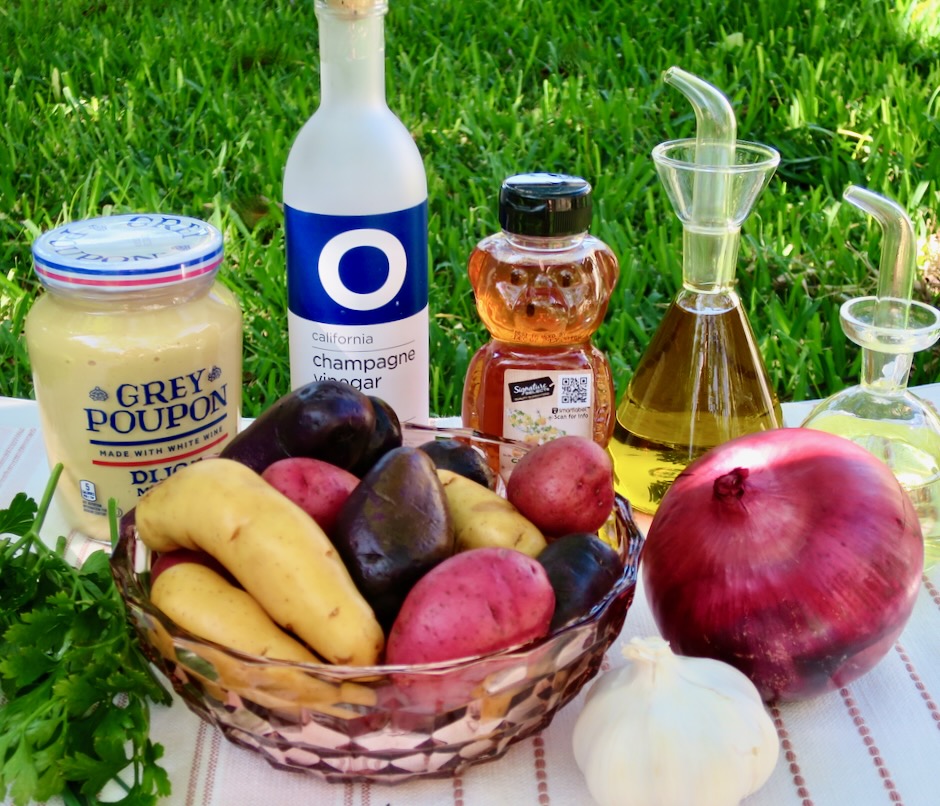
Many of us have multiple types of vinegars in our pantry. Each has its own use in different recipes. The one I reach for most often is champagne vinegar. Its flavor is crisp and light which makes it the ideal vinegar to use in dressings. Here on Maui you can find O Champagne Vinegar at Safeway and Whole Foods.

Though it is optional, peeling the potatoes once they are cooked makes for a gorgeous salad. The skins are thin and easily removed.

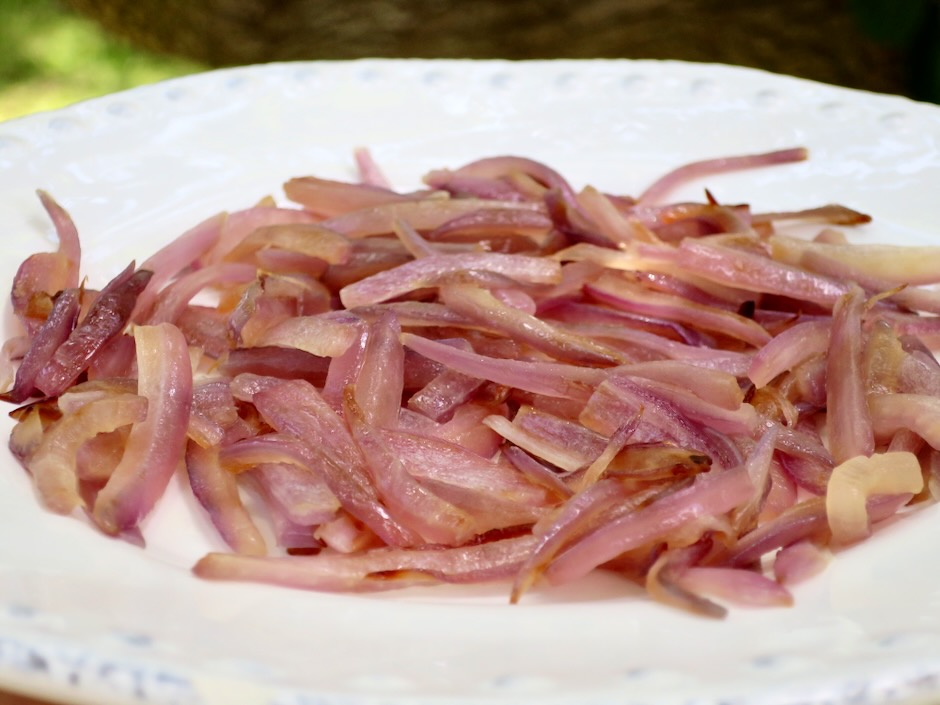
Gently sautéed red onions adds a subtle sweet flavor and color to the salad.

This potato salad is the perfect accompaniment to any type of sandwich, grilled chicken, pork, barbecue, tofu, or any other of your favorite summertime meals.

Tri-color Fingerling Potato Salad with Red Onions

Recipe by Kiyo
Servings

4-6

servings

Ingredients

  • 1 1/2pounds tri-colored fingerling potatoes (can substitute with mini yellow or red potatoes)

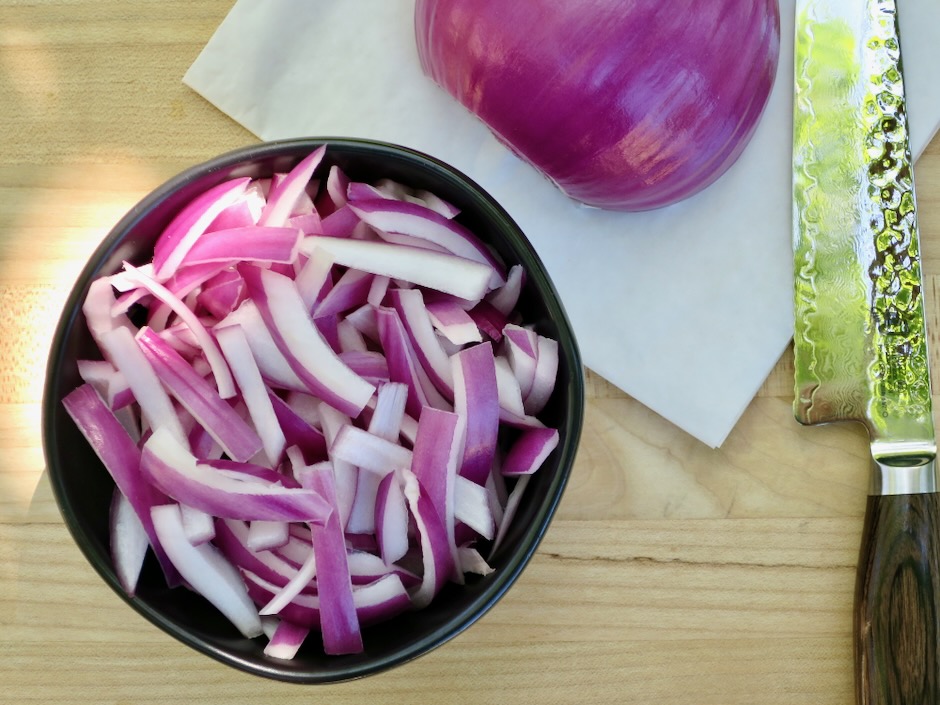
  • 4 ounces red onion, sliced 1/3-inch wide

  • 1 tablespoon + 1 teaspoon finely chopped flat leaf parsley

  • 2 teaspoons chopped chives

  • 2 teaspoons Dijon mustard

  • 1 teaspoon honey

  • 3 tablespoons champagne vinegar (or white wine vinegar)

  • 3 tablespoons extra virgin olive oil

  • 2 tablespoons canola or vegetable oil

  • 1 medium garlic clove, crushed

  • kosher salt and pepper to taste

Directions

  • Boil potatoes in a large pot of salted water for 10-15 minutes depending on size. Once cooked, remove to a plate to cool slightly. Peel potatoes once cool enough to handle (optional).
  • Meanwhile, heat a medium pan with 1 teaspoon olive oil and sauté onion slices on medium-low for 5-7 minutes or until tender but not browned. Remove to a plate and set aside to cool.
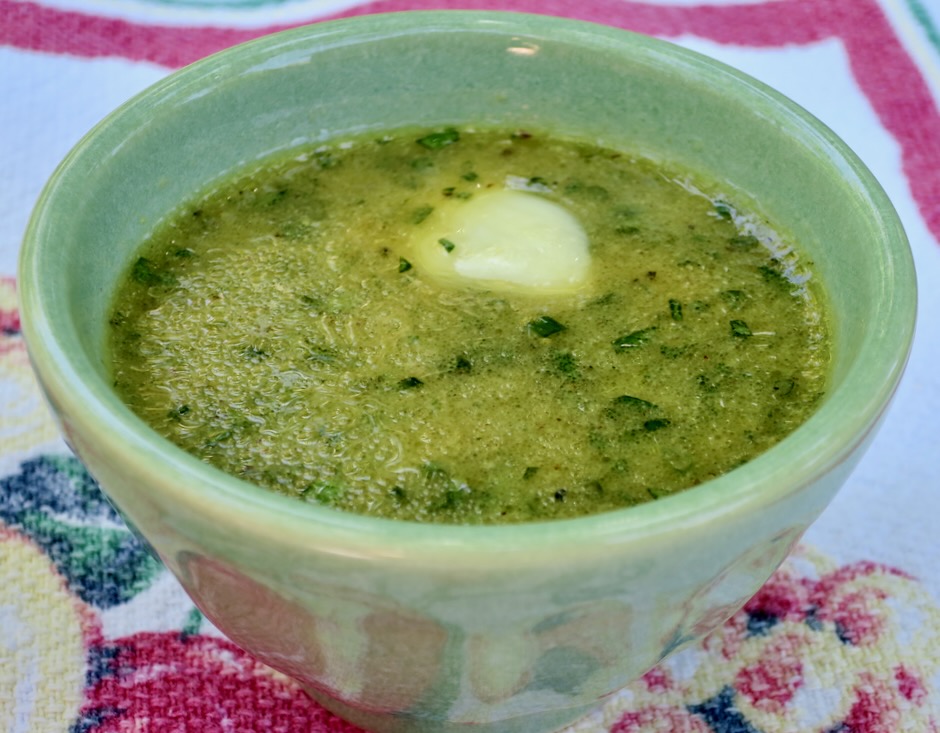
  • In a small bowl, whisk together the Dijon and honey. Whisk in the vinegar. Add olive oil and canola oil, whisking until emulsified. Stir in 1 tablespoon parsley and 2 teaspoons chives. Mix in 1/4 teaspoon kosher salt and freshly ground pepper.
  • Slice potatoes into 1/3-inch rounds and place in a low wide bowl. Season with salt and pepper. Add onions and enough dressing to coat the potatoes well. Taste and adjust seasoning if needed. Sprinkle reserved 1 teaspoon parsley over the top. Serve right away or cover and chill in the refrigerator until ready to serve. Stir in spoonfuls of remaining dressing if the salad seems dry (potatoes will absorb dressing as it sits). Salad will keep for 3 days.
Breakfast, Dessert, Lactose Free, Recipes, Summertime Meal

Blueberry Pie Bars

May 9, 2023

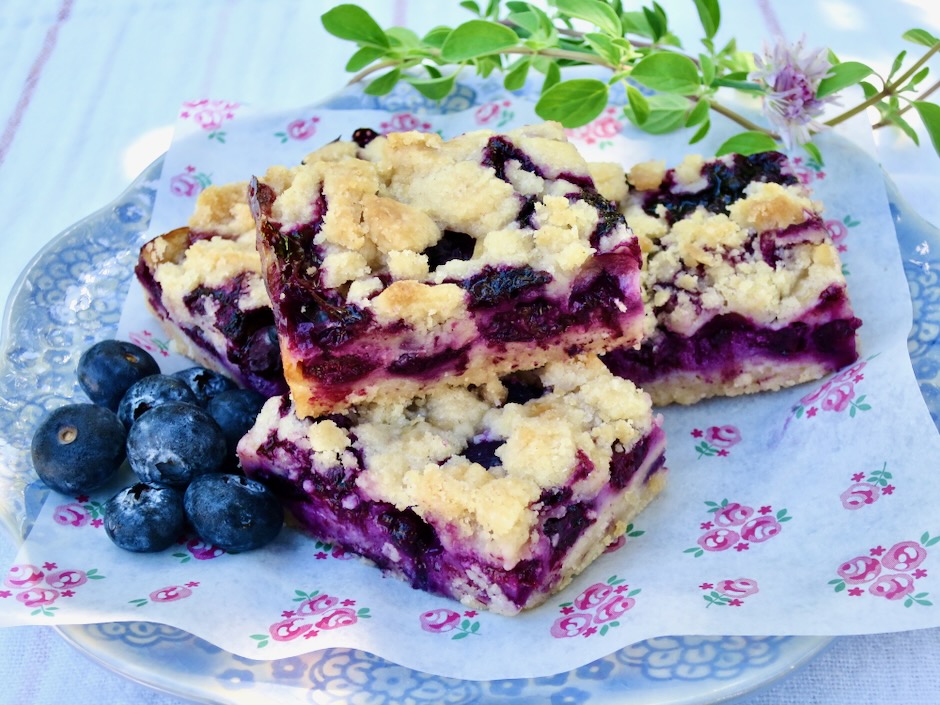
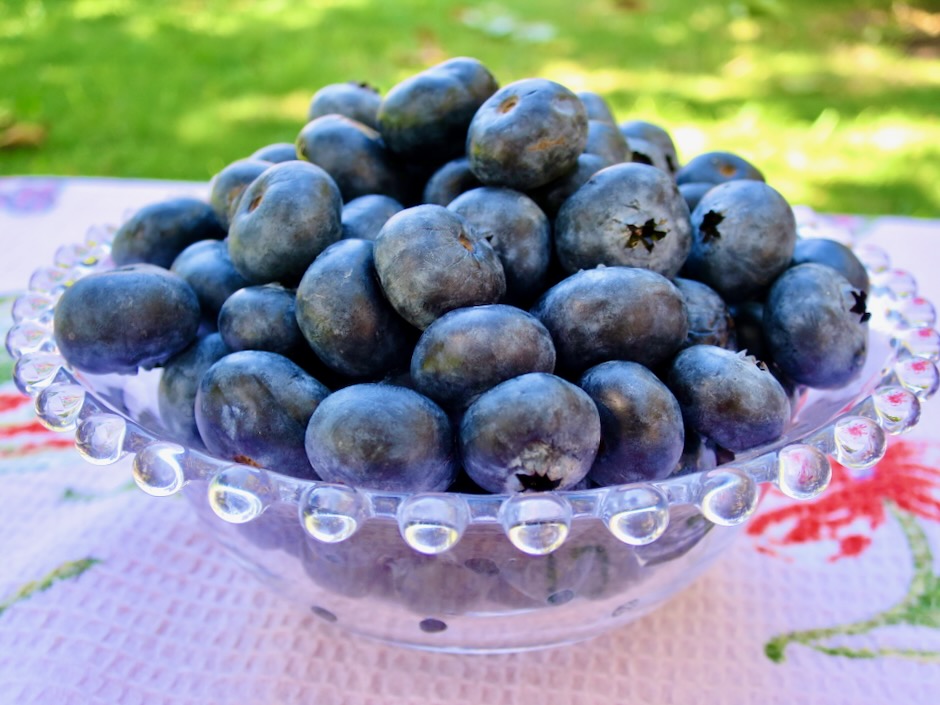
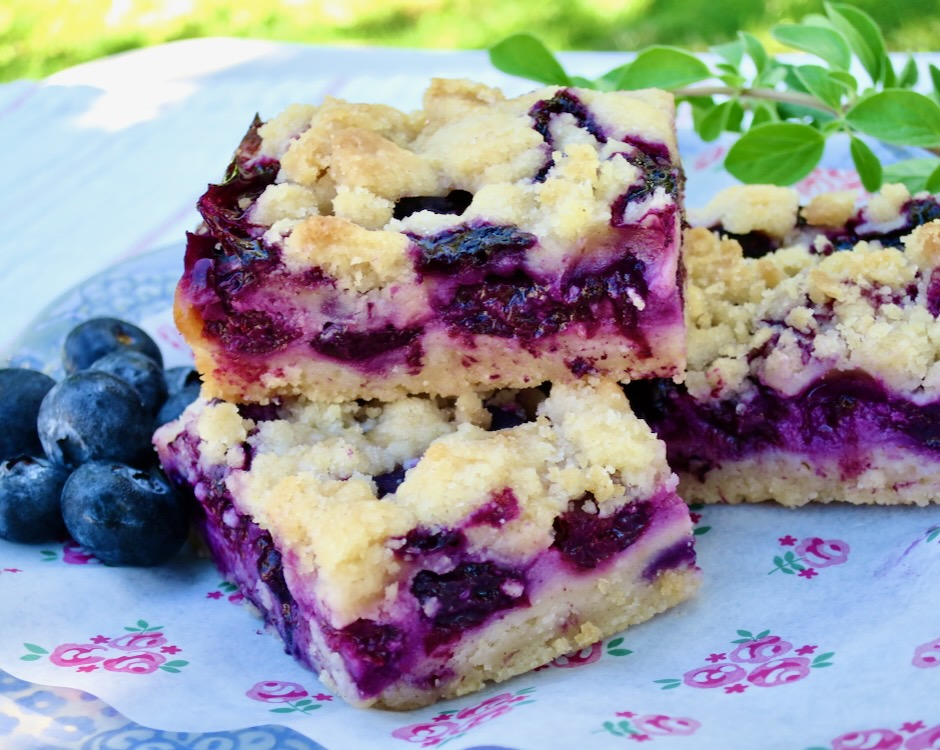
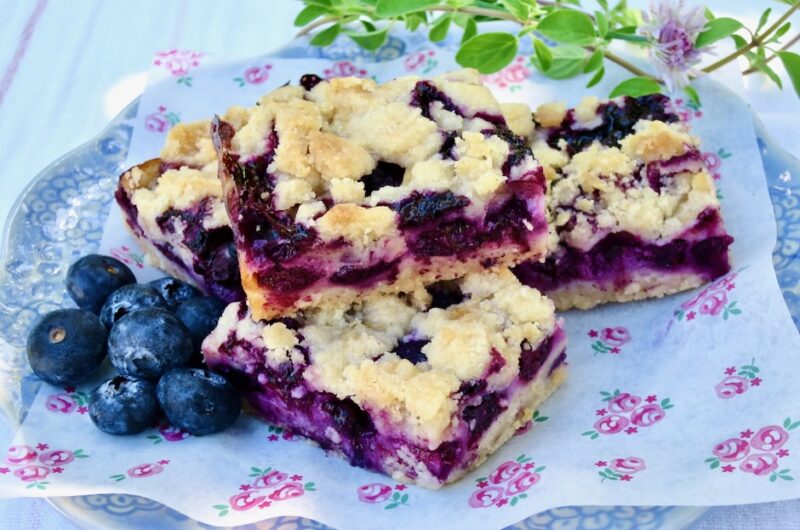
Looking for an irresistible summer dessert? Search no more. These blueberry pie bars from Trisha Yearwood will meet all of your requirements. Fresh, juicy blueberries tucked between a tender crust and crisp, buttery topping are the perfect combination.

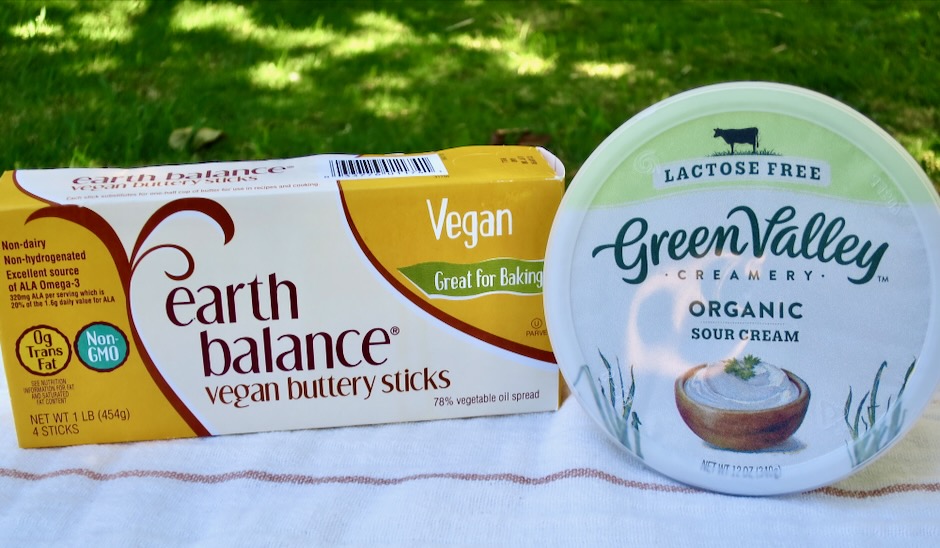
To make this recipe lactose free, I used vegan butter and lactose free sour cream. I use both of these indispensable products in many of my recipes.

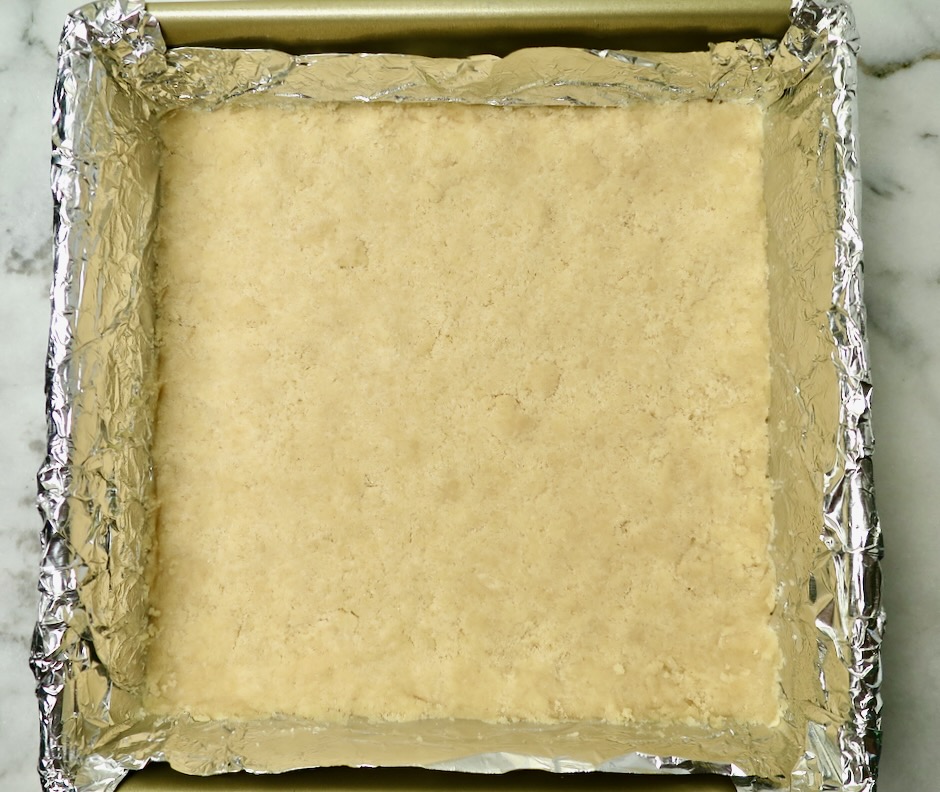
The dough for the crust is pressed into the foil-lined baking pan.

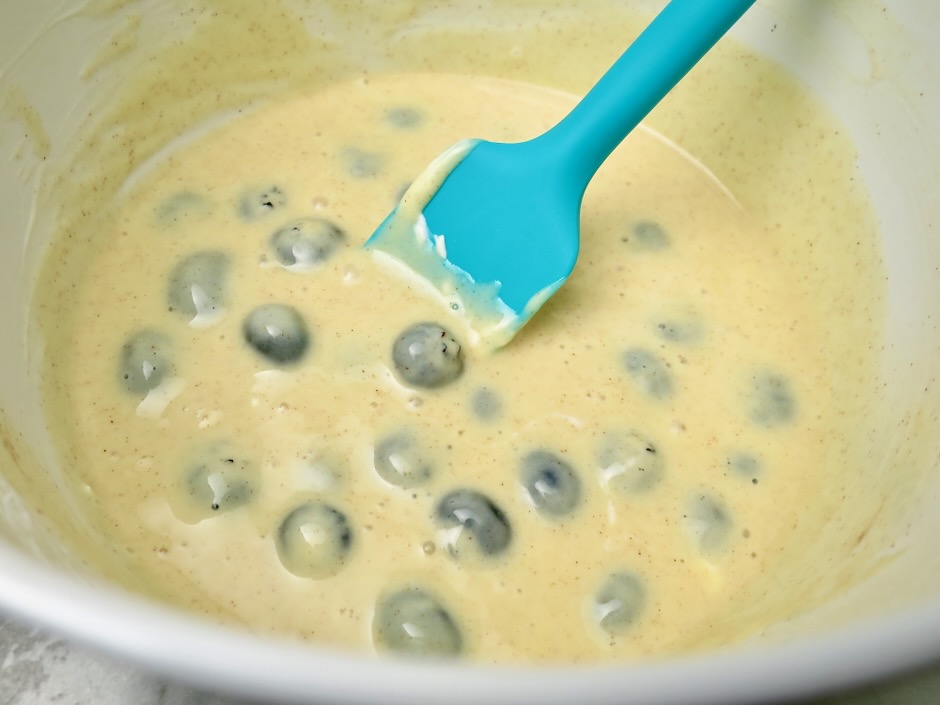
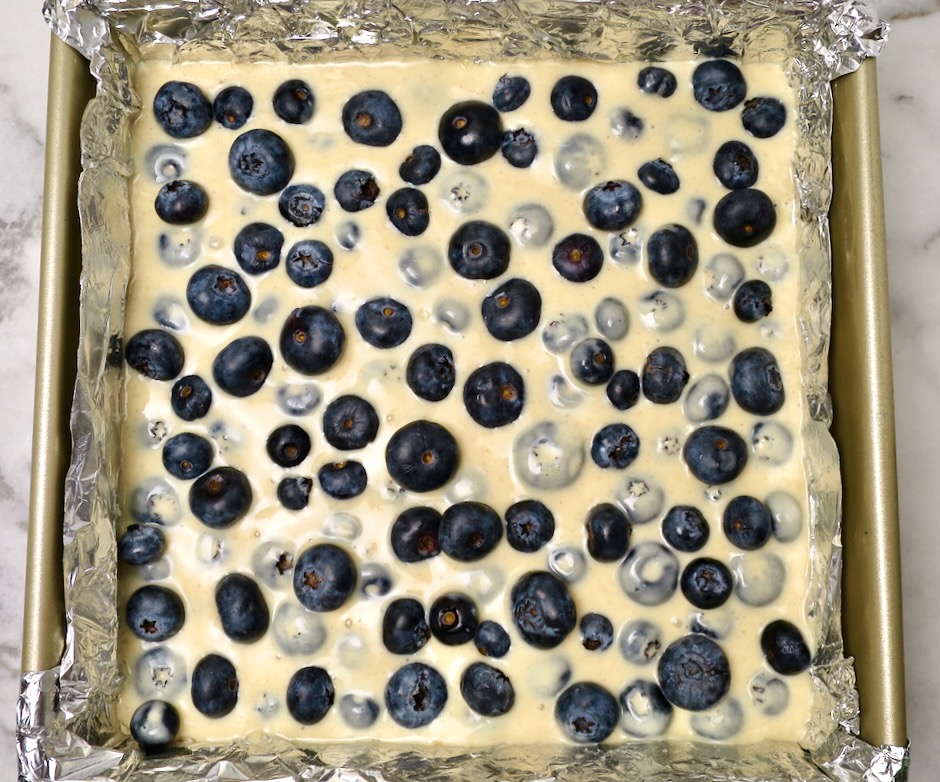
The filling for this recipe is what distinguishes these from other blueberry bars. A mixture of sour cream, egg, sugar, cinnamon and a generous amount of lemon juice are combined with a portion of the blueberries which are then poured over the crust. Trisha refers to the filling as a custard.

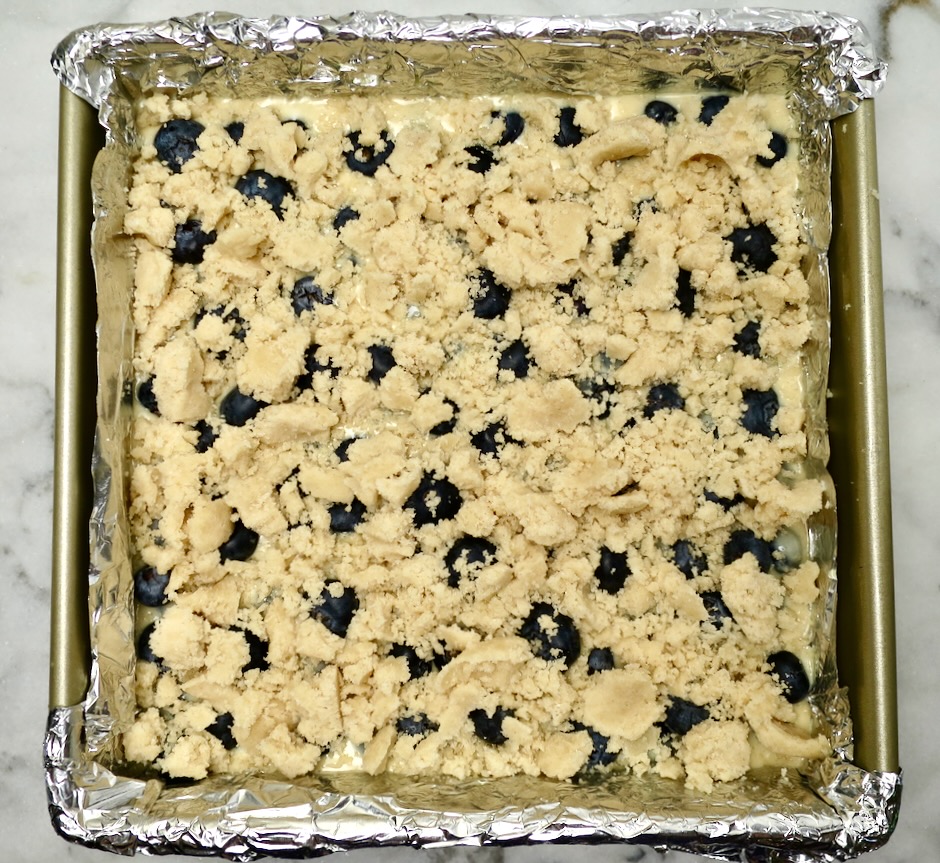
A handful of reserved blueberries are scattered over the filling before adding the crust topping.

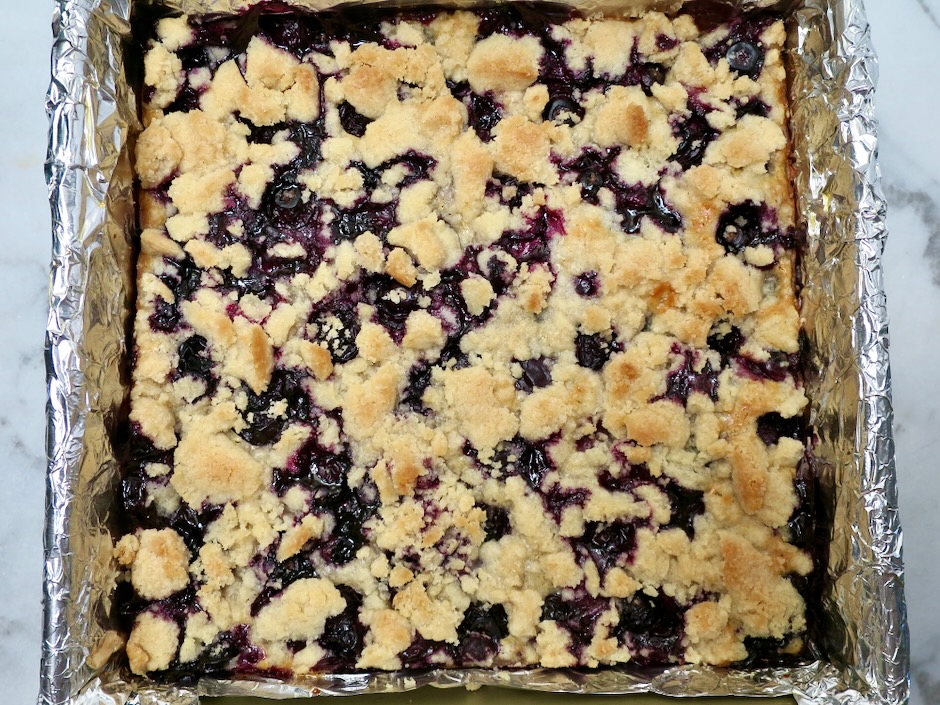
The topping emerges from the oven beautifully browned and the blueberries beneath are delightfully jammy.

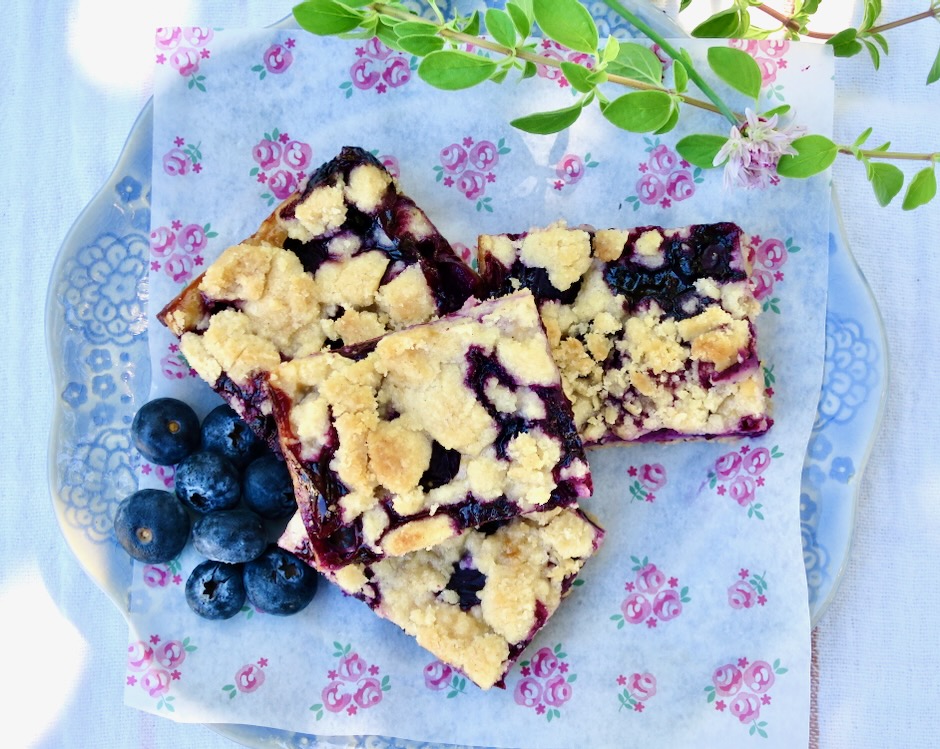
These blueberry pie bars are irresistible. I love everything about them. Eat them while they are slightly warm or at room temperature.

Blueberry Pie Bars

Recipe by Kiyo
Servings

16

servings

Recipe adapted from Food Network-Trisha Yearwood

Ingredients

  • Crust
  • 1/2 cup (113g) Buttery Sticks, chilled (or unsalted butter)

  • 3/4 cup (150g) granulated sugar

  • 1 1/2 cups (180g) all-purpose flour

  • 1/2 teaspoon ground cinnamon

  • Pinch of kosher salt

  • Filling
  • 1 large egg

  • 1/2 heaping cup (125g) Green Valley lactose free sour cream (or regular sour cream)

  • 1/3 cup (67g) granulated sugar

  • 2 tablespoons fresh squeezed lemon juice

  • 1 tablespoon all-purpose flour

  • 4 teaspoon cornstarch

  • 2 teaspoons vanilla extract

  • 1/2 teaspoon ground cinnamon

  • 2 cups (296g) fresh blueberries, rinsed and drained well

Directions

  • Preheat oven to 350 degrees. Line an 8×8-inch baking pan with foil that reaches the top sides of the pan.
  • In a bowl of a food processor, combine the Buttery Sticks, sugar, flour, cinnamon and salt. Process until the mixture begins to clump together, 40-60 seconds or so. Remove 1 cup and reserve; press the remaining crust mixture evenly into the prepared baking pan. Set aside.
  • In a medium bowl, whisk together the egg, sour cream, sugar, lemon juice, flour, cornstarch, vanilla extract and cinnamon until smooth. Mix in 1 cup of the blueberries. Pour filling mixture over the crust, shaking the pan gently to settle the custard and berries. Scatter remaining 1 cup blueberries over the top, spreading them evenly.
  • Sprinkle the reserved crust mixture over the berries. Squeeze mixture with hands to encourage large lumps.
  • Bake 1 hour. Let cool on wire rack. Lift foil from pan and transfer to a cutting board. Slice blueberry pie bars into 16 squares, or larger pieces if you prefer.

Notes

  • Leftover blueberry pie bars can be stored in a sealed container in the refrigerator for 3-4 days. Freezing is not recommended as the filling can become a bit soggy when defrosted.
Dinner, Lactose Free, Recipes, Salad, Summertime Meal, Vegetarian, Veggies

Wedge Salad with Sour Cream Dressing

September 11, 2022

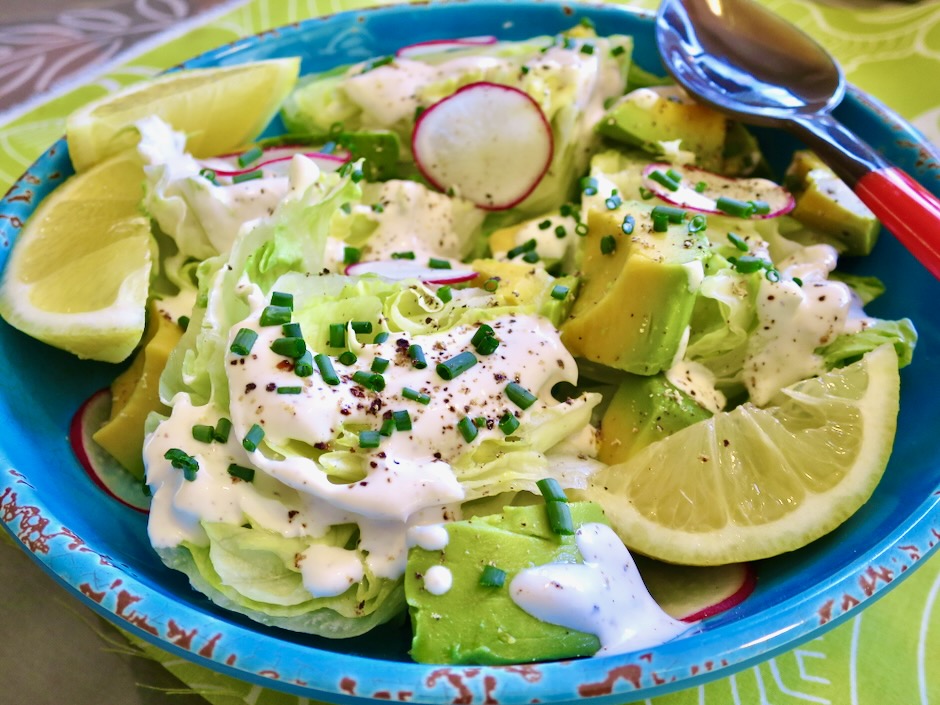
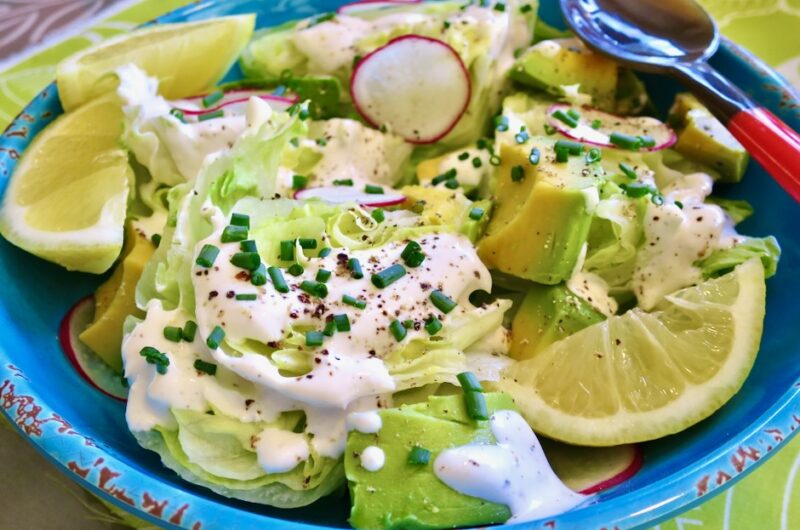
There’s nothing like biting into a crispy iceberg lettuce salad. Cutting it into wedges intensifies that desirable crisp factor. This wedge salad with sour cream dressing reminds me of summer, however, by all means make it all year long.

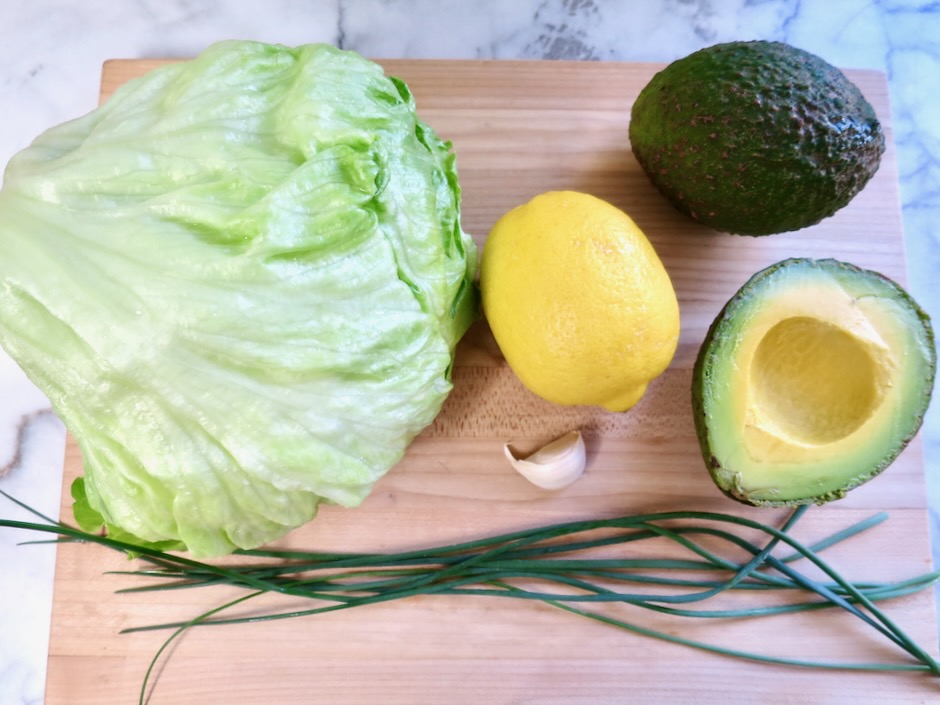
When shopping for iceberg lettuce I try to select one that is not too heavy. My thought is that a medium to light weight head of iceberg has more of those delightful wavy interiors between each leaf and that means extra crispy. If the lettuce is heavy the leaves tend to be very compact (like cabbage) and I find that indicates denser lettuce with less crunch.

Avocado adds a bit of richness to this wedge salad and radishes add color and more crunch. Slicing the radishes in thin rounds and soaking them in an ice water bath transforms them into radish chips. The dressing for this salad can be made in a jiffy. You can even make it a day in advance if you prefer. Bon appetit!

Wedge Salad with Sour Cream Dressing

Recipe by Kiyo
Servings

4

servings

Adapted from Bon Appetit magazine

Ingredients

  • 3/4 cup sour cream (I use Green Valley lactose free)

  • 1/4 cup mayonnaise

  • 1 small garlic clove, finely grated (microplane works great)

  • 2 teaspoons finely grated lemon zest

  • 3 tablespoons fresh lemon juice

  • 3/4 teaspoon kosher salt

  • 1/2 teaspoon freshly ground black pepper + more for serving

  • 1 head iceberg lettuce (about 1 pound)

  • 2 small avocados, halved and diced (large dice)

  • 2 medium radishes, sliced very thin, chilled in ice water bath for 5 minutes (optional)

  • 2 tablespoons minced chives

Directions

  • Whisk together sour cream, mayonnaise, garlic, lemon zest, lemon juice, salt and pepper in a medium bowl. Add more salt and pepper to taste. Dressing can be made 1 day ahead, cover and chill.
  • Trim root end of lettuce; discard any wilted outer leaves. Cut into quarters lengthwise, then cut each quarter into 3-inch pieces being careful not to separate the wedges into leaves. Transfer to a large platter. Tuck avocado pieces and radish slices if using, among the lettuce.
  • Spoon half of the dressing over the salad and top with chives; season with pepper. Serve with remaining dressing alongside.
Lactose Free, Pickles, Recipes, Summertime Meal, Vegan, Vegetarian, Veggies

Quick Dill Pickle Chips

May 28, 2022

Quick Dill Pickle Chips

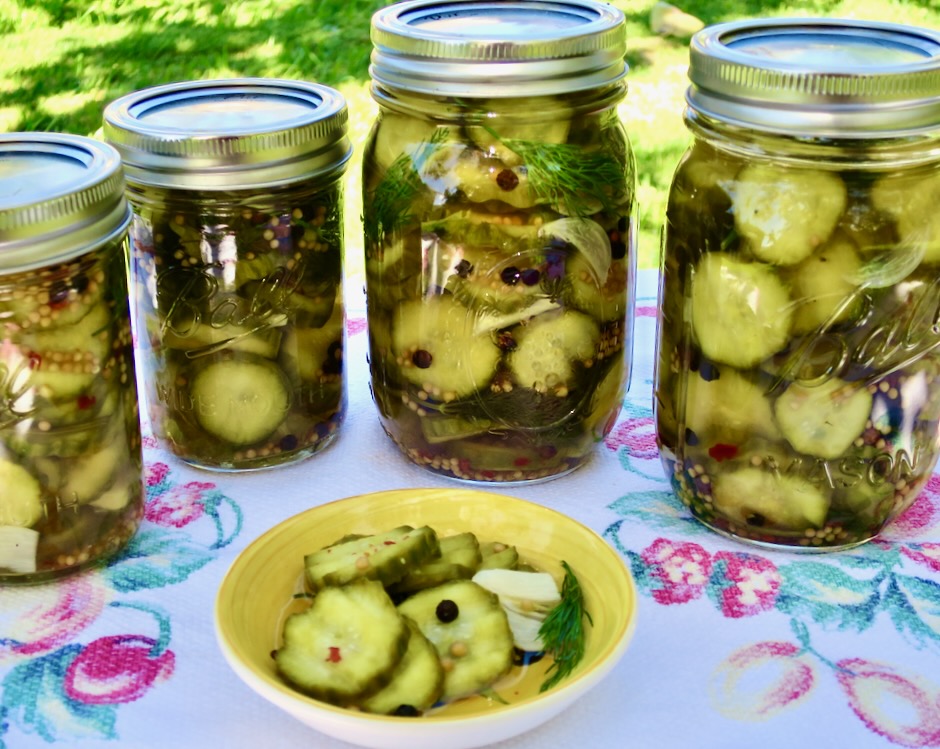
Crispy, tangy and refreshing quick dill pickle chips are so easy to make and perfect for your summer picnics. We love pickles and always have an assortment in our refrigerator to serve with sandwiches or for a quick snack.  These dill chips are ready in just a few hours.  

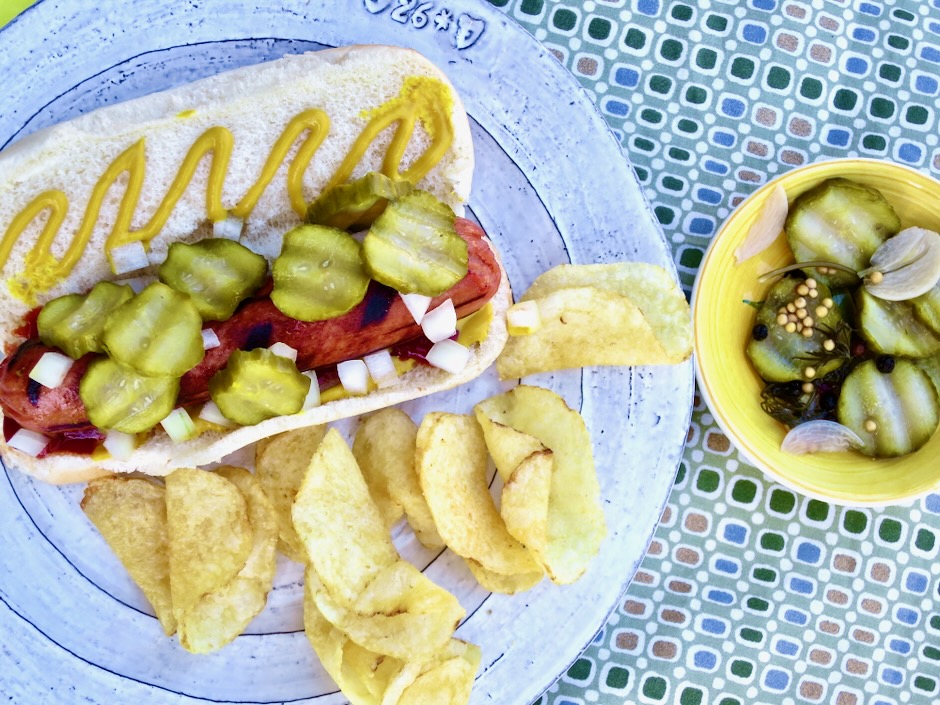
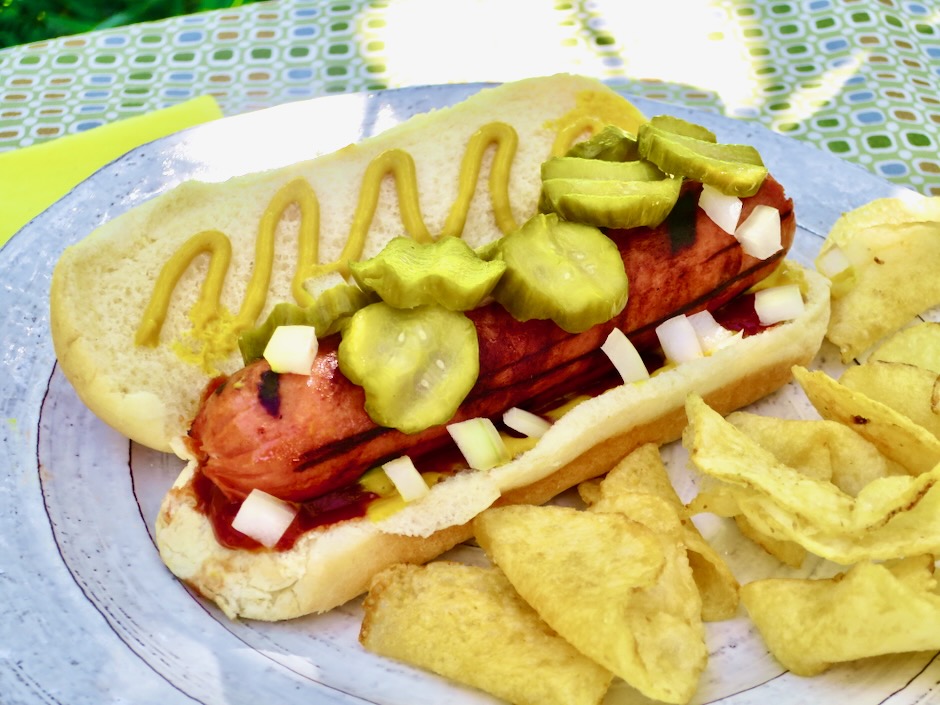
Quick Dill Pickle Chips on Grilled Hot Dog

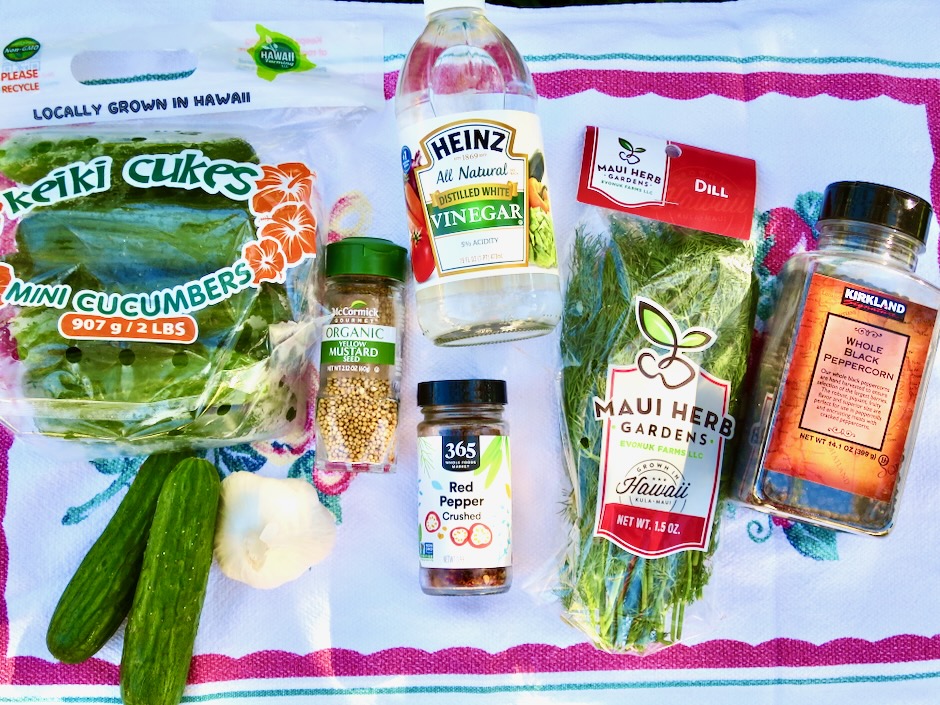
Quick Dill Pickle Chips Ingredients

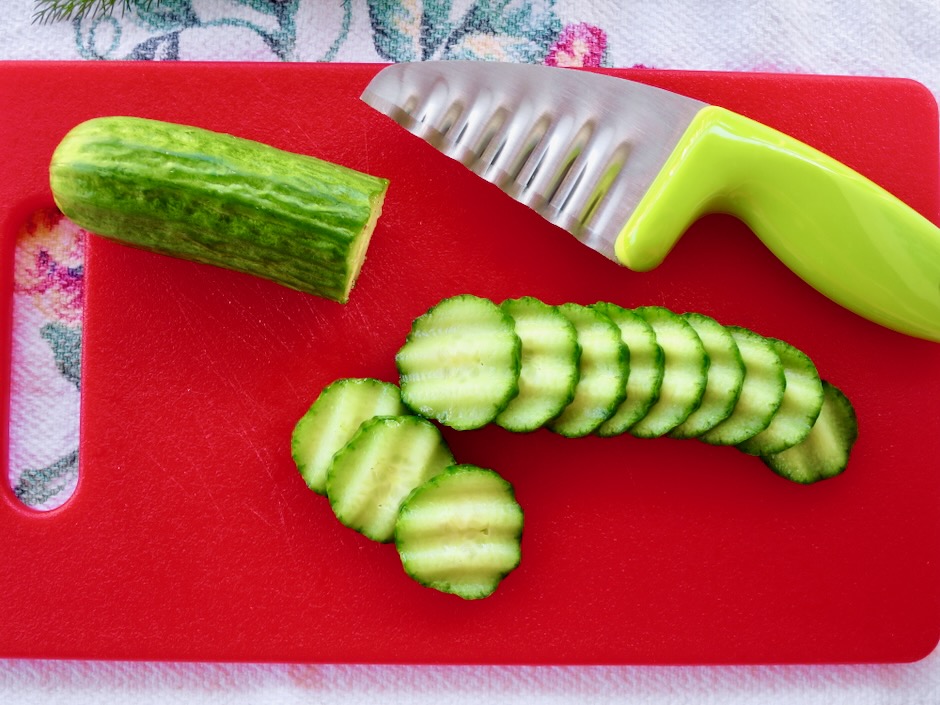
Kirby cucumbers are typically used for pickles but are rarely found here on Maui.  Our locally grown Keiki Cukes are the perfect substitution.  They are small and crispy with very few seeds.  We have successfully used these for canning whole dill pickles as well as spears.  They are sold at all of our local markets as well as Costco.

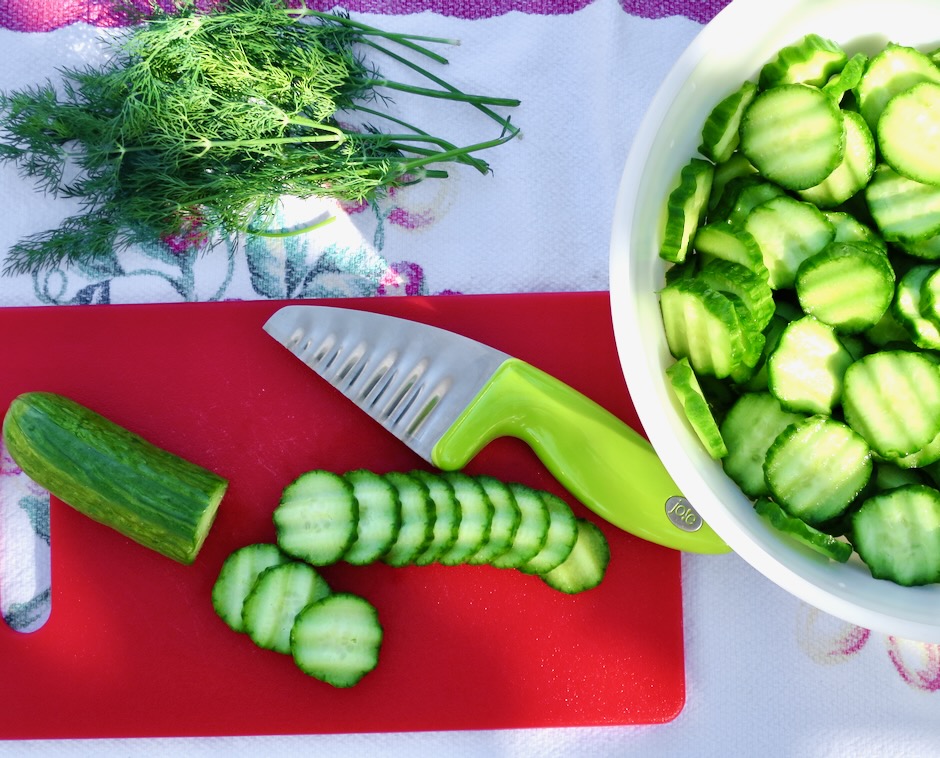
Sliced Keiki Cukes

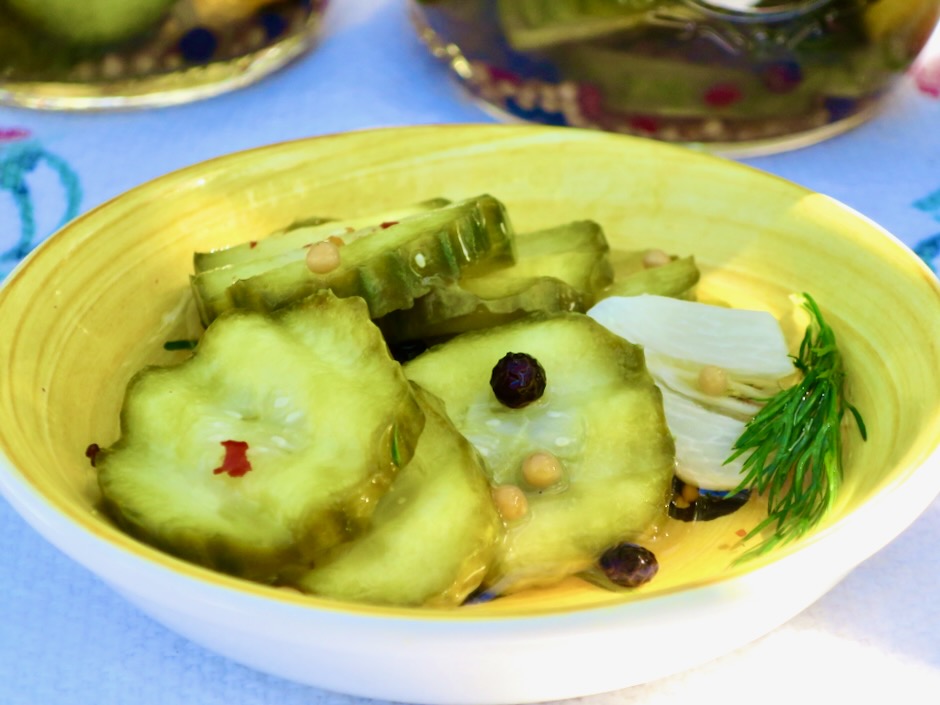
This crinkle cutter gives the cucumber slices scalloped edges which is sort of fun but of course is optional.

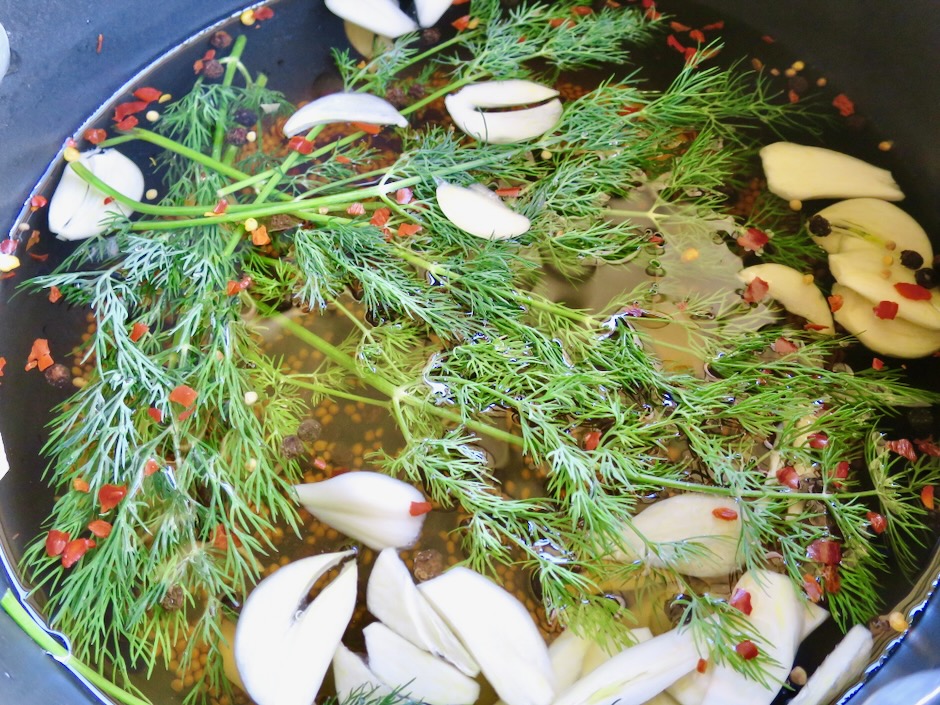
Quick Dill Pickle Chips Brine

The brine for the pickles couldn’t be easier.  The ingredients go into a pot until the mixture simmers, then poured over the sliced cucumbers.  That’s it!

Quick Dill Pickle Chips

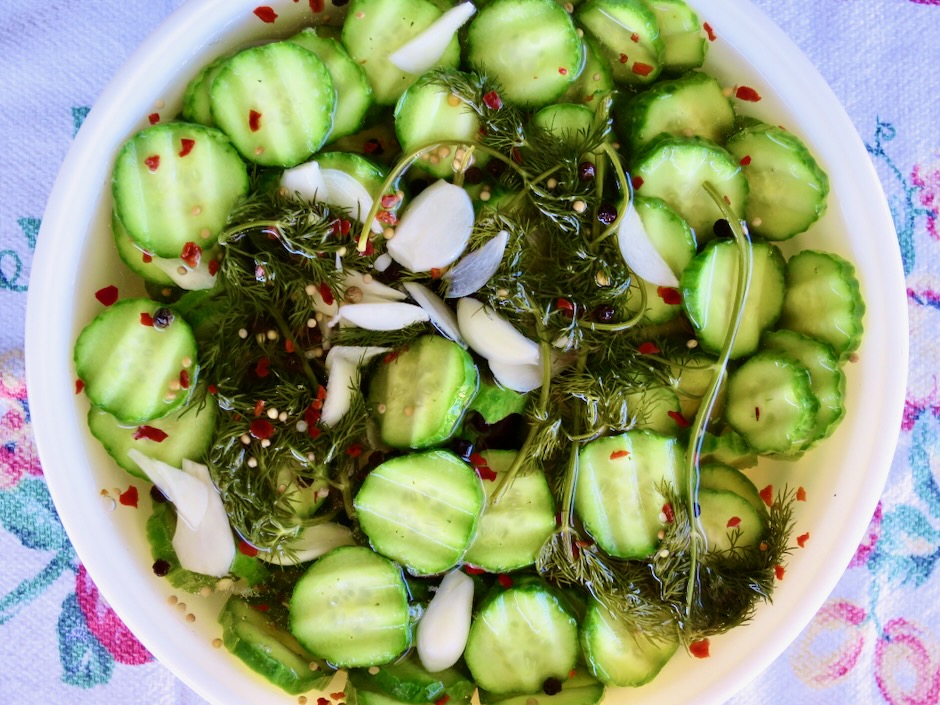
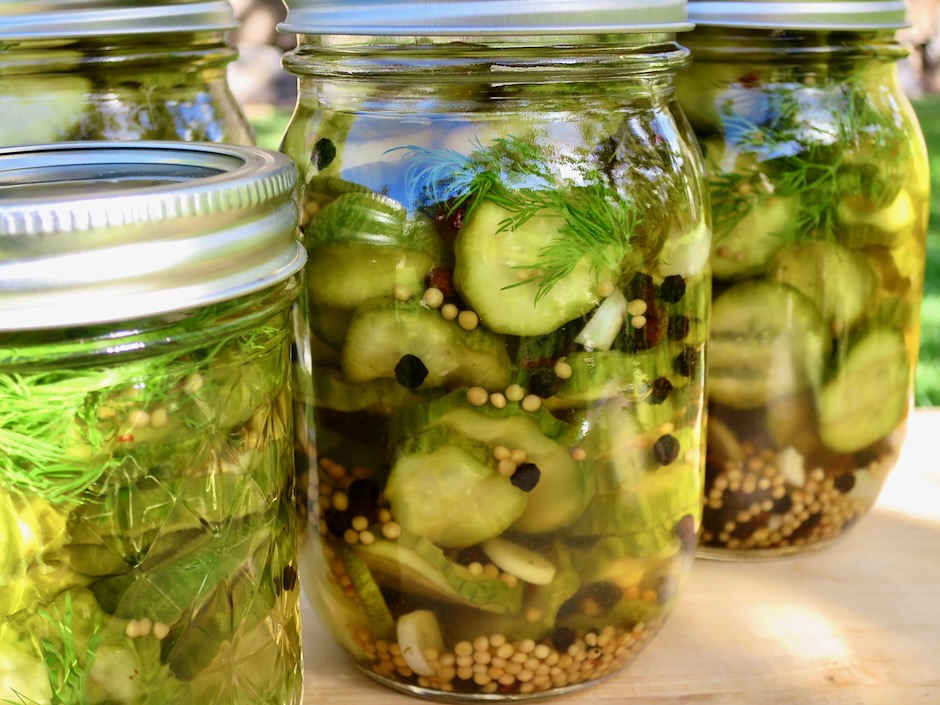
Use a large bowl or mason jars to brine the cucumber slices.  This recipe makes enough pickles for three pint jars.  Surprise your neighbor with a jar of these crunchy pickles.

Quick Dill Pickle Chips

Quick Dill Pickle Chips on Grilled Hot Dog

The dill pickle chips are best eaten once they have been chilled thoroughly.  Pile them on hotdogs, sandwiches, burgers or chop finely and mix into potato salads.

Quick Dill Pickle Chips

Quick Dill Pickle Chips
 
Adapted from Serious Eats
Author:
Serves: 3 pint jars
Ingredients
  • 1½ pounds Keiki Cukes (or Kirby cucumbers), thinly sliced
  • 3 cups water
  • 3 cups distilled white vinegar
  • 2 tablespoons kosher salt (I use Diamond Crystal)
  • 2 tablespoons sugar
  • ½ teaspoon red pepper flakes
  • 4 medium garlic cloves, thinly sliced
  • 2 tablespoons black peppercorns
  • 2 tablespoons mustard seeds
  • 10 sprigs fresh dill
Preparation
  1. Place cucumber slices in a large bowl or pack in mason jars.
  2. Heat water, vinegar salt, sugar, red pepper flakes, garlic, black peppercorns, mustard seeds, and dill in a large pot over high heat until salt has dissolved and the mixture is simmering. Immediately pour brine over the cucumbers, making sure they are submerged in the brine. Let cool for 30 minutes. Cover the bowl or jars, and refrigerate until thoroughly chilled. Store for up to a month.


Follow

Get every new post delivered to your Inbox

Join other followers: