Browsing Category

Mexican

Chicken, Dinner, Lactose Free, Mexican, Recipes

Mexican Style Grilled Chicken

April 5, 2019

Mexican Style Grilled Chicken Breasts

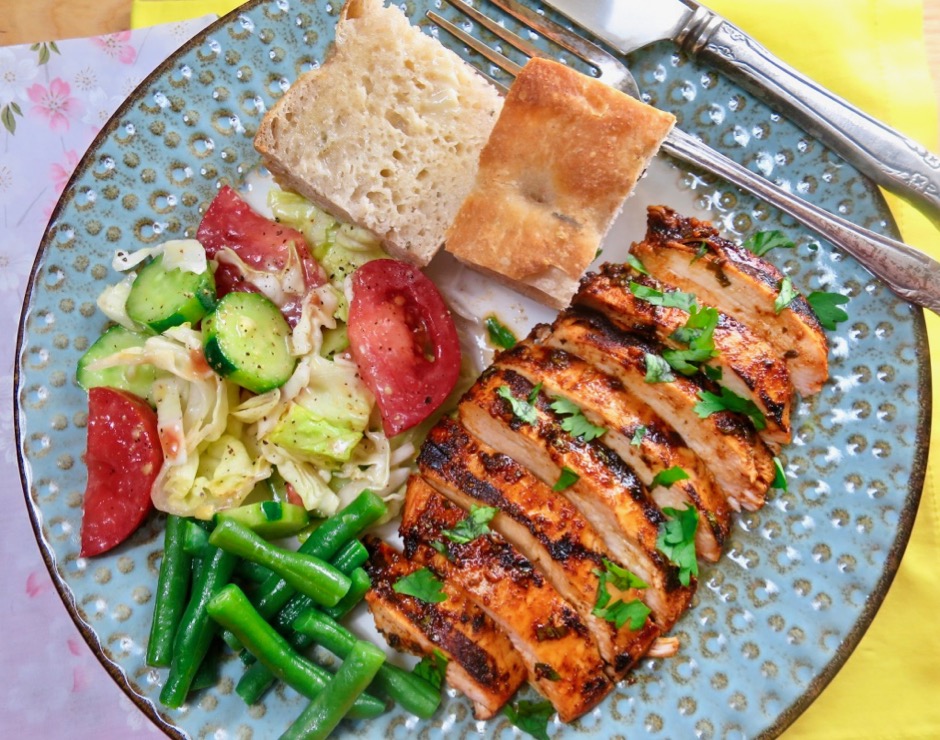
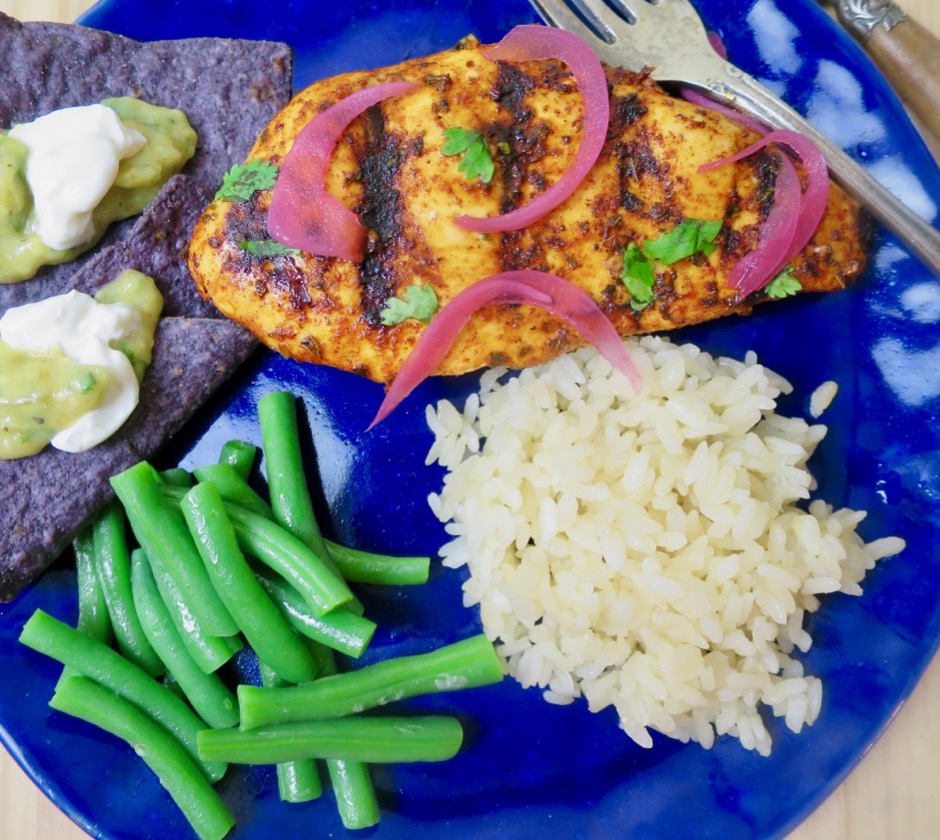
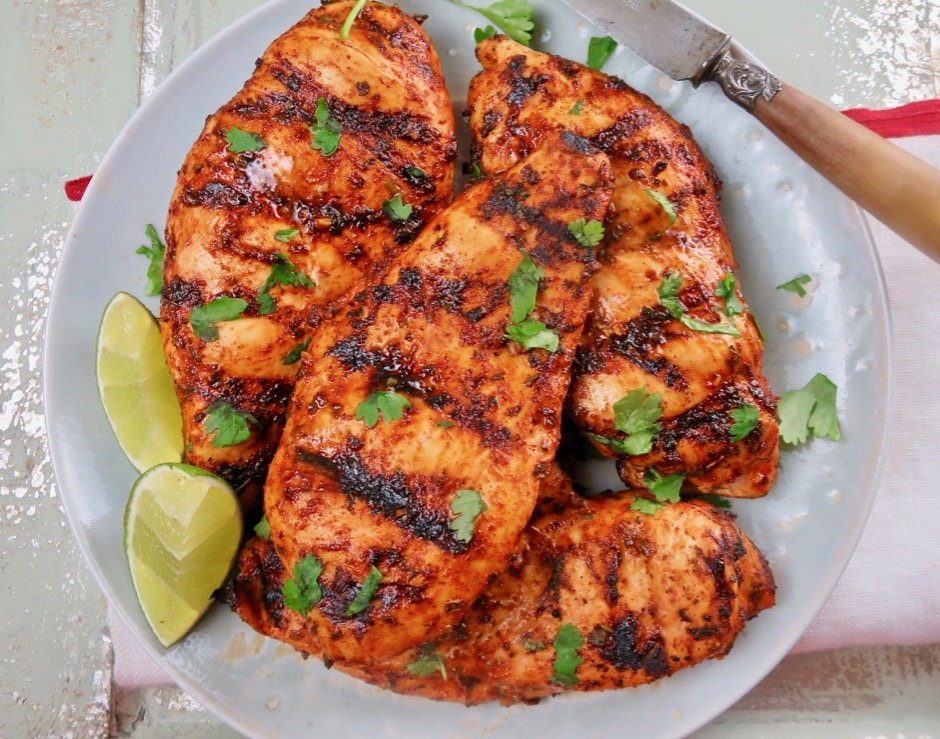
Chicken breasts are an ideal foil for brines, marinades, and flavor-rich sauces.  These Mexican style grilled chicken breasts are now a favorite recipe of ours.  The chicken is tender and juicy and the marinade is delicious.  The best thing about this recipe is its versatility.  If we have leftovers, we use it in tacos, burritos and sandwiches.

Mexican Style Grilled Chicken Breasts

Juicy and flavorful chicken breasts are sometimes hit or miss. The most important technique is to pound the chicken breasts into even thickness.  This will ensure each piece is uniformly cooked.  Otherwise, you may end up with that lopsided piece of chicken cooked through on one side and not the other.  Chicken breasts do not have to be bland.  A tasty marinade will infuse the chicken in just a couple of hours.  Using the indirect grilling method helps to keep the breasts tender and moist.  Direct high heat can lead to a leathery exterior as well as an overdone interior.  A digital thermometer is an essential tool in preventing overcooking.  Once the temperature reads 160 degrees remove the chicken from the grill.

Chicken Marinade

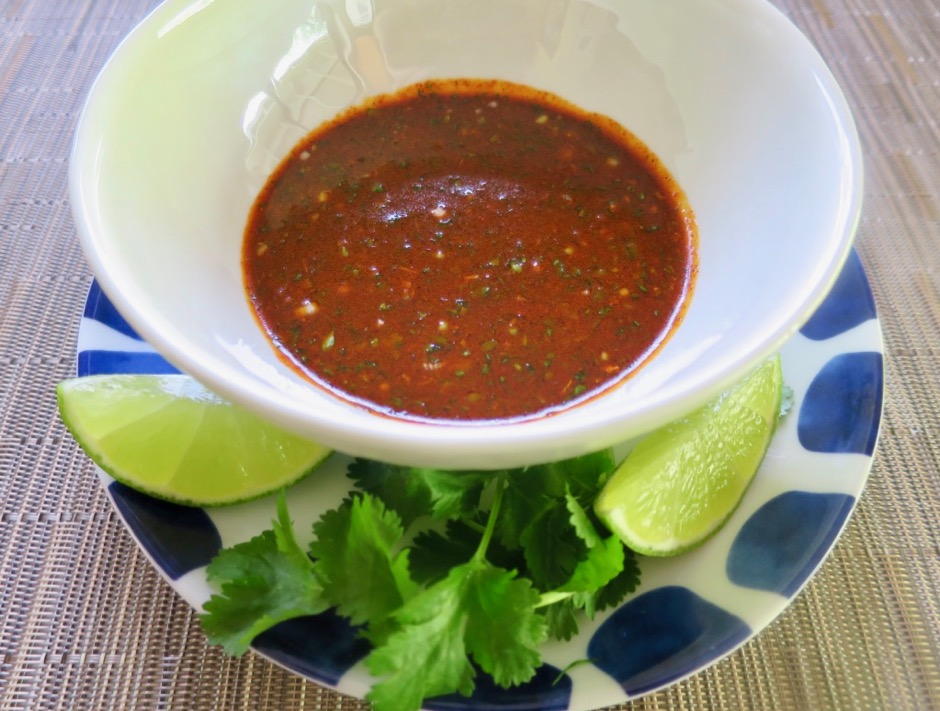
This marinade does its magic in just 2 hours.  Reserve some of the marinade before adding it to the chicken, and use it later to baste when you grill.  The beautiful color of the chicken comes from the ancho chile powder.  You should be able to easily find this in your grocery store (McCormack brand is what I found at Safeway).  The chipotle chile gives the chicken a nice smoky kick.

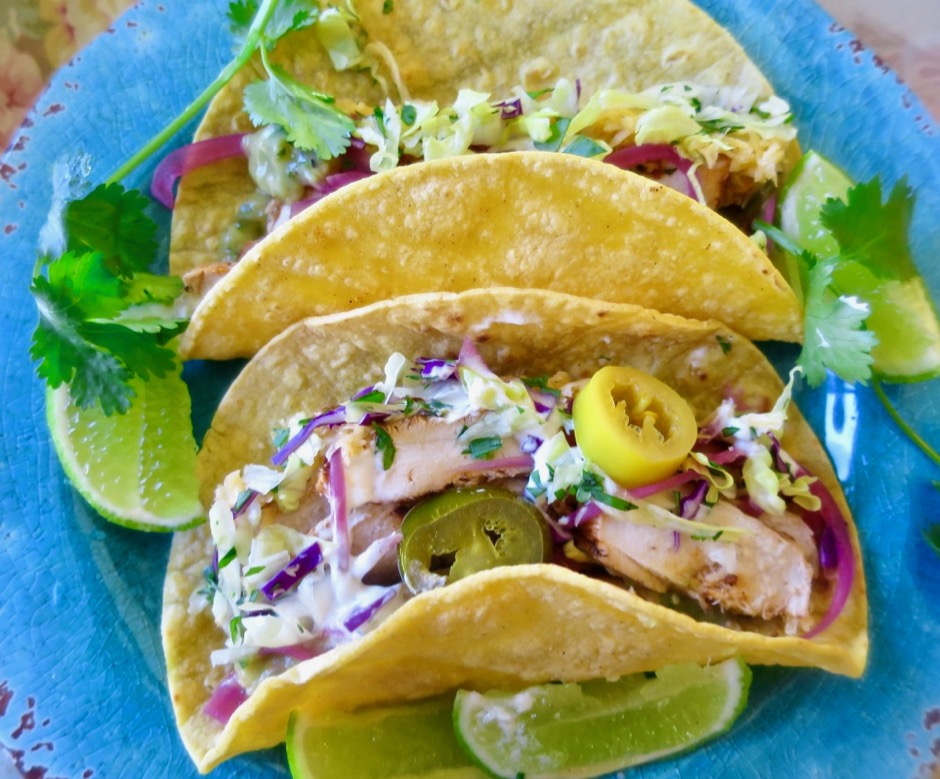
Mexican Style Grilled Chicken Breast Tacos

Leftover chicken makes splendid tacos, burritos or sandwiches.

Mexican Style Grilled Chicken Breasts

Mexican Style Grilled Chicken
 
Delicious moist and tender grilled chicken breasts
Author:
Serves: 6
Ingredients
  • 6 boneless and skinless chicken breasts, pounded to uniform thickness
  • Marinade:
  • ¼ cup canola oil
  • 3 tablespoons ancho chile powder
  • 2 tablespoons apple cider vinegar
  • ¼ cup fresh lime juice
  • 2 teaspoons honey
  • 1 teaspoon chipotle chile in adobo sauce, finely chopped
  • 2 teaspoons dried Mexican oregano
  • 2 medium garlic cloves, minced
  • 4 green onions, white and green parts, thinly sliced
  • ¼ cup chopped cilantro
  • 1 teaspoon kosher salt
Preparation
  1. Place 1 or 2 chicken breasts in a Ziploc freezer bag and pound lightly with a meat mallet, rolling pin or skillet to uniform thickness. This will ensure the chicken will cook evenly, be moist and tender.
  2. In a small bowl mix all of the marinade ingredients and whisk to combine. Set aside about ⅓ cup of the marinade for basting the chicken later. Pour the remainder of the marinade in a Ziploc freezer bag along with the chicken. Massage marinade into the chicken so that it is evenly distributed and all pieces are coated well. Place in the refrigerator for 2 hours. If you are not ready to grill the chicken after the 2 hours are up, remove the chicken from the bag to a plate and discard the marinade.
  3. Light your grill for indirect grilling. We found that this produces the best, juiciest, chicken breasts. After the chicken has cooked for a few minutes on each side, baste generously a few times on each side with the reserved marinade. Remove chicken when it reaches 160 degrees as measured with a digital thermometer. Serve with your favorite side dishes.

 

Beef, Dinner, Mexican, Recipes

Tacos Dorados

August 7, 2018

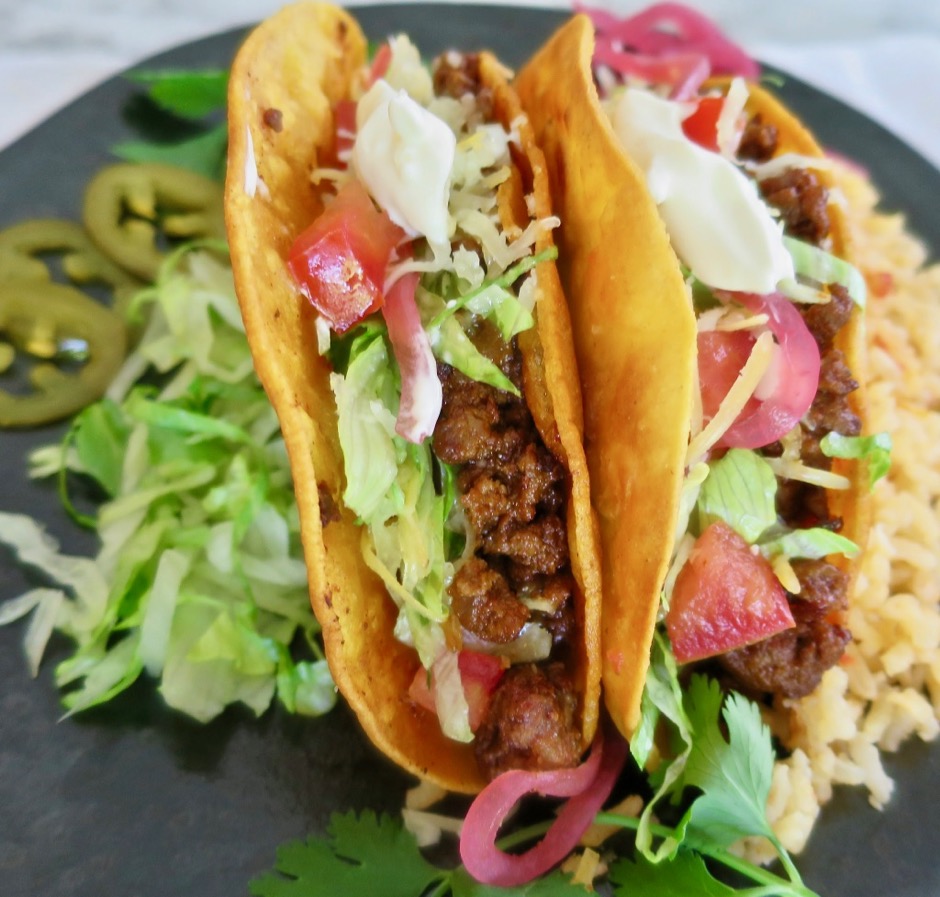
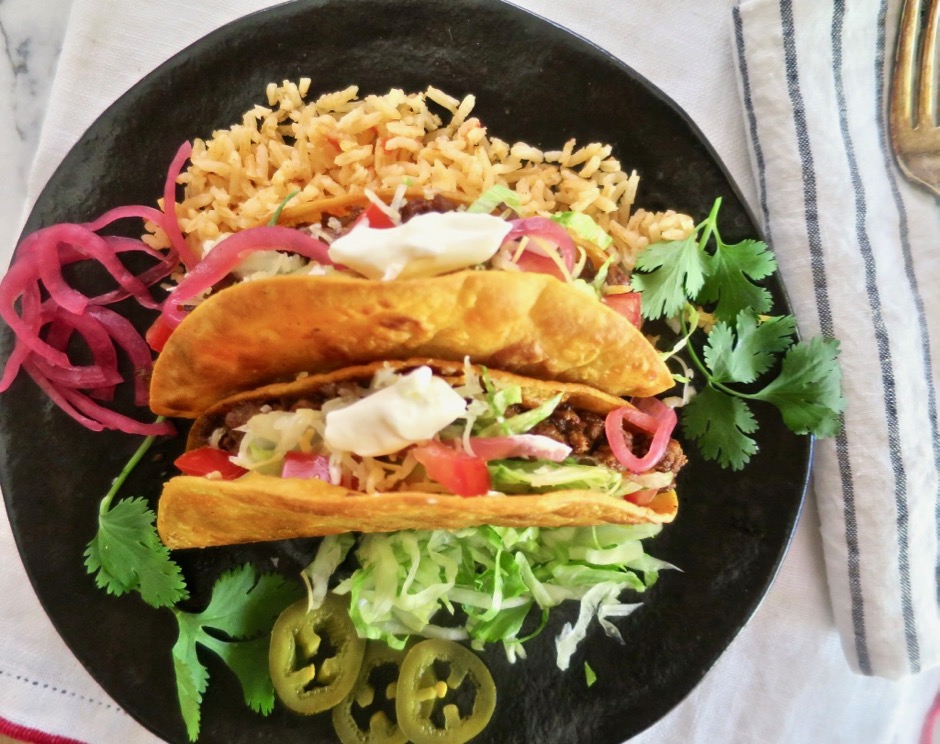
“The hard-shell taco has been an American staple for more than half a century.”  So opens “Introducing Tacos Dorados” in the July/August issue of Cook’s Illustrated. The crispy shell tacos have long existed in Mexico under the name tacos dorados or golden tacos.  We certainly enjoy a perfectly fried corn tortilla filled with savory meat and our favorite garnishes. Upon reading the article, I was intrigued by their promise of “the ultimate hard-shell tacos.” The Cook’s Illustrated recipe was a bit too elaborate for me so I decided to create my own version.  Voila, these are now our favorite tacos!

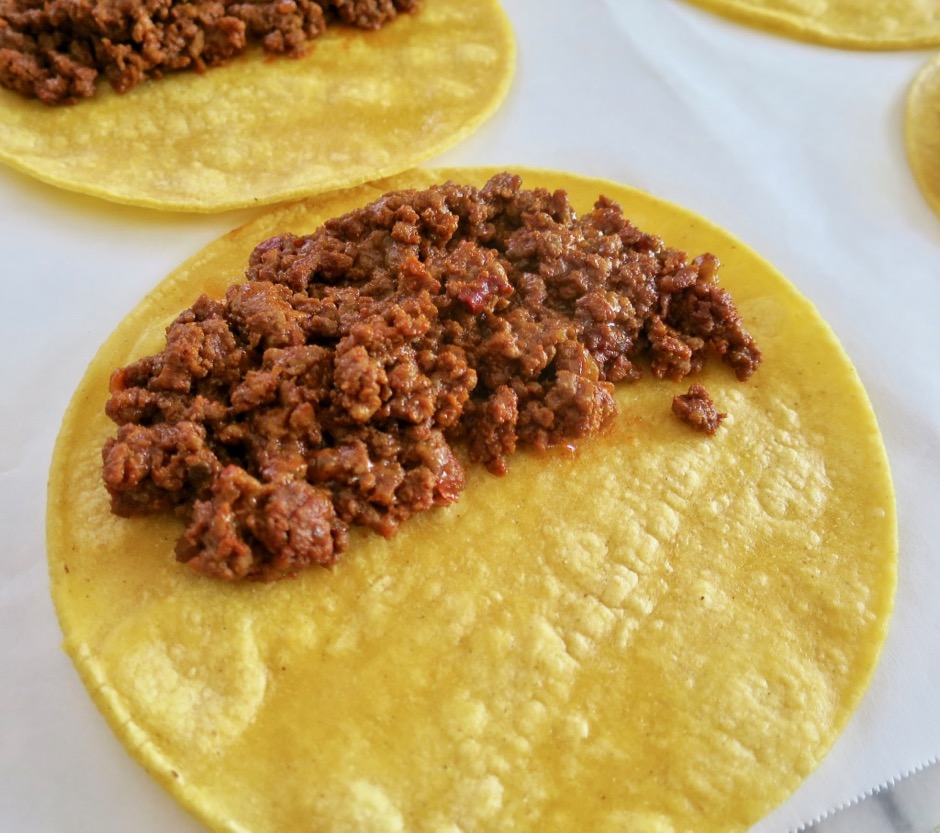
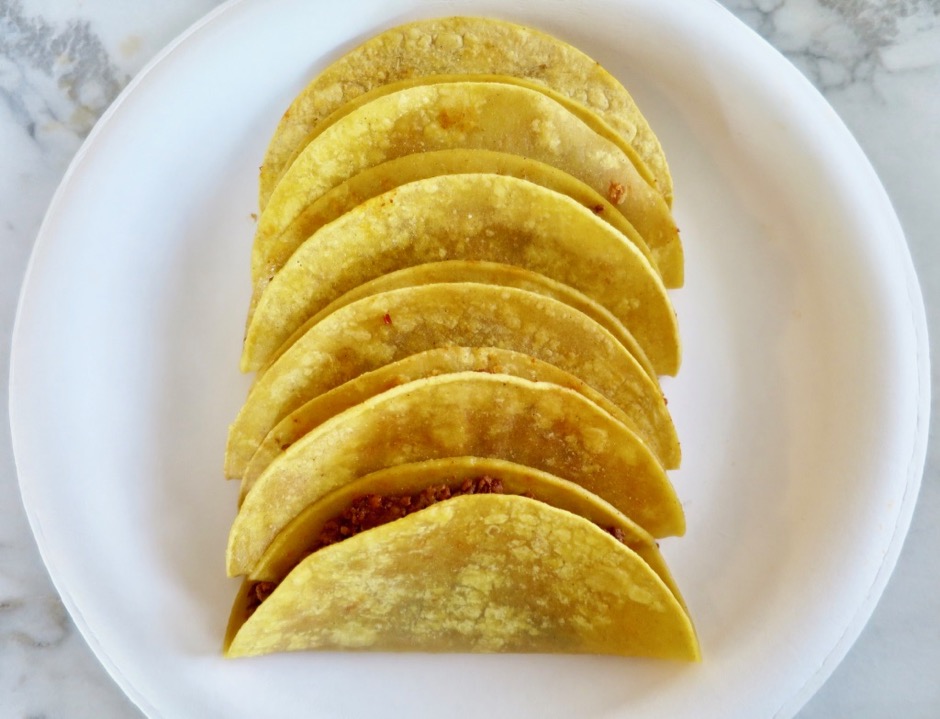
The meat filling is delicious. Once cooked, it is spooned on to one side of the prepared tortilla.  The tortillas are then folded over and ready to be fried.

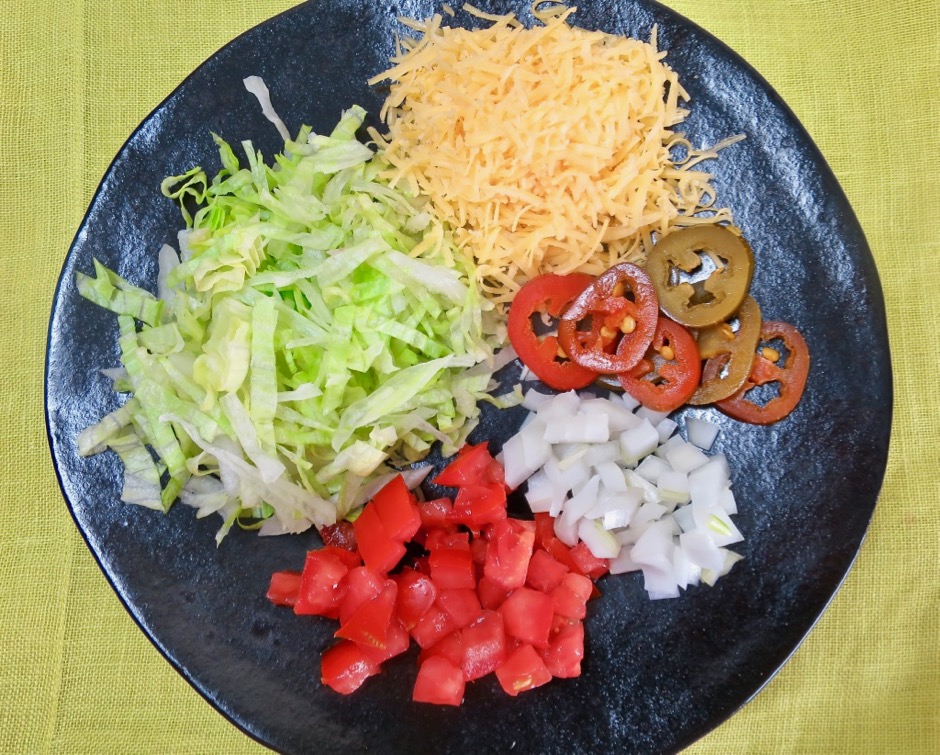
The cool thing about these crispy tacos is that the folded edge of the tortilla stays pliable.  Once they are fried crisp, you are able to pry them open and fill with your favorite taco garnishes.  And because the meat filling and garnishes are on one side of the tortilla and not stacked from the bottom up, each bite includes savory meat and whatever other fillings you prefer (ours are cheese, pickled jalapeños, onions, diced tomatoes, and crispy iceberg lettuce).  I serve these with my favorite sopa de arroz and Cuban style black beans.


Tacos Dorados
 
Adapted from Cook's Illustrated
Author:
Ingredients
  • 1 pound ground sirloin or 90 percent lean ground beef
  • vegetable oil
  • 1 cup finely chopped onion
  • 1½ tablespoons mild chile powder
  • 1 tablespoon paprika
  • 1½ teaspoons ground cumin
  • ¾ teaspoon garlic powder
  • ½ teaspoon dried oregano
  • 1½ teaspoons kosher salt
  • 1½ tablespoons tomato paste
  • 1½ teaspoons finely minced chipotle chile in adobo
  • 2 ounces finely shredded cheddar cheese (1/2 cup)
  • 12 (6-inch) corn tortillas
  • Taco Garnishes:
  • shredded iceberg lettuce
  • diced onion
  • diced tomato
  • pickled jalapeños
  • shredded cheddar cheese
  • sour cream
Preparation
  1. Adjust oven rack to middle position and heat oven to 400 degrees.
  2. Combine chile powder, paprika, cumin, garlic powder, oregano and kosher salt in a small bowl.
  3. Heat 1 tablespoon canola oil in a 12-inch skillet over medium heat. Add onion and cook, stirring occasionally until softened, about 5 minutes. Add spice mix to the onions, stirring constantly for 1 minute. Stir in tomato paste and chipotle chile and cook for another minute. Add ground sirloin and cook, using a wooden spoon to break meat into pieces no larger than ¼-inch, until beef is cooked through and no longer pink, 5-7 minutes. Transfer beef to a bowl; stir in cheddar until cheese has melted and mixture is homogenous. Wipe skillet clean with paper towels.
  4. Thoroughly brush both sides of the tortillas with canola oil (or spray lightly with cooking spray). Arrange tortillas, overlapping slightly, on a foil-lined baking sheet (2 rows of 6 tortillas). Bake until tortillas are warm and pliable, about 5 minutes. Reduce oven temperature to 200 degrees.
  5. Place 2 tablespoons of filling on 1 side of each tortilla. Fold and press to close tortilla. The filled tortillas can be covered and refrigerated for up to 8 hours.
  6. Set a small wire rack in a rimmed backing sheet (for first batch of cooked tacos). Heat ¼ cup oil in the skillet over medium to medium-high heat until shimmering. Arrange 6 tacos in the skillet with open sides facing away from you. Cook, adjusting heat so oil actively sizzles and bubbles appear around the edges of the tacos, until tacos are crispy and deeply browned on 1 side, about 2-3 minutes. Using a spatula, carefully flip tacos. Cook until browned on second side, about 2 minutes, adjusting heat as necessary.
  7. Remove skillet from heat and transfer tacos to a paper towel lined plate and blot tops with paper towels. Transfer tacos to prepared rack and place in oven to keep warm. Return skillet to medium to medium-high heat and cook remaining tacos.
  8. Serve tacos with your favorite garnishes, rice and beans.


Beef, Dinner, Mexican, Recipes

Dry-Rubbed Ribeye Steak

September 2, 2016

Dry-Rubbed Grilled Ribeye

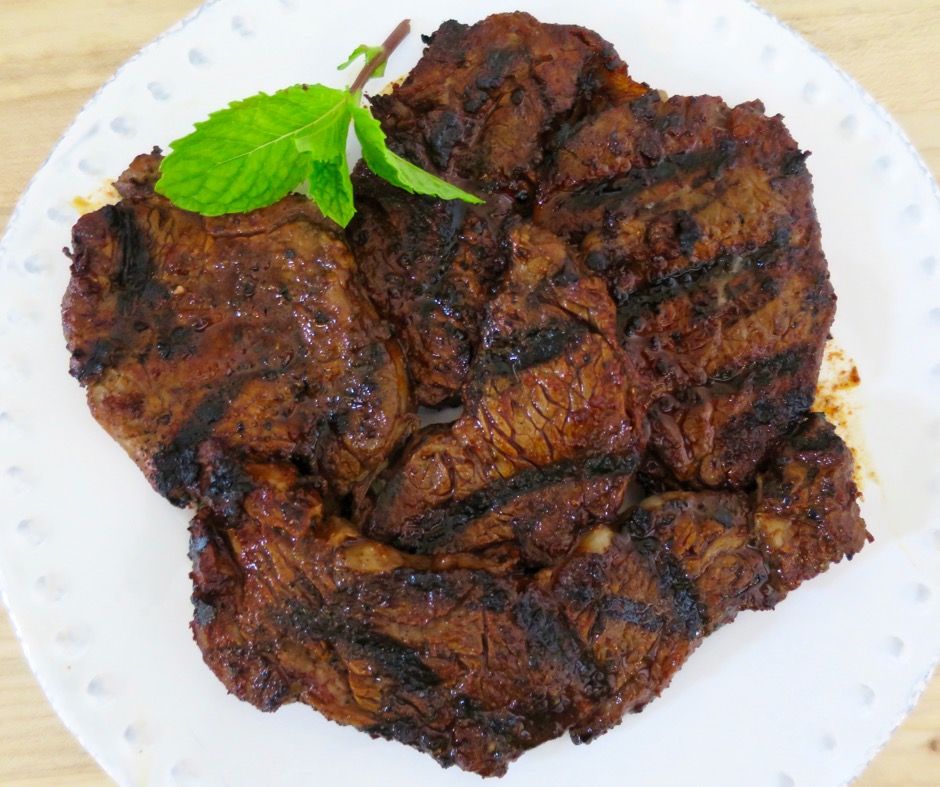
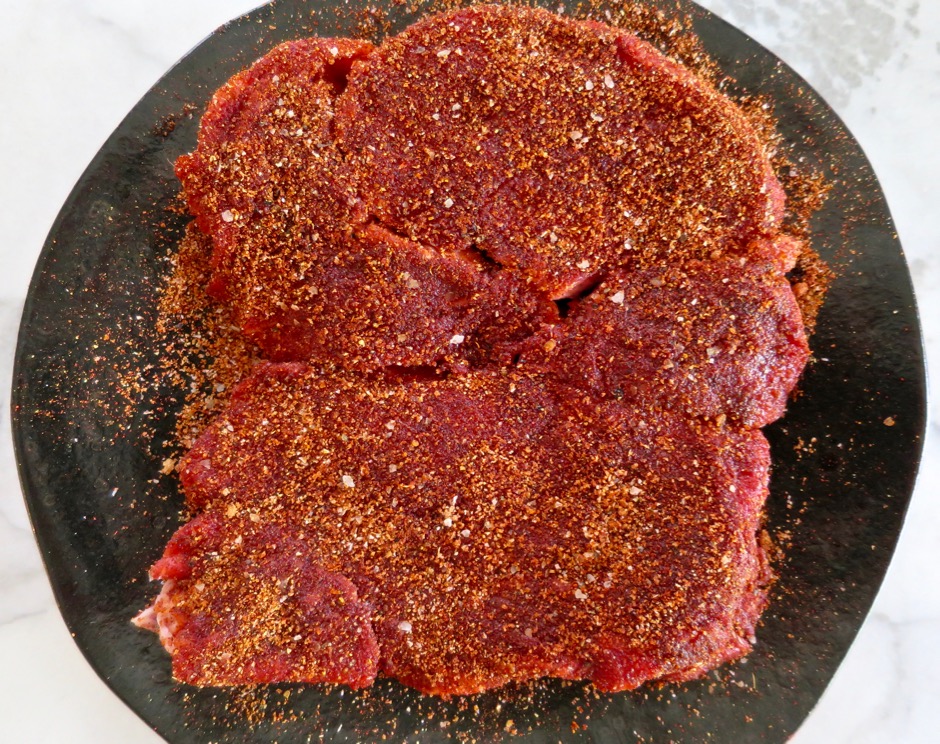
Grilling a steak always makes for a quick delicious meal, especially when that steak is liberally coated with a flavorful mixture of spices!  This particular dry rub is adapted from Bon Appetit magazine.  We used the dry rub on skirt and ribeye steaks.  Both were delicious, but there’s something about the tenderness and flavor of a ribeye that is truly satisfying.

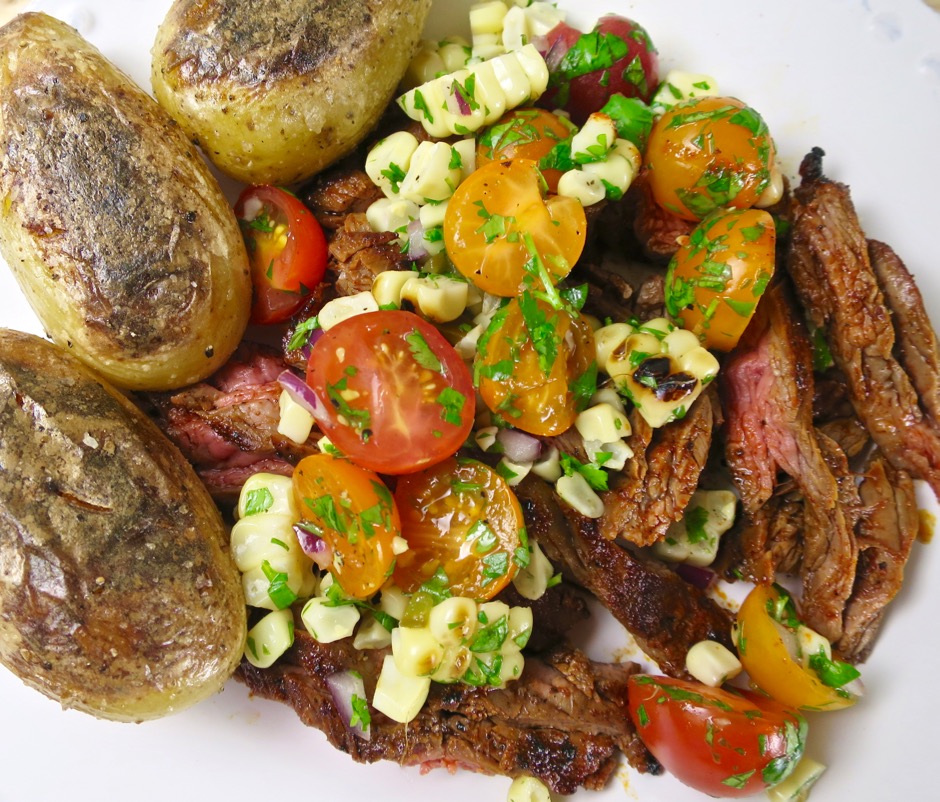
Dry-Rubbed Grilled Ribeye with Corn Salsa

Serve the steak thinly sliced with grilled corn salsa and roasted potatoes.  This is a wonderful meal to make for a small group of friends.  You can prepare the salsa and potatoes in advance, grill the steak and serve everything on a big platter.

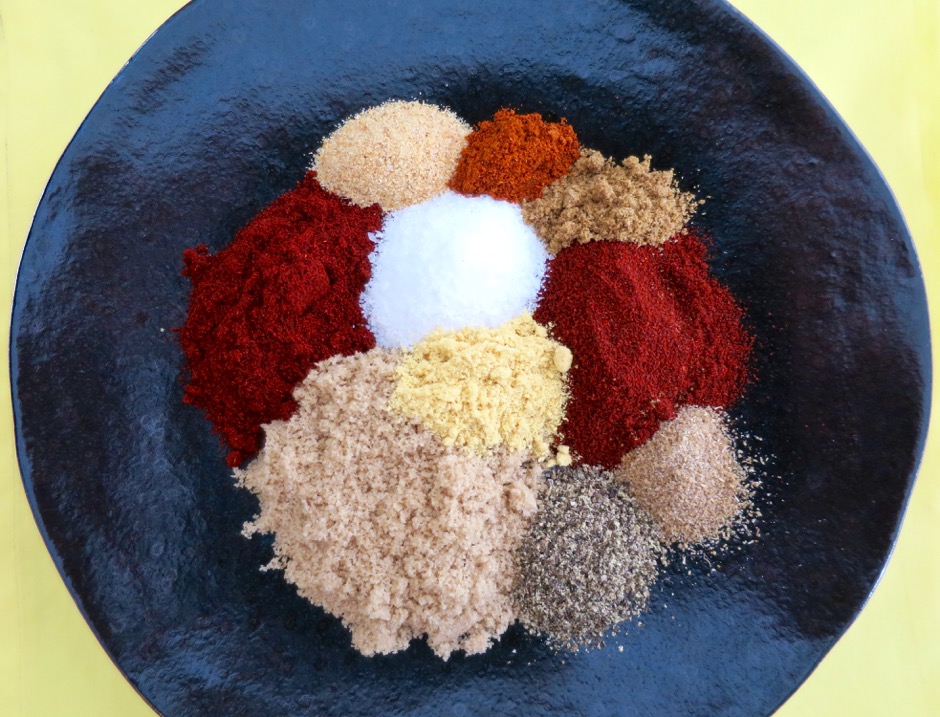
Dry Rub Spices

If you like your steak quite spicy, use the 1 teaspoon of cayenne called for in the original recipe. I used a half teaspoon instead, and it was perfect since I like to drizzle our homemade hot sauce over my tacos.

Dry-Rubbed Ribeye

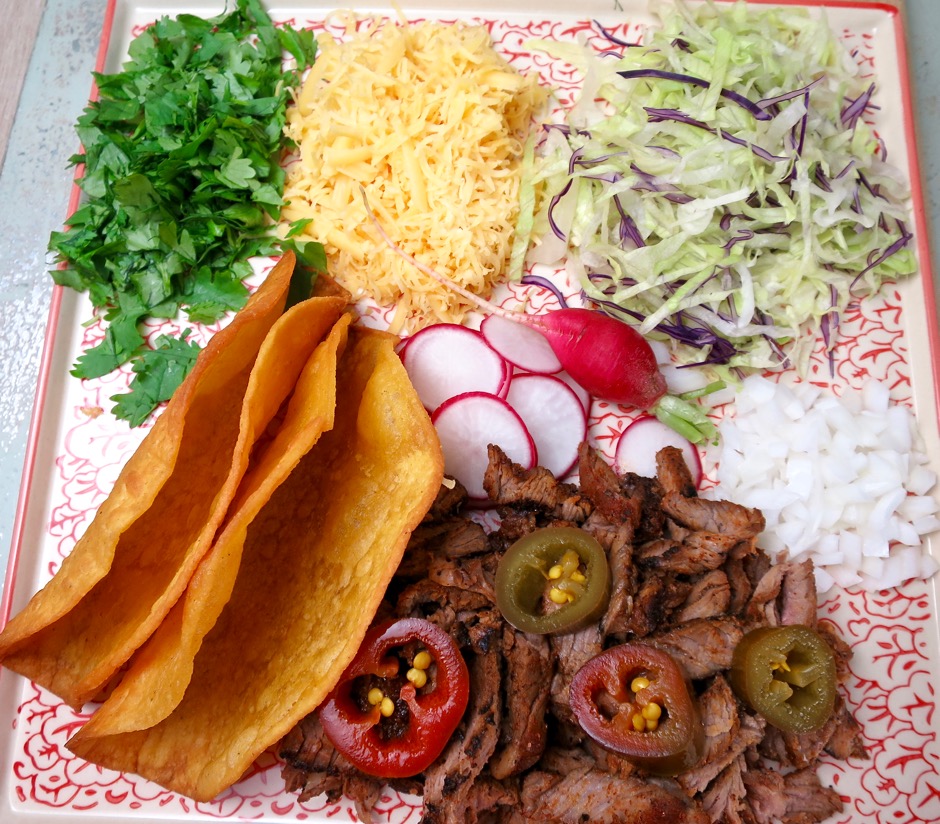
We butterflied two center-cut ribeye steaks then liberally coated each side with the dry rub and a drizzle of canola oil to help the dry rub adhere better.  One of our favorite ways to serve the grilled steak is in crispy tacos (a tasty version of carne asada).

Dry-Rubbed Grilled Ribeye Tacos


Dry-Rubbed Ribeye Steak
 
Adapted from Bon Appetit magazine
Author:
Serves: 4
Ingredients
  • 2 tablespoons light brown sugar
  • 1 tablespoon hatch mild chile powder (or ancho chile powder)
  • 1 tablespoon paprika
  • 2 teaspoons kosher salt
  • 1 teaspoon freshly ground black pepper
  • ½ teaspoon cayenne pepper
  • 1 teaspoon granulated garlic
  • 1 teaspoon English mustard powder
  • ½ teaspoon ground coriander
  • ½ teaspoon ground cumin
  • 1½ pounds ribeye steak (butterflied to make thinner steaks)
Preparation
  1. Combine all dry rub ingredients in a small bowl.
  2. Coat steaks with all of the dry rub. Drizzle a little canola oil over the steaks to help the rub adhere.
  3. Grill steaks to your desired doneness. Serve steaks with roasted potatoes and grilled corn salsa or as a filling in crispy tacos.


Chicken, Dinner, Lactose Free, Mexican, Pressure Cooker, Recipes

Pressure Cooker Chicken Chile Verde

July 30, 2016

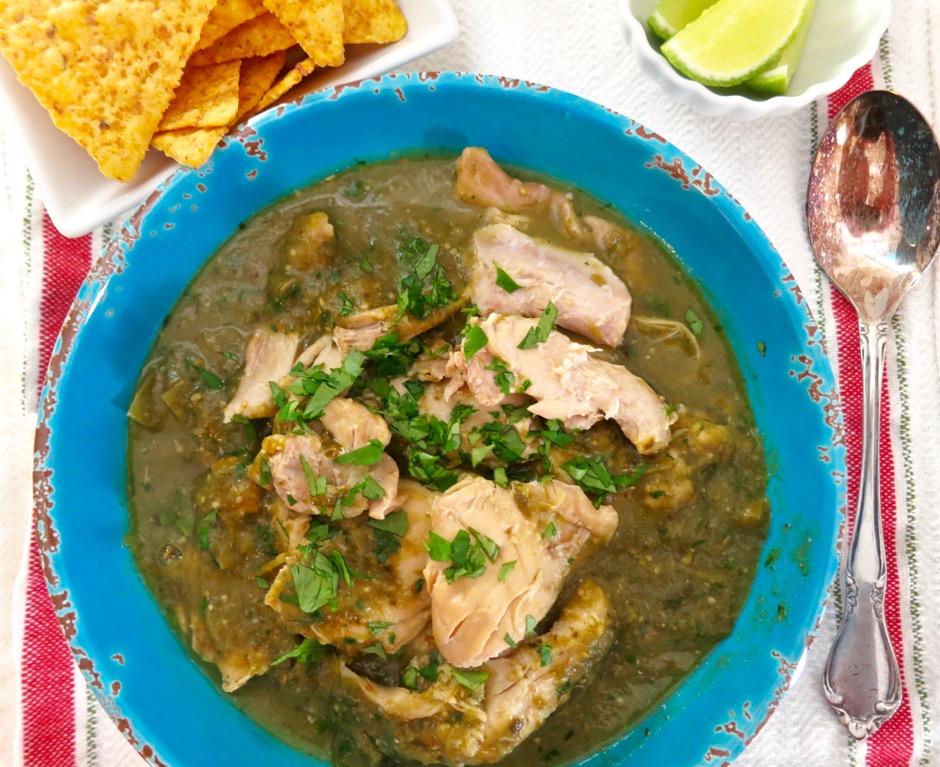
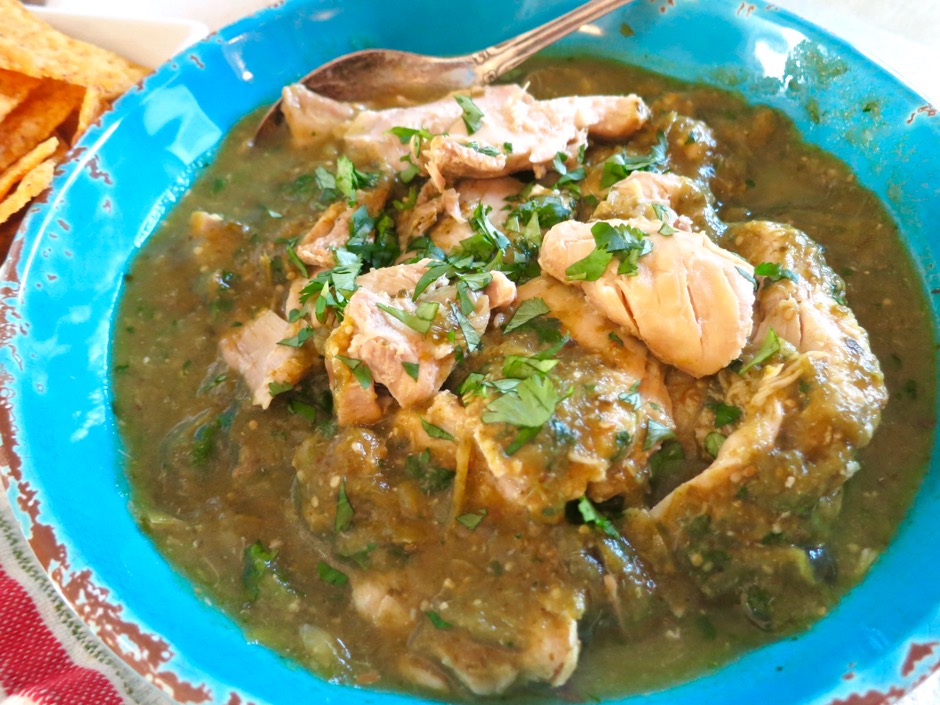
Pressure Cooker Chicken Chile Verde

We bought a pressure cooker several years ago and each time I use it, I appreciate its usefulness more and more. Some say that with pressure cooking there will be less flavor because of the shortened cooking time involved, but the opposite is true.  Your food actually maintains flavor and nutrients when cooking in the closed environment of a pressure cooker unlike with other longer stove top cooking techniques.  Besides being able to serve fork tender meat such as beef stew in just 25 minutes, pressure cooking keeps the kitchen cool and uses less energy.  Chile verde is one of our favorite dishes.  So Serious Eats, Kenji Lopez-Alt’s version of pressure cooker chicken chile verde was definitely a must try recipe.
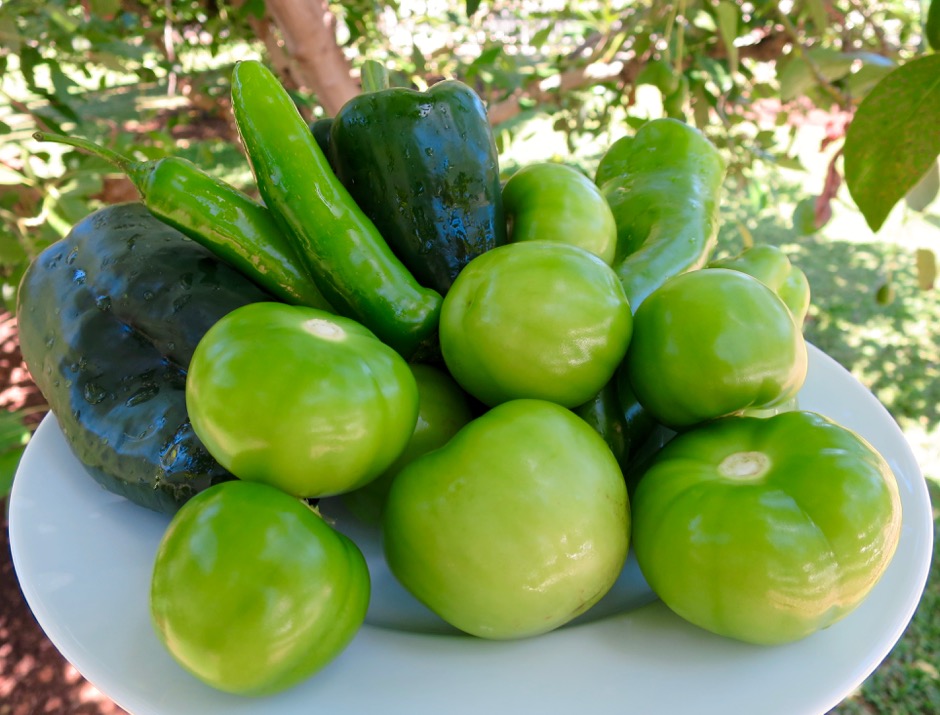
Chiles & Tomatillos

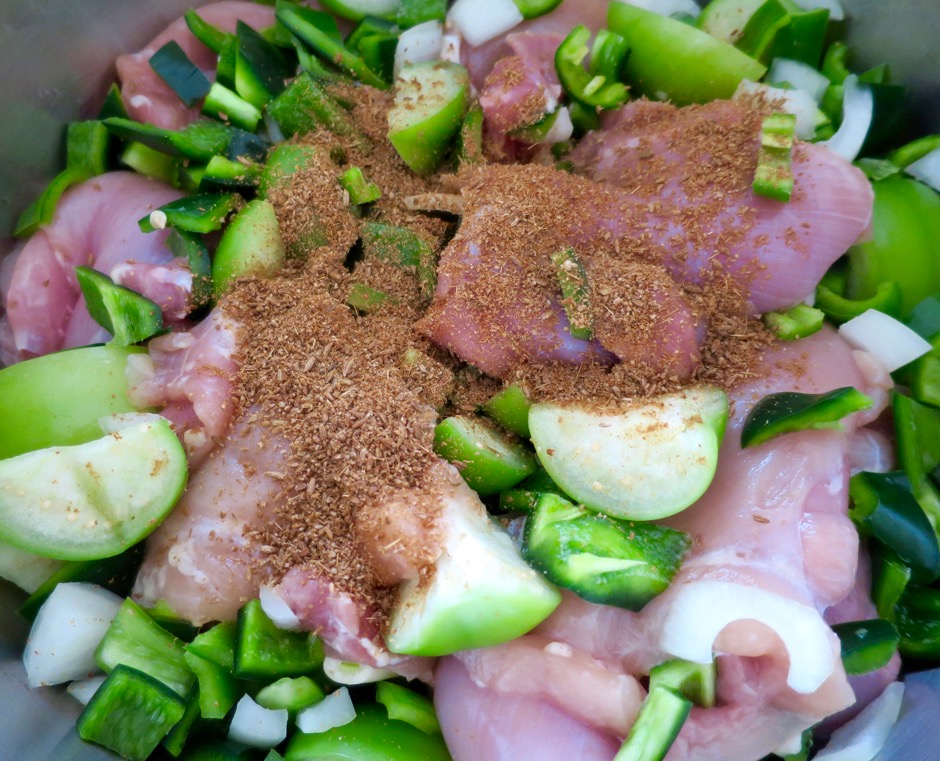
Beautiful chiles, tomatillos, onion and garlic go into the pot along with the chicken.  It couldn’t be easier.  It may seem odd that there is no liquid in the recipe, but under pressure all the liquid necessary comes from the tomatillos, peppers, onions and garlic.

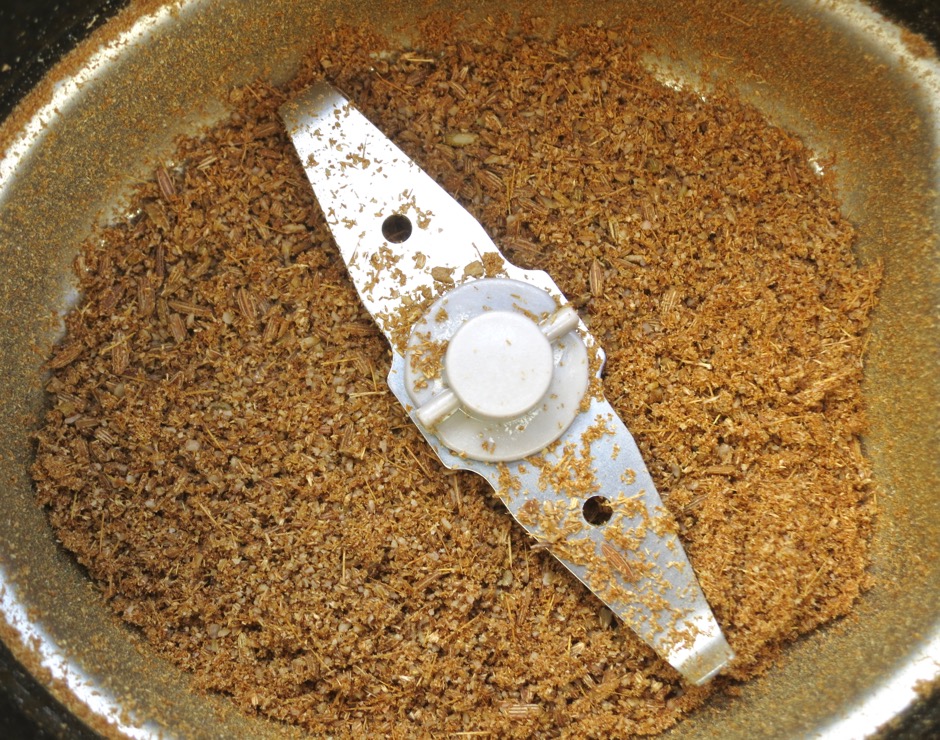
Toasted & Ground Cumin Seeds

You’ll get the freshest flavor if you toast and grind cumin seeds, but in a pinch you can use ground cumin.

Pressure Cooker Chicken Chile Verde Ingredients

All the ingredients go into the pressure cooker.  Seal the lid and in no time at all you will have the most delicious chicken chile verde.

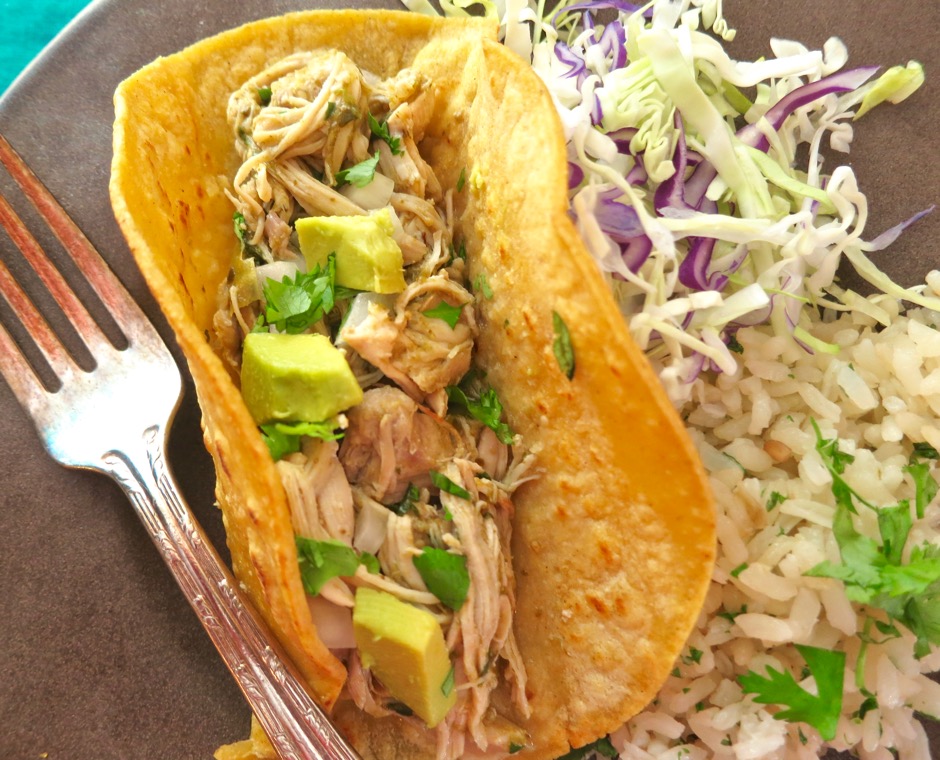
Pressure Cooker Chicken Chile Verde Tacos

The chicken becomes so tender, it pulls apart effortlessly and makes a great filling for tacos or burritos.

Pressure Cooker Chicken Chile Verde

Pressure Cooker Chicken Chile Verde
 
Recipe adapted from Kenji Lopez-Alt (Serious Eats)
Author:
Cuisine: Mexican
Serves: 6
Ingredients
  • 3 pounds boneless, skinless chicken thighs, trimmed well
  • 1 pound tomatillos, husks discarded, rinsed and quartered
  • 1 pound poblano peppers, roughly chopped, seeds and stems discarded
  • 6 ounces Anaheim peppers, roughly chopped, seeds and stems discarded
  • 2 Serrano or jalapeño chiles, roughly chopped, stems discarded
  • 1 medium onion - about 10 ounces, roughly chopped
  • 6 medium garlic cloves, peeled
  • 1 tablespoon whole cumin seeds, toasted and ground
  • 2½ teaspoons kosher salt, divided
  • ½ cup packed cilantro + more for garnish
  • 2 teaspoons fish sauce
  • corn tortillas for serving
Preparation
  1. Combine chicken, tomatillos, poblano, Anaheim peppers, Serrano chiles, onion, garlic, cumin and 1½ teaspoons kosher salt in your pressure cooker. Heat over medium-high heat until gently sizzling then seal pressure cooker. Once the pressure cooker comes up to pressure, lower the heat to a low burner setting so that it maintains pressure without exceeding it. Cook for 20 minutes. Turn off the heat and use the quick pressure release method either by pressing the button on the handle or by running cold water over the lid in the sink. Once all pressure has been released it is safe to open the lid.
  2. Using tongs, transfer chicken to a bowl. Add cilantro and fish sauce to remaining contents of pressure cooker. Blend with an immersion blender and season with additional 1 teaspoon kosher salt to taste (I prefer to keep the sauce a bit on the chunkier side).
  3. Return chicken to sauce and coarsely shred if desired. Serve chicken over rice, in tacos or burritos.


Beef, Dinner, Mexican, Recipes

Beef Barbacoa

December 16, 2015

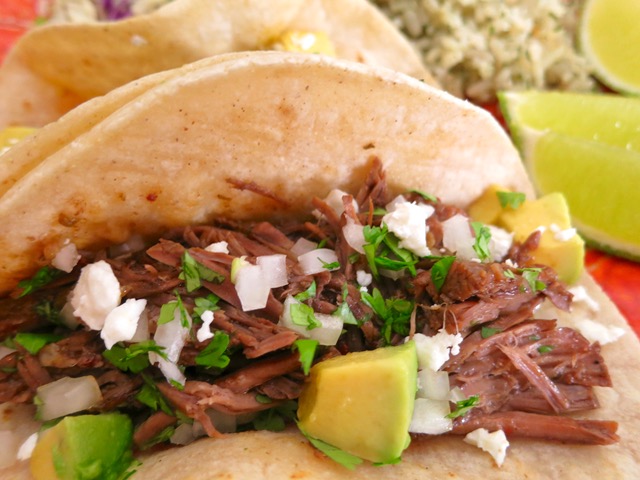
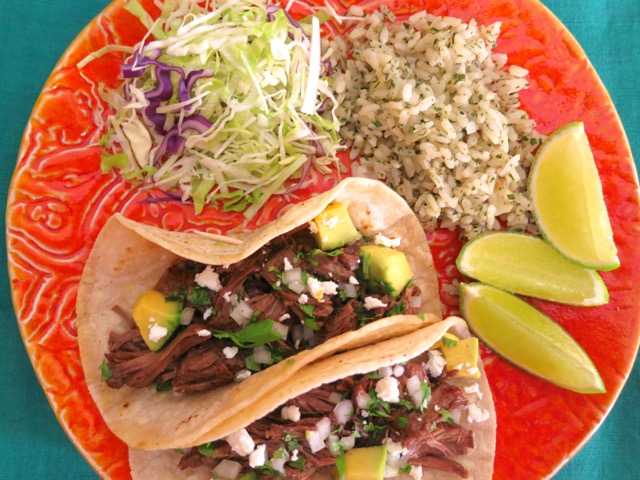
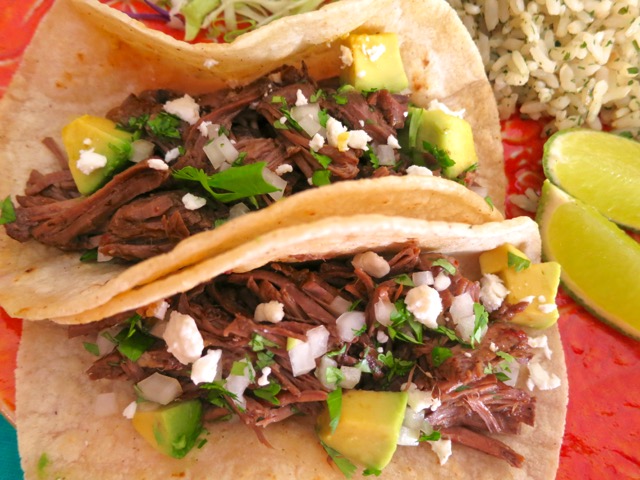
Beef Barbacoa TacosWe can never seem to get enough Mexican cuisine, with its amazing diversity and dynamic flavors.  Braised beef, pork and chicken dishes are some of our favorite meals.  So with that thought in mind, a Mexican-style braise was a natural choice.  One thing leads to another.  We had tacos the first night and quesadillas the following night.  This tasty beef barbacoa would be fantastic in tamales or enchiladas too. I love the idea that so many meals can be made from one recipe.  Plus, you can freeze the beef barbacoa and whip up a quick meal whenever you’re short on time.

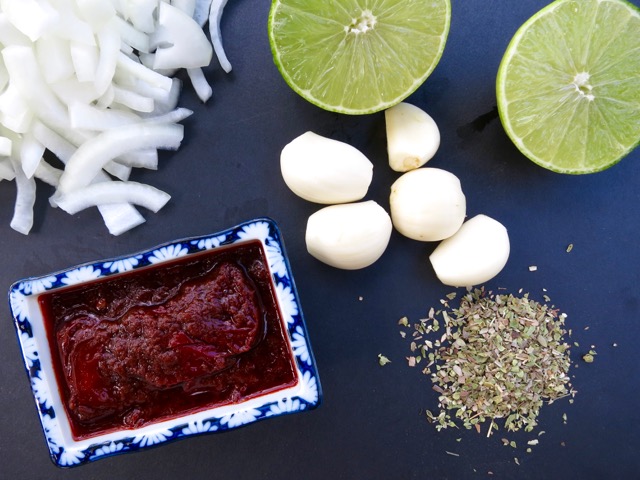
Onion, Lime, Garlic, Oregano, Chipotle Peppers in AdoboThe chipotle chiles in adobo add a bit of smokiness and subtle heat to the beef.  It wouldn’t be the same without them.

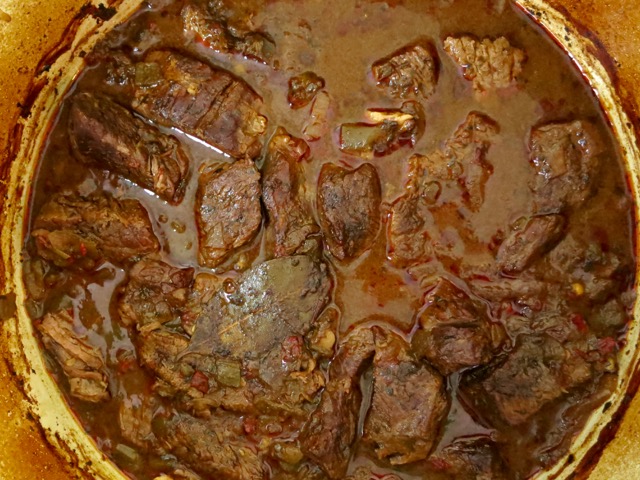
Beef Barbacoa

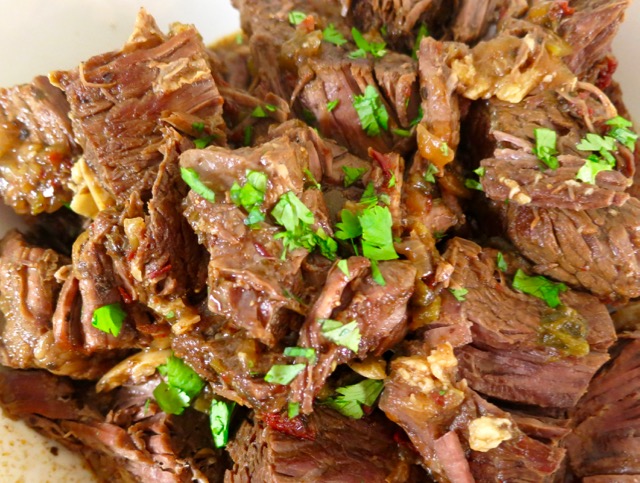
Beef Barbacoa

Beef Barbacoa Tacos

Beef Barbacoa

Beef Barbacoa
 
Updated 2/01/16
Author:
Serves: 6 - 8
Ingredients
  • 3½ pounds trimmed chuck steak, cut into 2 inch chunks
  • kosher salt
  • freshly ground black pepper
  • 1 tablespoon canola oil
  • 1 medium onion, thinly sliced
  • 5 garlic cloves, smashed
  • 1 tablespoon ground cumin
  • 1 tablespoon dried oregano
  • 2 teaspoons mild chile powder
  • 2½ cups chicken broth
  • 4 chipotle chiles in adobo sauce, seeded and minced + 2 teaspoons adobo sauce
  • 2 tablespoons lime juice
  • 2 tablespoons apple cider vinegar
  • 1 4 ounce can diced green chiles
  • ½ teaspoon kosher salt
  • 1 bay leaf
Preparation
  1. Preheat oven to 300 degrees
  2. Heat a few teaspoons of oil in a large Dutch oven or similar oven-proof pot with a cover over medium-high heat. Lightly season beef with kosher salt and a few grinds of pepper. Brown beef in two batches, adding more oil to the pan if needed. Beef should be nicely browned on two sides (let brown on one side for a few minutes without moving the beef). Adjust heat if too high. Remove beef to a platter and set aside.
  3. Using the same pot, lower heat to medium and sauté onions for a minute or two. Add a little oil if pan is too dry. Add garlic, cumin, oregano and chile powder. Stir constantly for a few seconds. Stir in 1 cup of chicken broth, scraping up any browned bits on the bottom of the pot. Add meat back to the pot. Pour remaining 1½ cups broth to pot, along with the chipotle chiles, 2 teaspoons adobo sauce, lime juice, apple cider vinegar, diced green chiles, ½ teaspoon kosher salt and bay leaf. Stir gently and bring to a boil over medium high heat. Cover and transfer to the oven.
  4. Let beef cook for 3 hours, stirring once during the cooking time. Remove from the oven. The meat should be fall apart tender. Remove bay leaf. Taste and add more salt if needed. Shred meat to desired consistency. Serve with corn tortillas that are gently heating on a comal or fried if you prefer.


Lactose Free, Mexican, Recipes, Rice Dishes

Garlicky Baked White Rice with Cilantro

November 24, 2015

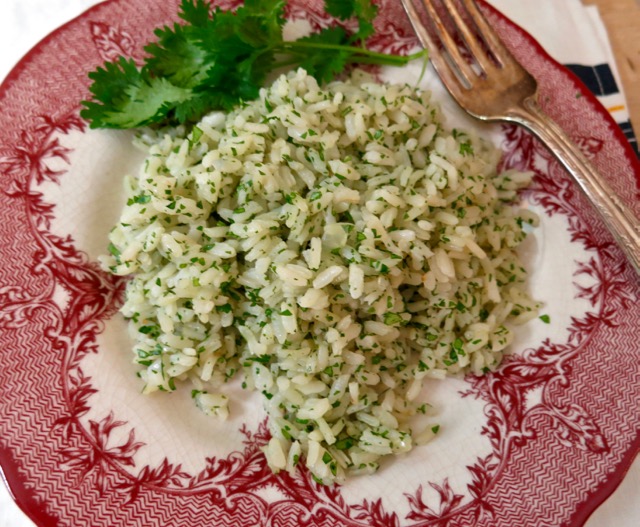
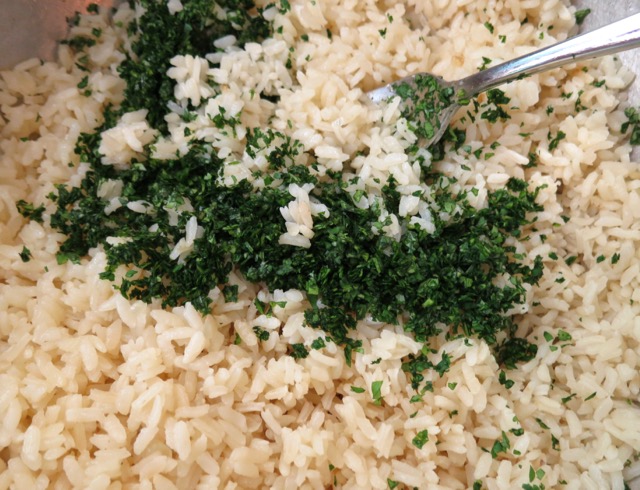
Garlicky White Rice with CilantroThis is one of those recipes that I never get tired of.  I’ve been making it for years and still find it to be one of the best rice dishes around.  It is simple to make, has excellent  flavor and texture, and it’s very versatile. For those of you who loathe cilantro, don’t leave yet. This rice is equally delicious without the cilantro.

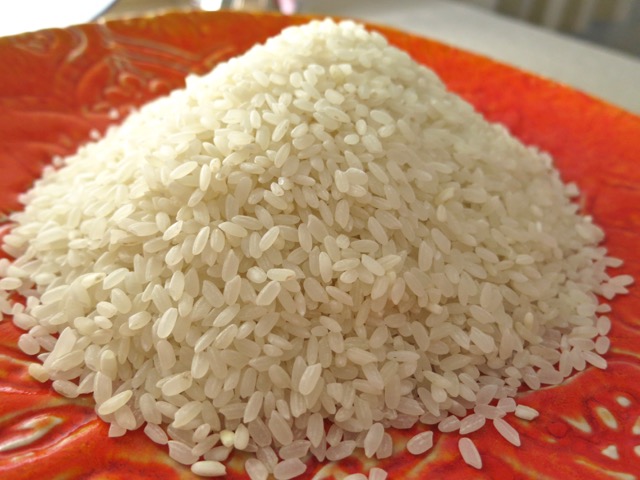
Medium Grain Rice The original recipe comes from Rick Bayless, master of Mexican cuisine.  Rick sprinkles chopped parsley over the cooked rice rather than mixing it into the rice.  Though we serve the rice with Mexican meals, you could change things around and add chopped fresh dill, or chives, and serve the rice with roasted chicken or grilled fish. Sometimes I don’t add any herbs to it at all.

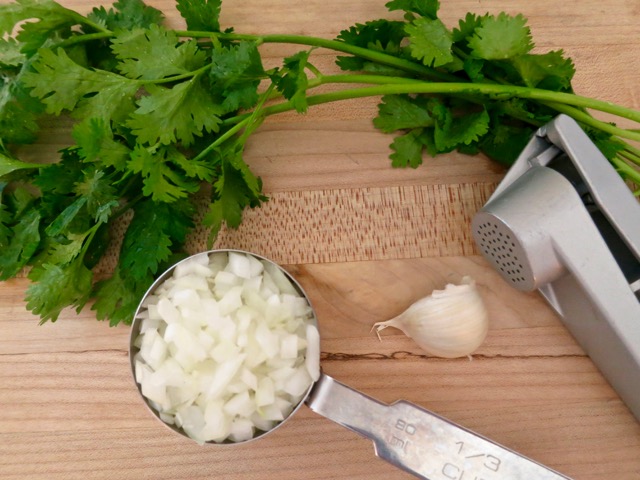
Cilantro, Diced Onion, Garlic With just a few ingredients and one pot, you will have delicious rice in 30 minutes.

Garlicky White Rice with Cilantro

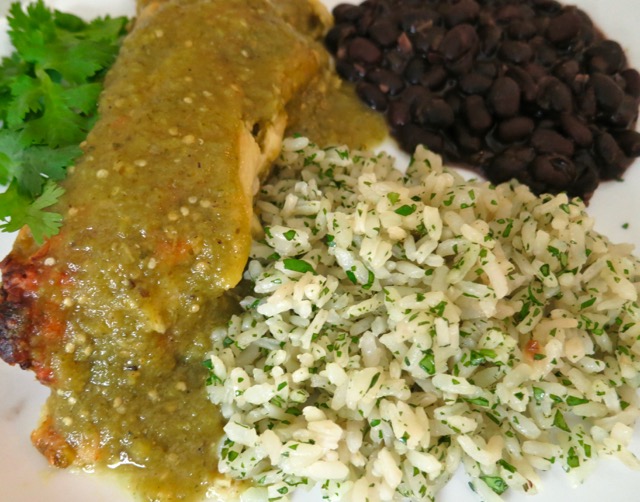
Garlicky White Rice with Cilantro, Enchiladas & Black Beans

Garlicky White Rice with Cilantro
 
Author:
Serves: 6
Ingredients
  • 1½ tablespoons canola oil
  • 1½ cups medium grain white rice
  • ⅓ heaping cup chopped onion
  • 1 medium - large garlic clove
  • 1 14 ounce can chicken broth
  • 1 teaspoon salt
  • 3 tablespoons (or more) finely chopped cilantro
Preparation
  1. Preheat oven to 350 degrees
  2. Set a large oven-proof pot (with cover, 3½ - 5½ quart) over medium heat. Whatever pot you choose, try to use one with a wide bottom. I use my 5½ quart stainless steel Cuisinart multi-purpose pot but a smaller one would work as well.
  3. Heat oil for a minute or two. Add rice and onions to pot. Stir frequently for about 5 minutes. Add pressed garlic and stir for 30 seconds or so until fragrant, then mix in broth and salt. Increase heat to high and bring to a boil. As soon as the rice reaches a full boil, remove from the heat, cover, and transfer to the oven. Bake 25 minutes. Let rice stand undisturbed for 15 minutes. Fluff rice with a fork, stir in cilantro.


Follow

Get every new post delivered to your Inbox

Join other followers: