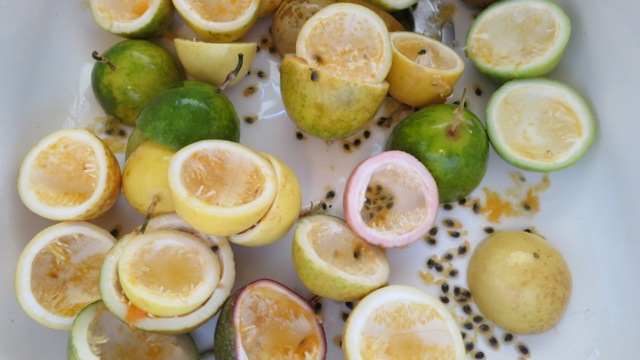
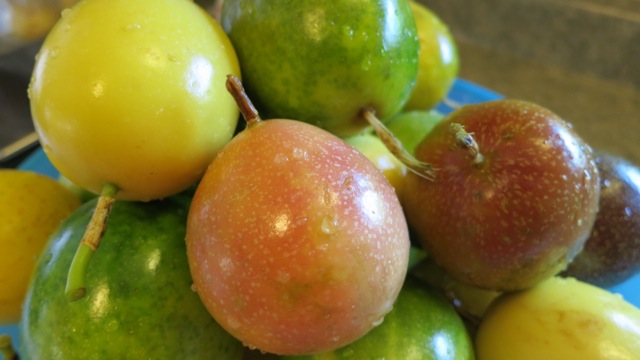
 Passion fruit, or lilikoi as we know it in Hawaii is a unique fruit with a pleasantly sweet and tart flavor. The most common varieties are yellow and purple and they can be found in some of our health food stores on Maui. They have a tough, waxy and smooth rind yet once you cut through the hard outer skin, the most amazing scent envelops the air. Once cut in half, you might wonder what all the fuss is about. Be patient. You will find an aromatic gelatinous seed filled pulp with a fragrance that is hard to describe. “Sublime” might hit the right note. An important step at the start of the jelly making process is to select a good recording of Beethoven’s Ninth Symphony and set the volume to “eleven” ala Spinal Tap!
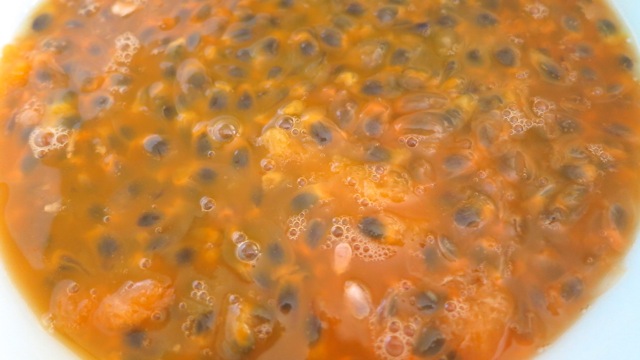
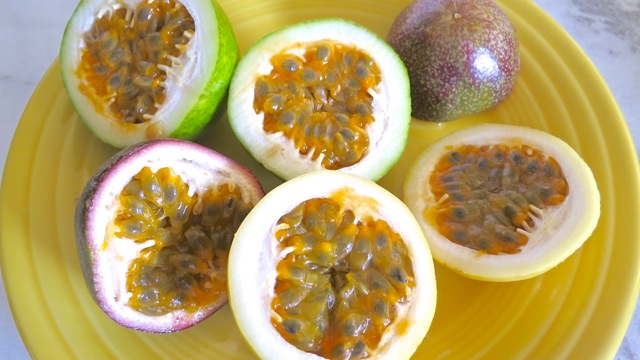 Using a spoon remove the pulp from the rind. You can strain the seeds out as we do to make juice for the jelly. The pulp from the fruit can be eaten as is, seeds and all.
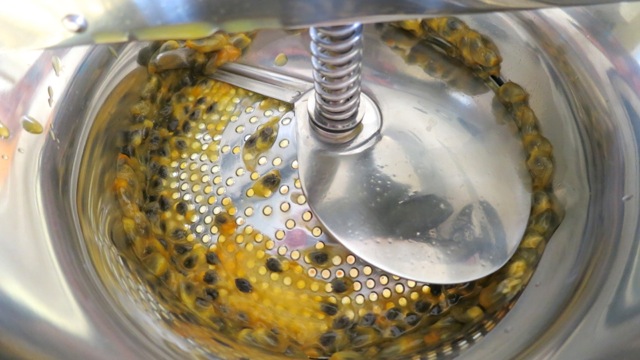
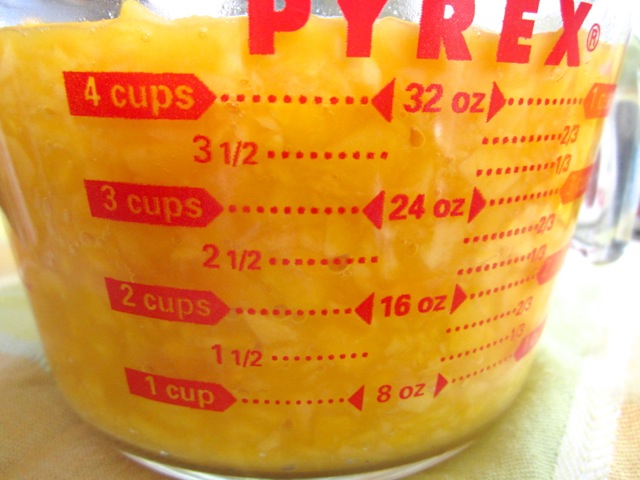
The best method to extract the juice is to first put all the pulp into a blender. Then pulse it on low speed for 45 -60 seconds. We turn our Vitamix to #3 setting. This will separate the seeds from the pulp but won’t break the seeds. If you have a food mill this is a good opportunity to use it. Pour the contents of the blender into the mill and turn, turn, turn. Soon you will have your 3 cups of lilikoi juice.
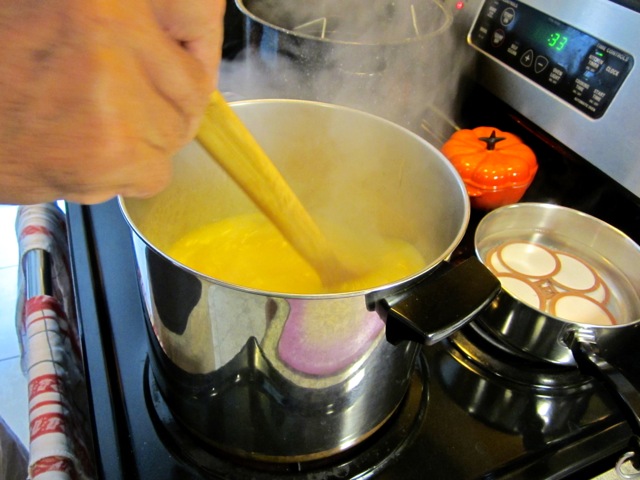
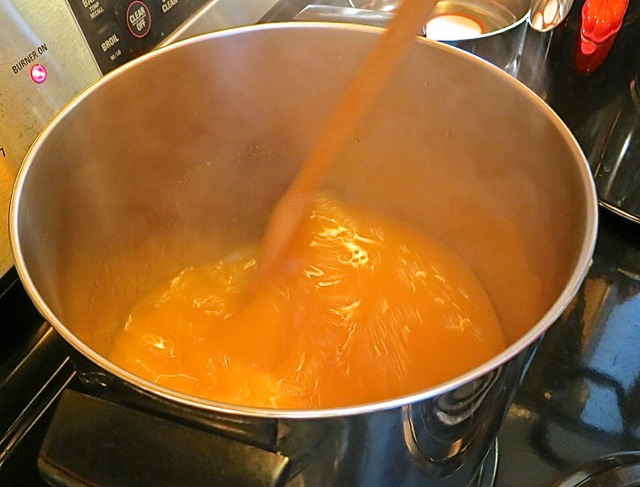 Bring the mixture to a boil, stirring constantly with a long wooden spoon.
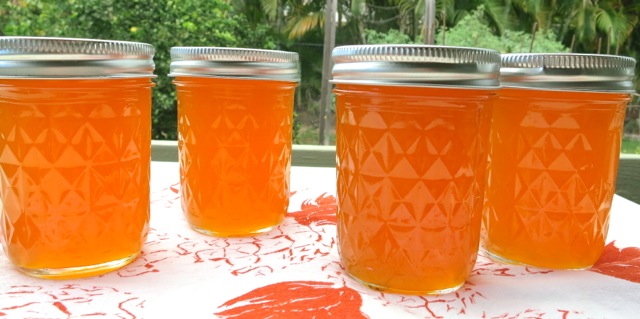
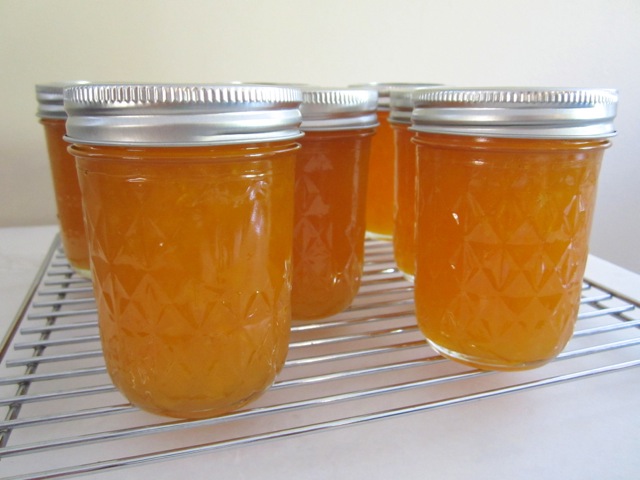
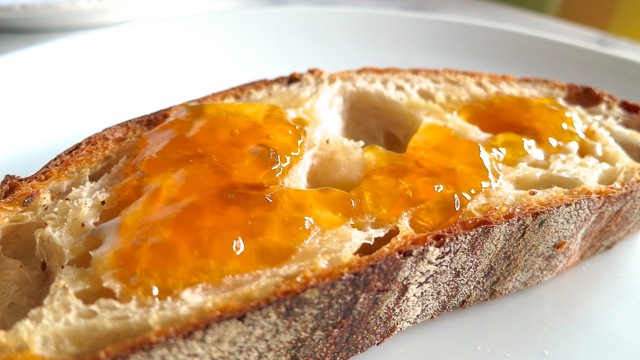 A few pats of butter on your favorite toast with a spoonful of lilikoi jelly. It’s divine.
Lilikoi Jelly
Updated 1/15/20 (increased lilikoi juice to 3 cups)
Makes 8 half pint jars
Ingredients
3 cups lilikoi juice (about 5 pounds of fresh lilikoi) or frozen, unsweetened passion fruit pulp (Goya brand)
1 cup water
7 1/2 cups sugar
6 ounces liquid pectin (2 pouches Certo brand)
Preparation
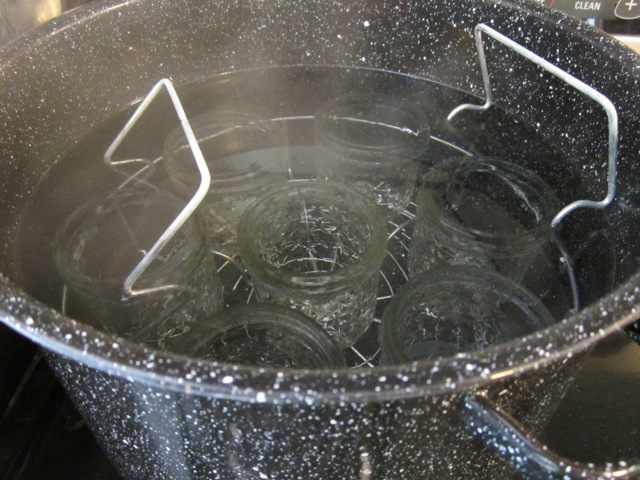
Prepare canner and canning jars.
Combine juice, water and sugar in a large, tall pot. Bring to a boil over high heat, stirring constantly. Immediately add liquid pectin and bring to a full, rolling boil. Boil rapidly for 1 minute, stirring constantly.
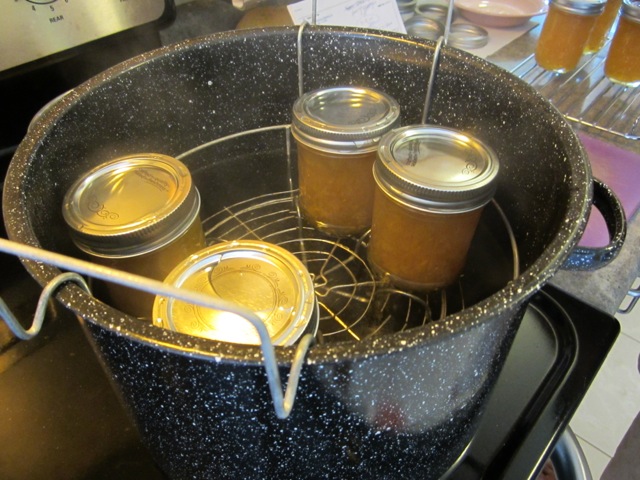
Remove from the heat, skim off foam (use a small fine mesh strainer) and pour into sterilized jars leaving 1/4 inch space between the jelly and rim of the jar. Secure 2 part lids and process for 10 minutes in boiling water canner. Turn off heat and leave jars in canning pot for 5 more minutes before removing to cool.
***Basic canning instructions can be found here.

