Browsing Category

Italian

Dinner, Italian, Lactose Free, Pasta, Recipes, Vegan, Vegetarian

Homemade Busiate Pasta

April 6, 2021

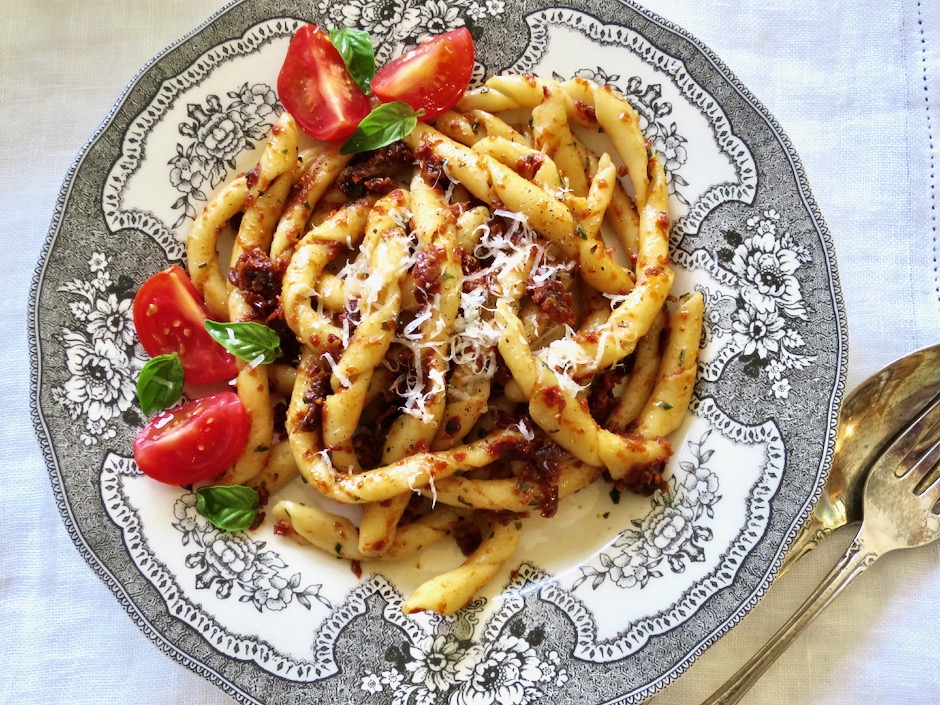
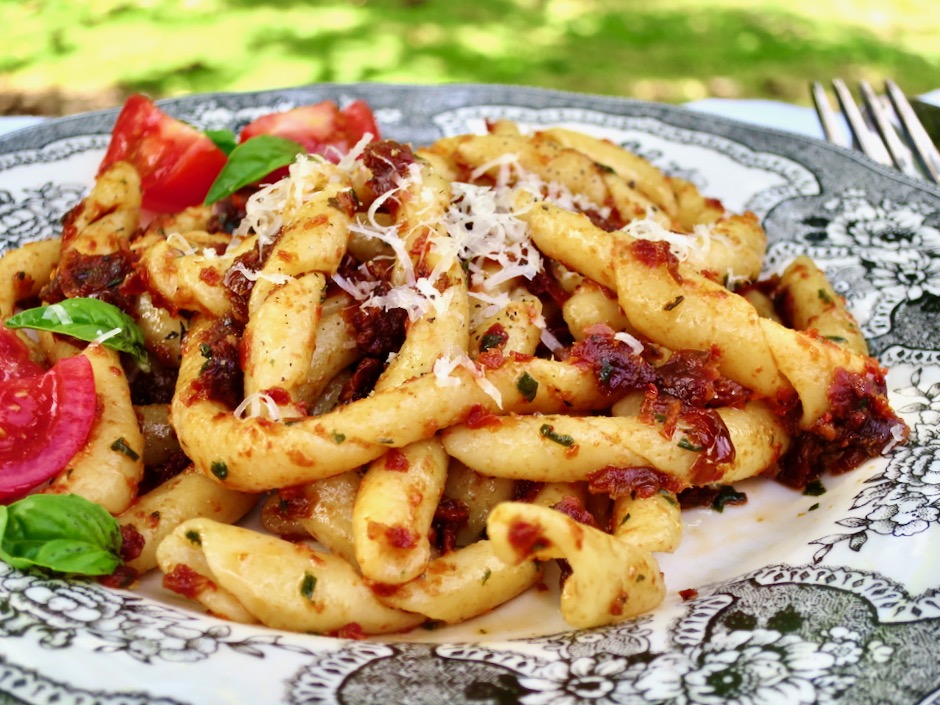
Busiate with Sun Dried Tomato Pesto

Busiate comes from Trapani, located on the west coast of Sicily.  The name is derived from buso, a Mediterranean grass, the stem of which was used to shape this spiraled pasta.  Today’s home cooks rely more on modern metal tools such as a ferretto.  Not having a ferretto, I used a thin wire cut from a metal hanger.  I have even used a thin, long, cake pop stick that worked fine.  It produced a thicker spiral but both are acceptable.

Homemade Busiate

Most recipes call for semolina flour, water and salt.  I tried this but found I preferred to use 00 flour with semolina.  I used a recipe from Thomas McNaughton’s Flour + Water Pasta cookbook.  Thomas is the Executive Chef and co-owner of the highly regarded Flour + Water restaurant in San Francisco.  The 00 flour and semolina along with warm water and kosher salt proved to be the perfect combination for a toothsome yet tender pasta.

Homemade Busiate

If you have a friend or family member available to help, it will shorten the time it takes you to shape the pasta.  This is especially true if you are making pasta for more than two servings.  On a lazy Sunday afternoon, I found that rolling and twisting the pasta dough was quite relaxing.

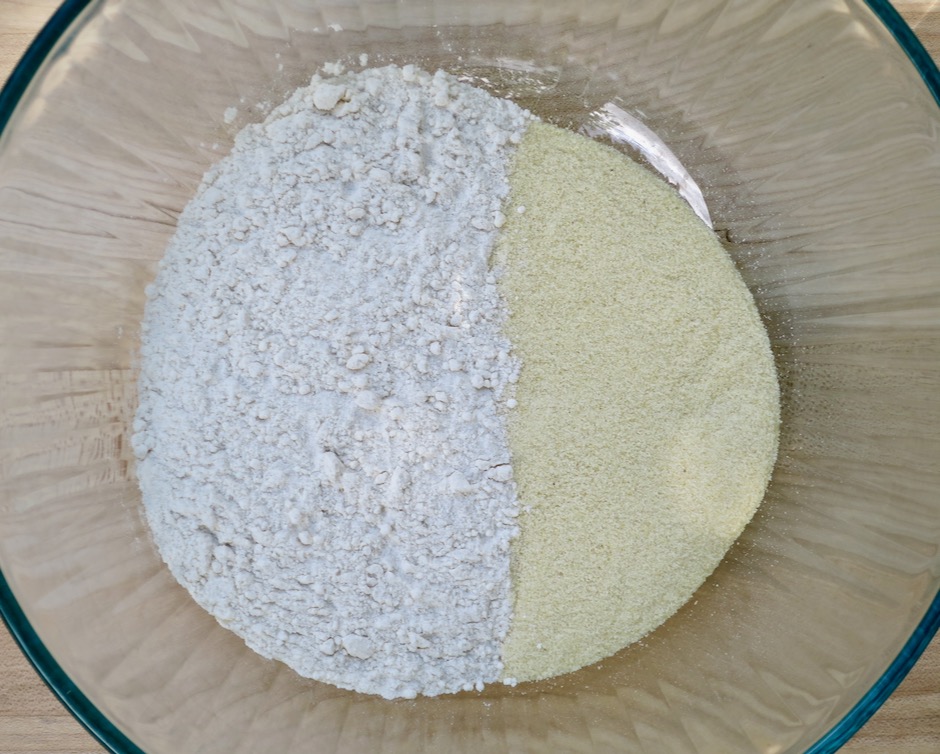
00 & Semolina Flour

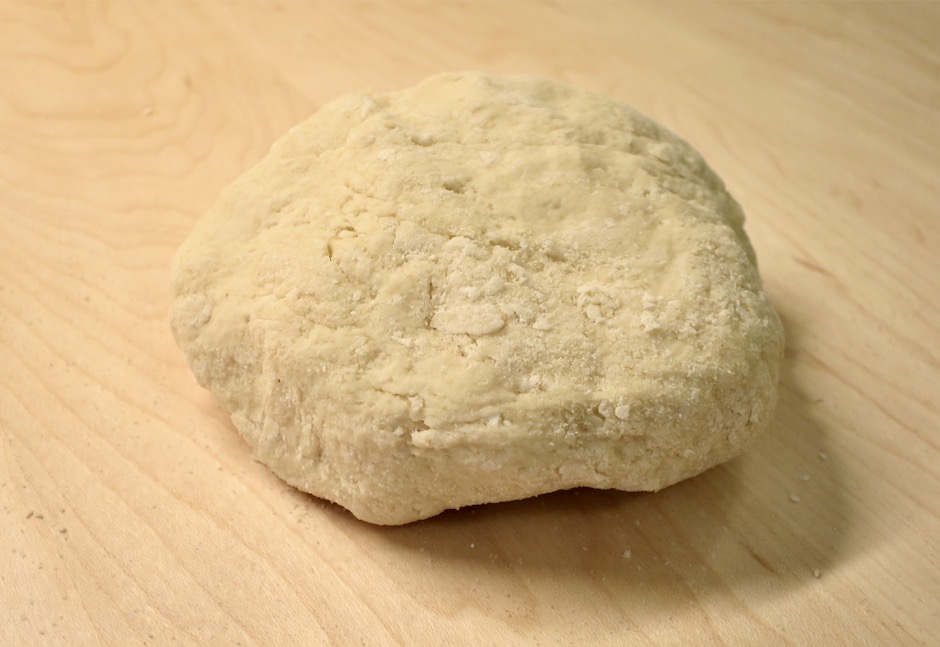
Busiate Dough

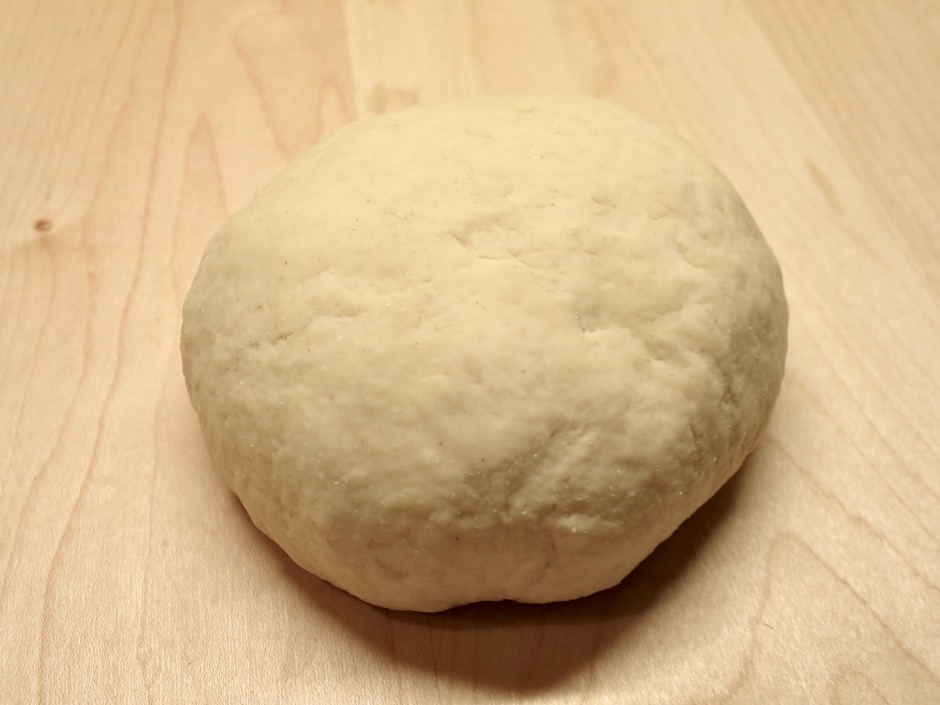
The dough will be very dry.  You can spritz it with a bit of water but not too much.  Once you knead the dough (about 10 minutes) it will become smoother and easier to handle.

Kneaded Busiate Dough

After kneading the dough, it is covered with plastic wrap and set aside to rest for 30 minutes.

Busiate Ropes

I made the ropes about the thickness of a standard birthday candle.  The pasta ropes can tighten up a bit so another quick roll before shaping is recommended.

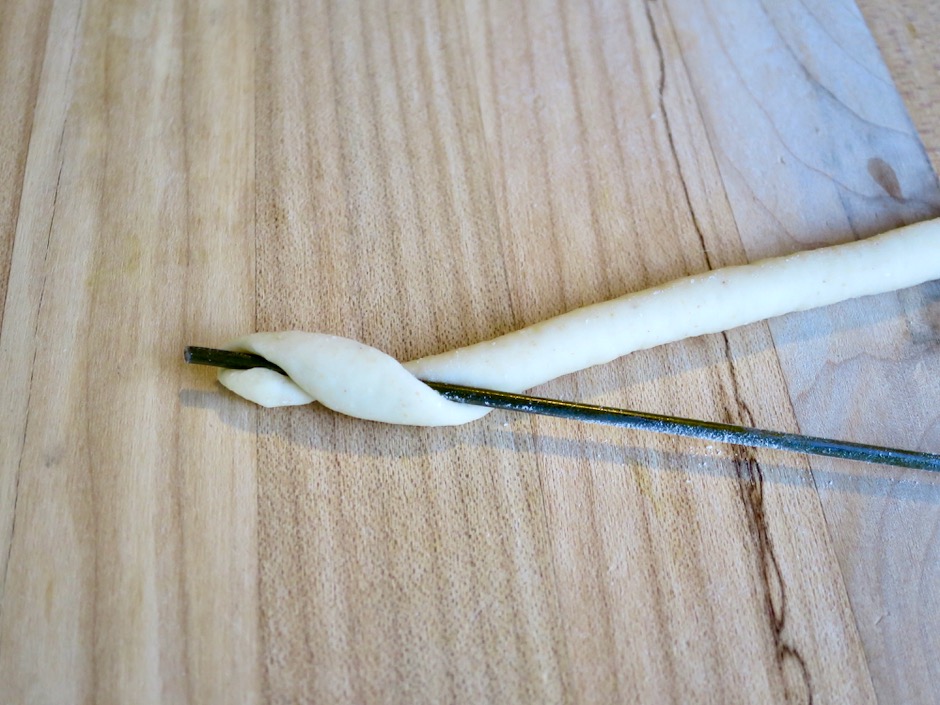
Shaping Busiate

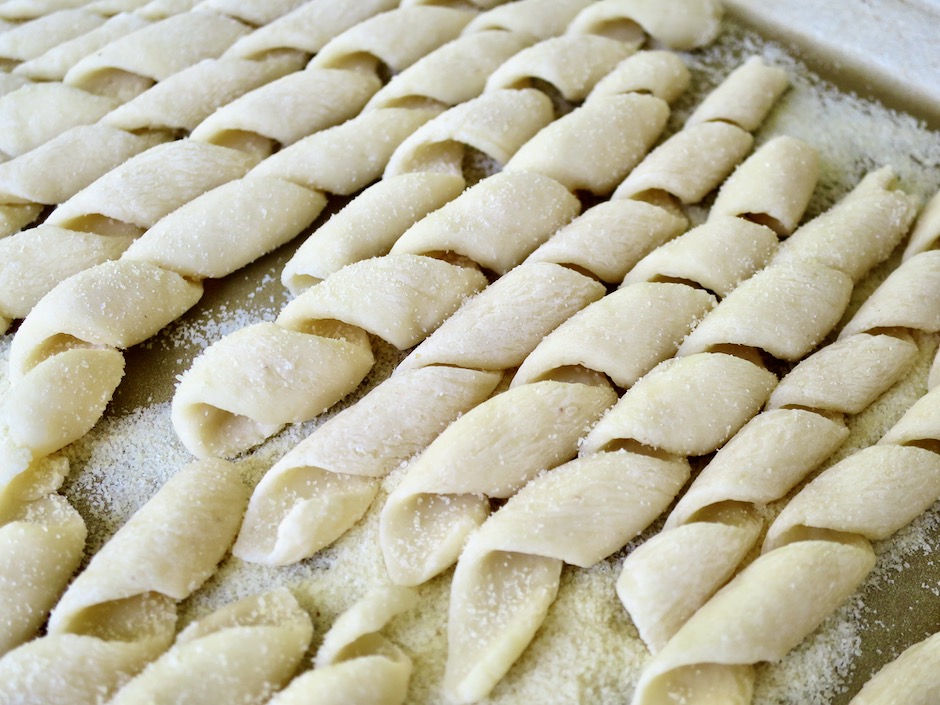
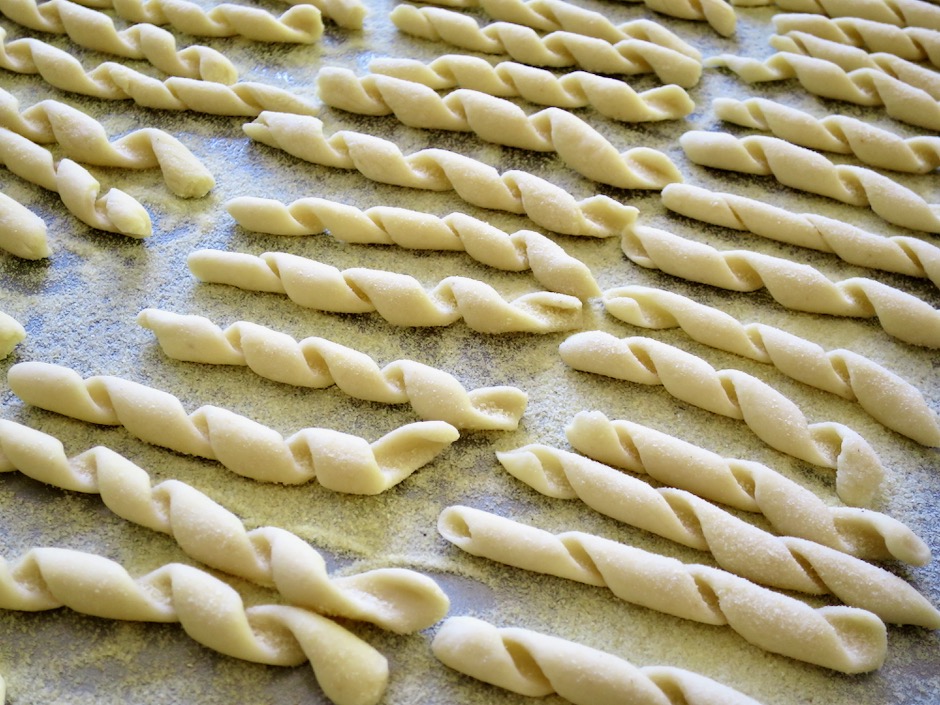
Here I use a metal wire (from a hanger) to shape the pasta into spiral shapes.  

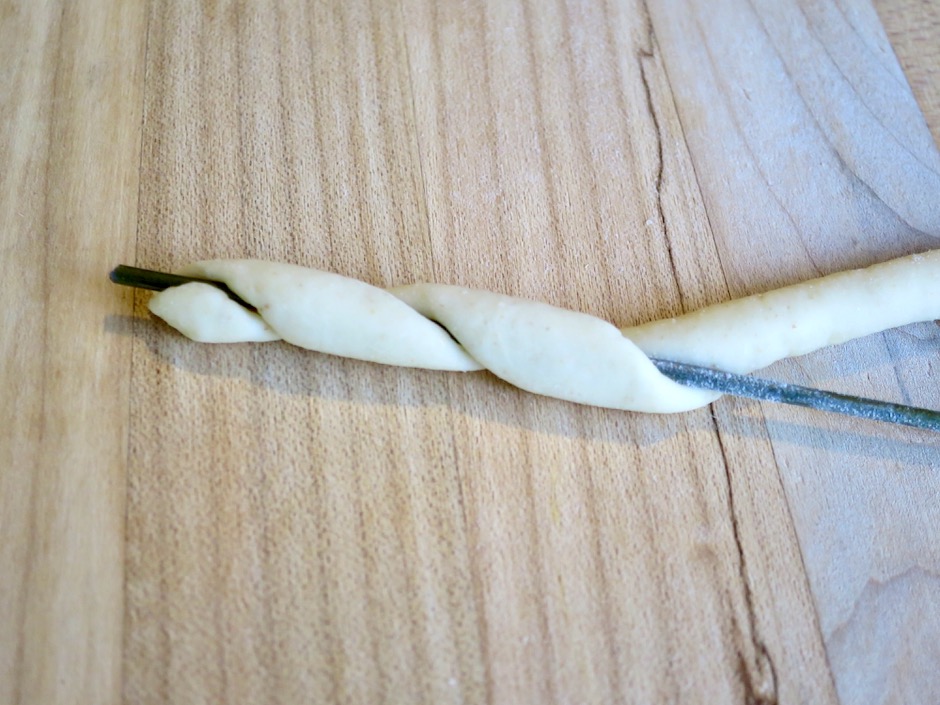
Shaping Busiate

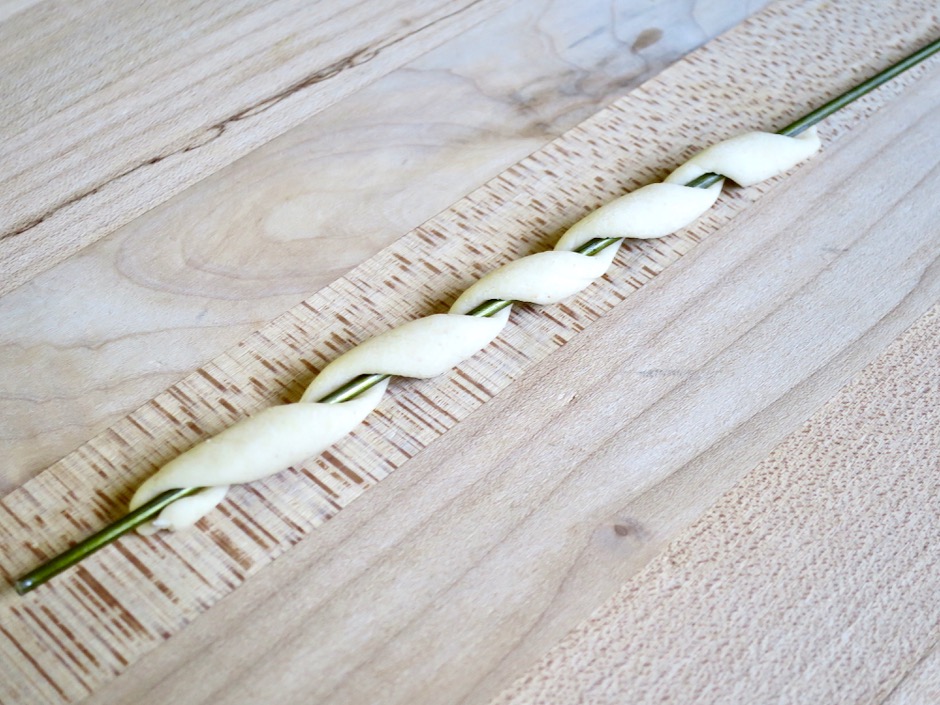
The ropes are twisted on the wire to form a spiral shaped pasta.  It may seem a bit tricky, but after a few attempts you will master the technique. Because it is handmade, each piece will not be exactly uniform as is commercial dried pasta.  It’s rustic and that makes it so charming.

Shaping Busiate

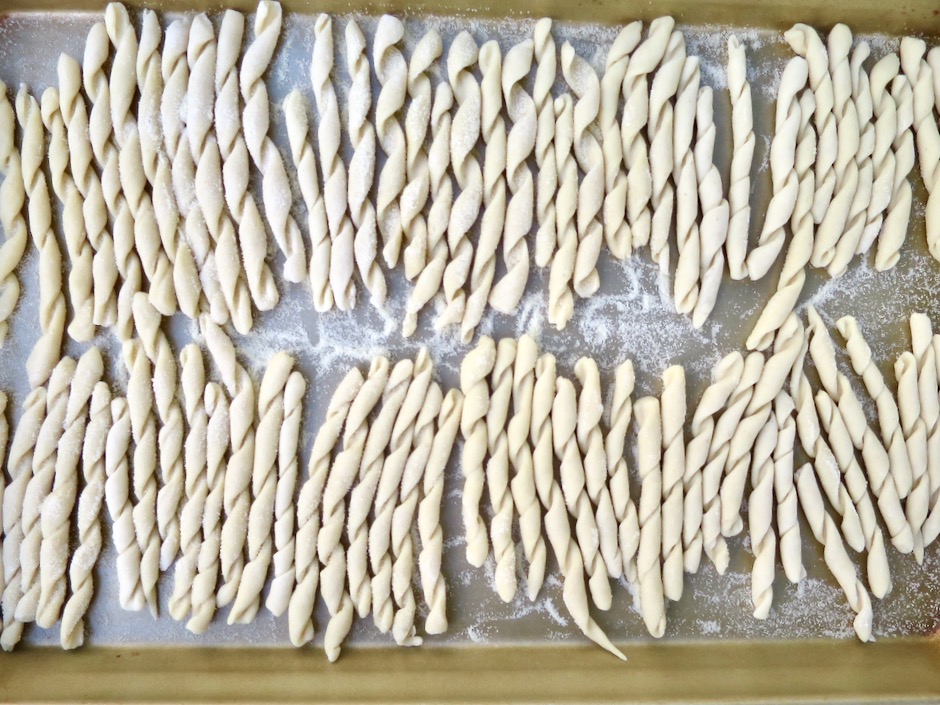
Homemade Busiate

Have a sheet pan sprinkled with semolina ready to hold your shaped pasta.  Once I was done shaping the pasta, I covered the pan loosely with plastic wrap for about 3 hours until I was ready to cook it.  

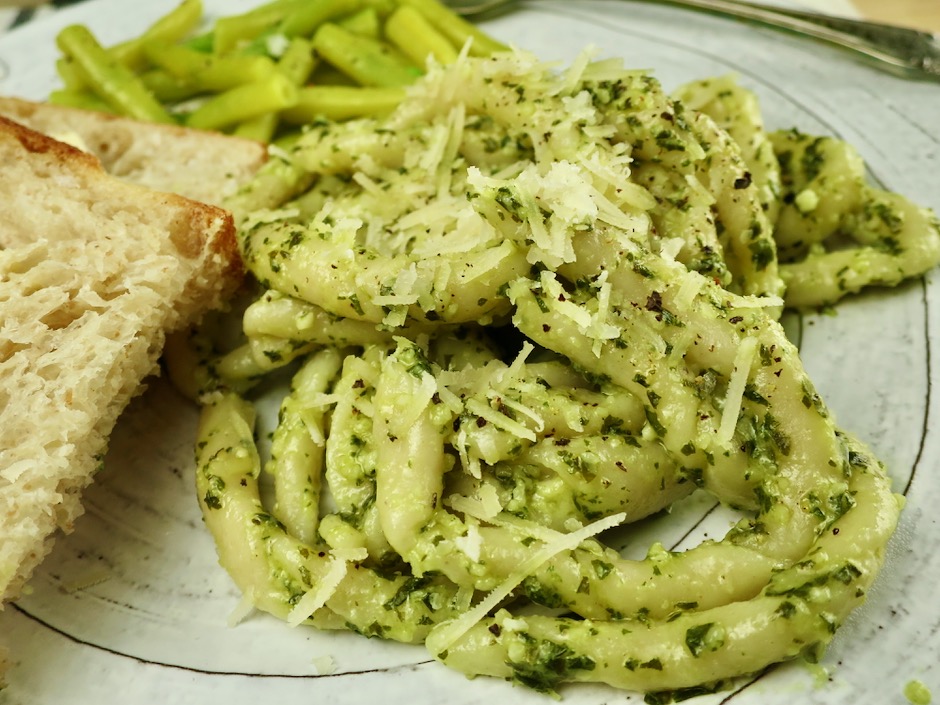
Busiate with Basil Pesto

My favorite way to serve the busiate is with any type of pesto.  The pesto clings to the nooks and crannies of the spiral pasta making this an ultra delicious meal. 

Busiate with Sun Dried Tomato Pesto

Homemade Busiate Pasta
 
Author:
Serves: 4
Ingredients
  • 180g (1 c) semolina flour
  • 180g (1 c) 00 flour
  • 178g salted warm water (3/4 cup made with 10g (1 tablespoon) kosher salt
Preparation
  1. Special equipment: Metal wire for shaping the pasta
  2. Whisk together the semolina and 00 flour in a medium bowl. Add salted water, stirring with a wooden spoon or stiff spatula to combine ingredients. Place dough onto a clean workspace and knead the dough until smooth, about 10 minutes. You may lightly spritz the dough with water if it seems too dry. Form dough into a ball and cover with plastic wrap to rest for 30 minutes.
  3. Divide dough into 4 pieces. Working with one piece at a time (keep rest of dough covered with plastic wrap), divide each piece into 4 more pieces. Roll each piece into a long, thin rope, about 20-inches long. Cut the rope into four even pieces. Give each piece of rope a quick roll if it springs back a bit before shaping to ensure it measures about 5-inches. Using your thumb and index finger, gently pinch one end of the pasta rope around the top of the wire. Use your other hand to roll the wire on your work surface around the dough, to form a corkscrew shape (not too tight). Gently roll the wire back and forth a few times before sliding the pasta off the wire. If you find the dough sticks to the wire, lightly dust the wire with flour before proceeding with the next piece. Place shaped pasta on semolina dusted sheet pan. Continue until you have used up the dough. Cover the pasta loosely with plastic wrap until you are ready to cook it (I left mine out for 3 hours).
  4. Bring a large pot of salted water to a boil. Add busiate and cook for about 4-5 minutes, until al dente. Drain and serve with your favorite sauce. Pesto is ideal.

 

Dinner, Italian, Pasta, Recipes, Side Dishes

Lemon Orzo with Feta & Dill

February 4, 2021

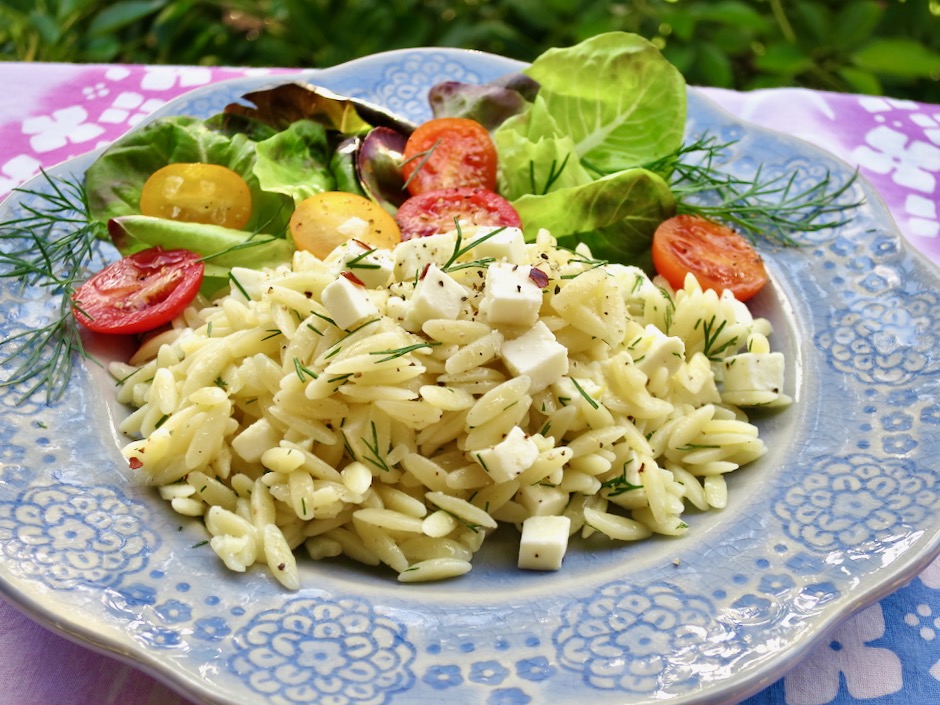
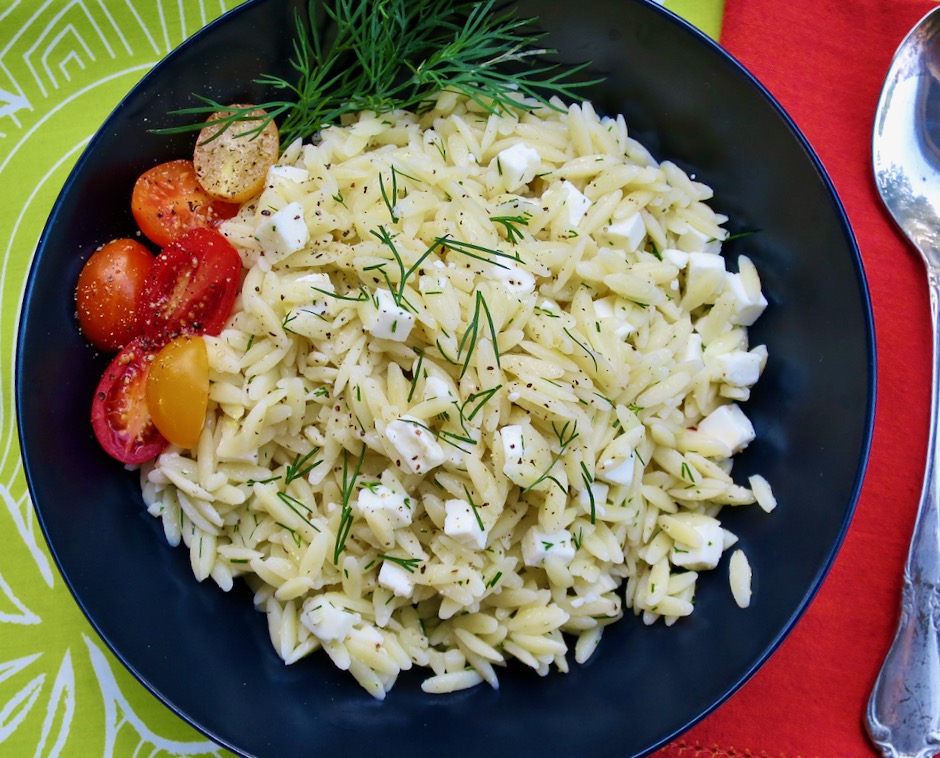
Lemon Orzo with Feta & Dill

I came upon this dish at Food52, one of my favorite foodie sites.  It sounded so delicious and perfect as a side for the fresh fish I just bought.  And knowing that it was an Ina Garten creation sealed the deal.
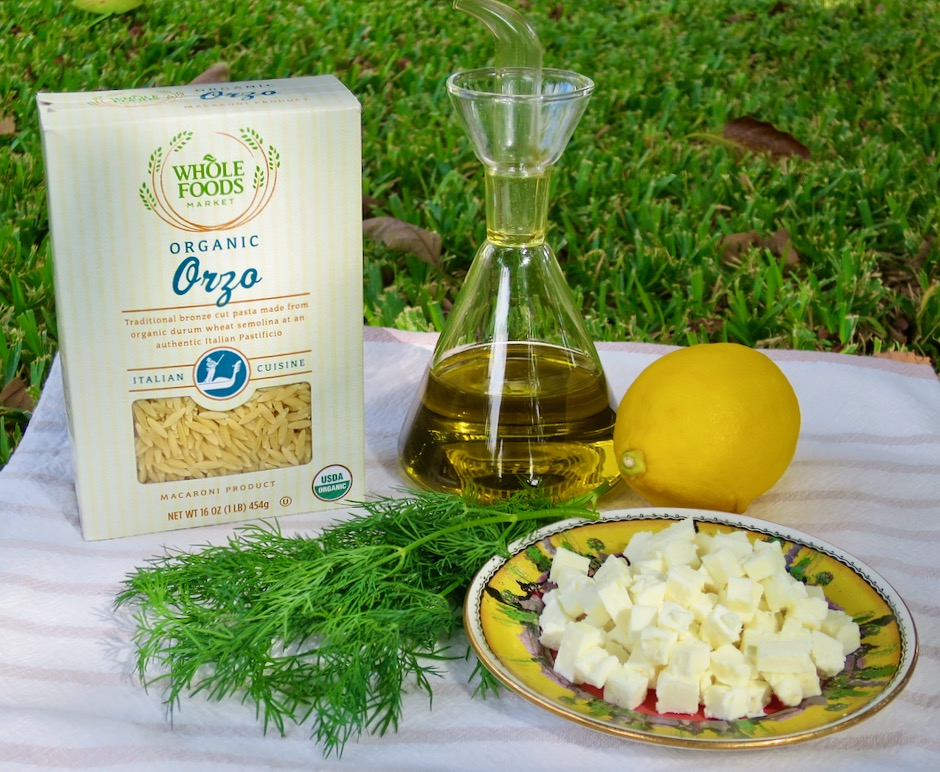
Orzo, Olive Oil, Lemon, Feta & Dill

There is just handful of ingredients needed to bring this dish together.  What makes it so inviting is that each ingredient is full of flavor and they all unite in a tasty bowl of orzo.

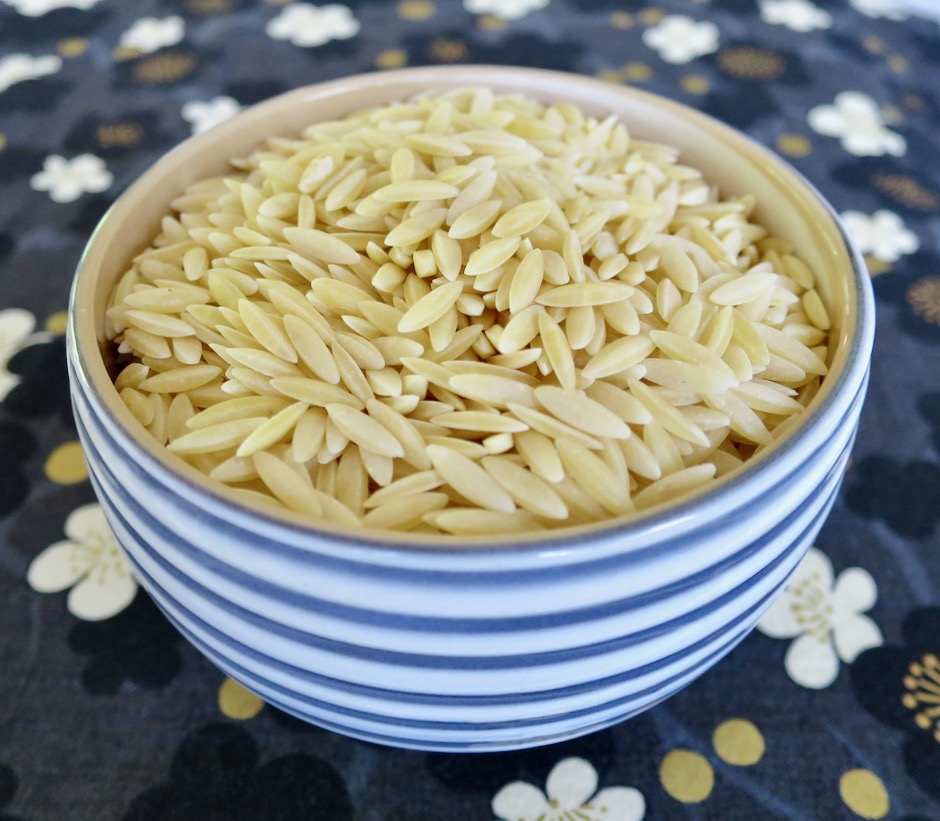
Orzo

Although its shape is similar to long grain rice, orzo won’t be found where rice is stocked at the market.  Make your way to the pasta aisle and you’ll find it there.  Orzo, Italian for barley (named for its similar shape), can be found in many soup and broth recipes as well as pasta salads and side dishes like this one.

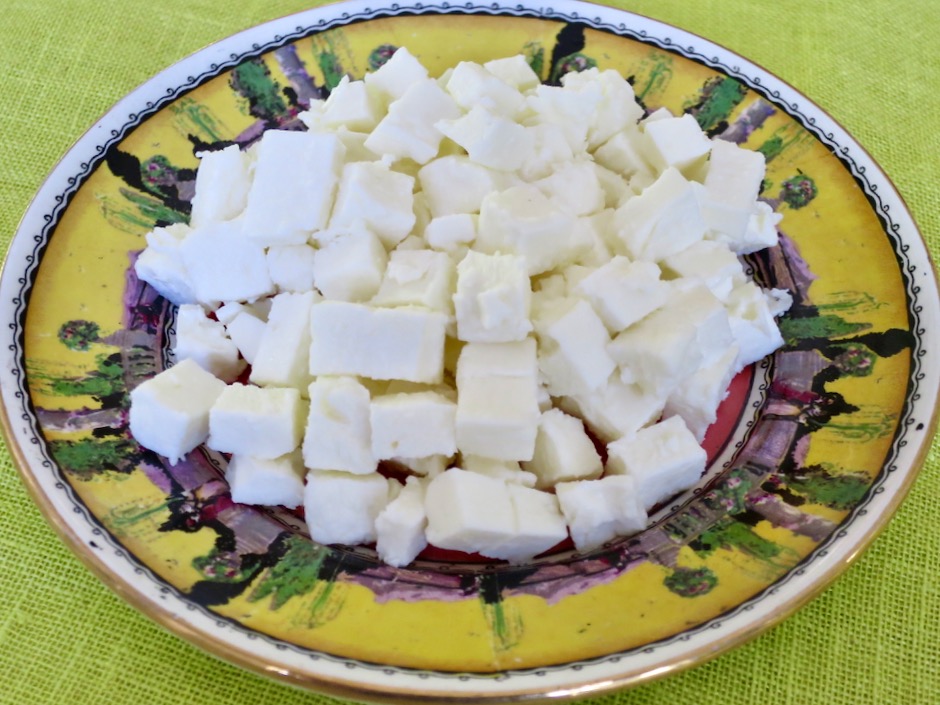
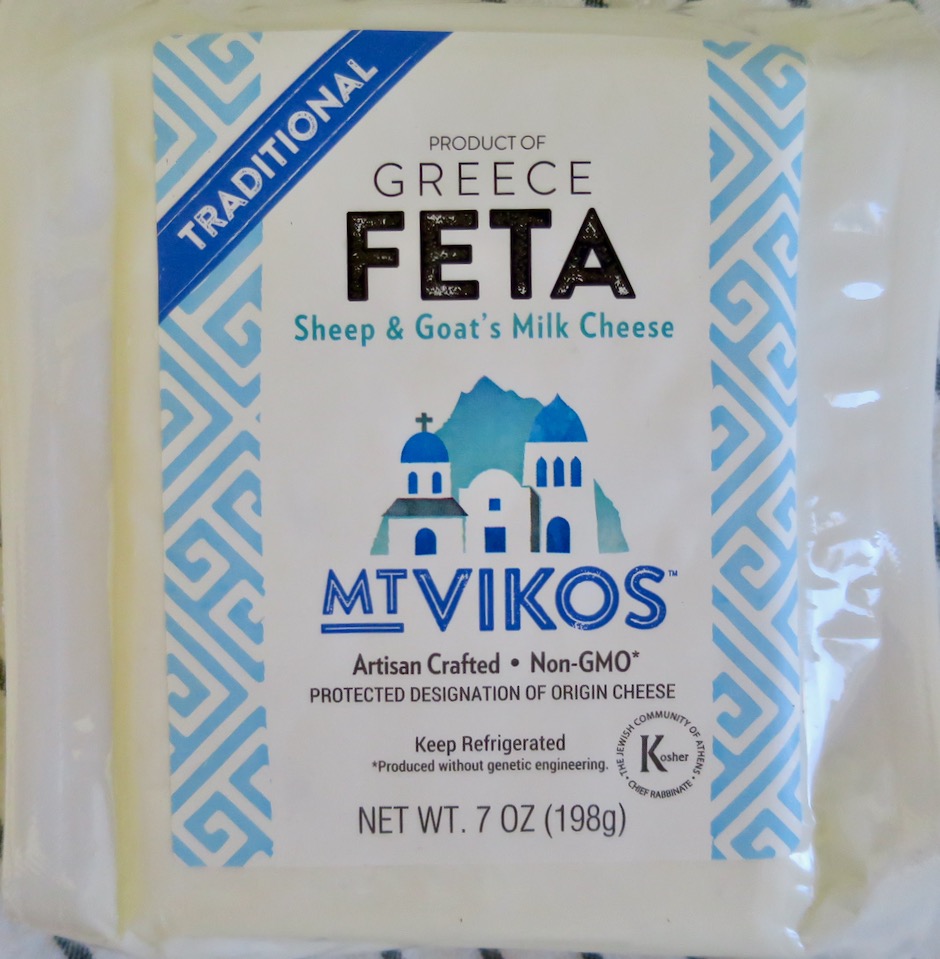
Mt. Vikos Feta

My very favorite feta is Mt. Vikos made from sheep and goat’s milk.  It is creamy and not too salty. Many people who are lactose intolerant find this cheese easier to digest than cow’s milk feta.

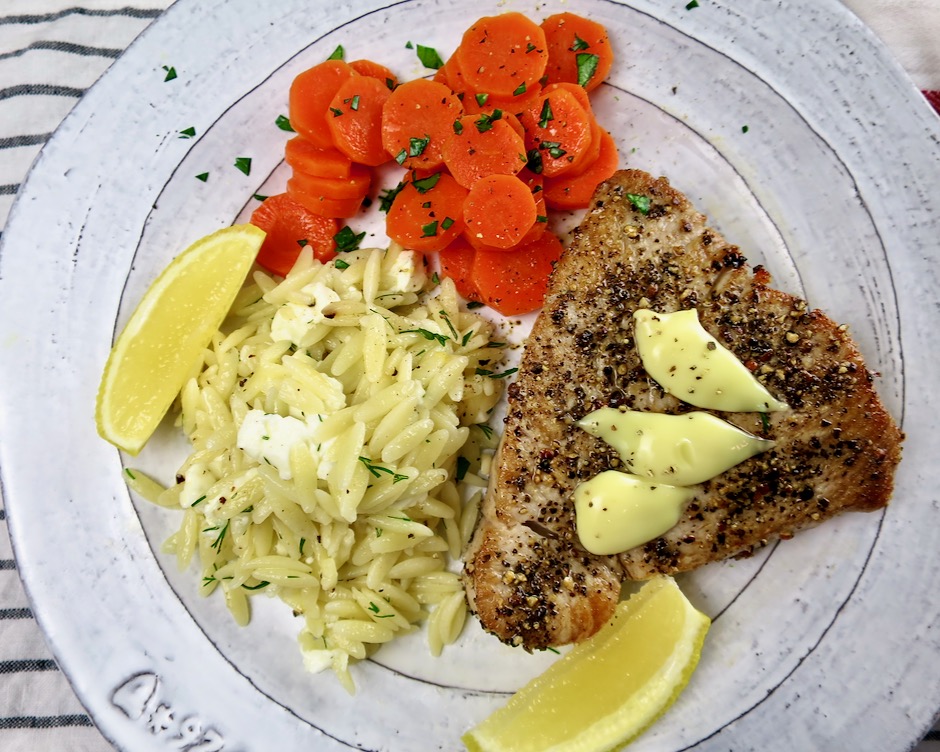
Lemon Orzo with Feta & Dill, Vichy Carrots & Pepper Crusted Ahi

The original recipe calls for serving the orzo hot.  However, I have served it cold and at room temperature as a side dish for a sandwich or as an addition to a green salad.  It is very versatile.

Lemon Orzo with Feta & Dill

Orzo with Feta, Lemon & Dill
 
Adapted from Ina Garten's recipe
Author:
Serves: 4
Ingredients
  • 1 cup orzo
  • 2 teaspoons fine sea salt
  • 2 teaspoons lemon zest
  • 2 tablespoons fresh lemon juice
  • 2-3 teaspoons fresh dill, chopped
  • 2 tablespoons olive oil
  • ¾ teaspoon kosher salt
  • freshly ground black pepper
  • 1 cup feta, small dice
Preparation
  1. Bring 2 quarts of water water to a boil in a large saucepan. Add 2 teaspoons of fine sea salt and the orzo to the pot. Bring water back to a boil, then reduce heat to a lively simmer. Cook orzo for 9 minutes or until just al dente. Drain well and transfer to a wide bowl.
  2. Stir in lemon zest, lemon juice, dill, olive oil, salt and pepper. Fold in diced feta. To serve, transfer to a bowl or platter. Sliced tomatoes are a nice accompaniment to the orzo if serving it at room temperature or chilled as a side dish.


Beef, Dinner, Italian, Pork, Recipes, Sandwiches

Italian Meatloaf

December 26, 2020

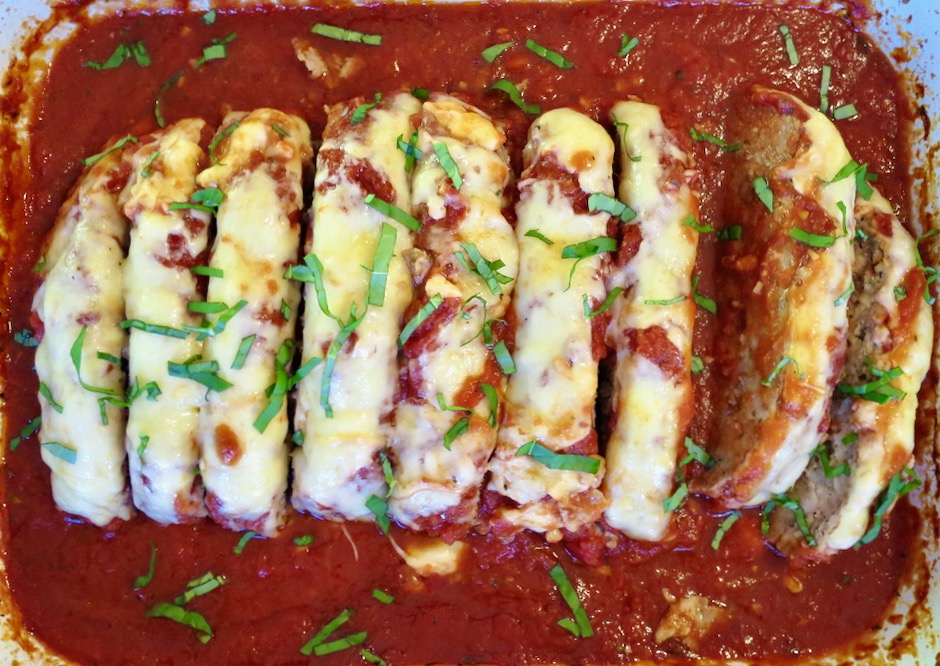
Italian Meatloaf

When I was growing up meatloaf was a mainstay of my mom’s repertoire.  She was an excellent cook who made tasty, old fashioned recipes such as beef stew, creamed tuna, pan-fried pork chops and the best brownies and lemon meringue pie ever.  Here we are nearing the end of 2020, and meatloaf is just as popular as it was when I was a kid.

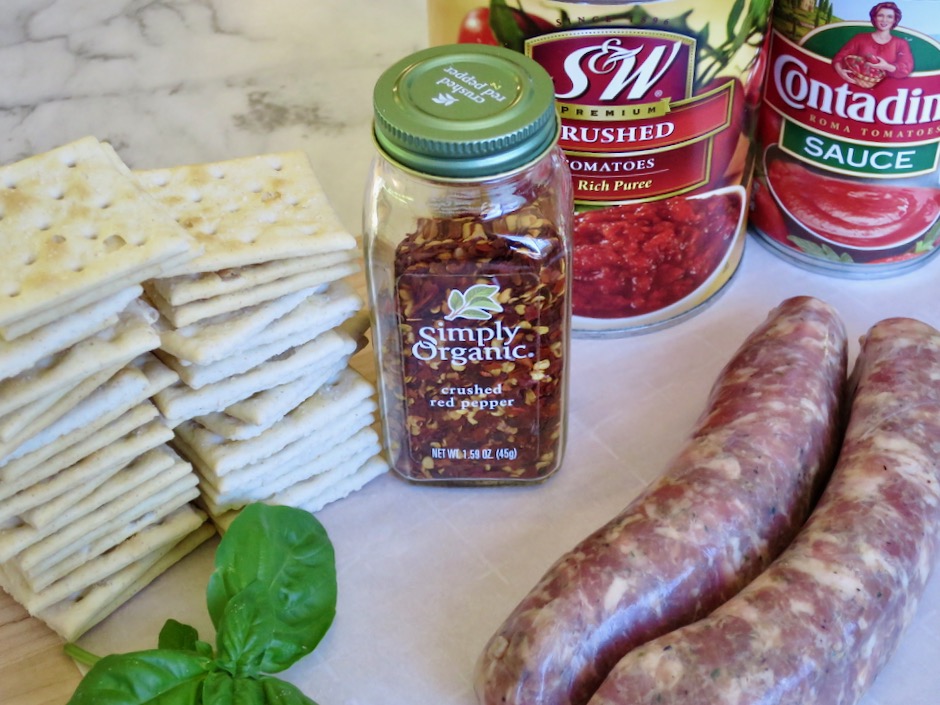
Italian Meatloaf Ingredients

This Italian version of meatloaf is an excellent way to put a new twist on an old classic.  The sweet Italian sausage creates an intensely flavorful meatloaf.  A can of crushed tomatoes along with a few other ingredients turns into a luscious, rich sauce that certainly requires garlic bread to round out the meal.
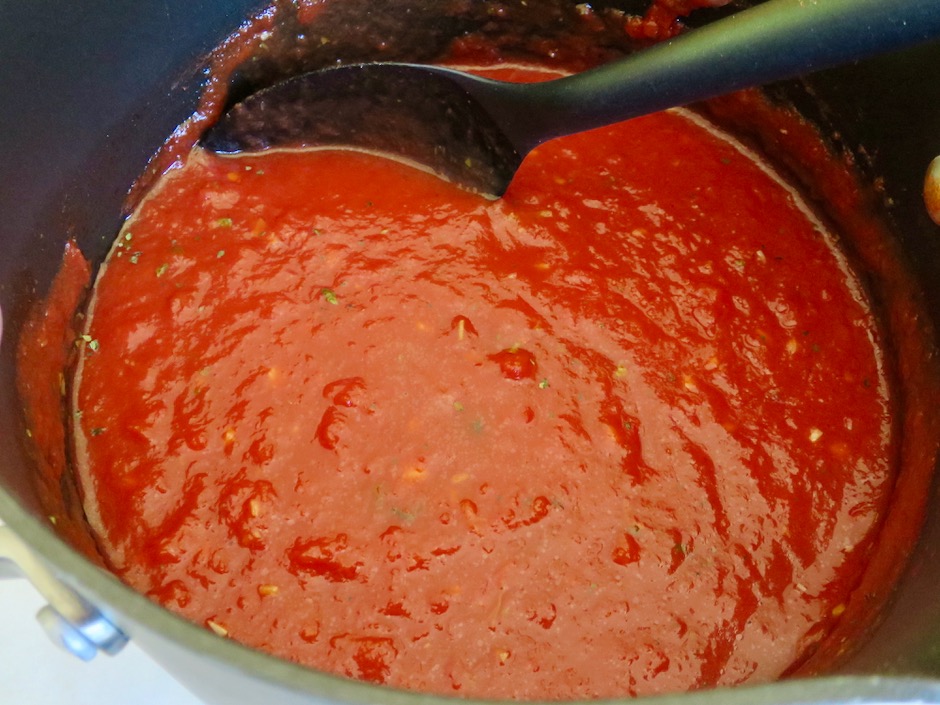
Italian Meatloaf Tomato Sauce

The sauce is so simple to make.  Crushed tomatoes, tomato sauce, garlic, dried oregano, salt and red pepper flakes are all you need.

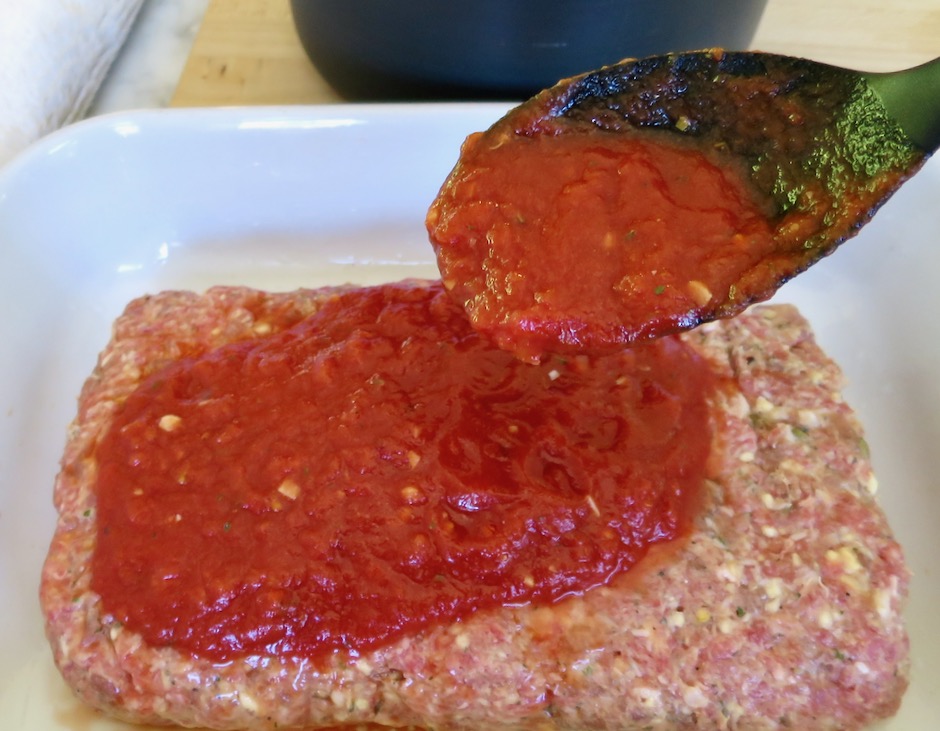
Italian Meatloaf with Sauce

The first time I made this recipe I was shocked at how much sauce there was prior to baking the meatloaf.  I was almost certain that the entire dish might be a flop because of the amount of sauce called for.  I was pleasantly surprised to see that it had reduced to a thick, rich and delicious sauce, in fact just the perfect amount for the meatloaf.

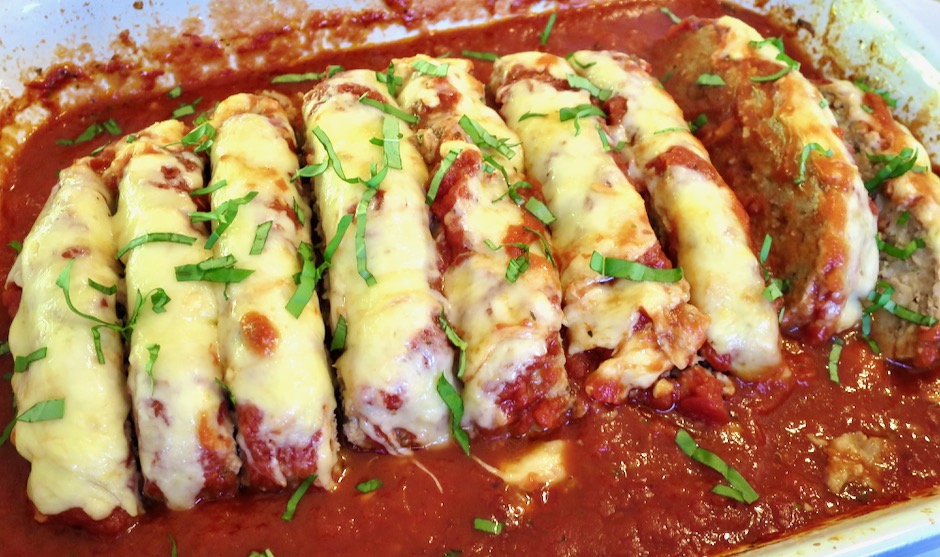
Italian Meatloaf

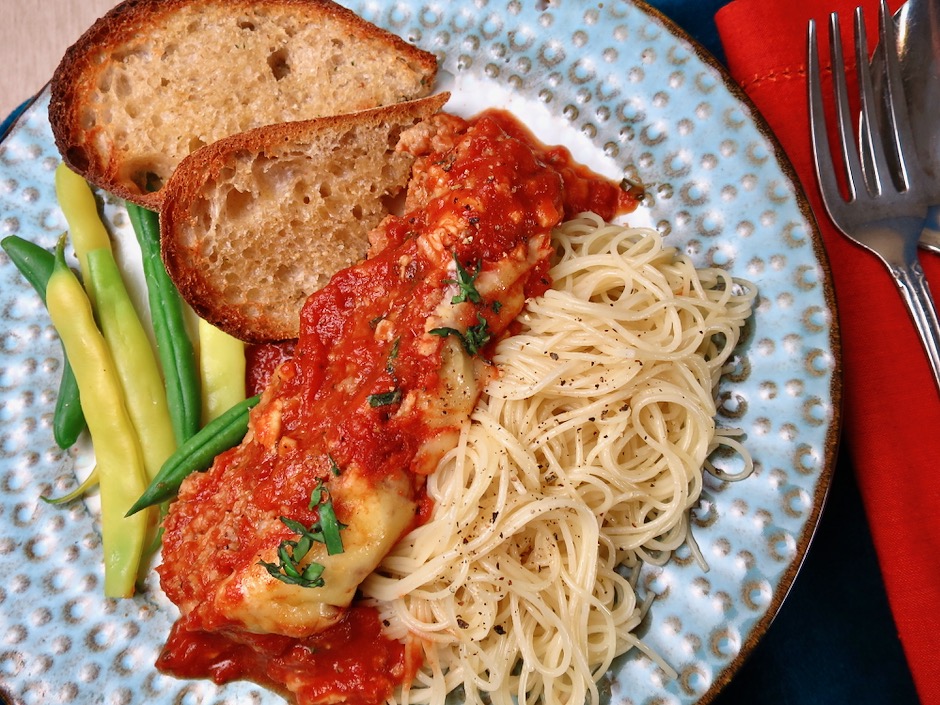
We have eaten the meatloaf with many different sides such as buttered pasta, mashed potatoes, and in a sandwich.  It is a very versatile main dish that freezes and reheats well.  You can switch out the cheddar and mozzarella cheese with pepper jack cheese, or use mozzarella with a sprinkling of parmesan cheese.
Italian Meatloaf with Pasta, Green Beans & Garlic Toast

Italian Meatloaf
 
Adapted from Cook's Country
Author:
Serves: 8
Ingredients
  • Sauce:
  • 1 tablespoon extra virgin olive oil
  • 3 large garlic cloves, minced
  • 1 (28-ounce) can crushed tomatoes
  • 1 (15-ounce) can tomato sauce
  • ¼ teaspoon red pepper flakes (more if you want a spicy sauce)
  • 1 teaspoon dried oregano
  • ¼ teaspoon fine sea salt
  • Meatloaf:
  • 35 squares saltines
  • ¾ cup whole milk
  • 2 large eggs
  • 1 pound ground sirloin or other lean ground beef
  • 1 pound sweet Italian sausage, casings removed
  • 2 ounces Parmesan cheese, grated (1 cup)
  • ½ teaspoon garlic powder
  • 1 teaspoon dried oregano
  • ½ teaspoon fine sea salt
  • ½ teaspoon freshly ground black pepper
  • ¼ teaspoon red pepper flakes
  • 2 ounces sharp white cheddar cheese, shredded (1/2 cup)
  • 2 ounces mozzarella cheese, shredded (1/2 cup)
  • 3 tablespoons fresh basil (julienned or chopped just before serving)
Preparation
  1. Special equipment: Broiler safe 13 by 9-inch baking dish
  2. Adjust oven rack to middle position and heat to 400 degrees.
  3. Sauce: Heat oil in large saucepan over medium-low heat. Add garlic and cook until softened but not browned, about 1-2 minutes. Stir in tomatoes, tomato sauce, pepper flakes, oregano and salt. Increase heat to medium and bring to a simmer, stirring occasionally, for about 5 minutes. Remove from the heat, cover to keep warm.
  4. Meatloaf: Spray broiler-safe 13 by 9-inch baking dish with vegetable oil spray. Place saltines in a large zipper lock bag, seal bag, and using a rolling pin crush crackers to fine crumbs. In a large bowl, whisk saltines with milk and eggs. Let sit until the saltines are softened, about 5 minutes. Whisk saltine mixture until a smooth paste forms. Mix in beef, sausage, Parmesan, garlic powder, oregano, salt, pepper and pepper flakes with your hands (I use disposable gloves) until thoroughly combined.Transfer beef mixture to prepared dish. Using wet hands (or disposable gloves) shape into a 9 by 5-inch rectangle. The top should be flat and the meatloaf should be 1½-inches thick. Pour sauce over the meatloaf. Cover the dish with aluminum foil and place on rimmed baking sheet. Bake until the meatloaf registers 160 degrees, about 1 hour 5 minutes to 1¼ hours.
  5. Remove sheet pan from oven, uncover dish, and sprinkle cheese evenly over the top of the meatloaf. Heat broiler. Broil meatloaf until cheese is melted, about 2 minutes. Let rest for 15 minutes.
  6. To serve, transfer the meatloaf using 2 spatulas to a cutting board to make 1-inch thick slices. Or, slice directly in the baking dish. Spoon off any excess oil from the tomato sauce. Scatter julienned or chopped basil over the top and into the sauce just before serving.

Dinner, Italian, Japanese, Lactose Free, Pasta, Recipes, Vegan, Vegetarian

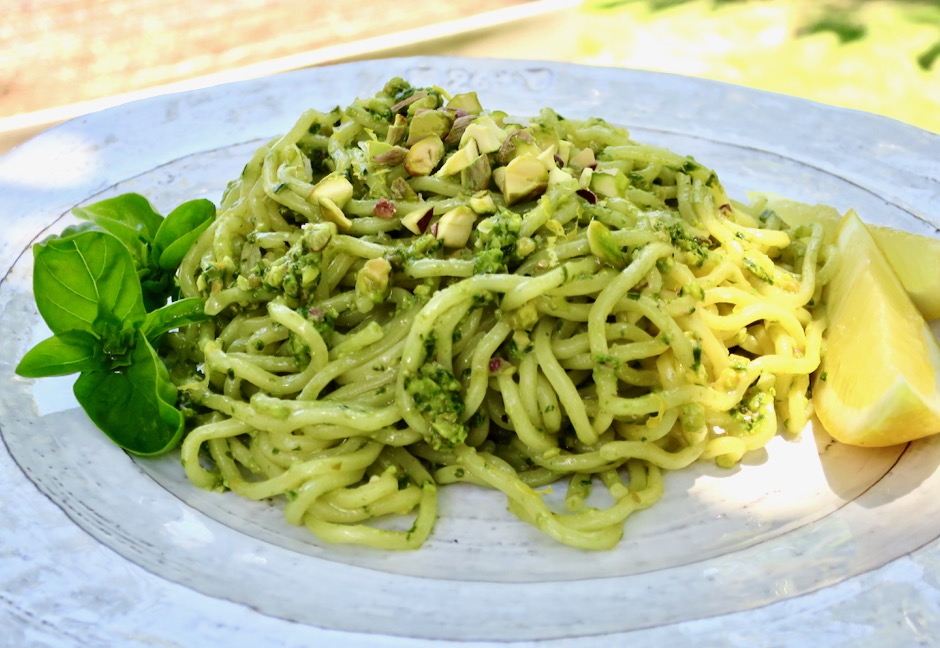
Pistachio Pesto Ramen

October 27, 2020

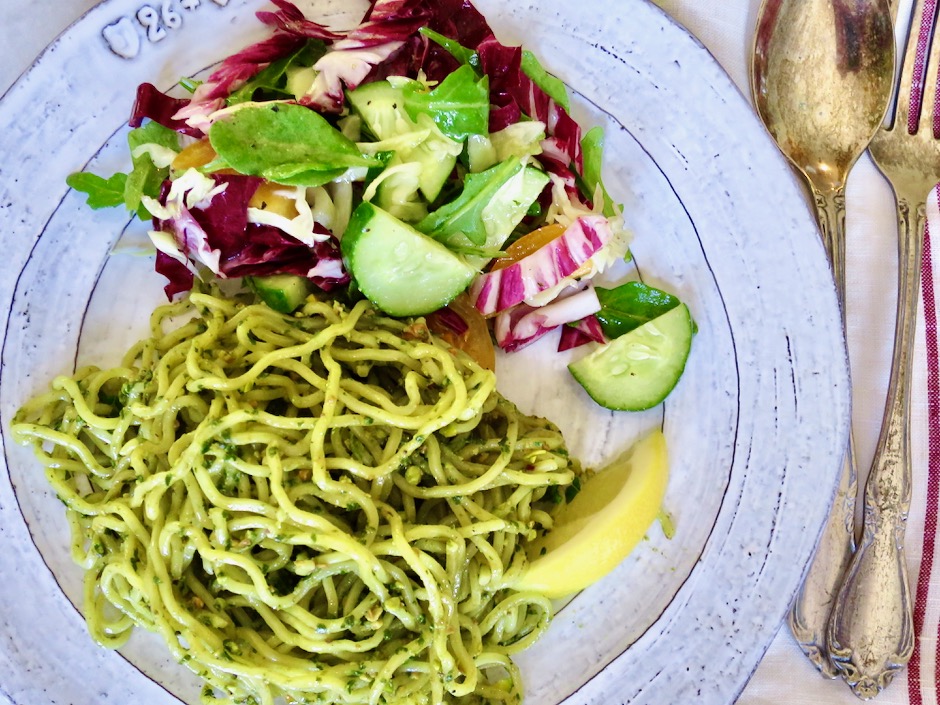
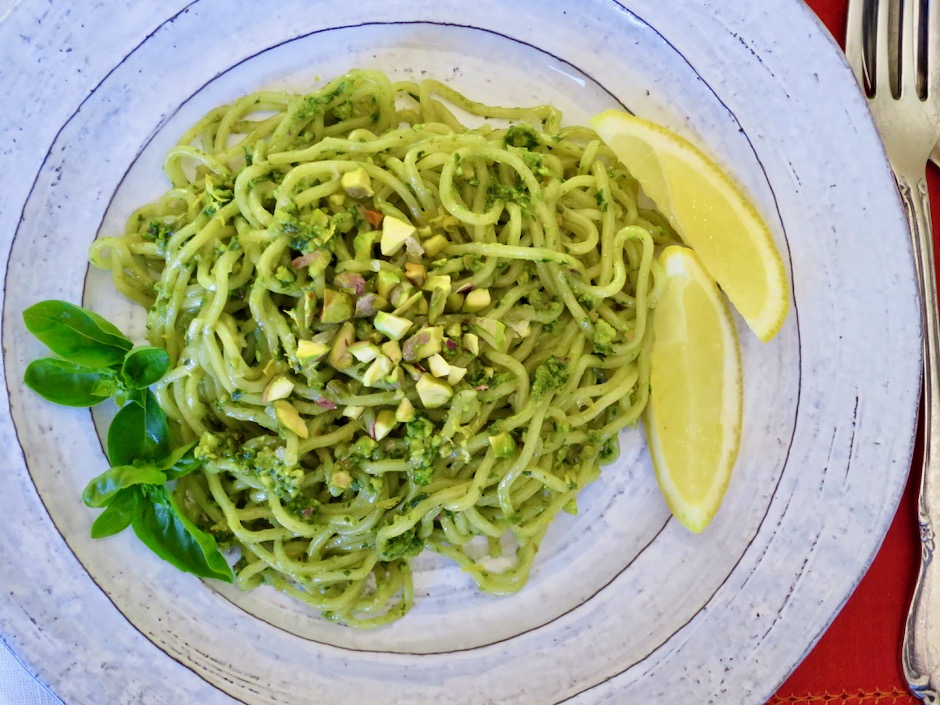
Pistachio Pesto Ramen

This dish typifies a summery meal that is refreshing and can be prepared with minimal time spent at the stove.  The ramen takes just a few minutes to cook and the pesto itself is quick to make and does not require any cooking.  The bright flavors of fresh basil, pistachios and lemon will delight your palate.

Pistachio Pesto Ramen

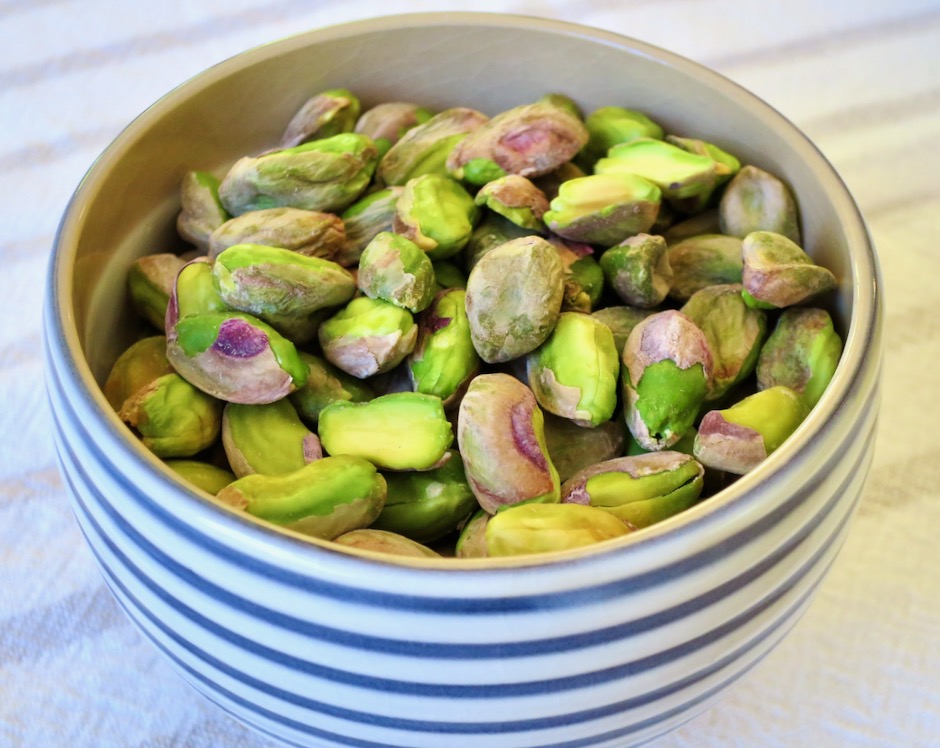
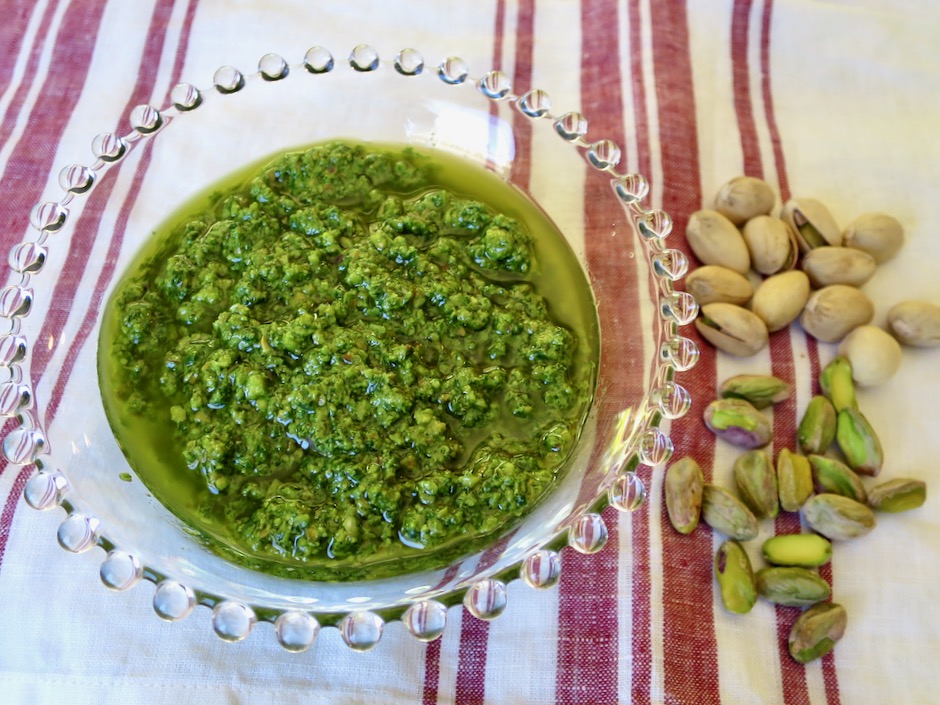
Pistachios

To make things easier, buy shelled, salted pistachios.  Shelled or not, they make a tasty snack while you are preparing the dish.

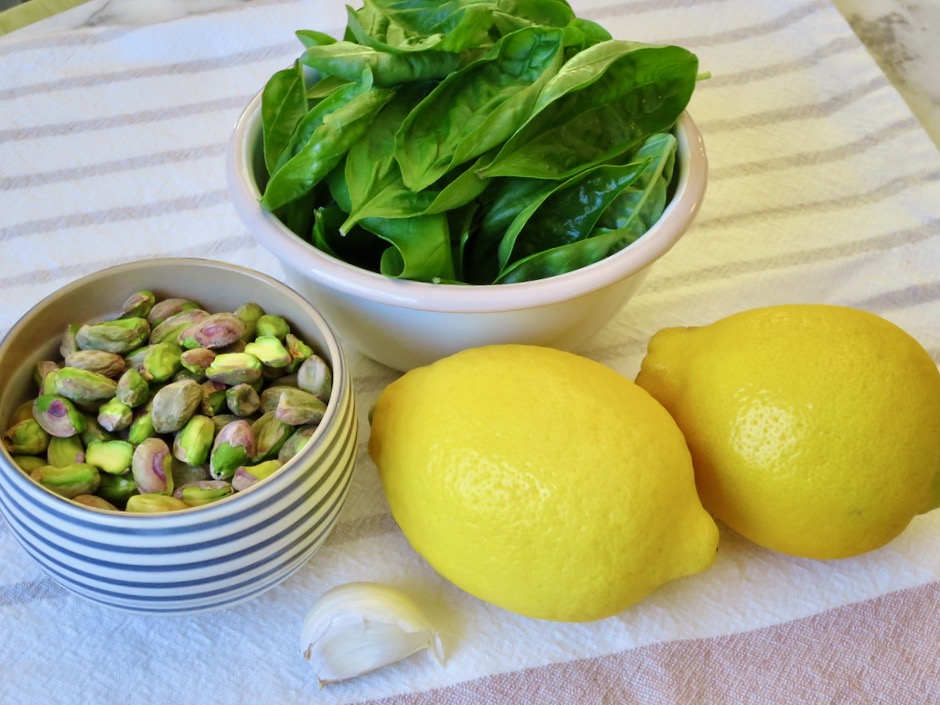
Pistachios, Basil, Lemon & Garlic

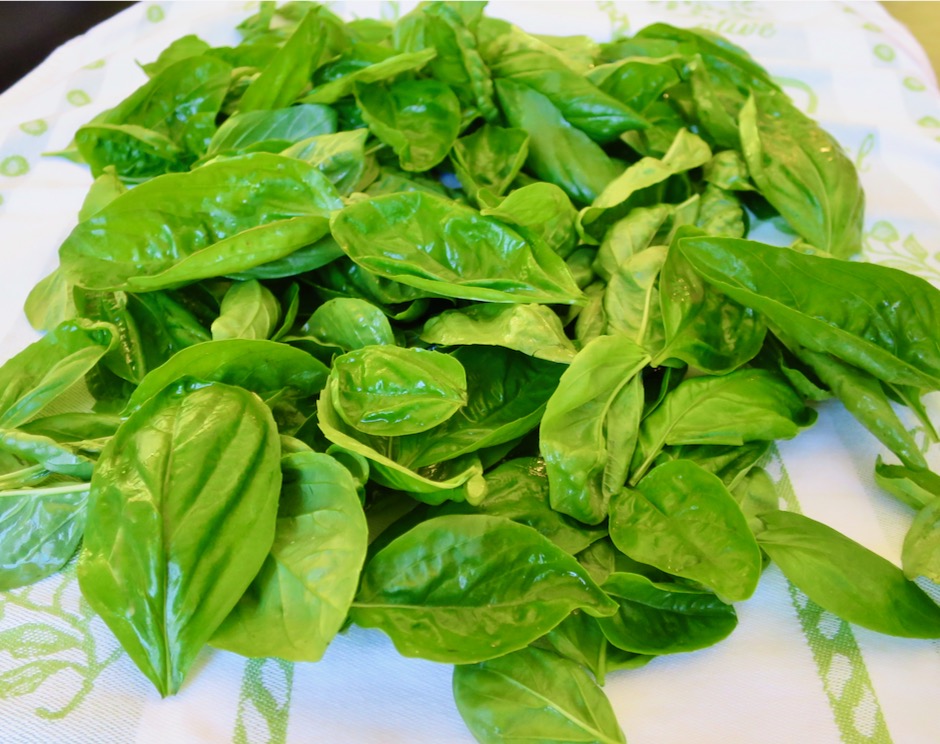
Basil From the Garden

During the summer months when the temperatures reach into the 90’s, there’s not much we can grow successfully in the garden.  But herbs such as basil can take the brutal heat and grow nicely all year long.

Pistachio Pesto

This pesto does not call for cheese which makes it the perfect pesto for vegetarians, vegans, and those who are lactose intolerant.  The pistachios provide all the richness necessary.

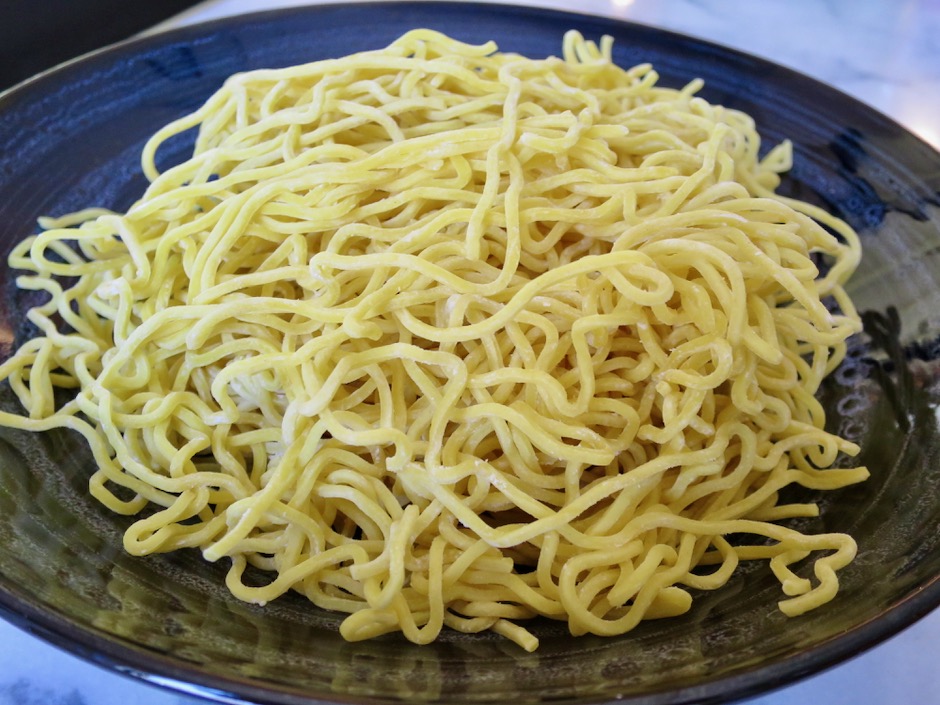
Fresh Ramen

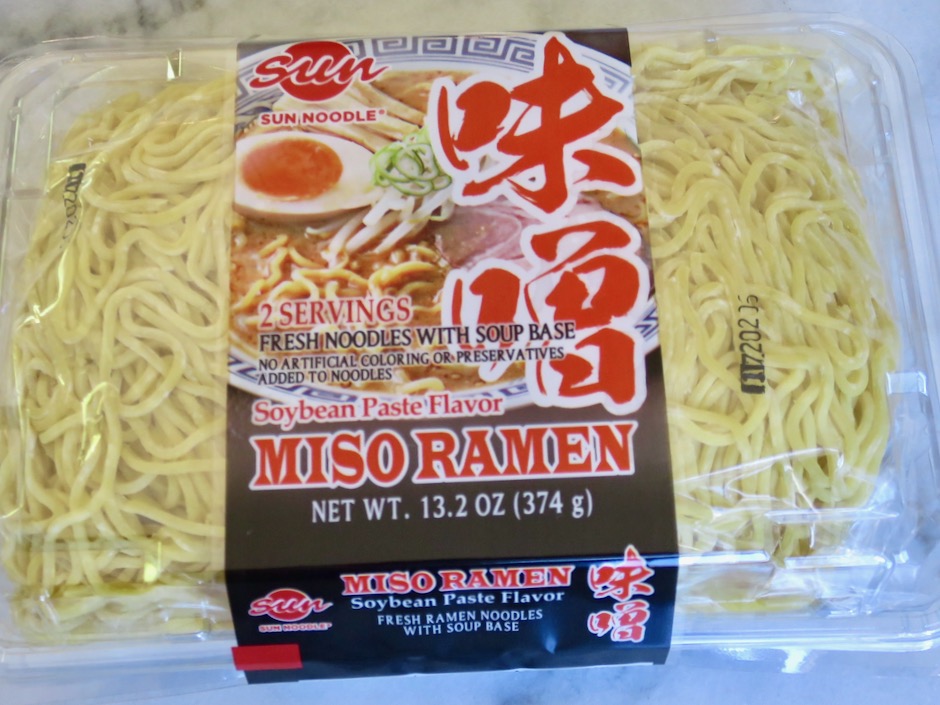
I use fresh Sun Noodle ramen (soup base packets are discarded) that I buy at Island Grocery here on Maui.  I like the texture of the curly noodles and the way the pesto clings to them.  If you don’t have access to fresh ramen by all means use your favorite dried ramen or pasta.

Fresh Ramen

This delicious pesto ramen is definitely going into my regular rotation.  We made a frittata the following morning with the leftovers and it was so delicious.

Pistachio Pesto Ramen

Pistachio Pesto Ramen
 
Adapted from LA Times
Author:
Serves: 2
Ingredients
  • ¼ cup roasted and salted shelled pistachios, plus more for serving
  • 1 small garlic clove, smashed and peeled
  • 1 cup tightly packed basil leaves
  • ¼ cup extra virgin olive oil
  • 1 lemon: 2 tablespoons lemon juice + zest of half the lemon and a few wedges for serving
  • 2 packages fresh ramen (about 10-13 ounces)
Preparation
  1. Bring a large pot of salted water to a boil. Meanwhile, combine the pistachios, garlic and basil in a food processor. Pulse until very finely chopped, scraping down the bowl as needed. Transfer to a large bowl. Stir in the olive oil, lemon zest, and 2 tablespoons of lemon juice (use 1½ tablespoons for less tangy sauce). Mix well and season with salt and freshly ground black pepper.
  2. Cook the ramen according to directions on the package, discarding any seasoning packets that may have come with the ramen. Drain noodles in a colander and rinse under cool water just until noodles are warm. Shake the colander to remove excess water. Transfer noodles to bowl with pesto.
  3. Toss until the noodles are evenly coated with the pesto. Taste and add more lemon juice, oil and salt if needed. Divide among serving dishes. Top with additional chopped pistachios and lemon slices (optional)


Dinner, Italian, Lactose Free, Pasta, Recipes, Veggies

Summer Weekend Pasta

August 21, 2020

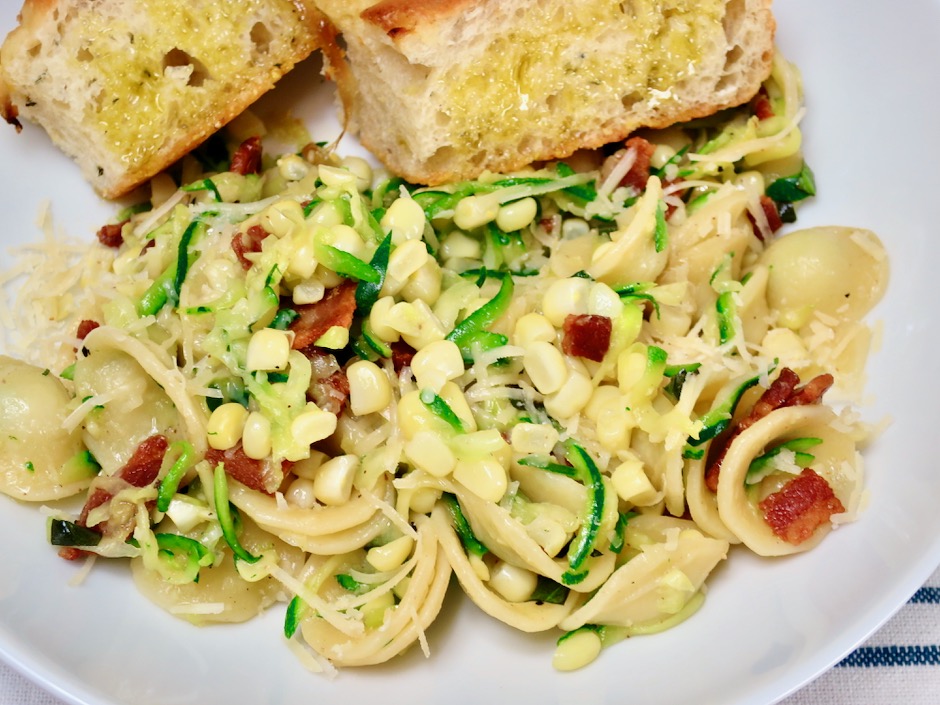
Summer Weekend Pasta

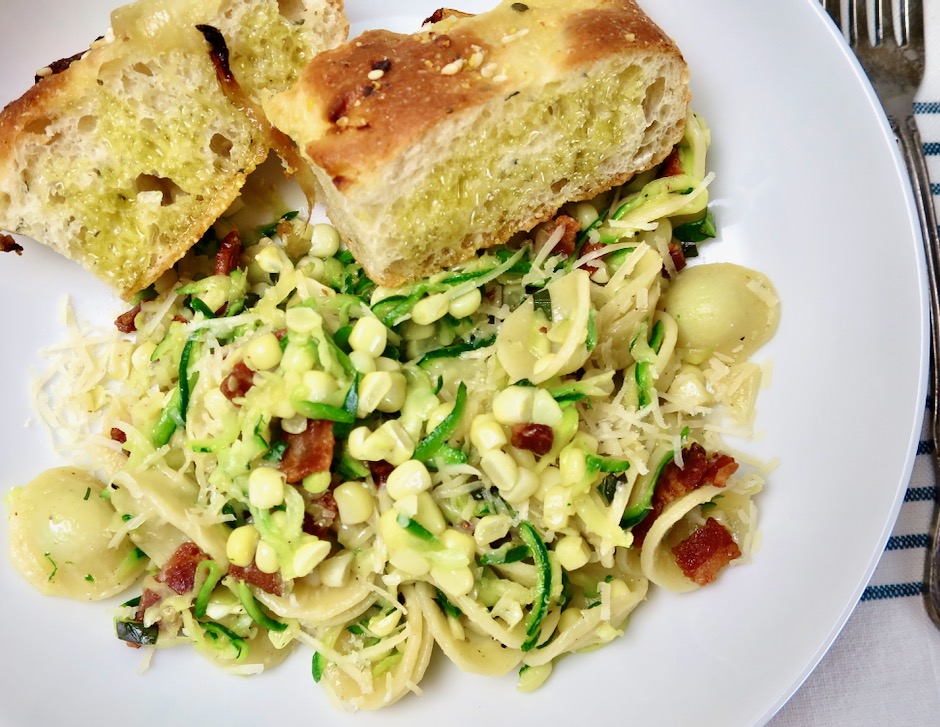
This is a lovely, summery pasta dish whose ingredients can be adjusted to include whatever fresh veggies you might have on hand.  Now that corn is in season, make sure to include it along with the bacon (yum).  I do love the bright green specks of zucchini tucked in-between the orecchiette, but that’s not to say that you couldn’t switch it out for another green vegetable such as julienned kale or thin strips of asparagus.  Whatever you choose, keep in mind they should be cut, grated, or sliced into petite sizes so they meld nicely with the orecchiette.

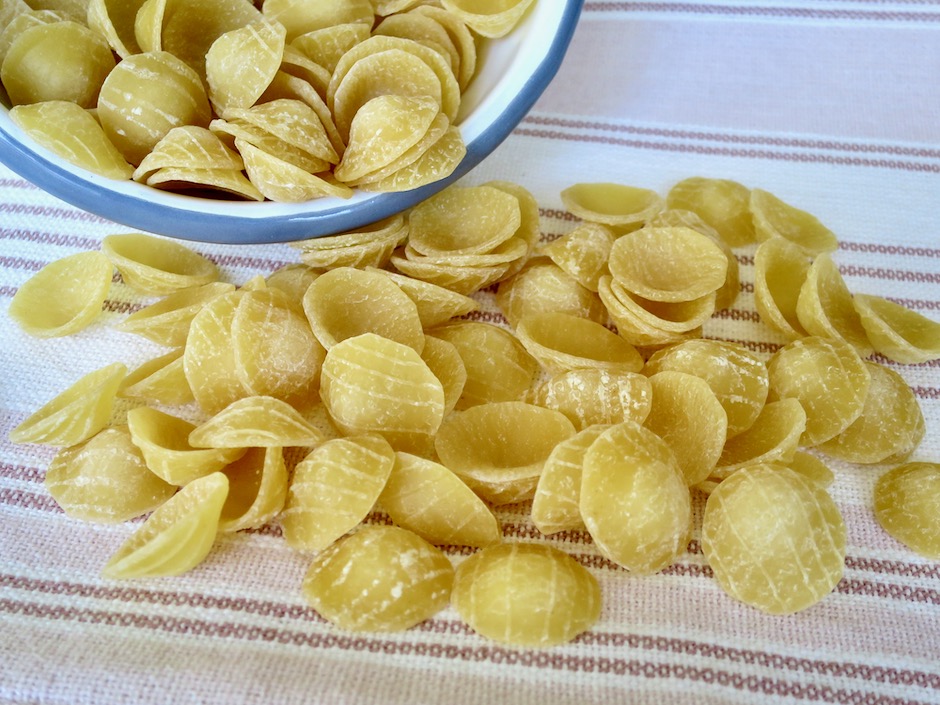
Orecchiette

Orecchiette is the perfect pasta for this dish.  The domed shape of this pasta is ideal for catching the little nuggets of corn, bacon, and zucchini.

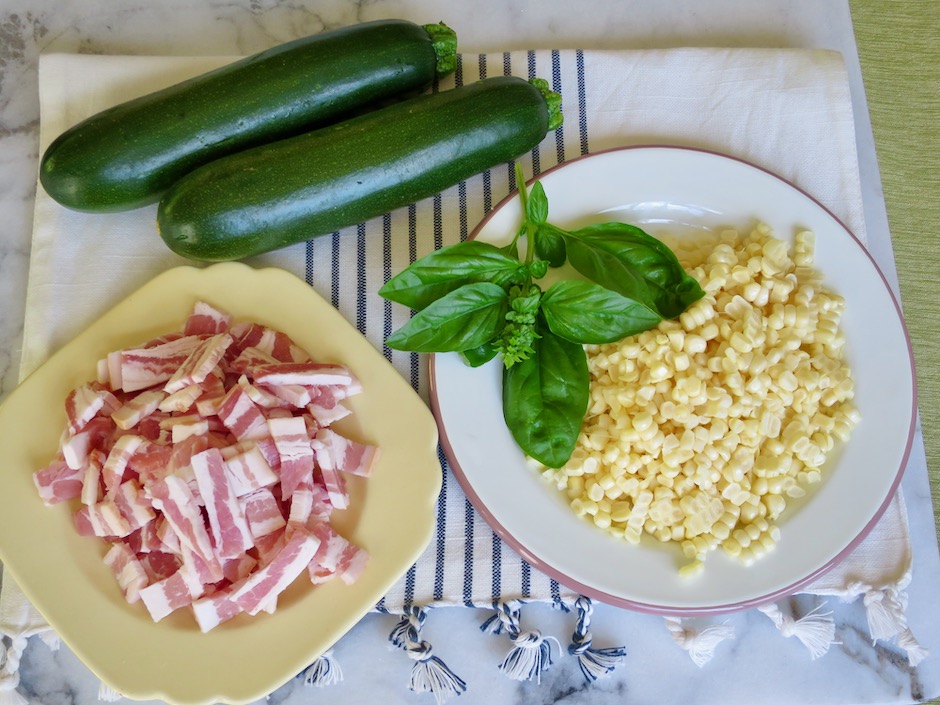
Zucchini, Corn, Basil, Bacon

Bacon = Happiness.

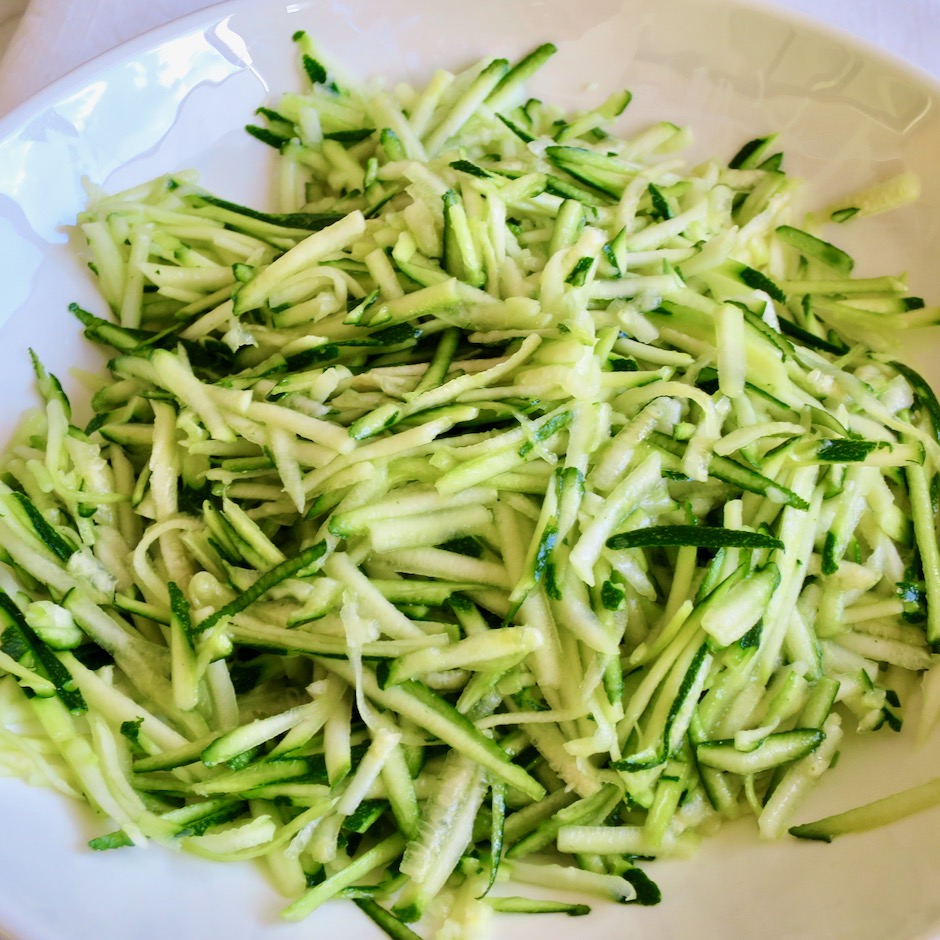
Grated Zucchini

The zucchini is grated and salted before being squeezed to extract as much liquid as possible.  This will ensure you do not end up with watery pasta.  The final dish is a bowlful of summer flavors.

Summer Weekend Pasta


Summer Weekend Pasta
 
Adapted from Food52
Author:
Serves: 2
Ingredients
  • 4 slices thick bacon, cut crosswise into ¼-inch pieces
  • 1 medium garlic clove, peeled and crushed
  • pinch of red pepper flakes (optional)
  • 2 medium green zucchini, ends trimmed
  • ½ pound orecchiette
  • 2 ears corn, kernels cut from the cobs
  • 1 tablespoon roughly chopped or torn basil
  • kosher salt and freshly ground black pepper
  • olive oil for finishing
  • grated parmesan cheese for serving
Preparation
  1. Grate the squash on a box grater or large hole grater. Place grated squash in a bowl and toss with 1 teaspoon kosher salt. Let sit for at least 10 minutes, and up to 30 minutes.
  2. Bring a large pot of generously salted water to a boil for the pasta. Meanwhile, cook bacon in a large saute pan with crushed garlic clove over medium heat. Cook until the bacon is crisp. Remove bacon to a paper towel-lined plate. Discard the garlic clove.
  3. Once the water comes to a boil, add the pasta and cook until al dente. While the pasta is cooking, take fistfuls of the salted squash and squeeze firmly to extract liquid. Set aside in a bowl.
  4. Drain the pasta but don't shake it; you want a little pasta water to help create a sauce. Pour it back in the pot. Add the pressed squash, corn kernels and bacon to the pot. Toss everything together. Add salt and pepper to taste. Drizzle in a tablespoon or two of olive oil. Add basil and red pepper flakes if using. Toss once before serving and sprinkle with grated parmesan.


Canning, Dinner, Gardening, Italian, Lactose Free, Pasta, Recipes, Sauces, Vegan, Vegetarian

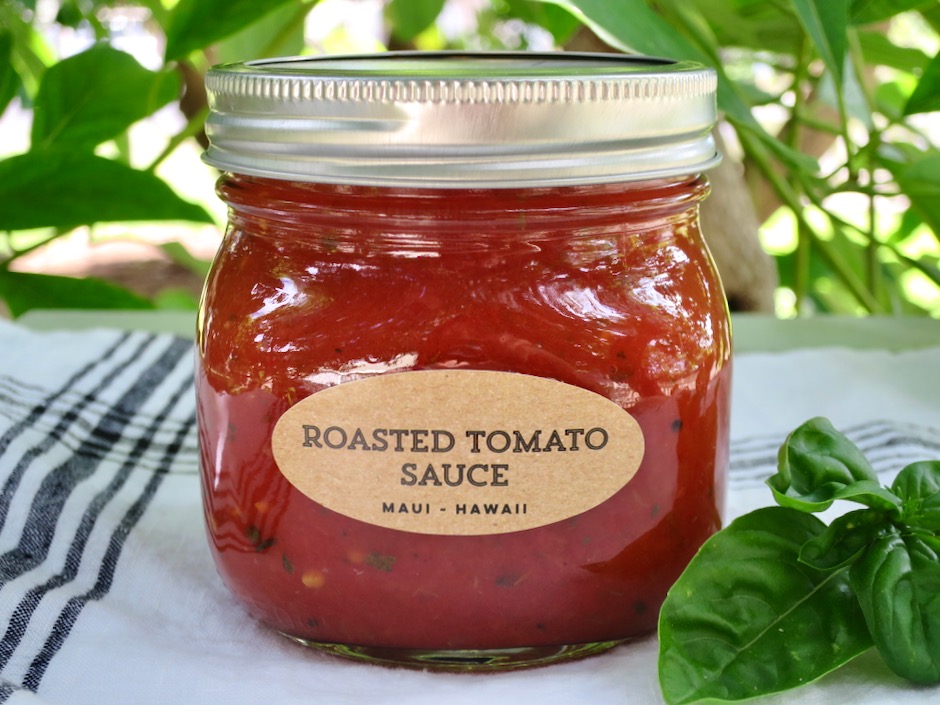
Water Bath Safe Canned Roasted Tomato Sauce

May 24, 2020

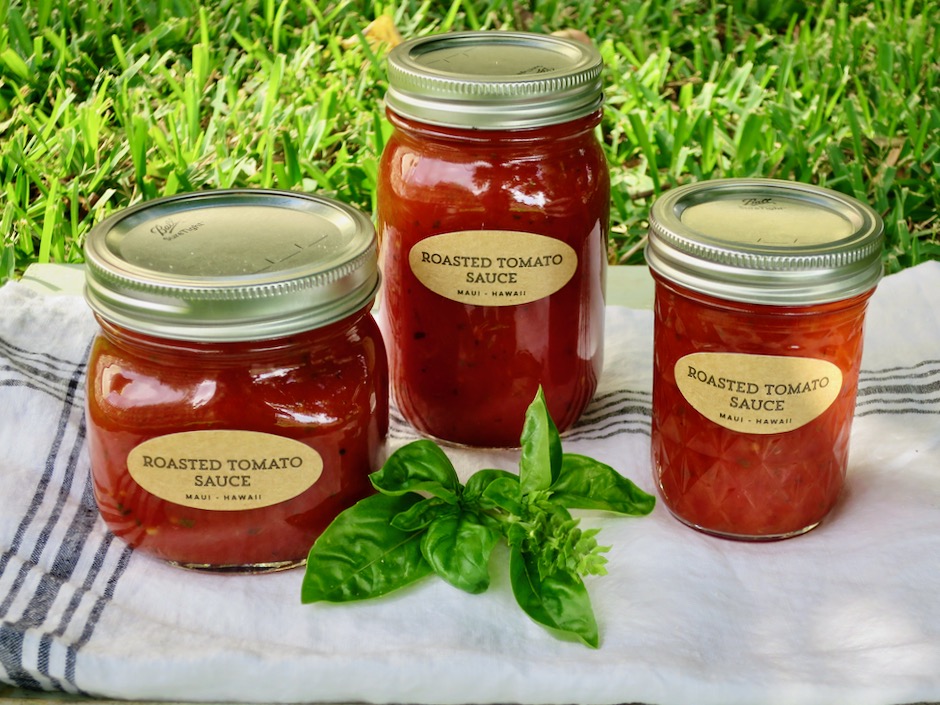
Water Bath Canned Roasted Tomato Sauce

Last summer we had an incredibly large tomato harvest from just two Early Girl plants.  The fruit kept coming and soon they were piled high in baskets on our dining table.  Having made fresh sauce and freezing it on many occasions, our freezer was already maxed out with other foods with little room for more.  I was very happy to come across a water bath safe canned tomato sauce recipe.  This recipe is adapted from Jami Boys of An Oregon Cottage.  It is a great recipe and we are so happy to have found it.

Water Bath Safe Canned Roasted Tomato Sauce

Roasting the tomatoes gives the sauce a wonderful flavor and gorgeous color.  And being able to keep the jars shelf stable for 18 months is absolutely the way to go.  We regularly send care packages with homemade jams, peppers and pickles to our children.  We have increased our product selection with this terrific sauce.

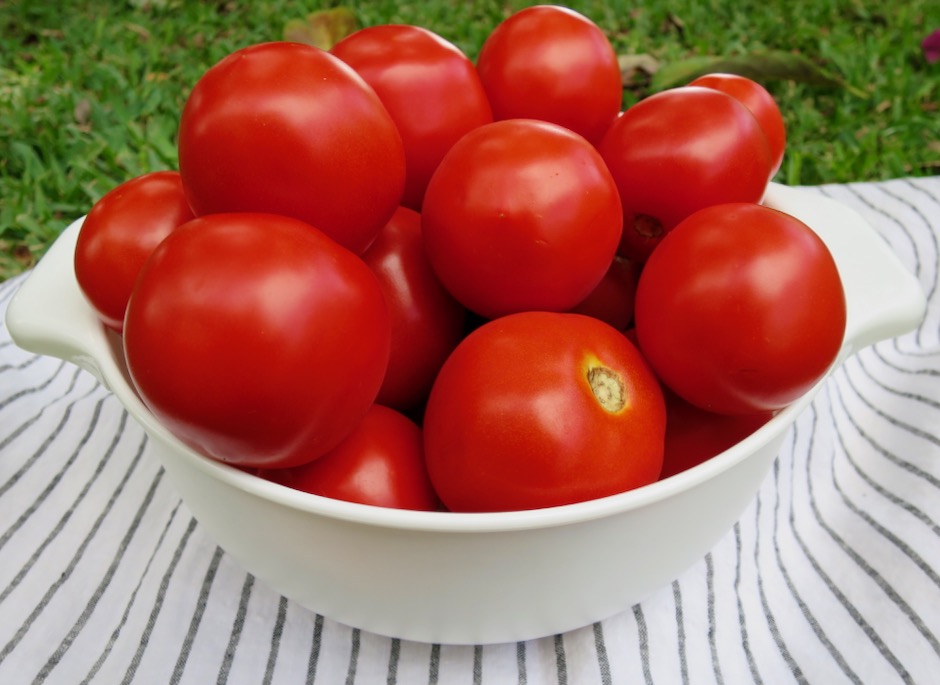
Early Girl Tomatoes

Early Girls are amazing tomatoes.  They are juicy, meaty, and have a particularly deep red color.

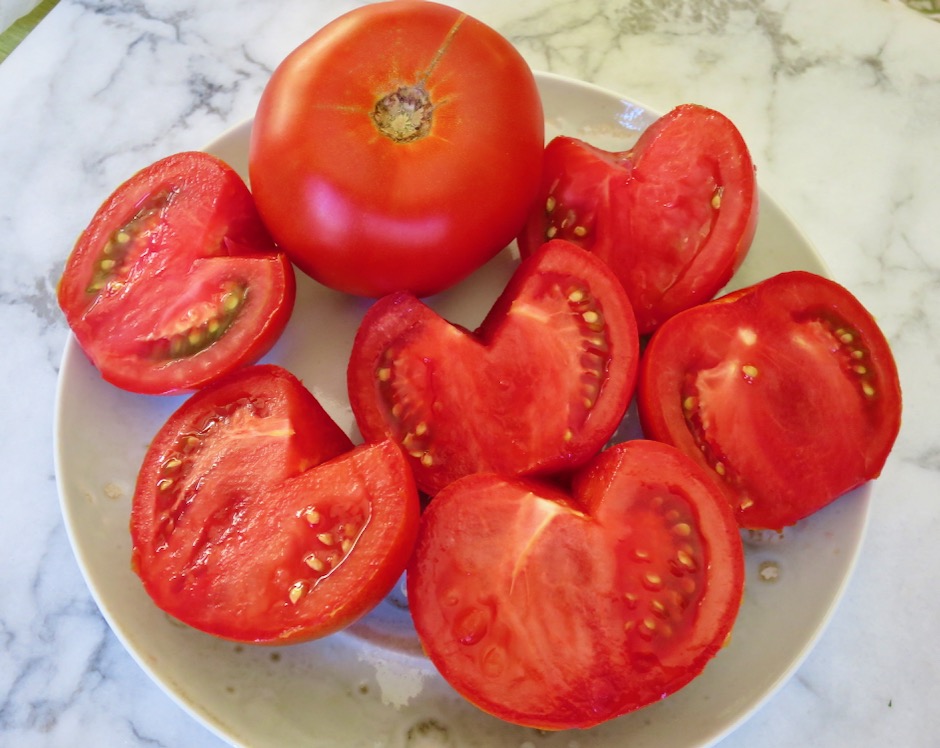
Katana Beefsteak Tomatoes

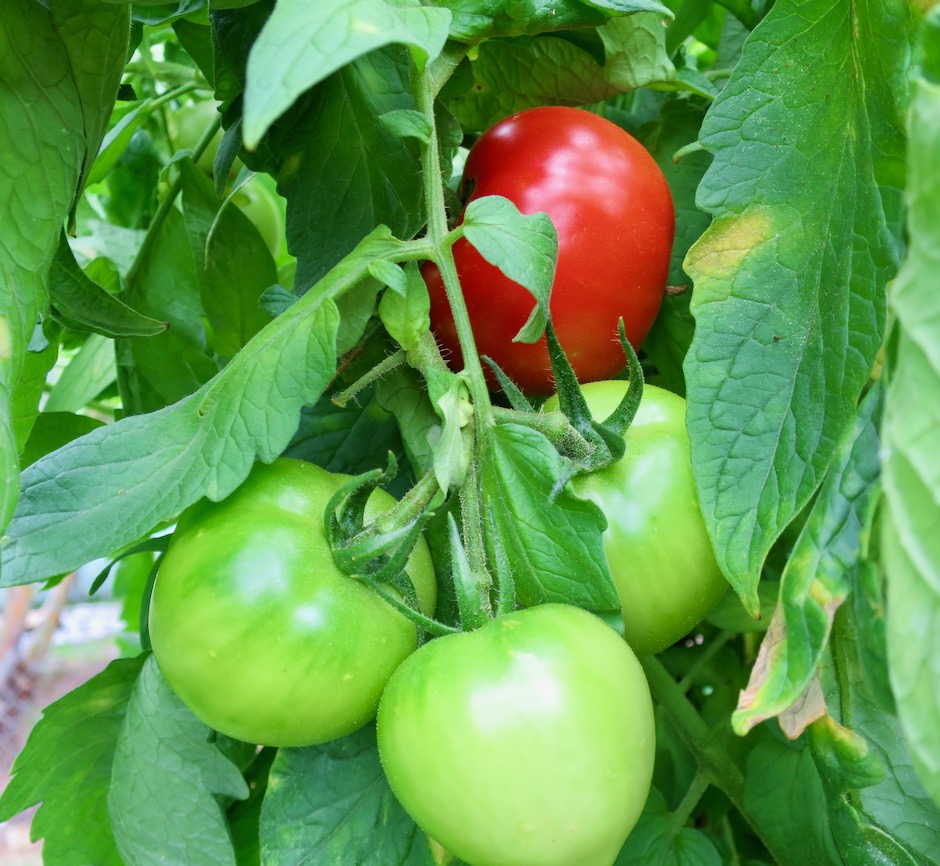
This time we also harvested and used these beautiful Katana beefsteak tomatoes.

Katana Beefsteak Tomatoes in the Garden

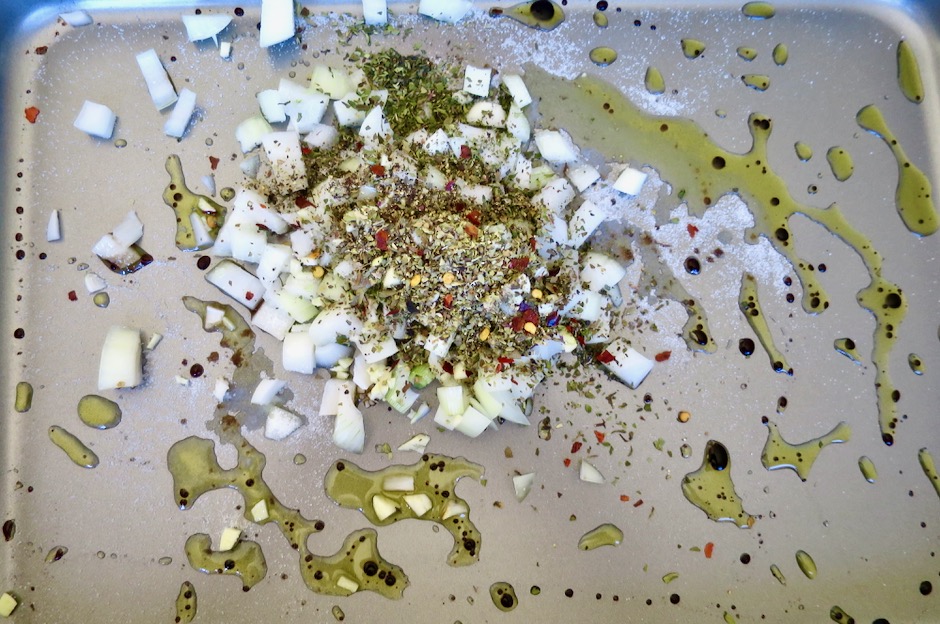
Olive Oil, Balsamic Vinegar, Onion, Garlic & Dried Herbs

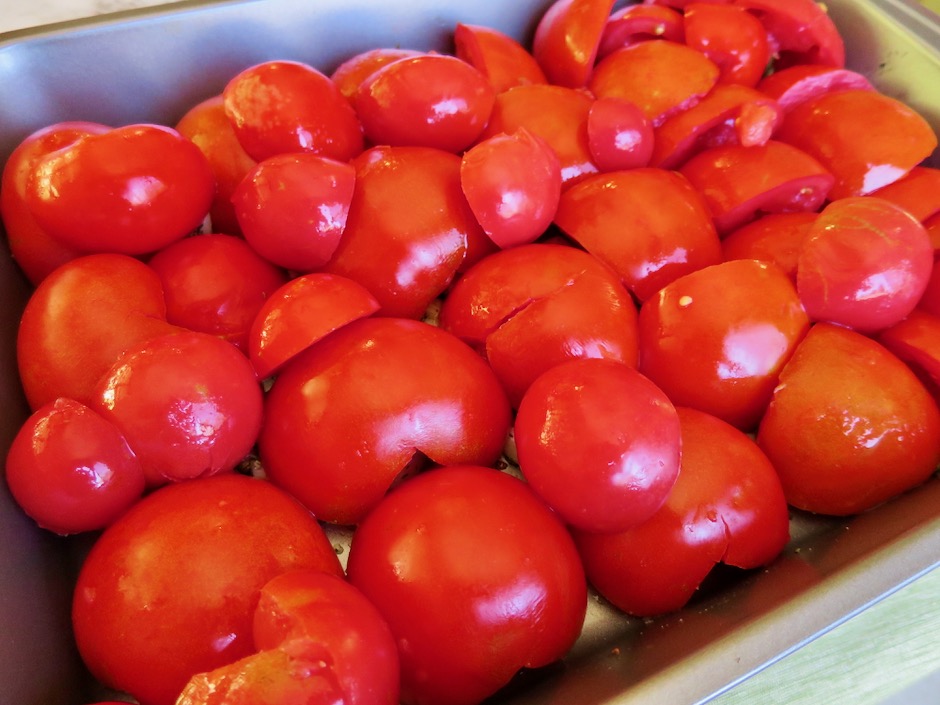
The halved and seeded tomatoes are placed in a pan with a bit of olive oil, dash of balsamic vinegar, onions, garlic, dried herbs and seasoning (salt & pepper) and roasted for about 40 minutes.

Halved and Seeded Tomatoes

I recommend using meaty tomatoes for a luscious, thick sauce.  If the tomatoes are more on the watery side, you may end up with mostly tomato skins once they have roasted.

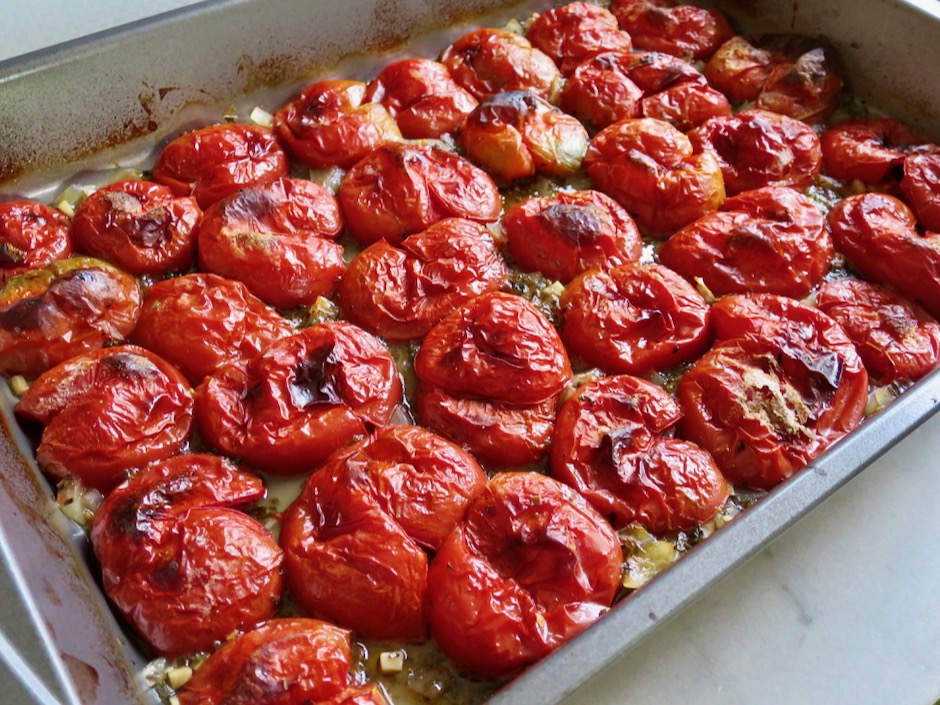
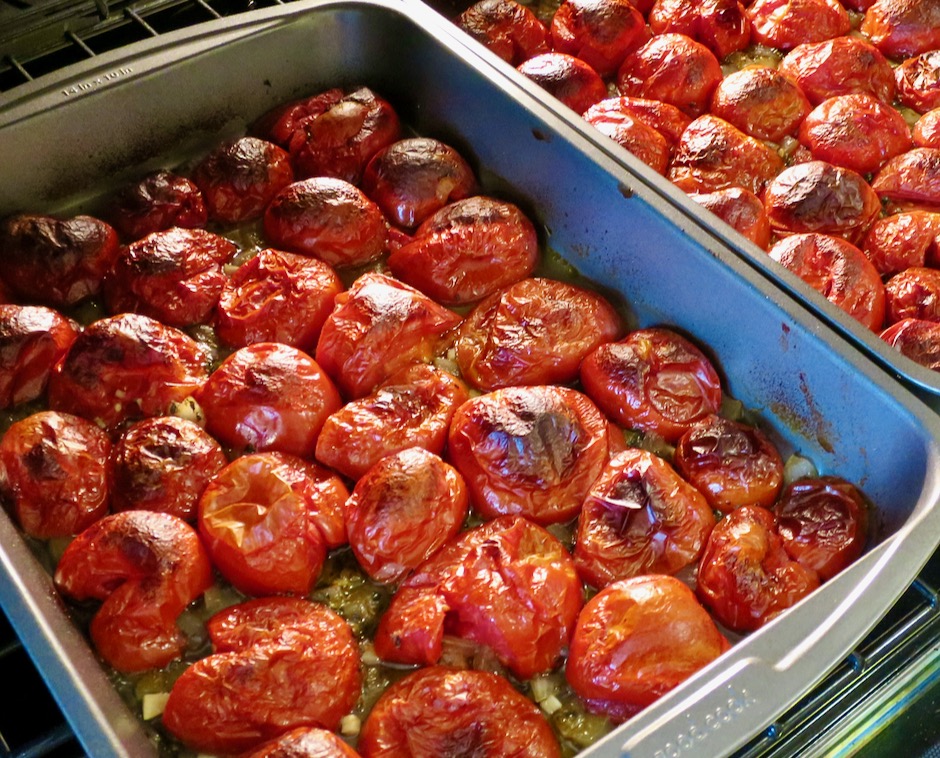
Roasted Tomatoes

Roasted Tomatoes

The onions and herbs smell divine as the tomatoes roast.

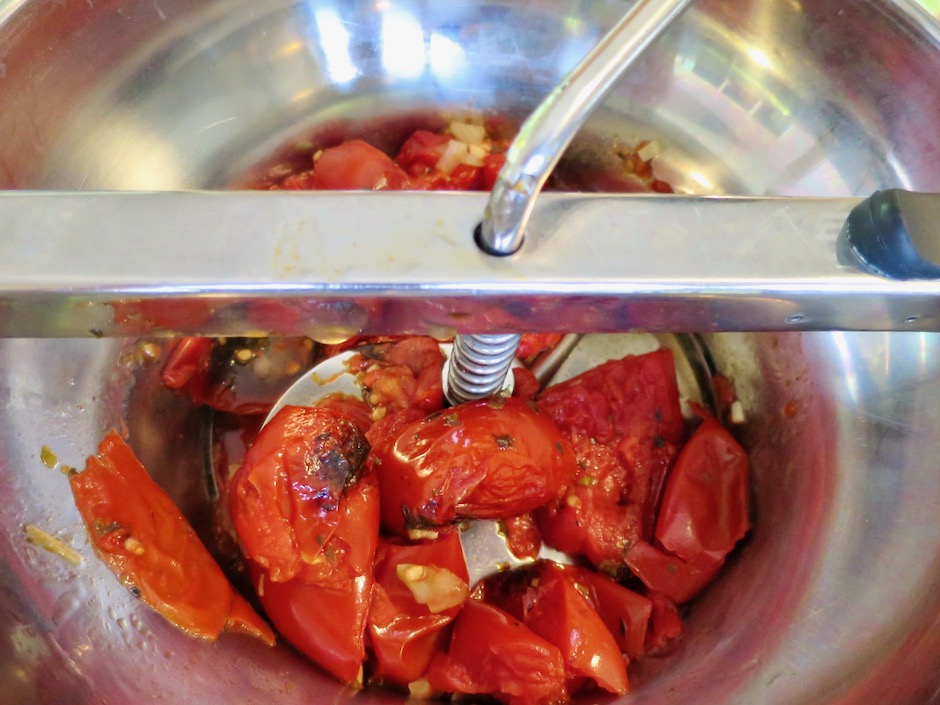
Food Milling Tomatoes

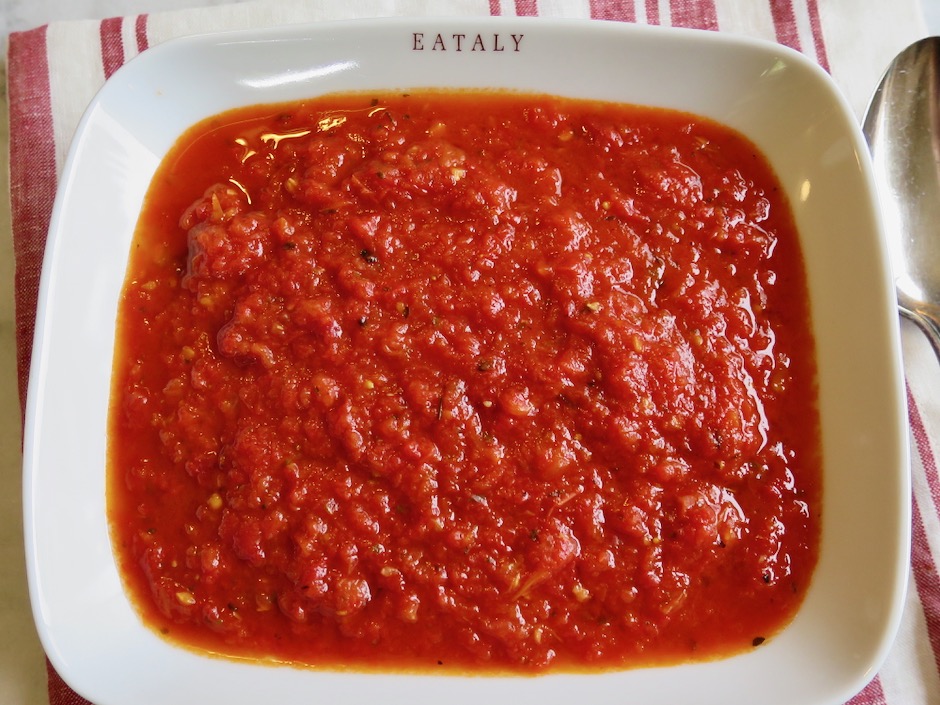
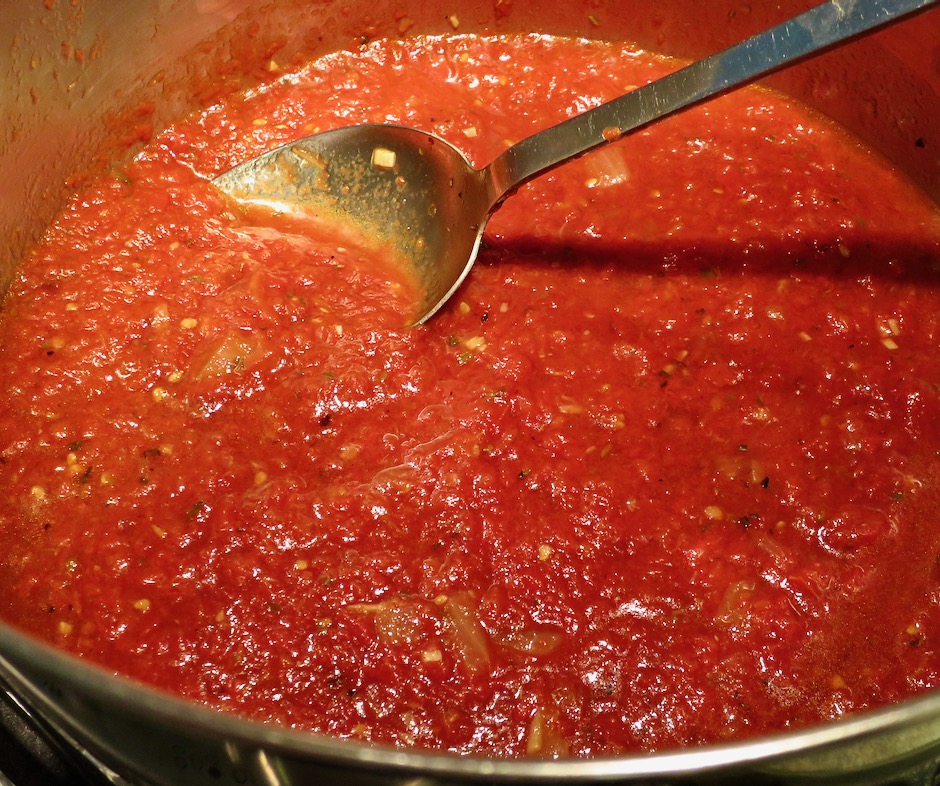
The fastest and easiest way to remove the tomato skins is with a food mill.  Place a large pot under the food mill and process the tomatoes in batches.  If you don’t have a food mill, pinch off the skins then pulse the tomatoes a few times in a food processor.  Try to keep the sauce a little on the chunky side.  If you process the tomatoes too much, you will end up having to reduce the sauce quite a bit as it will be much thinner.

Water Bath Safe Canned Roasted Tomato Sauce

Water Bath Canned Roasted Tomato Sauce

Water Bath Safe Canned Roasted Tomato Sauce
 
Adapted from Jami Boys recipe
Author:
Serves: About 10 cups
Ingredients
  • 10 pounds meaty tomatoes (I used what we had growing in our garden; Early Girl and Katana)
  • 1½ cups diced onions
  • 2 - 3 large garlic cloves, finely chopped
  • 2 tablespoons extra virgin olive oil
  • 1 - 2 teaspoons balsamic vinegar (optional)
  • 3 teaspoons canning salt (or fine sea salt)
  • 2½ teaspoons dried oregano
  • 2 teaspoons dried basil
  • 1 teaspoon dried marjoram
  • ½ teaspoon freshly ground black pepper
  • citric acid (essential for canning safety): ¼ teaspoon per 16 ounce (pint) jar, ⅛ teaspoon per 8 ounce (1/2 pint) jar
Preparation
  1. Special equipment: Water bath canner, pint and/or half pint jars, lids and rings, 2 large roasting pans 14x10-inches, food mill for removing tomato skins, food processor or immersion blender.
  2. Preheat the oven to 425 degrees. Have 2 large 14x10-inch baking pans ready.
  3. Halving all ingredients to work in two batches, divide olive oil, balsamic vinegar, onions, garlic, dry herbs, salt and pepper between the two pans.
  4. Wash tomatoes and remove the cores. Cut each tomato in half, or if very large, cut into fourths. Gently squeeze the tomatoes to remove as many of the seeds as possible. Place seeded tomatoes cut side down on top of the ingredients in the prepared pans.
  5. Roast for 35-40 minutes, until most of the skins are a bit puffed and browned. Remove pans from the oven and let cool a bit. Transfer the tomatoes in batches to your food mill with a large pot underneath collecting the tomatoes and their juices. Using the large hole disk, process the tomatoes so the skins are left behind. Continue with all of the roasted tomatoes. Be sure to add all of the remaining pan juices and solids as well.
  6. You may keep the sauce chunky or pulse a few times with a food processor or an immersion blender to get to your desired consistency. If you do not have a food mill, pinch off the skins once the tomatoes are cool enough and pulse tomatoes in a food processor (just a few times for a nice thick sauce). Taste and adjust seasonings, adding more dried herbs or salt if needed. If the sauce is very thick, you may not need to reduce it. If you prefer a thicker sauce, bring sauce to a boil over medium-high heat, then lower the heat and simmer until sauce thickens. This could take anywhere from 20 - 45 minutes depending upon the type of tomatoes used. The tomato sauce must be hot before ladling into the jars.
  7. Prepare a water bath canner, wash jars and lids. Place clean jars into canner and bring to a simmer. Important safety step: Once jars are hot, remove all jars from the canner and add citric acid to each jar before continuing. Ladle hot tomato sauce into the hot jars one at a time, leaving ½-inch headspace.
  8. Wipe rims, attach lids and secure rings just finger tight. Place all jars back into the canner. Cover and bring to a boil. Once water is boiling process for 35 minutes. At the end of 35 minutes, turn off heat and let jars sit for 5 more minutes. Then remove jars to a cooling rack or towel-lined surface and let cool for 24 hours. Remove rings, check seals, label and store for 18 months. (The newer version of lids are good for 18 months). ***Do not replace dried herbs with fresh herbs. Using fresh herbs will change the pH (acidity)


Follow

Get every new post delivered to your Inbox

Join other followers: