Browsing Tag

Lactose Free Dessert

Dessert, Fruit, Lactose Free, Recipes

Aunty Ruby’s Country Inn Lemon Loaf

May 15, 2019

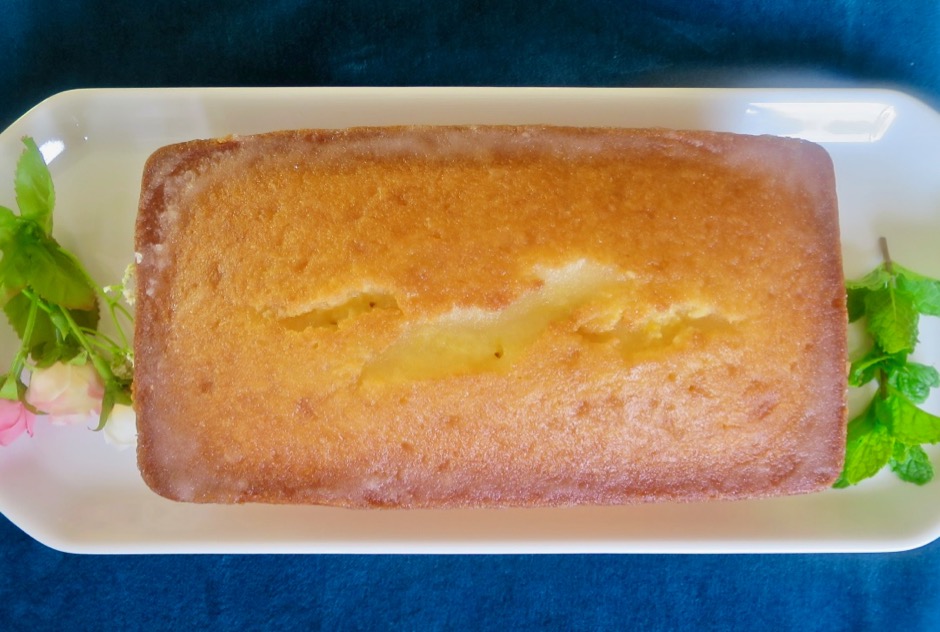
Aunty Ruby's Country Inn Lemon Loaf

It has been nearly 30 years since my late Aunty Ruby shared this recipe with me.  She was such an excellent cook and baker. Ever so thoughtful, she sent me 2 loaf pans with liners along with the recipe. This is one of those recipes that has family heirloom status.  There are no fancy ingredients, just flour, eggs, sugar, milk, lemons.  The essence of simplicity.

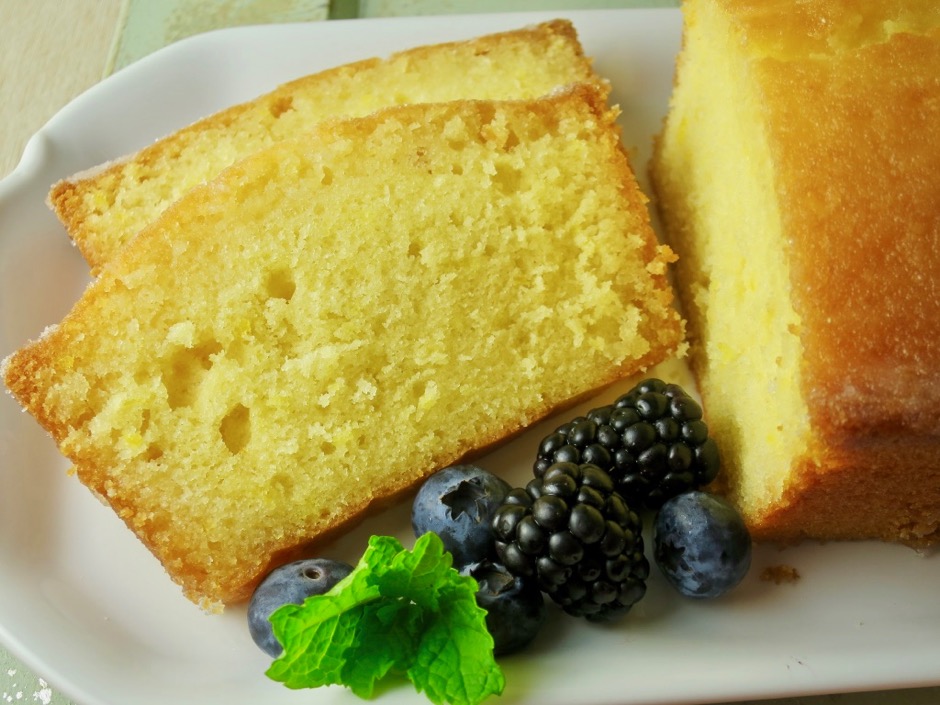
Aunty Ruby's Country Inn Lemon Loaf

This cake is reminiscent of a dessert you might find at a quaint bed and breakfast or country inn. Or, for that matter, even a 5-star restaurant. It is that good!  I serve it without any accompaniments, however you might choose to serve it with a scoop of vanilla ice cream or fresh fruit.

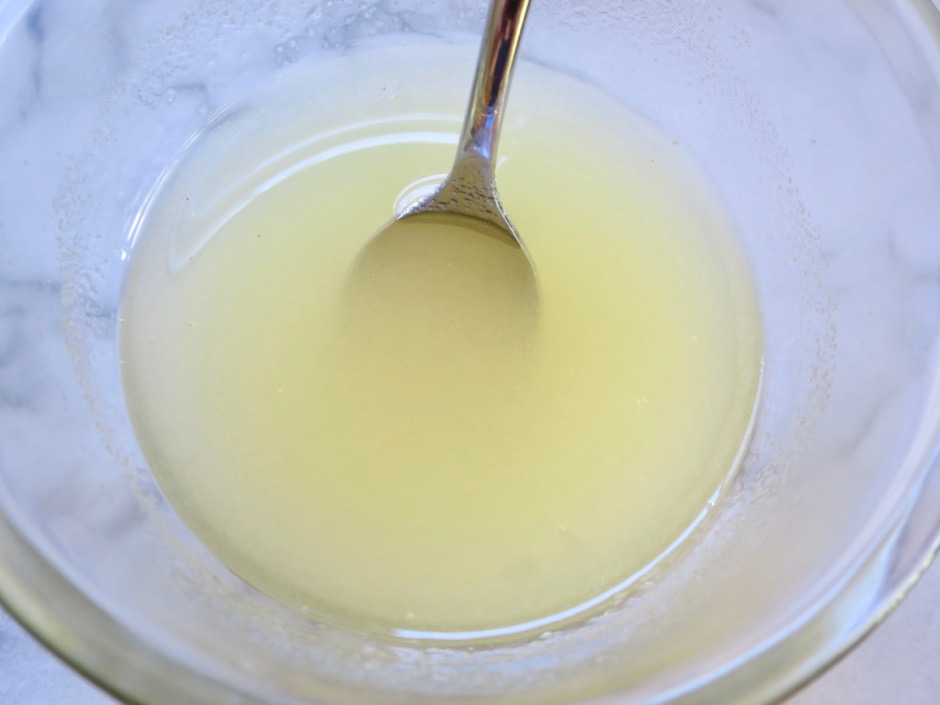
Lemon Loaf Glaze

The glaze is a simple mixture of fresh lemon juice and sugar. It may seem that there is too much glaze, but make sure to use all of it.  The tangy-sweet lemon glaze moistens the cake with a wonderful flavor. I use a toothpick and poke holes all over the top of the cake so that the glaze seeps into each bite you take.

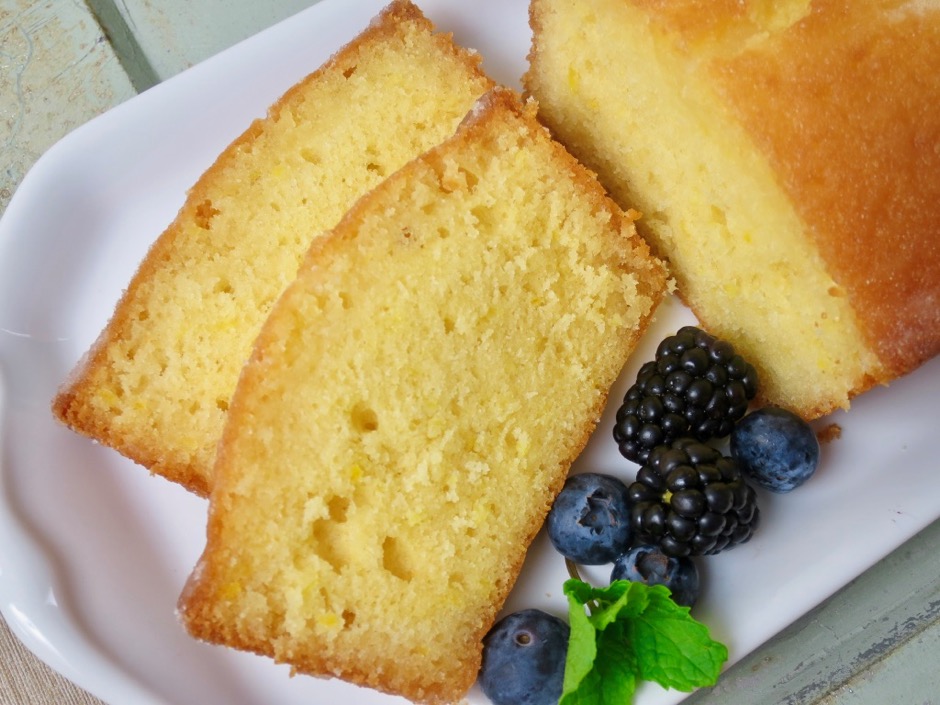
Aunty Ruby's Country Inn Lemon Loaf

Aunty Ruby's Country Inn Lemon Loaf
 
Ingredients
  • 1½ cups all-purpose flour
  • ¼ teaspoon salt
  • 1 teaspoon baking powder
  • 6 tablespoons (3/4 of a cube) Earth Balance Buttery Sticks at room temperature (or regular butter)
  • 1 cup sugar
  • 2 large eggs at room temperature
  • grated rind of 1 lemon
  • ½ cup 2% lactose free milk at room temperature (or regular milk)
  • Glaze:
  • Juice of 1 lemon and 6 tablespoons granulated sugar
Preparation
  1. Preheat oven to 350 degrees.
  2. Butter an 8½ x 4½-inch loaf pan (or use a loaf liner).
  3. Sift together flour, salt and baking powder.
  4. Cream together Buttery Sticks and sugar. Beat in eggs one at a time. Do not overbeat. Mix in grated lemon rind. Add alternatively, flour mixture and milk.
  5. Pour batter into prepared loaf pan. Bake for 50-55 minutes or until a toothpick inserted in the middle comes out clean. Check for doneness at 50 minutes.
  6. While cake is baking, make the glaze. Combine the lemon juice and sugar, stirring occasionally.
  7. Let cake rest in pan for about 5 minutes. Remove cake gently from pan and place on a small cooling rack with foil under the rack. Spoon glaze over the cake allowing it to soak in. You may use a toothpick to make small indentations in the cake so that the glaze will moisten the entire cake. Slice and serve lemon loaf at room temperature.
  8. Recipe may be doubled to make two loaves.

Cookies, Dessert, Lactose Free, Recipes

Peanut Butter Blossoms

March 6, 2019

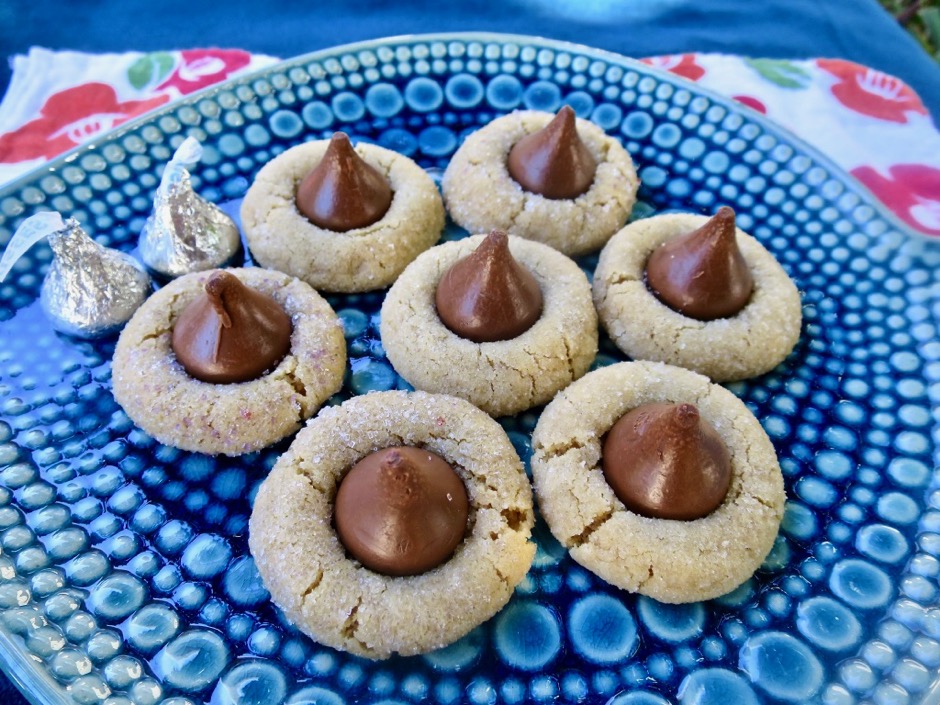
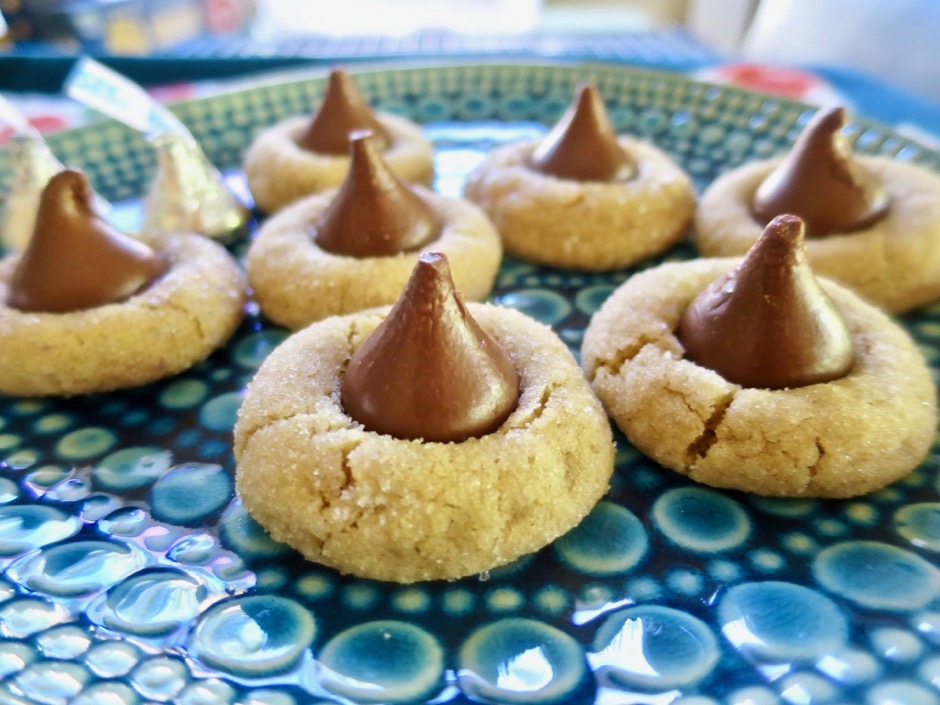
Peanut Butter Blossoms with Granulated Sugar

These petite, nearly bite-sized cookies will delight children of all ages, from 3 to 93!  They are the perfect treat when you are short on time but want a freshly baked cookie.  No chilling the dough for hours and no fancy ingredients.  It takes a few minutes to unwrap 5 dozen Hershey’s Kisses but if you have kids or willing family members, you will be ready to go in no time at all.  There are thousands of recipes for Peanut Butter Blossoms, also known as Hershey Kiss Cookies.  Some use butter, others use shortening (I tried it, not a fan) and a few use both.  This recipe was adapted from NYT Cooking.  I added a bit more peanut butter, which is never a bad idea.

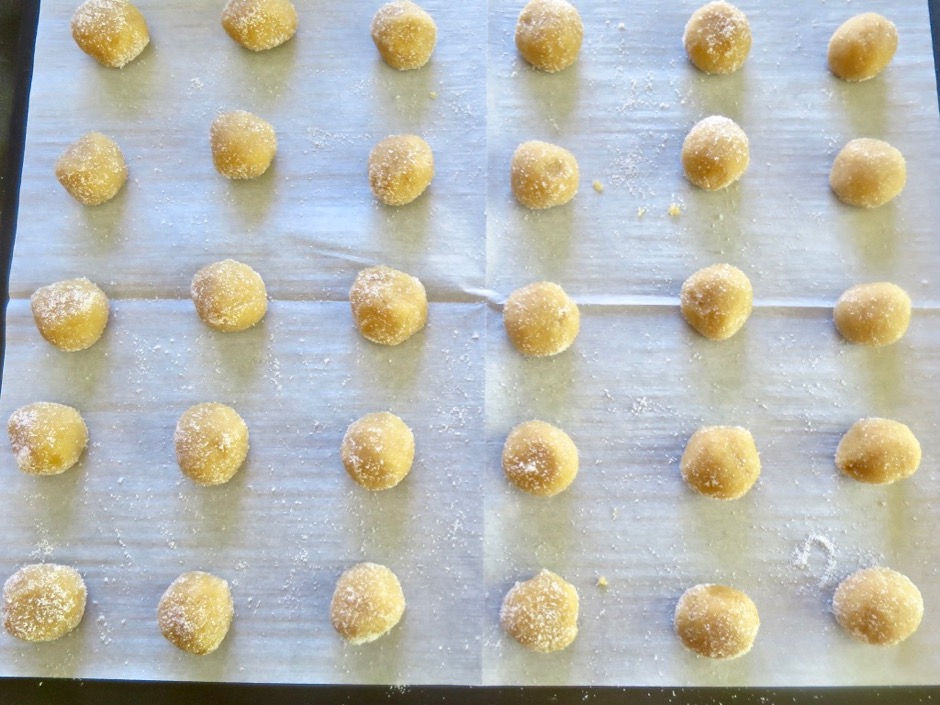
Cookie Dough Rolled in Sugar

These cookies are quite small.  You will get 5 dozen from this recipe, plenty to share with all of your friends.

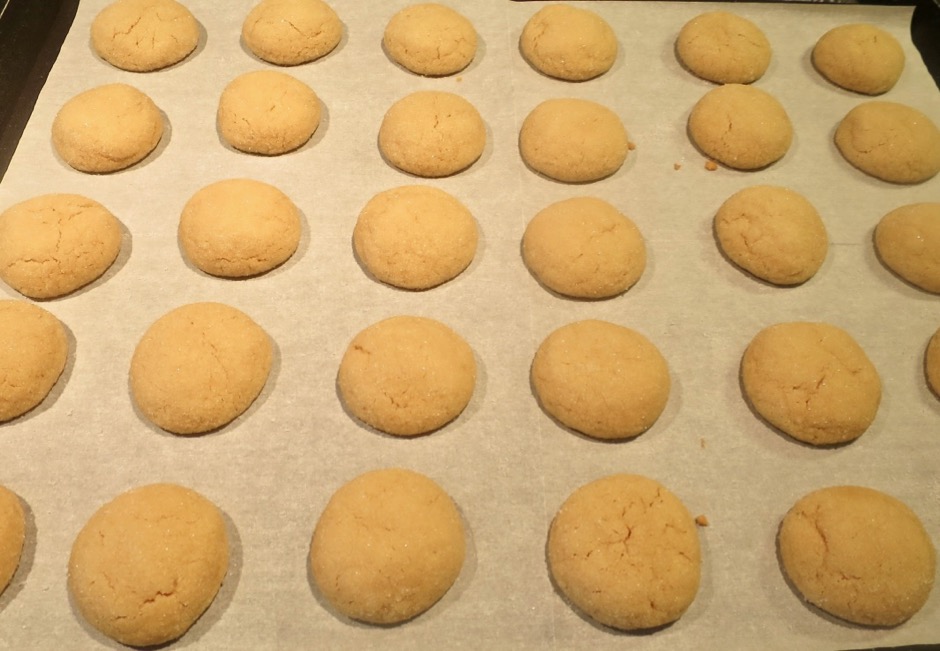
Ready to Add Hershey's Kisses

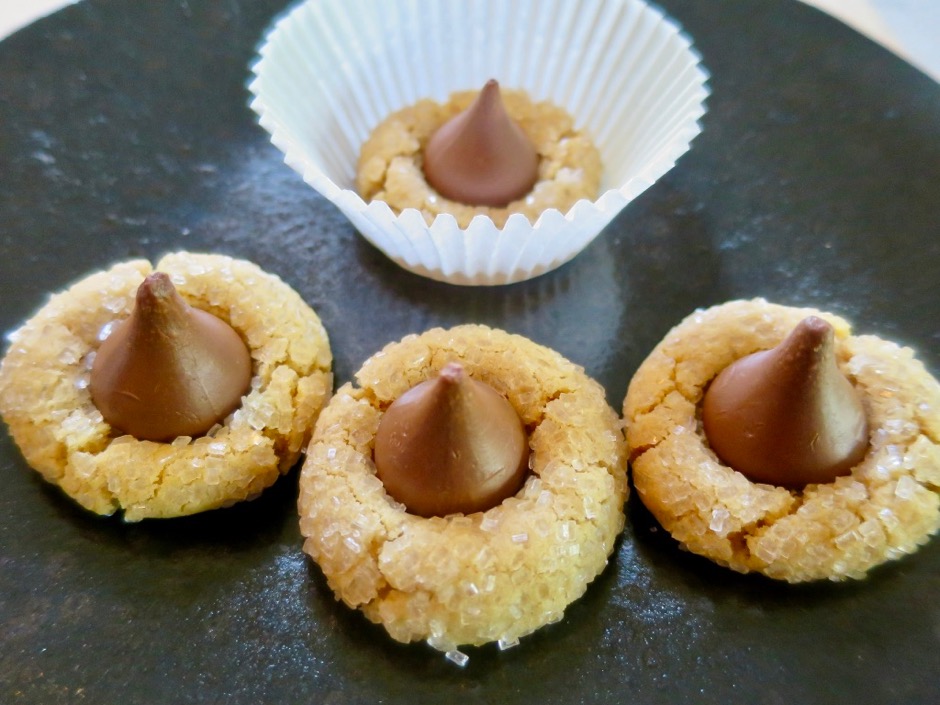
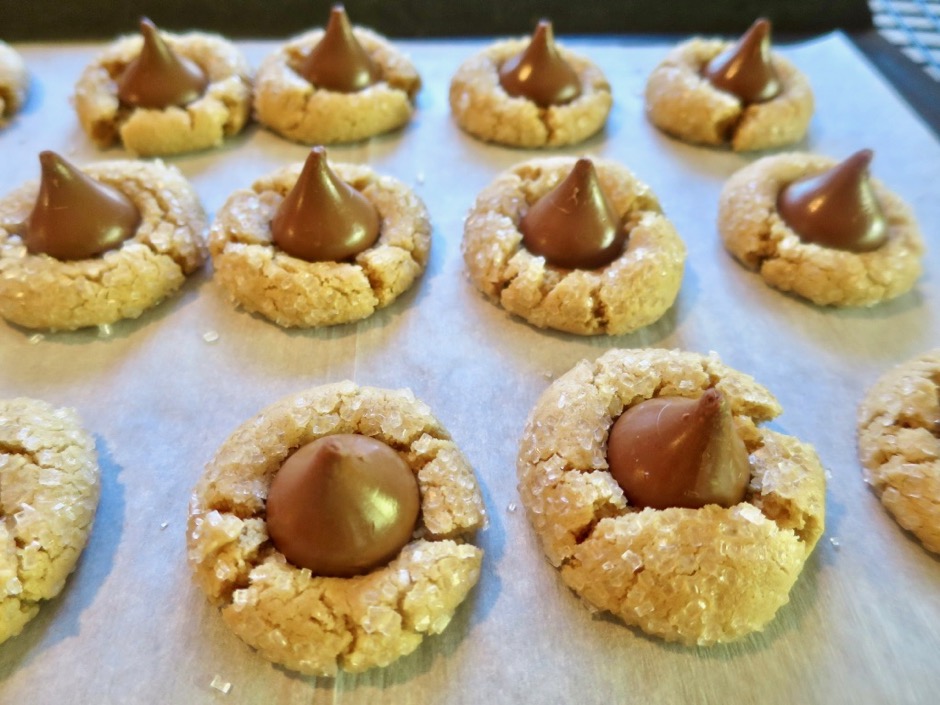
The dough is rolled into 1-inch balls then rolled in sugar. I first used granulated sugar but found that coarser sugar (I used Bob’s Red Mill Decorative Sparkling Sugar) added a lovely crunch to the soft and chewy cookies.  Once the cookies have baked for 6 minutes the pan is removed from the oven and each cookie receives its Hershey’s Kiss.  They go back in the oven for another 2 minutes.  Don’t worry, the chocolate will not melt.

Peanut Butter Blossoms with Bob's Red Mill Sparkling Sugar

I think the cracks around the edges of the cookies make them more attractive.  They look beautiful!

Peanut Butter Blossoms

Peanut Butter Blossoms
 
Adapted from New York Times
Author:
Serves: 5 Dozen
Ingredients
  • 1¾ cups all-purpose flour
  • 1 teaspoon baking soda
  • ¼ teaspoon salt (1/2 teaspoon if using unsalted butter)
  • 4 ounces (1 stick) Earth Balance Buttery Sticks at room temperature
  • ⅔ cups smooth peanut butter such as Skippy's
  • ½ cup granulated sugar
  • ½ cup light brown sugar
  • 1 large egg
  • 1 tablespoon lactose free milk (or regular milk)
  • 1 teaspoon vanilla
  • 5 dozen (one 11-ounce package) Hershey's Kisses, foil removed
  • sparkling sugar for rolling cookie dough
Preparation
  1. Sift together flour, baking soda and salt; set aside. Using an electric mixer, cream together the Earth Balance Buttery Stick, peanut butter, granulated sugar and light brown sugar. Add egg, milk and vanilla. Beat until well blended. Gradually add flour mixture, mixing thoroughly with a firm spatula. If the dough is very soft, refrigerate for 30 minutes or freeze for 10 minutes.
  2. Preheat oven to 375 degrees. Line a cookie sheet with parchment paper. Divide dough into 5 pieces, and shape each piece into 12 balls.
  3. Roll cookies in sugar and place 2 inches apart on the cookie sheet. Bake until very light brown and puffed, about 6 minutes. Remove cookie sheet from the oven and lightly press a candy kiss into the center of each cookie, allowing it to crack slightly. Return to the oven and bake another 2 minutes until golden brown. Remove from oven, cool for a few minutes on the pan, then transfer to a wire rack to cool completely.
  4. The cookies are best eaten the day you bake them however you may store them in an airtight container for another day or so. You can also freeze the cookies though the chocolate may change color affecting the appearance due to the cocoa butter separating from the cocoa solids, but the taste will not be affected.


Breakfast, Dessert, Lactose Free, Recipes

Cream Cheese Scones

April 24, 2018

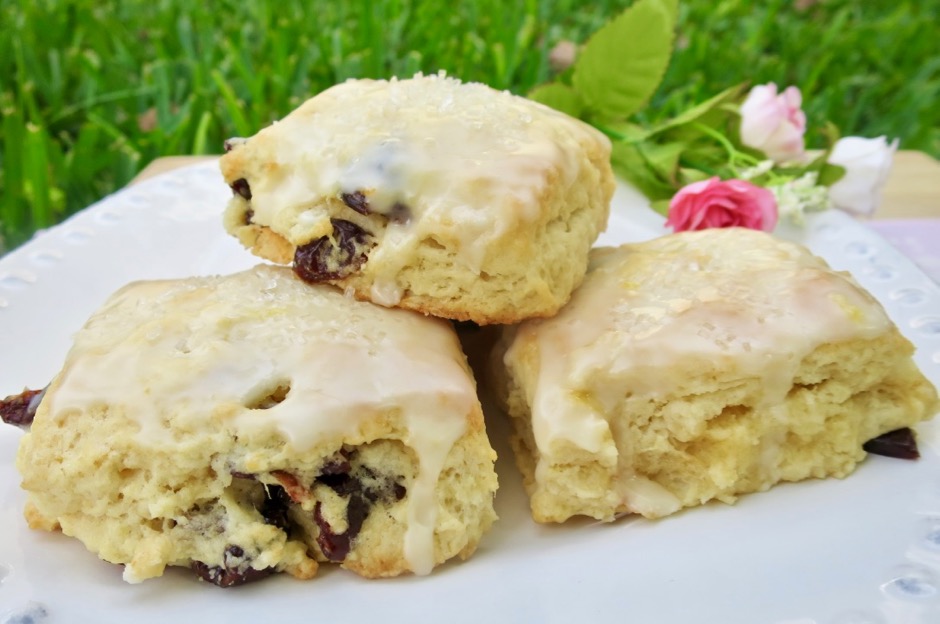
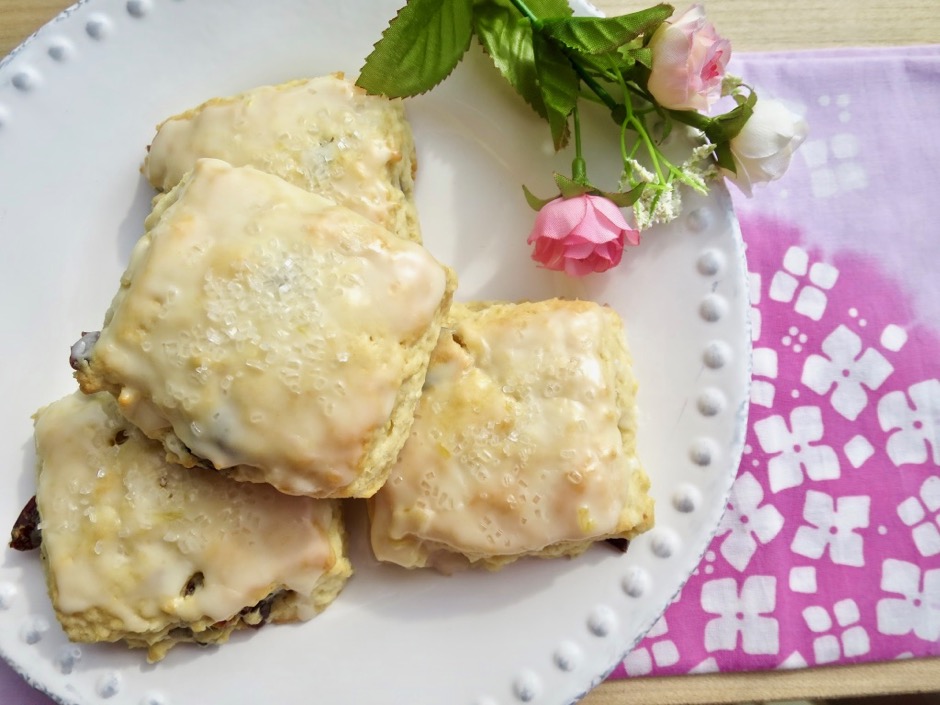
Tart Cherry Cream Cheese Scones

Scones have now become one of my favorite pastries.  They don’t require planning ahead and can be made in less than an hour from start to finish.  And though many think of a scone as a breakfast treat, I very much enjoy them as a dessert warmed and topped with a pat of Earth Balance Buttery Spread.  What sets these scones apart, is the rich flavor from the cream cheese. This creates a very tender and moist crumb.  The house is filled with wonderful aromas as they bake.  Having tried numerous recipes I can now say that I can’t imagine a better scone than this one.

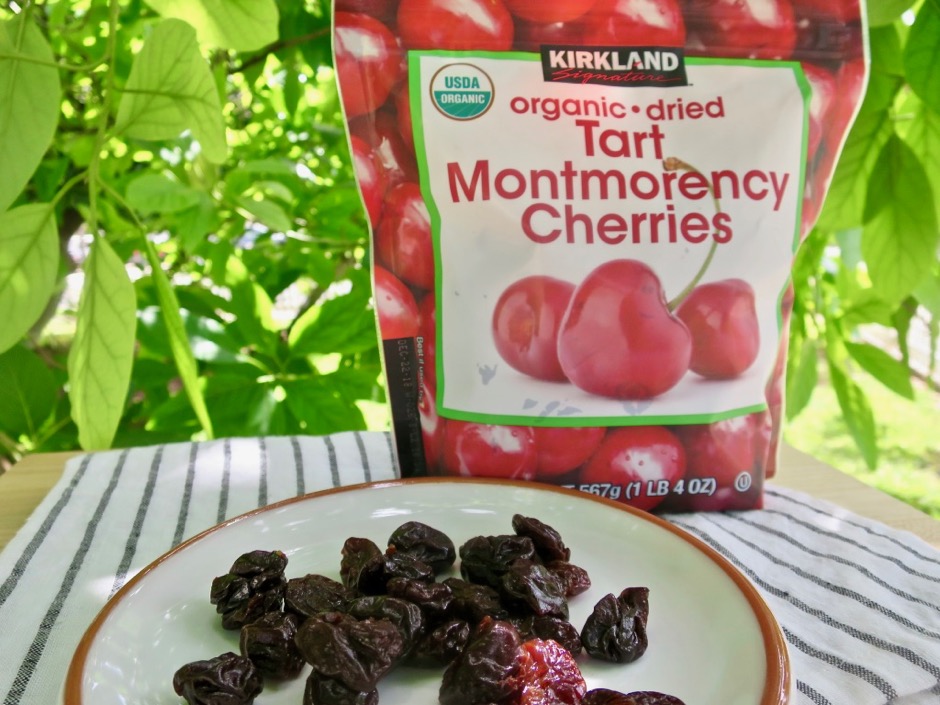
Tart Cherries

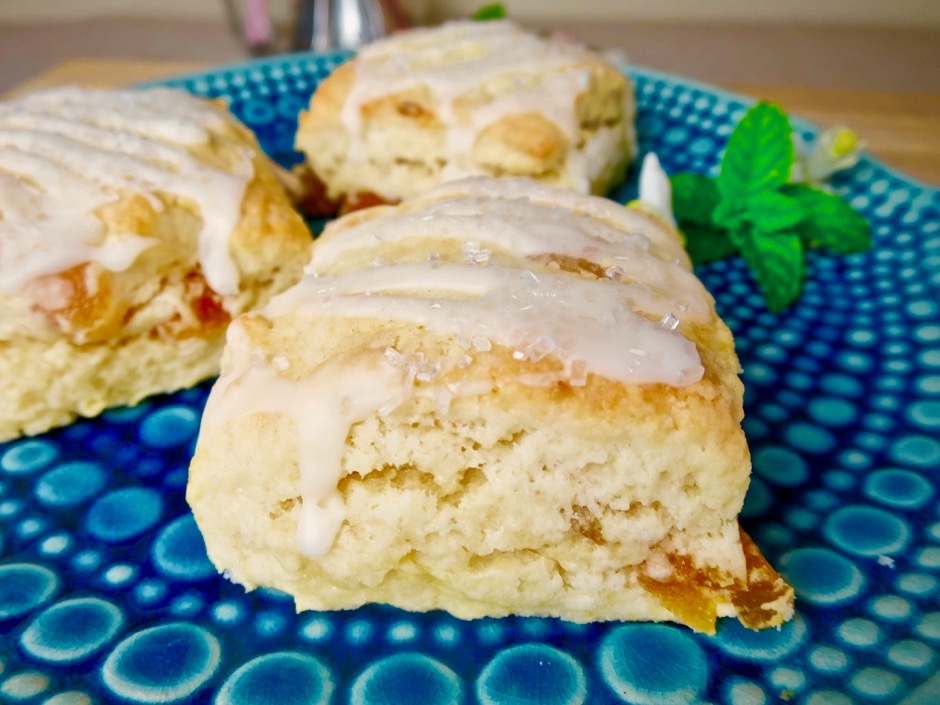
The original recipe calls for dried apricots.  I have made the scones with apricots and cherries. Both versions are excellent so use what’s readily available or make a double batch, half with cherries and the other half with apricots.  These scones freeze well.

Apricot Cream Cheese Scones

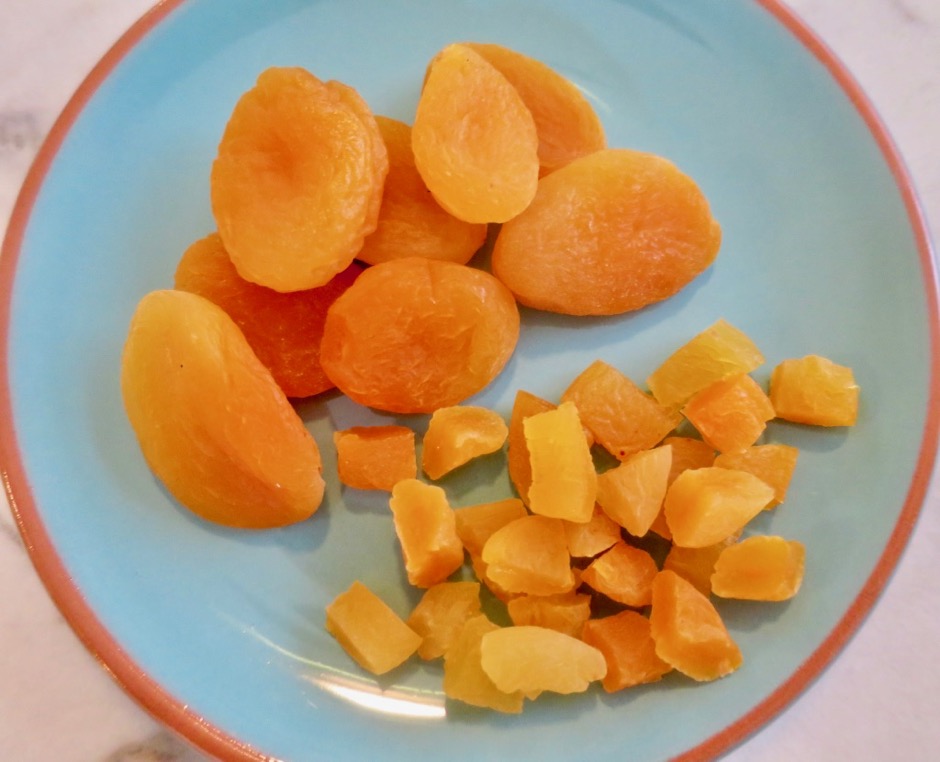
Turkish Apricots

Turkish apricots are soft and sweet which makes them ideal for baked goods and for snacking.

Tart Cherry Cream Cheese Scones

Cream Cheese Scones
 
Adapted from King Arthur Flour
Author:
Serves: 14
Ingredients
  • 3¼ cups all-purpose flour (390 grams)
  • ½ cup granulated sugar (99 grams)
  • 2½ teaspoons baking powder
  • ¼ teaspoon salt (1/2 teaspoon if using unsalted butter)
  • 1 (8 ounce) container cold Green Valley lactose free cream cheese (or regular cream cheese)
  • ½ cup (8 tablespoons) cold Earth Balance Buttery Sticks (or unsalted butter)
  • 1 cup coarsely chopped dried cherries or diced apricots (150 grams)
  • ¼ cup lactose free milk (or regular milk)
  • 1 large egg
  • 1½ teaspoons vanilla extract
  • For the glaze
  • 1 cup powdered sugar
  • 2 - 2½ tablespoons fresh orange juice
  • sparkling sugar for garnish, optional
Preparation
  1. Preheat oven to 400 degrees. Line a baking sheet with parchment paper.
  2. In a large bowl, whisk together the flour, sugar, baking powder and salt.
  3. Cut in the cream cheese and butter, using a pastry blender, fork, or your fingers, until the chunks of butter are the size of peas. Stir in the cherries or apricots.
  4. In a small bowl whisk together the milk, egg and vanilla. Add the wet ingredients to the dry, and stir with a fork until the dough is evenly moistened.
  5. Turn the dough onto a floured work surface and fold it over several times, until it holds together. Pat the dough into a ¾" thick rectangle. Cut the dough in to 14 squares or 16 for smaller scones. Bake on the middle rack for about 13 minutes, until the tops are light golden brown and a toothpick inserted in the center comes out clean. Remove scones to a cooling rack and cool completely.
  6. Whisk powdered sugar with orange juice until smooth. The glaze should be thick yet easy enough to drizzle over the scones with a spoon. Once the scones are completely cool, drizzle or brush glaze over the tops and immediately sprinkle on the sugar if using.


Dessert, Lactose Free, Recipes

Baked Sour Cream Donuts with Chocolate Frosting

May 22, 2017

Baked Sour Cream Donut with Chocolate Frosting

Homemade donuts in 30 minutes?  With no deep frying involved, these baked sour cream donuts are incredibly easy to put together.  It takes less than 10 minutes to mix up the batter and pipe it into the donut pan, 10 minutes for the donuts to bake, and 5 minutes to dip them into a delicious chocolate frosting.  A tasty homemade donut brings a smile to everyone’s face.

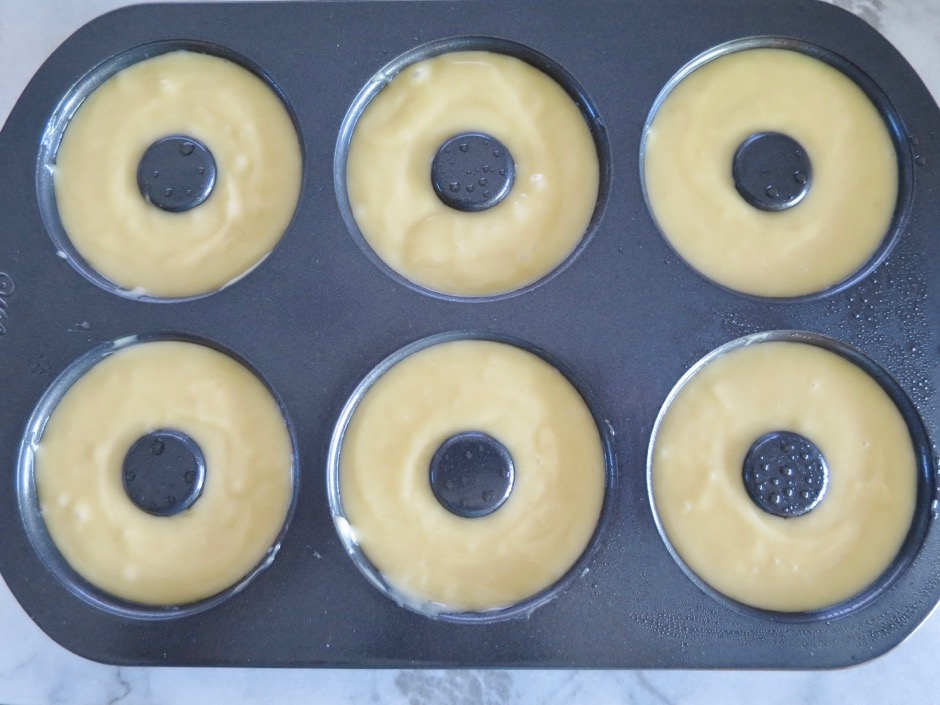
Sour Cream Donut Batter

I bought my Wilton donut pan from Amazon for less than $10 and have put it to good use.  I have already placed an order for another pan so that I can make a dozen donuts at a time. The donuts freeze beautifully which means I am able to have a sweet treat any time.

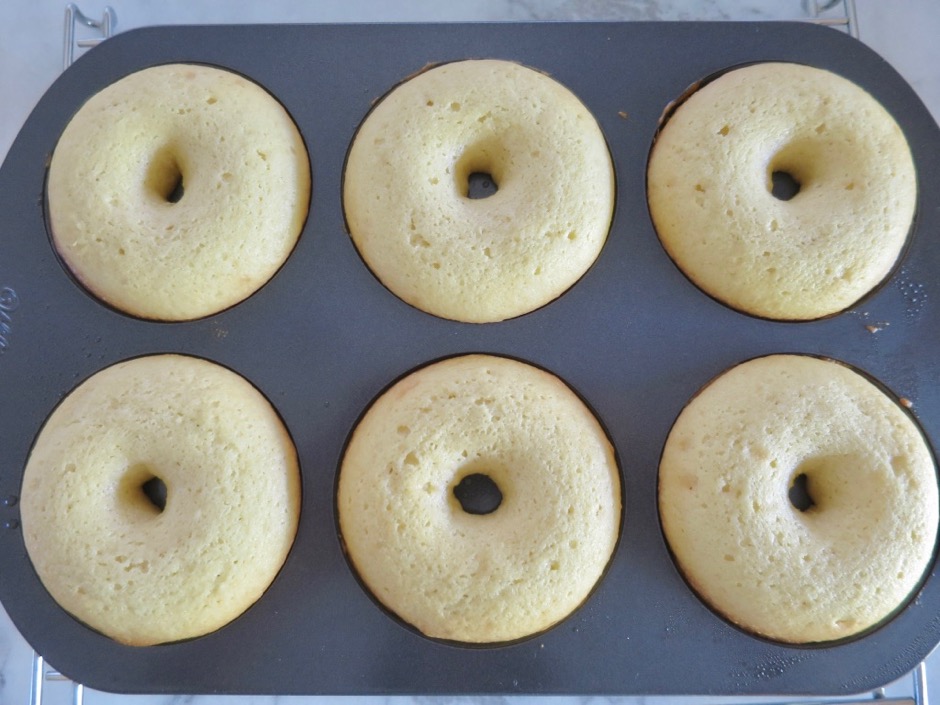
Baked Sour Cream Donuts

Even though this is a non-stick pan be sure to coat it with non-stick cooking spray because the wet batter has a tendency to stick to the pan.  Once baked, the donuts will be lightly browned on the bottom with a very light golden color on top.

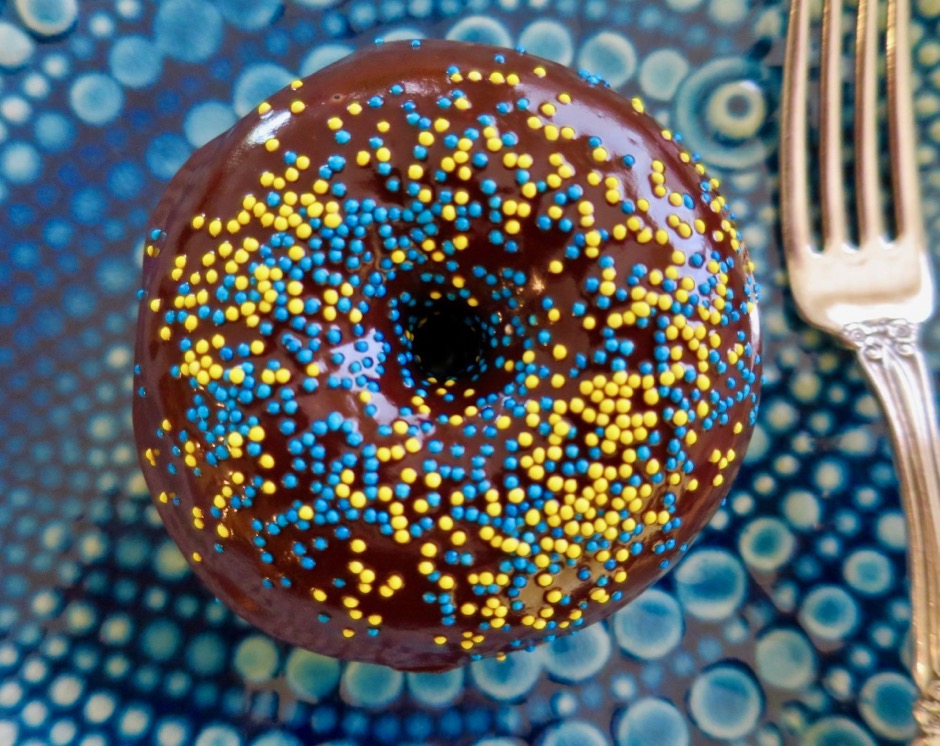
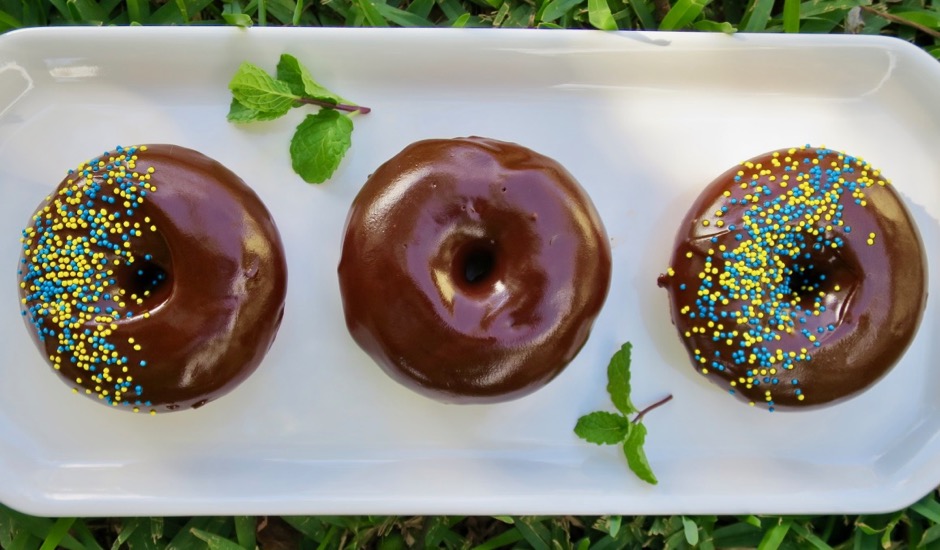
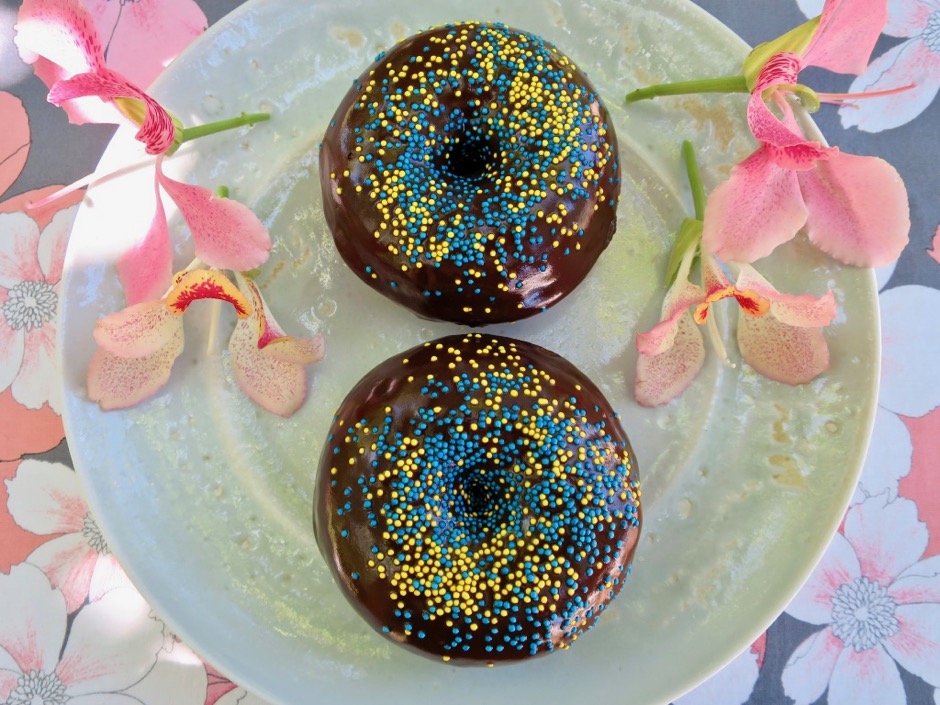
Baked Sour Cream Donuts with Chocolate Frosting

Sprinkles add color and a bit of crunch to the donuts however if you prefer a smooth chocolate frosting you can skip the sprinkles.  I make some of each and let everyone choose their favorite donut.

Baked Sour Cream Donuts with Chocolate Frosting

Baked Sour Cream Donuts with Chocolate Frosting

Baked Sour Cream Donuts with Chocolate Frosting
 
Donut recipe adapted from the Semisweet Sisters blog Frosting recipe adapted from King Arthur Flour
Author:
Serves: 6
Ingredients
  • For the doughnuts:
  • ¼ cup canola oil
  • ½ cup Green Valley lactose free sour cream (or regular sour cream)
  • 1 large egg
  • ½ teaspoon vanilla extract
  • ½ cup sugar
  • 1 cup all-purpose flour
  • ½ teaspoon baking soda
  • ¼ teaspoon salt
  • For the frosting:
  • ½ cup semi sweet chocolate chips
  • 2 tablespoons Earth Balance Buttery Sticks (or regular butter)
  • 2 tablespoons light corn syrup
  • ¼ teaspoon vanilla extract
Preparation
  1. Preheat oven to 350 degrees. Spray a 6-cavity donut pan with nonstick cooking spray.
  2. In a medium bowl whisk together the oil, sour cream, egg, vanilla extract and sugar. (Measure the oil in a 1-cup measuring cup then transfer it to the bowl. Use the same measuring cup for the sour cream. The oil coats the measuring cup so the sour cream releases easily). Stir in the flour, baking soda and salt. Mix to combine ingredients well.
  3. Transfer batter to a quart sized bag. Snip a very small piece off of the corner of the bag. Pipe the batter into the donut pan filling each cavity about ¾ full. You may not use all of the batter. If there is too much batter in the pan the donut holes will close up as they bake. Bake for 10 minutes. Test for doneness with a toothpick. If the donuts need to bake longer set your timer for another 1 -2 minutes. The donuts will be browned on the bottom side and very light golden on the top. Allow donuts to cool in the pan for 5 minutes before removing them to a wire rack to cool completely.
  4. Combine all of the frosting ingredients in a pan and heat over medium-low heat until everything is melted. Whisk the frosting to ensure it is smooth. Remove from the heat and transfer to a small bowl, just wide enough to dunk the donuts in. I usually let the frosting cool for about 15 minutes before I frost them. You may also melt all of the ingredients in the microwave (stop and stir often).
  5. Dunk the top of the donuts in the frosting and place on a wire rack (use foil under the rack to catch any drippings). Sprinkle with decorations if desired. Let frosting set for 15 minutes before serving.


Dessert, Fruit, Lactose Free, Recipes

Mango Cream Popsicles

October 5, 2016

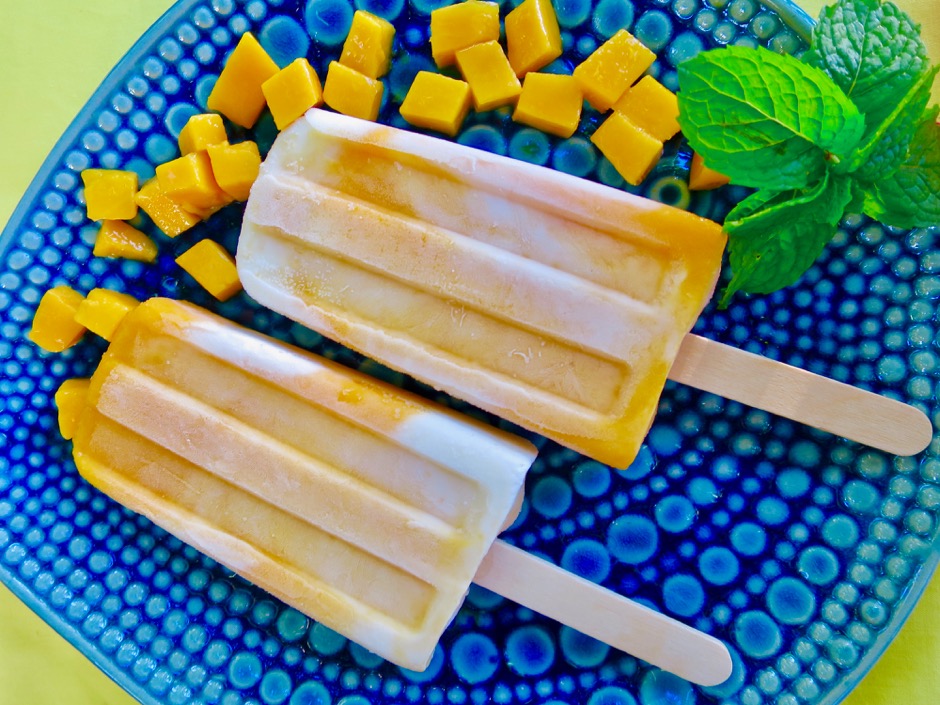
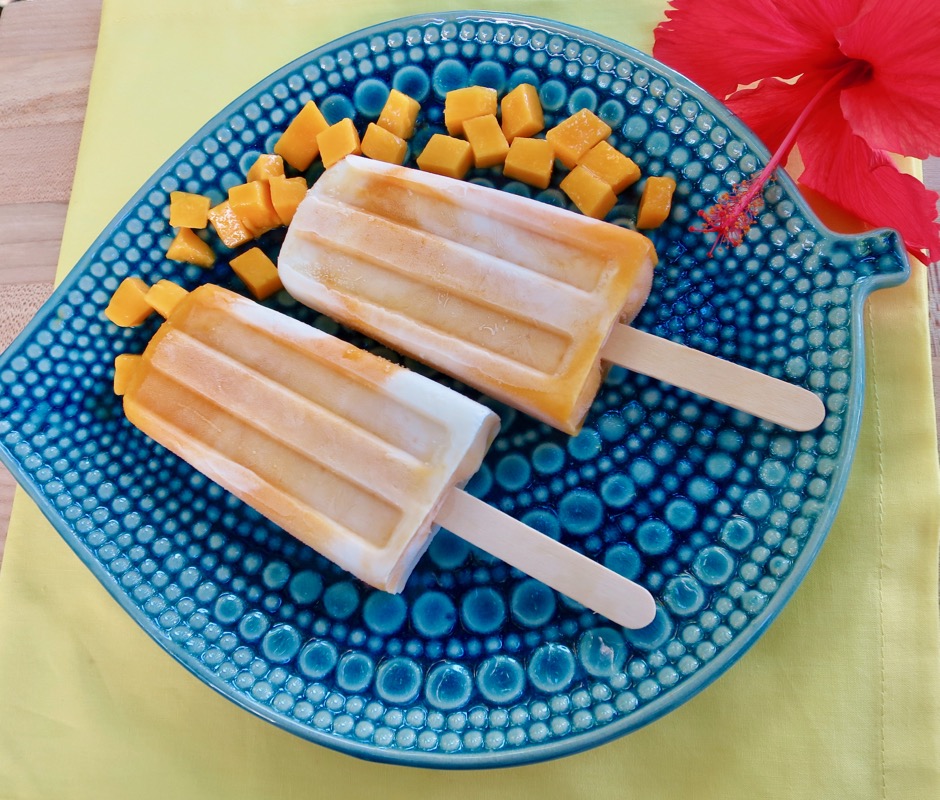
Mango Cream Popsicles

Though I look forward to cooler weather that slowly appears in November, at the same time, I will miss our extended mango season that is with us from May through October.  Images of sweet Pirie and Rapoza mangos that cover our dining room table and sometimes overflow into boxes stored on the living room floor, will soon be gone.  This year I decided to freeze containers of mango purée so that I will be able to make popsicles throughout the year.  It will be such a treat to sit on the porch in December or January with a refreshing mango cream popsicle. After all, the weather is warm all year-long in Hawaii.  I adapted this recipe from Sarah & Jessica at Pretty Providence. These popsicles remind me of a Creamsicle, one of my favorite childhood desserts.

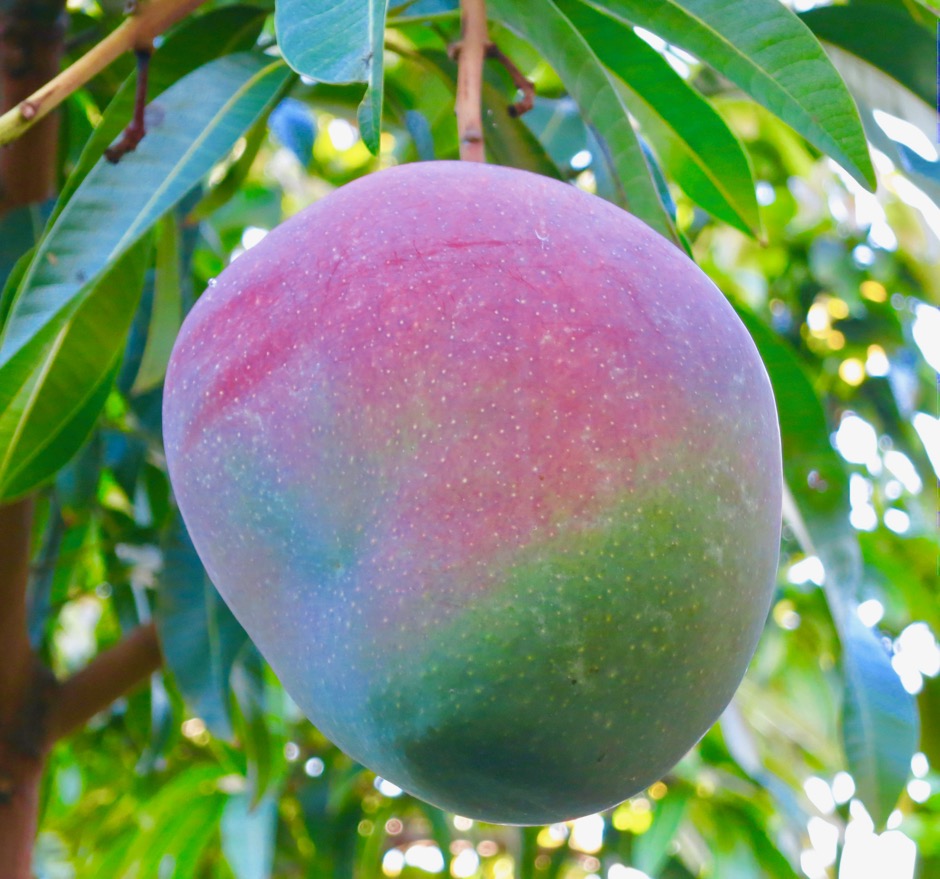
Rapoza Mango

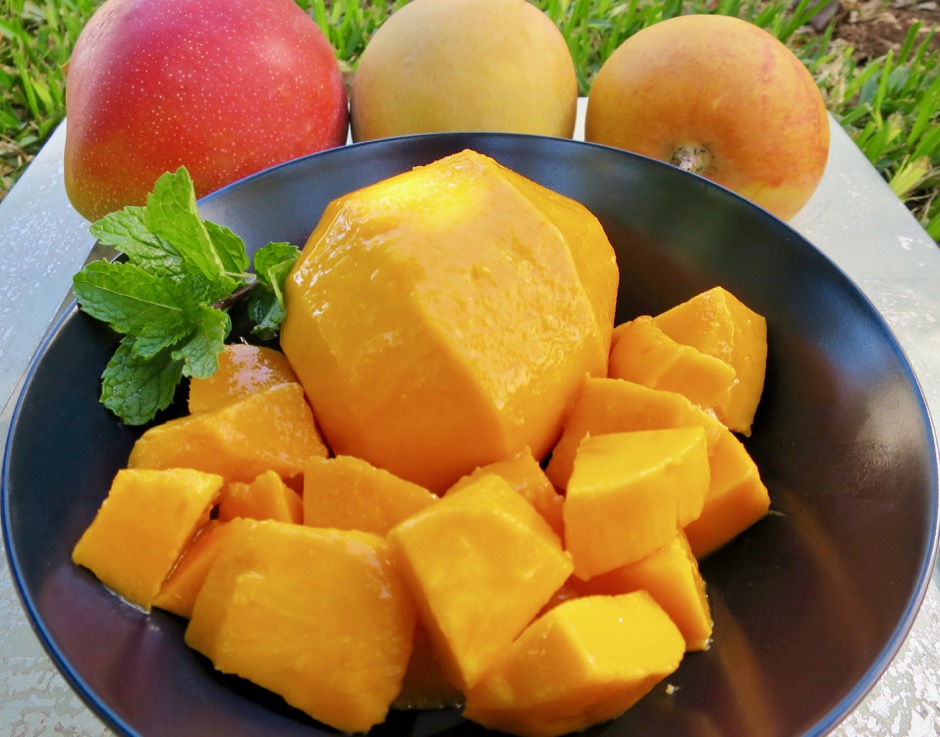
Our two mango trees are heavy producers delivering the sweetest mangos imaginable.  The Rapoza is creamy and fiberless with very large fruit and small seeds. The White Pirie mango is a small-medium sized mango with a golden hue.  I have never tasted a mango sweeter than this one.

Diced Pirie Mango

Good news for those of us who are lactose intolerant.  There are excellent products these days that are made just for us.  Green Valley and Organic Valley offer delicious, real dairy products that are lactose free.

Lactose Free Yogurt and Half & Half

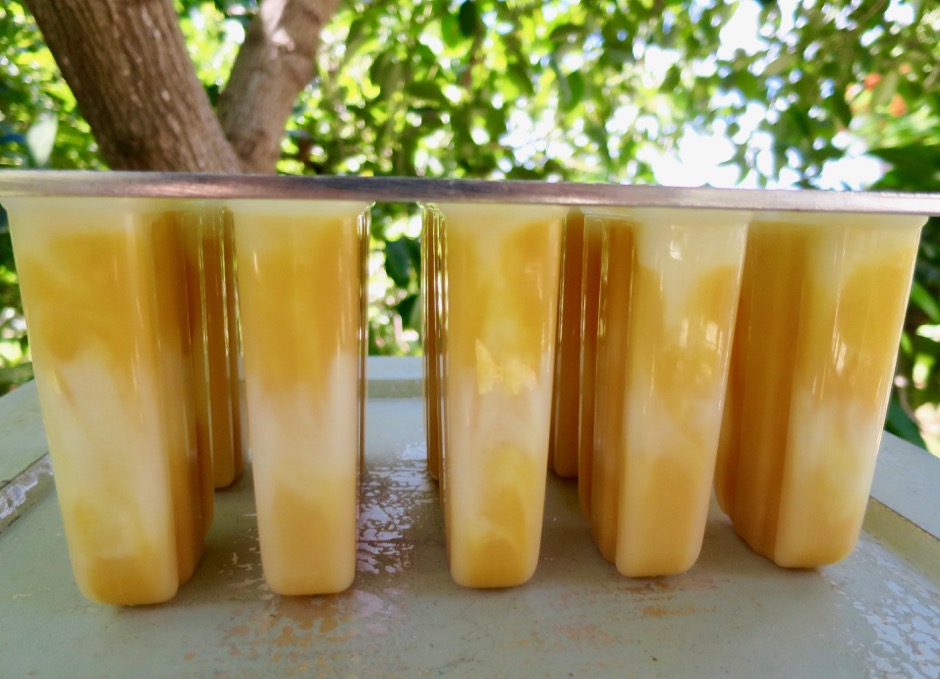
Popsicle Mold

The Norpro popsicle mold is inexpensive, simple to use, and makes 10 perfectly sized popsicles.

Mango Cream Popsicles

Mango Cream Popsicles
 
Author:
Serves: 10
Ingredients
  • 3 medium mangos
  • ¼ cup cream of coconut (such as Coco Real brand)
  • ¾ cup lactose free half and half
  • 6 tablespoons sugar
  • ¼ teaspoon vanilla extract
  • ¾ cup Green Valley lactose free plain yogurt (2% or whole milk)
Preparation
  1. Peel and dice mangos discarding seeds. Puree in a food processor or blender until completely smooth. Whisk in cream of coconut. Pour puree into a 2-cup measuring cup. You want to have a minimum of 1¼ cups of mango puree.
  2. In a medium bowl, whisk together the half and half and sugar until the sugar has dissolved. Stir in vanilla extract. Whisk in yogurt until mixture is smooth. Pour into a 2-cup measuring cup. You want to end up with a total of 3 cups of filling including the mango puree. This amount will fill the Norpro 10 piece popsicle maker perfectly.
  3. Layer cream & yogurt mixture into popsicle molds, alternating with mango puree. Use a wooden chopstick to create a marbled effect. Leave a little space to allow for expansion when frozen.
  4. Place lid over popsicle mold, add popsicle sticks and freeze overnight. Remove popsicles by running warm water around the outside of the mold. Gently squeeze the bottom of the popsicle mold while lifting each popsicle stick from the mold. Try your best not to use too much warm water which may cause the popsicles to melt. Quickly wrap a small piece of waxed paper around each popsicle and store in an airtight container or freezer bag until ready to eat.


Dessert, Fruit, Lactose Free, Recipes

Coconut Pineapple Bread

July 25, 2015

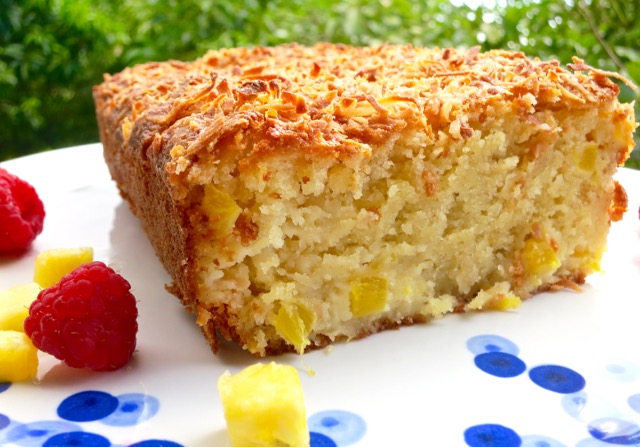
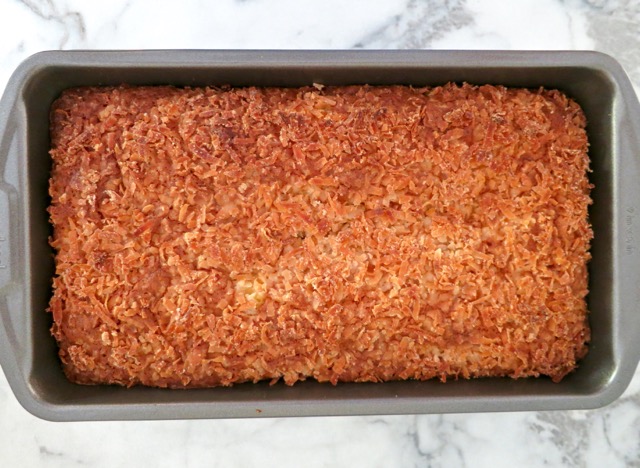
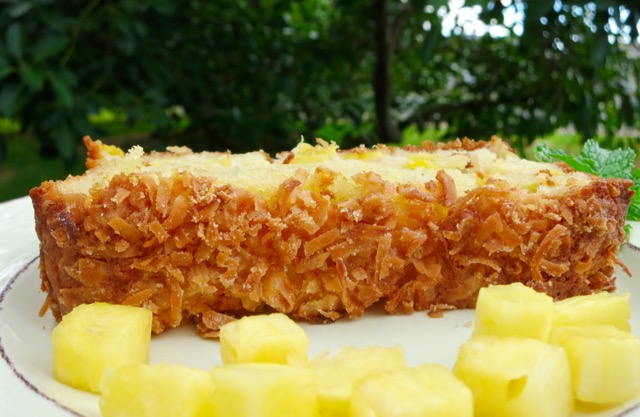
Coconut Pineapple BreadI bought a beautiful, sweet, pineapple (that most versatile fruit) at Costco to use in a batch of mango-pineapple jam.  It was so large there was quite a bit of fruit left after making the jam.  Hmmm.  What could I make with the rest of the fruit?  Dessert immediately came to mind.  I did a quick search on-line to get some ideas and ended up with this delightful coconut pineapple bread from Maria and Josh’s blog Two Peas & Their Pod.  The coconut scattered over the top of the batter bakes up into a beautiful golden brown toasted coconut crust.

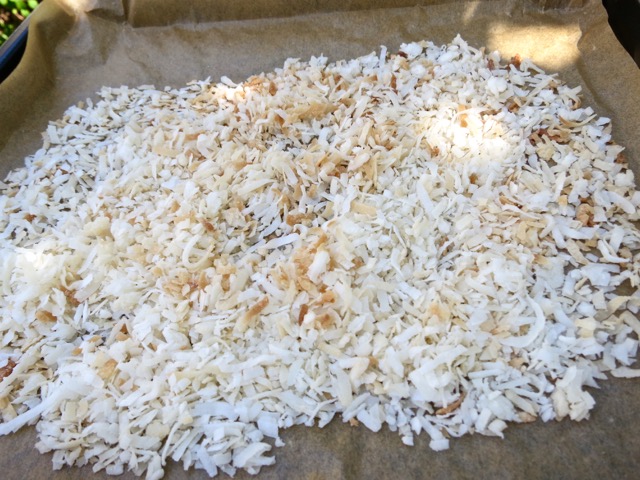
Toasted Coconut

Coconut Pineapple BreadThough this coconut pineapple bread is baked in a loaf pan I think of it more as a cake than bread.  It’s divine.

Coconut Pineapple Bread

Coconut Pineapple Bread

Adapted from Two Peas & Their Pod

Ingredients

1 1/2 cups sweetened shredded coconut

1/2 cup Earth Balance Buttery Sticks (or unsalted butter) at room temperature

1 1/2 cups all-purpose flour

1/2 teaspoon baking soda

1/4 teaspoon kosher salt (1/2 teaspoon if using unsalted butter)

1 cup granulated sugar

3 large eggs

3/4 cup sour cream (I used Green Valley lactose free sour cream)

2 cups fresh pineapple cubes (small dice)

Preparation

Preheat oven to 350°F.  Butter a 9×5-inch loaf pan and set aside.

Spread 1 cup shredded coconut on a foil lined baking sheet.  Bake until lightly toasted, tossing occasionally, about 6 minutes.  Watch closely so the coconut does not burn (edges tend to brown quickly).  Set toasted coconut aside.

In a medium bowl, whisk together the flour, baking soda, and salt.

In the bowl of a stand mixer, beat the butter and sugar on medium speed until light and fluffy.  Add eggs, one at a time, beating well after each addition.  Reduce speed to low, and alternately add flour mixture in three parts and sour cream in two, beginning and ending with the flour mixture.  Mix just until combined. If you don’t have a stand mixer you can substitute it with a hand mixer.

Using a rubber spatula, fold pineapple and toasted coconut into the batter.  Pour batter into prepared pan and smooth top.  Sprinkle with remaining 1/2 cup coconut.

Bake until a toothpick inserted in the center comes out clean, about 60 minutes (cover pan with foil after baking for 35 – 40 minutes so the coconut on top of the bread doesn’t burn).

Remove bread from oven and let cool in pan for at least 30 minutes.  Remove from pan and transfer to a wire rack to cool completely.  Slice and serve!


Follow

Get every new post delivered to your Inbox

Join other followers: