Browsing Category

Pickles

Canning, Pickles, Recipes

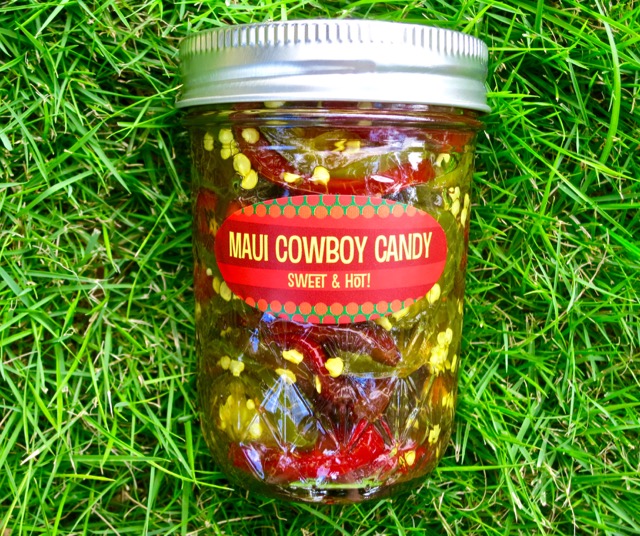
Maui Cowboy Candy

August 20, 2015

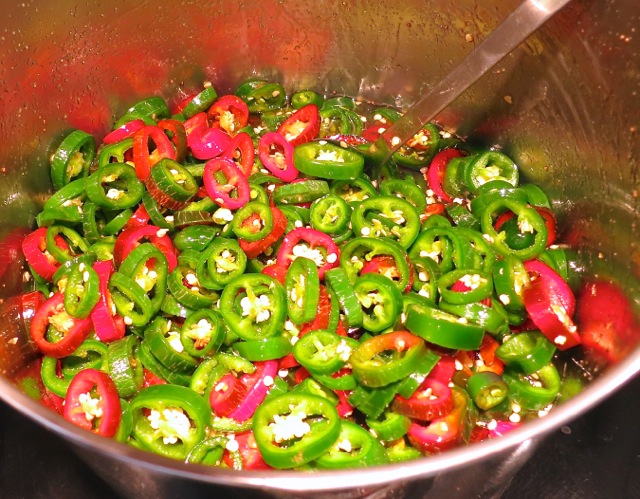
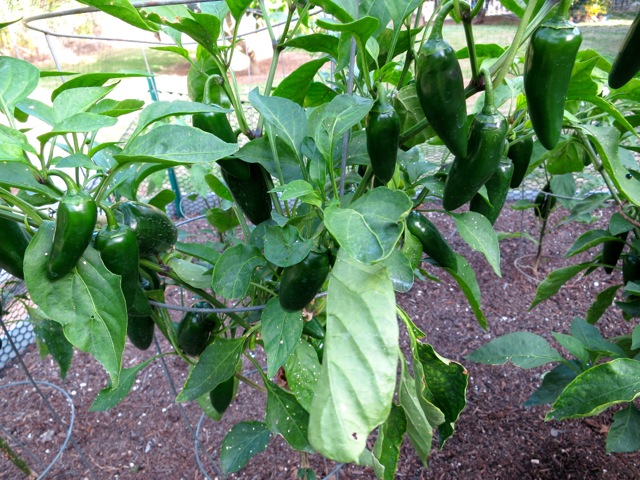
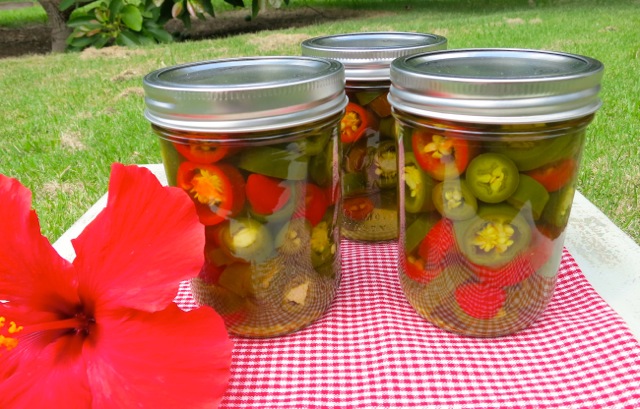
Maui Cowboy CandyA while back, our friend Kim shared the tail end of a jar of candied jalapeños (also known as Cowboy Candy) that someone had given to her.  Distinctly sweet, crisp, and hot at the same time, John told me that they were delicious (I was nervous about the partial bottle. John is more adventurous!).  John grows several varieties of jalapeños that produce large, hot, gorgeous, peppers, and we make nacho rings as well as a delicious hot sauce with these peppers.  Intrigued by a new way to use our peppers we began searching on-line for a recipe.  We found several, but this one stood out.
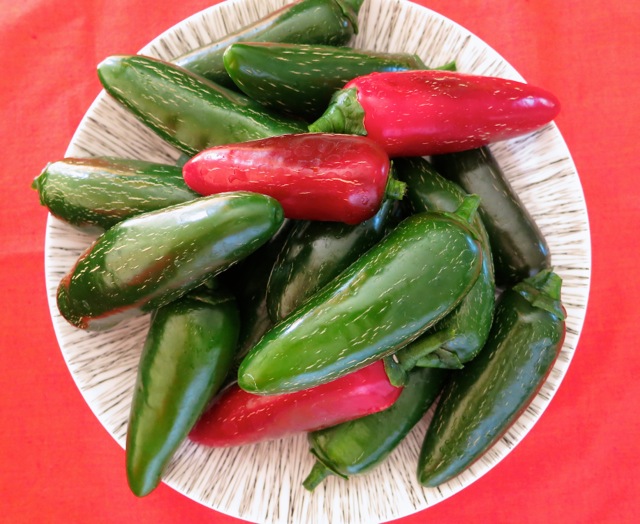
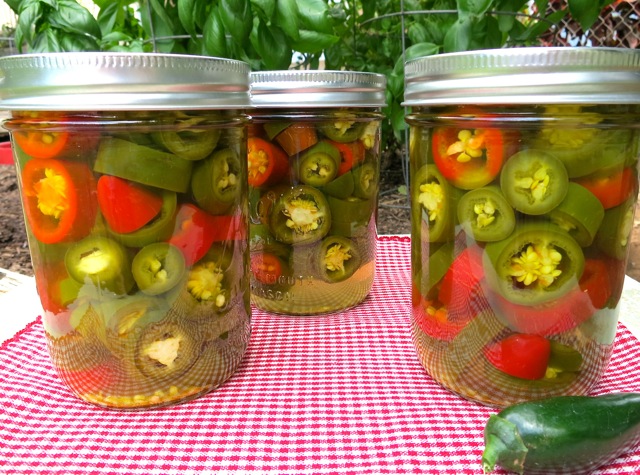
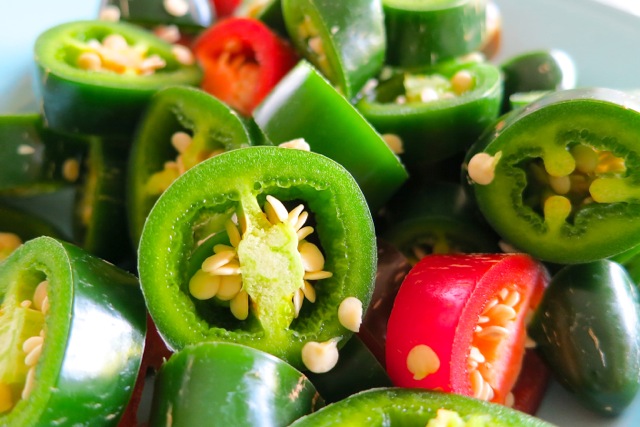
Jalapeños from the GardenWe wait until some of the jalapeños ripen to red before making our Maui Cowboy Candy.  The jars look beautiful and festive.
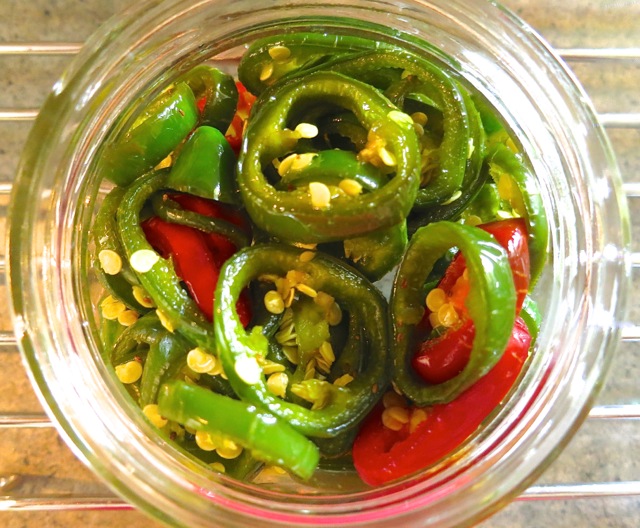
Maui Cowboy Candy

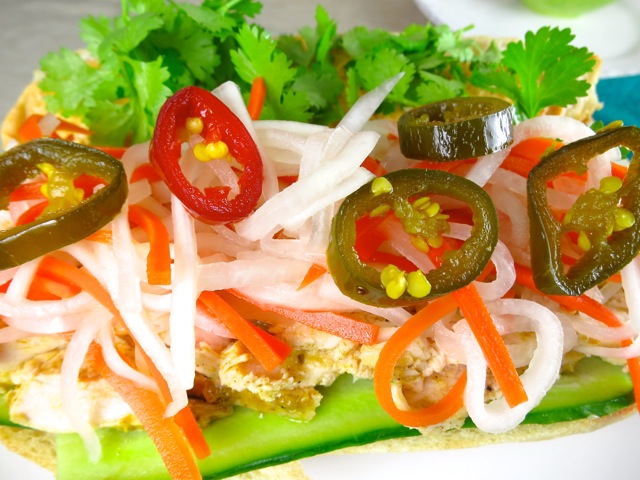
Filling Jars with Maui Cowboy CandyThey are delightful with Mexican cuisine, sandwiches, in cheesy corn bread, potato salad, on crackers with cream cheese, or straight out of the jar.  I added them to my tofu banh mi sandwich below.

Maui Cowboy Candy on Banh Mi

Maui Cowboy Candy
 
Adapted from Foodie with Family ~ Blog Makes 7 - 8 half pint jars
Author:
Recipe type: Pickles
Ingredients
  • 3½ - 4 pounds fresh jalapeños
  • 2 cups cider vinegar
  • 6 cups granulated sugar
  • ¼ teaspoon ground turmeric
  • ½ teaspoon celery seed
  • 1 teaspoon granulated garlic
Preparation
  1. Prepare jars and canner: Wash jars and place them in boiling water canner. Fill the jars and canner with water to the top of the jars. Cover and bring water to a simmer over medium heat, do not boil. Prepare the two-piece closures. Wash lids and place in a small saucepan and cover with water. Heat to just a simmer but do not boil. Do not heat screw bands.
  2. Wash jalapeños and slice into rings. Set aside.
  3. Combine cider vinegar, sugar, turmeric, celery seed, and granulated garlic in a large pot. Bring to a boil, lower heat and simmer for 5 minutes. Add pepper slices, raise heat to medium-high, cook for 5 minutes, stirring constantly.
  4. Remove jars and empty hot water back into the canner. Place jars on a cutting board. Using a canning funnel and slotted spoon, fill the jars with peppers one at at time to within ½ inch of the rim of the jar.
  5. After all peppers are removed and placed in jars, bring syrup to a full rolling boil. Boil hard for 5 minutes. Using a ladle, pour boiling syrup into the jars over the jalapeños within ¼ inch of the rim of the jar. Remove air pockets in jar with a chopstick. Wipe the rims of the jars with a clean, damp paper towel. Secure two-piece lids and rings.
  6. Return jars to canner and ensure that all jars are covered by at least 1 inch of water. Cover canner and bring water to a full boil over high heat. Process for 10 minutes, starting timer only when water reaches a full boil.
  7. Remove jars to cooling rack. Once thoroughly cooled, date jars and use within 1 year.


Appetizers, Dinner, Eggs, Lactose Free, Pickles, Recipes, Salad, Side Dishes, Veggies

Pickled Beets, Red Onion & Eggs

September 14, 2014

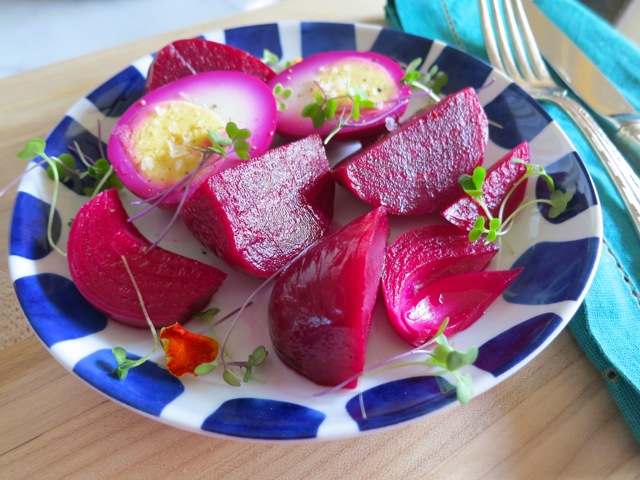
Pickled Beets, Onion & EggsAnyone familiar with this blog, knows that I love pickles.  I think homemade pickles should be in every serious home cooks repertoire.  You’ll be rewarded with tangy-sweet and crunchy snacks that are delightful and with far more variety than you will find in your typical supermarket.

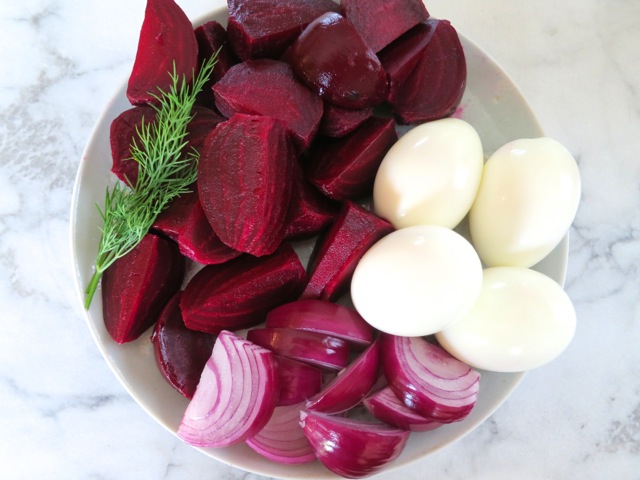
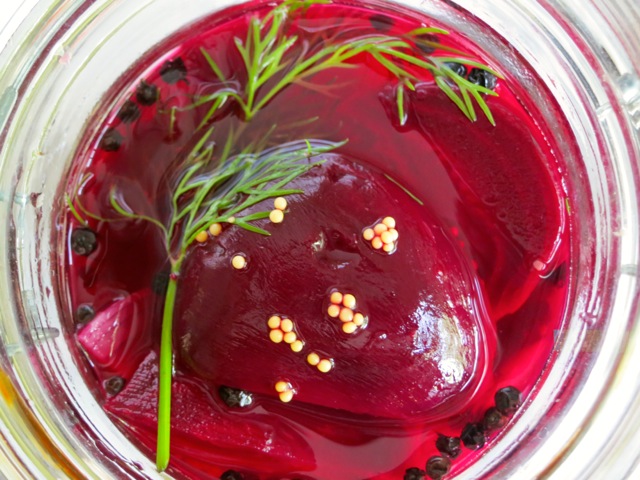
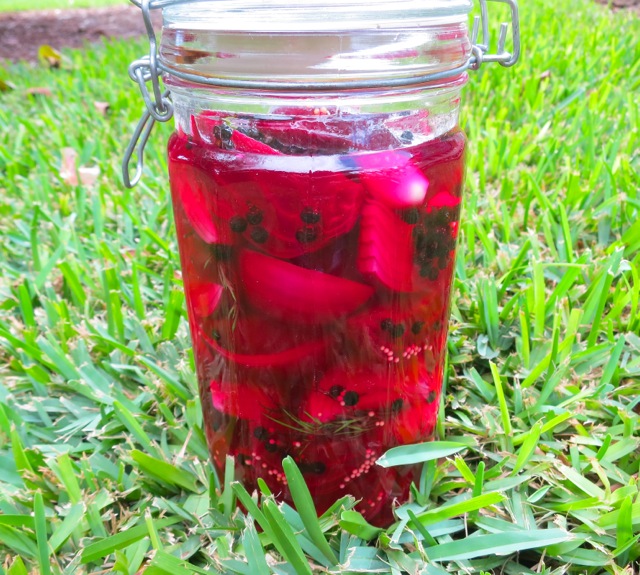
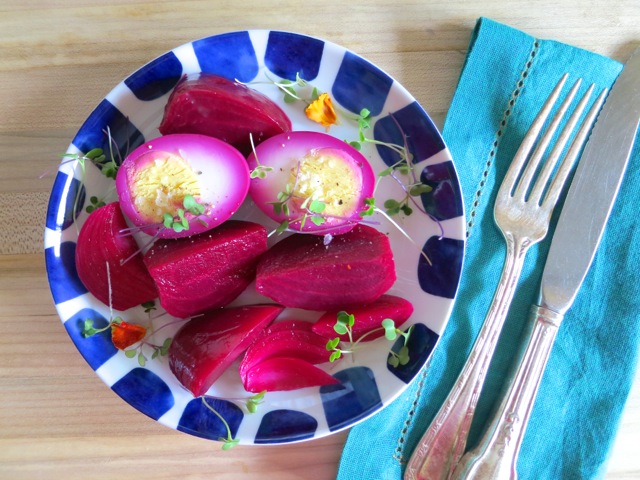
Beets, Red Onion & Hard-Boiled EggsThis appealing recipe comes from Food & Wine magazine.  Beautiful beets along with wedges of red onion and hard-boiled eggs are quickly “pickled” in a simple brine with whole peppercorns and fresh dill.  The onion and eggs take on the bright color of the beets, making this a gorgeous salad.  I adore eggs in any form and never having had one pickled, I had to try this recipe.

Layered Beets, Red Onion, Hard-Boiled Eggs and Dill

Pickled Beets, Red Onion & Hard-Boiled EggsThe pickles are ready to eat in 24 hours, after a brief soak in the brine.  Serve them as a simple salad alone or with pretty greens, or scattered on a platter with chunks of feta cheese nudged between the beets and onions.

Pickled Beets, Onion & Eggs

Pickled Beets, Red Onion & Eggs

Adapted from Food & Wine magazine

Serves 4

Ingredients

4 small red red beets

4 large eggs

1 small red onion

6 dill sprigs

1 cup raw, unfiltered apple cider vinegar

1 cup water

3 small crushed garlic cloves

3 tablespoons sugar

2 teaspoons whole black peppercorns

1 teaspoons yellow mustard seeds (optional)

1 tablespoon kosher salt

Preparation

Scrub the beets and wrap in foil.  Roast for 1 hour at 425°.  I used my handy toaster oven.  Peel and quarter the beets.

Place 4 eggs in a small pot, cover with water by 1 inch.  Bring to a boil and immediately turn the heat down to medium. Set a timer and let the eggs gently simmer for 10 minutes. Drain immediately and rinse under cold water.  Peel the eggs when you are ready to add them to the pickle brine.

Slice onion into small wedges (about 8).

In a saucepan, simmer the vinegar, water, garlic, sugar, peppercorns, mustard seeds if using, and salt.  Stir until the sugar and salt are dissolved.  Let cool to room temperature, about 15 minutes or so.

In a 1-quart glass jar (you might need a larger jar depending on the size of your beets) layer the beets, onion, hard-boiled eggs and dill springs.  Cover with the pickling liquid. Refrigerate overnight.

***The longer the eggs are in the brine, the more color they will absorb from the beets.  I prefer to keep part of the eggs white so I add the eggs to the brine no more than 24 hours before serving.  You can make the pickles a few days in advance and add the eggs to the jar when you are ready.  If you’ve eaten all the eggs and still have beets and onions, boil more and add to the brine!


Pickles, Recipes, Sandwiches

Sweet & Tangy Refrigerator Bread & Butter Pickles

August 4, 2014

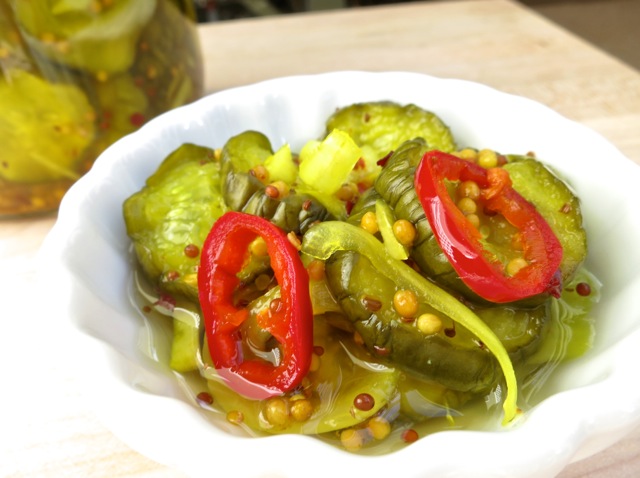
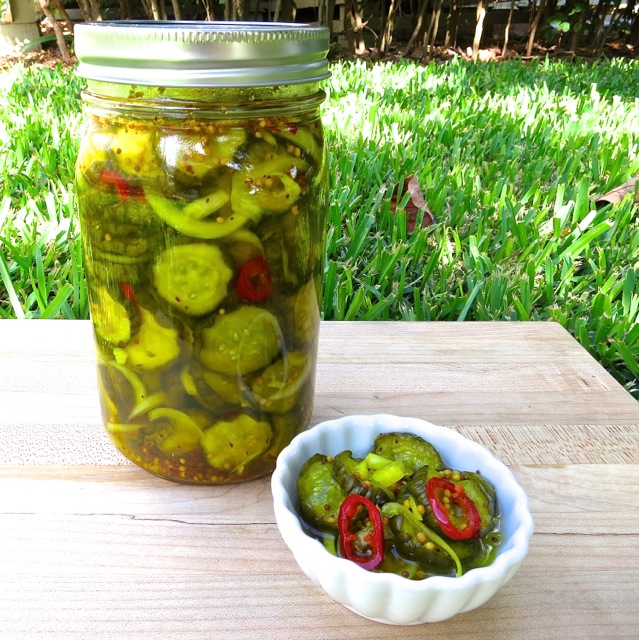
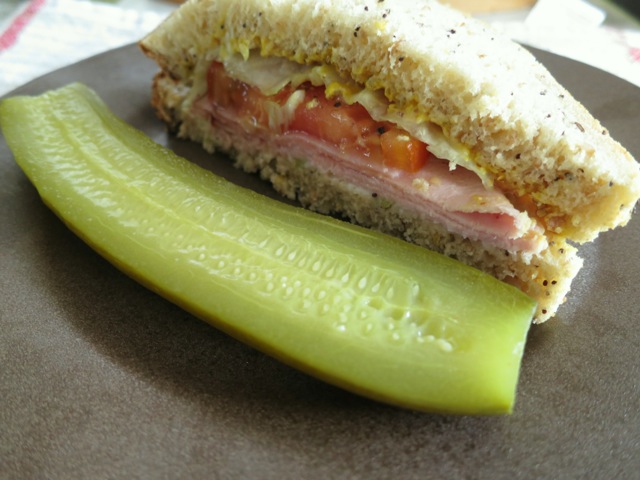
Crunchy Sweet & Tangy Bread & Butter PicklesWe eat a lot of sandwiches.  John makes such delicious homemade bread, how could we not?  And, what is the perfect accompaniment to a good sandwich?  Bread and butter pickles.  The origin of  the term is unclear but one source indicates that these pickles were served daily, like “bread and butter.”  Hence the name.

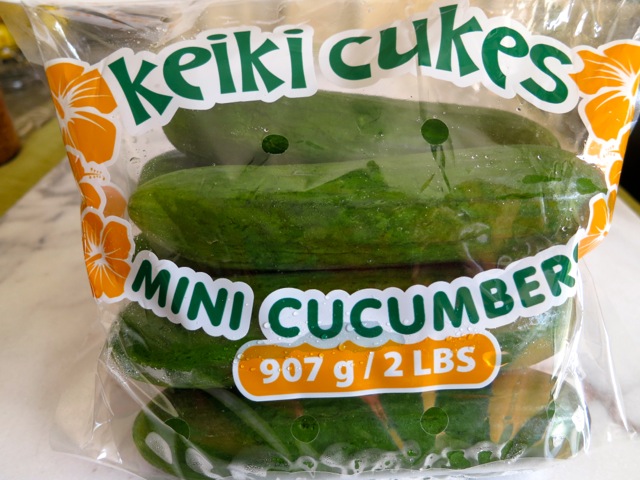
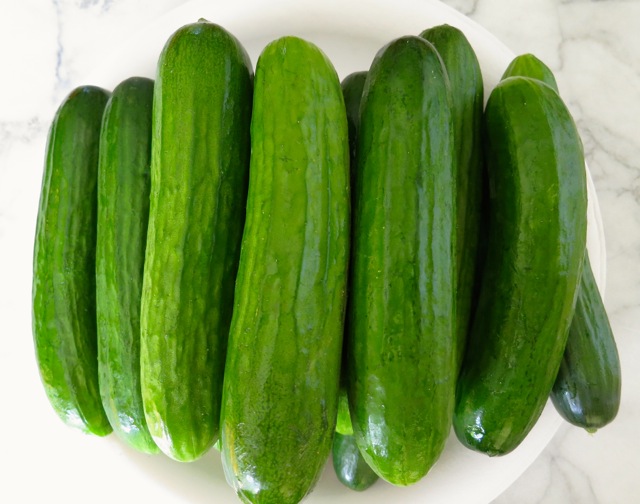
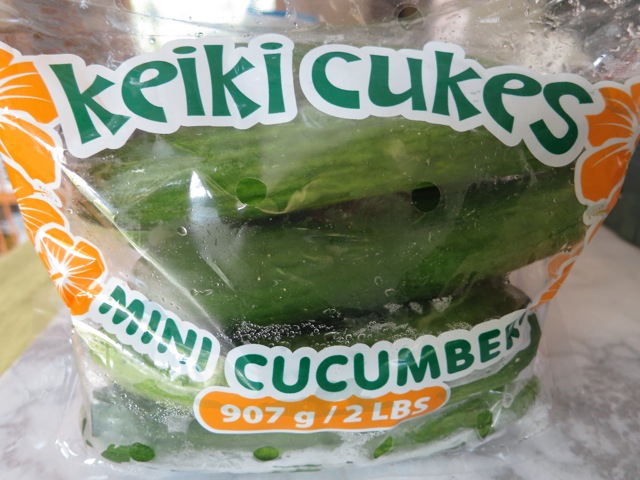
Keiki CucumbersAs we are no longer able to grow consistent pickling cucumbers, I like to use Keiki Cukes for pickles. Available at our local Costco and select grocery stores, these mini cucumbers are grown on the Big Island of Hawaii. Fresh!  Of course you may use other small cucumbers available in your area.

Keiki Cucumbers

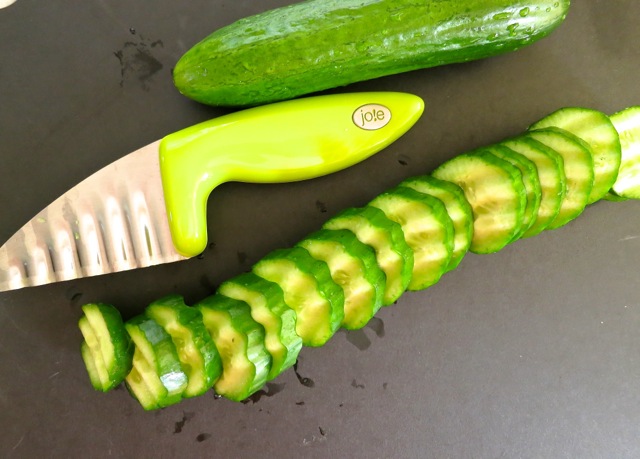
Crinkle Cut CukesI can’t recall where I bought this little gadget but I see it is available on Amazon.  It works like a charm.  A few comment that it’s a bit small for their hands, but it is perfect for me and super comfortable to use. I could chop cucumbers all day with this wavy knife.

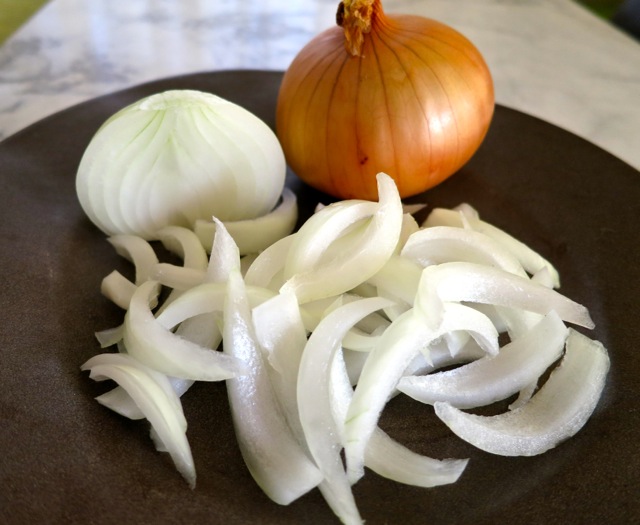
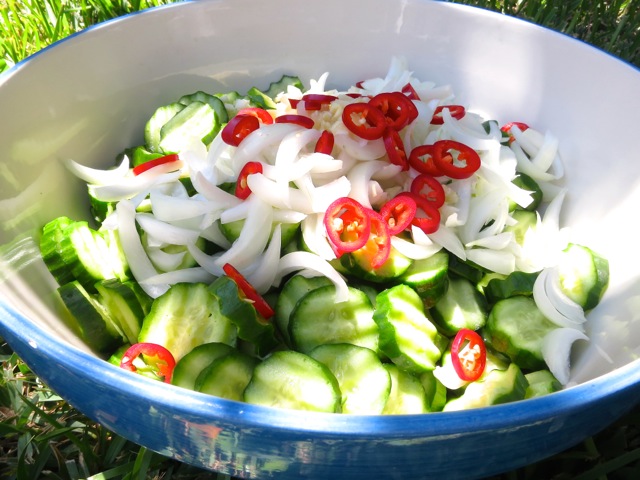
Maui OnionMaui onion with its mellow flavor is a perfect pairing for these sweet and tangy pickles.  Use a sweet onion if Maui onion is not available.  The onion shrinks up quite a bit once added to the brine so instead of making thin rings, I prefer to cut little crescent moon shaped slices.

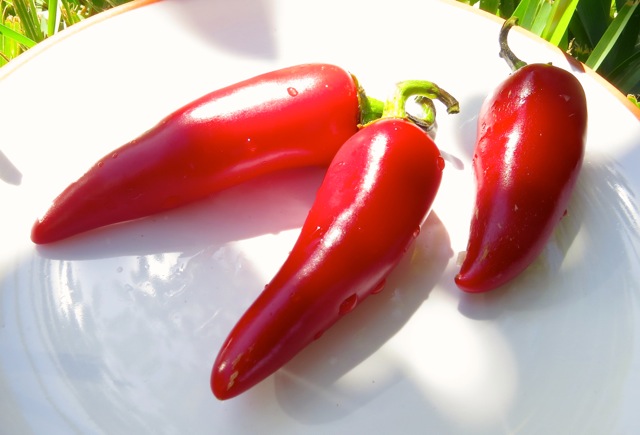
Fresno PeppersNot only do thinly sliced Fresno or red jalapeños give the pickles a nice zippy flavor, they add beautiful color to your jar of pickles.

Cucumbers, Onion, Fresno Peppers, Garlic

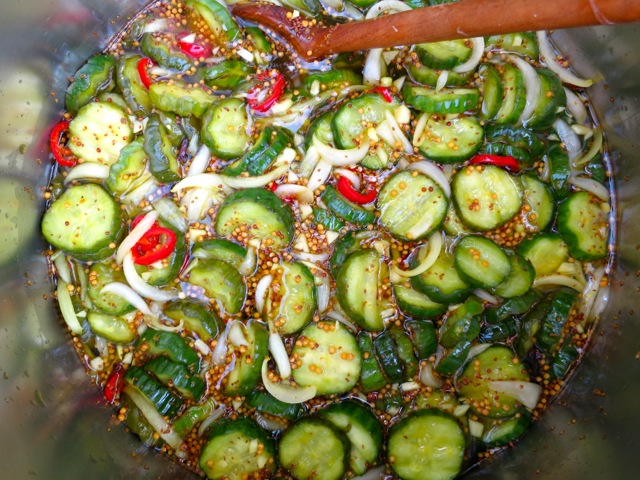
Preparing PicklesOnce the brine comes to a gentle boil, the cucumbers, onion, garlic and peppers are added to the hot brine just for a few minutes.  Then they are ready to spoon into jars where they will cool before heading to the refrigerator.  All you have to do is be patient until they are thoroughly chilled.

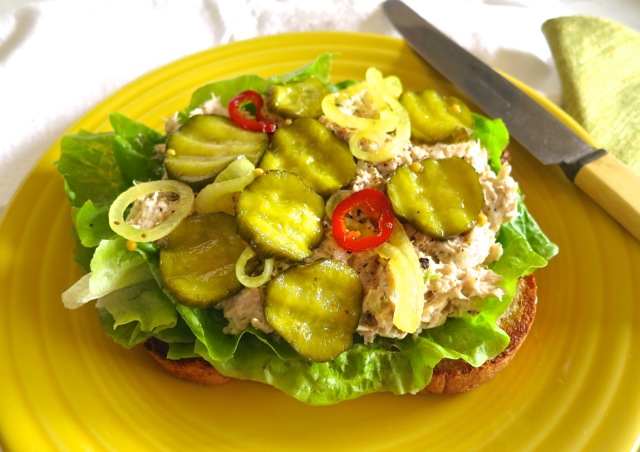
Tuna Sandwich with Bread & Butter Pickles

Crunchy Sweet & Tangy Bread & Butter Pickles

Sweet & Tangy Refrigerator Bread & Butter Pickles

Updated 07/29/16

Adapted from Bread & Butter Pickles II

Makes about 3 quarts

Ingredients

4 pounds mini cucumbers

1 small Maui or sweet onion, thinly sliced into crescent moon shapes

3 cloves garlic, finely chopped

2 tablespoons salt

4 cups cider vinegar

5 3/4 cups sugar

1 tablespoon + 1 teaspoon yellow mustard seeds

1 teaspoon celery seed

3/4 teaspoons whole cloves

1 teaspoon ground turmeric

3 Fresno peppers, thinly sliced, optional (or red jalapeños, but beware they are typically hotter than Fresno peppers)

1 teaspoon red chili flakes, optional (in place of Fresno or jalapeño peppers)

Preparation

In a large bowl, mix together the cucumbers, onions, garlic and salt. Let stand approximately 3 hours.  Drain liquid from the cucumber mixture.

In a large saucepan, mix the cider vinegar, sugar, mustard seed, celery seed, whole cloves and turmeric.  Bring to a boil.  Stir the cucumber mixture into the boiling vinegar mixture.  Add the Fresno peppers and red chili flakes if using.  Remove from the heat just before the mixture returns to a boil, about 2 minutes.

Transfer to sterile jars.  Cool, then refrigerate. Pile cucumbers on your favorite sandwich or eat right out of the jar!

***Updated 7/29/16: I reduced the amount of mustard and celery seeds.


Canning, Mexican, Pickles, Recipes, Veggies

Jalapeño Nacho Rings

June 7, 2014

Jalapeño Nacho RingsWe love jalapeños.  They seem to thrive in the Maui heat.  Apparently hot climates produce hot peppers!  The red peppers are the fully mature stage of the jalapeño and add beautiful color mixed with the younger green jalapeños.

Jalapeño Plants  We now have 10 jalapeño plants in the garden.  We make both pickled nacho rings and jalapeño hot sauce .

Jalapeño Nacho Rings

Pickled Jalapeños

Makes 4 pint jars

Ingredients

2 pounds fresh jalapeño peppers

2 1/2 cups white vinegar

2 1/2 cups water (distilled or filtered)

5 teaspoons pickling salt

1/4 teaspoon turmeric

1 1/4 teaspoons calcium chloride (Ball brand Pickle Crisp)

4  2-inch sprigs fresh Mexican oregano (optional)

Preparation

Wash jalapeños and slice into 1/4 to 1/3 inch rings. It’s a good idea to wear disposable gloves when cutting peppers. Divide sliced peppers into 4 equal portions.

Wash jars and place them in boiling-water canner.  Fill the jars and canner with water to the top of the jars.  Cover and bring water to a simmer over medium heat, do not boil.  Prepare the two-piece closures.  Wash lids and place in a small saucepan and cover with water.  Heat to just a simmer but do not boil.  Do not heat screw bands.

In a medium-sized saucepan add remaining ingredients except oregano sprigs.  Bring to a boil, then simmer for 5 minutes on low heat.

Lift the canner jar rack and fix into place on the rim of the canner. Remove one jar at a time and empty hot water back into the canner. Place jar on a cutting board. Place a canning funnel in the jar.  Add 1 oregano sprig to the jar, pack jar with portioned jalapeño rings. Ladle hot brine into jar leaving 1/2-inch head space.  Remove air bubbles (with a chopstick or similar utensil) and adjust head space, if necessary, by adding more brine.  Wipe jar rim. Using a magnetic utensil, lift hot lid from water, center it on the  jar and place screw band on jar.  Tighten screw band evenly and firmly just until resistance is met.  Then increase to fingertip tight.  Do not over tighten.  Return jar to canner rack.  Continue filling jars individually until all jars are filled, lower rack into canner and ensure that all jars are covered by 1 inch of water.  Cover canner and bring water to a full boil over high heat.  Process for 10 minutes, starting timer only when water reaches a full boil. Turn off the heat, let jars sit in pot for 5 minutes.

Remove jars from water, and let stand,  undisturbed, at room temperature 24 hours.  To check seals, remove the bands, and press down on the center of each lid.  If the lid doesn’t move, the jar is sealed.  If the lid depresses and pops up again, the jar is not sealed.  In the event that a jar does not seal, simply refrigerate it. Store properly sealed jars in a cool, dark place up to 1 year (date your jars on the bottom with a Sharpie pen)  Refrigerate after opening.


Japanese, Pickles, Recipes, Side Dishes, Vegan, Vegetarian, Veggies

Homemade Takuan

May 4, 2014

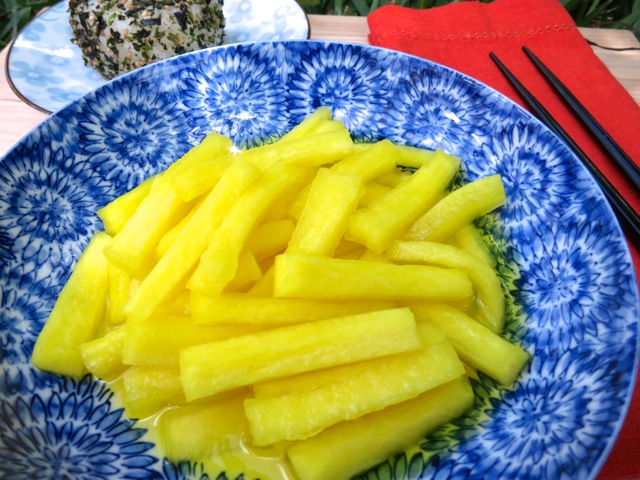
Takuan BowlMy friend Tomoe always has a treat to give me when I stop by now and then to deliver tomatoes or avocados from our garden.  I never leave her home without a gift of her delicious mango bread, lilikoi jelly or in this case takuan.  I have never thought of making takuan since I only eat it occasionally and it’s readily available in the markets here.  After taking a jar of Tomoe’s homemade takuan home and tasting it, I decided it was about time to make my own.  Her little yellow pickles were so tasty, crunchy, sweet and salty with just a hint of tartness (much superior to the commercial brands)  and, oh so delicious with a bowl of steaming hot rice.

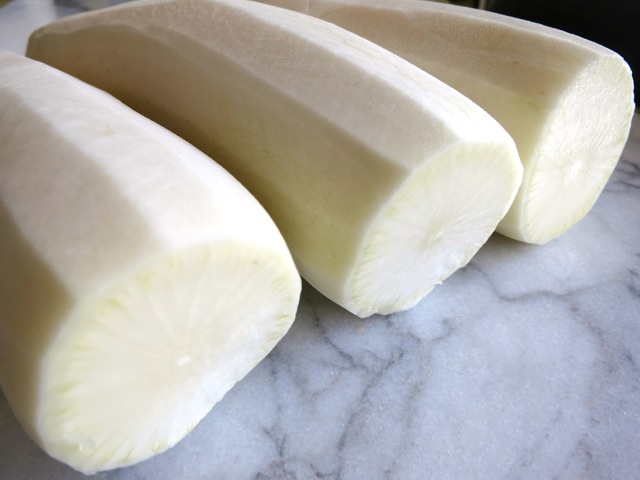
Peeled DaikonDaikon are not the most attractive vegetable.  In fact, with their pale color and gangly shape, they are quite homely.  However once you add a bit of seasoning to daikon, they transform into some of the best pickles you can imagine.  A case in point is Vietnamese pickles (Do Chua).  I adore these pickles piled high in a banh mi. Takuan pickles are delicious served as a side dish with rice and grilled fish, chicken or even tofu.  In fact I enjoy just a bowl of hot rice and takuan.

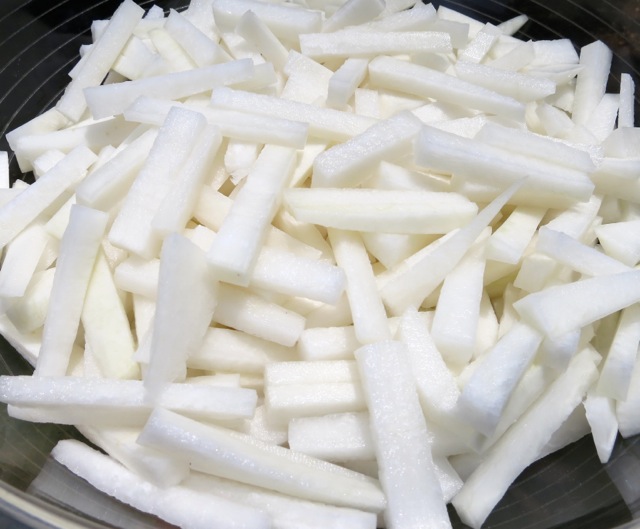
Sliced Daikon

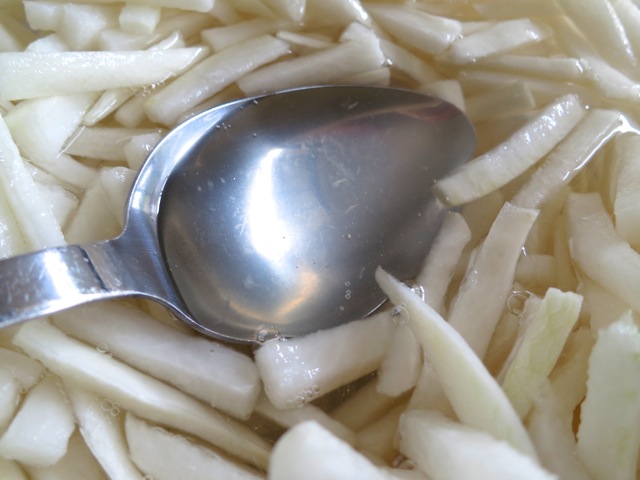
Daikon WaterAfter mixing the daikon with sugar, let it sit for an hour or two.  You’ll end up with quite a bit of liquid in the bowl.

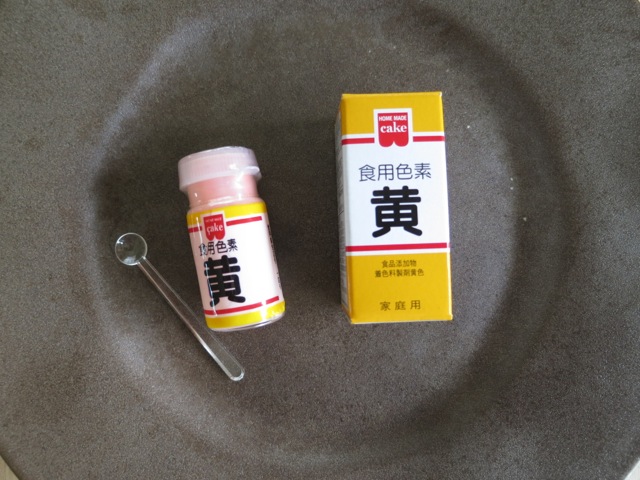
Japanese ColoringThough these pale radishes don’t need to be tinted a bright yellow, their color is actually part of their identity and what we grew up with.  Tomoe goes to Japan every year and buys powdered coloring.  I have no idea what the box says but it worked.

Yellow Food Color

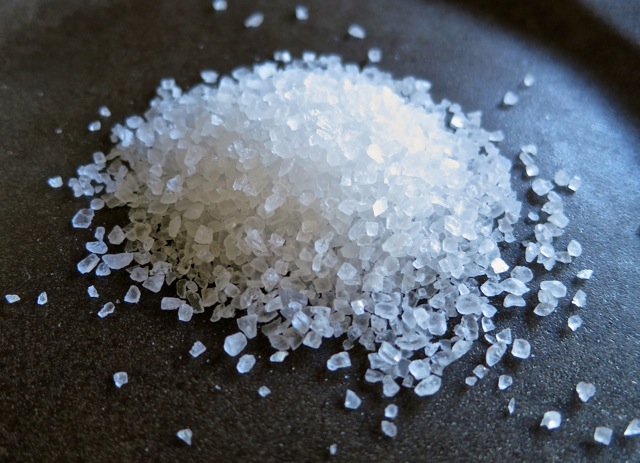
Hawaiian Salt

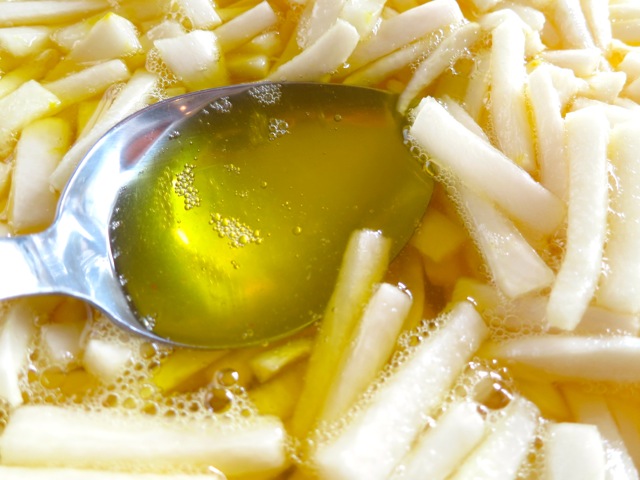
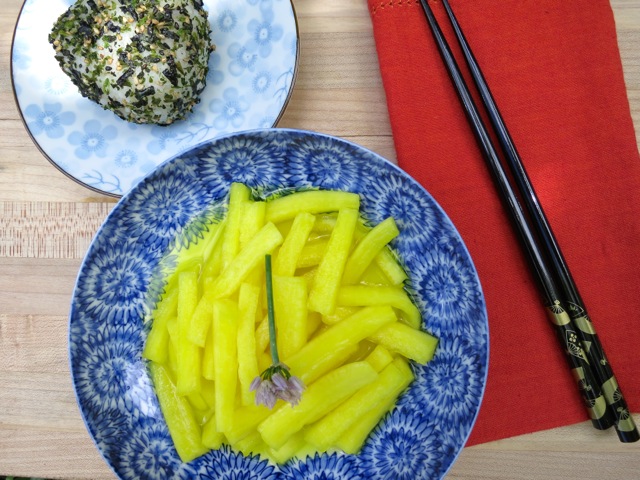
Takuan with ColorIt takes about a week for the daikon to absorb the pretty yellow color and flavor of the brine.  After 2 weeks the pickles are ready to eat.

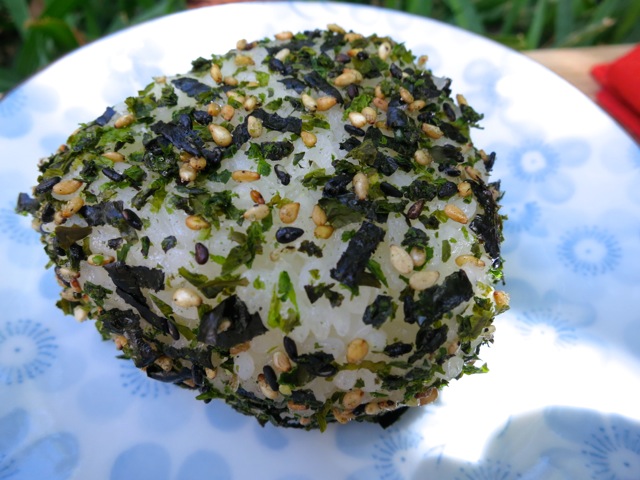
Musubi 2Onigiri goes hand in hand with takuan pickles!

Takuan and Musubi

Homemade Takuan

Adapted from Tomoe’s recipe

Makes 2 quart jars

Ingredients

3 1/2 pounds long daikon

2 cups + 1 tablespoon sugar

1/4 cup Hawaiian sea salt (kosher or other coarse salt if Hawaiian sea salt is not available)

1/4 cup + 3 tablespoons rice vinegar

yellow food coloring

Preparation

Peel daikon and cut into 2 inch length pieces about 1/3 inch thick.  Place in a large bowl and toss with sugar.  Let stand for 1 – 2 hours, tossing occasionally. Do not discard liquid.

Add Hawaiian salt and rice vinegar to the bowl of daikon.  Toss to coat well.  Add yellow food coloring being very careful not to add too much.  You can always add more if the color is not what you expected.  Cover bowl well, and refrigerate for 2 weeks, tossing pickles every few days.   The amount of liquid from the daikon will vary.  Taste and adjust seasoning as needed. Transfer pickles to quart jars and cover tightly.  Takuan pickles will last for months stored in the refrigerator.


Canning, Lactose Free, Pickles, Recipes, Vegan, Vegetarian, Veggies

Homemade Dill Pickles

April 21, 2014

Keiki CukesPickles, pickles, pickles.  I can’t live without them.  Crunchy, tangy, salty, dilly, best chilled and served alongside a sandwich.

Homemade Dill Pickle

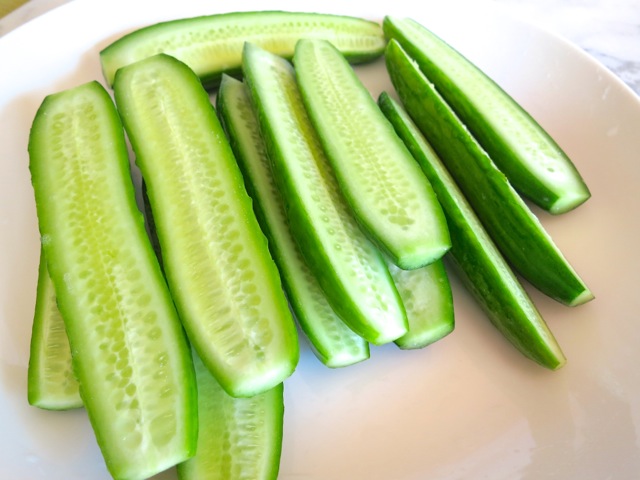
Keiki CukesJohn’s grandmother, Ida, made terrific dill pickles. Unfortunately, her recipe was lost. With the memory of those pickles in mind, he has been determined to make his own dills ever since. He used to grow cucumbers specifically for pickle making.  Unfortunately the garden pests were fond of them too.  Most destructive are the pickle worms that burrow into the poor little cukes.  It’s very frustrating to have spent so much time nurturing your plants only to have them destroyed.  Now that our local Costco sells these Keiki Cukes, we’re in business again.  These crunchy cucumbers are perfect for pickles.

Sliced CukesBeautiful mini cucumbers with tender skin and few seeds.

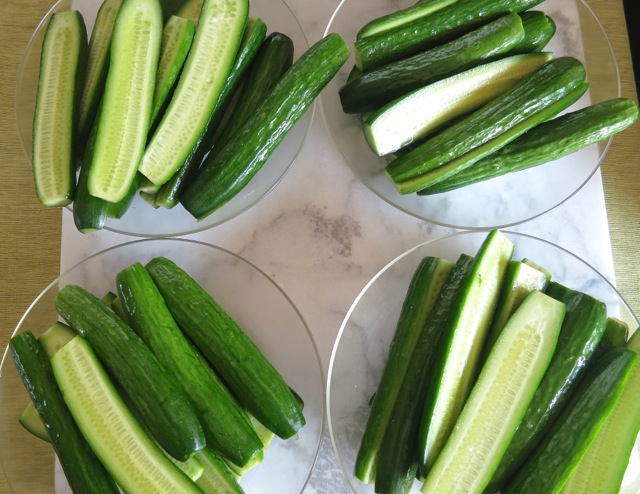
Divide Up Cucumbers for Each JarIt is best to have your mise en place ready.  Divide up the cucumbers for each jar so that you can work quickly to get the jars into the water bath canner.

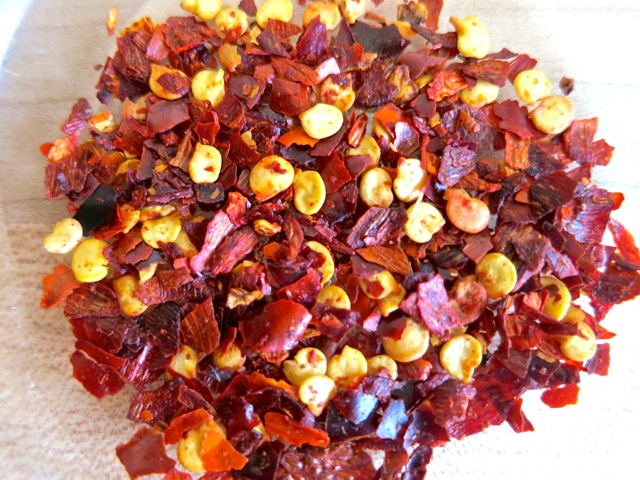
Red Pepper Flakes

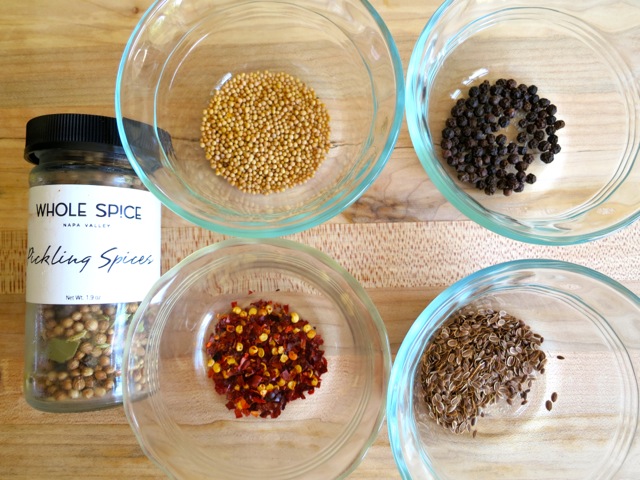
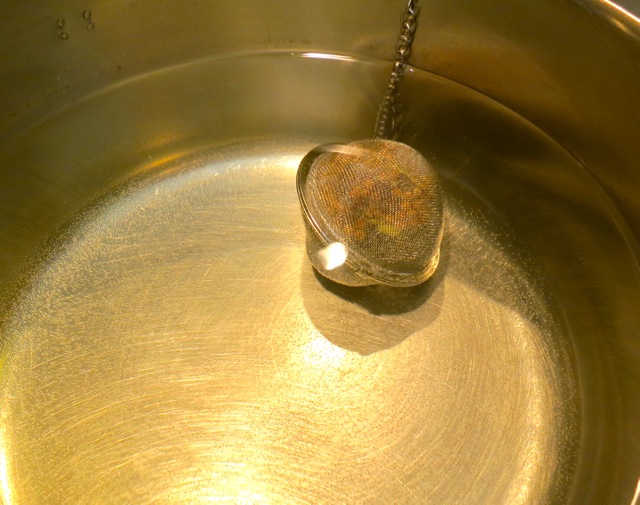
Pickling Spices, Mustard Seeds, Black Peppercorns, Dill Seeds, Red Pepper FlakesThe pickling spice is optional but it does add a nice flavor to the brine.  If you don’t have a tea ball you may use cheese cloth.

Tea Ball with Pickling Spices

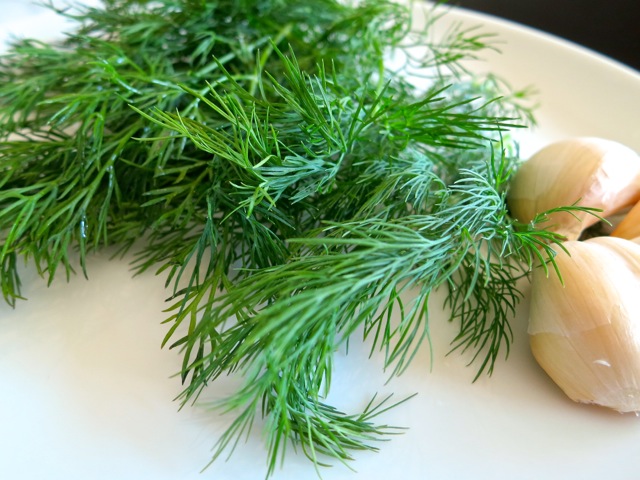
Fresh Dill & Garlic

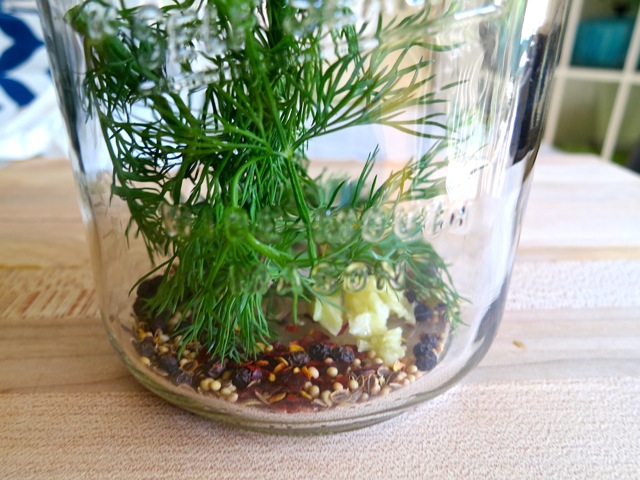
Spices in Jar

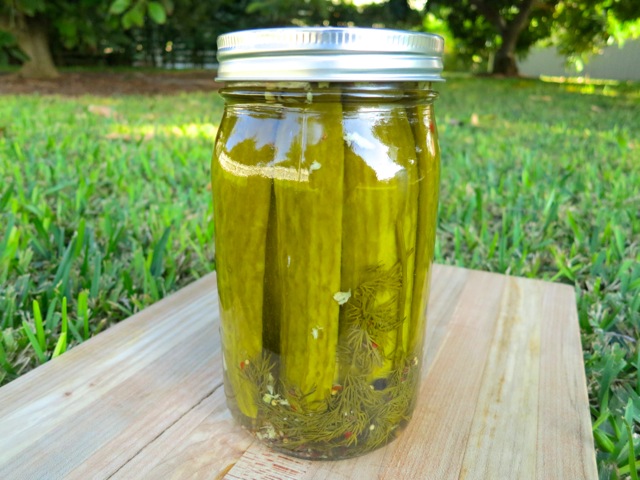
Dill Pickles

Homemade Dill Pickles

Makes 4 Quart Jars

Ingredients for pre-brine (optional)

3 quarts distilled or filtered water

5 tablespoons pickling salt

Ingredients for the brine

4 cups white vinegar

4 cups distilled or filtered water

2 tablespoons + 2 teaspoons pickling salt

2 teaspoons calcium chloride, AKA “Pickle Crisp” (optional)

3 tablespoons mixed pickling spice (in a tea ball or cheese cloth)

 Ingredients for the jars

4 1/2 pounds Keiki Cukes or other pickling cucumbers (about 18 ounces per jar)

4 teaspoons yellow mustard seeds

4 teaspoons black peppercorns

4 teaspoons dill seeds

2 teaspoons red pepper flakes

4 garlic cloves, crushed

4 large sprigs of fresh dill

Preparation

Wash cucumbers. Trim ends for uniformity and slice in half lengthwise.  At this point, one option is to pre-brine the sliced cucumbers overnight in 3 quarts distilled or filtered water mixed with 5 tablespoons pickling salt.  This is recommended but not required.  It does make for a crisper pickle. To portion the cucumbers for each jar, use an empty quart mason jar and snuggly pack with the cucumber slices. Remove slices and place in individual bowls and set aside.

Wash jars and place them in boiling-water canner.  Fill the jars and canner with water to the top of the jars.  Cover and bring water to a simmer over medium heat, do not boil.  Prepare the two-piece closures.  Wash lids and place in a small saucepan and cover with water.  Heat to just a simmer but do not boil.  Do not heat screw bands.

Place brine ingredients in a large saucepan and bring to a boil, turn down the heat and simmer for 5 minutes.

Lift the canner jar rack and fix into place on the rim of the canner. Remove one jar at a time from canner and empty hot water back into the canner. Place jar on a cutting board.  Place 1 teaspoon each of yellow mustard seeds, black peppercorn, dill seeds, 1/2 teaspoon red pepper flakes as well as 1 crushed garlic clove and 1 large sprig of fresh dill.  Pack  cucumbers into jar to within a generous 1/2 inch of top of jar.  Place a canning funnel in the jar.  Ladle hot brine into jar leaving 1/2-inch head space.  Remove air bubbles (with a chopstick or similar utensil) and adjust headspace, if necessary, by adding more brine.  Wipe jar rim. Using a magnetic utensil, lift hot lid from water, center it on the  jar and place screw band on jar.  Tighten screw band evenly and firmly just until resistance is met.  Then increase to fingertip tight.  Do not over tighten.  Return jar to canner rack.  Continue filling jars individually until all jars are filled, lower rack into canner and ensure that all jars are covered by 1 inch of water.  Cover canner and bring water to a full boil over high heat.  Process for 15 minutes, starting timer only when water reaches a full boil.

Remove jars from water, and let stand,  undisturbed, at room temperature 24 hours.  To check seals, remove the bands, and press down on the center of each lid.  If the lid doesn’t move, the jar is sealed.  If the lid depresses and pops up again, the jar is not sealed.  In the event that a jar does not seal, simply refrigerate it. Store properly sealed jars in a cool, dark place up to 1 year (date your jars on the bottom with a Sharpie pen)  Refrigerate after opening.


Follow

Get every new post delivered to your Inbox

Join other followers: