Browsing Category

Breakfast

Breakfast, Cheese, Dinner, Eggs, Recipes, Sandwiches

Cheesy Eggs Kejriwal

February 29, 2024

Named after the late Devi Prasad Kejriwal, this iconic egg dish was created in the 1960s at the Royal Willingdon Sports Club in Mumbai. As the legend goes, Mr. Kejriwal’s family did not consume eggs (they were vegetarians but he loved eggs) so he got his egg fix at the club. He asked the waiters to make him eggs on toast with melted cheese and green chiles. Soon, others at the club were asking the waiters to bring them what Kejriwal was having and the rest is history. In 2016 the New York Times called Eggs Kejriwal one of the best dishes of the year. And little wonder: It is so delicious.

There’s nothing fancy about this dish even though it originated at a prestigious sports club. Sometimes just a few humble ingredients can be turned into something truly delightful.

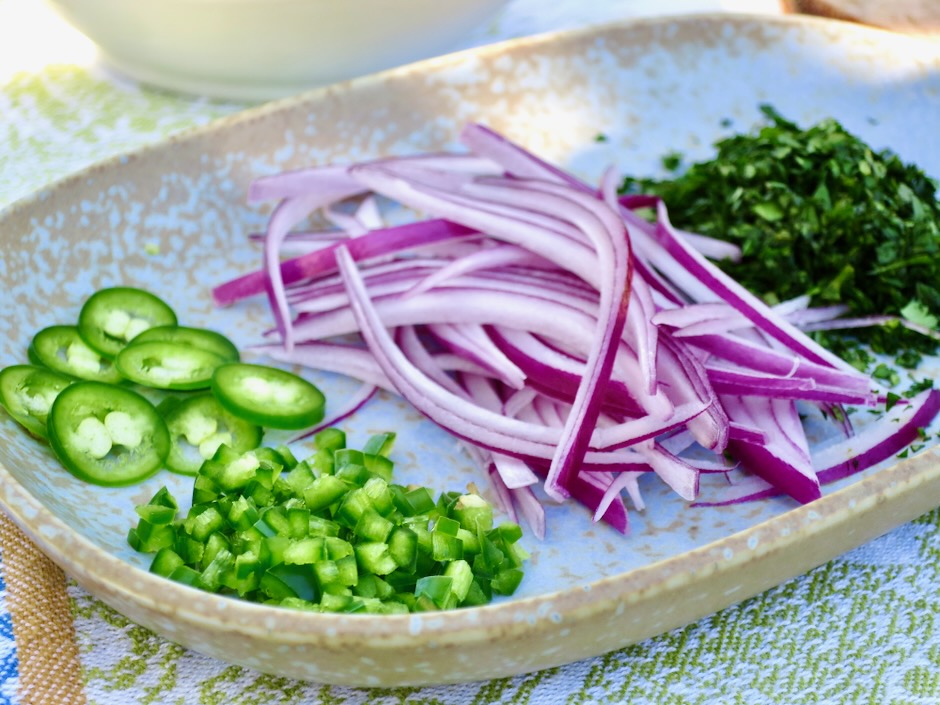
You can switch out the red onion for white, and use jalapeños instead of serranos.

There are many versions of Eggs Kejriwal that exist today. Make it your own by using your favorite cheese (a good melting cheese) such as pepper jack. You can’t go wrong with sharp cheddar cheese which I used here.

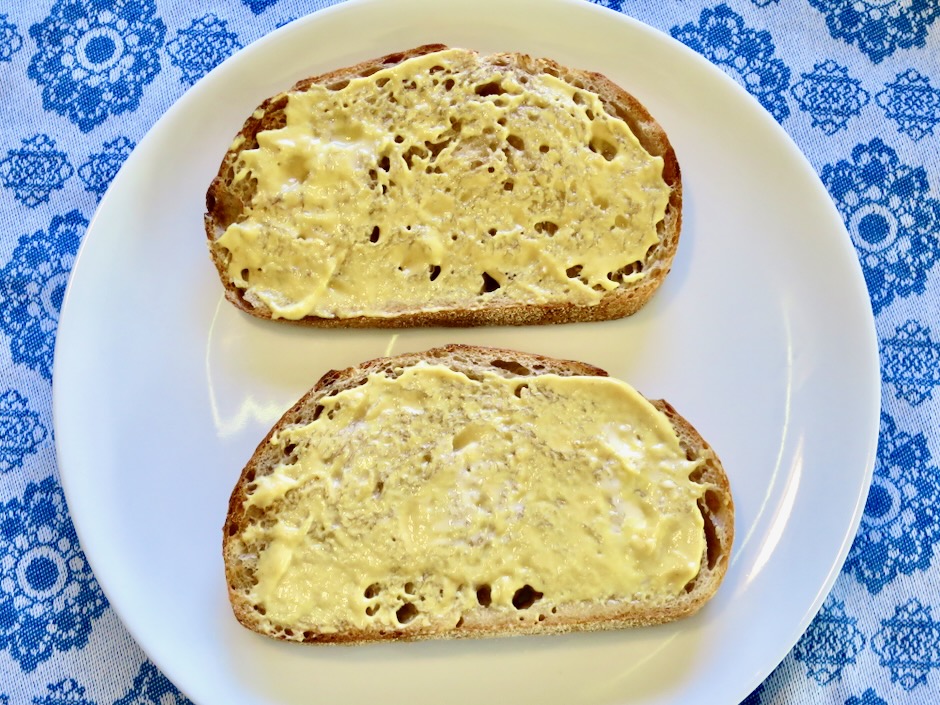
Some versions of this dish spread Dijon mustard over the toasted bread before layering on the other ingredients. Now that I’ve made this a few times, I wouldn’t have it any other way. The mustard adds a pleasant zing to the dish that’s most welcome with the rich melted cheese and fried egg.

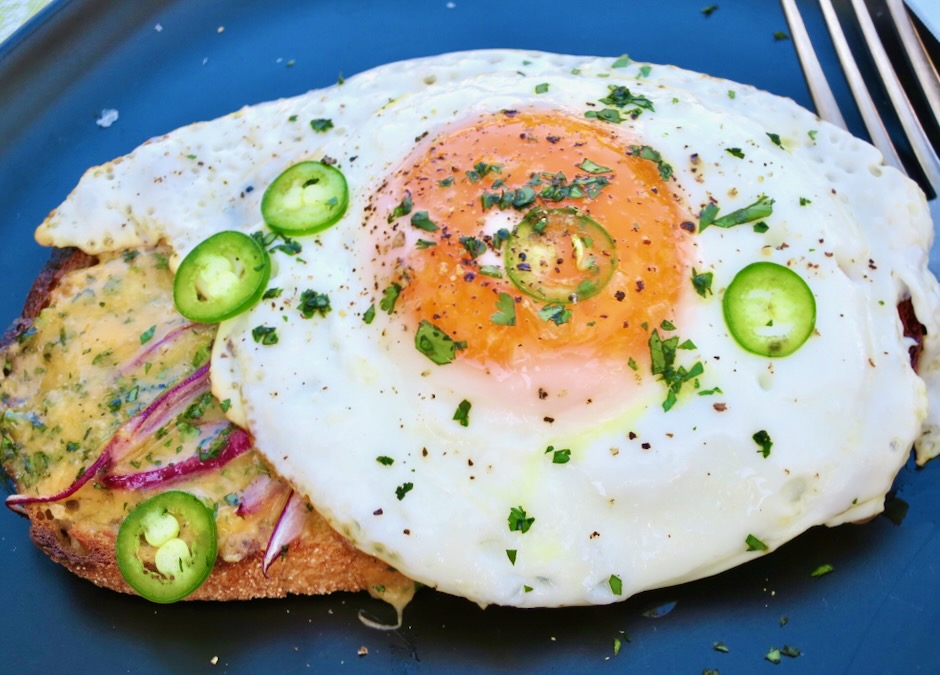
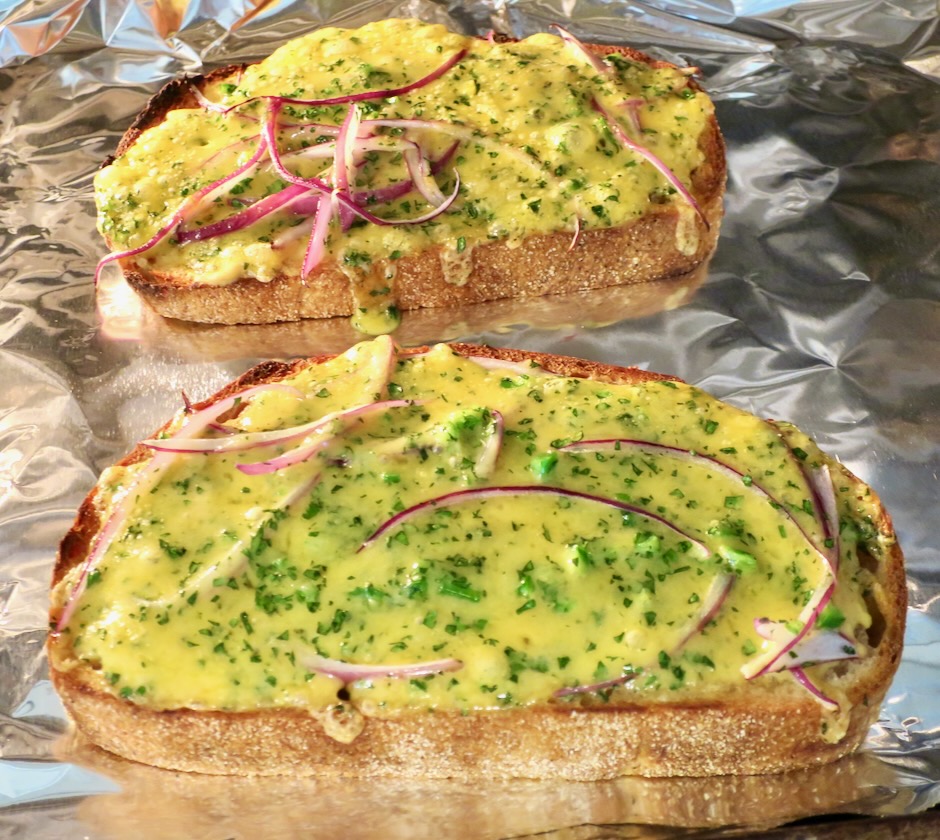
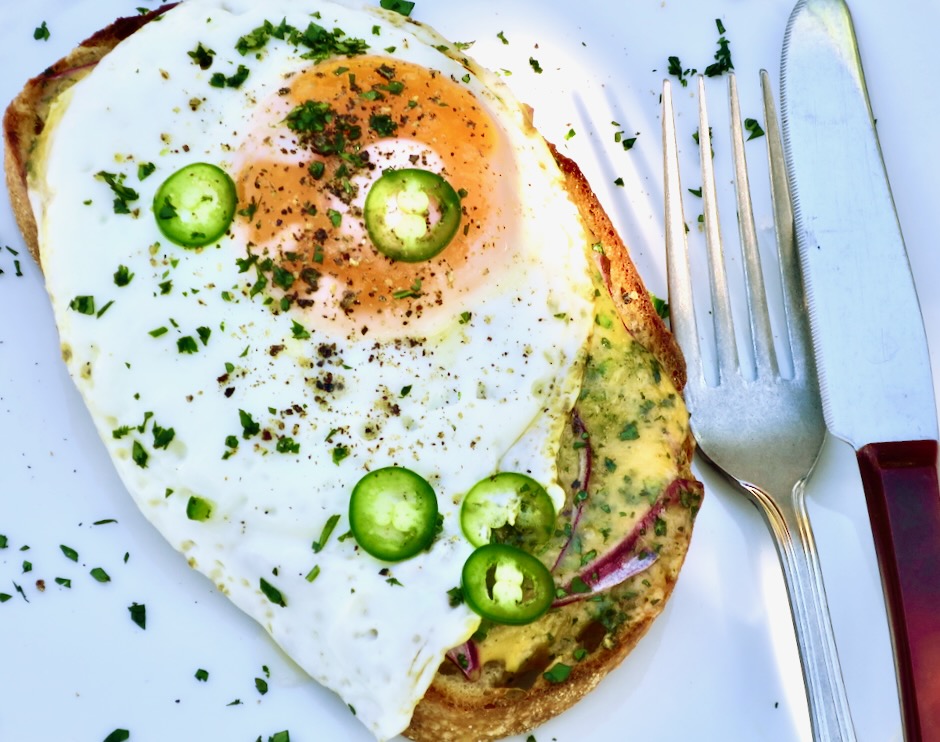
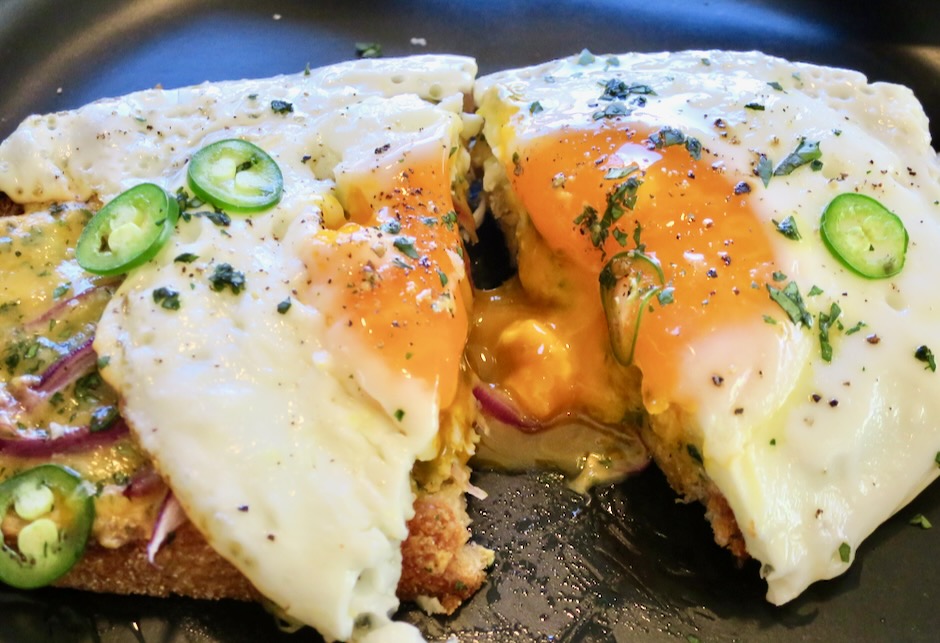
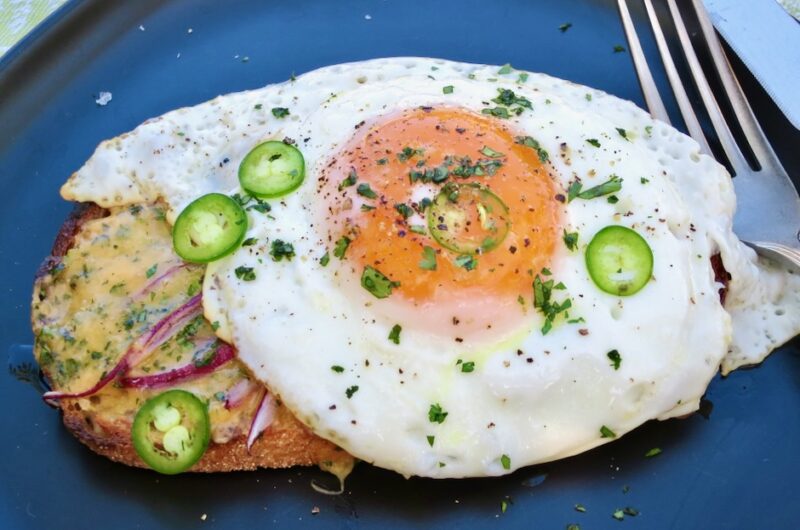
Ooooh! Melted cheddar with cilantro, serrano peppers and onions on toasted sourdough bread waiting for a perfectly fried egg.

I can’t think of a better breakfast or lunch than Eggs Kejriwal. It is spicy, cheesy and very comforting.

Cheesy Eggs Kejriwal

Recipe by Kiyo
Servings

2

servings

Adapted from Food & Wine magazine

Ingredients

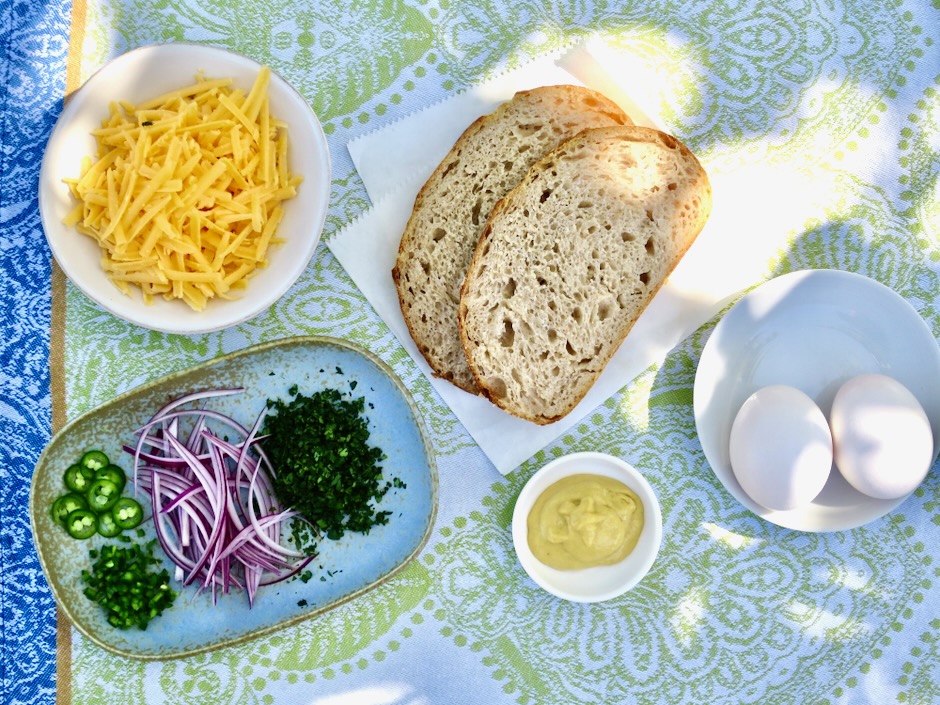
  • 2 slices sourdough bread or bread of your choice

  • 2 tablespoons butter, divided

  • 1 tablespoon Dijon mustard

  • 1 cup (2 ounces or 57g) grated sharp cheddar or substitute with your favorite melty cheese

  • 1 serrano chile, finely chopped, plus a few slices for garnish (or jalapeño)

  • 2 tablespoons chopped cilantro, plus more for garnish

  • 1/4 cup (.05 ounces or 15g) red onion, thinly sliced

  • 2 large eggs

  • Kosher salt

  • Freshly ground black pepper

Directions

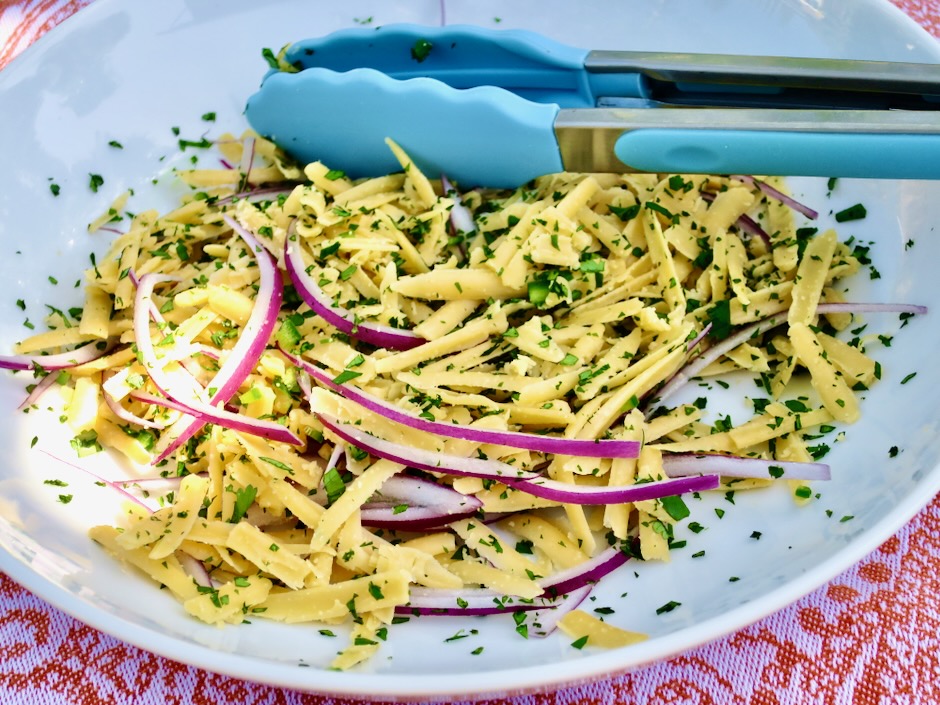
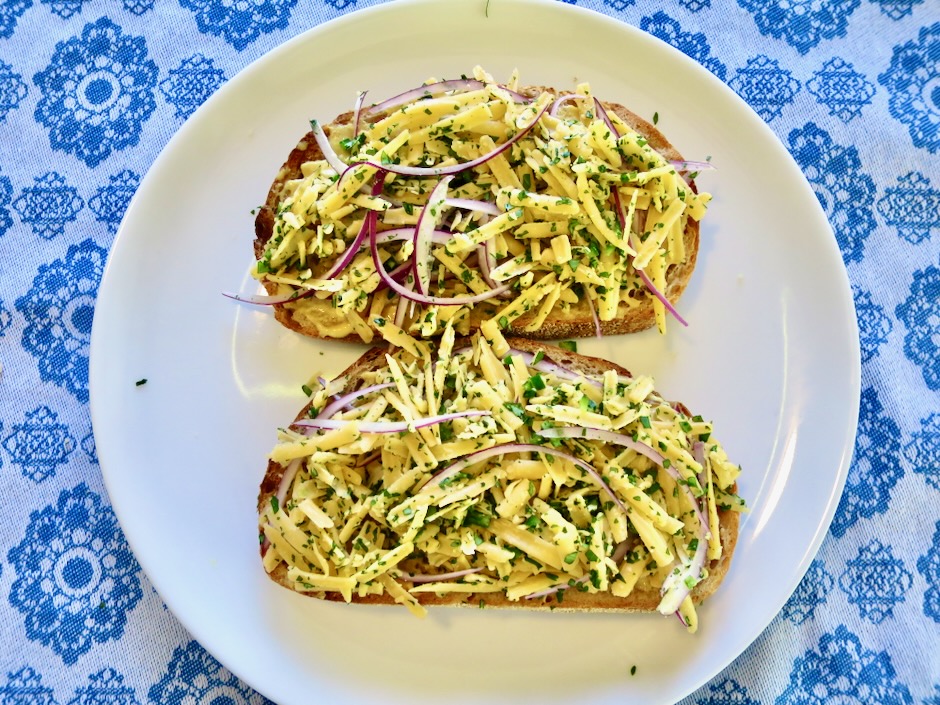
  • Toast the bread slices to a light golden brown and spread with 1 tablespoon of butter, or butter bread and brown in a skillet. Add mustard to one side of each bread. Combine cheese, chile, cilantro, and onion in a bowl and toss to blend. Divide cheese mixture between the bread slices and pile on top. Place bread on a baking sheet.
  • Turn toaster oven broiler to high (or heat oven broiler on high) with oven rack 6 inches from heat. Broil the cheese-topped bread until the cheese has melted, about 3 minutes, checking occasionally to avoid burning the toast.
  • Meanwhile, melt the remaining 1 tablespoon of butter in a medium nonstick skillet over medium heat. Crack eggs into skillet and sprinkle with kosher salt and black pepper. Cook eggs until the whites are firm and the yolks are runny, about 4 minutes, adjusting heat as needed. Top each piece of bread with the fried egg, reserved chiles and cilantro. Serve immediately.

Notes

  • Taste the chile to see how spicy it is before adding all of it to the cheese mixture. Chiles from markets can vary in heat. Use the amount that suits your taste.
Appetizers, Breakfast, Cheese, Dinner, Recipes, Side Dishes, Summertime Meal, Vegetarian, Veggies

Easy One-Bowl Corn Fritters

January 30, 2024

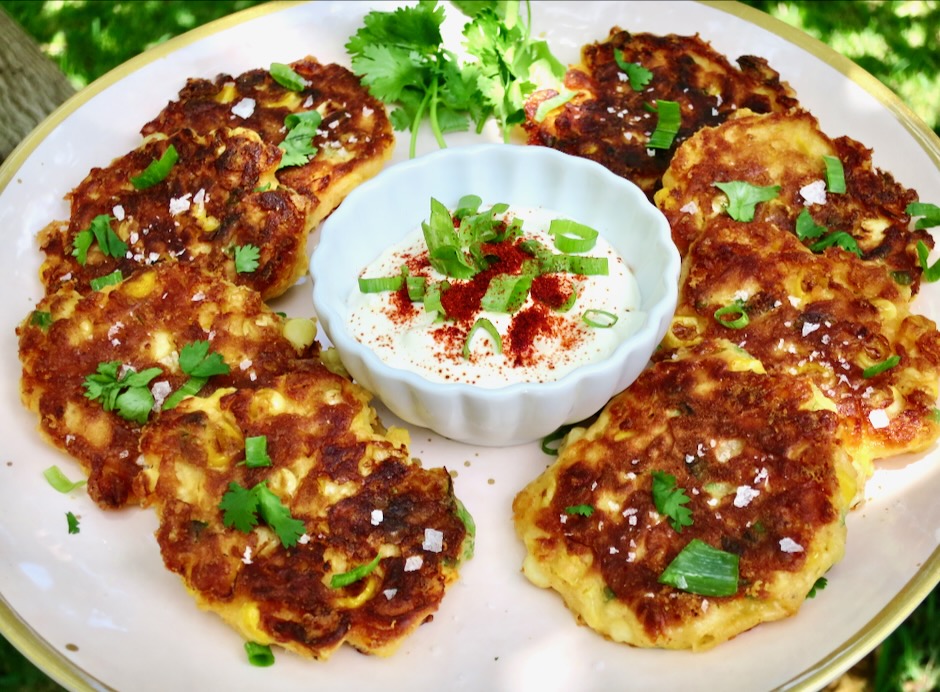
These easy one-bowl corn fritters are quick to make with simple pantry staples. Pan-fried until golden brown and crispy, the fritters pair nicely with many other dishes. Serve them as an appetizer or a side-dish at your next barbecue, and for breakfast with fried eggs and bacon.

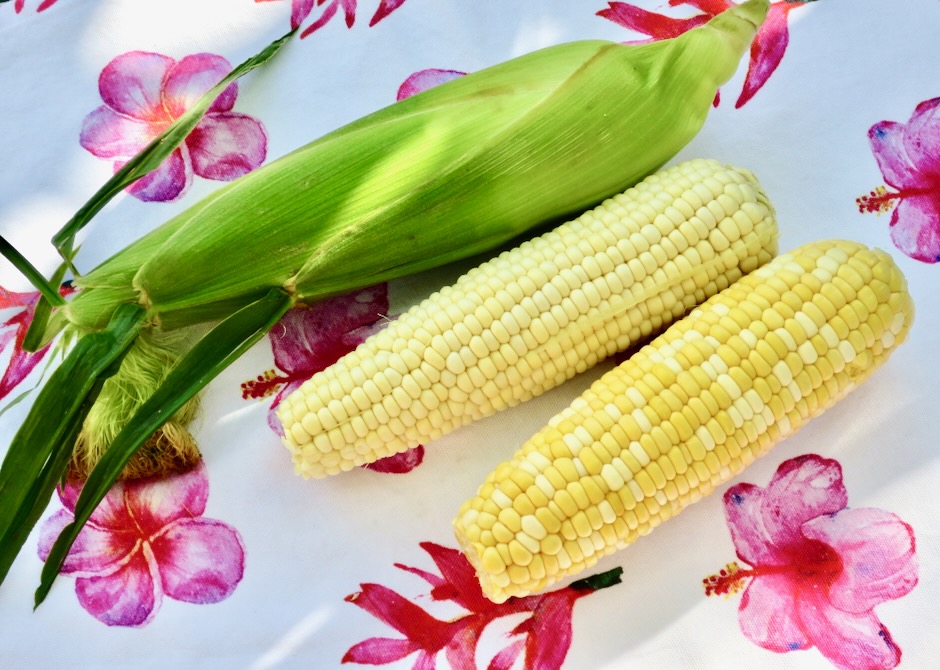
For best results use fresh sweet corn. Frozen or canned corn will make an acceptable substitution as fresh corn is not always in season. Be sure to drain the corn well before adding it to the batter.

I have made the corn fritters with all flour and half flour and half cornmeal. As a whole grain, cornmeal adds a little extra nutritional value. If you have it, go ahead and use it. Otherwise using all flour is perfectly fine.

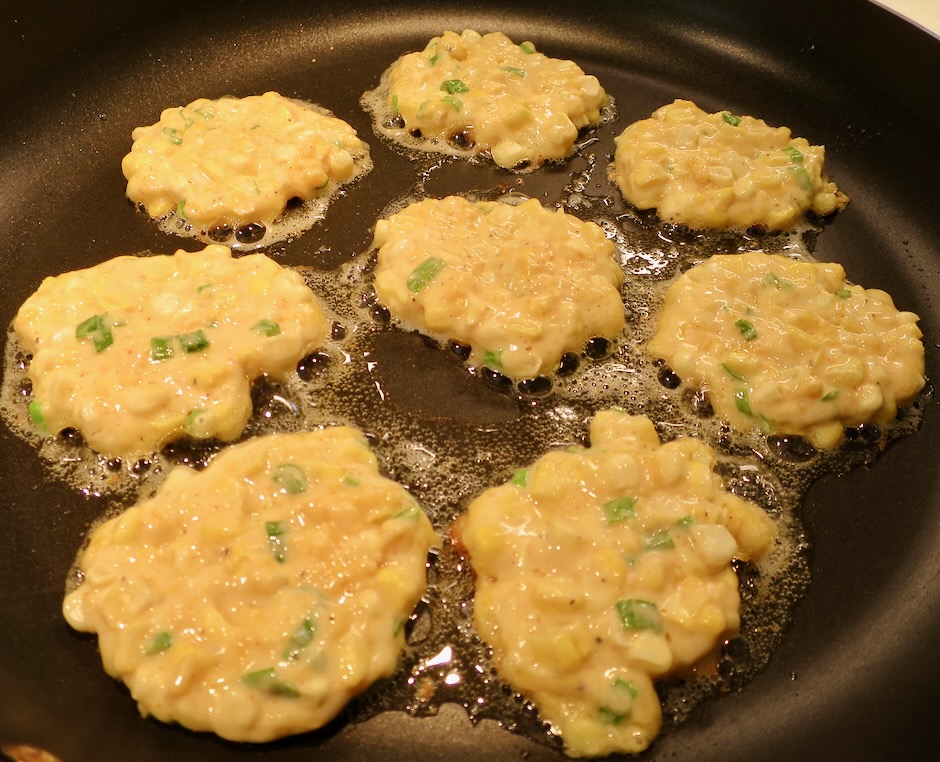
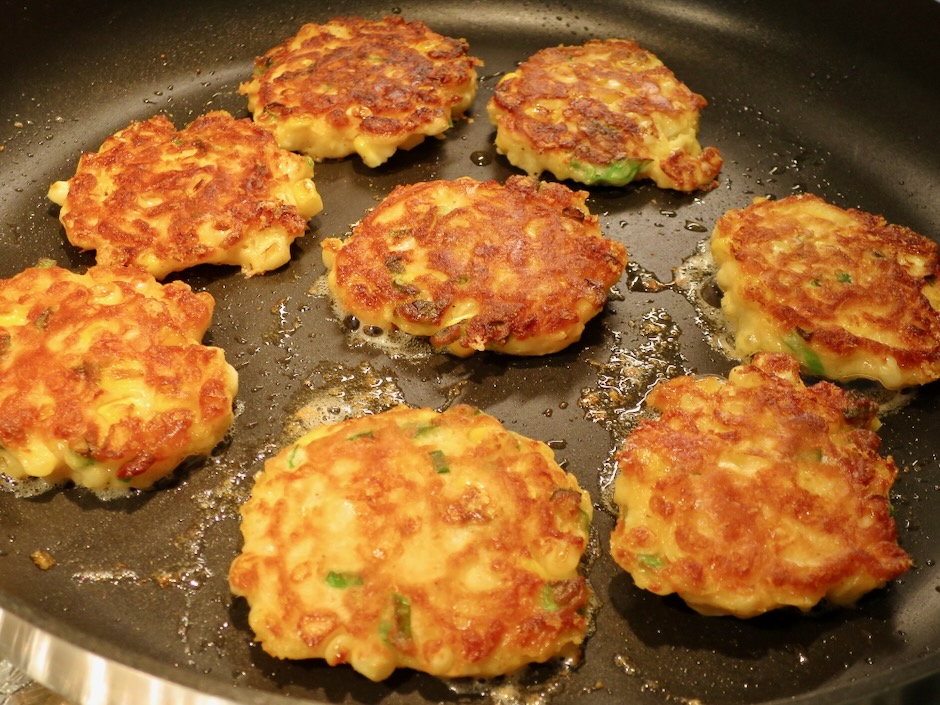
The batter is easy to work with. Drop spoonfuls into your frying pan and let the fritters cook until browned on both sides. They are best eaten immediately while they retain their crispy texture.

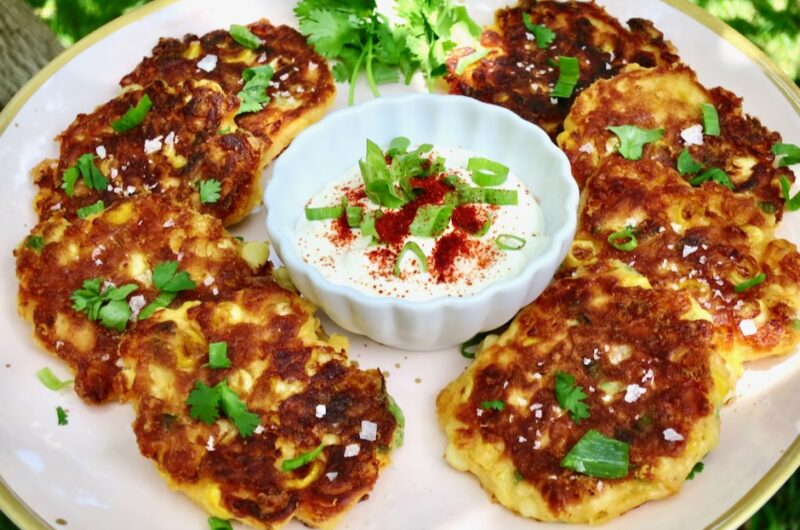
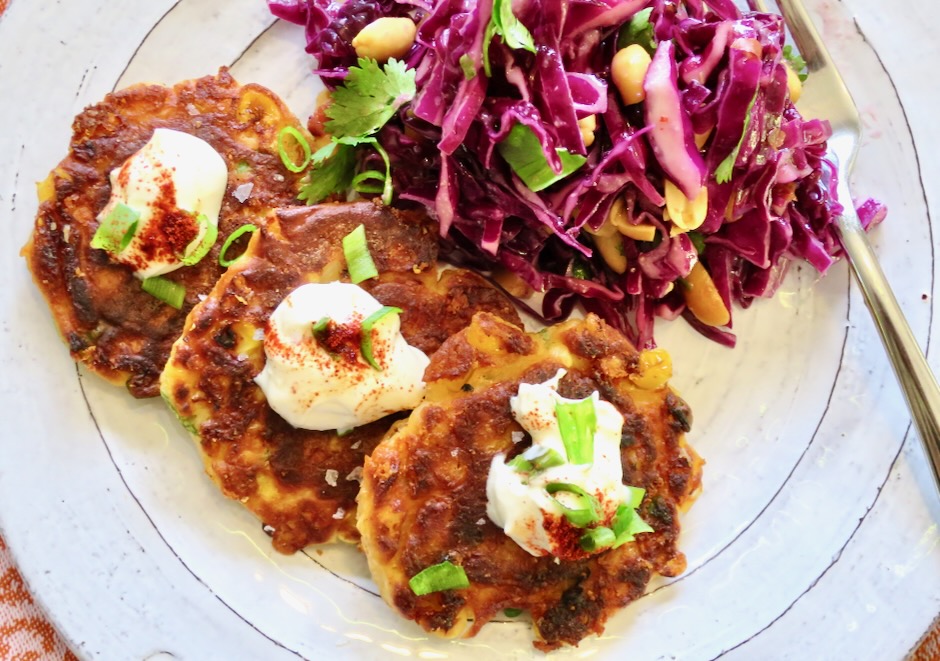
On most occasions I serve the fritters with a dollop of sour cream and a sprinkle of smoked paprika along with a crispy salad to complete the meal. I’ve had success freezing leftovers in a plastic container and reheating them in a pan with a bit of oil. They are the perfect snack for those lazy days when we don’t have the energy to cook and clean up the kitchen.

Corn Fritters

Recipe by Kiyo
Servings

4

servings

Adapted from NYT Cooking – Makes 16 fritters

Ingredients

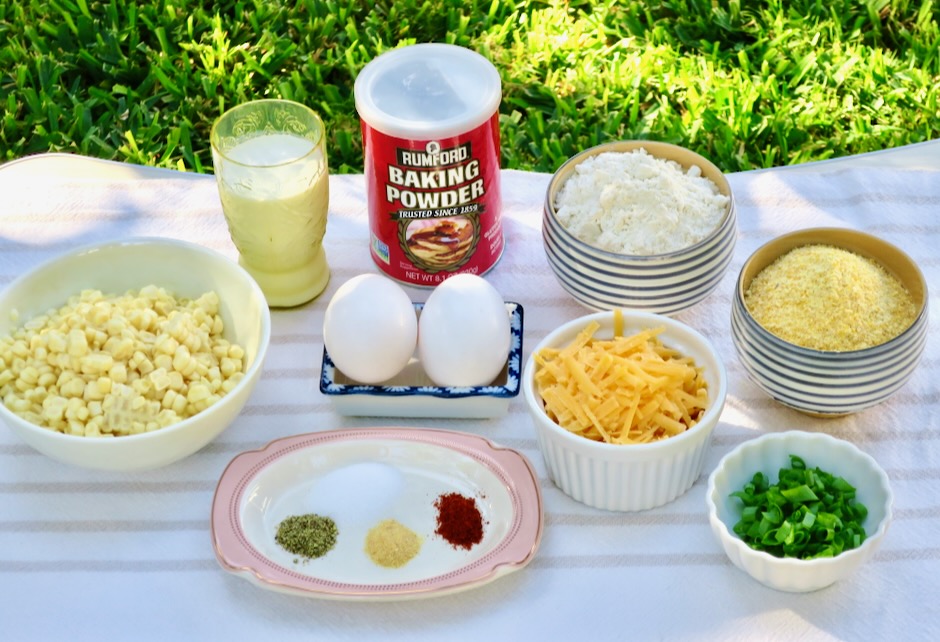
  • 2 large eggs

  • 2/3 cup (162g) lactose free whole milk, or regular whole milk

  • 1 teaspoon fine sea salt

  • 1/2 teaspoon garlic powder

  • 1/2 teaspoon freshly ground black pepper

  • 1/4 teaspoon ground cayenne (or up to 1/2 teaspoon)

  • 1/2 cup (60g) all-purpose flour (use 1 cup, 120g of flour if not using cornmeal)

  • 1/2 cup (75g) cornmeal, such as Bob’s Red Mill medium grind

  • 2 teaspoons baking powder

  • 3 cups (430g) fresh corn kernels (can substitute with frozen corn thawed and patted dry or canned, drained)

  • 1/4 cup chopped green onions

  • 1 cup (114g) sharp cheddar cheese, shredded

  • vegetable or canola oil for frying

Directions

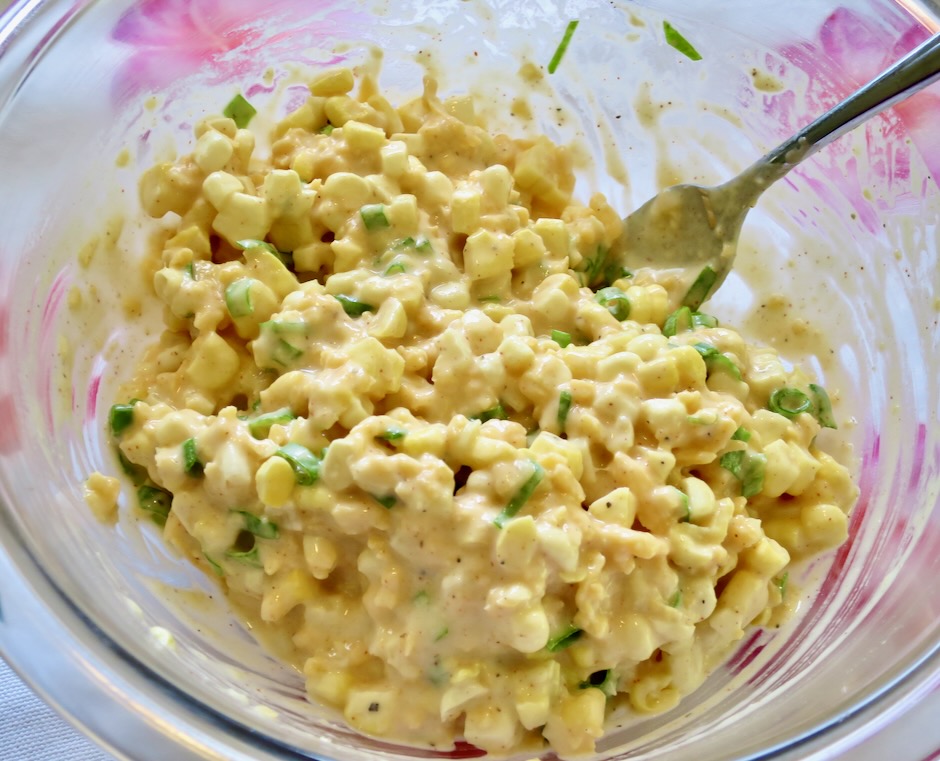
  • In a large bowl, whisk together the eggs, milk, salt, garlic powder, black pepper, and cayenne pepper. Stir in the flour, corn meal if using and baking powder just until combined. Stir in the corn, green onions and cheddar cheese.
  • Heat a non-stick skillet over medium heat with enough oil to generous cover the bottom of the pan. You may use a cast iron skillet if you have one (heat over medium-low).
  • Once the oil is shimmering hot, add heaping tablespoons of batter to the pan. Use the back of a spoon to flatten into a round patties (do not crowd pan). Fry for 2 minutes then flip and fry for another 2 minutes then cook for an additional 2 minutes adding more oil as needed.
  • Remove fritters to a paper towel-lined baking sheet. Repeat until all fritters are fried. Serve with a dollop of sour cream and a sprinkle of smoked paprika.

Notes

  • Leftover fritters can be frozen in a plastic freezer container. Thaw and reheat in a skillet with a bit of oil over medium-low heat to warm and crisp up.
Bread, Breakfast, Lactose Free, Recipes, Summertime Meal

Fresh Corn Muffins

August 22, 2023

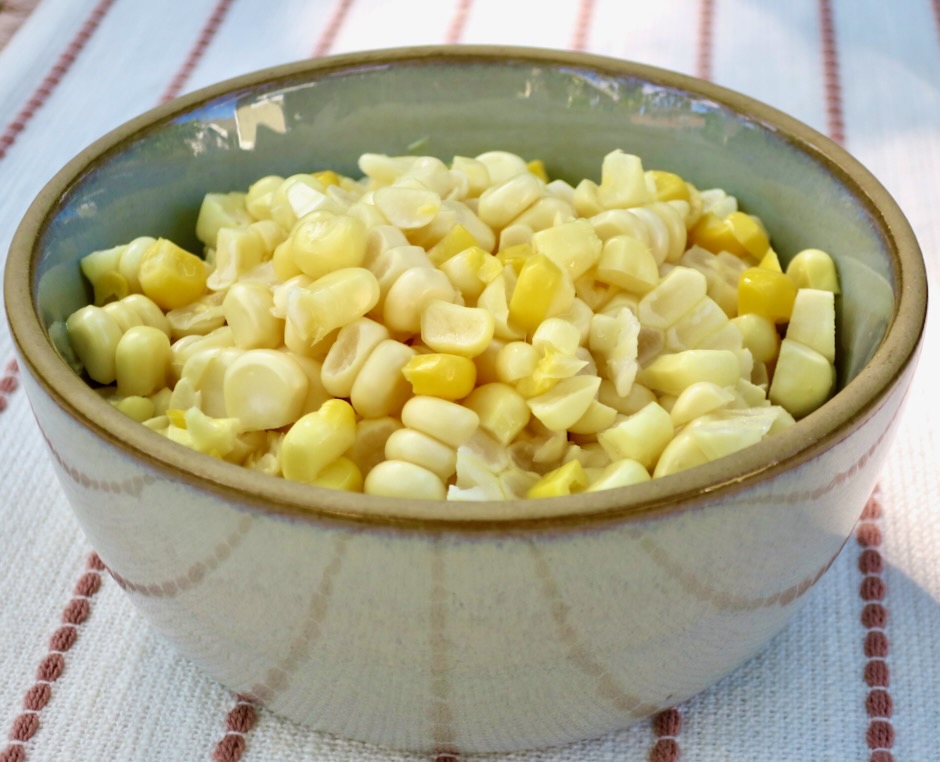
Corn is in peak season now and the markets are stocked with beautiful fresh ears of corn. I don’t always have a plan for what I’m going to do with the corn I buy but I make sure to use it within a day to ensure it is fresh and sweet. Here is a great recipe to make when you have fresh corn on hand and aren’t quite sure how you want to use it. I adapted this recipe from Cook’s Country magazine to make a lactose-free version. Feel free to use standard dairy ingredients when you make these.

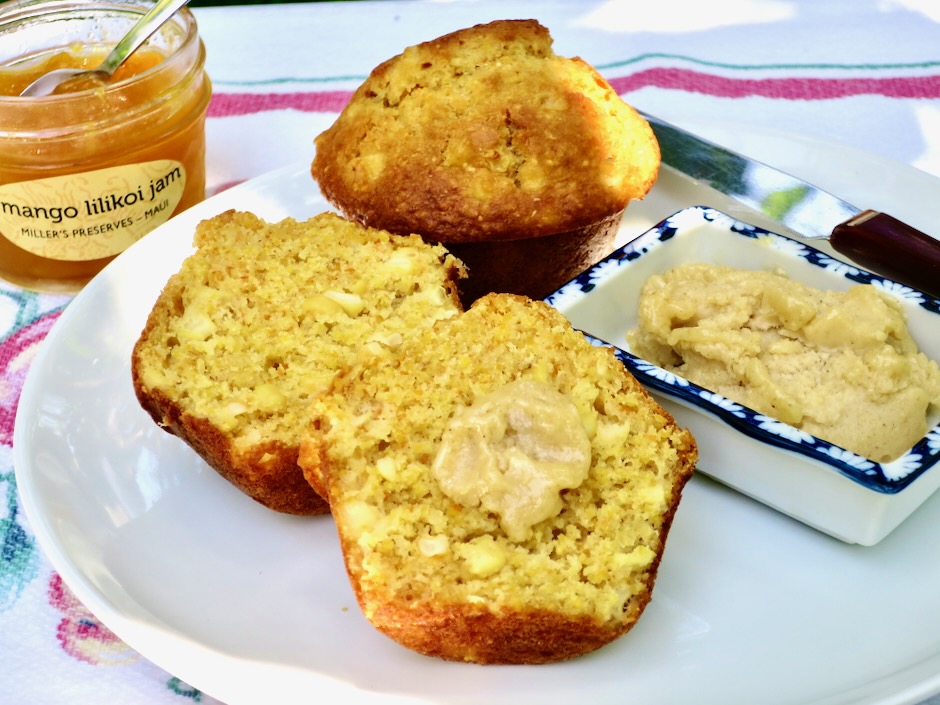
You can whip up a cardamom-brown sugar butter that pairs well with the fresh corn flavor of these muffins. The sweet and salty butter with a hint of cardamom takes these muffins over the top.

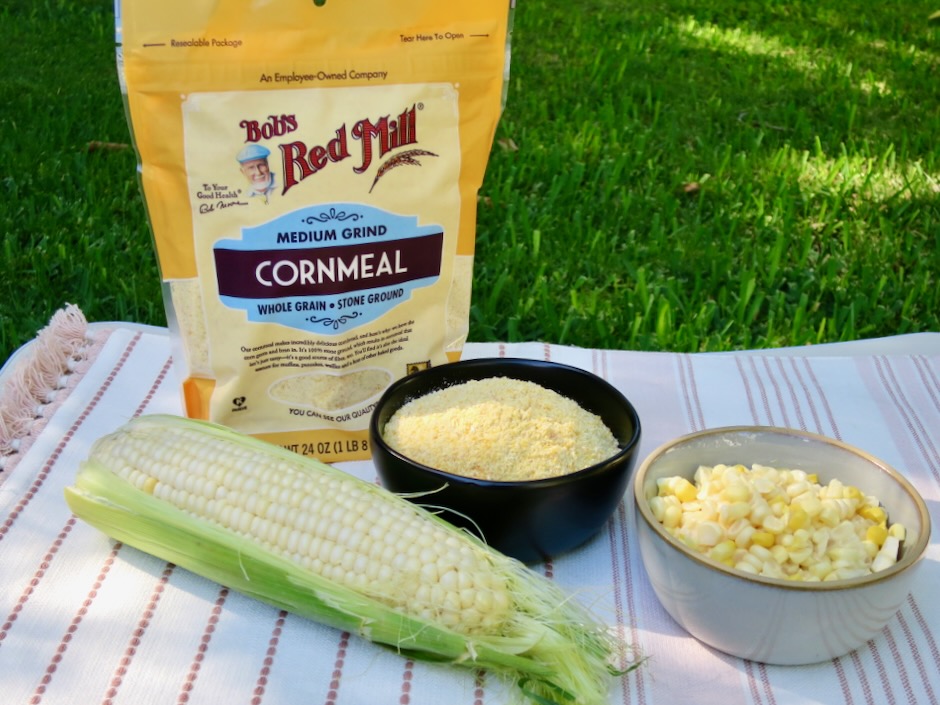
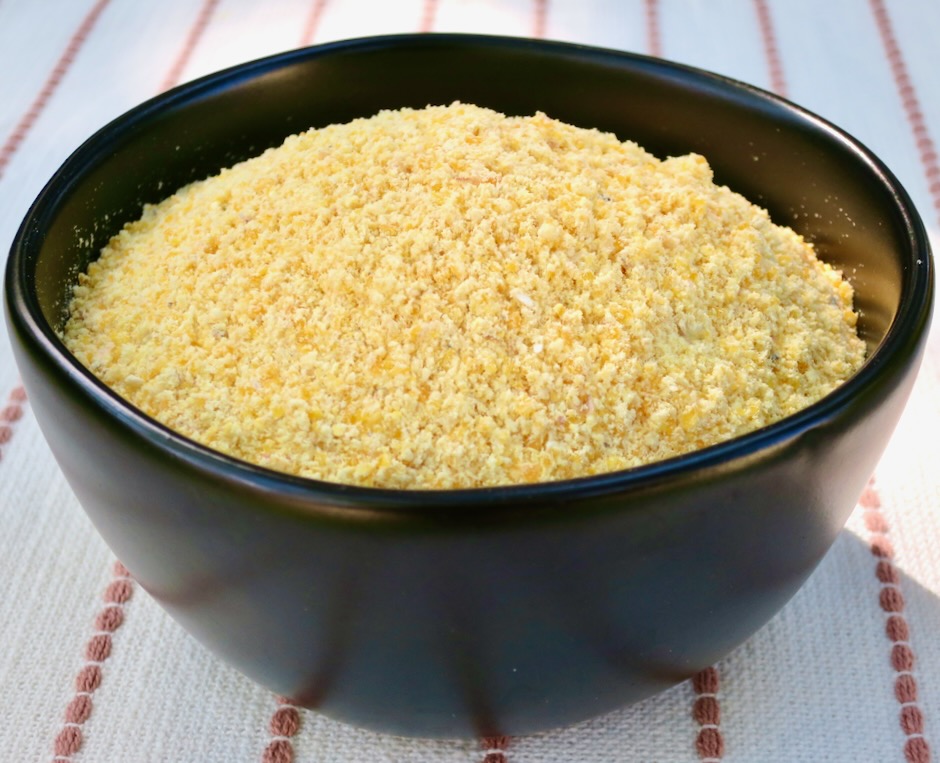
Bob’s Red Mill is known for quality products and their cornmeal is no exception. The medium grain cornmeal is just the right texture for these muffins.

Beautiful cornmeal such as Bob’s Red Mill can be found at Safeway on Maui.

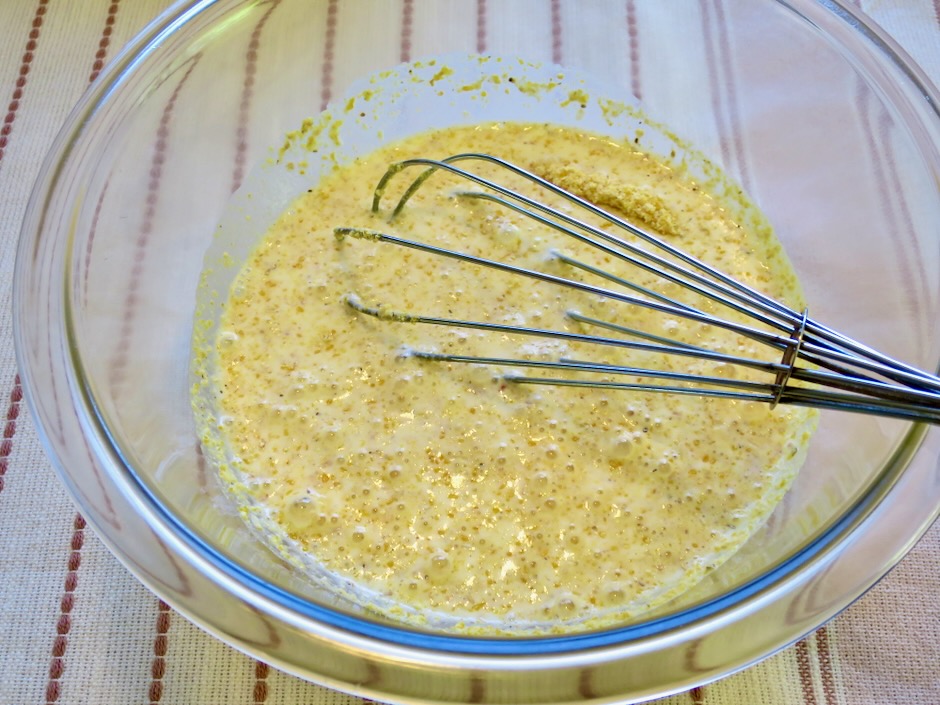
Hydrating a portion of the cornmeal with milk in the microwave before adding it to the rest of the ingredients produces a muffin with a tender crumb and a boost of fresh corn flavor.

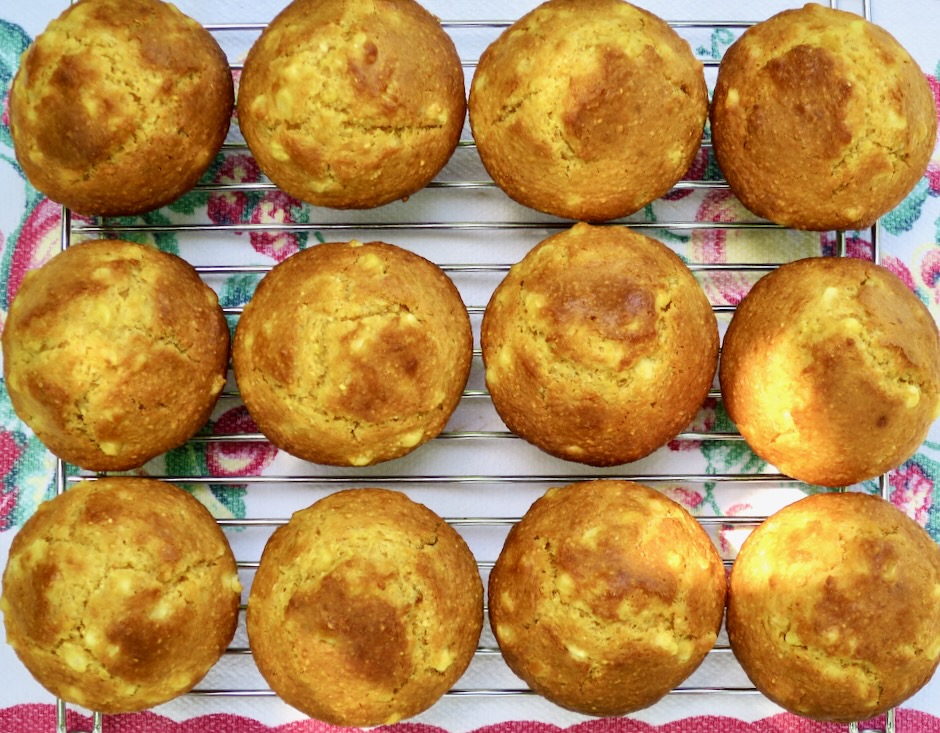
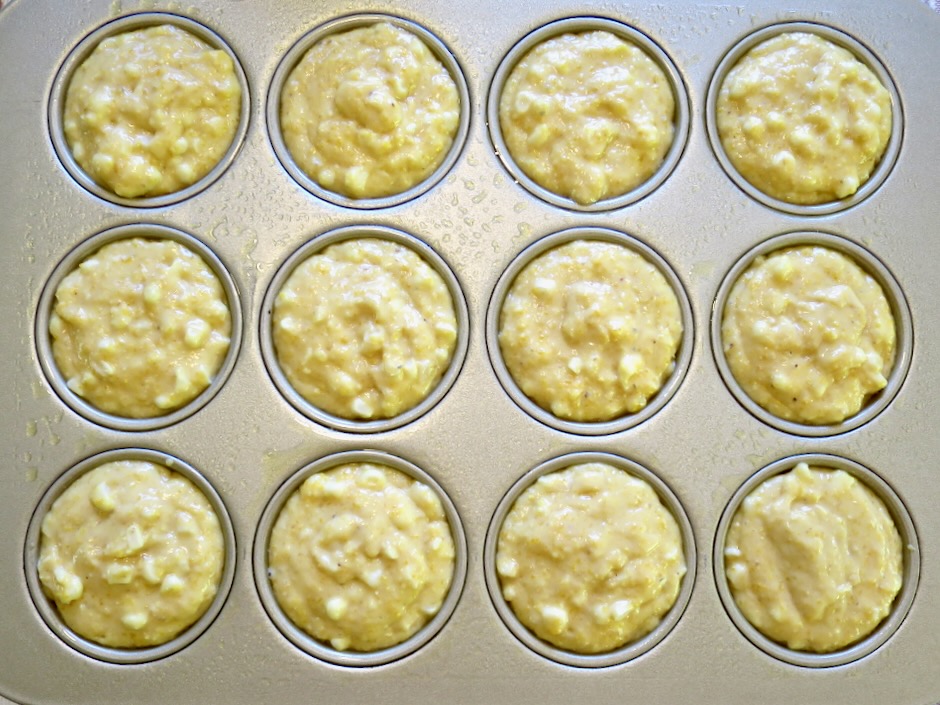
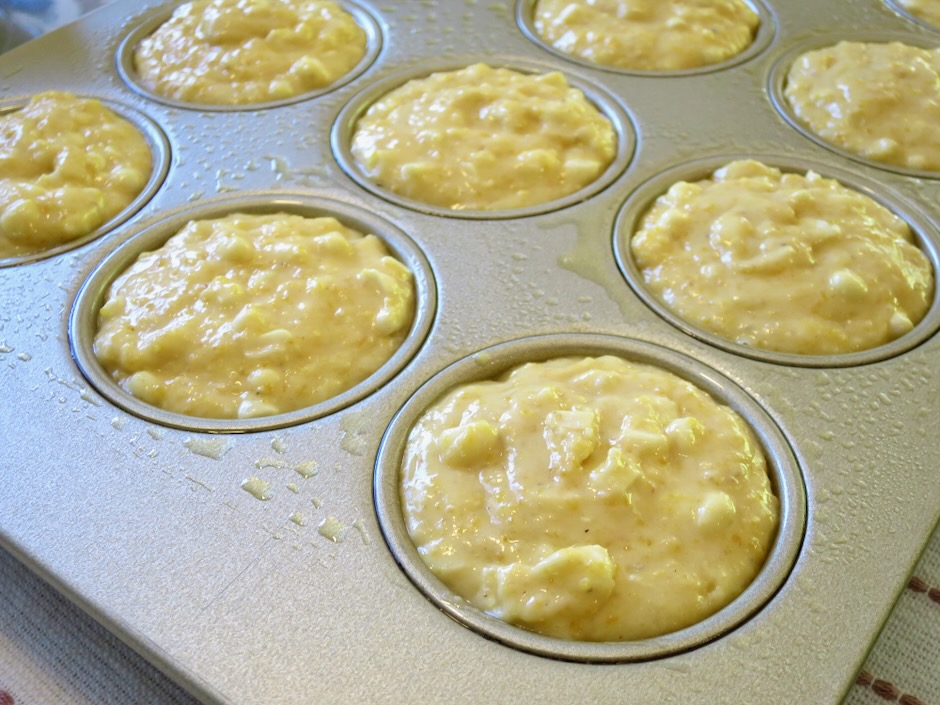
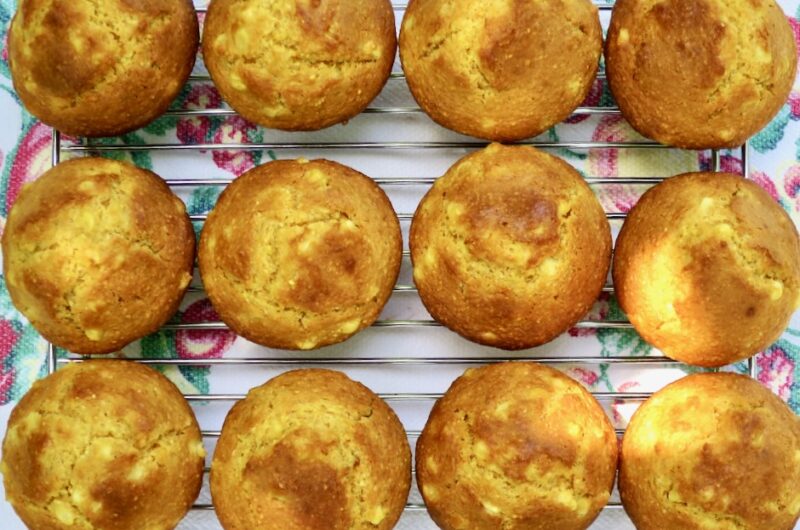
You might think there is too much batter for 12 muffin cups. I read a few comments from others who made 16-24 muffins. If you have a muffin pan that has a smaller than usual cup capacity, you may need to bake more than 12 muffins. However, for this recipe I found the batter to be perfect for my 12-cup muffin pan. The batter should fill the entire cup and even be a bit higher than level.

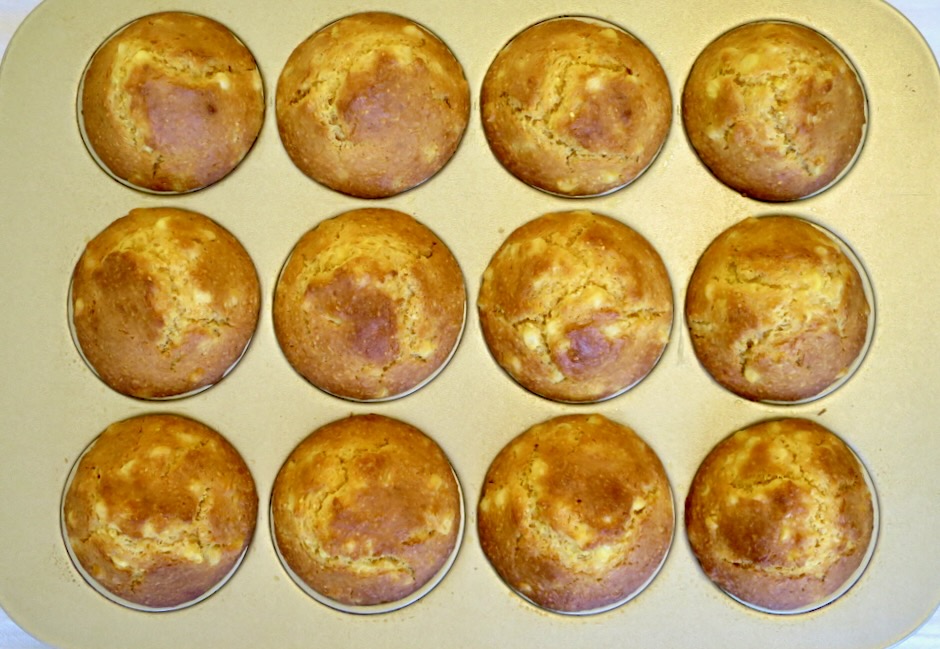
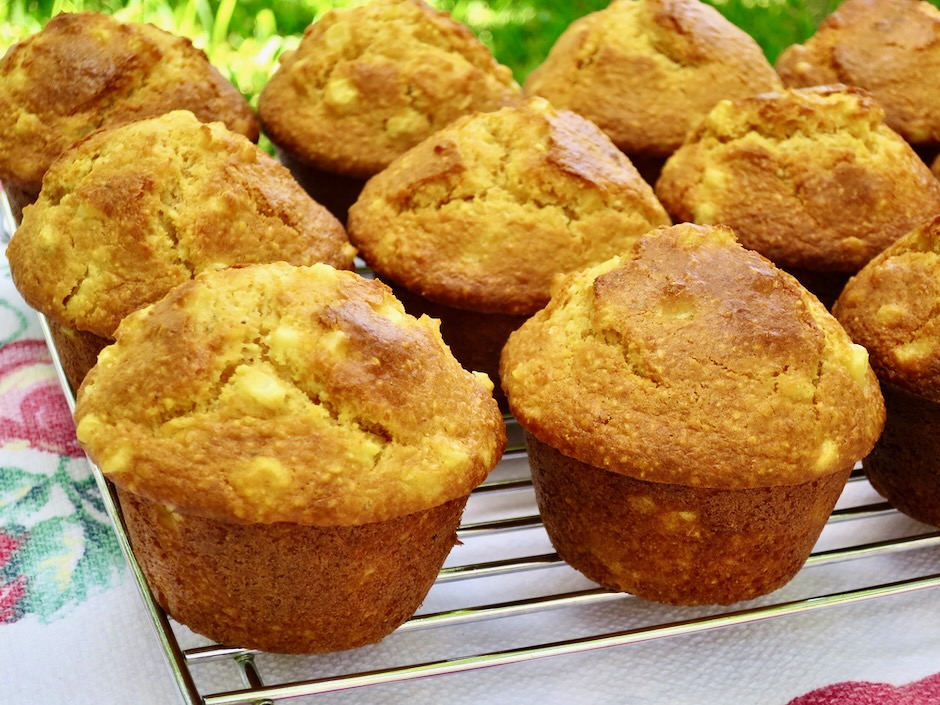
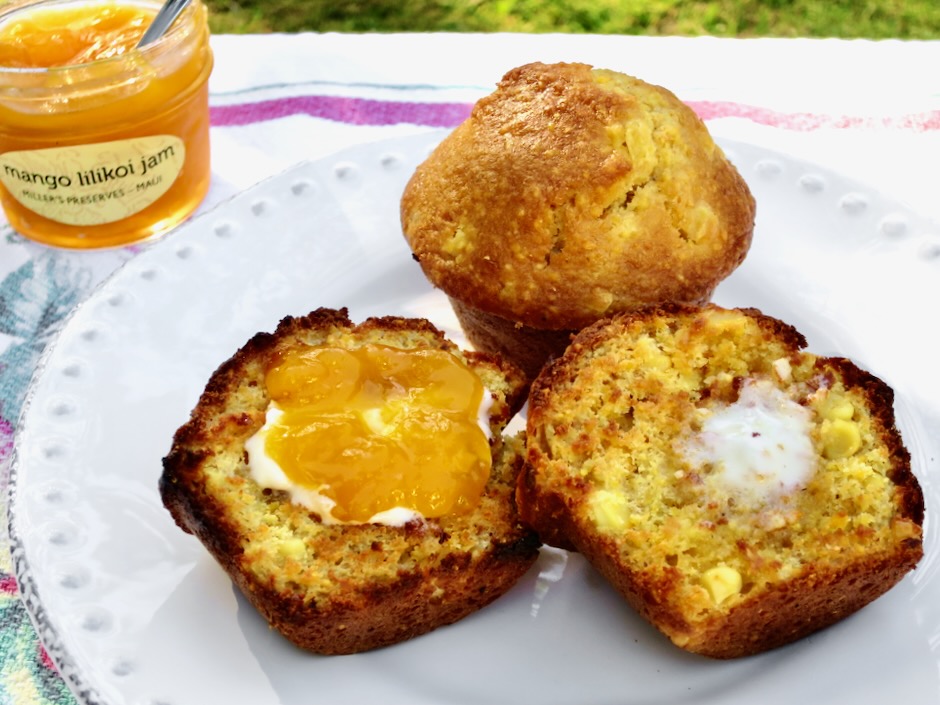
Beautifully high domed muffins show off the fresh corn beneath. One of my favorite ways to eat these corn muffins is to split them, toast them until the edges are browned and crispy, then serve with a pat of butter and homemade jam.

Fresh Corn Muffins

Recipe by Kiyo
Servings

12

servings

If you don’t have a scale use the spoon and level method for measuring dry ingredients. Recipe adapted from Cook’s Country magazine.

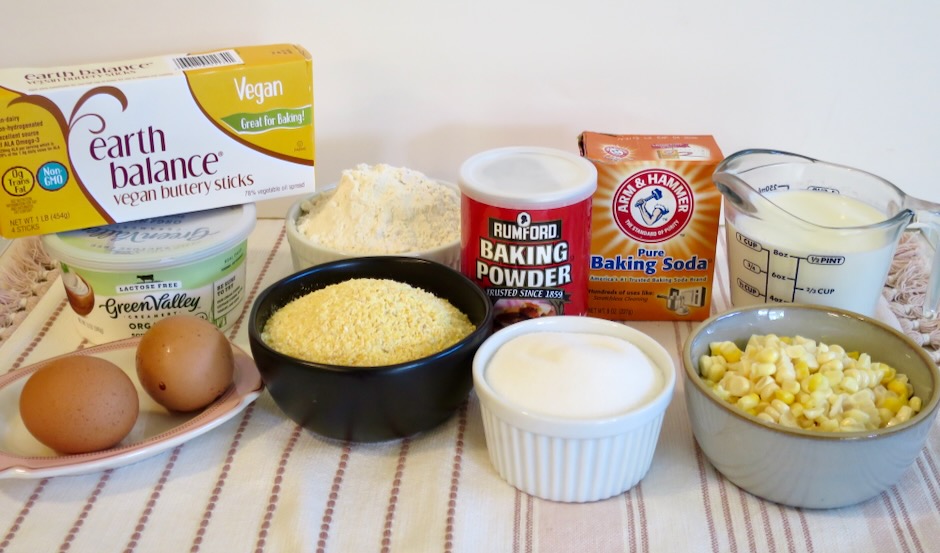
Ingredients

  • 1 1/2 cups (190g, 6.8 oz.) all-purpose flour

  • 1 1/2 cups medium grain cornmeal, divided (1 cup=140g, 5 oz.,
    1/2 cup=70g, 2.5 oz.)

  • 3/4 cup (150g, 5.3 oz.) granulated sugar

  • 1 teaspoon fine sea salt (if using unsalted butter increase to 1 1/4 teaspoons)

  • 1 1/2 teaspoons baking powder

  • 1 teaspoon baking soda

  • 1 cup (227g, 8 oz.) lactose free whole milk or regular whole milk

  • 1/2 cup (113g, 4 oz.) lactose free or regular sour cream

  • 1/2 cup (1 stick, 113g, 4 oz.) Earth Balance Buttery Sticks or unsalted butter (see adjustment for salt if using unsalted butter)

  • 2 large eggs

  • 2 cups (304g, 10.7 oz.) fresh corn kernels, about 2 large ears of corn

  • Cardamom Butter
  • Mash together until well combined: 1 stick Earth Balance Buttery Sticks or unsalted butter (softened), 1/8 cup + 1 tablespoon packed light brown sugar, 1/2 teaspoon ground cardamom (add 1/4 teaspoon fine sea salt if using unsalted butter).

Directions

  • Adjust oven rack to middle position and heat oven to 400 degrees. Generously spray 12-cup muffin tin, including top, with vegetable oil spray.
  • Whisk flour, 1 cup cornmeal, sugar, salt, baking powder, and baking soda together in a large bowl; set aside.
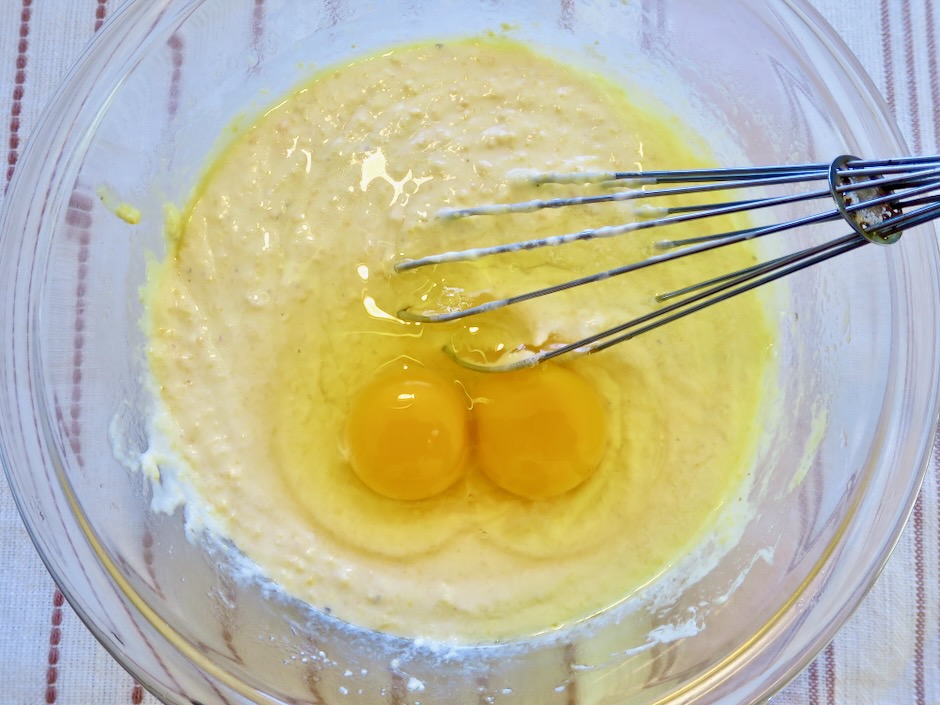
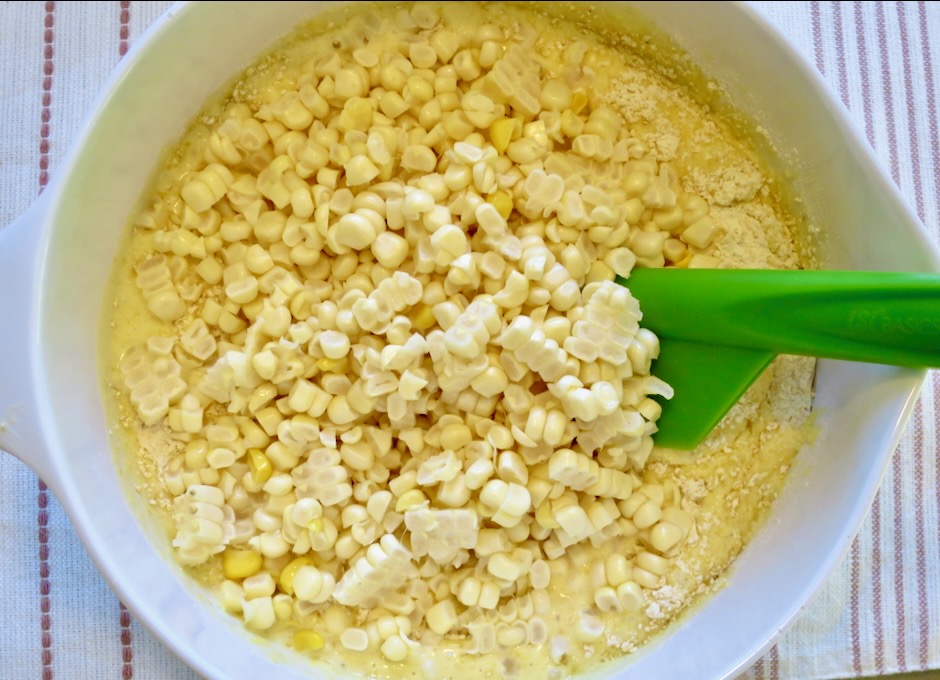
  • Whisk milk and remaining 1/2 cup cornmeal together in a medium bowl. Microwave until mixture begins to thicken to a paste-like consistency, about 1 1/2 minutes, whisking every 30 seconds to combine. Whisk sour cream and melted butter into cornmeal paste. Whisk in eggs. Stir cornmeal mixture and corn kernels into flour mixture until just combined.
  • Divide batter equally among prepared muffin cups; evenly distribute any remaining batter among cups (cups will be full or slightly over the top level).
  • Bake until muffins are golden brown and a toothpick inserted in the center comes out with just a few crumbs attached, 20 – 24 minutes. Let muffins cool in pan on wire rack for 5 minutes. Gently remove muffins and let cool on wire rack for 15 minutes. Serve warm with cardamom butter or split muffins and toast in toaster oven until edges are browned and crispy.

Notes

  • Muffins can be frozen for 1 month.
Breakfast, Dessert, Lactose Free, Recipes, Summertime Meal

Blueberry Pie Bars

May 9, 2023

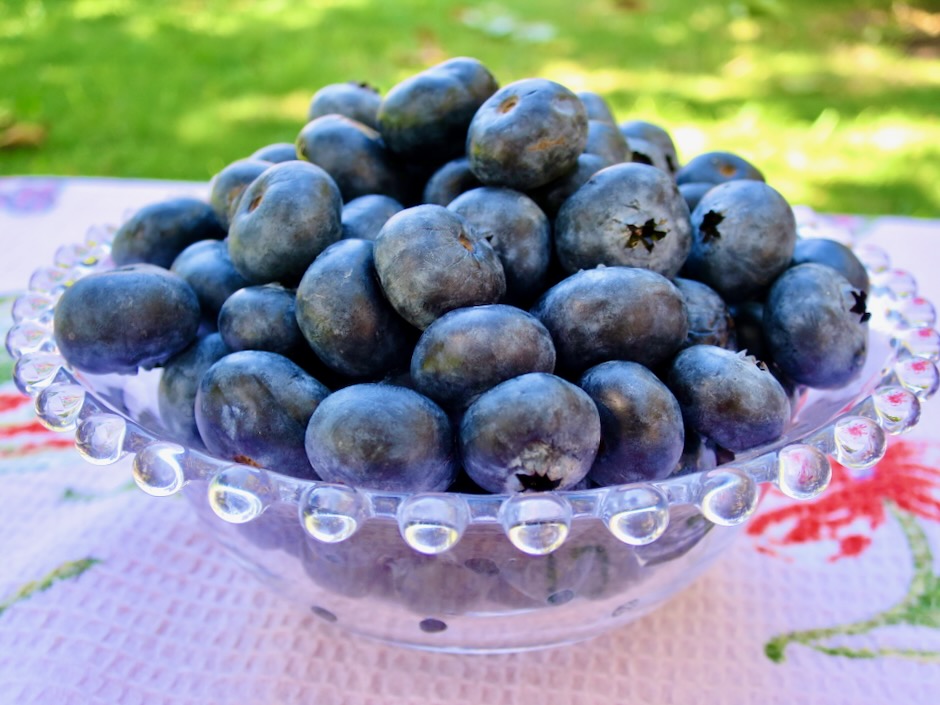
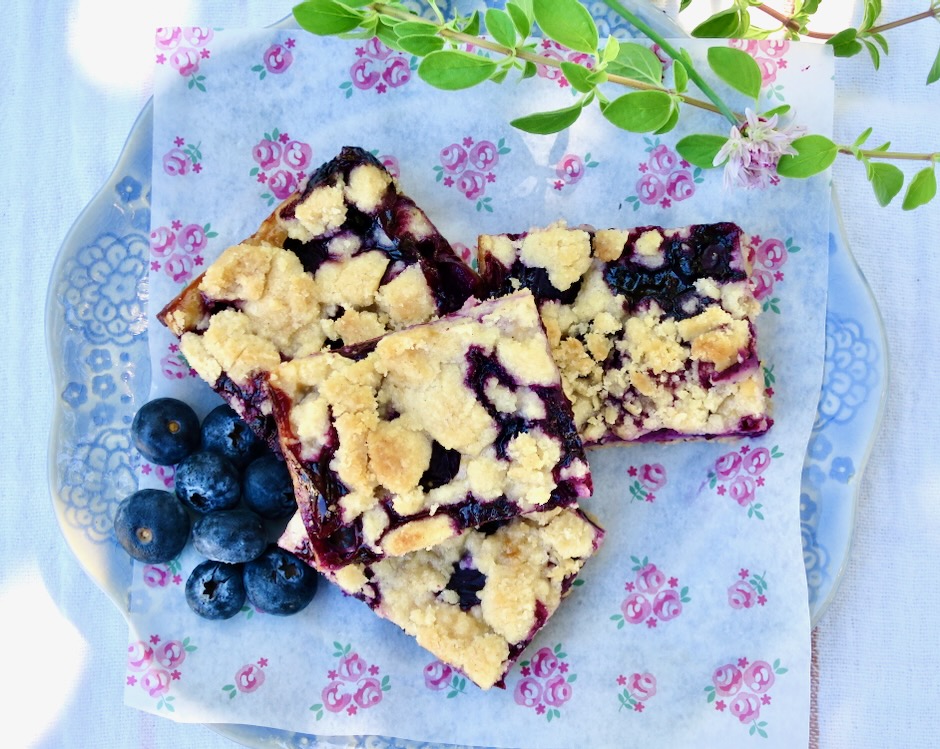
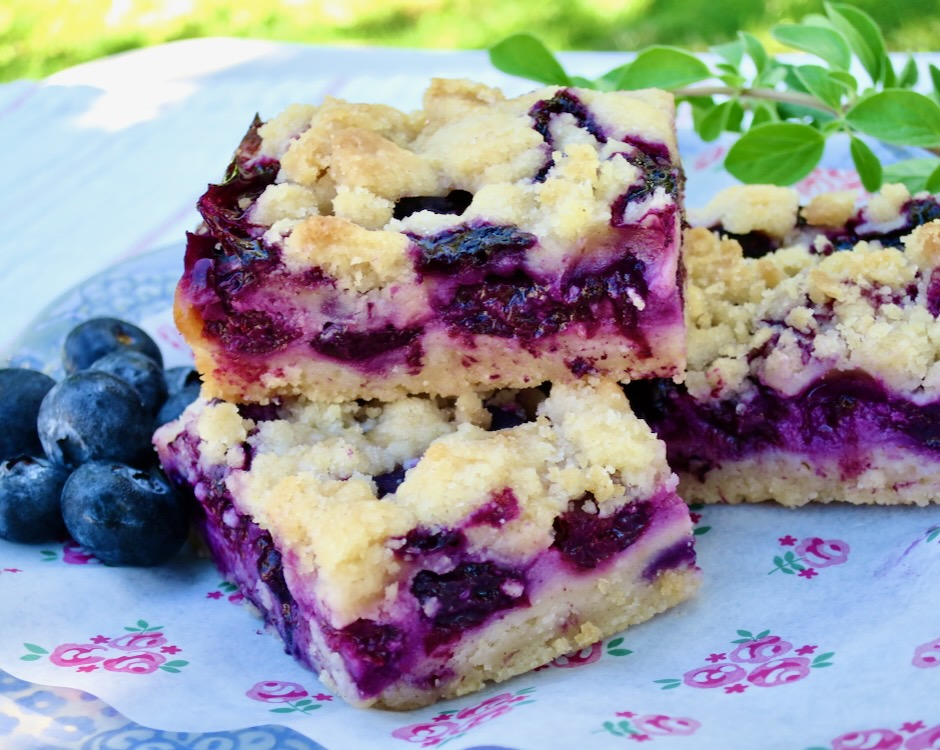
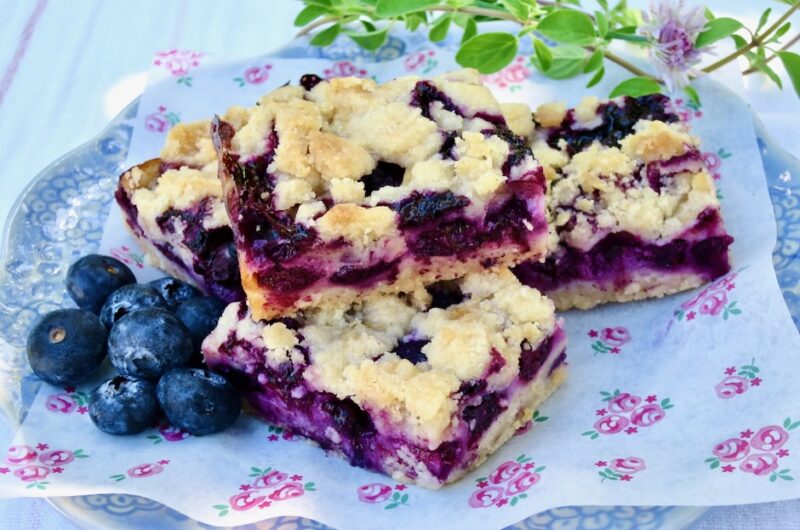
Looking for an irresistible summer dessert? Search no more. These blueberry pie bars from Trisha Yearwood will meet all of your requirements. Fresh, juicy blueberries tucked between a tender crust and crisp, buttery topping are the perfect combination.

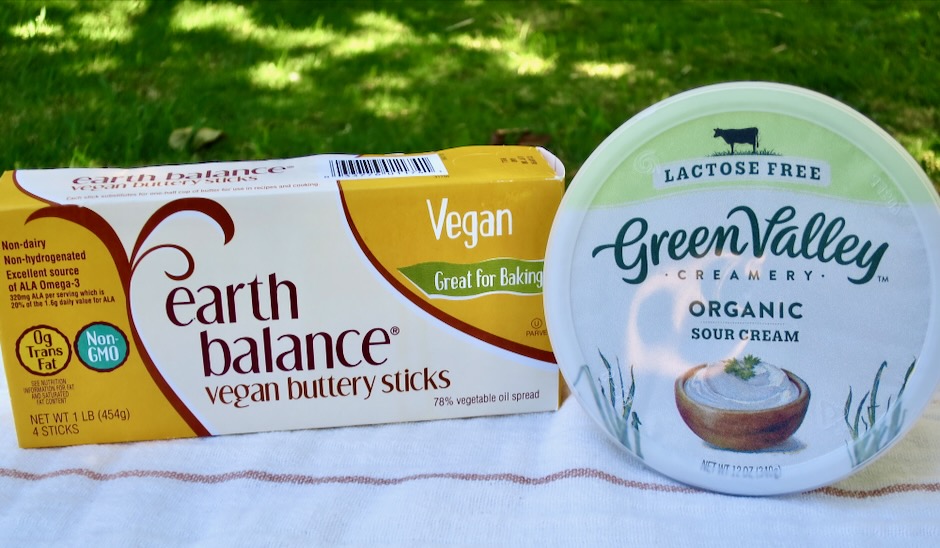
To make this recipe lactose free, I used vegan butter and lactose free sour cream. I use both of these indispensable products in many of my recipes.

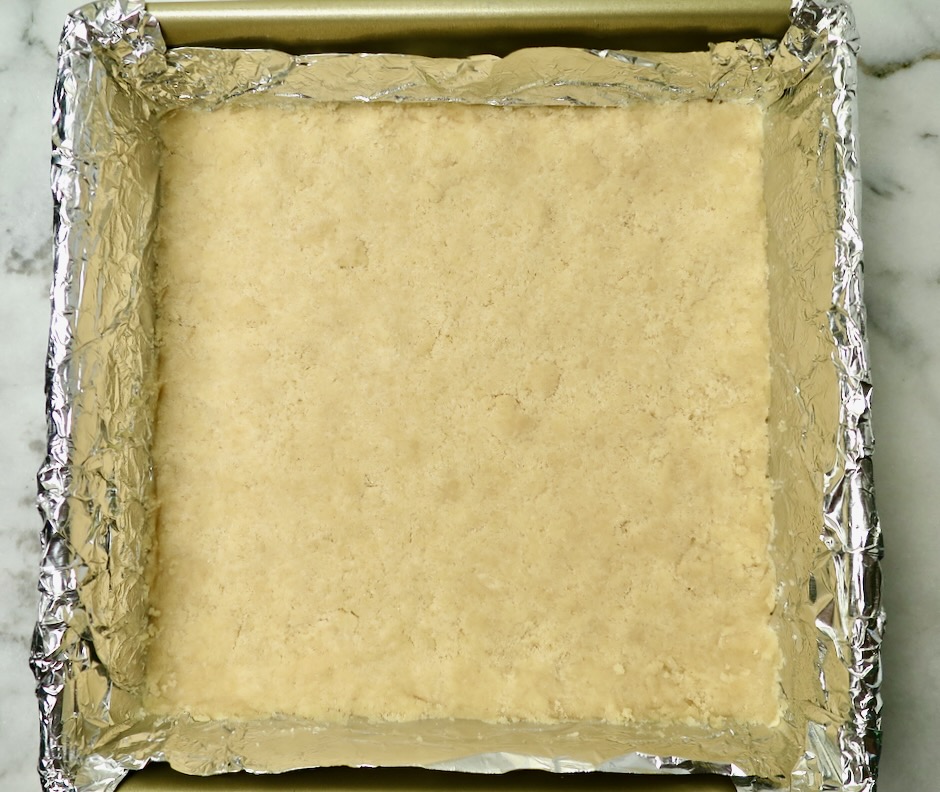
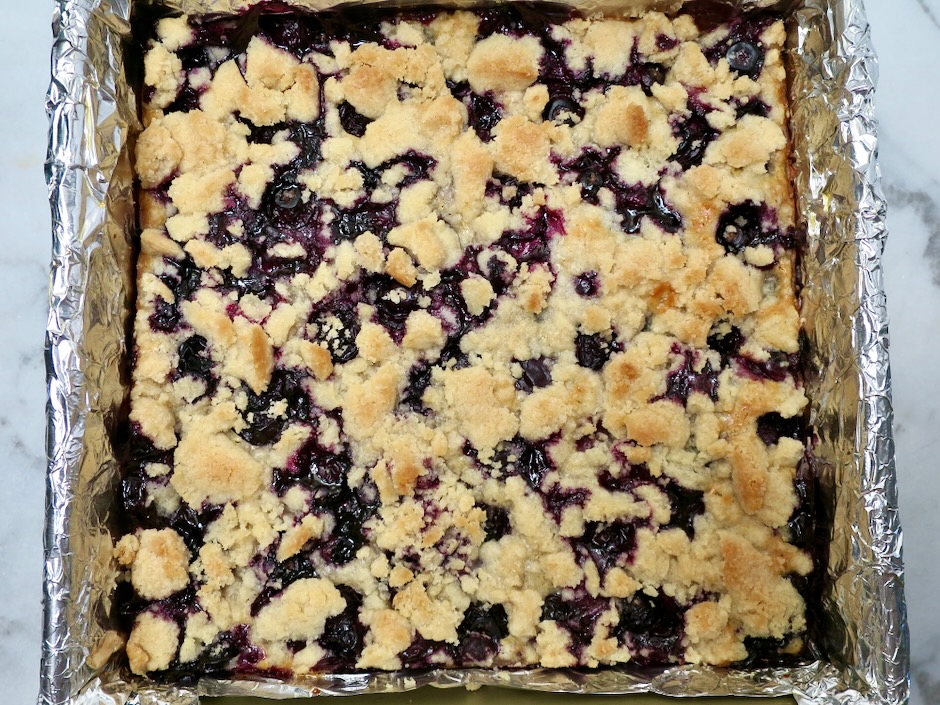
The dough for the crust is pressed into the foil-lined baking pan.

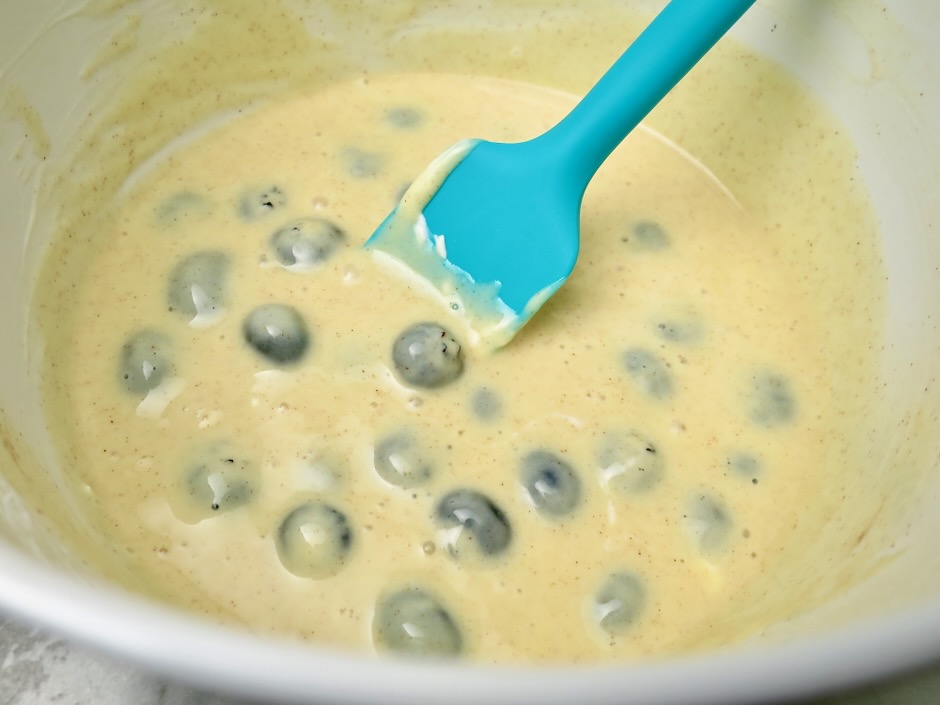
The filling for this recipe is what distinguishes these from other blueberry bars. A mixture of sour cream, egg, sugar, cinnamon and a generous amount of lemon juice are combined with a portion of the blueberries which are then poured over the crust. Trisha refers to the filling as a custard.

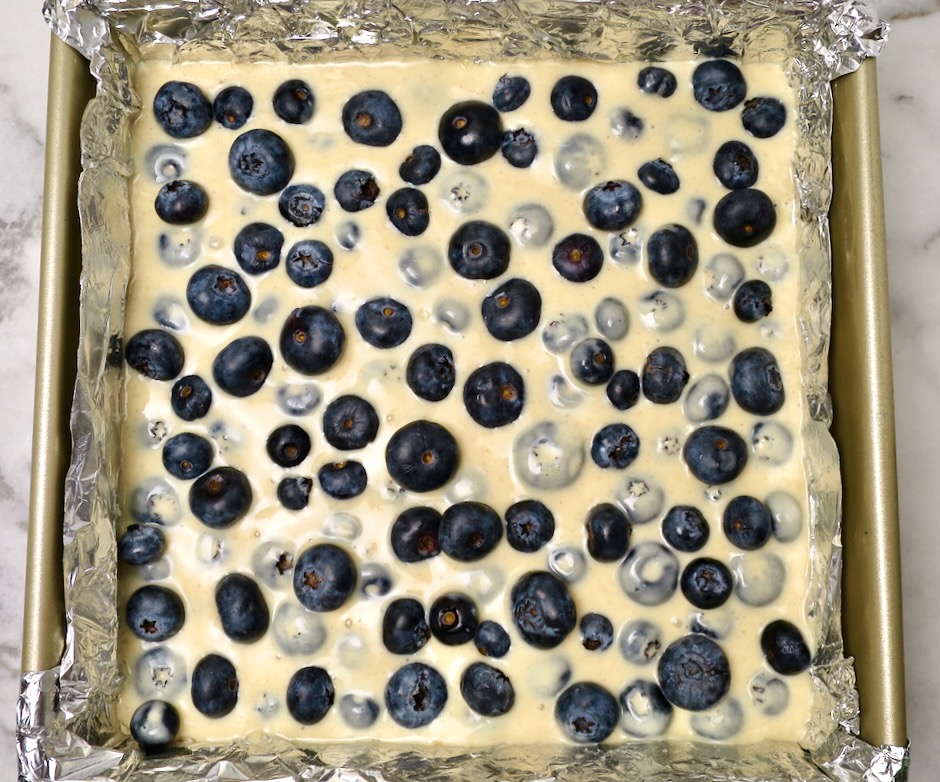
A handful of reserved blueberries are scattered over the filling before adding the crust topping.

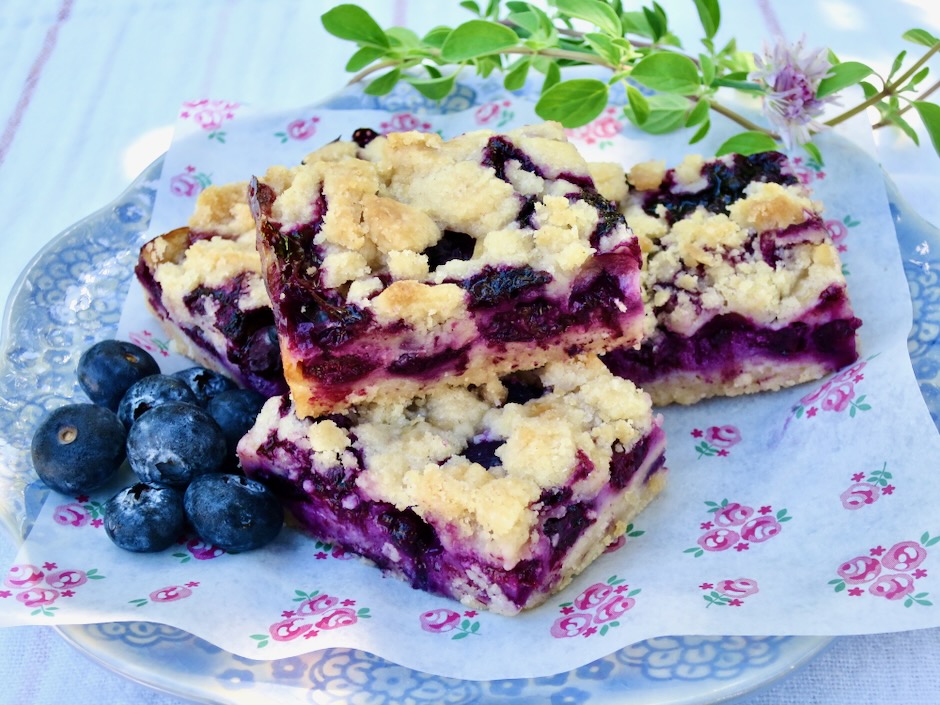
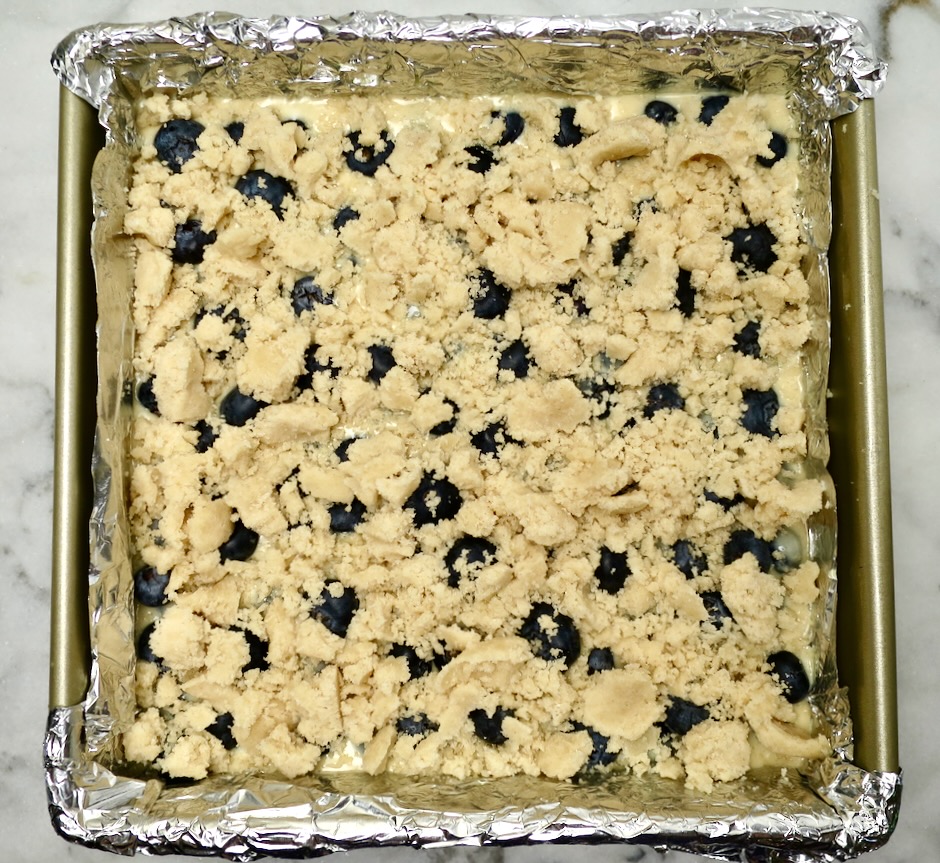
The topping emerges from the oven beautifully browned and the blueberries beneath are delightfully jammy.

These blueberry pie bars are irresistible. I love everything about them. Eat them while they are slightly warm or at room temperature.
Blueberry Pie Bars

Recipe by Kiyo
Servings

16

servings

Recipe adapted from Food Network-Trisha Yearwood

Ingredients

  • Crust
  • 1/2 cup (113g) Buttery Sticks, chilled (or unsalted butter)

  • 3/4 cup (150g) granulated sugar

  • 1 1/2 cups (180g) all-purpose flour

  • 1/2 teaspoon ground cinnamon

  • Pinch of kosher salt

  • Filling
  • 1 large egg

  • 1/2 heaping cup (125g) Green Valley lactose free sour cream (or regular sour cream)

  • 1/3 cup (67g) granulated sugar

  • 2 tablespoons fresh squeezed lemon juice

  • 1 tablespoon all-purpose flour

  • 4 teaspoon cornstarch

  • 2 teaspoons vanilla extract

  • 1/2 teaspoon ground cinnamon

  • 2 cups (296g) fresh blueberries, rinsed and drained well

Directions

  • Preheat oven to 350 degrees. Line an 8×8-inch baking pan with foil that reaches the top sides of the pan.
  • In a bowl of a food processor, combine the Buttery Sticks, sugar, flour, cinnamon and salt. Process until the mixture begins to clump together, 40-60 seconds or so. Remove 1 cup and reserve; press the remaining crust mixture evenly into the prepared baking pan. Set aside.
  • In a medium bowl, whisk together the egg, sour cream, sugar, lemon juice, flour, cornstarch, vanilla extract and cinnamon until smooth. Mix in 1 cup of the blueberries. Pour filling mixture over the crust, shaking the pan gently to settle the custard and berries. Scatter remaining 1 cup blueberries over the top, spreading them evenly.
  • Sprinkle the reserved crust mixture over the berries. Squeeze mixture with hands to encourage large lumps.
  • Bake 1 hour. Let cool on wire rack. Lift foil from pan and transfer to a cutting board. Slice blueberry pie bars into 16 squares, or larger pieces if you prefer.

Notes

  • Leftover blueberry pie bars can be stored in a sealed container in the refrigerator for 3-4 days. Freezing is not recommended as the filling can become a bit soggy when defrosted.
Breakfast, Dinner, Eggs, Lactose Free, Recipes, Rice Dishes, Side Dishes, Veggies

Kale Fried Rice

March 8, 2021

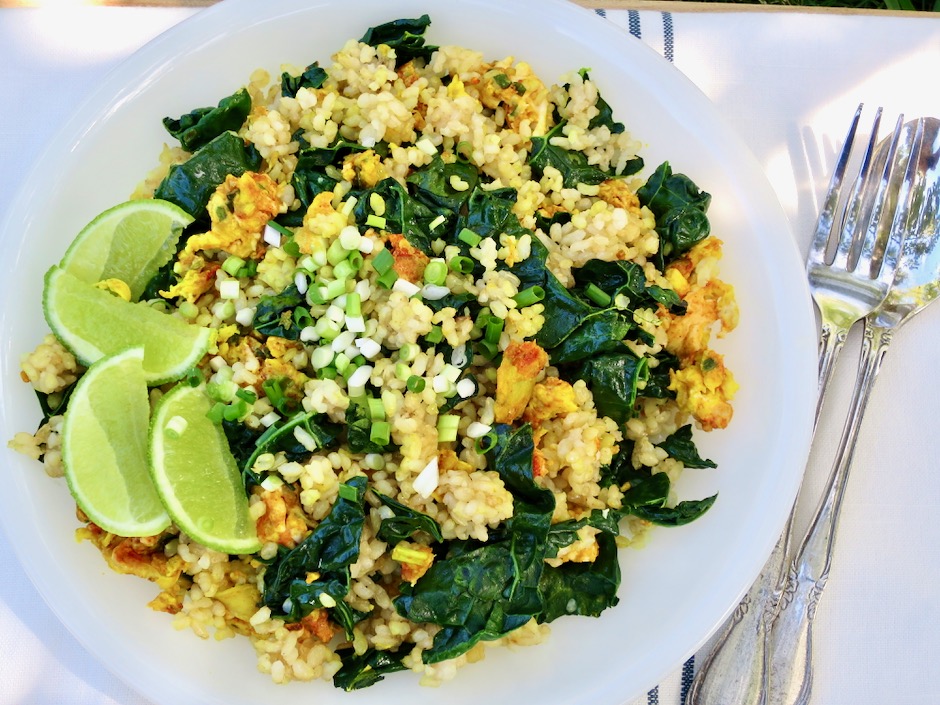
Kale Fried Rice

There are countless versions of fried rice.  It can be a stand-alone meal or a splendid side dish. Some of my favorites are ramen fried rice and kimchi and Spam fried rice.  Quick and inexpensive, this particular version couldn’t be easier to make.  Leftover brown rice with wilted kale makes for a healthy meal.  I make it regularly and I don’t think I’ll ever tire of it.

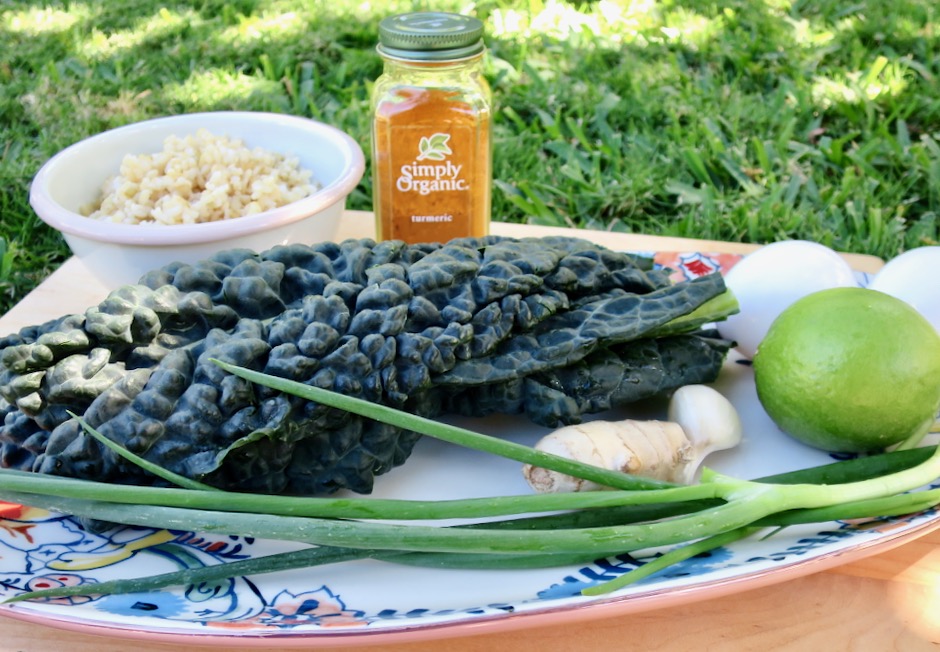
Kale, Brown Rice, Turmeric, Eggs, Lime, Garlic, Ginger, Green Onions

Don’t skip the turmeric.  It’s what gives this dish a slightly earthy flavor and a gorgeous color.

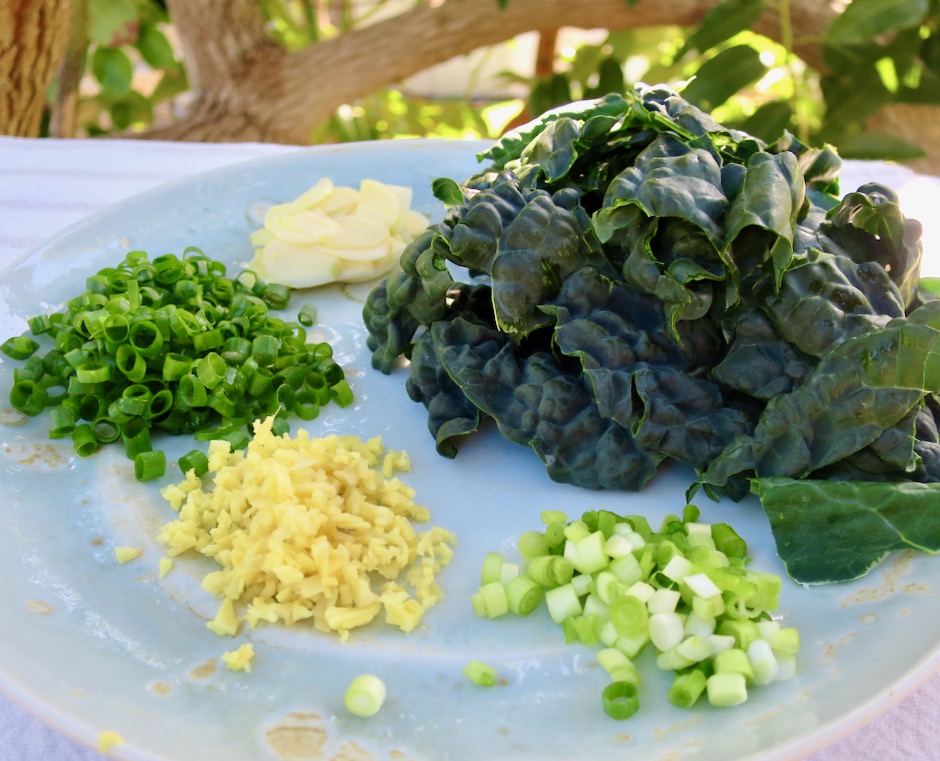
Sliced Garlic, Kale, Light Green Onions, Ginger, Green Onions

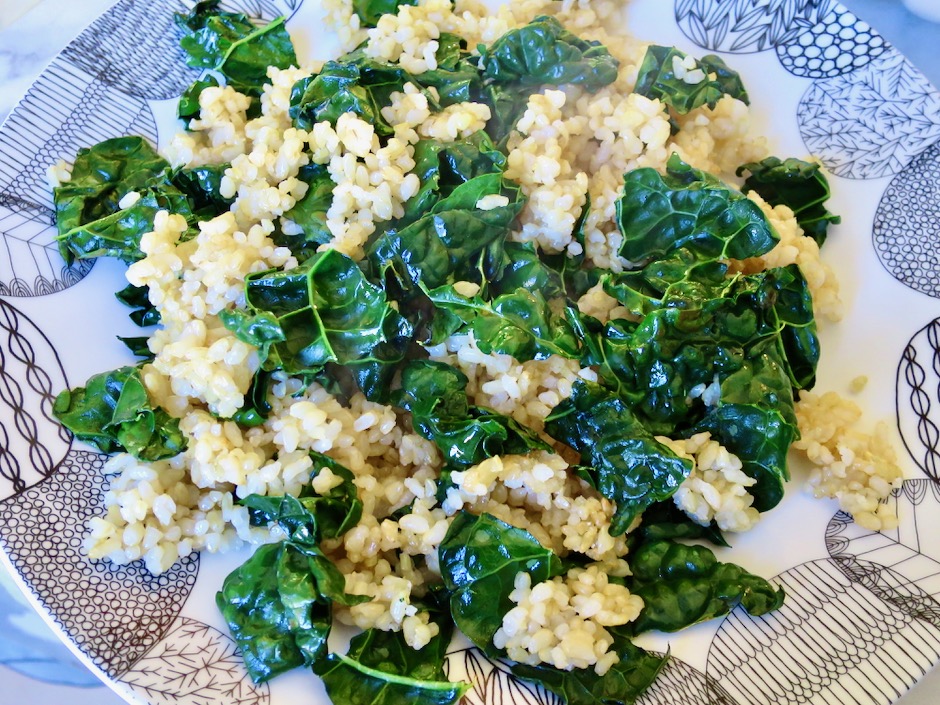
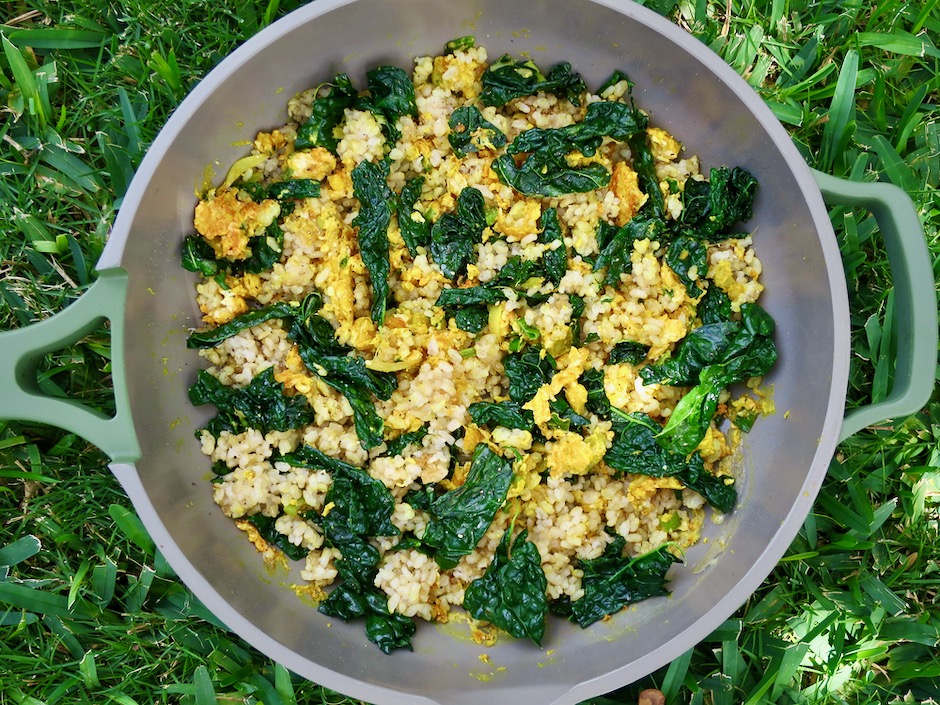
Once the rice is warmed and crisped, handfuls of kale get tossed into the pan until wilted.  If your pan is hot enough, some of the kale will get a bit charred.  This adds another level of flavor to the fried rice.

Garlic, Green Onions, Ginger

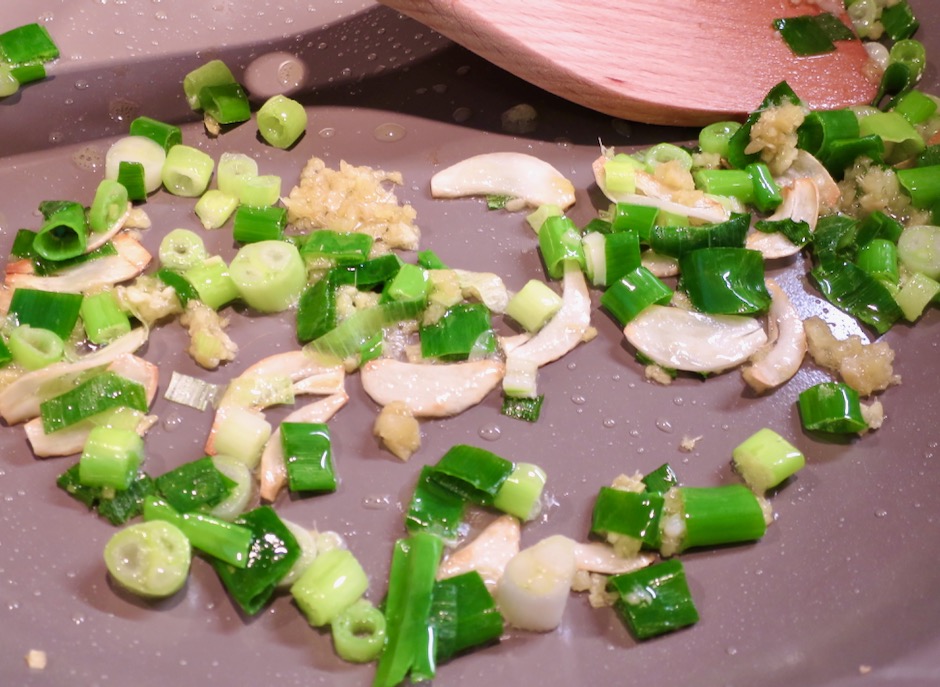
The garlic is cut into thin slices then lightly browned until the edges are crisp.  Fresh ginger and green onions are stir-fried with the garlic before adding the turmeric and eggs.

Kale Fried Rice

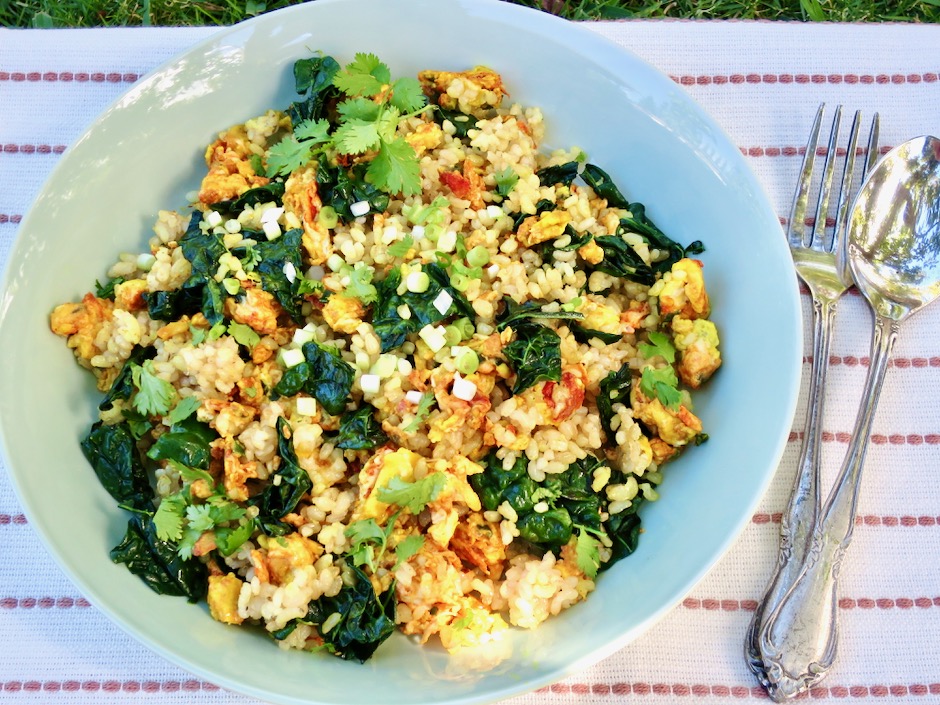
You’ll end up with a gorgeous pan of fried rice that is healthy and delicious.  

Kale Fried Rice

Kale Fried Rice

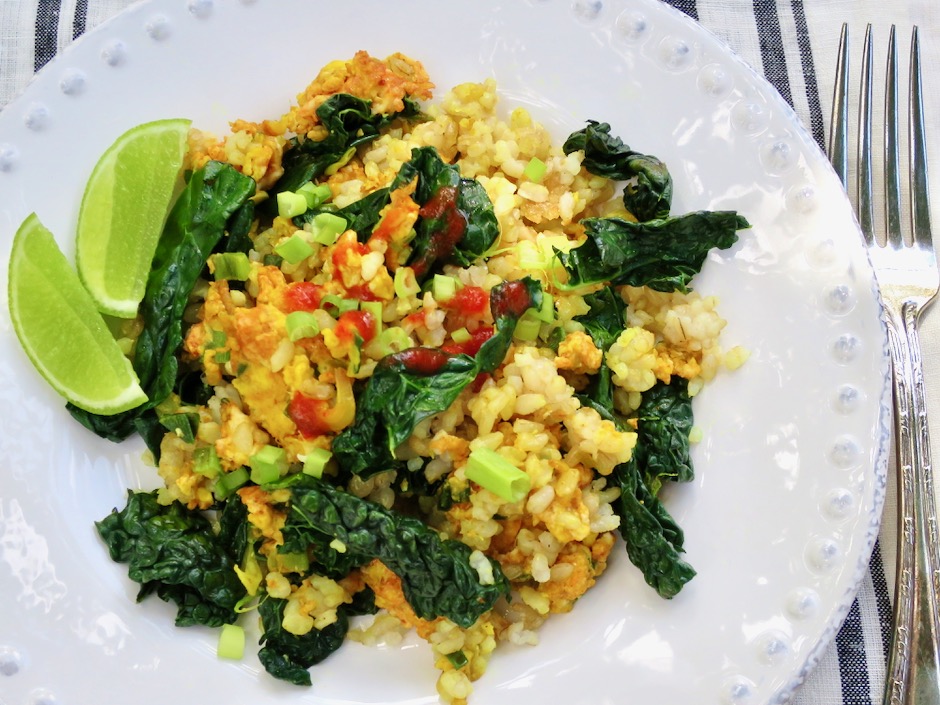
I like to serve the fried rice with sriracha sauce which adds the perfect kick to this meal.  Sprinkle sliced green onions and squeeze fresh lime juice over the rice just before serving.

Kale Fried Rice
 
Adapted from Bon Appetit
Author:
Serves: 2
Ingredients
  • 6 green onions, thinly sliced (set aside a tablespoon for serving)
  • 2 tablespoons grapeseed oil, divided (or another mild flavored oil such as canola)
  • 2 cups cooked short grain brown rice (day old is best)
  • 1 small bunch Tuscan kale, ribs and stems removed, leaves torn (about 2-3 ounces)
  • 2 small garlic cloves, thinly sliced
  • 1 tablespoon finely chopped peeled ginger
  • ¾ teaspoon ground turmeric
  • 2 large eggs
  • lime wedges for serving
Preparation
  1. Heat 1 tablespoon of oil in a large nonstick skillet over medium heat. Add rice, breaking up any lumps. Pat down into an even layer and cook, undisturbed until beginning to crisp, about 3 minutes. Toss and continue to cook, adding kale by the handfuls and letting wilt slightly before adding more. Toss occasionally, until rice is heated through and all the kale is wilted, about 3 minutes. Season with salt and transfer to a plate.
  2. Heat remaining 1 tablespoon oil in same skillet over medium-low heat. Add garlic, ginger, and green onions, stirring often until garlic is lightly browned (careful not to burn) around the edges, about 1-2 minutes. Turn heat up to medium sprinkle turmeric over, then stir in eggs. Using a pair of chopsticks or a heatproof spatula, blend whites and yolks with garlic, ginger, and green onions until the eggs are barely set. Return rice and kale to the skillet, tossing occasionally until hot, adjusting heat as necessary. Divide fried rice between two plates and top with reserved green onions. Serve with sriracha sauce.


Breakfast, Dessert, Fruit, Lactose Free, Recipes, Vegetarian, Veggies

Mango Galette

February 14, 2021

Fresh Mango Galette

I had every intention of posting this in August when mangos were abundant, yet here it is, February….  It looks as though it will be a good mango season this year.  All the trees in the neighborhood are full of flowers and keiki fruits right now. So when the time comes and you have a few pounds of mangos and want an easy to assemble dessert, this mango galette is the perfect choice.  It is a beautiful dessert to bring to the table after dinner or to serve with your morning coffee.

Pirie Mango Slices

Between the two types of mango trees we have, the White Pirie is the one I use most often for making jams and preserves as well as for baking.  With its sweet, intense, mango flavor and relatively firm texture, it holds up well when chopped or sliced for recipes such as mango bread, cake, streusel muffins, and this galette.

Arranging Mangos on Galette Dough

Mango Galette Ready to Bake

The wonderful thing about a galette is its free-form shape.  Roll it out, add your ingredients then tuck up the sides.  You will use the entire piece of pie dough since there’s no need to trim the edges of the crust.

Fresh Mango Galette

Serve a slice all by itself, or top it with a scoop of vanilla ice cream or a dollop of whipped cream.

Fresh Mango Galette with Vanilla Ice Cream

Mango Galette
 
Pastry adapted from Dorie Greenspan
Author:
Serves: 8
Ingredients
  • Crust:
  • 1½ cups (204g) all-purpose flour
  • 2 tablespoons sugar
  • ¼ teaspoon fine sea salt
  • 1 stick (8 tablespoons, 4 ounces, 113g) frozen Earth Balance Buttery Sticks cut into about 16 pieces (if using regular unsalted butter increase salt to ½ teaspoon)
  • ¼ cup ice water
  • Filling:
  • ⅓ cup (heaping) granulated sugar
  • 2 tablespoons corn starch
  • ¼ teaspoon ground cinnamon
  • 3 cups (about 2½ pounds) mangos, peeled, seeded, and cut into ⅓-1/2-inch-thick slices
  • mango jam for glaze (can substitute with apricot jam)
Preparation
  1. Dough: Put the flour, sugar and salt in a food processor and pulse a few times to blend. Scatter the pieces of butter over the dry ingredients and pulse until the butter is cut into the flour. The mixture will look like coarse meal. Continue to pulse until you get small flake-size pieces and some larger pea-size pieces. Add a little of the ice water and pulse, add some more, pulse and continue until all of the water is in. Now work in longer pulses, stopping to scrape the sides and bottom of the bowl if needed, until you have a dough that forms nice bumpy curds that hold together when you pinch them. Heads up. Just before you reach this clumpy stage, the sound of the machine working the dough will change.
  2. Gather the dough into a ball, flatten it into a disk and put it between two large pieces of parchment paper. Roll the dough into a circle about 12 inches in diameter. Don’t worry about getting the exact size or about having the edges be perfect.
  3. Slide the rolled-out dough, still between the parchment papers onto a baking sheet and freeze for about 15 minutes or refrigerate for 2 hours.
  4. Preheat oven to 375 degrees. Remove chilled dough from freezer or refrigerator while you prepare the fruit. The dough should still be cold but pliable and not prone to cracking.
  5. Filling: Place sliced mangos in a large, wide bowl. Combine sugar, corn starch, and cinnamon in a small bowl. Sprinkle sugar mixture over mangos and toss gently with a wide spatula.
  6. Remove top layer of parchment paper from dough round. Starting 1½ to 2-inches from the edge of the round, arrange the mangoes in a single layer in concentric circles, creating overlapping folds as you work around the perimeter. If your mangos are extra juicy, leave the extra juice in the bowl so the filling does note overflow in the oven. Gently lift the border of the dough up and around the filling, making pleats as you go. Brush the border with half & half or milk. Sprinkle with turbinado or coarse sparkling sugar. This is optional but makes for an attractive and crispy crust.
  7. Bake on the parchment lined baking sheet for 45 - 50 minutes, or until the crust is golden and the filling is bubbling. Remove the galette from the oven and brush the fruit with warmed mango jam. Let cool on the baking sheet on a wire rack. Cut into wedges and serve warm or at room temperature.


Follow

Get every new post delivered to your Inbox

Join other followers: