I’ve been a fan of fresh tarragon ever since I started making béarnaise sauce for our filet mignon dinners. An aromatic herb with a very subtle and delicate licorice flavor, adding tarragon elevates an assortment of sauces and dishes.
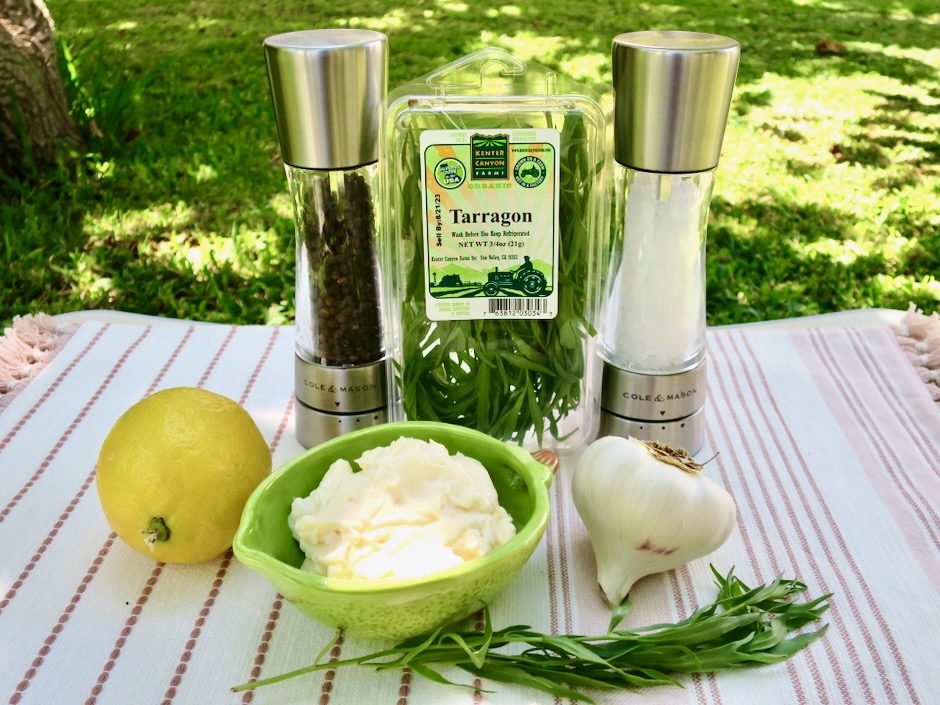
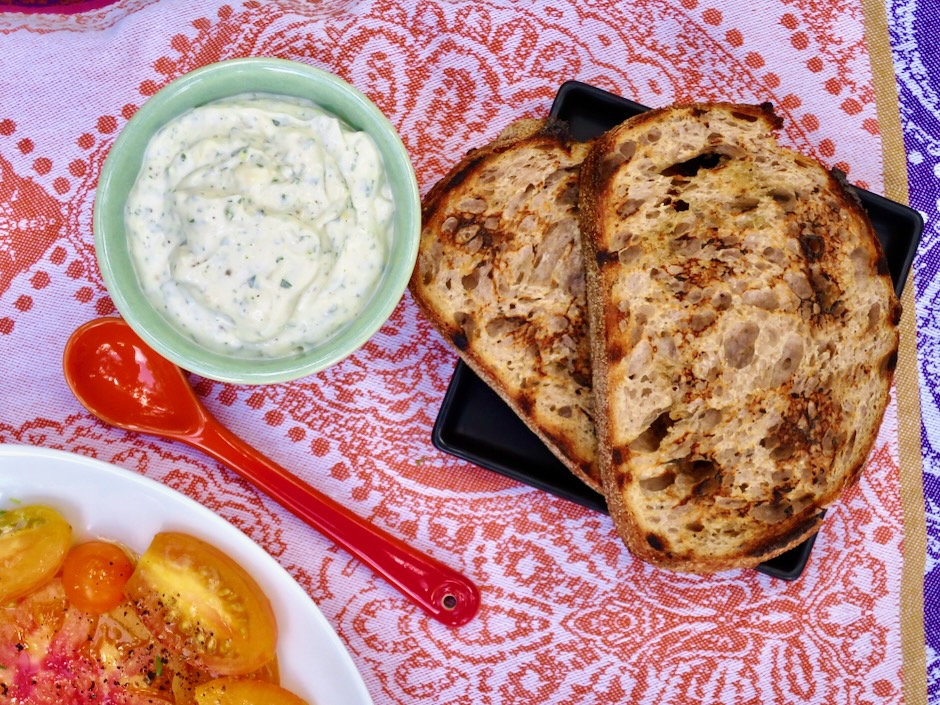
This recipe is a snap to make and it will take your sandwich to the next level. Using prepared mayonnaise means you can whip up this tarragon aioli in less than 10 minutes. Slather it on grilled or toasted sourdough bread and layer on sliced tomatoes, or use it for BLT and chicken sandwiches, sliced hard boiled eggs or a dip for asparagus.
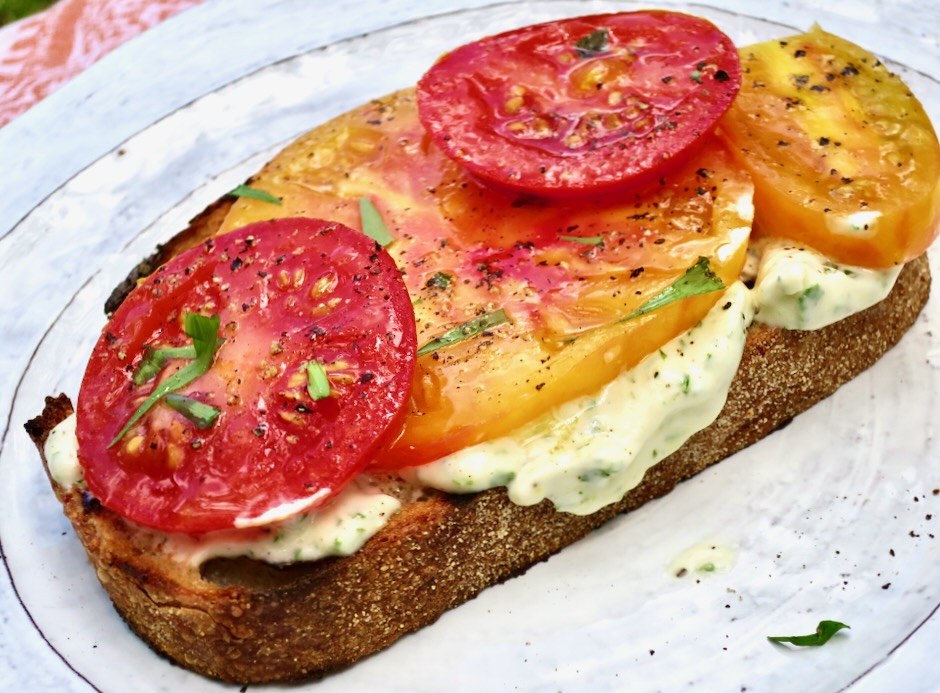
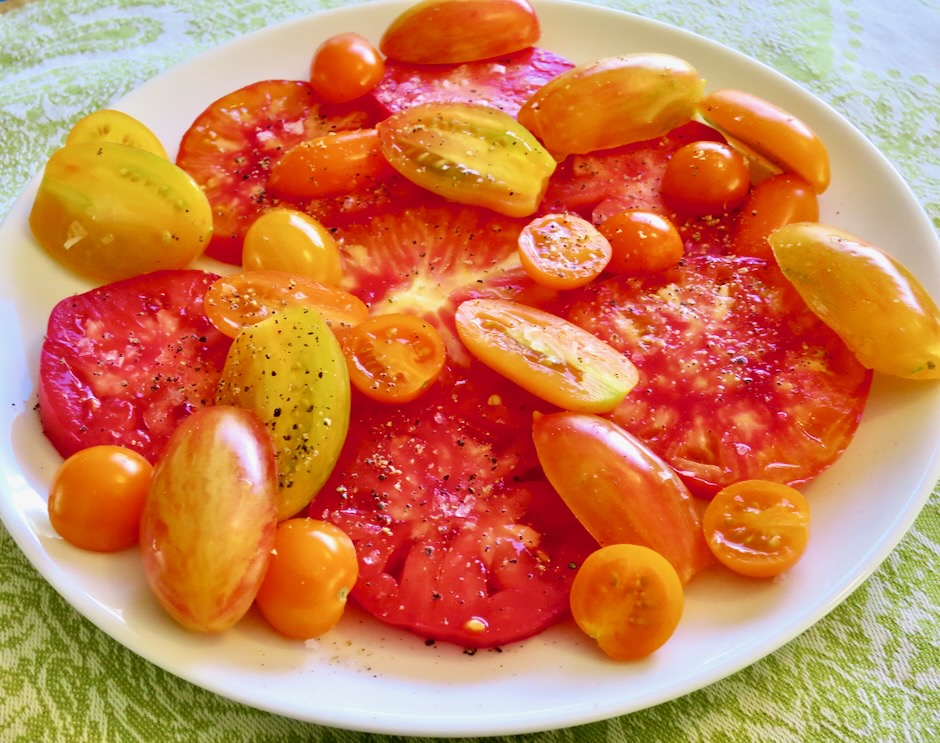
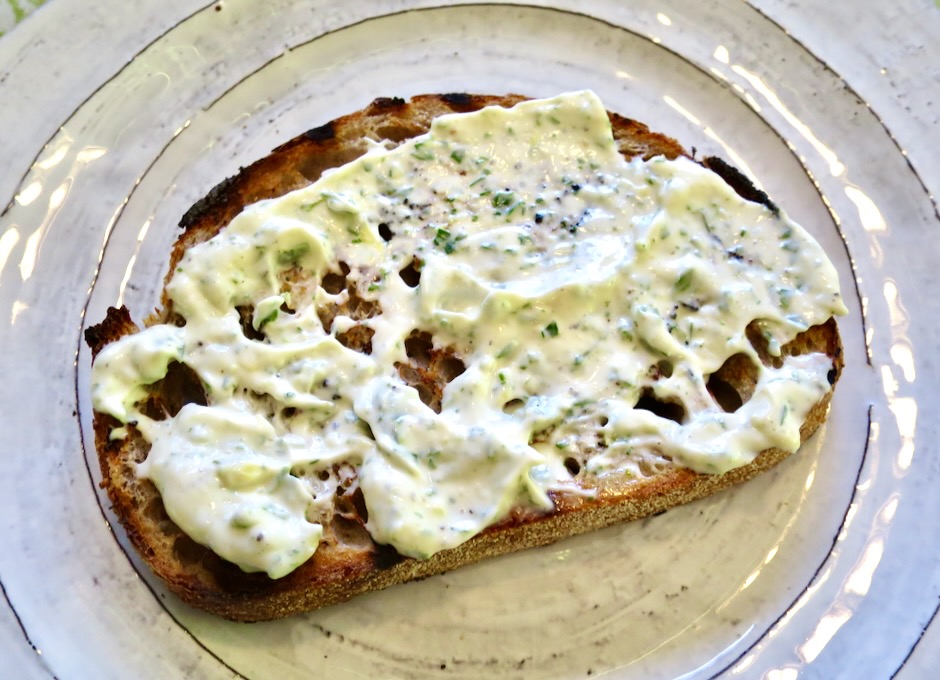
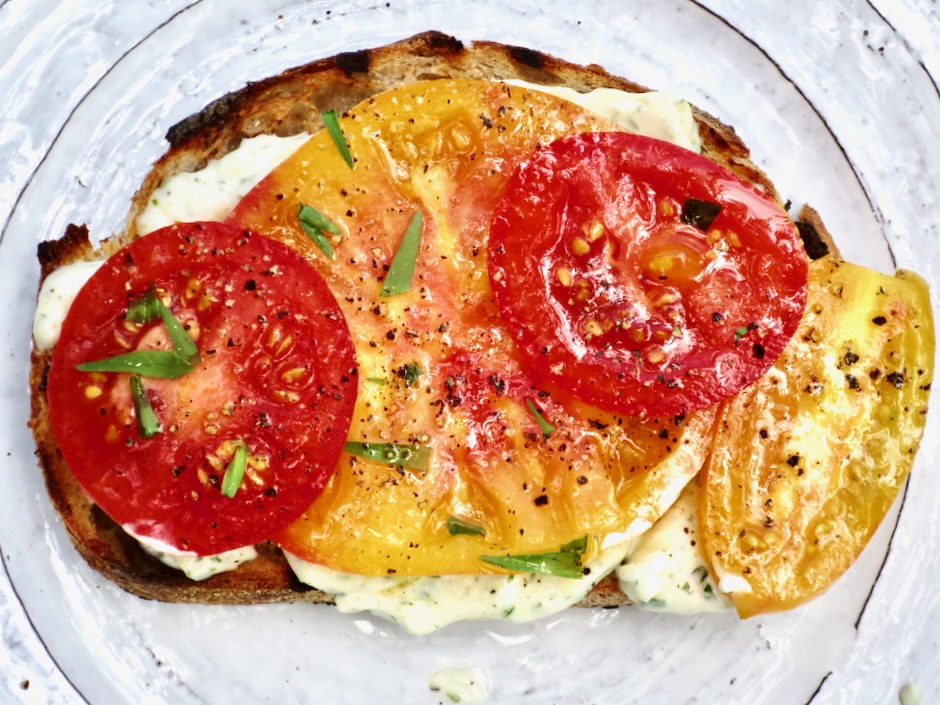
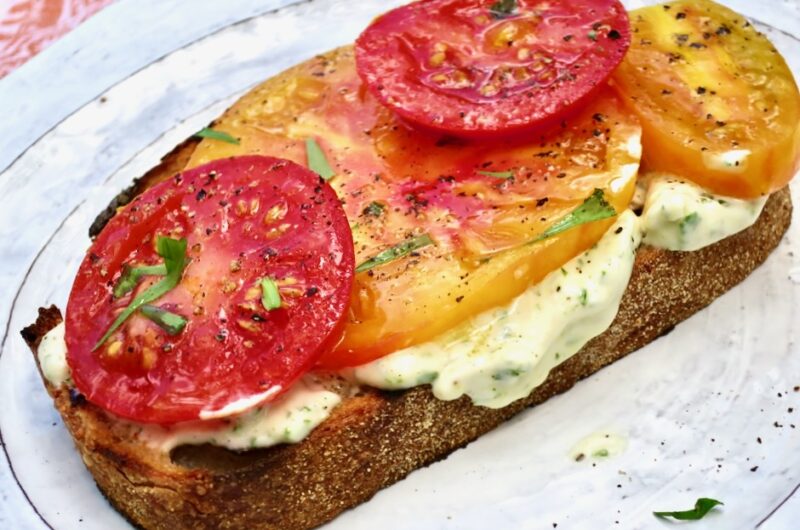
My favorite way to use tarragon aioli is on our homemade sourdough bread topped with juicy tomatoes. Grilling the bread with a bit of olive oil elevates the flavor and makes for a scrumptious open-faced sandwich.
Be generous with the aioli! You want your sandwich to be well seasoned.
1 medium garlic clove, finely grated (microplane works great)
1 1/2 tablespoons finely chopped tarragon
1 1/2 teaspoons fresh squeezed lemon juice
1 teaspoon lemon zest
salt and pepper to taste
Directions
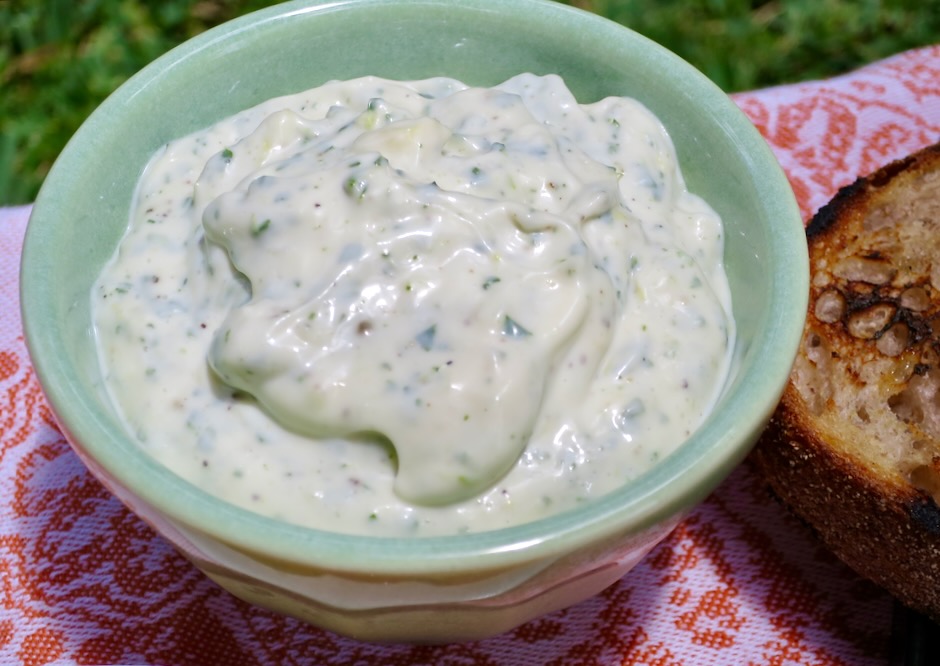
In a small bowl mix together the mayonnaise, garlic, tarragon, lemon juice and lemon zest. Add a pinch of salt and a few grinds of pepper. Taste and adjust salt and pepper as needed. Serve right away or keep refrigerated for up to 5 days.
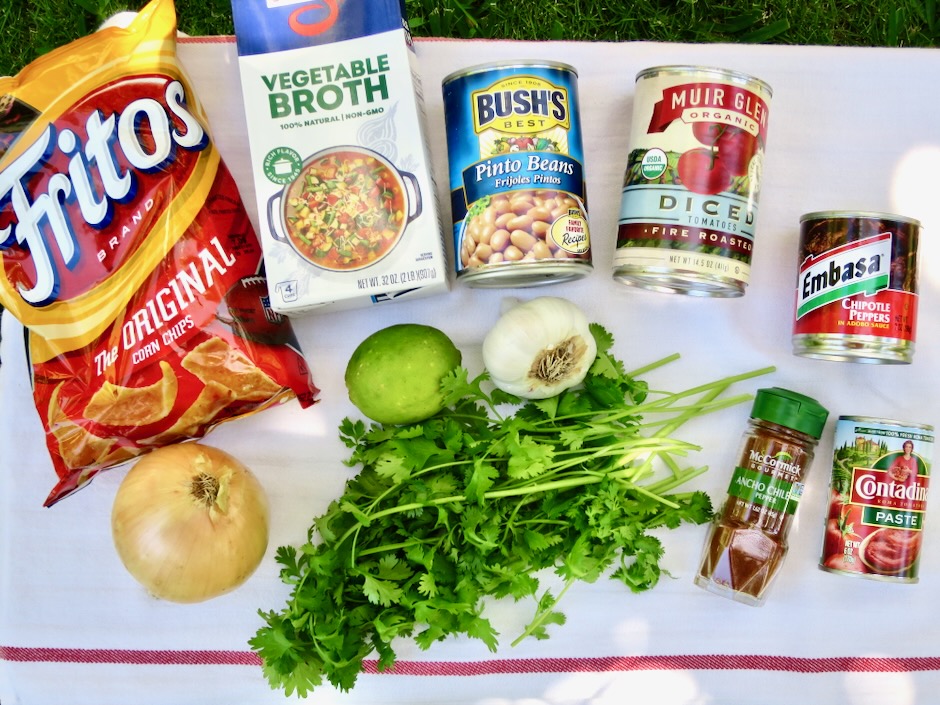
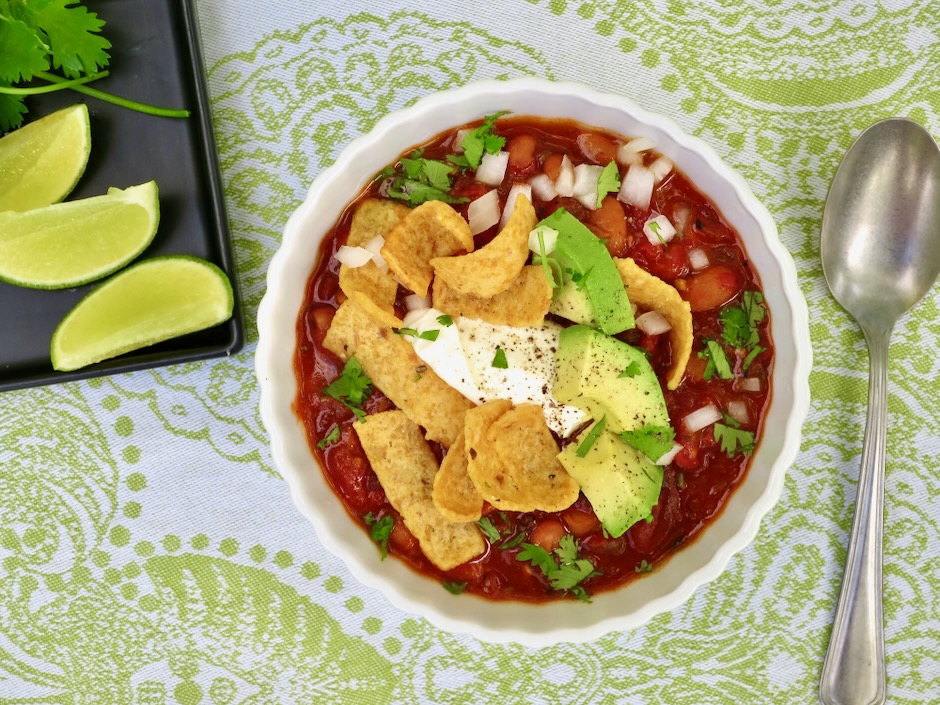
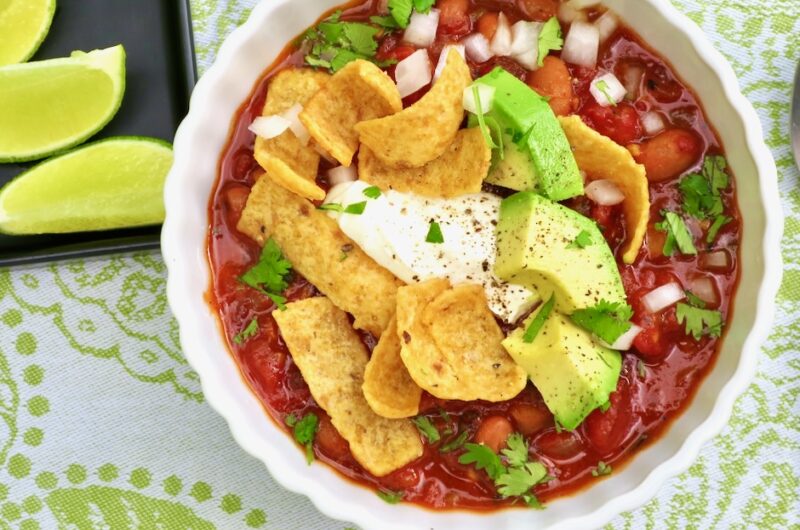
A hot bowl of vegetarian chili on a cool fall evening can be an ever so satisfying meal. Chipotles in adobo take this recipe to another level. They add a smoky flavor and just the right amount of heat. Salty, crunchy Fritos piled on top are the proverbial icing on the cake.
All of the ingredients are easily found at your local market. I love celery so I added a bit to the chili. You can make this your own by adding other vegetables such as corn, peppers, carrots, and other types of beans. But don’t leave out the chipotles in adobo. They are essential for giving the chili a pleasant, smoky flavor. A little goes a long way. Freeze the leftover chiles in small containers or mini freezer bags for future use.
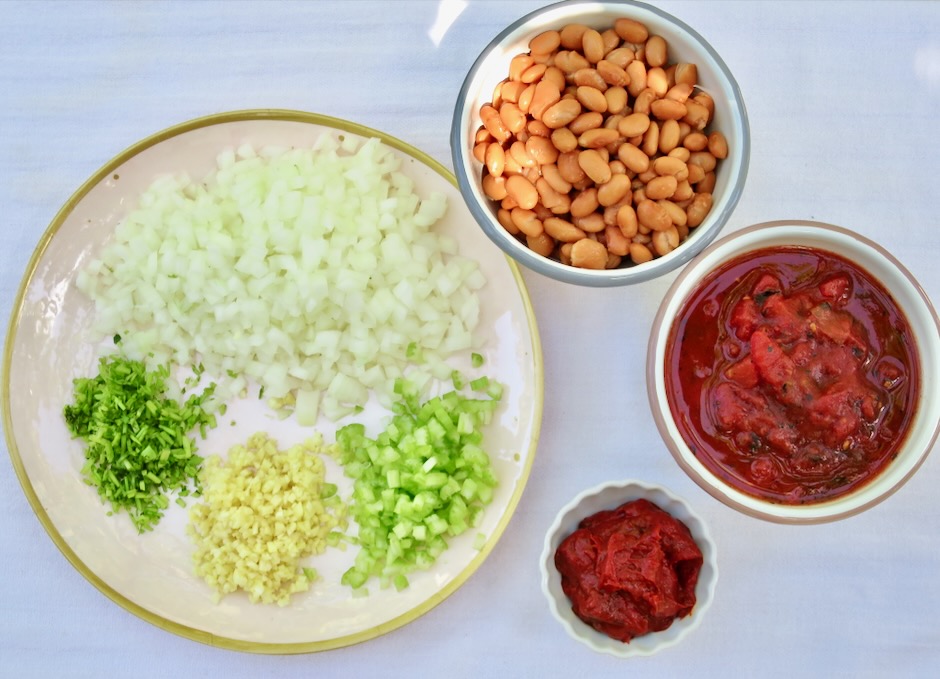
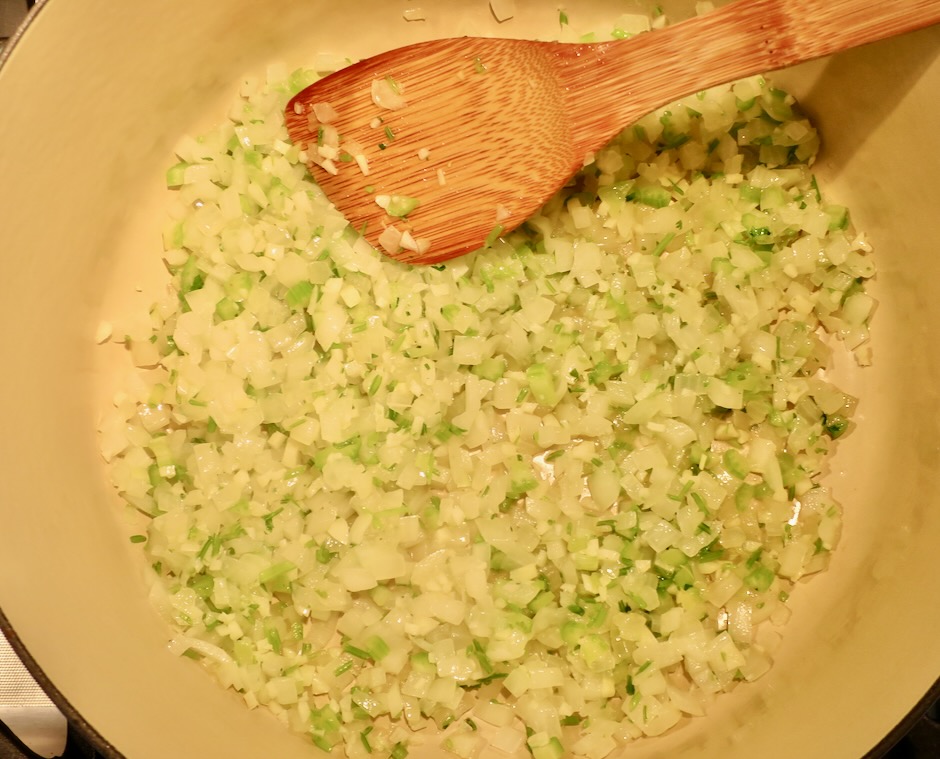
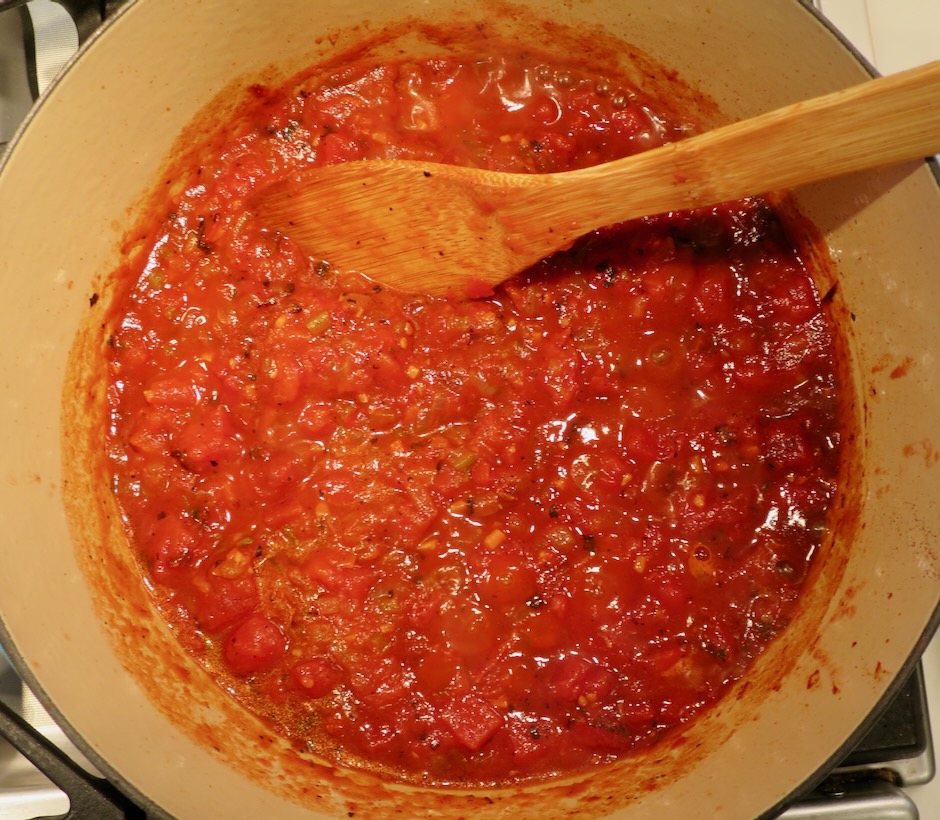
The onions, celery, and cilantro stems are sautéed for a bit before the other ingredients are added.
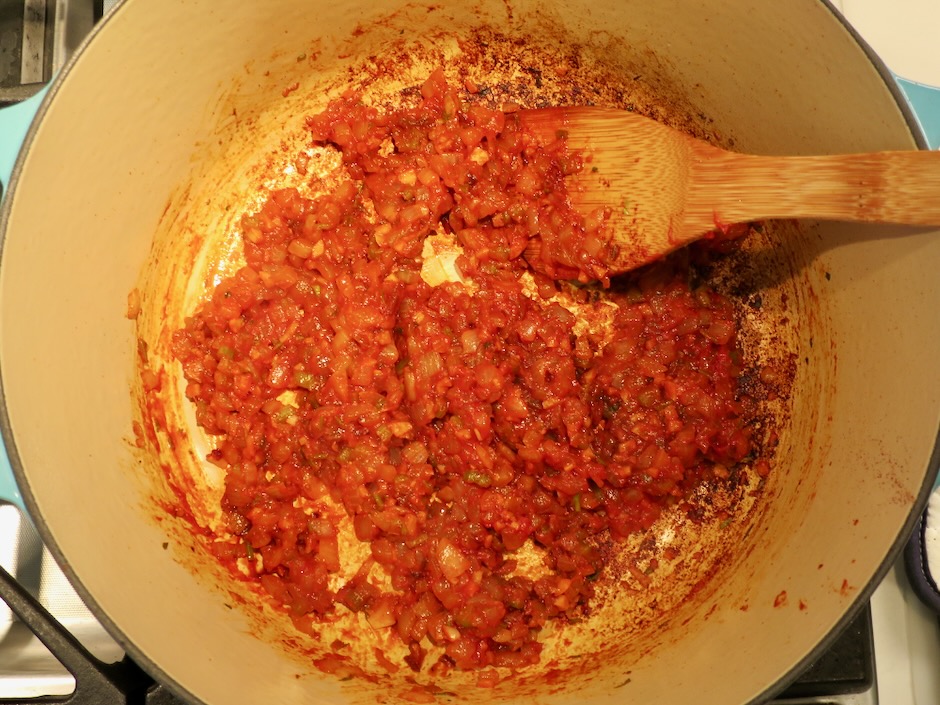
A tomato paste mixture is added to the onions and cooked until it turns a brick red color. It smells delightful with the chipotle peppers mixed in.
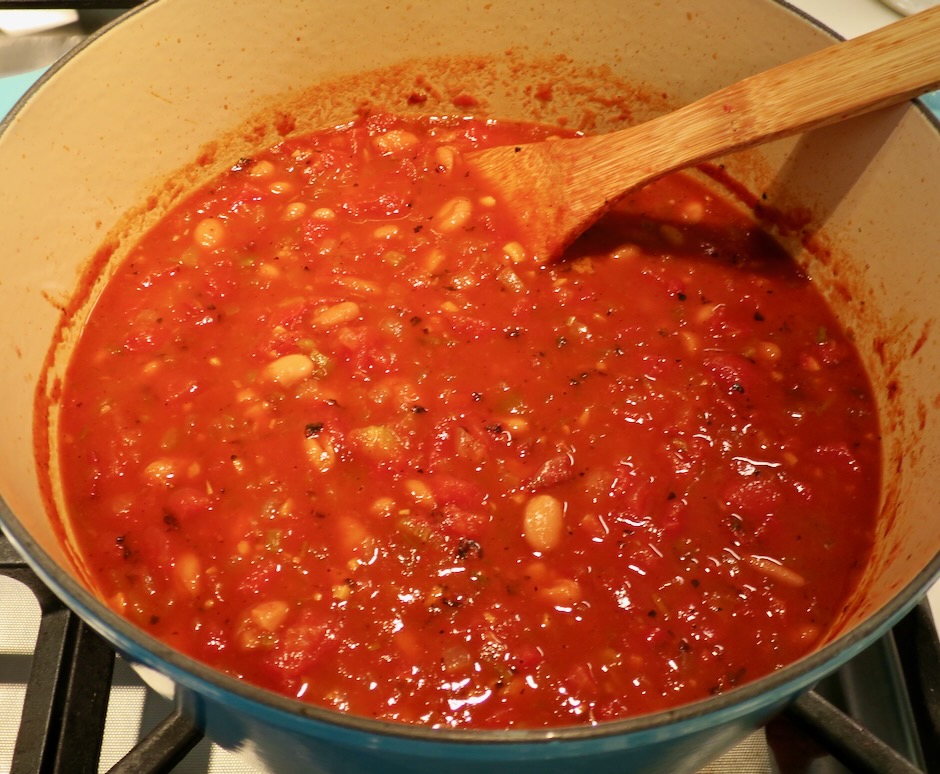
The chili is simmered for 35 minutes until reduced slightly.
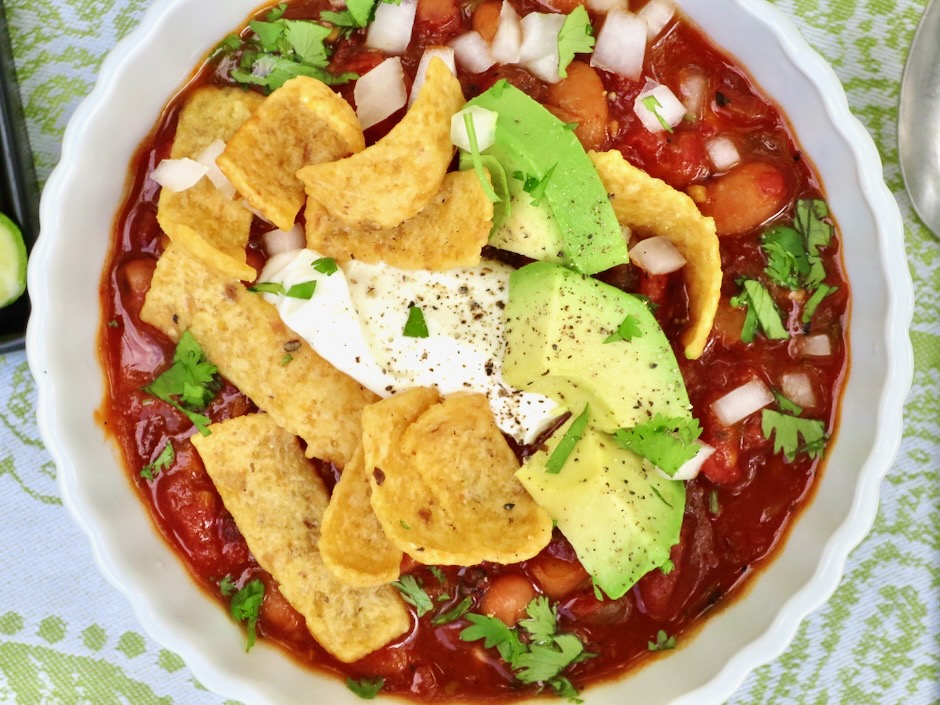
Top the chili with your choice of diced avocado and onions, sour cream, Fritos, cilantro, and dig in.
1 large white onion (about 2 cups) diced (reserve 2 tablespoons for serving)
1/2 cup diced celery
6 medium garlic cloves, finely chopped
1/2 bunch cilantro, leaves coarsely chopped (about 1/2 cup) and stems finely chopped (about 1/4 cup, keep separate from leaves), cover and refrigerated cilantro leaves
1 seeded chipotle in adobo, plus 1 teaspoon adobo sauce, finely chopped (transfer to a small bowl)
1/4 cup tomato paste (transfer to a small bowl)
2 15-oz. cans pinto beans, drained and rinsed
1/4 cup extra virgin olive oil
2 teaspoons mild chili powder (I used ancho chili powder)
1 28-oz. can fire-roasted tomatoes
1 1/2 teaspoons Diamond Crystal or 1 1/4 teaspoons Morton kosher salt
2 1/2 cups vegetable broth
1 1/2 cups Fritos or other salty tortilla chips
1 lime, cut in half with one of the halves cut into wedges
1 avocado, diced
1/2 cup lactose free sour cream or regular sour cream
freshly ground black pepper
Directions
Mix together the chipotle chiles in adobo with tomato paste. (If you prefer milder heat, reserve 1/4 of the chiles for adding in later if more heat is needed).
Heat 1/4 cup extra virgin olive oil in a large saucepan or Dutch oven over medium heat. Add onion, celery, garlic, cilantro stems, and 2 teaspoons chili powder and cook, stirring frequently, until onion is starting to soften, 5-6 minutes. Increase heat to medium-high and add tomato paste mixture and cook, stirring frequently, until brick red and starting to stick to the bottom of the pan, 2-3 minutes.
Add the fire roasted tomatoes and bring to a simmer. Cook, stirring frequently, until the tomatoes are cooked down and slightly darker in color, 8-10 minutes.
Add beans, 1 1/2 teaspoons Diamond Crystal or 1 1/4 teaspoons Morton kosher salt, and 2 1/2 cups vegetable broth. Bring to a boil over high heat, then reduce heat to medium-low and simmer uncovered, stirring occasionally, until chili has reduced slightly and flavors have melded, 30-35 minutes. Taste and adjust seasoning with salt if needed. Stir in juice from reserved 1/2 lime.
Divide chili among bowls. Top with sour cream, avocado, reserved cilantro leaves, chopped onion, and Fritos. Season with pepper and serve with reserved lime wedges.
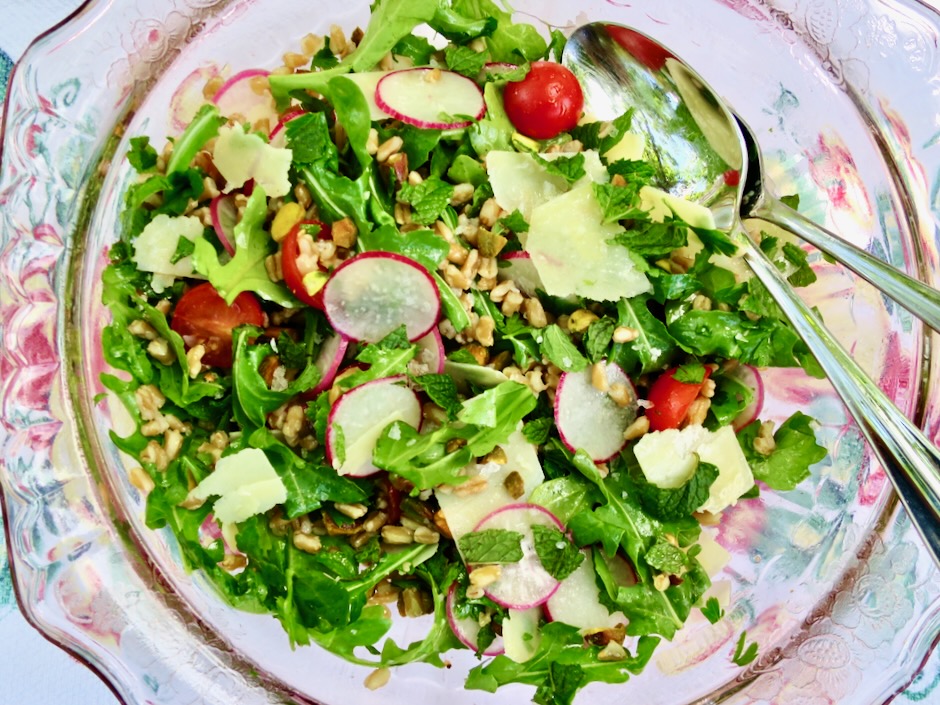
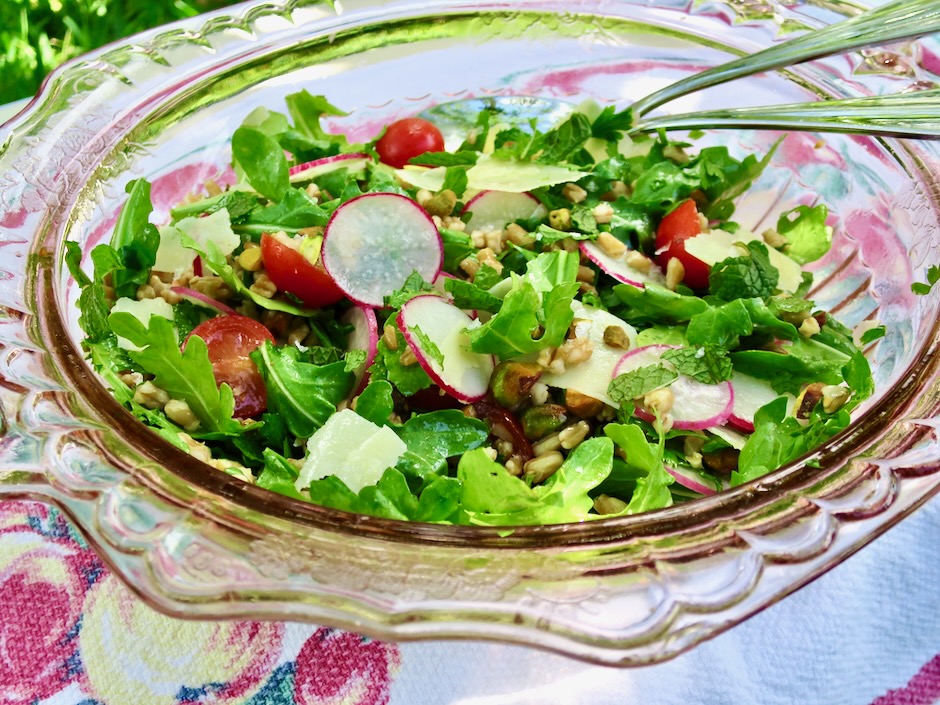
If a perfect salad exists, it has to be this farro salad from restaurant Charlie Bird in SoHo. All of the ingredients compliment one another in unexpected ways. The dressing is kept simple so as not to distract from the other flavorful ingredients. It all works together wonderfully.
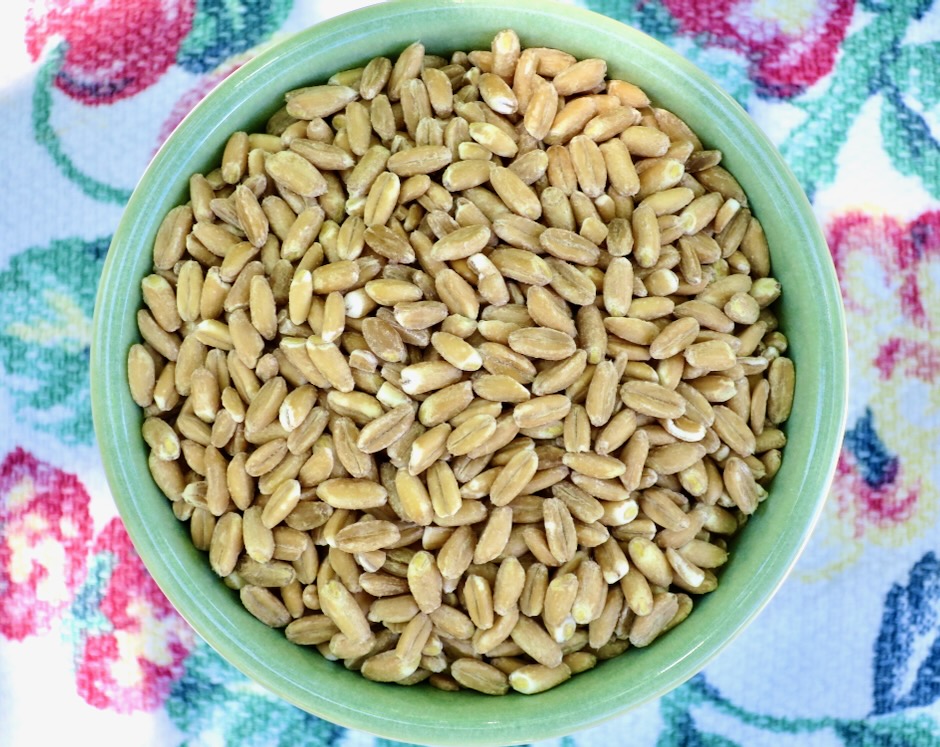
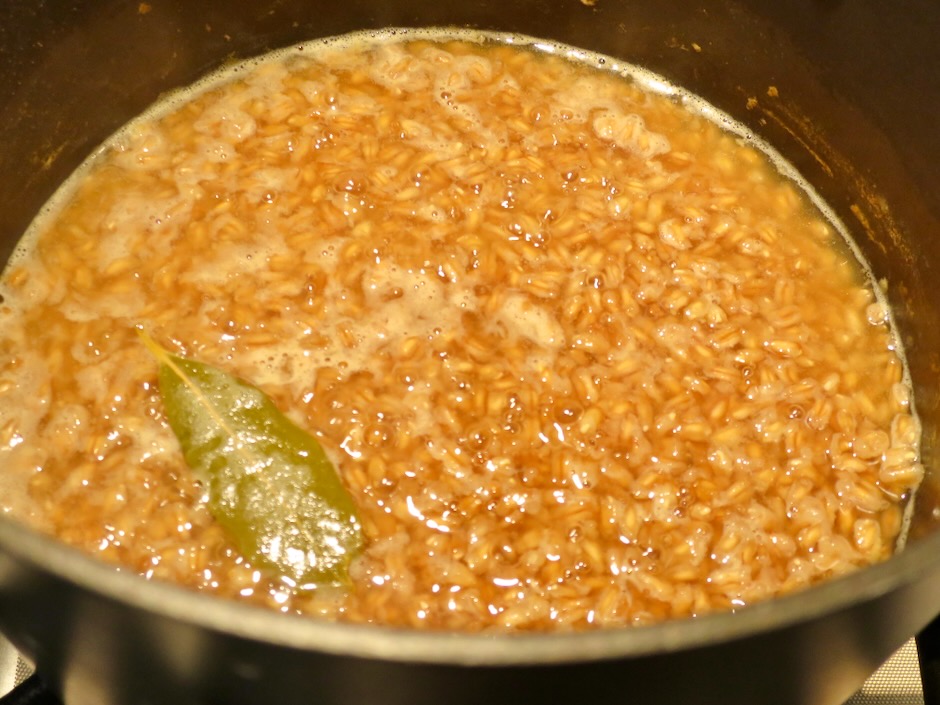
To ensure the farro is flavorful when adding it to the salad, it is cooked in apple cider along with water and salt. The original recipe calls for cooking the farro until the liquid has evaporated. It can be a bit tricky to get the exact ratio even when measuring the liquid. I found that adding additional liquid to the saucepan then draining the farro and drying it on a sheet pan turned out nicely textured grains that weren’t overly wet or sticky.
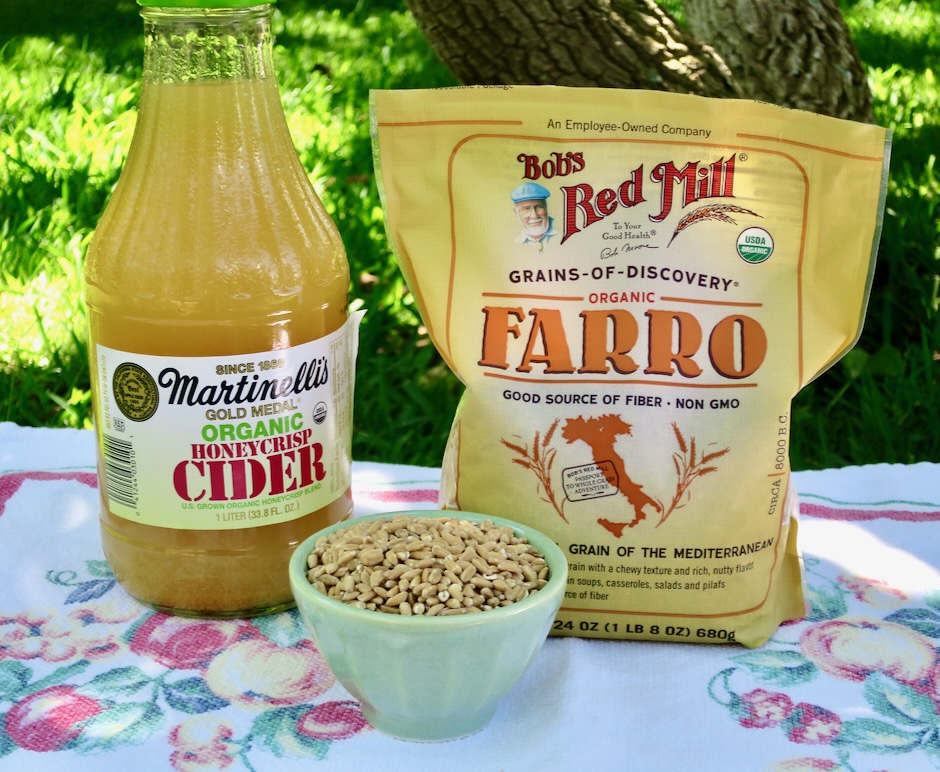
Keep in mind that cooking times vary depending on the type of farro you purchase. Pearled farro cooks quickly, usually within 15-20 minutes. Semi-pearled which is what I used, cooks in 25-30 minutes and whole farro usually requires a soaking overnight before being cooked.
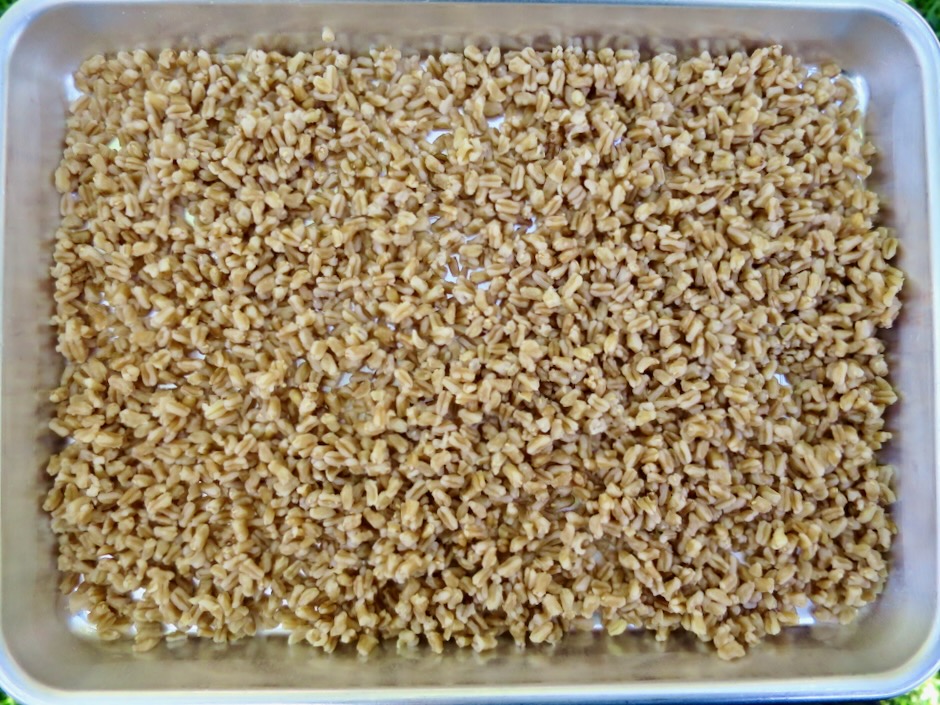
Allowing the farro to cool and dry on a sheet pan for 15 minutes before adding to the salad ensures the farro is not too wet and it will stand up to the dressing much better.
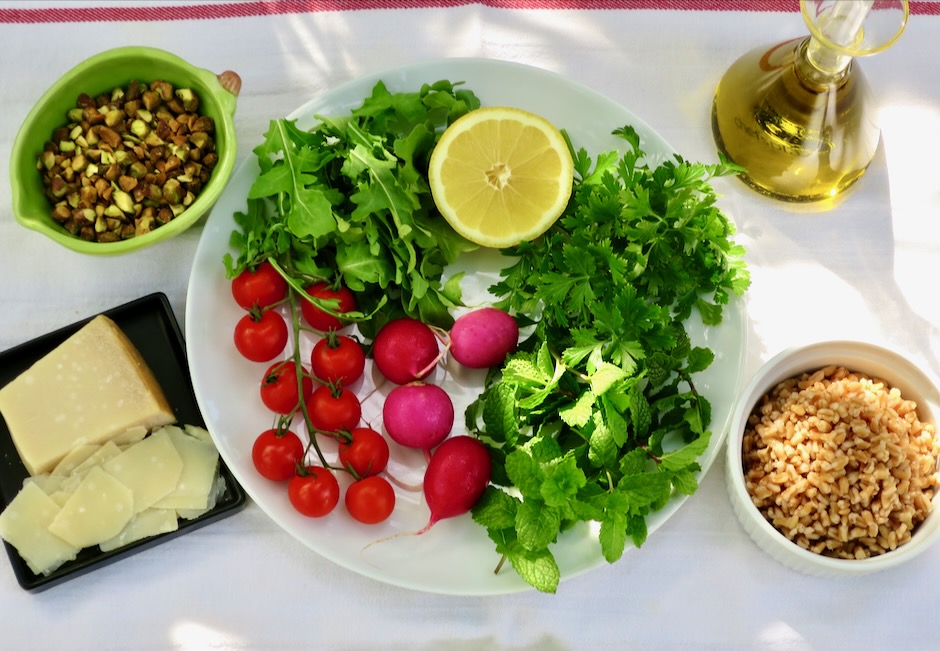
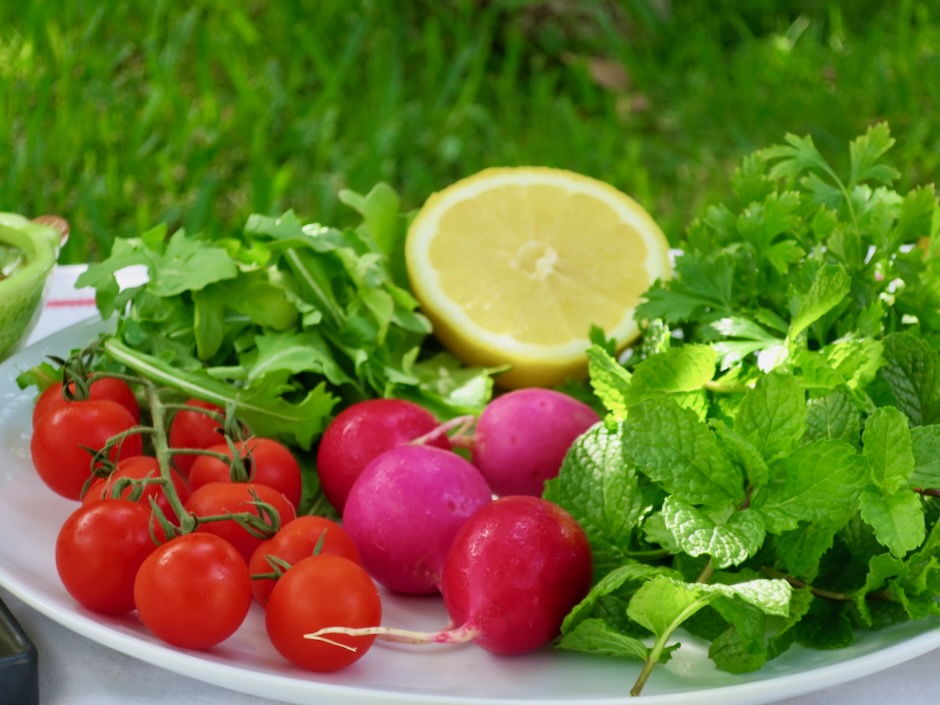
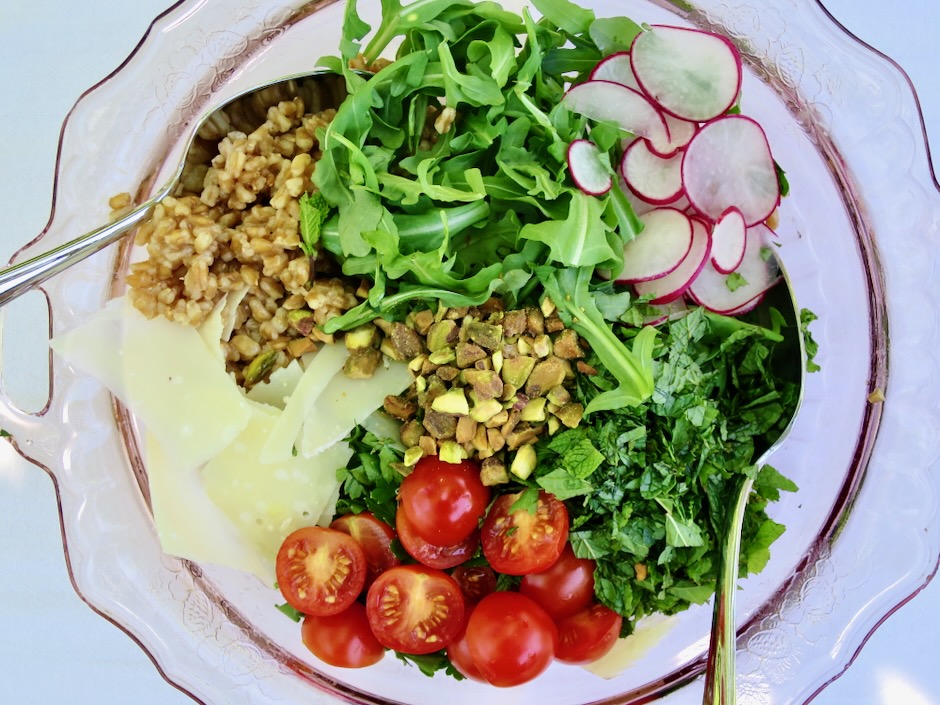
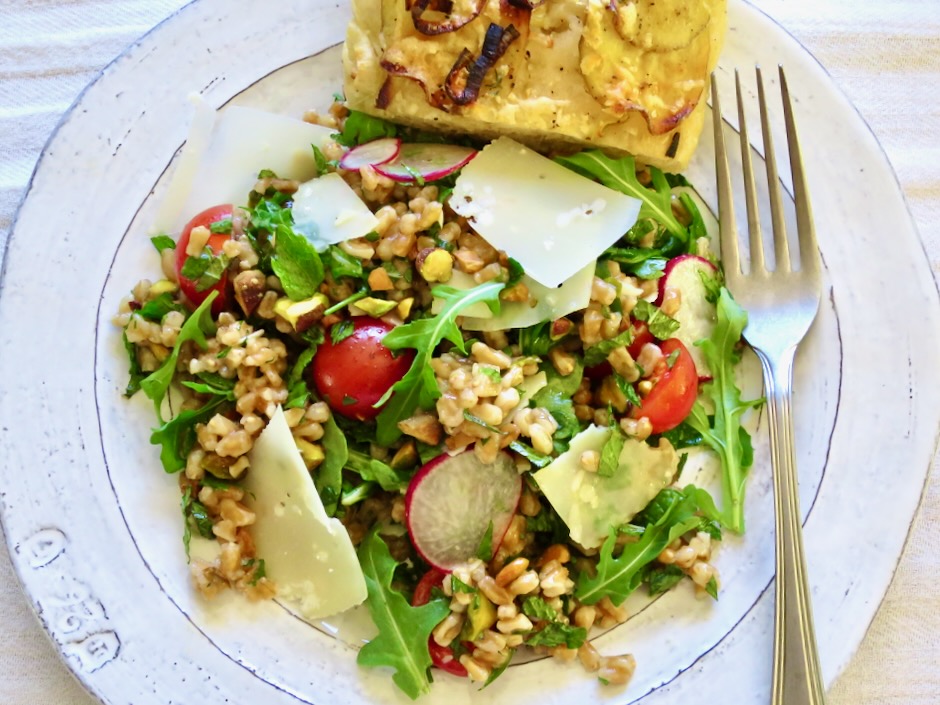
Peppery arugula, fresh mint and parsley, juicy tomatoes, crunchy radishes, salty parmesan and pistachios for texture along with flavorful farro makes the perfect salad.
Once the radishes are sliced I soak them in an ice bath for 10 minutes then drain and pat dry before adding to the salad. This little step produces delightfully crispy radish slices.
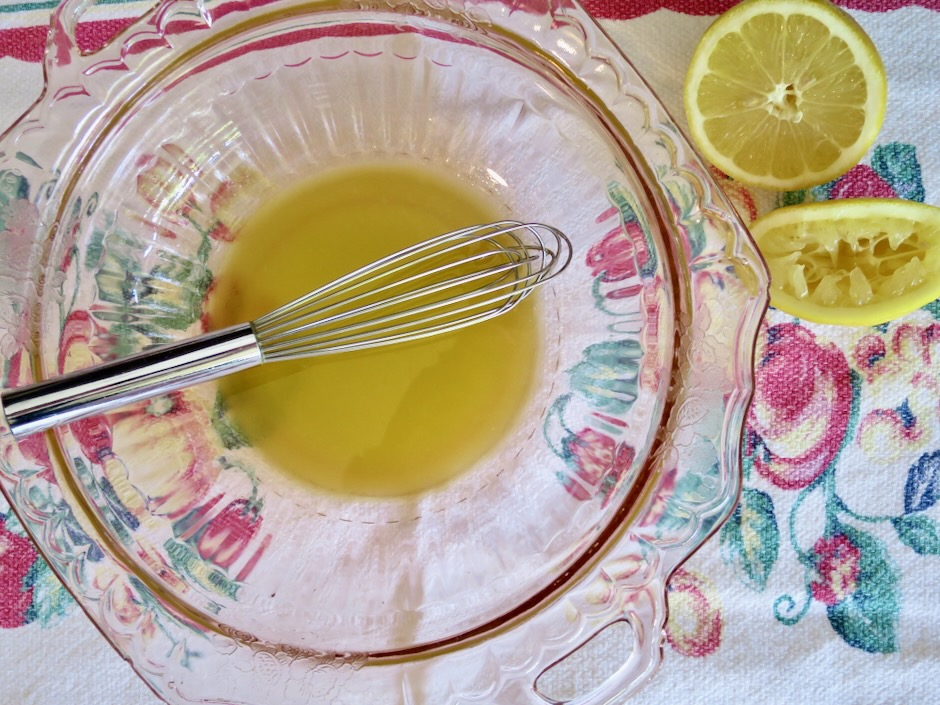
The dressing is simple. Good olive oil, fresh lemon juice, and salt.
Serve the salad with good sourdough bread or focaccia and you’ll have the perfect meal.
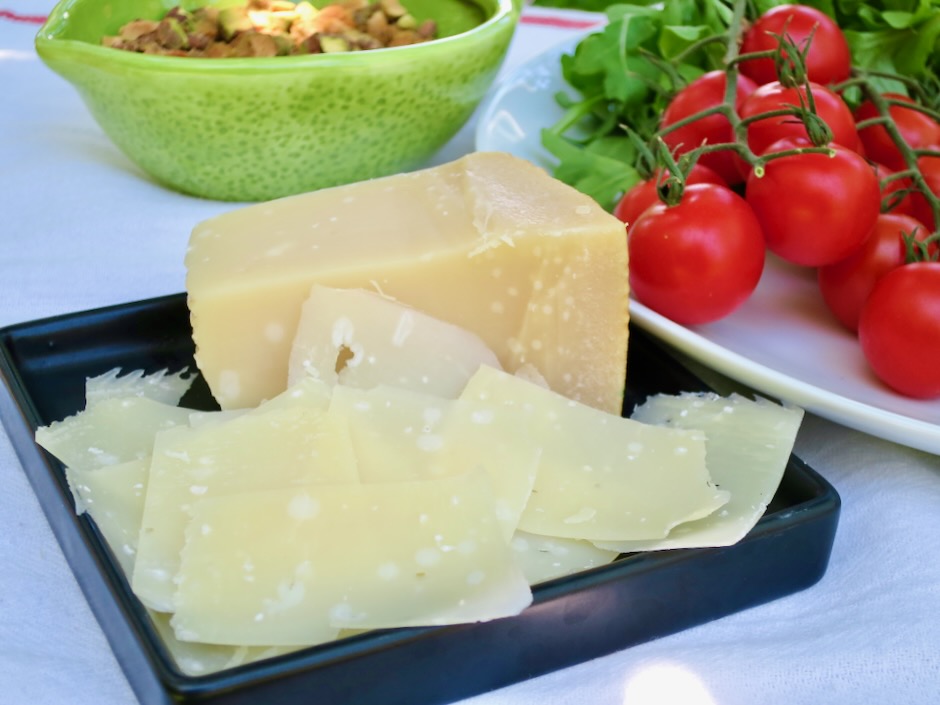
1/2 cup Parmigiano-Reggiano cheese, shaved with a vegetable peeler
1/2 cup chopped pistachio nuts (I used roasted & salted)
2 cups arugula
1 cup flat leaf parsley, roughly chopped (can substitute with basil)
1 cup mint leaves
3/4 cup halved cherry or grape tomatoes
1/3 cup thinly sliced radish (soak in ice bath for extra crispy slices)
Maldon or other flaky sea salt
Directions
In a medium saucepan, bring farro, 2 cups apple cider, 4 cups water, salt and bay leaf to a boil. Turn heat down (vigorous simmer) and cook farro until tender, about 25-30 minutes if using semi-pearled farro. See notes below for varieties of farro. Drain farro in a sieve, discard bay leaf. Spread farro out on a sheet pan to dry for 15 minutes. Farro can be cooked up to 4 days in advance or frozen for up to 3 months.
In a salad bowl, whisk together olive oil, lemon juice and a pinch of salt. Add farro, cheese, pistachio nuts, arugula, herbs, tomatoes, and radish. Gently toss together. Season with flaky sea salt before serving.
Notes
Cooking time will vary depending upon the type of farro you purchase (pearled, semi-pearled, whole). Follow cooking instructions noted on the package.
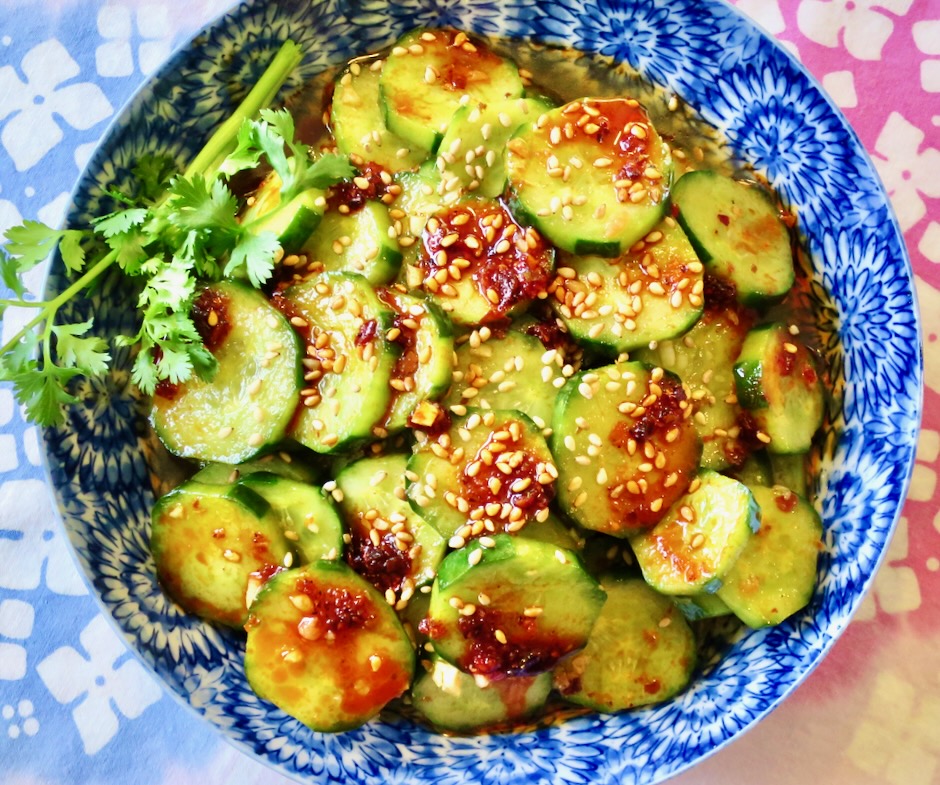
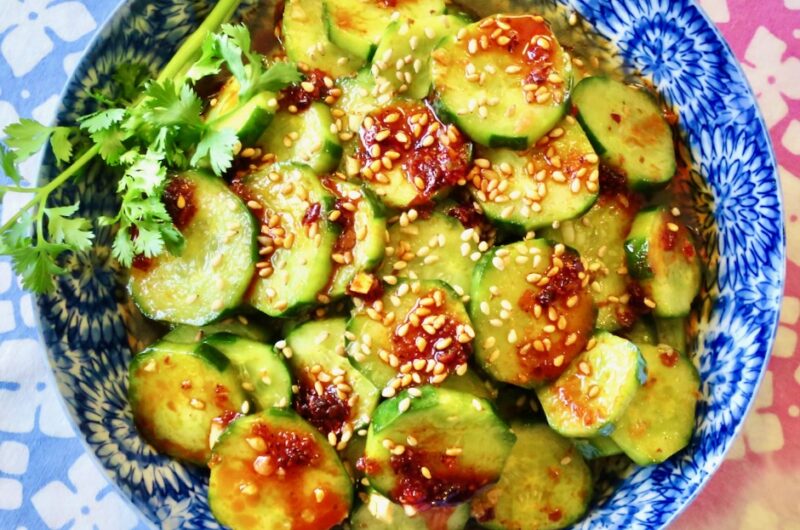
Here’s a delicious cucumber side dish that is very easy to put together. It’s crunchy and so refreshing you’ll be making it on repeat.
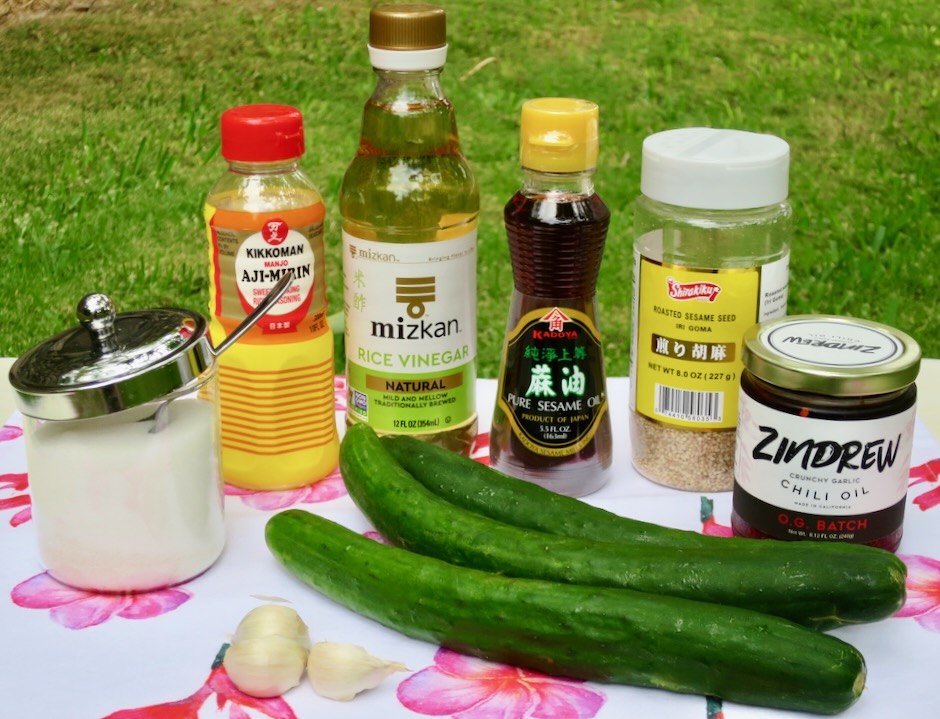
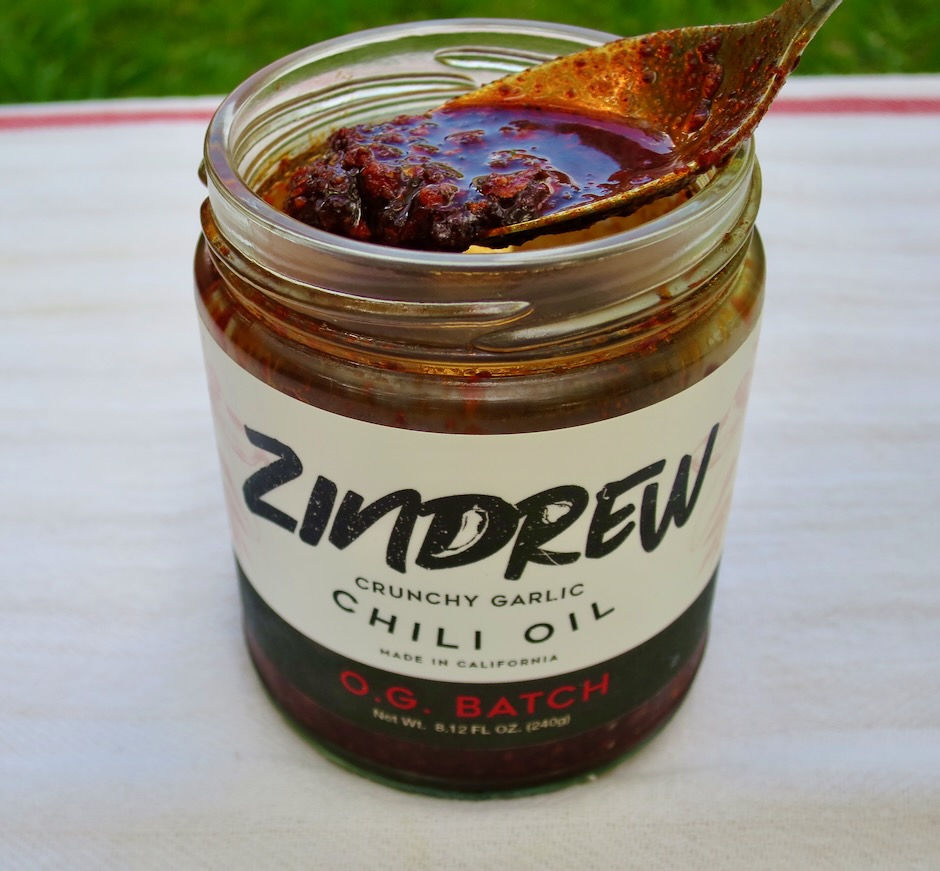
If you don’t already have chili crisp, visit your local market or purchase a jar online. It’s a wonderful condiment to have on hand. Chili crisp compliments ramen, tofu, stir fries, eggs, and so much more. I’ve tried a few brands and still come back to Zindrew (Amazon) as my favorite. Costco sells the popular Fly by Jing brand and I have spotted the locally made Maui Chili Oil at Foodland.
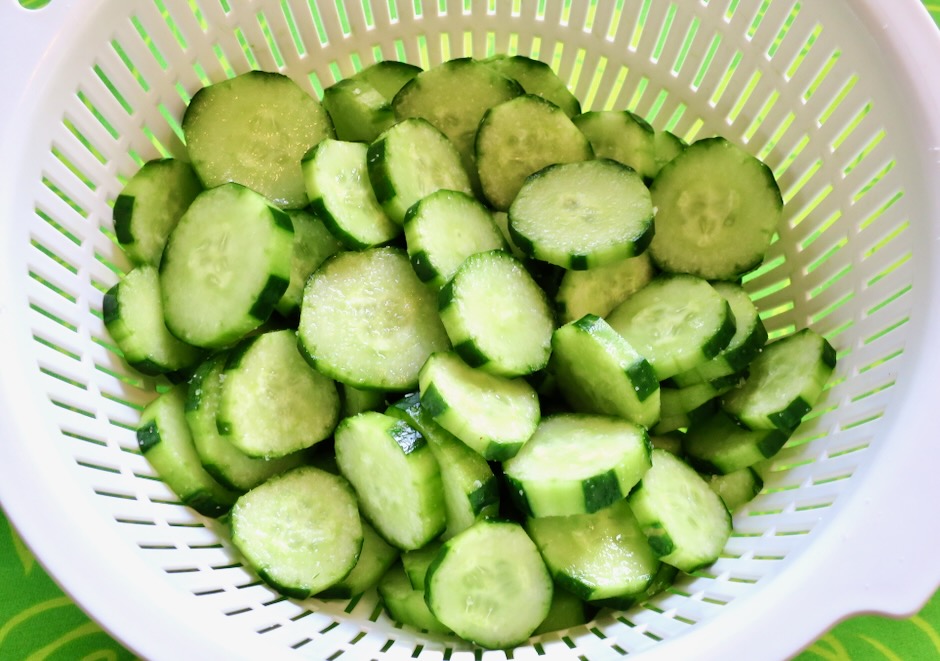
The first time I made this recipe I used an English cucumber that I had on hand. It was a bit disappointing because it didn’t have that excellent crunchy texture I expect. So from now on, I only use Japanese cucumbers which are guaranteed crunchy. Persian cucumbers would be an acceptable substitution.
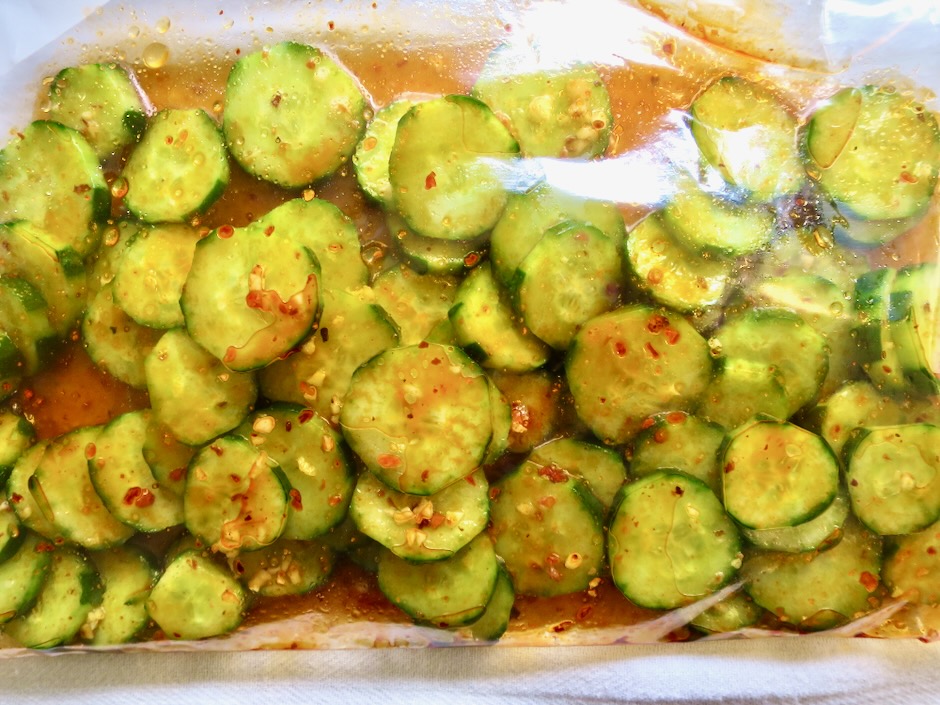
The cucumbers marinate in the sauce for 4 hours (overnight is fine) before being served.
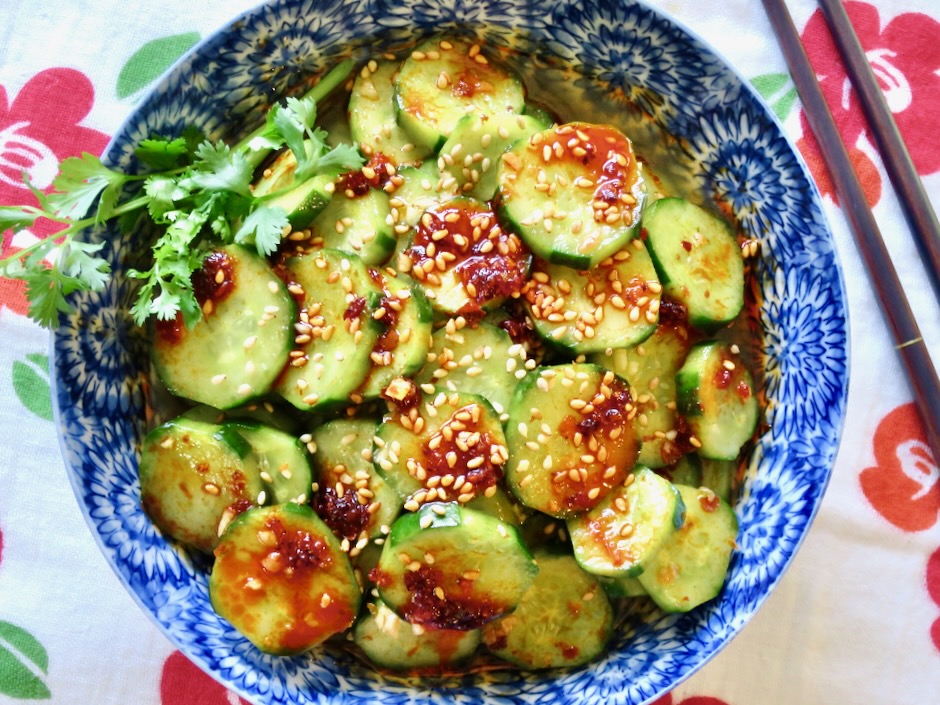
Sprinkle roasted sesame seeds over the cucumbers and additional chili crisp just before serving. The cucumbers go well with grilled teriyaki meat sticks, grilled tofu, or just about any grilled protein or noodle dish. Being and Island girl, I am thoroughly content eating these cucumbers with a bowl of hot rice!
1 pound Japanese cucumbers (substitute with Persian)
1/2 teaspoon kosher salt
2 medium garlic cloves, finely minced
1/4 cup rice vinegar
2 tablespoons mirin
2 teaspoons granulated sugar (1 tablespoon for a sweeter sauce)
2 teaspoons sesame oil (Kadoya is a good choice)
2 teaspoons chili crisp, such as Zindrew + more for serving
1 teaspoon roasted sesame seeds
Directions
Trim and cut cucumbers into 1/3-inch rounds. Place in a colander set over a bowl, sprinkle with 1/2 teaspoon kosher salt. Toss to combine. Let sit for 20 minutes.
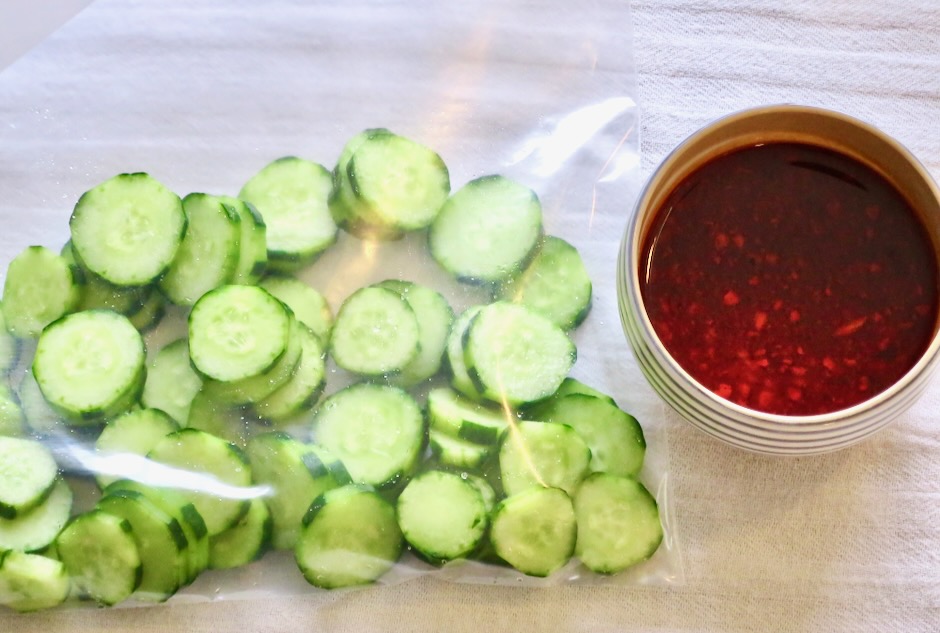
Meanwhile, in a small bowl, combine rice vinegar, mirin, and sugar. Stir until sugar has dissolved. Add minced garlic, sesame oil, and 2 teaspoons chili crisp to the bowl.
Rinse cucumbers under cold running water. Pat dry with towels. Place cucumbers in a large zip-top bag and add marinade. Seal the bag and lay flat in the refrigerator so that the cucumbers are mostly in a single layer. Marinate for 4 hours (or overnight) turning the bag occasionally.
To serve, remove the cucumbers from the marinade and place in a low-sided serving bowl (a small amount of the marinade in the bowl is fine). Sprinkle sesame seeds over the top and drizzle with extra chili crisp. Serve cold.
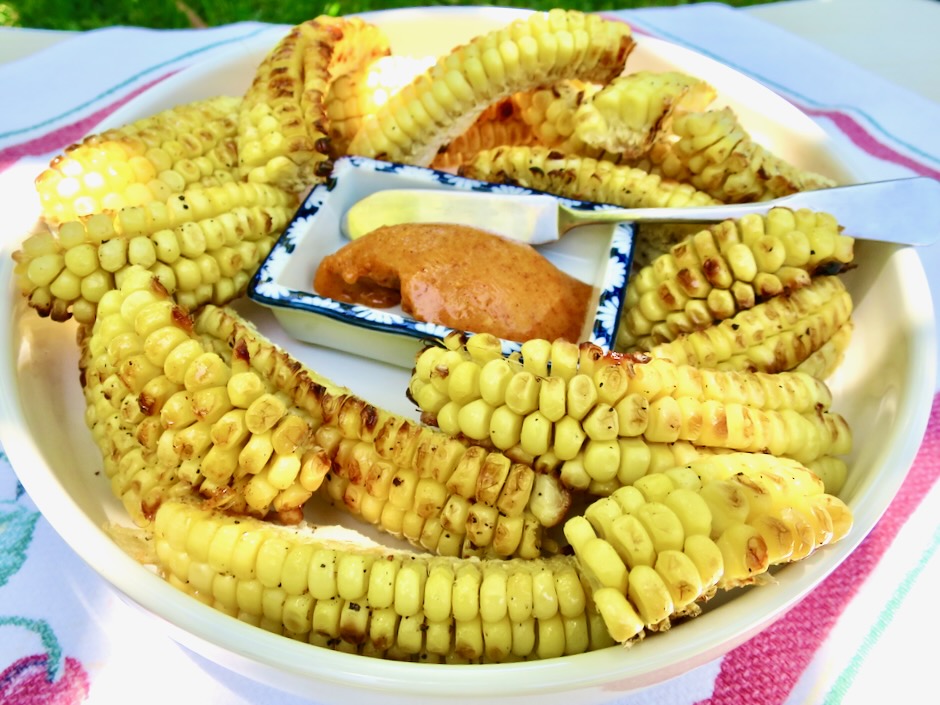
If there is a better way to do corn on the cob than as corn “ribs” I have yet to find it. They are so good I’ve made them twice a week for three weeks in a row. I know I’m late to the game, corn ribs became a thing back in 2021. A recipe for corn ribs went viral on TikTok and ever since, people have been making corn ribs their thing too. There are tons of variations for seasoning corn ribs. Spicy, sweet, cheesy, buttery, herby and so on. This recipe comes from Bon Appetit and it’s just about perfect. Buttery, sweet and smoky.
The first time I tried to cut the corn into ribs I almost gave up. The corn cob is tough and hard to cut through. There were corn kernels on the floor, counter and backsplash, oops. I asked my husband to give me a hand. We tried a few different knives and found two that worked great along with a mezzaluna. I know that not everyone has a mezzaluna but it sure came in handy for cutting corn ribs.
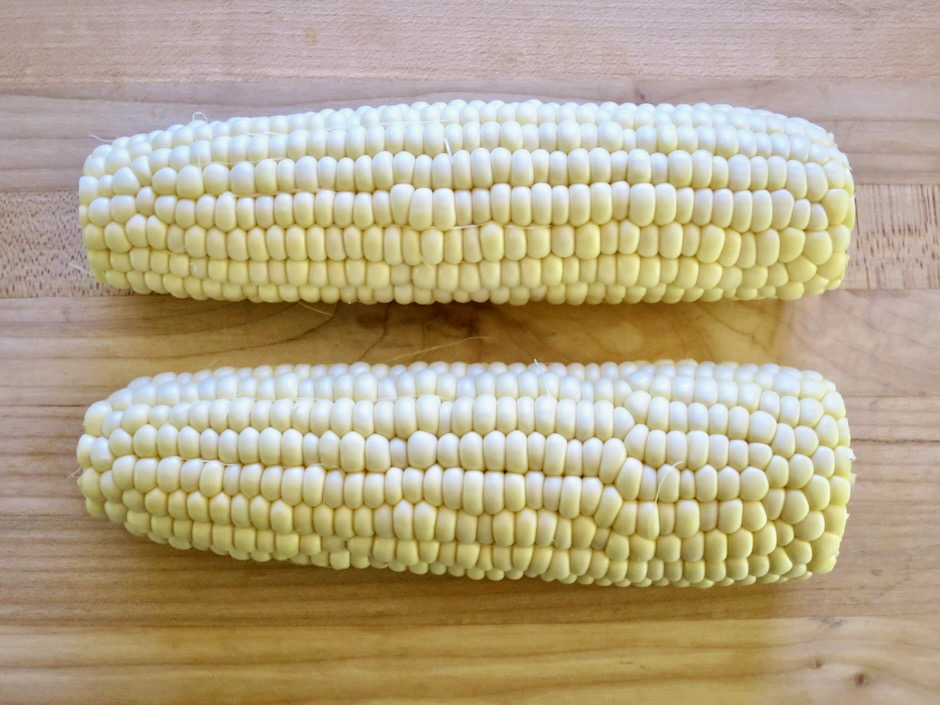
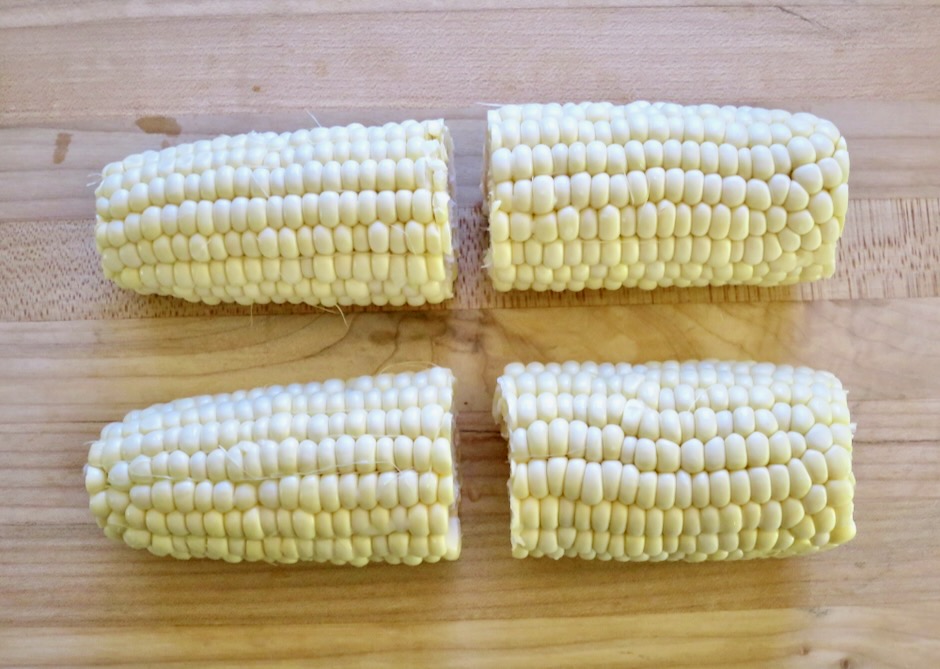
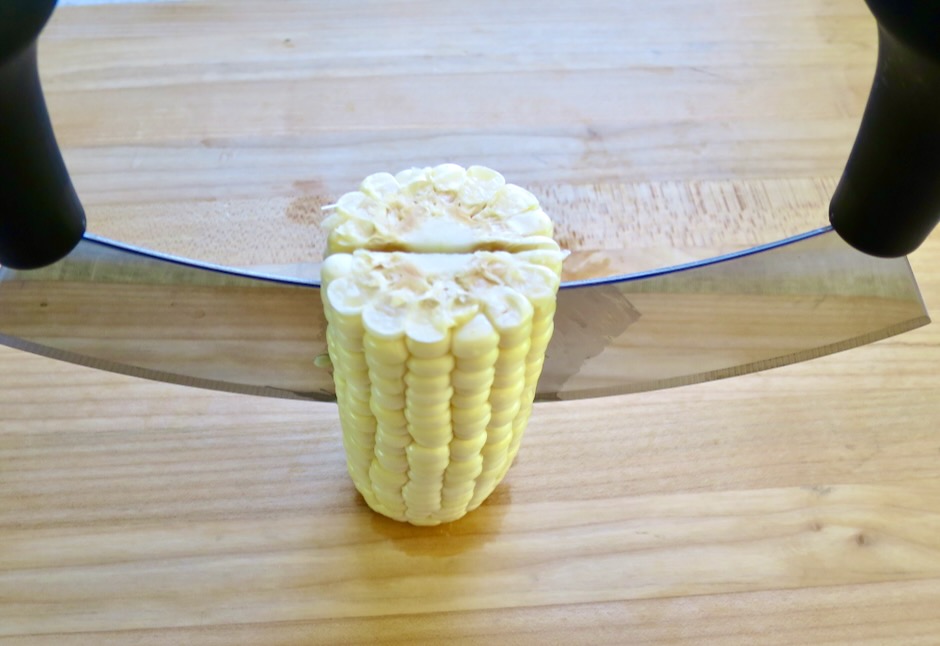
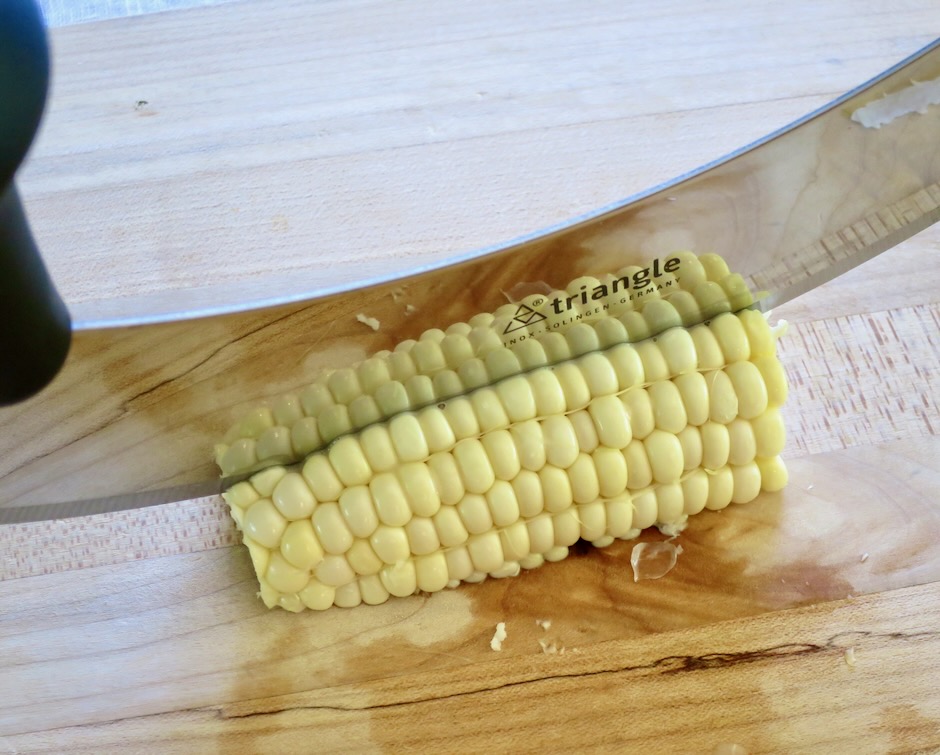
The first step after removing the husk and silk from the corn is to cut off the ends of the corn so they are flat. This is important! The next step is to cut the corn in half diagonally. This will make it much easier to cut the corn into riblets and being shorter to cut through means less risk of accidents. It is much more difficult to cut down the entire length of the corn cob when it is long. You will now be able to stand the corn on end and cut into riblets.
Here we are cutting the corn in half with a mezzaluna. It worked well because you are able to control your cutting with both hands. It’s very stable.
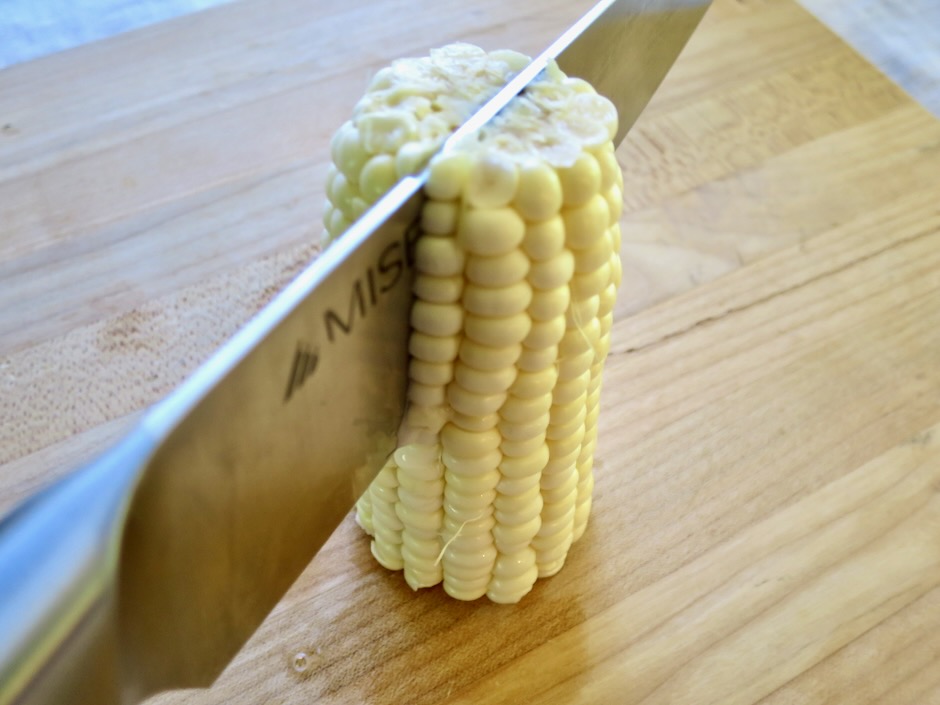
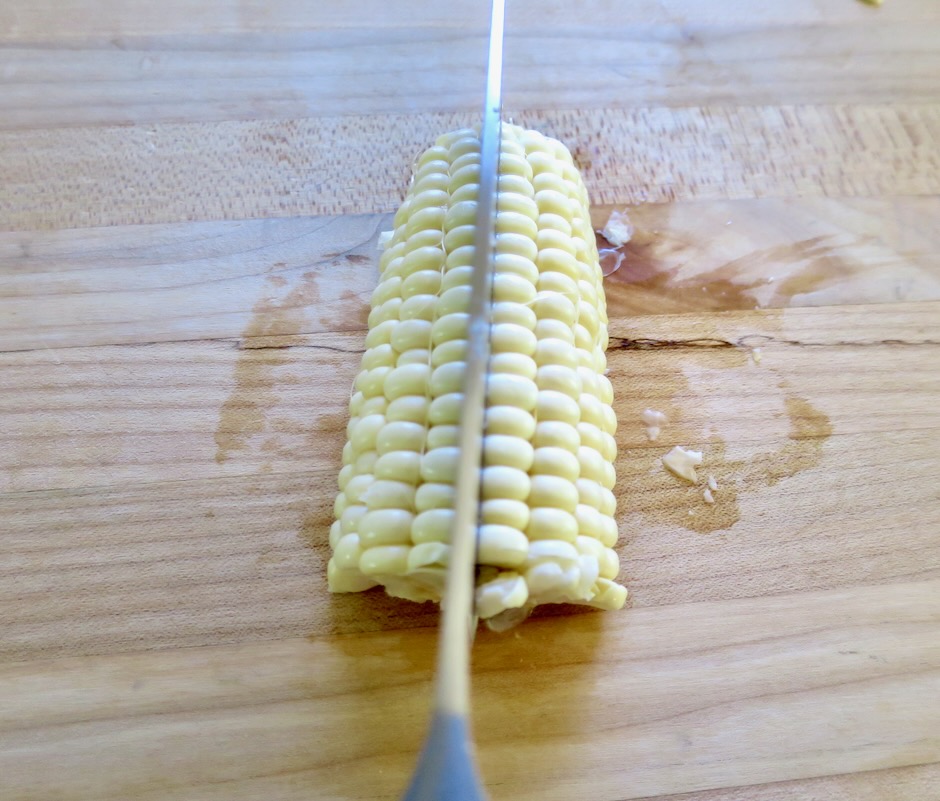
This time we cut the corn in half with a very sharp chef’s knife. It also worked well and will likely be what most people have available.
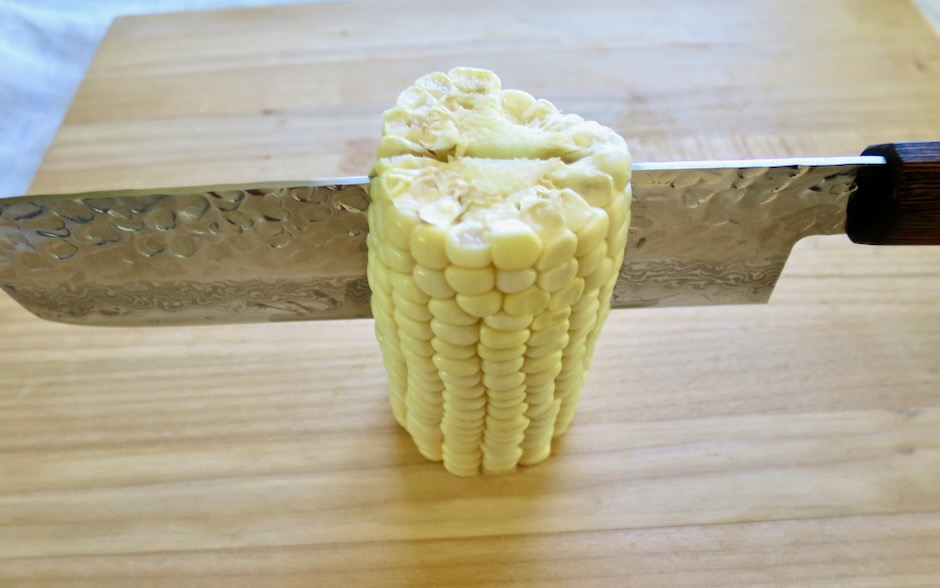
The third option is to use a very sharp Nakiri knife which is a traditional Japanese vegetable knife.
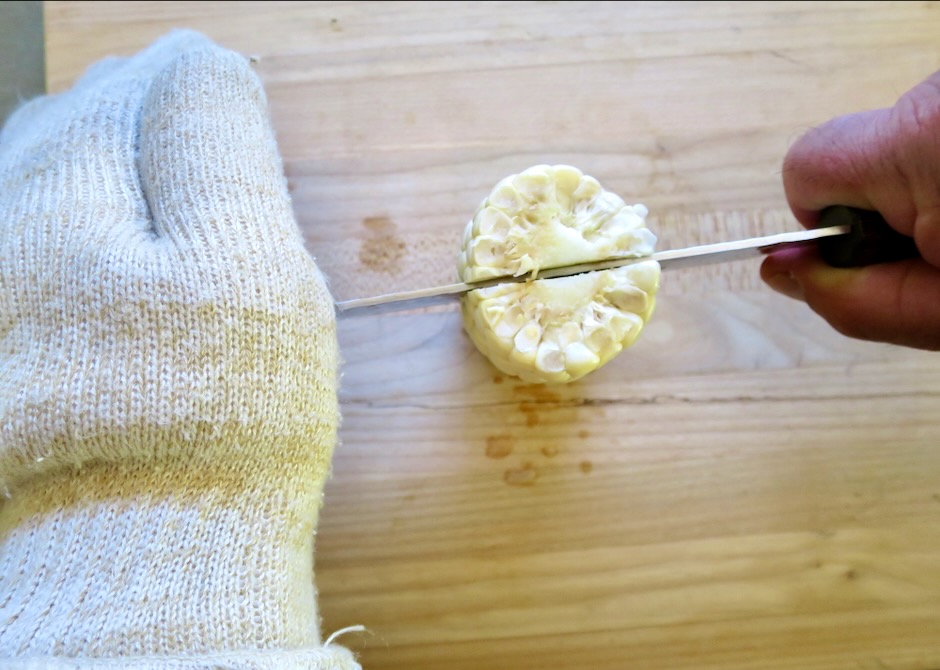
When slicing the corn with a chef’s or Nakiri knife, wearing a thick oven glove will help to stabilize the knife while you use pressure to cut through the corn cob.
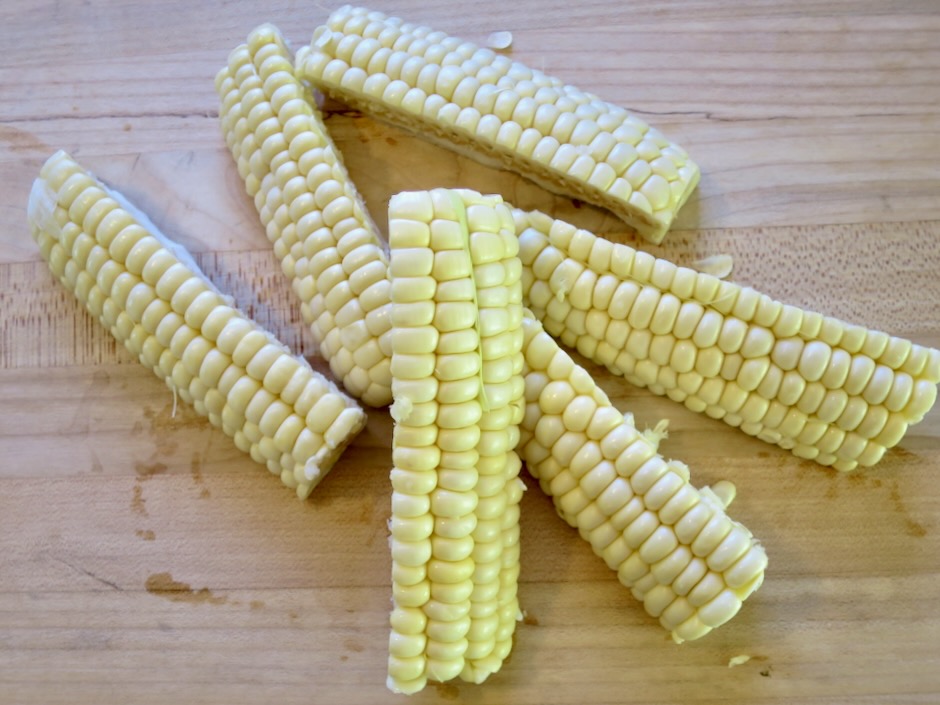
The mezzaluna was the winner for cutting the corn into quarters but both the chef’s knife and Nikiri knife also worked.
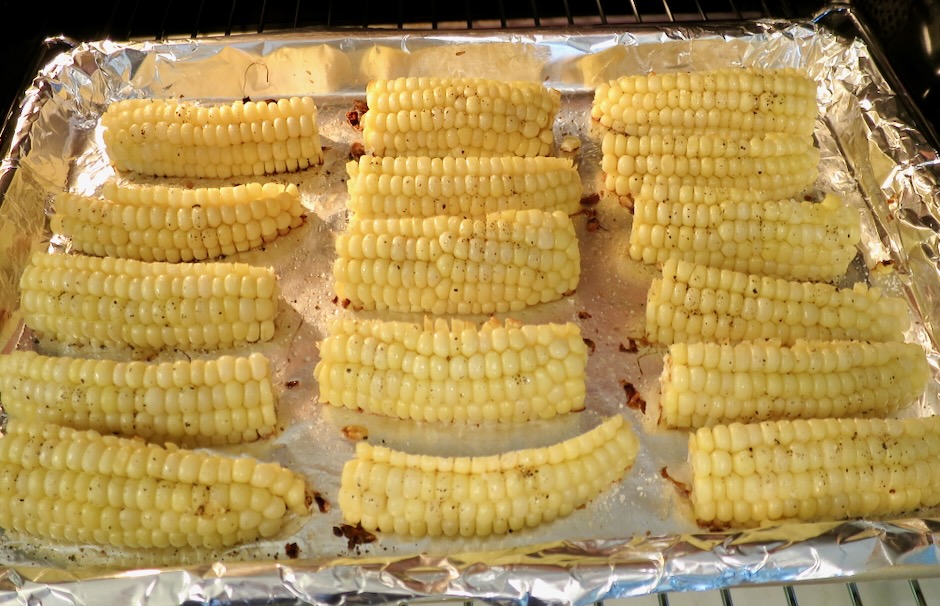
This is what your corn should look like once you cut it into riblets.
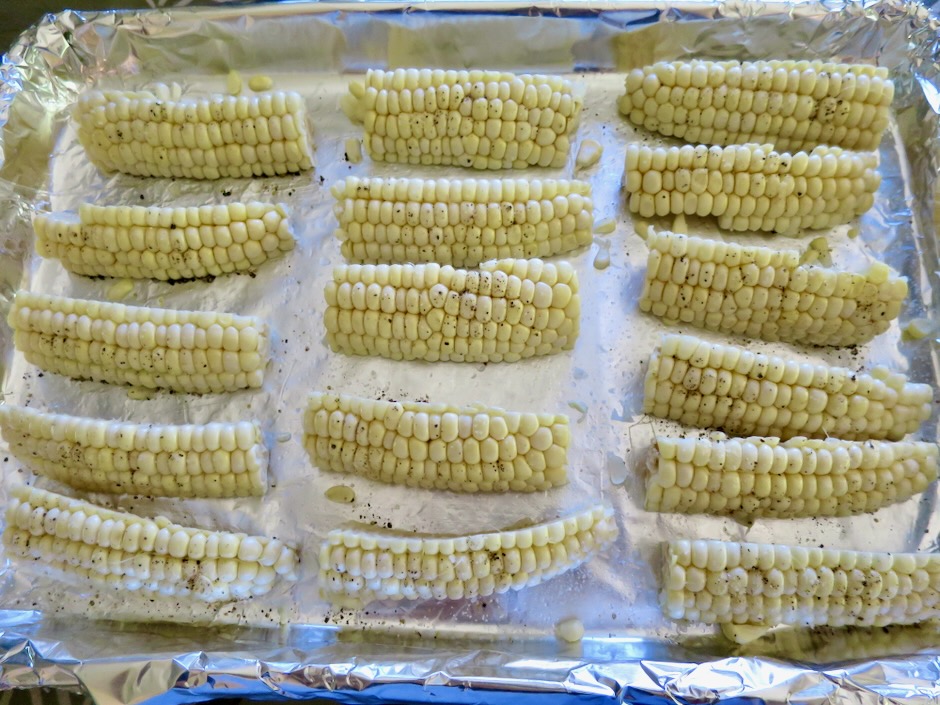
The corn is seasoned with a little oil, salt and pepper. It roasts at 450 degrees for 10 minutes before being turned.
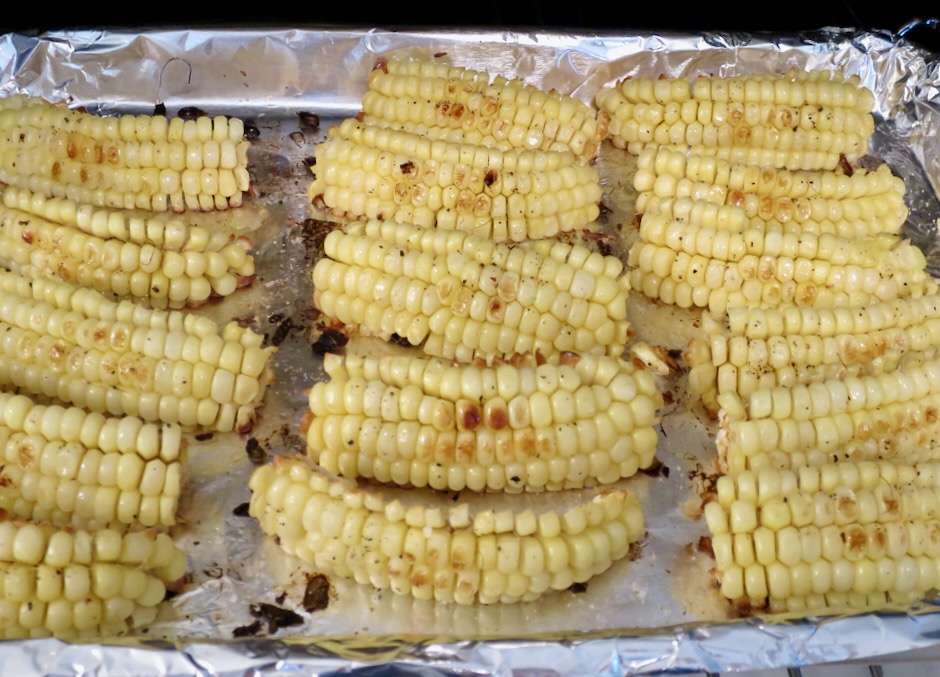
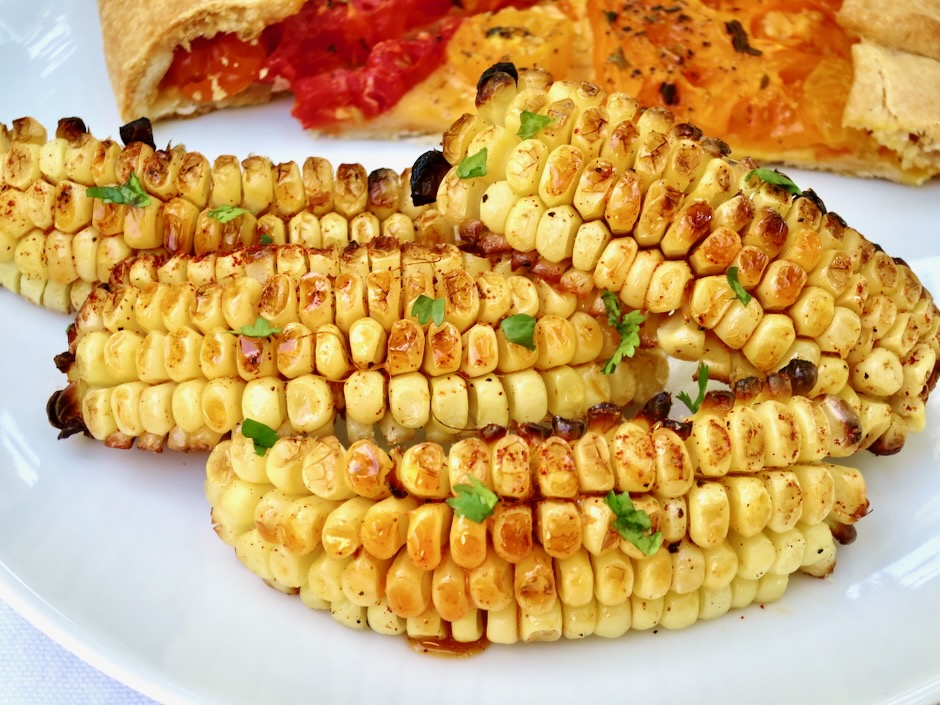
The corn already looks delicious after being in the oven for a short time.
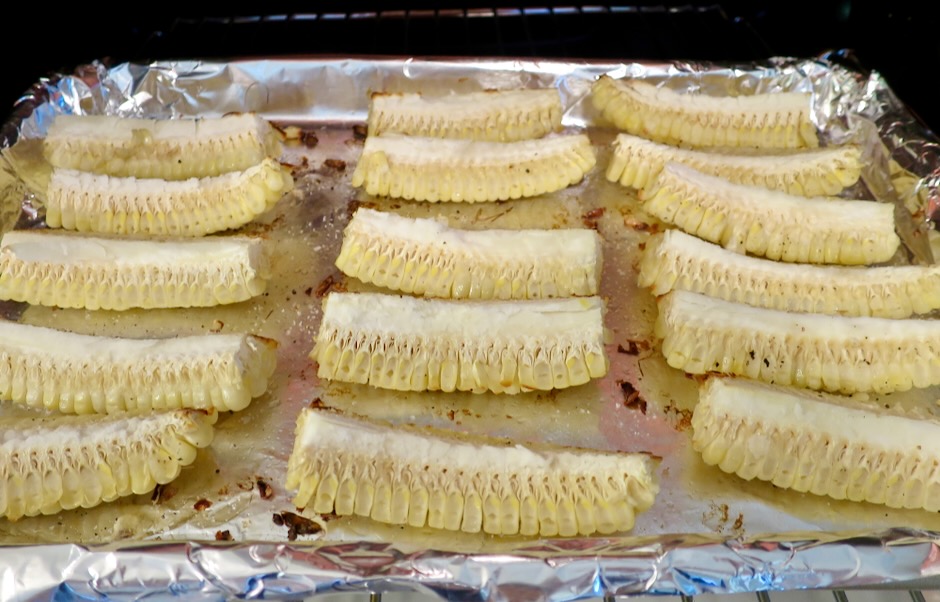
After roasting for 10 minutes, the corn wedges are turned cob side up and roasted for another 10 minutes.
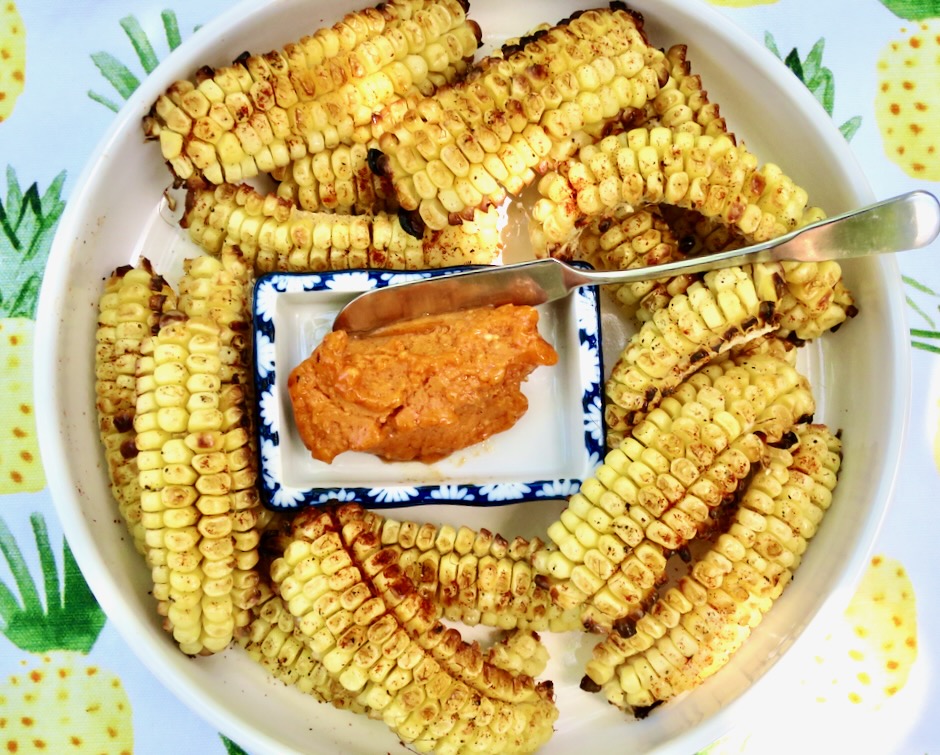
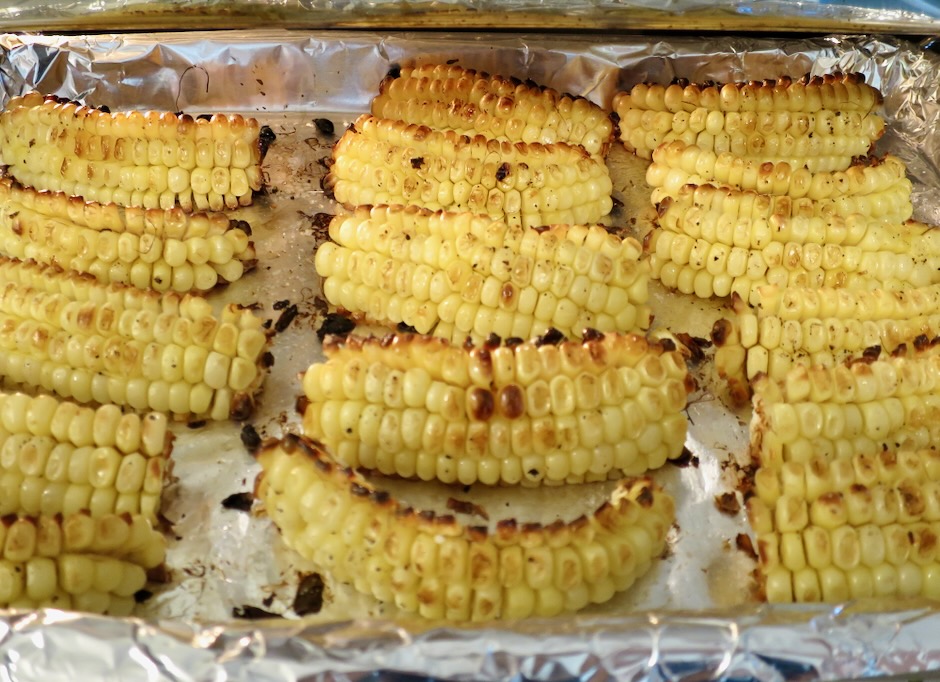
The corn riblets have been in the oven for 20 minutes and have taken on a nice color and smell divine. At this point they are cooked and ready to eat. But broiling the riblets for a minute or two will encourage lots of smoky flavor and a bit of charring around the edges which is always a good thing.
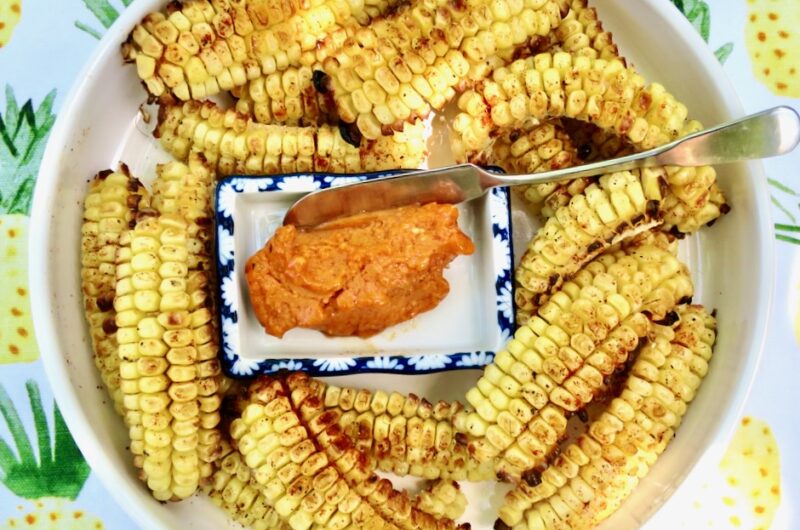
Corn riblets are best served soon after they emerge from the oven while still warm. Slather with smoky sweet butter and start nibbling on those delectable corn riblets. There’s no better way that I can think of, to prepare fresh corn.
3/4 teaspoon Diamond Crystal of 1/2 teaspoon Morton kosher salt
Freshly ground pepper
Smoky Sweet Butter
1 stick (1/2 cup) Earth Balance Buttery Sticks (for lactose free version) or unsalted butter, room temperature
1 tablespoon light brown sugar
1 teaspoon apple cider vinegar
1 teaspoon smoked paprika
1/2 teaspoon garlic powder
few dashes of cayenne (more for spicier flavor)
3/4 teaspoon Diamond Crystal or 1/2 teaspoon Morton kosher salt if using unsalted butter
Directions
Preheat oven to 450 degrees. Line a baking pan with foil.
Using a chef’s knife or Nakiri knife and securing your cutting board by placing a damp kitchen towel underneath, cut the top of the cob and bottom stem so the ends of the corn are flat. Cut each ear of corn in half crosswise. Working one at a time, stand each piece up on a cut end and slice lengthwise in half. Lay each half cob side down on cutting board and using a chef’s knife, Nakiri knife, or mezzaluna cut each in half again. You should have 8 wedges per ear. Continue with the remaining 3 ears of corn. Drizzle wedges with 3 tablespoons of vegetable oil, season with kosher salt and pepper, toss to coat. Spread out wedges evenly arranging kernel side up.
While oven is preheating, mix together the Buttery Sticks or unsalted butter, brown sugar, apple cider vinegar, smoked paprika, and garlic powder. If using unsalted butter mix in 3/4 teaspoon Diamond Crystal or 1/2 teaspoon Morton kosher salt.
Roast corn for 10 minutes then turn corn over cob side up. Continue to roast for 10 more minutes. Remove pan from oven and turn corn kernel sides up. Broil corn on upper rack for about 1 minute, or until the corn takes on more color. Watch closely so the corn doesn’t burn.
Transfer corn riblets to a platter and serve with seasoned butter.
A good sauce will elevate that most decadent cut of beef, the filet mignon. And especially béarnaise sauce, one of the fundamental sauces of French cuisine. It can transform any dish into one that is truly extraordinary. The piquant flavor of the reduced wine, butter, eggs, and fresh tarragon whisked into a silky sauce is divine. But we don’t always have time to whip up béarnaise sauce so that’s where béarnaise butter comes in. It can be made well in advance and stored in the refrigerator for a month or in the freezer for several months.
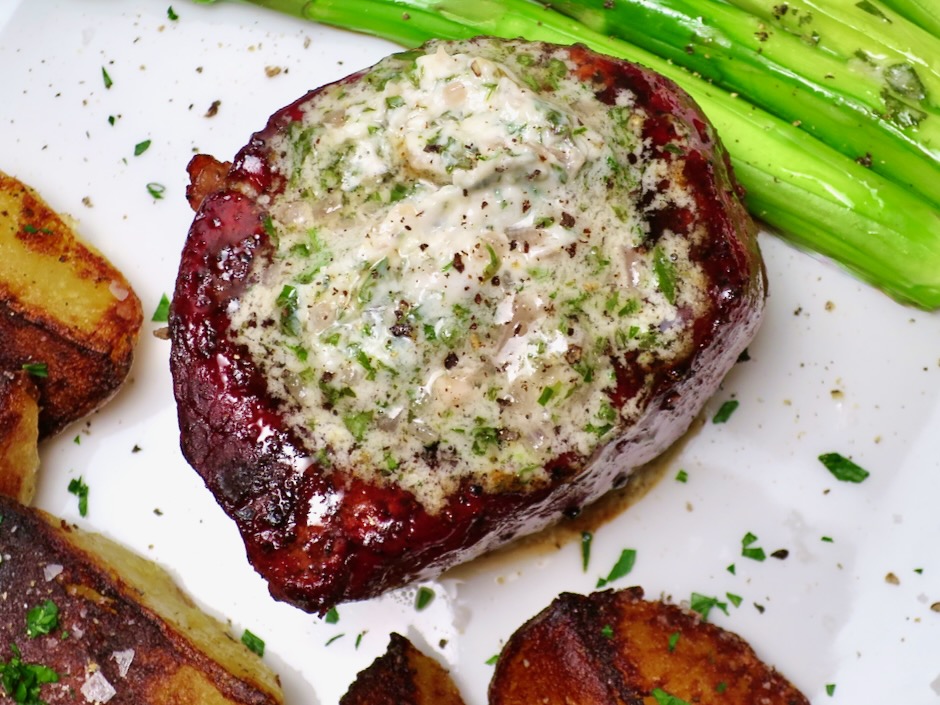
A perfectly cooked steak right off the grill with a generous pat of béarnaise butter is the epitome of steak perfection.
Known as “the King of Herbs” in France, tarragon is highly aromatic and essential in béarnaise sauce and this butter. It lends itself well to many dishes such as potatoes, chicken, omelettes, pasta and just about anything you use it with.
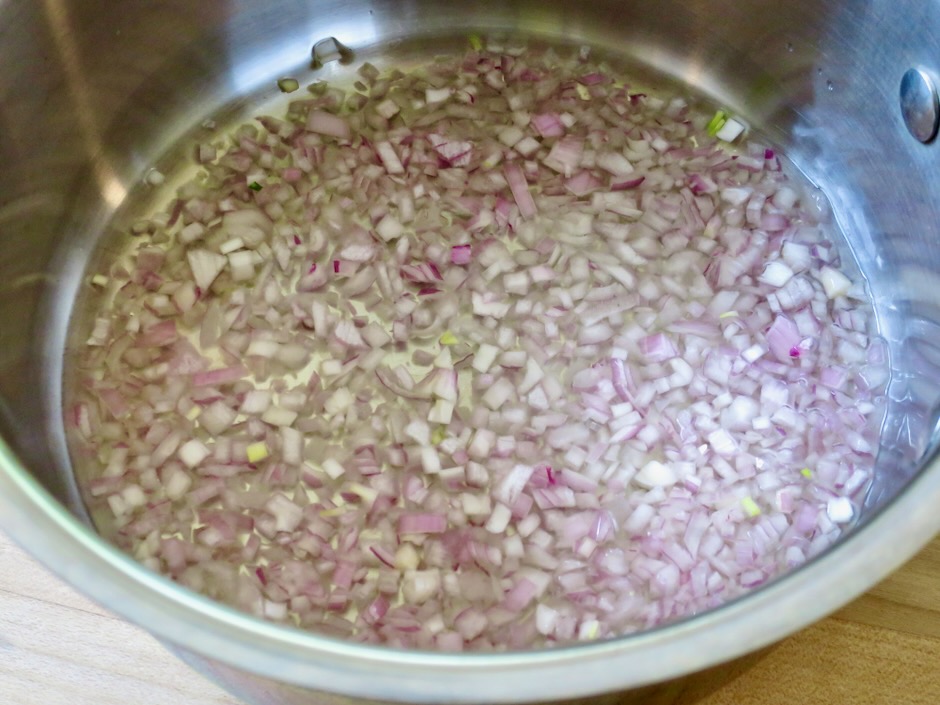
It doesn’t take but 5 minutes or so for the liquid to evaporate from the pan of shallots. You will then be left with the most flavorful shallots imaginable.
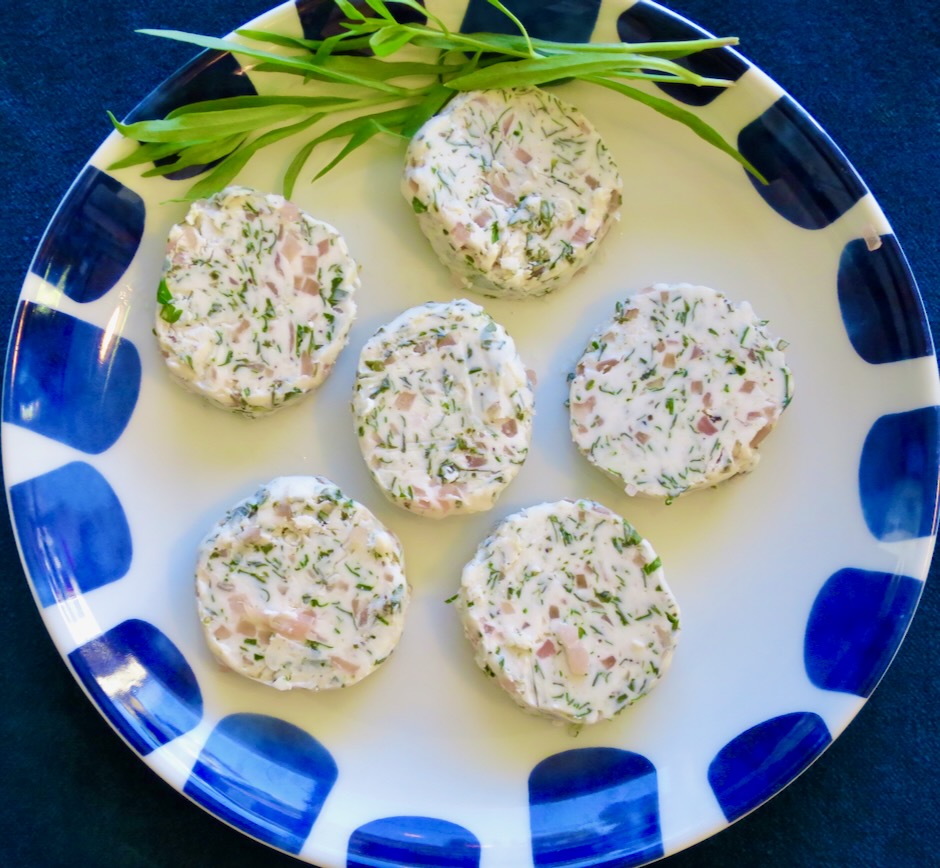
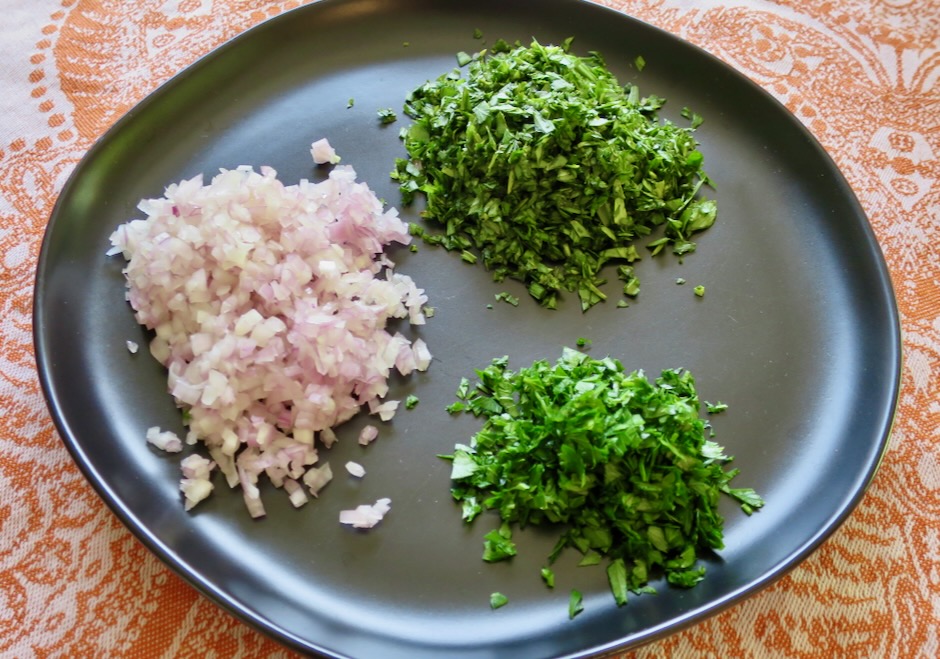
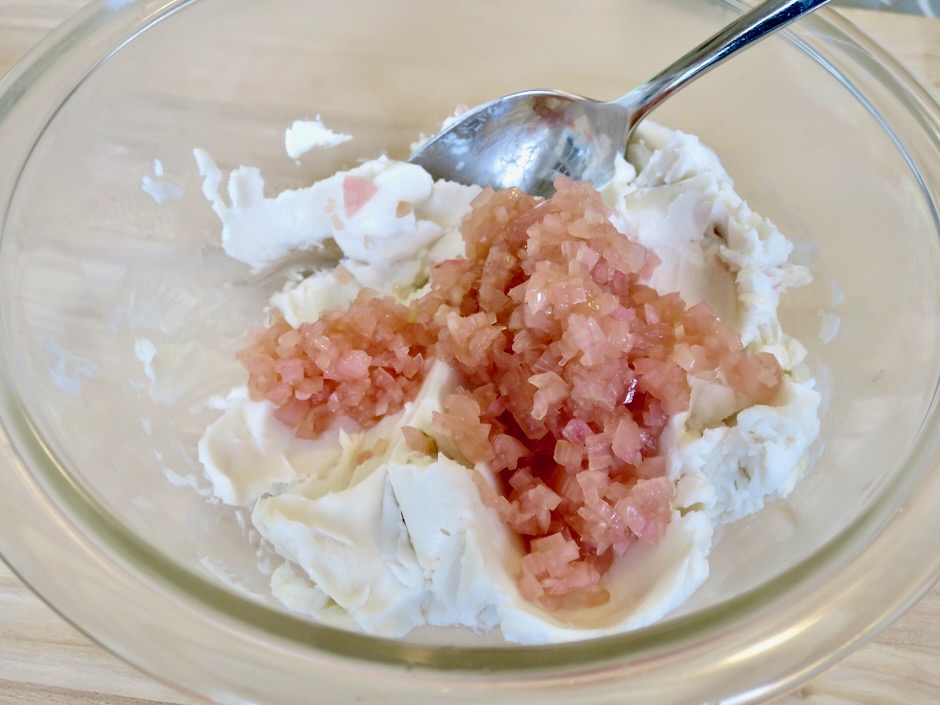
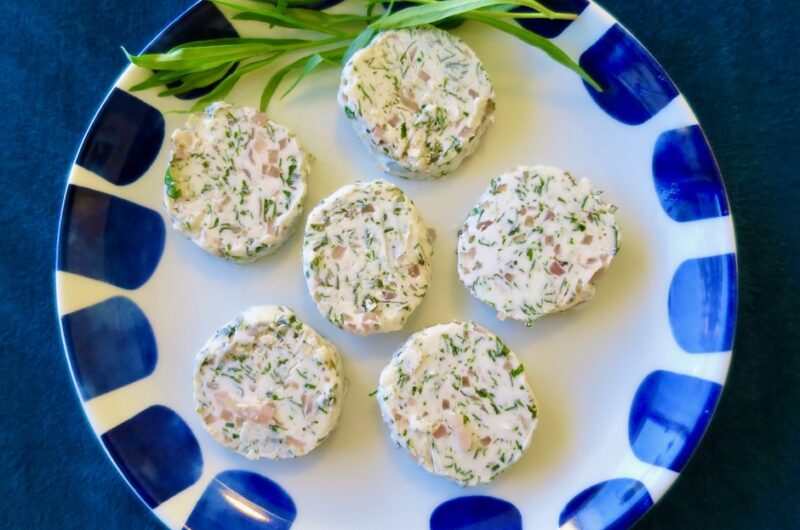
Once the shallots have cooled, they are mixed with the softened butter along with the minced tarragon, parsley, salt and pepper. The butter is transferred to a piece of plastic wrap and shaped into a tube then chilled in the freezer until slightly firm (it will be quite soft). Once it firms up a bit you will be able to re-shape the tube into a perfect circular log and re-wrap until ready to use.
Lightly smoked then grilled filet mignon with béarnaise butter is surely one of the grandest meals imaginable.
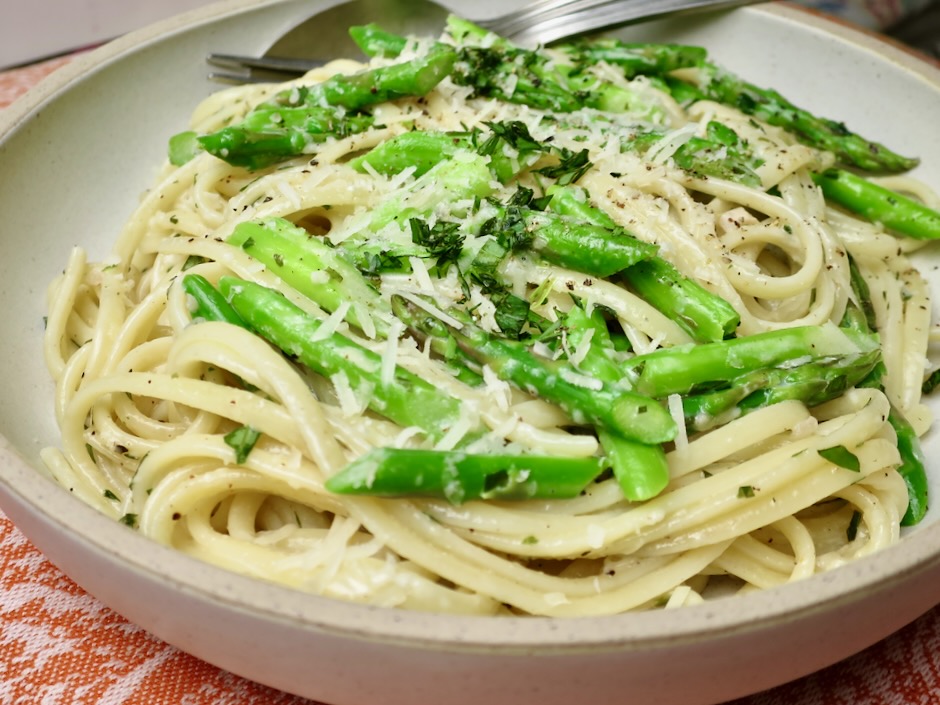
Leftover béarnaise butter is delicious tossed with long strands of linguine and asparagus. Use leftover béarnaise butter on sautéed vegetables, steamed green peas, on baked fish or chicken. Swirl some béarnaise butter in a pan before pouring in lightly beaten eggs then serve on toast.
6 ounces (170g) Miyoko’s hint of salt vegan butter or regular butter (1 1/2 sticks), at room temperature
1/4 cup minced tarragon
1 tablespoon minced flat leaf parsley
kosher salt and freshly ground black pepper
Directions
In a medium saucepan, combine shallots with wine and vinegar. Cook over moderate heat until all of the liquid has evaporated, about 5 minutes. Transfer shallots to a small bowl to cool to room temperature. You can speed up the cooling process by placing shallots in the refrigerator.
Scrape shallots into bowl with butter. Beat together with a handheld mixer until creamy. Fold in herbs and season to taste with salt and pepper. Transfer butter to a piece of plastic wrap and shape into a log. The butter will be soft at this point so don’t worry too much about getting the perfect shape. Transfer to the freezer for 10 minutes then re-shape as needed. Wrap a piece of foil around the plastic wrapped butter. Store in the refrigerator for up to 1 month or freezer for up to 3 months.
Notes
Remove butter from the refrigerator 30 minutes before serving. The butter will be easier to slice into neat rounds and will melt perfectly over the steak.