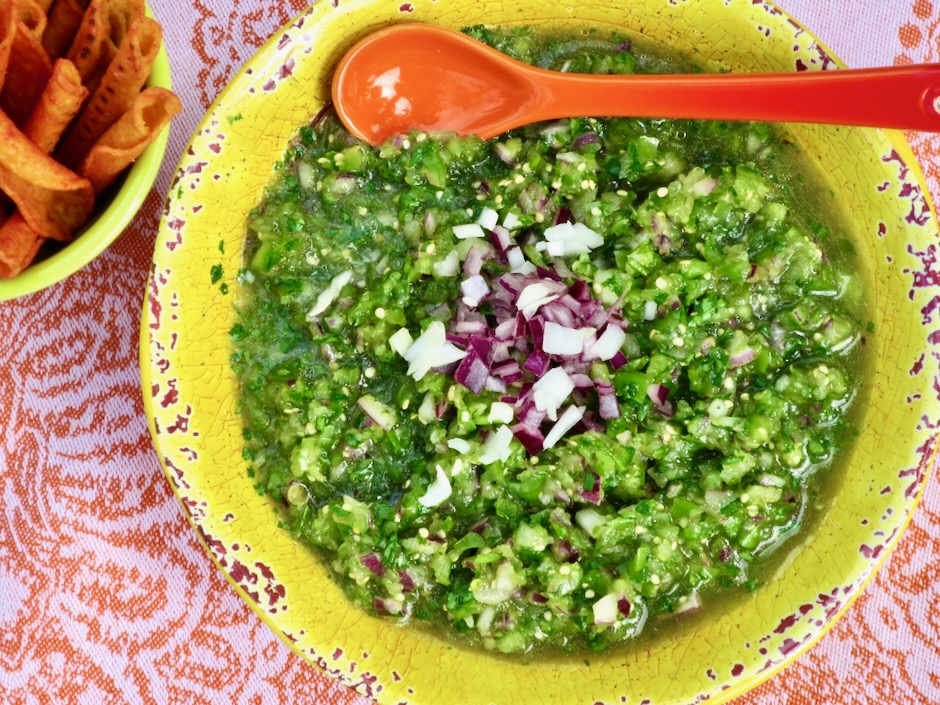
This beautiful salsa is so refreshing and very easy to put together. It compliments a wide range of dishes: tacos, scrambled eggs, burritos, quesadillas, tortilla chips and grilled chicken. And since you do not need to cook any of the ingredients you can make this in a jiffy.
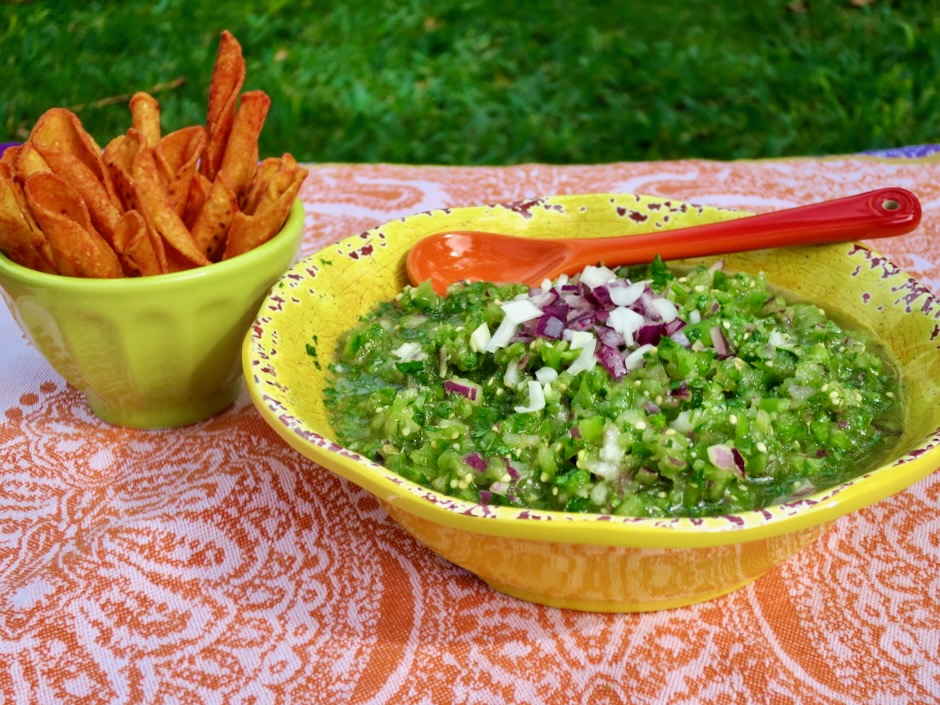
This recipe comes from Fermin Nunez, voted best new chef in 2021 by Food & Wine magazine. It caught my attention not only because I love Mexican cuisine, but also because it seemed easy to make. I knew it would be delicious served with tacos I planned for dinner. A little tart from the tomatillos and lime juice, a little spicy from the chiles, this salsa cruda (raw sauce) is delightful.

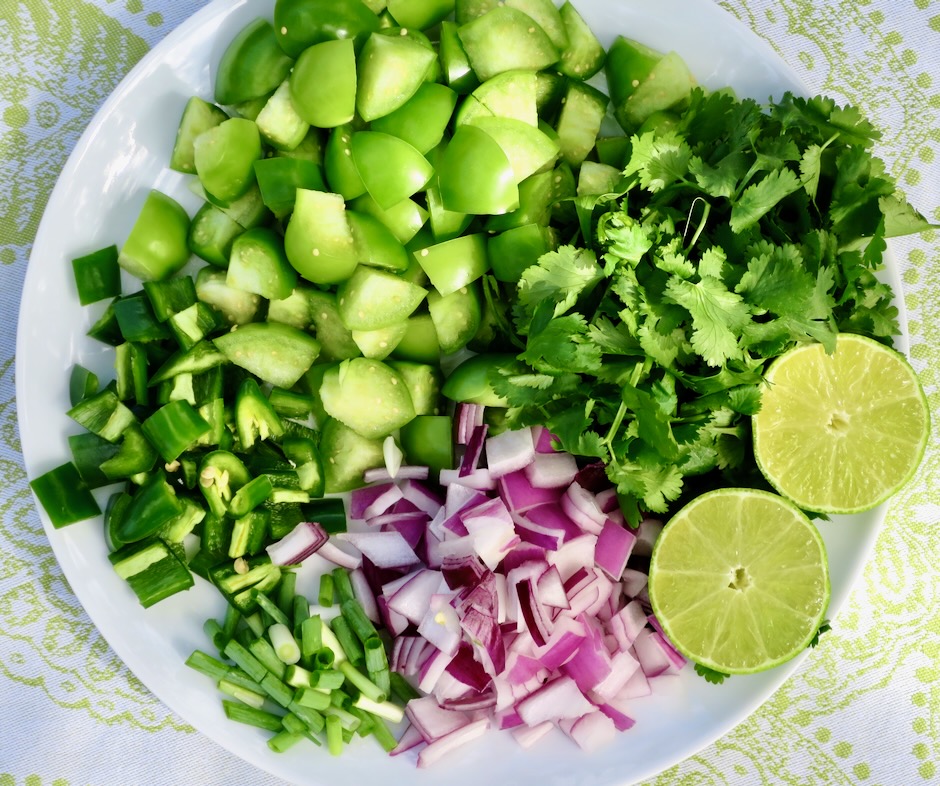
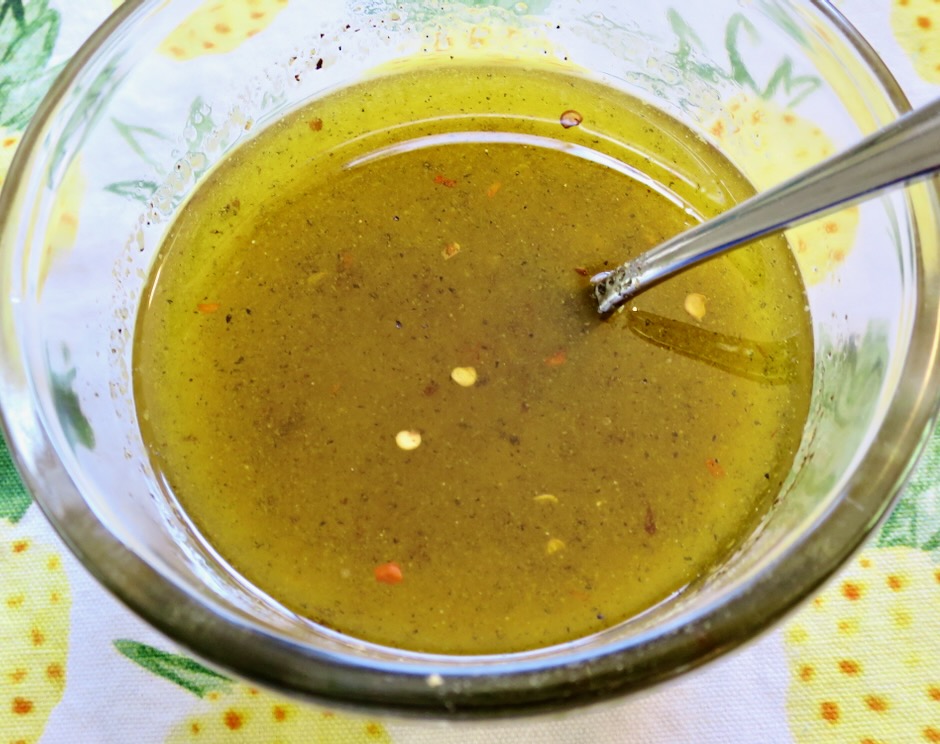
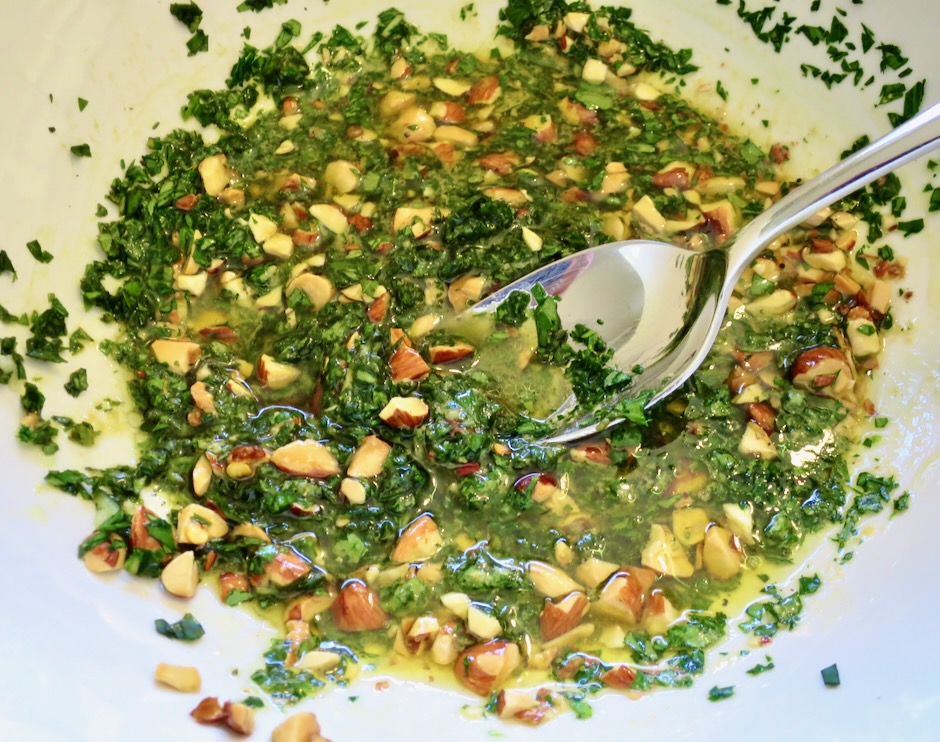
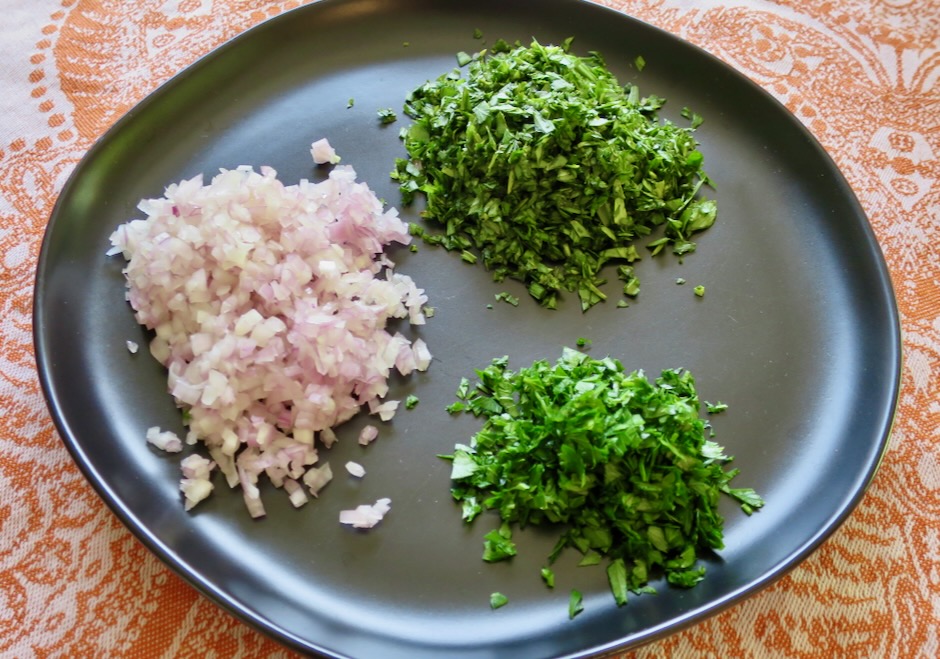
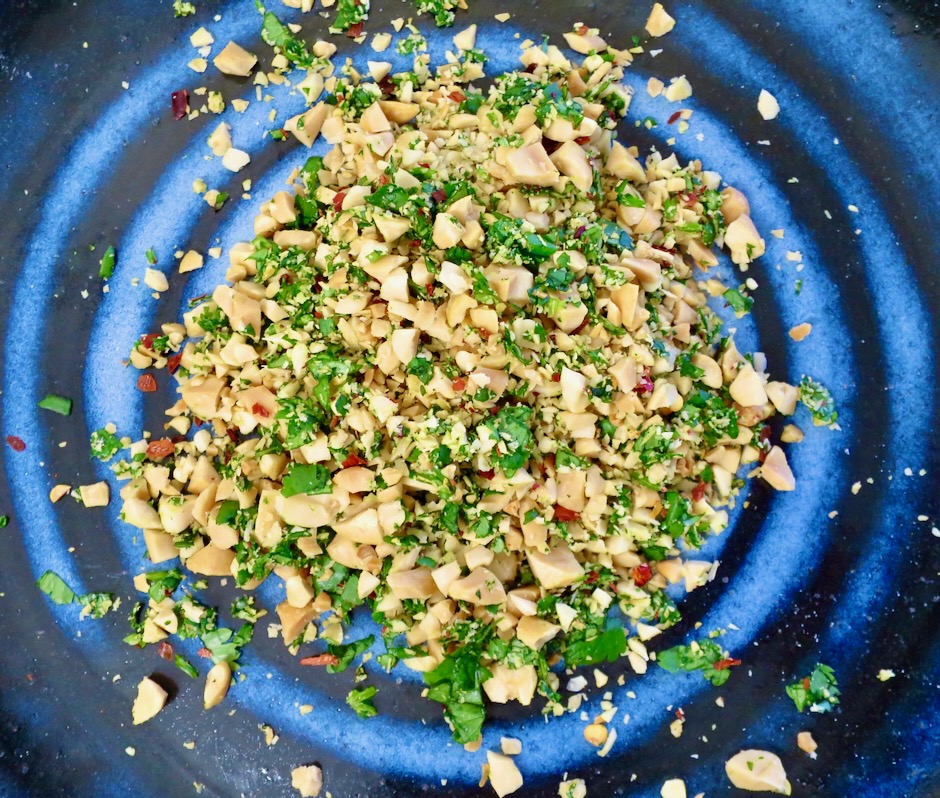
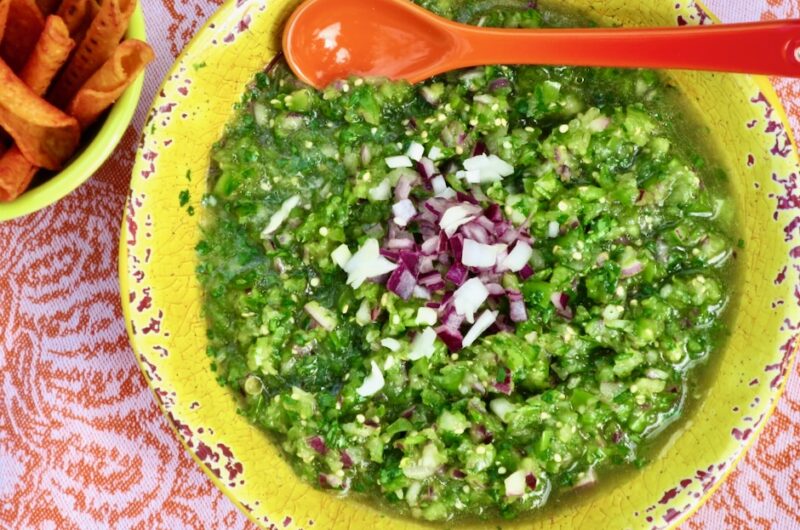
After a little chopping, everything goes into the food processor for a quick whirl. Lime juice, olive oil and salt are stirred in to balance the flavors. That’s it. The salsa is ready to be served.

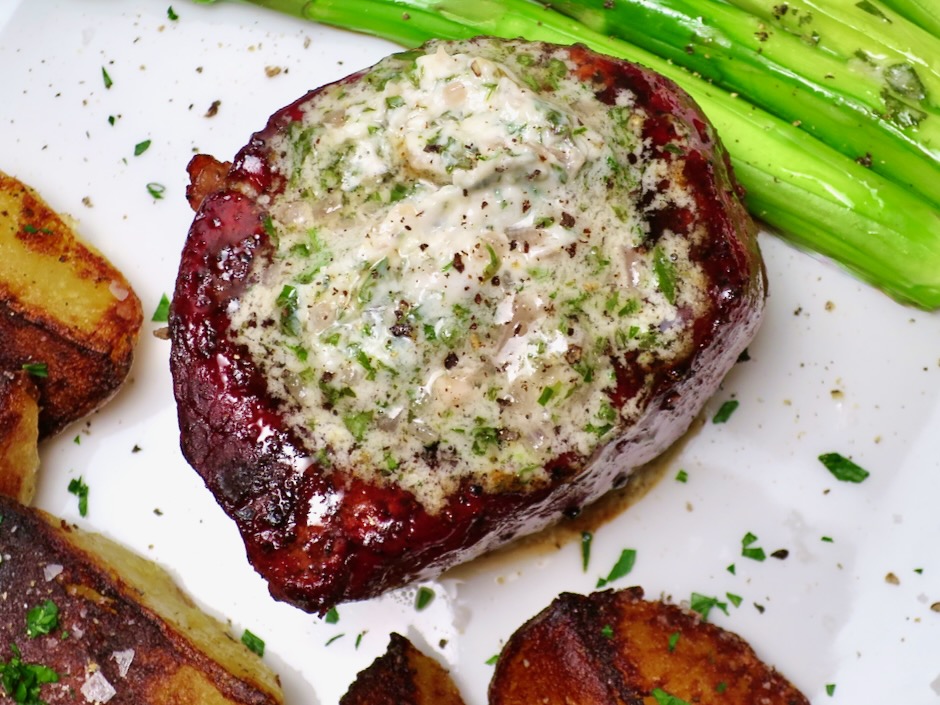
Tomatillo based salsas go hand in hand with braised pork tacos and any style of tortilla chips.
Tomatillo Salsa Cruda
8
servingsAdapted from Food & Wine magazine
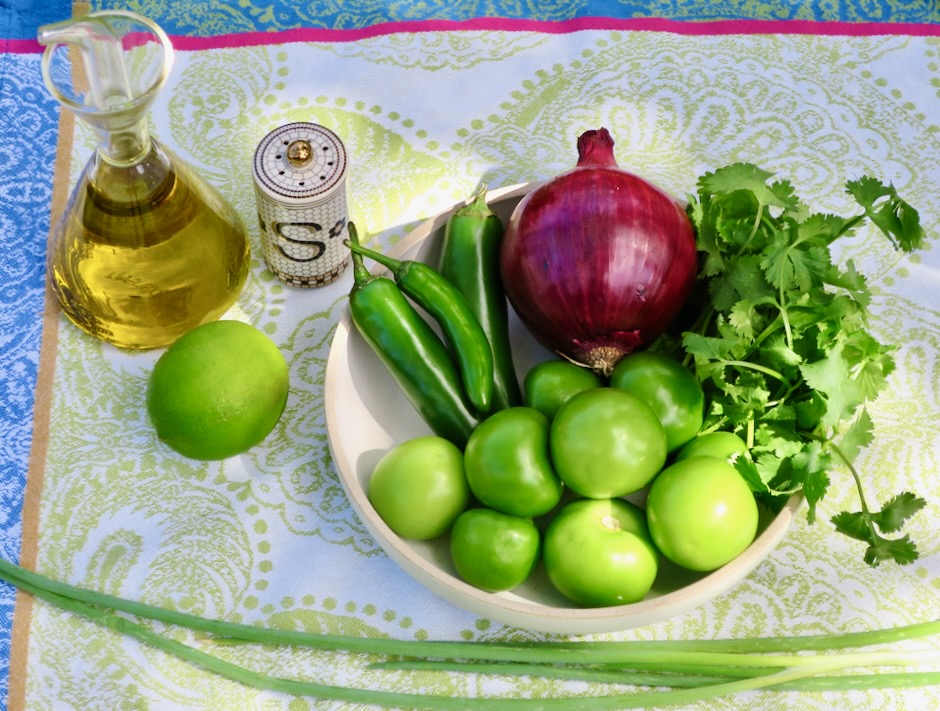
Ingredients
12 ounces (about 2 1/2 cups) fresh tomatillos, husked, washed and roughly chopped
4 ounces (about 3/4 cup) red onion, roughly chopped
1 cup packed fresh cilantro (from 1 medium bunch)
2 ounces (2 medium) jalapeños, stemmed and roughly chopped
1 ounce (2) scallions, trimmed and roughly chopped
1/8 ounce (1 medium or 1 1/2 tablespoons) serrano chile, stemmed and roughly chopped
2 tablespoons olive oil
2 tablespoons fresh lime juice
1 teaspoon kosher salt, plus more to taste
Directions
- Pulse tomatillos, onion, cilantro, jalapeños, scallions, and serrano chile in a food processor until finely chopped, 12-16 pulses, stopping to scrape down sides of bowl as needed. Transfer mixture to a medium bowl. Stir in olive oil, lime juice, and salt. Season with additional salt to taste.
Notes
- For a milder salsa, remove the pith from the chiles. Salsa will keep well for up to 3 days stored in the refrigerator.