Browsing Category

Canning

Canning, Mexican, Pickles, Recipes, Veggies

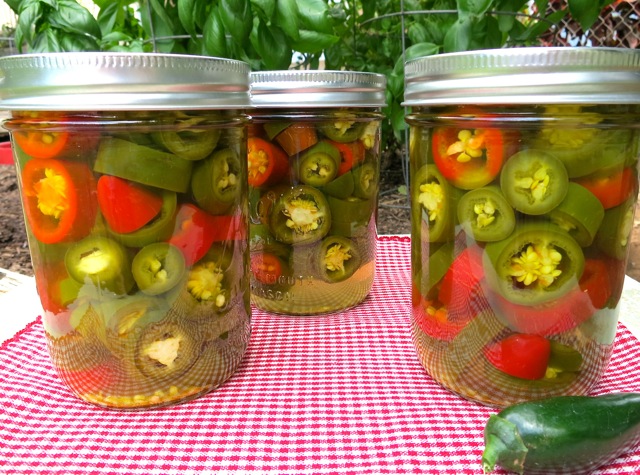
Jalapeño Nacho Rings

June 7, 2014

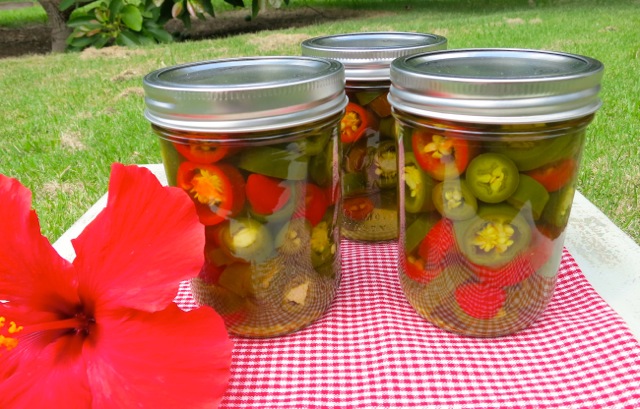
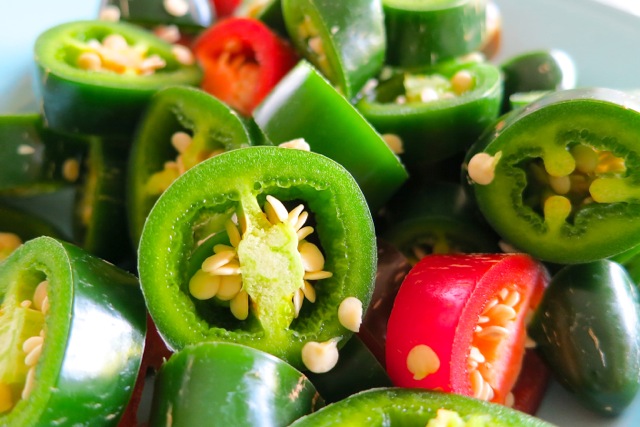
Jalapeño Nacho RingsWe love jalapeños.  They seem to thrive in the Maui heat.  Apparently hot climates produce hot peppers!  The red peppers are the fully mature stage of the jalapeño and add beautiful color mixed with the younger green jalapeños.
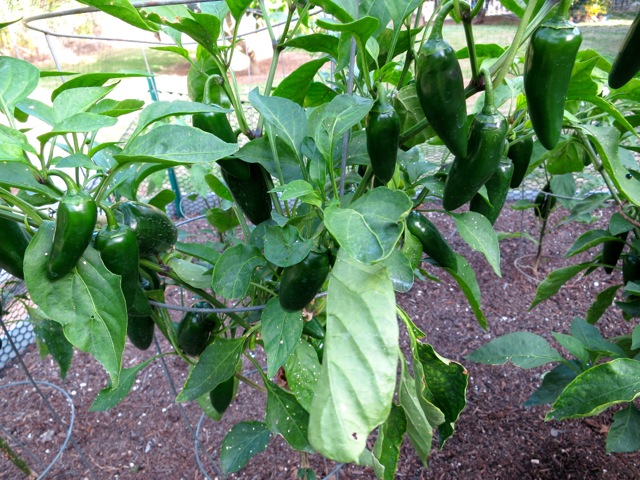
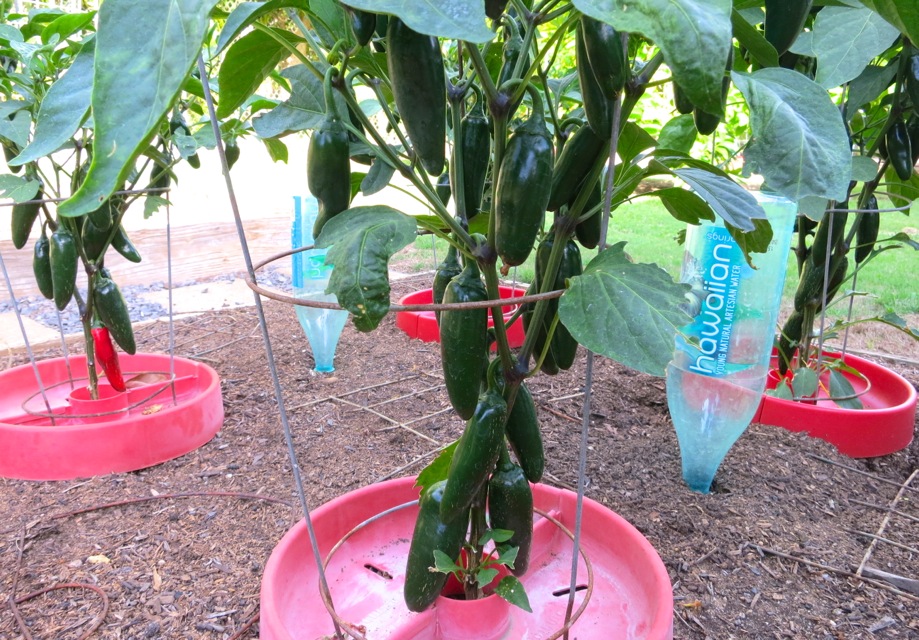
Jalapeño Plants  We now have 10 jalapeño plants in the garden.  We make both pickled nacho rings and jalapeño hot sauce .

Jalapeño Nacho Rings

Pickled Jalapeños

Makes 4 pint jars

Ingredients

2 pounds fresh jalapeño peppers

2 1/2 cups white vinegar

2 1/2 cups water (distilled or filtered)

5 teaspoons pickling salt

1/4 teaspoon turmeric

1 1/4 teaspoons calcium chloride (Ball brand Pickle Crisp)

4  2-inch sprigs fresh Mexican oregano (optional)

Preparation

Wash jalapeños and slice into 1/4 to 1/3 inch rings. It’s a good idea to wear disposable gloves when cutting peppers. Divide sliced peppers into 4 equal portions.

Wash jars and place them in boiling-water canner.  Fill the jars and canner with water to the top of the jars.  Cover and bring water to a simmer over medium heat, do not boil.  Prepare the two-piece closures.  Wash lids and place in a small saucepan and cover with water.  Heat to just a simmer but do not boil.  Do not heat screw bands.

In a medium-sized saucepan add remaining ingredients except oregano sprigs.  Bring to a boil, then simmer for 5 minutes on low heat.

Lift the canner jar rack and fix into place on the rim of the canner. Remove one jar at a time and empty hot water back into the canner. Place jar on a cutting board. Place a canning funnel in the jar.  Add 1 oregano sprig to the jar, pack jar with portioned jalapeño rings. Ladle hot brine into jar leaving 1/2-inch head space.  Remove air bubbles (with a chopstick or similar utensil) and adjust head space, if necessary, by adding more brine.  Wipe jar rim. Using a magnetic utensil, lift hot lid from water, center it on the  jar and place screw band on jar.  Tighten screw band evenly and firmly just until resistance is met.  Then increase to fingertip tight.  Do not over tighten.  Return jar to canner rack.  Continue filling jars individually until all jars are filled, lower rack into canner and ensure that all jars are covered by 1 inch of water.  Cover canner and bring water to a full boil over high heat.  Process for 10 minutes, starting timer only when water reaches a full boil. Turn off the heat, let jars sit in pot for 5 minutes.

Remove jars from water, and let stand,  undisturbed, at room temperature 24 hours.  To check seals, remove the bands, and press down on the center of each lid.  If the lid doesn’t move, the jar is sealed.  If the lid depresses and pops up again, the jar is not sealed.  In the event that a jar does not seal, simply refrigerate it. Store properly sealed jars in a cool, dark place up to 1 year (date your jars on the bottom with a Sharpie pen)  Refrigerate after opening.


Canning, Lactose Free, Pickles, Recipes, Vegan, Vegetarian, Veggies

Homemade Dill Pickles

April 21, 2014

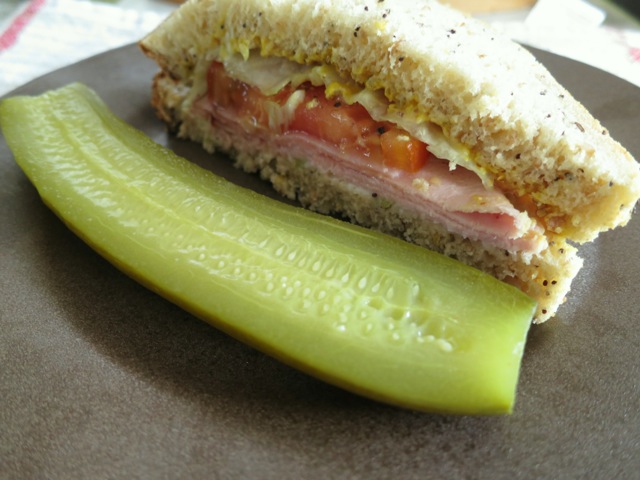
Keiki CukesPickles, pickles, pickles.  I can’t live without them.  Crunchy, tangy, salty, dilly, best chilled and served alongside a sandwich.

Homemade Dill Pickle

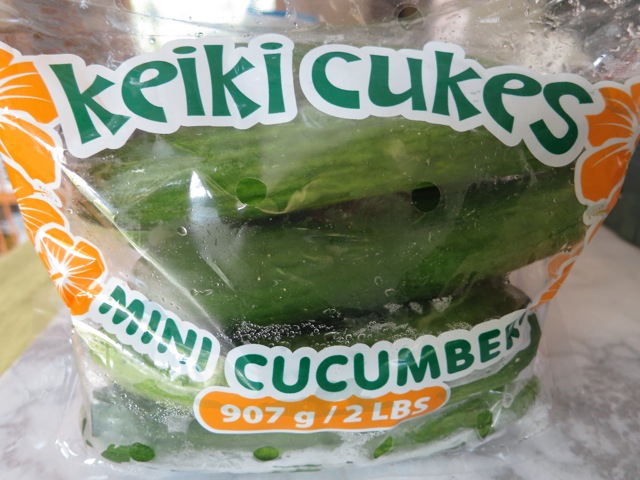
Keiki CukesJohn’s grandmother, Ida, made terrific dill pickles. Unfortunately, her recipe was lost. With the memory of those pickles in mind, he has been determined to make his own dills ever since. He used to grow cucumbers specifically for pickle making.  Unfortunately the garden pests were fond of them too.  Most destructive are the pickle worms that burrow into the poor little cukes.  It’s very frustrating to have spent so much time nurturing your plants only to have them destroyed.  Now that our local Costco sells these Keiki Cukes, we’re in business again.  These crunchy cucumbers are perfect for pickles.

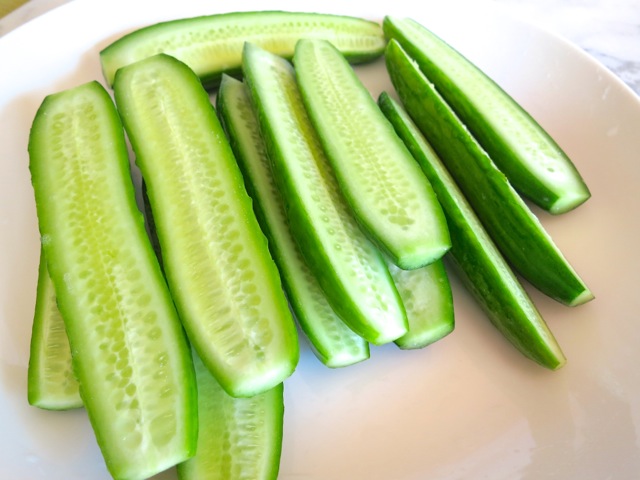
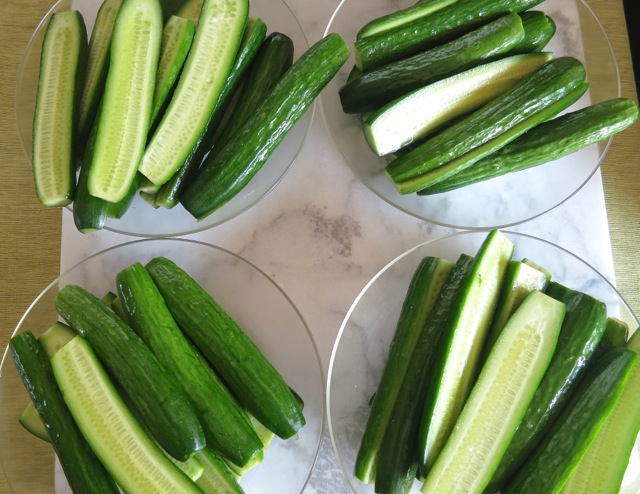
Sliced CukesBeautiful mini cucumbers with tender skin and few seeds.

Divide Up Cucumbers for Each JarIt is best to have your mise en place ready.  Divide up the cucumbers for each jar so that you can work quickly to get the jars into the water bath canner.

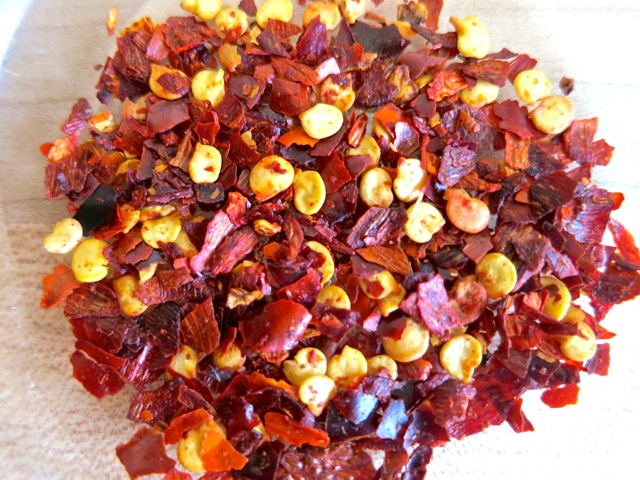
Red Pepper Flakes

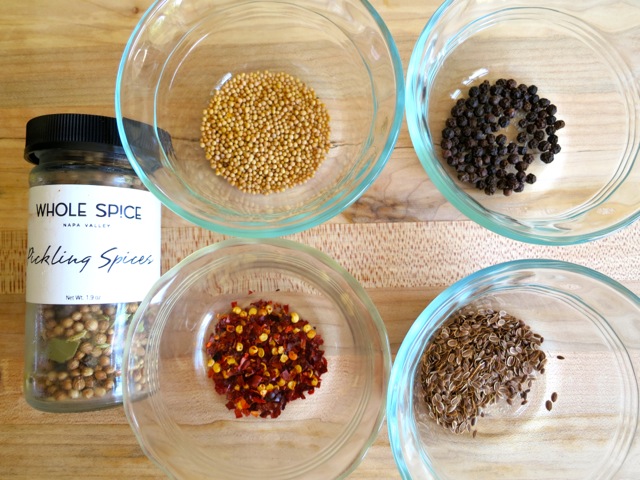
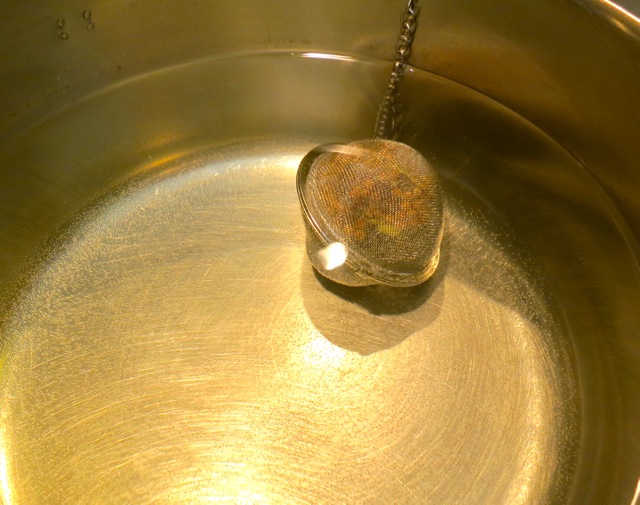
Pickling Spices, Mustard Seeds, Black Peppercorns, Dill Seeds, Red Pepper FlakesThe pickling spice is optional but it does add a nice flavor to the brine.  If you don’t have a tea ball you may use cheese cloth.

Tea Ball with Pickling Spices

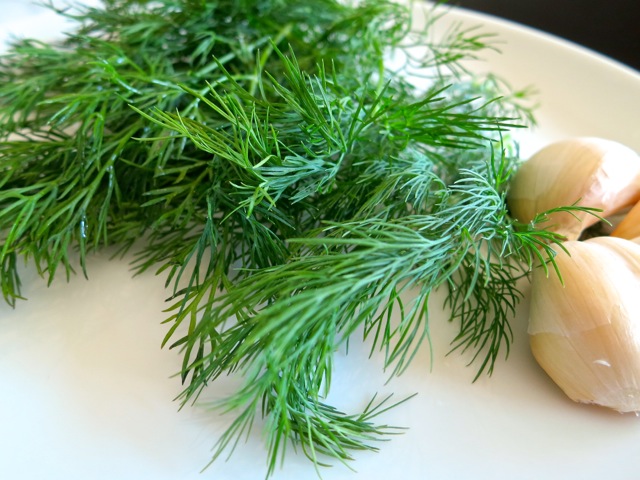
Fresh Dill & Garlic

Spices in Jar

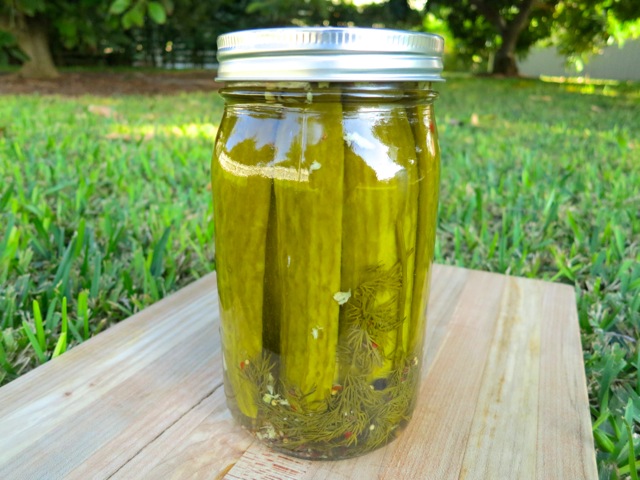
Dill Pickles

Homemade Dill Pickles

Makes 4 Quart Jars

Ingredients for pre-brine (optional)

3 quarts distilled or filtered water

5 tablespoons pickling salt

Ingredients for the brine

4 cups white vinegar

4 cups distilled or filtered water

2 tablespoons + 2 teaspoons pickling salt

2 teaspoons calcium chloride, AKA “Pickle Crisp” (optional)

3 tablespoons mixed pickling spice (in a tea ball or cheese cloth)

 Ingredients for the jars

4 1/2 pounds Keiki Cukes or other pickling cucumbers (about 18 ounces per jar)

4 teaspoons yellow mustard seeds

4 teaspoons black peppercorns

4 teaspoons dill seeds

2 teaspoons red pepper flakes

4 garlic cloves, crushed

4 large sprigs of fresh dill

Preparation

Wash cucumbers. Trim ends for uniformity and slice in half lengthwise.  At this point, one option is to pre-brine the sliced cucumbers overnight in 3 quarts distilled or filtered water mixed with 5 tablespoons pickling salt.  This is recommended but not required.  It does make for a crisper pickle. To portion the cucumbers for each jar, use an empty quart mason jar and snuggly pack with the cucumber slices. Remove slices and place in individual bowls and set aside.

Wash jars and place them in boiling-water canner.  Fill the jars and canner with water to the top of the jars.  Cover and bring water to a simmer over medium heat, do not boil.  Prepare the two-piece closures.  Wash lids and place in a small saucepan and cover with water.  Heat to just a simmer but do not boil.  Do not heat screw bands.

Place brine ingredients in a large saucepan and bring to a boil, turn down the heat and simmer for 5 minutes.

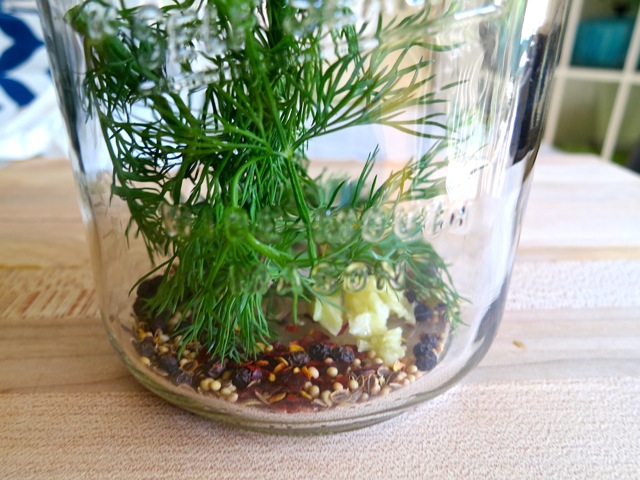
Lift the canner jar rack and fix into place on the rim of the canner. Remove one jar at a time from canner and empty hot water back into the canner. Place jar on a cutting board.  Place 1 teaspoon each of yellow mustard seeds, black peppercorn, dill seeds, 1/2 teaspoon red pepper flakes as well as 1 crushed garlic clove and 1 large sprig of fresh dill.  Pack  cucumbers into jar to within a generous 1/2 inch of top of jar.  Place a canning funnel in the jar.  Ladle hot brine into jar leaving 1/2-inch head space.  Remove air bubbles (with a chopstick or similar utensil) and adjust headspace, if necessary, by adding more brine.  Wipe jar rim. Using a magnetic utensil, lift hot lid from water, center it on the  jar and place screw band on jar.  Tighten screw band evenly and firmly just until resistance is met.  Then increase to fingertip tight.  Do not over tighten.  Return jar to canner rack.  Continue filling jars individually until all jars are filled, lower rack into canner and ensure that all jars are covered by 1 inch of water.  Cover canner and bring water to a full boil over high heat.  Process for 15 minutes, starting timer only when water reaches a full boil.

Remove jars from water, and let stand,  undisturbed, at room temperature 24 hours.  To check seals, remove the bands, and press down on the center of each lid.  If the lid doesn’t move, the jar is sealed.  If the lid depresses and pops up again, the jar is not sealed.  In the event that a jar does not seal, simply refrigerate it. Store properly sealed jars in a cool, dark place up to 1 year (date your jars on the bottom with a Sharpie pen)  Refrigerate after opening.


Canning, Recipes, Sandwiches, Vegan, Vegetarian

Whole Grain Mustard

March 8, 2014

Whole Grain Mustard with a Side of Snacks“Southern Living’s” Little Jars, Big Flavors (small batch jams, jellies, pickles, and preserves from the South’s most trusted kitchen) is a real gem.   We’ve made the mixed berry jam and have now ventured on to whole grain mustard.  Both of these recipes are superb.   Neither one is time-consuming nor do they require any hard to find ingredients.  Plain and simple, they are delicious.

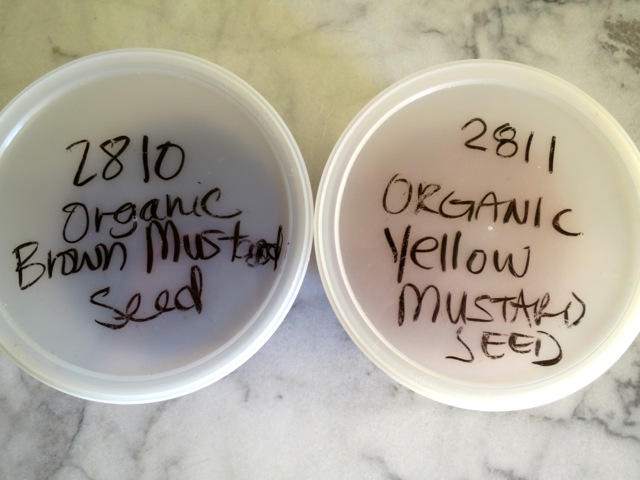
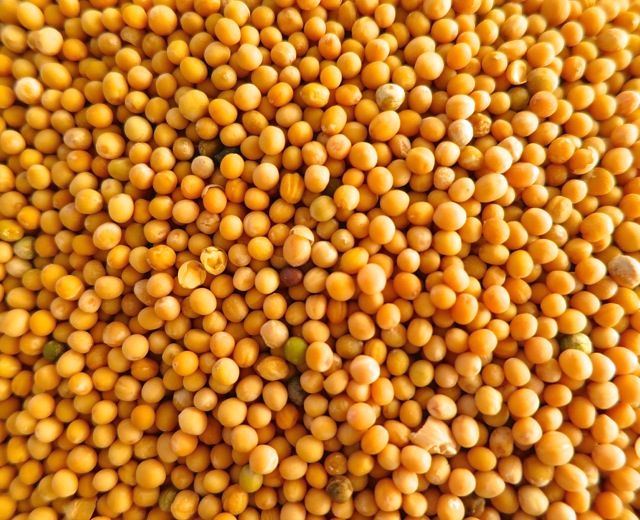
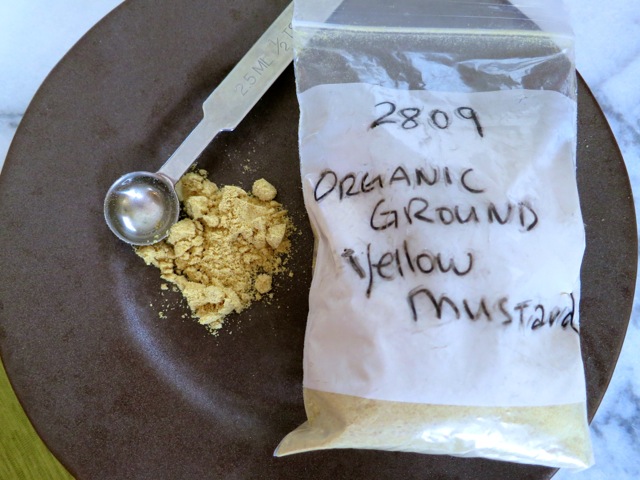
Organic Mustard SeedsThanks go to our daughter Jessica (who brought this recipe to our attention) for sending a “care” package full of mustard seeds and powder as well as some difficult to find whole grain bread ingredients.

Brown Mustard SeedsBrown mustard seeds.

Yellow Mustard SeedsYellow mustard seeds.

Organic Ground Yellow Mustard

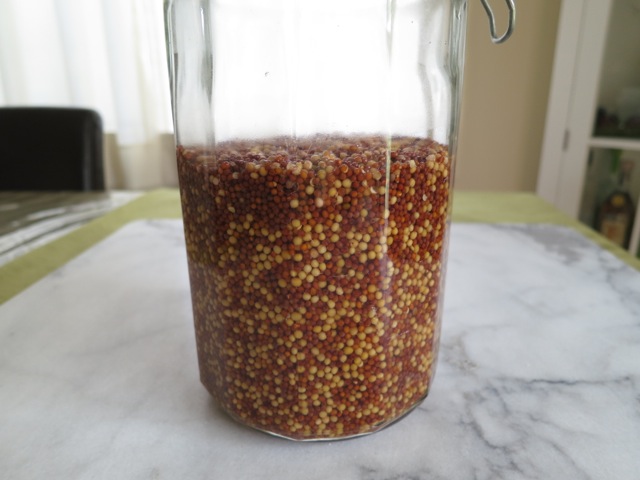
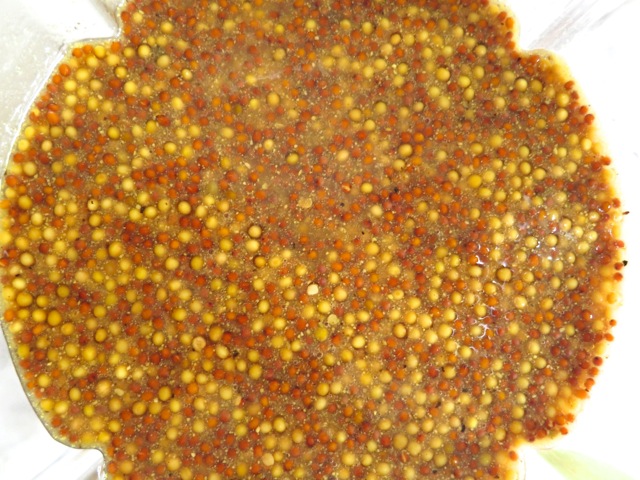
Mustard Seeds and VinegarThis photo shows the first step of making the whole grain mustard.  The seeds and vinegar are placed in a large jar and set aside for 5 days.  The mustard seeds are quite thirsty and soak up much of the vinegar, quickly.

Mustard Seeds & Vinegar 2 Hours LaterAs you see in this picture, it’s only been a couple of hours and much of the vinegar has been absorbed by the seeds.

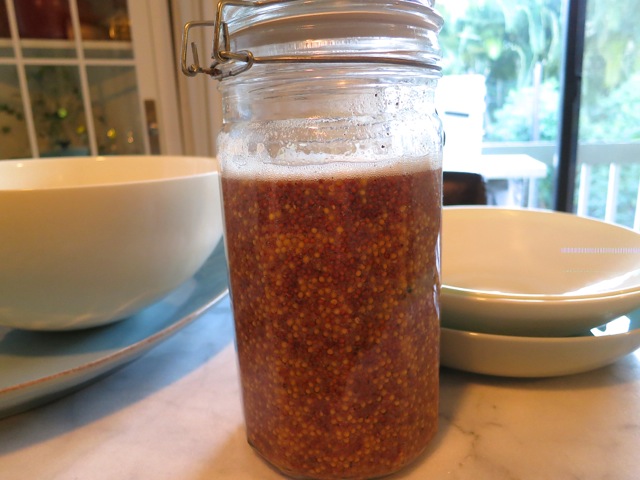
Mustard Day 8Five days later, other ingredients are added to the mixture.  Set the jar aside for another 5 days.  So simple.

Mustard in BlenderThe mustard is placed in a blender and processed until the desired consistency is met.

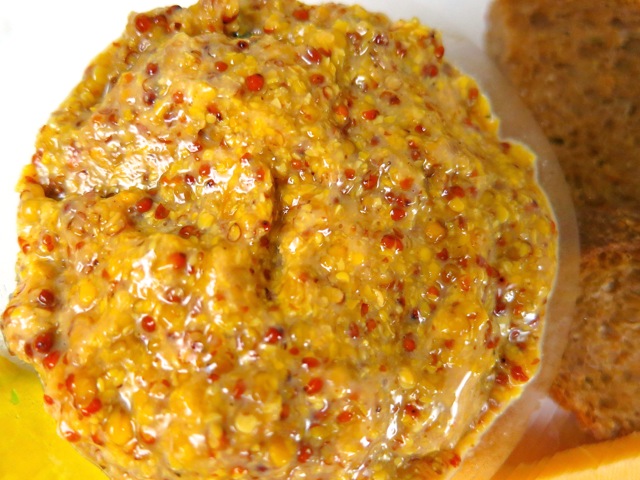
Blended MustardWhole grain mustard ready for canning.  It smells so good.

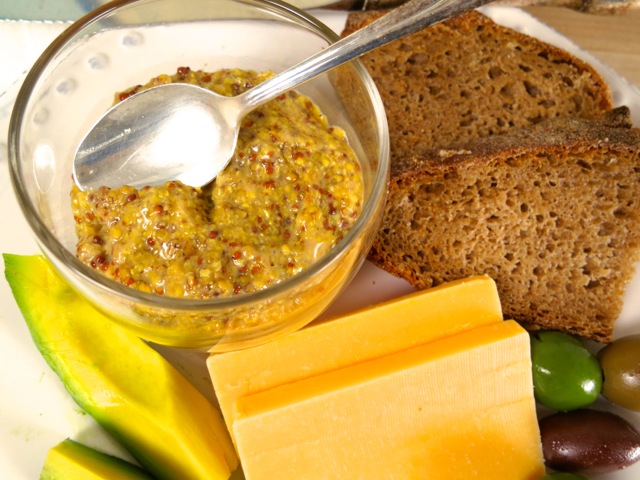
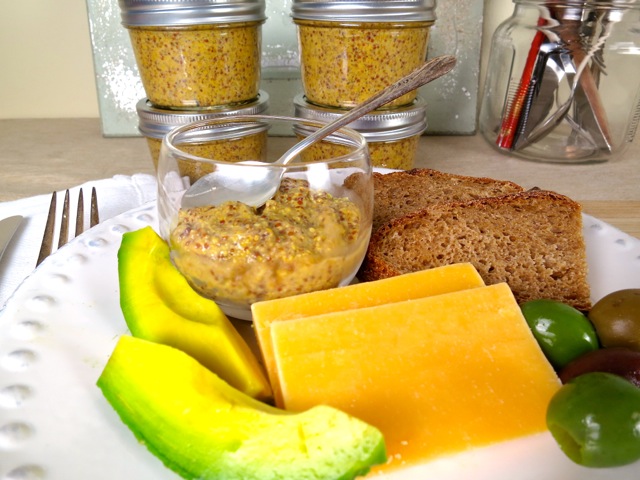
Whole Grain MustardThis whole grain mustard is delicious slathered on good bread with thinly sliced pastrami, ham or in an avocado sandwich.  It makes a wonderful dressing for potato salad.

Potato Salad with Whole Grain Mustard

Whole Grain Mustards

Whole Grain Mustard

Adapted from Southern Living ~ Little Jars Big Flavors

Makes 4 half-pint jars

Ingredients

1 1/4 cups white wine vinegar (5% acidity), divided

1 1/4 cups red wine vinegar (5% acidity), divided

3/4 cup brown mustard seeds

3/4 cup yellow mustard seeds

1/4 cup dry white wine

2 tablespoons honey

3 tablespoons dry mustard

4 teaspoons salt

2 teaspoons freshly ground pepper

Preparation

Stir together 1 cup white wine vinegar, 1 cup red wine vinegar, and brown and yellow mustard seeds in a clean 1-quart jar.  Cover with lid, and let stand at room temperature 5 days, adding more red or white vinegar if seeds look dry.

Stir in remaining 1/4 cup white wine vinegar and 1/4 cup red wine vinegar, white wine, honey, salt and pepper.   Stir in dry mustard.  Cover with lid, let stand at room temperature 5 more days. (Mixture may be slightly bubbly, not a problem)

Process mustard mixture in a blender until desired consistency is reached.  The original recipe calls for using a food processor rather than a blender.  This produces a coarser textured mustard.  I prefer a bit creamier yet still rustic texture that is produced by using a blender.  If the mustard is too thick, its consistency can be adjusted by adding a little water or more vinegar.  The mustard should not be too thick otherwise you may end up with air bubbles in the mustard that will be difficult to remove.

Sterilize jars, and prepare lids for canning:

Wash jars and place them in boiling-water canner.  Fill the jars and canner with water to the top of the jars.  Cover and bring water to a simmer over medium heat, do not boil.  Prepare the two-piece closures.  Wash lids and place in a small saucepan and cover with water.  Heat to just a simmer but do not boil.  Do not heat screw bands.

Lift the canner jar rack and fix into place on the rim of the canner. Remove one jar at a time from canner and empty hot water back into the canner. Place jar on a cutting board and place a canning funnel in the jar.  Ladle mustard into jar leaving 1/2-inch head space.  If you notice any air pockets do your best to remove them with a chopstick or similar utensil. With a clean damp cloth or paper towel wipe jar rim to remove any food residue.  Using a magnetic utensil, lift hot lid from water, center it on the  jar and place screw band on jar.  Tighten screw band evenly and firmly just until resistance is met.  Then increase to fingertip tight.  Do not over tighten.  Return jar to canner rack.  Continue filling jars individually until all jars are filled, lower rack into canner and ensure that all jars are covered by 1 inch of water.  Cover canner and bring water to a full boil over high heat.  Process for 15 minutes, starting timer only when water reaches a full boil.  Any leftover mustard can be refrigerated for immediate use.

Remove jars from water, and let stand,  undisturbed, at room temperature 24 hours.  To check seals, remove the bands, and press down on the center of each lid.  If the lid doesn’t move, the jar is sealed.  If the lid depresses and pops up again, the jar is not sealed.  In the event that a jar does not seal, simply refrigerate it. Store properly sealed jars in a cool, dark place up to 1 year.  Refrigerate after opening.


Canning, Fruit, Jams & Jellies, Recipes

Mixed Berry Jam

February 12, 2014

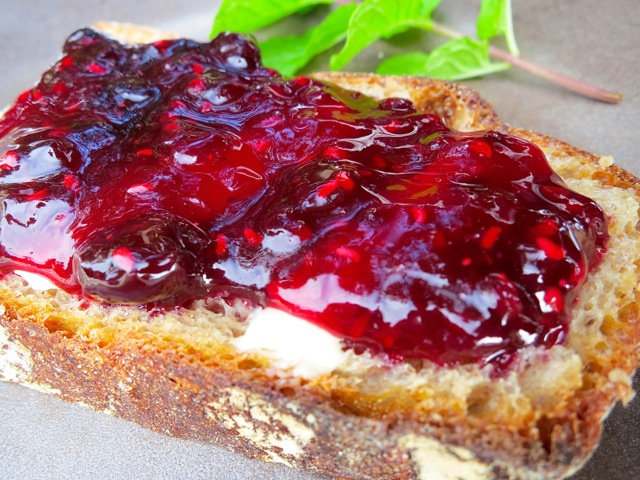
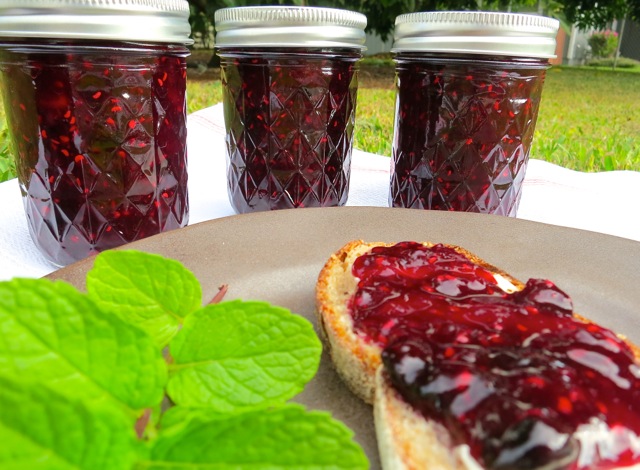
Mixed Berry Jam on ToastMango season is over and, alas, we have no lilikoi either. We love making jams and jellies from our own fruit, but when these fruits are out of season we look to other sources.

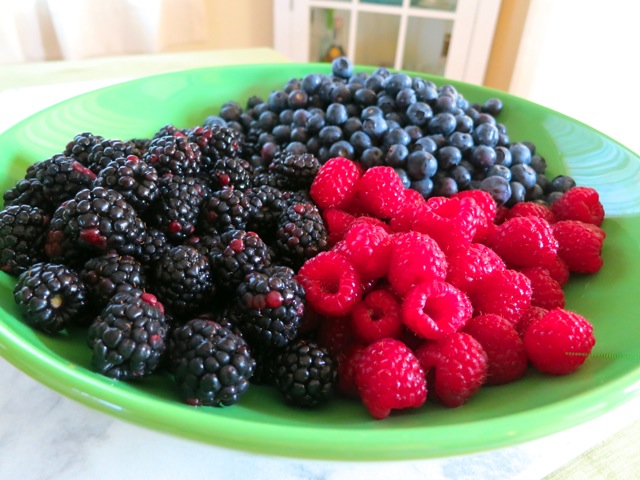
Blackberries, Blueberries, RaspberriesA mixed berry jam came to mind when John received his copy of Little Jars, Big Flavors published by Southern Living.  The book was on the Serious Eats list of  best Christmas gift books for 2013.  The recipes consist of small-batch jams, jellies, pickles, and preserves.  We were making our weekly trip to Costco and discovered that their selection of blackberries, raspberries and blueberries were all in perfect condition.  Buying various types of berries can be tricky.  I’ve purchased a container of blackberries that looked fine, however the next morning when I opened the container, to my dismay they were moldy. Aargh!
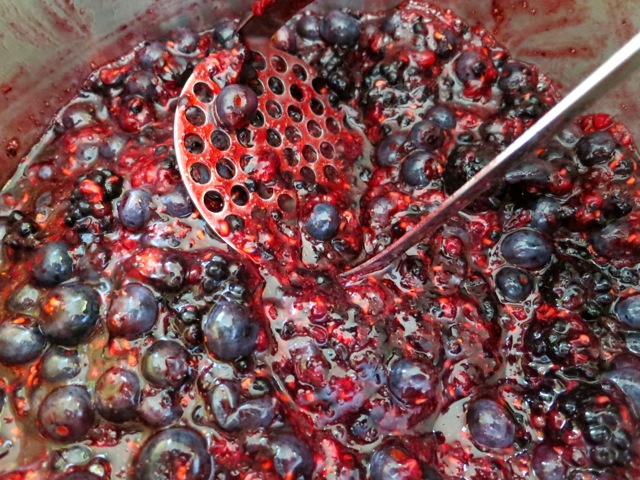
Crush Mixed BerriesThough the recipes in the book are “small-batch” we doubled the recipe because  we had bought so many good-looking berries.  Why not?

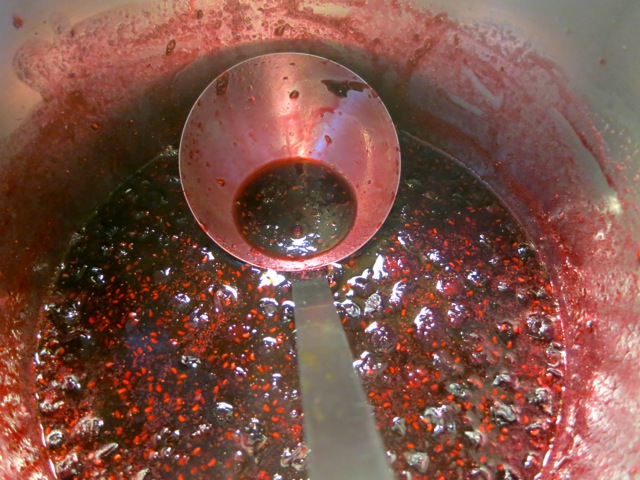
Cooked BerriesThis was a very simple recipe that produced the most delicious berry jam.  No pectin required.  We expected to have 8 half-pint jars of jam but ended up with 9 jars.  Since we only prepared 8 jars for canning we refrigerated the 9th jar and it was gone in a week! Have you ever had peanut butter and jam on toast for dessert? Scrumdiddlyumptious.

Mixed Berry Jam and Toast

Mixed Berry Jam

Southern Living ~ Little Jars, Big Flavors

Makes 9 half pint jars

Ingredients:

24 ounces (5 cups) blackberries

12 ounces (3 cups) raspberries

24 ounces (4 cups) blueberries

38 ounces sugar (6 cups)

2 tablespoons lime juice

Preparation

Rinse berries thoroughly under cold running water.  Remove and discard stems and any blemished berries.  Drain well.  Mash with a potato masher until evenly crushed.  Most of the blueberries will remain whole but that’s OK, they will soften once cooked and add a nice chunky texture to the jam.

Wash jars and place them in boiling-water canner.  Fill the jars and canner with water to the top of the jars.  Cover and bring water to a simmer over medium heat, do not boil.  Prepare the two piece closures.  Wash lids and place in a small saucepan and cover with water.  Heat to just a simmer but do not boil.  Do not heat screw bands.

While jars are simmering, bring crushed berries, lime juice and sugar to a rolling boil in an 8-quart stainless steel sauce pan or enameled Dutch oven over medium-high heat, stirring occasionally, until sugar dissolves.  Continue cooking, stirring often,  until it reaches 220 degrees on a digital thermometer (about 7 minutes).  Remove from heat and let foam settle (about 1 minute).  Skim off and discard any foam.

Lift the canner jar rack and fix into place on the rim of the canner. Remove one jar at a time from canner and empty hot water back into the canner. Place jar on a cutting board and place a canning funnel in the jar.  Ladle hot jam into jar leaving 1/4 inch head space.  With a clean damp cloth or paper towel wipe jar rim to remove any food residue.  Using a magnetic utensil, lift hot lid from water, center it on the  jar and place screw band on jar.  Tighten screw band evenly and firmly just until resistance is met.  Then increase to finger tip tight.  Do not over tighten.  Return jar to canner rack.  Continue filling jars individually until all jars are filled, then lower rack into canner and ensure that all jars are covered by 1 inch of water.  Cover canner and bring water to a full boil over high heat.  Process for 5 minutes, starting timer only when water reaches a full boil.

Remove jars from water, and let stand, undisturbed, at room temperature 24 hours.  You will hear the seals pop rather quickly once the jars are removed from the water.  If any of the lids do not seal, refrigerate the jam and enjoy right away.  Properly sealed jars will keep in your cupboard for up to one year, but why wait? Share them with your family and friends.  They will be delighted to receive a precious jar of homemade jam.

***We write the date the jam was made on the bottom of the jar with a Sharpie pen.

Canning, Fruit, Jams & Jellies, Recipes

Mango Strawberry Jam

August 15, 2013

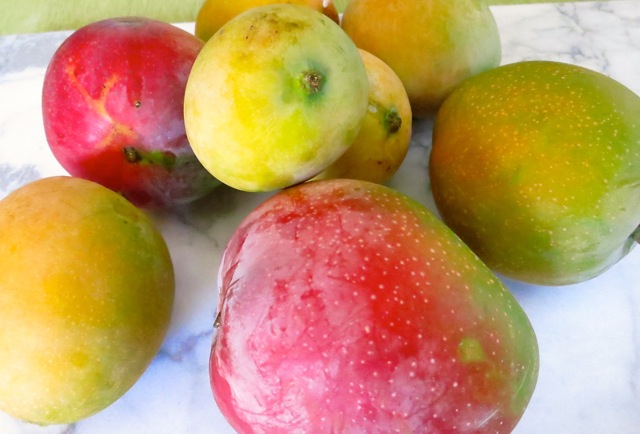
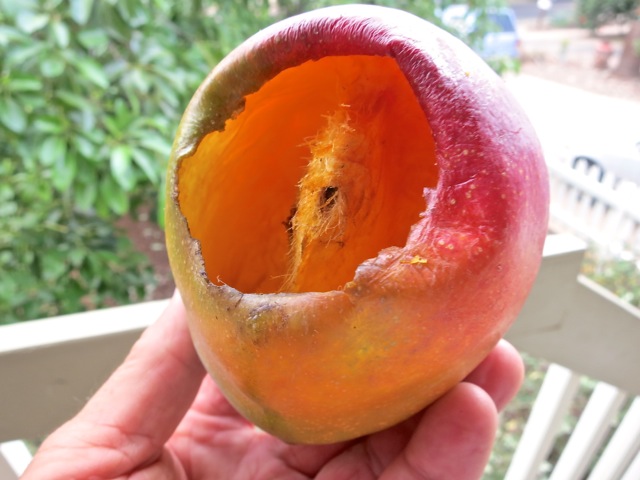
MangoesMangoes are our favorite fruit.  We have two mango trees in our yard, Rapoza and White Pirie.  Both provide us with sweet and juicy fruit throughout spring and summer and even occasionally into fall.  Apparently we are not the only ones who love mangoes.  This year the birds decided they couldn’t wait for the occasional mango that falls to the ground.  They have been devouring the mangoes while still on the tree.

Birds eat mangoThe nerve of those birds!

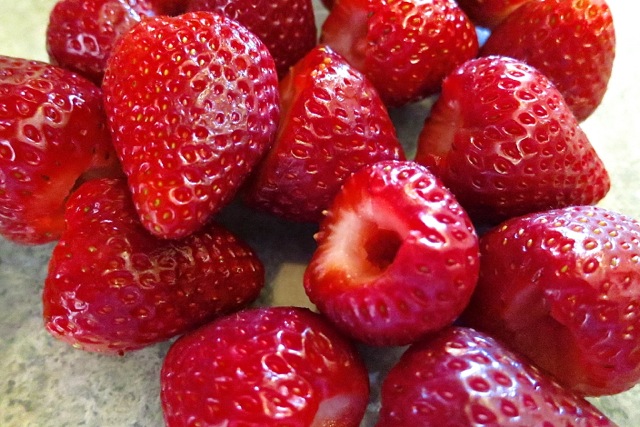
Hulled StrawberriesNo thanks to those hungry birds, we were still lucky to have enough fruit to make some jam this summer.  This time we mixed it up a bit and made mango-strawberry jam.  It turned out great.

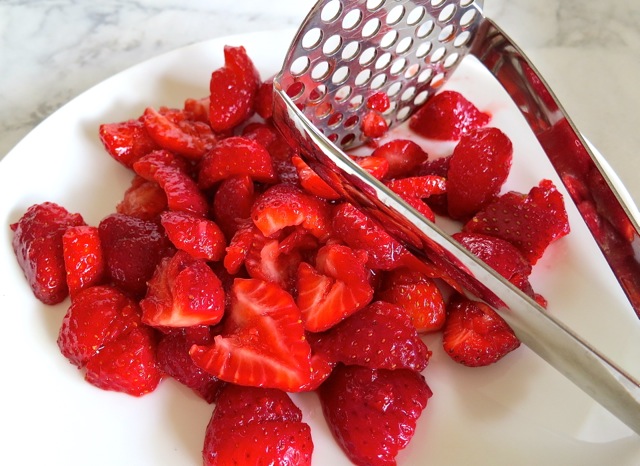
Crushed StrawberriesStrawberries are lightly crushed with  a potato masher to soften a bit and release their fragrant flavor.

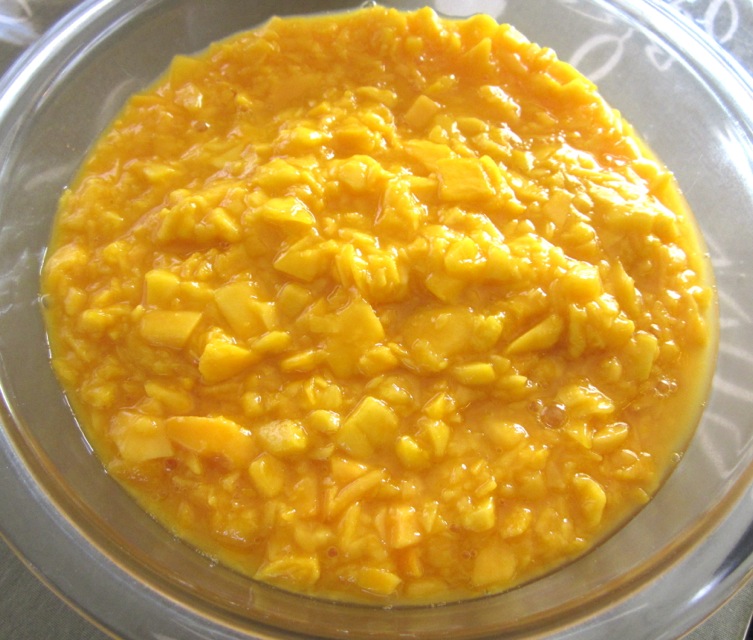
Chopped Mangoes

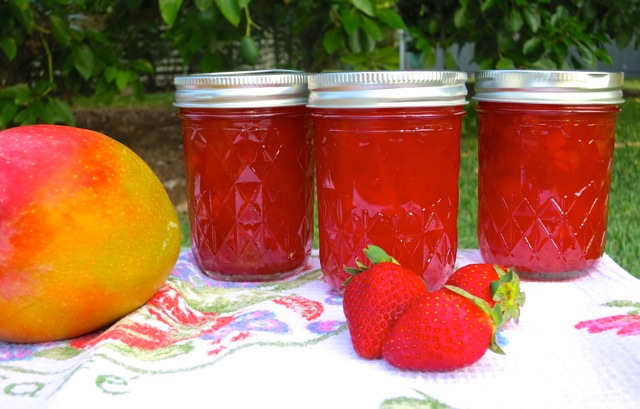
Mango Strawberry Jam Jars

Mango Strawberry Jam

Makes 7 half pint jars

Ingredients

1 1/2 cups packed crushed strawberries

3 1/4  cups diced mango (I cut the mango into small chunks then pulse a few times in the food processor.  Be careful not to pulse too much or you will end up with mango purée!)

1/4 cup fresh lemon juice

5 1/2 cups sugar (1038 g)

1 package powdered pectin

Preparation

Place jars in boiling-water canner.  Fill the jars and canner with water to the top of the jars.  Cover and bring water to a simmer over medium heat, do not boil.  Prepare the two piece closures.  Place lids in a small saucepan and cover with water.  Heat to just a simmer but do not boil.  Do not heat screw bands.

Wash and prepare strawberries and dice mangoes.  Using a potato masher lightly crush strawberries.  Measure out 1 1/2 cups strawberries and 3 cups diced mango. Measure sugar and set aside.

Transfer fruit to a large, deep stainless steel saucepan.  Add lemon juice to fruit.  Whisk in pectin until it dissolves.  Bring to a full rolling boil over high heat, stirring frequently.  Add sugar all at once.  Stirring constantly, return to a full rolling boil that cannot be stirred down.   Boil hard, stirring constantly for 1 minute.  Remove from heat and using a large slotted metal spoon skim off any foam.

Fill one jar at a time. Remove jar from canner and empty hot water back into the canner. Place jar on a cutting board and place a canning funnel in it.  Ladle hot jam into jar leaving 1/4 inch head space.  With a clean damp cloth or paper towel wipe jar rim to remove any food residue.  Using a magnetic utensil lift hot lid from water, center it on the  jar and place screw band on jar.  Tighten screw band evenly and firmly just until resistance is met.  Then increase to finger tip tight.  Do not over tighten.  Return jar to canner rack until all jam is used.  When all jars are filled lower rack into canner and ensure that all jars are covered by 1 inch of water.  Cover canner and bring water to a full boil over high heat.  Process for 10 minutes, starting timer only when water reaches a full boil.

At the end of the processing time, turn the heat off and remove canner lid.  Wait 5 minutes then remove jars without tilting.  Place jars upright on a rack or towel and let cool undisturbed for 24 hours.  After 24 hours check lids for proper seal.  Remove screw bands  and press down on the lid with your finger.  Sealed lids will curve downward and will show no movement when pressed.  Jars that haven’t sealed properly must be refrigerated immediately or reprocessed.  Wipe jars and store in a cool, dry place.  Label and date jars.
***If there is extra jam after filling all of the jars, transfer to a small container and store in the refrigerator.

Canning, Mexican, Recipes

Jalapeño & Tomatillo Hot Sauce

July 14, 2013

Jalapeno Hot SauceOnce a year, John plants jalapeños in the garden.  This year he tried a new hybrid, Jalafuego and whoa! There were jalapeños coming from every which way. It is very productive, with beautiful fat peppers.  It was time to bring out the canner and make jalapeño-tomatillo hot sauce.  For a very spicy sauce use only jalapeños.

Jalapeno PlantThe little plants produced an amazing amount of jalapeños.

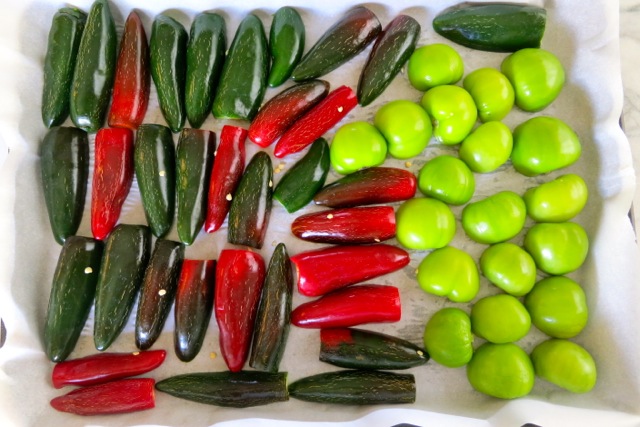
Jalapeno & TomatilloJalapeños and tomatillos are cut into halves then roasted briefly. The sauce can be made with more or less peppers depending on ones tolerance for heat (supermarket peppers vary considerably which is why we grow our own).

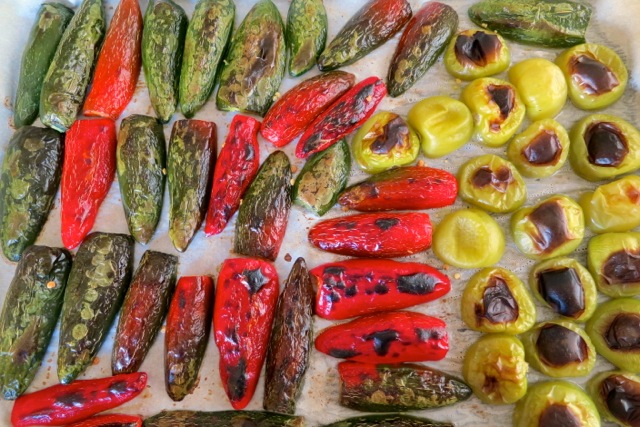
Roasted Jalapeno and TomatilloOnce roasted and charred in a few spots they go into the blender with the other ingredients for a quick whirl.

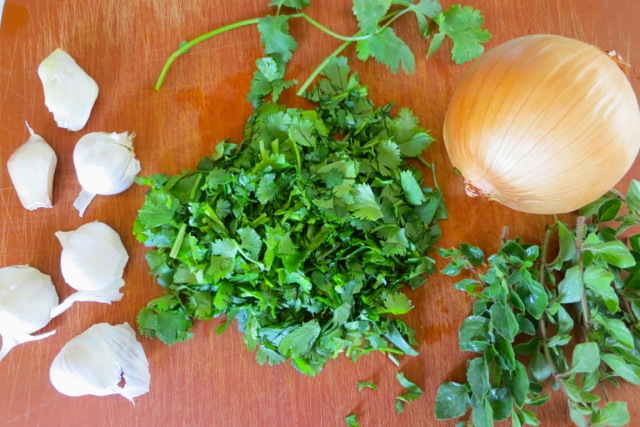
Garlic, Cilantro, Onion, OreganoGarlic, cilantro, onion and fresh oregano all contribute to to the fresh flavor of the jalapeño hot sauce.

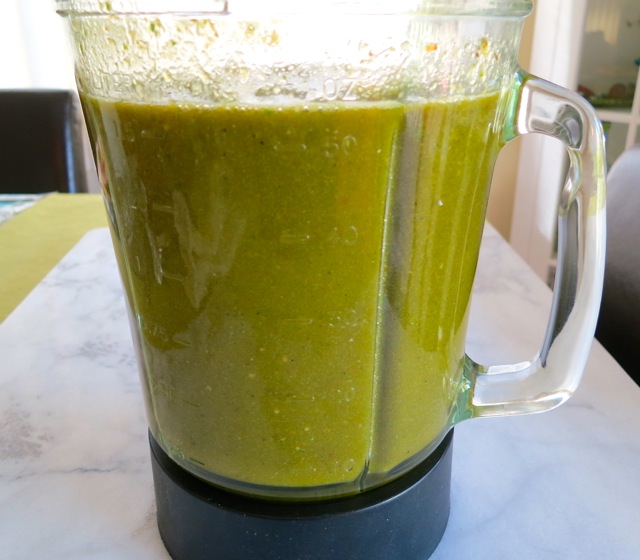
Blended Jalapeno and TomatilloOnce the sauce is processed in the water bath canner it will be shelf stable for up to a year.

8/26/16: Updated

Jalapeño & Tomatillo Hot Sauce

Makes 6 half pint jars

Ingredients

After roasting peppers and tomatillos, total weight should amount to 16 ounces.  If you are a bit short just add a few raw peppers and/or tomatillos to total 16 ounces.

3/4 – 1  pound fresh jalapeños, halved lengthwise (1 1/2 pounds jalapeños if not including tomatillos, for a spicier sauce)

1/2 pound tomatillos, halved

1 cup packed, chopped cilantro, tender stems included

6 large garlic cloves

1 large onion, chopped

6 sprigs fresh oregano about 4 inches each, stems discarded

1 cup fresh lime juice

2 cups white vinegar

1/2 cup filtered water

1 teaspoon pickling salt

2 tablespoons light brown sugar (packed)

Preparation

Turn oven on to broil. Cover a large jelly roll pan or low sided roasting pan with parchment paper.  Place jalapeños and tomatillos cut side down on the pan.  Broil for about 8 – 10 minutes, or until the peppers and tomatillos are well charred.  Remove pan from the oven and set aside.

Combine lime juice, vinegar, water, salt and brown sugar in a medium bowl and whisk to combine.

Place jalapeños, tomatillos, cilantro, garlic, onions, oregano, and lime juice mixture in a blender.  If your blender is unable to accommodate all of the ingredients, hold back some of the liquid and set aside.  Puree all the ingredients in your blender.  Pour the mixture into a large saucepan (add liquid you set aside earlier) and slowly bring to a boil.  Remove pan from heat.

Ladle into prepared canning jars leaving 1/4 inch head space.  Wipe rim.  Center lid on jar.  Screw band down until resistance is met (fingertip tight).  Place in water bath canner and process for 15 minutes.  Turn off heat, let jars rest in canner for 5 more minutes.  Remove to a cooling rack.  Once cool remove canning rings and wipe jars clean before storing.  Be sure to date the jars and use within 18 months.
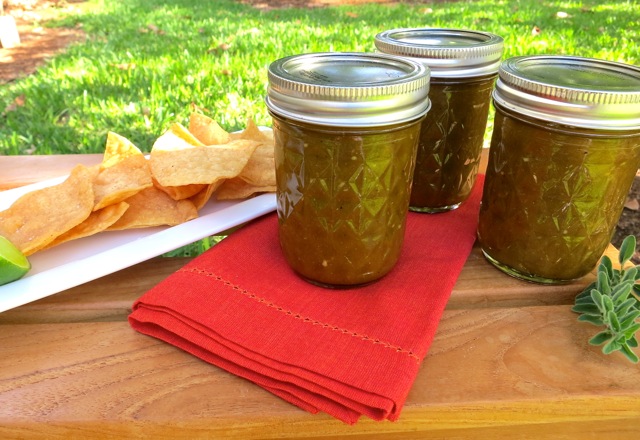
This hot sauce is delicious with, but not limited to, all Mexican cuisine.  A couple of our favorites are with scrambled eggs and on avocado sandwiches.


Follow

Get every new post delivered to your Inbox

Join other followers: