Browsing Category

Appetizers

Appetizers, Bread, Cheese, Dinner, Italian, Recipes, Side Dishes, Vegetarian

Pull-Apart Rosemary Garlic Bread

May 31, 2023

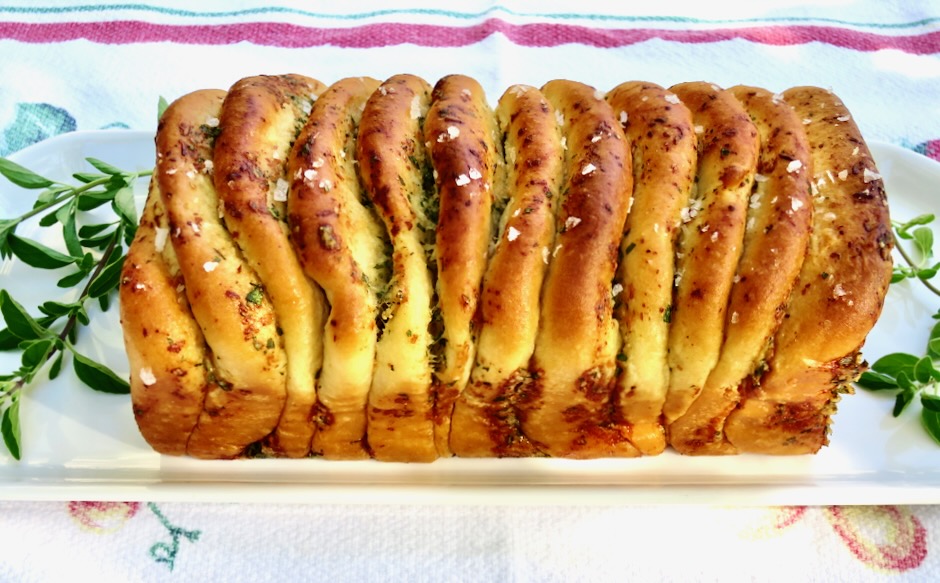
This made to share pull-apart rosemary garlic bread is baked until the crust is a gorgeous shade of gold, and the interior is soft and fragrant from the herbs, butter, garlic and parmesan cheese. It’s so delicious that you will be going back for seconds and thirds.

Food & Wine magazine mentions that making this bread is for bakers of all skill levels and after making it multiple times I absolutely agree. It’s a lot of fun to make and the final result is a delicious variation on garlic bread.

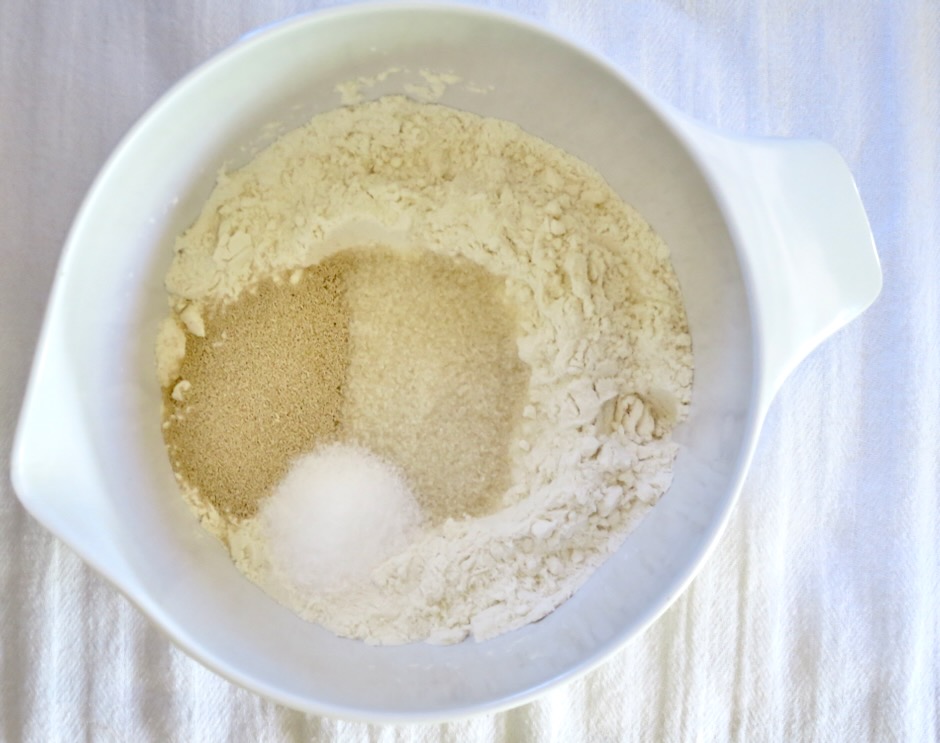
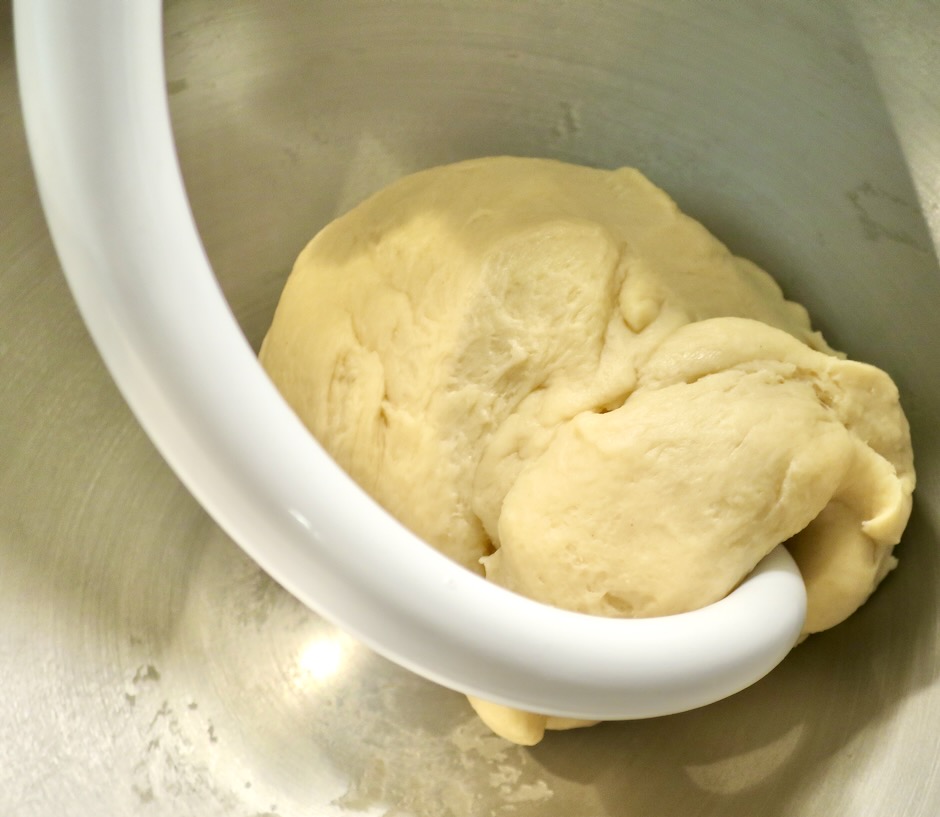
All-purpose flour, a bit of sugar, rapid rise yeast, milk, and butter are mixed up in a stand mixer before being formed into a ball and set aside in a warm area to rise.

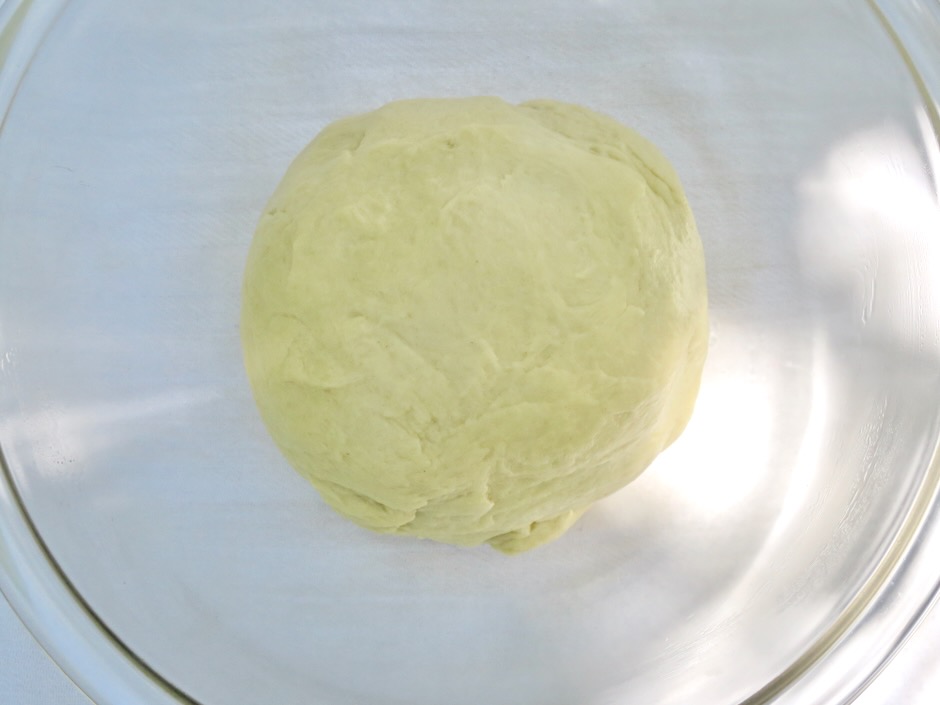
When the weather is warm (always in Hawaii) I cover the dough and place the bowl out on the deck to rise. Some toaster ovens offer a dough proofing setting. If your climate is cool, you might put your bowl in the oven with the light turned on. Otherwise you may leave it out on your counter but expect it to take a bit more time to double in size.

While the dough is rising, make the filling.

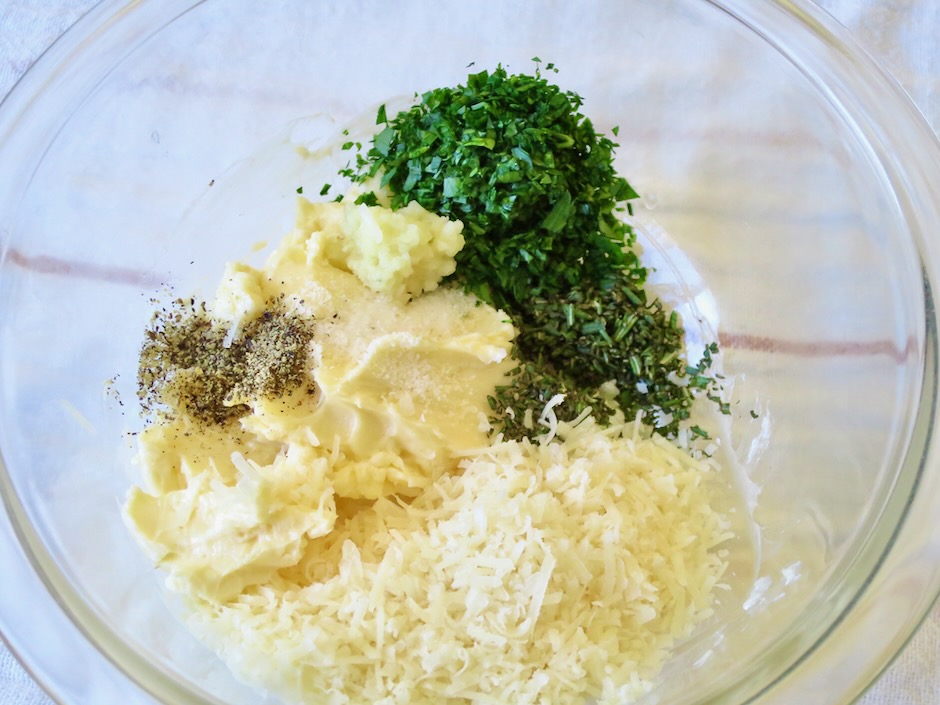
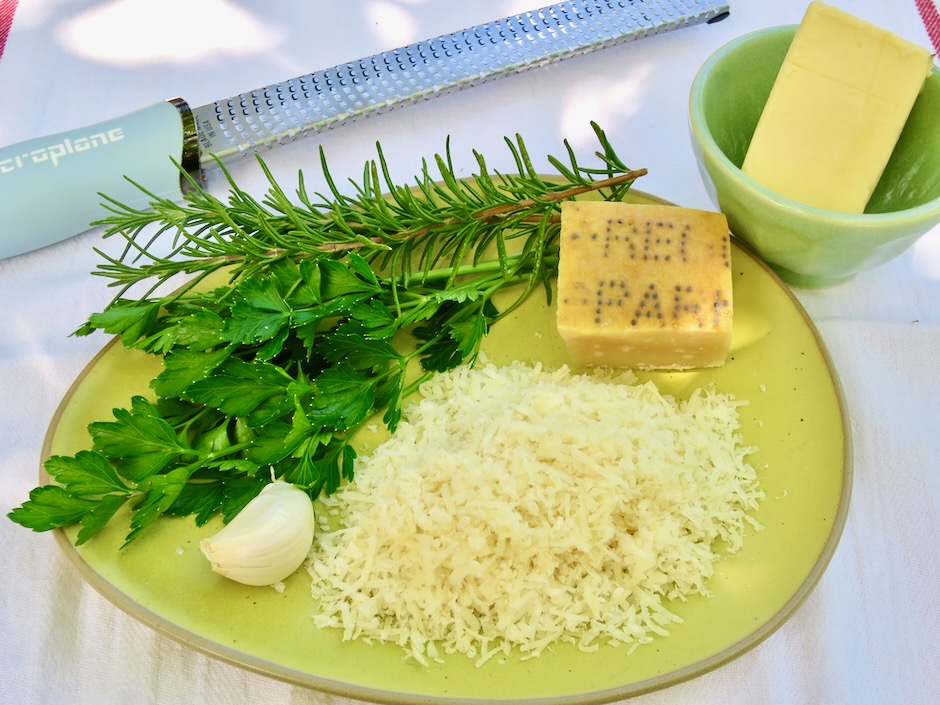
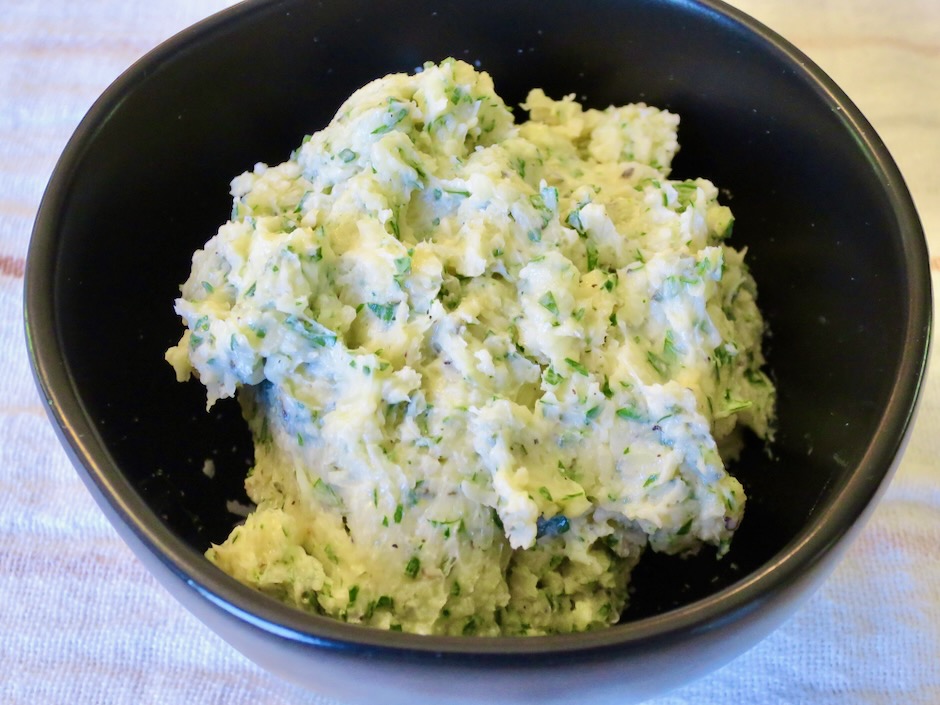
Butter, cheese, parsley, rosemary, garlic, salt and pepper are mixed in a bowl and set aside until ready to use.

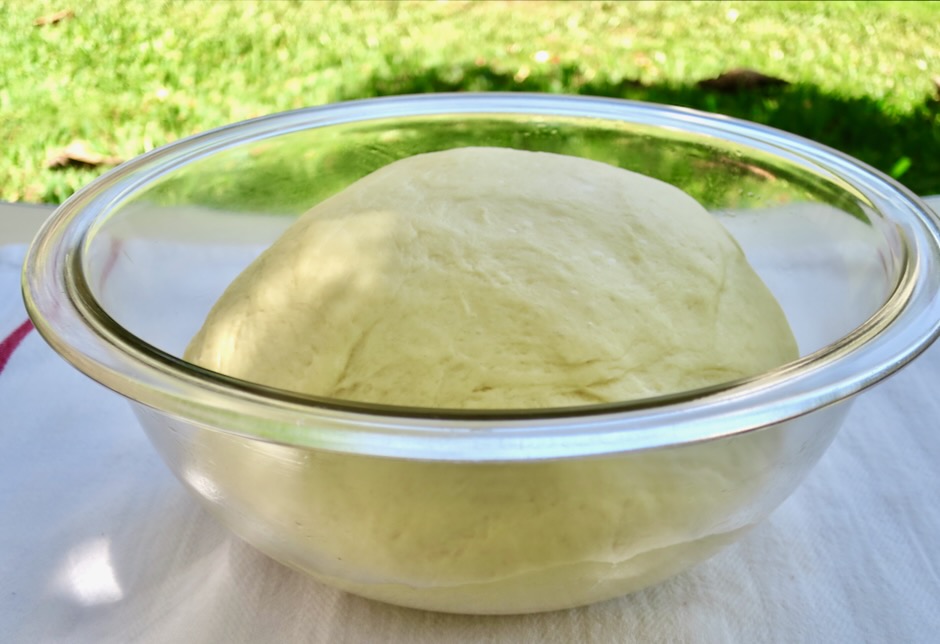
One hour of rise time and the dough has doubled in size.

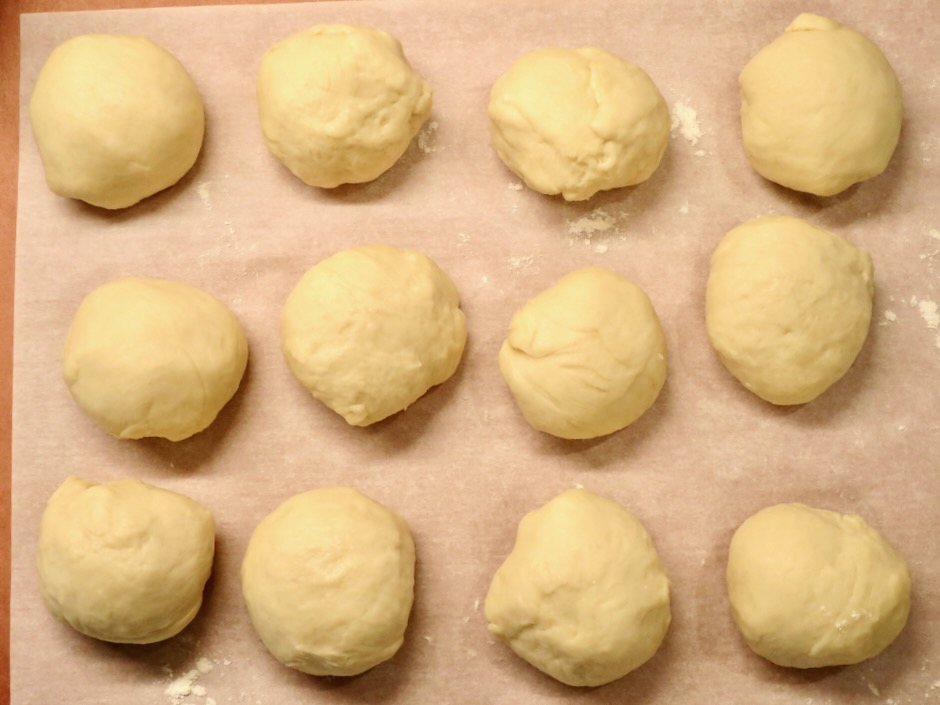
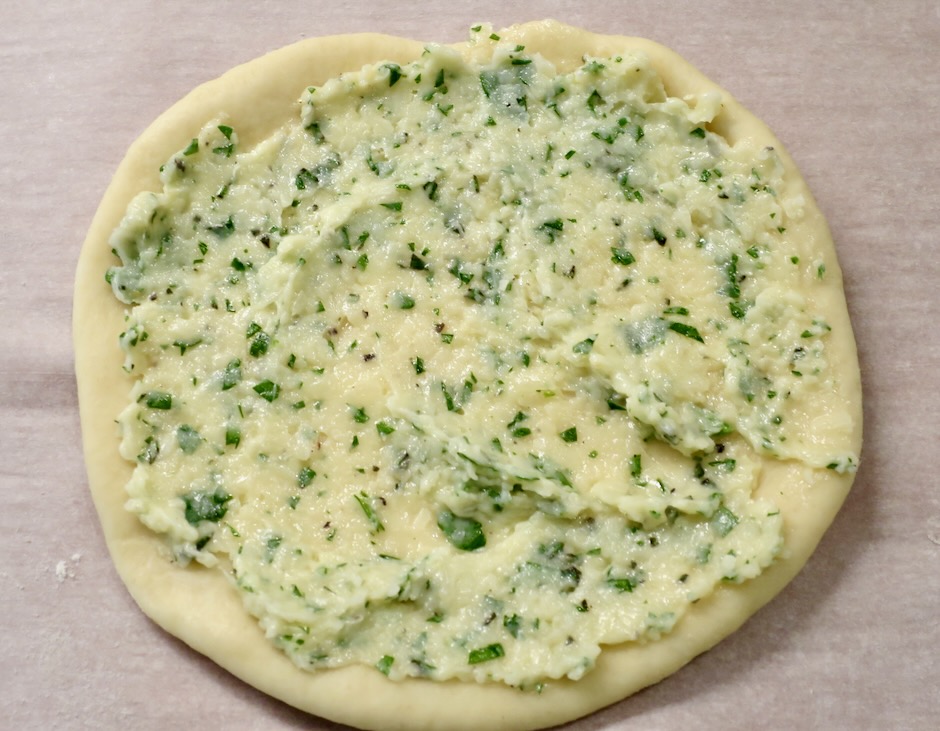
It’s time to roll the dough into 12 round disks. Don’t worry too much about getting them perfectly round.

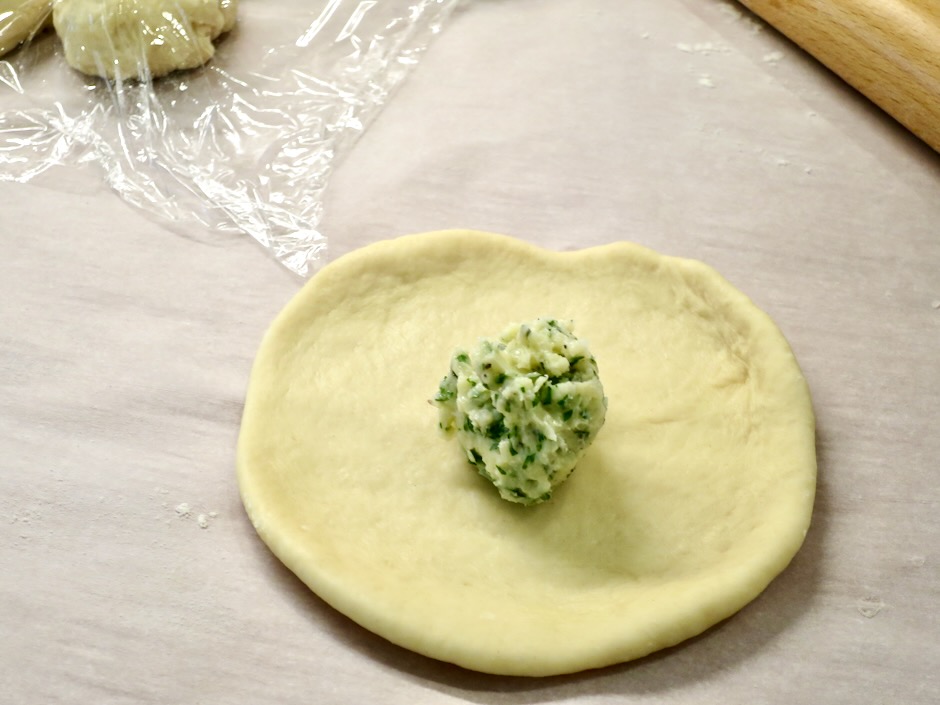
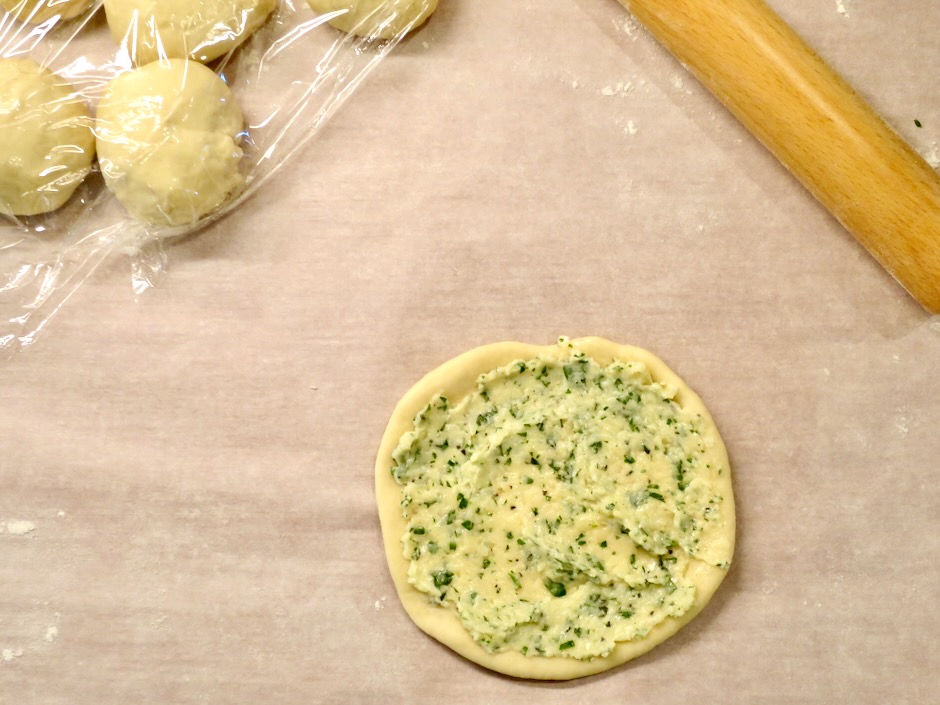
A tablespoon of filling is spread over the dough rounds that are stacked on top of one other before placing in the baking pan.

Occasionally the dough can be a bit uncooperative, meaning it will resist keeping its shape once rolled out. If it springs back just give it another roll or two and it should be fine.

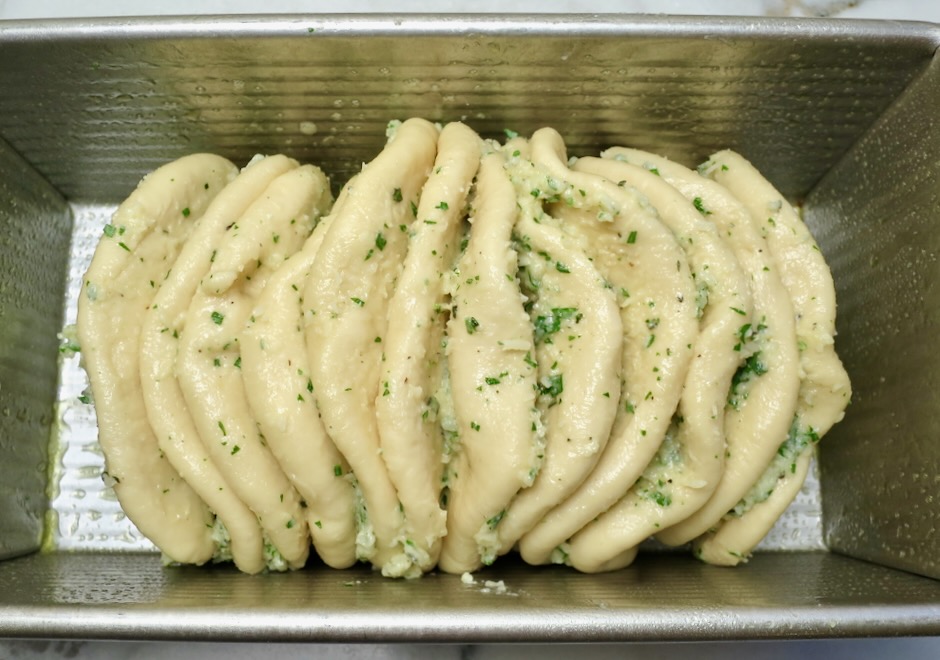
The stacked dough circles are placed in the baking pan and set aside for the final rise.

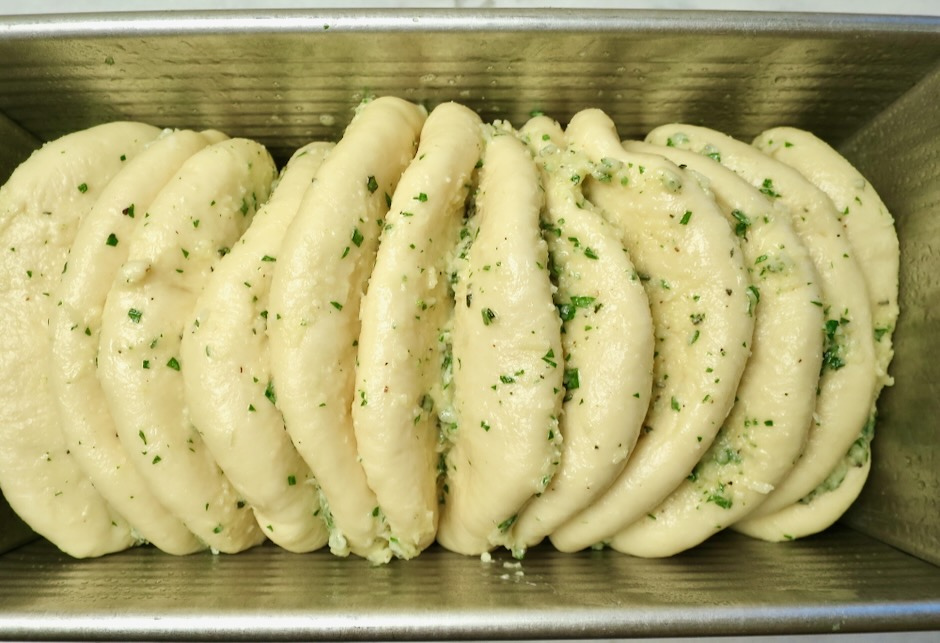
After 45 minutes the dough has risen and filled up the empty spaces in the pan.

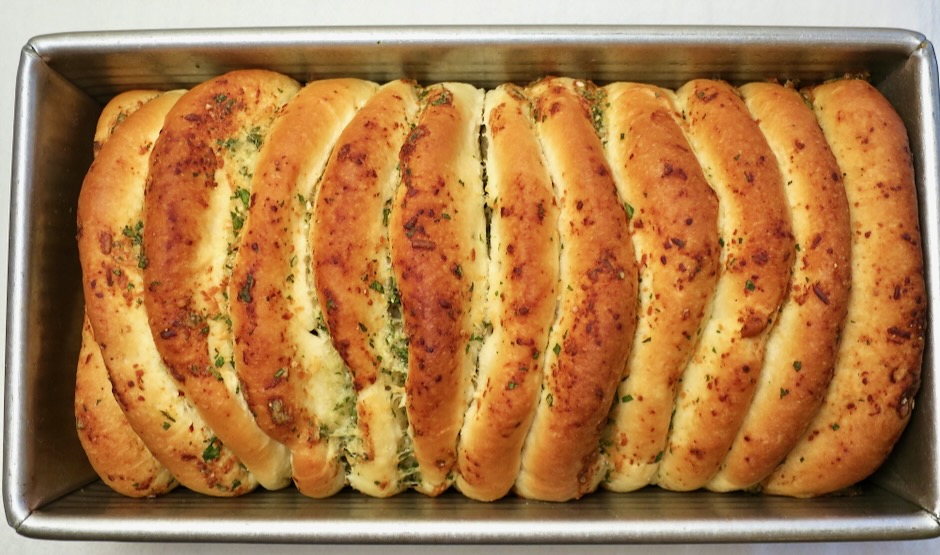
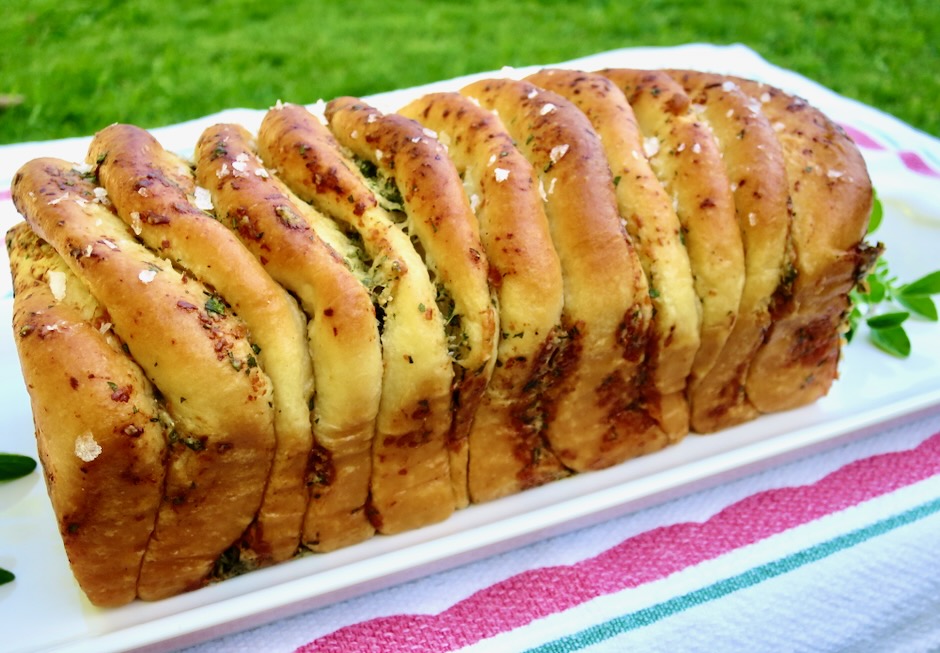
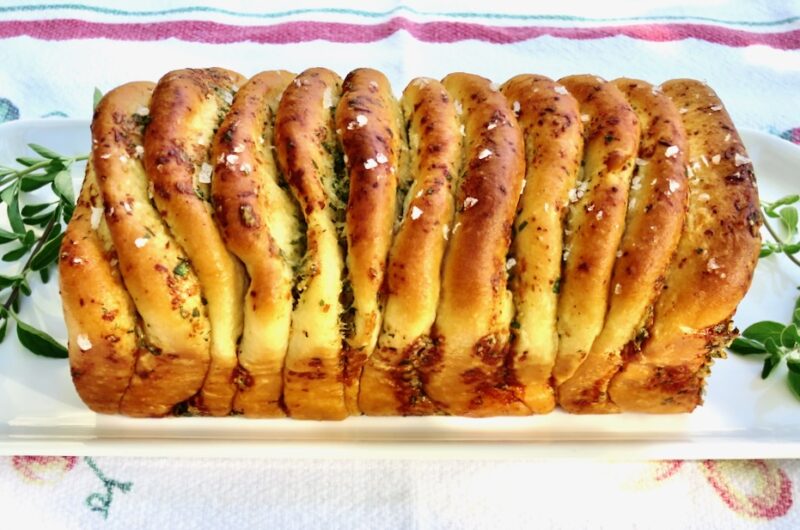
Baked for 45-50 minutes, the bread emerges from the oven looking spectacular.

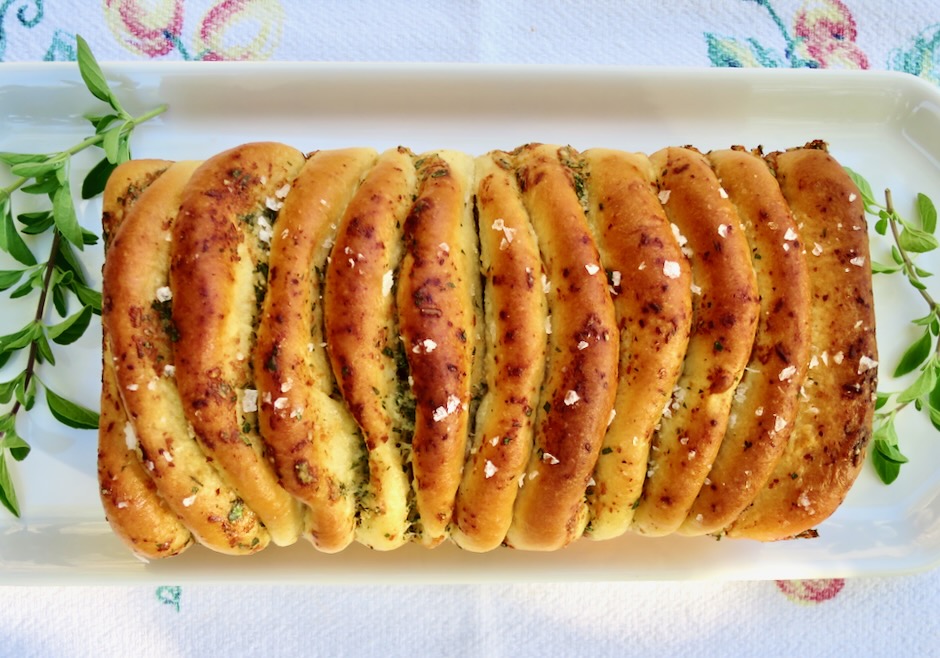
The final touch is melted butter brushed over the warm bread followed by a sprinkling of Maldon salt.

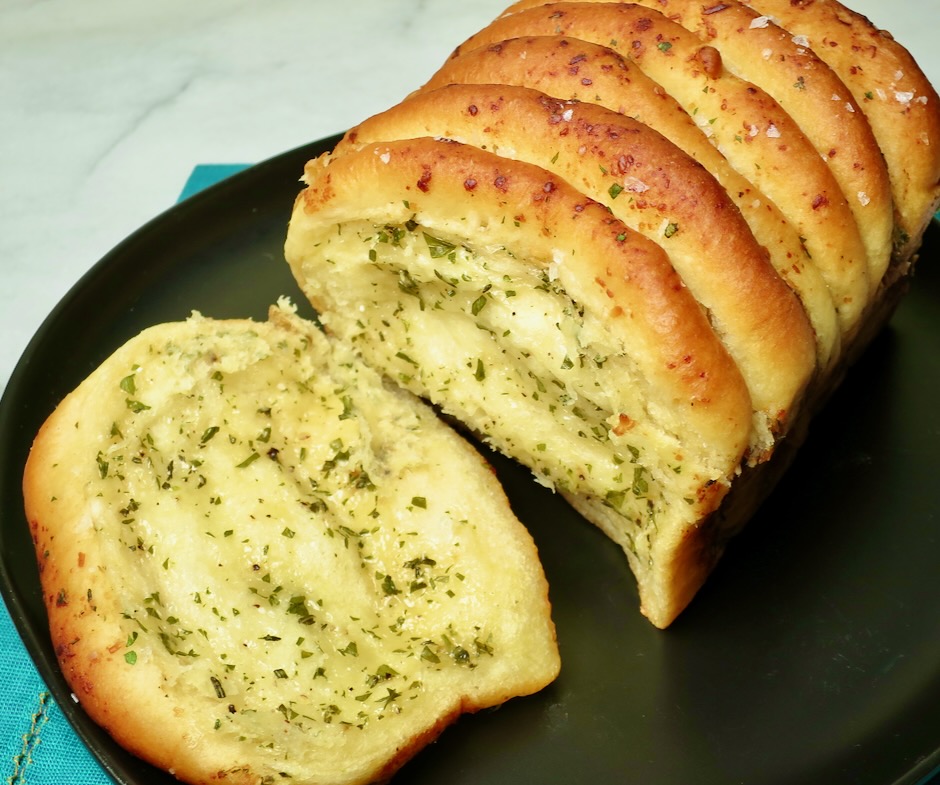
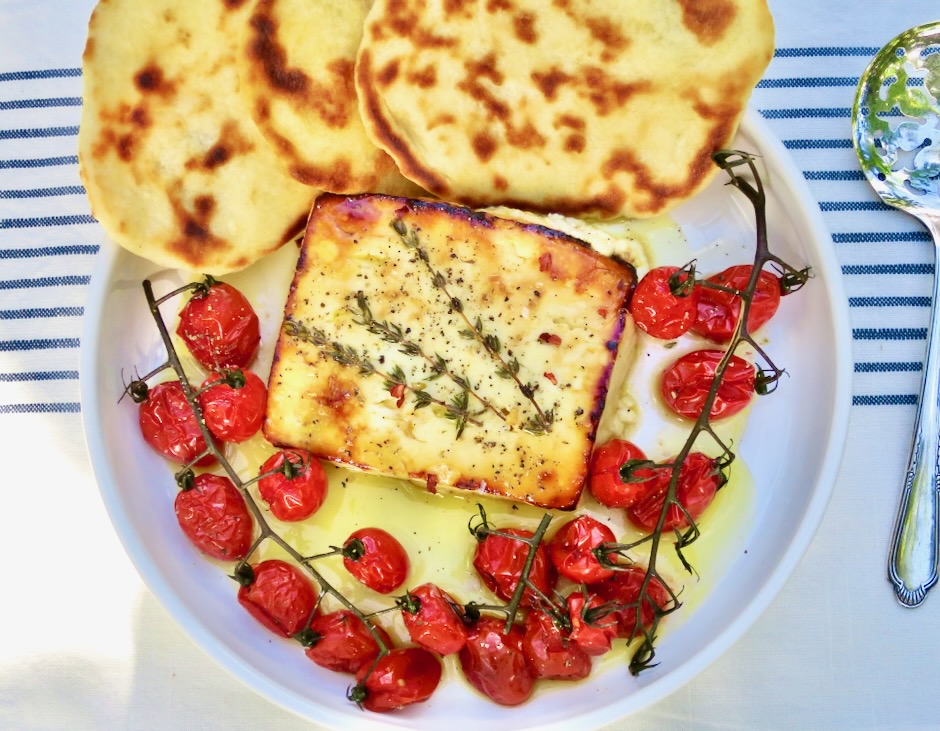
This bread goes with just about anything. I serve it often with pasta dishes, but it is superb with roasted chicken, grilled steaks, fish and chicken, herb baked tofu and salads. Any leftover slices would be perfect toasted and topped with sunny-side up eggs for a quick lunch.

Pull-Apart Rosemary Garlic Bread

Recipe by Kiyo
Servings

4-6

servings

Adapted from Food & Wine

Ingredients

  • For the dough
  • 2 1/4 cups (270g) all-purpose flour, plus more for work surface

  • 2 tablespoons (25g) granulated sugar

  • 2 teaspoons rapid-rise yeast

  • 1 1/2 teaspoons kosher salt (I use Diamond Crystal)

  • 2/3 cup (158g) whole milk, warmed

  • 3 tablespoons (42.6g) Earth Balance Buttery Sticks or unsalted butter

  • For the filling and topping
  • 6 tablespoons (85g) Earth Balance Buttery Sticks or unsalted butter, softened

  • 1 cup (90g) finely grated parmesan cheese

  • 2 tablespoons finely chopped flat leaf parsley

  • 2 teaspoons finely chopped rosemary (1 1/2 teaspoons for a milder rosemary flavor)

  • 1 large garlic clove, finely grated (Microplane works well)

  • 1/4 teaspoon kosher salt

  • 1/4 teaspoon black pepper

  • 1 tablespoon Earth Balance Buttery Sticks or unsalted butter, melted (to brush on baked bread)

  • 1/2 teaspoon flaky sea salt such as Maldon (to sprinkle on baked bread)

Directions

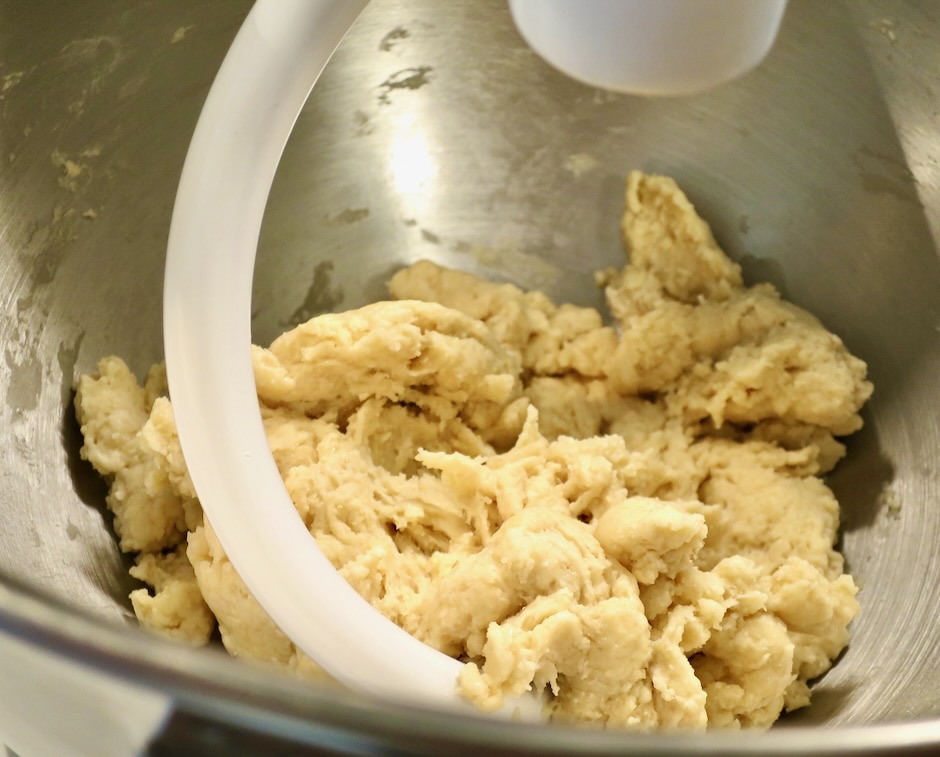
  • Place flour, sugar, yeast, and salt in bowl of a stand mixer fitted with a paddle attachment. With mixer running on low speed, beat in warm milk and Buttery Sticks or unsalted butter. Beat on low speed until just combined, 30-45 seconds. Remove paddle attachment from mixer; attach dough hook. Beat on medium speed until dough is smooth and elastic, about 6 minutes. Transfer dough to a medium bowl coated with cooking spray. Cover with plastic wrap and let rise in a warm spot until doubled in size, about 1 hour. For colder climates, turn your oven light on when you start mixing the dough, then place covered dough bowl in oven. The warm oven environment will help your dough to rise.
  • Meanwhile, stir together butter, parmesan, parsley, rosemary, garlic, salt, and pepper in a small bowl until well combined. Set aside.
  • Once dough has doubled in size, punch down in bowl and transfer to a lightly floured work surface. Divide dough evenly into 12 pieces (about 3 tablespoons each). Using a small rolling pin, roll dough rounds into a 4-inch disk. You may also flatten each piece of dough with your hands (the disks do not need to be perfectly round). Spread about 1 tablespoon of filling onto one side of each disk. Stack disks, cheese side up, on top of each other. Turn stack of dough onto its side, and place in an 8 1/2-4 1/2-inch loaf pan coated with cooking spray. Slightly separate disks in loaf pan. Cover with plastic wrap and let rise in a warm spot until almost doubled in size, about 45 minutes. Preheat oven to 325 degrees.
  • Bake loaf on middle rack until golden brown, 45-50 minutes, covering loosely with aluminum foil if needed to prevent over browning. Transfer loaf pan to a wire rack and let cool for 10 minutes. Invert loaf onto wire rack, turn upright, and let cool for 10 minutes. Brush with melted butter and sprinkle with flaky salt. Serve warm.

Notes

  • Leftover garlic bread can be frozen and reheated (covered in foil) in a toaster oven.
Appetizers, Dinner, Dressing, Lactose Free, Mexican, Recipes, Sauces, Vegan, Vegetarian

Guacamole Salsa

February 12, 2023

This guacamole salsa is creamy, spicy, and has just the right amount of acidity to make it one of my new favorite condiments for all things Mexican. After watching The Taco Chronicles on Netflix, I was intrigued by this beautiful salsa that was drizzled on tacos throughout Mexico. The combination of avocado and tomatillos with spicy peppers is delicious.

Each ingredient contributes loads of flavor to the salsa. Browning the vegetables a bit intensifies their flavor even more so.

It doesn’t take very long to impart a bit of color to the vegetables. A little goes a long way in developing flavor. Anyone who happens to walk by the kitchen will immediately know something tasty is in the works.

A medium avocado is all you need for this recipe. It adds texture to the salsa as well as a silky richness when combined with the other ingredients.

Everything goes into the blender before serving. I like to make this a few hours in advance and chill it before serving.

The salsa is delicious on tacos, but don’t stop there. I serve it with burritos, quesadillas, corn chips and tamales. It is quite versatile. You can even serve it with grilled fish, Mexican style grilled chicken, as a salad dressing for cabbage or crispy iceberg lettuce and as a topping for Mexican rice.

Guacamole Salsa

Recipe by Kiyo

2

cups

Ingredients

  • 1/2 pound tomatillos, husked, washed and sliced in half

  • 1 jalapeño pepper (you may use jalapeños or serrano peppers or a combination)

  • 2 serrano peppers

  • 1/2 small onion cut into 4 wedges

  • 2 medium garlic cloves, peeled

  • canola or vegetable oil for the pan

  • generous handful of cilantro

  • 1 medium avocado, seeded and peeled

  • 1 tablespoon freshly squeezed lime juice

  • 2 teaspoons kosher salt

Directions

  • Drizzle a teaspoon of canola oil into a medium sized fry pan and place over medium heat. Arrange tomatillos cut side down, along with the onion wedges, whole peppers, and garlic. Cook until vegetables are lightly charred turning as needed, about 5 minutes. Remove garlic ahead of time so that it doesn’t burn. Transfer to a bowl to cool slightly. Once cool enough to handle, slice peppers in half and remove seeds. Taste peppers to see how spicy they are and use just what you need according to how spicy you want the salsa to be.
  • Transfer tomatillos, peppers, onion and garlic to a blender. Add avocado, a handful of cilantro, 1 tablespoon of lime juice, 2 teaspoons kosher salt, and 3/4 cup water. Blend until smooth. Taste and adjust seasoning with more salt and lime juice if needed.
  • Transfer to a bowl and chill until ready to serve. The salsa is best used within 4 days. Any leftover salsa may be frozen in a plastic container. Defrost in the refrigerator overnight and stir before serving.

Notes

  • A plastic squeeze bottle is the most convenient way to serve and store the salsa.
Appetizers, Cheese, Recipes, Side Dishes

Roasted Feta with Honey

December 5, 2022

This may be one of the easiest and most delicious appetizers I have made. It is a gorgeous dish to bring to the table. I served it with yogurt flatbread made into smaller rounds for this appetizer, and roasted tomatoes which added a pop of color and a sweet-tart flavor that was perfect tucked into the flatbread with the cheese. You can keep it simple by serving the feta with slices of good sourdough bread or warmed pita bread.

The roasted tomatoes go into the oven about 45-60 minutes before the feta is roasted. I love the Sugar Bomb tomatoes sold at Safeway. They make a striking presentation.

Mt. Vikos is one of the best feta cheese blocks I know of. Here on Maui you can find it at most of the markets including Hawaiian Moons, Times Kihei, Foodland, and Whole Foods. I placed the cheese and olive oil in a foil-lined baking dish so that it would be easy to remove to a plate for serving with the roasted tomatoes. If you are not using roasted tomatoes, you can skip the foil. Remember to use a baking dish that can withstand the high heat of the broiler.

This is one of those dishes that really doesn’t require a recipe because of its simplicity. Place feta block in baking dish, drizzle with olive oil, add fresh thyme sprigs if you want to, then roast until warm. Drizzle honey over the feta, broil until beautifully bronzed on the edges, season with freshly ground black pepper, and a sprinkling of Maldon sea salt, serve.

Roast the feta just before you want to serve it. The cheese should be warm and creamy, the perfect foil for pillowy flatbread or good sourdough bread.

Roasted Feta with Honey

Recipe by Kiyo
Servings

2-4

servings

Adapted from NYT Cooking

Ingredients

  • 1 7-ounce block Mt. Vikos Feta (or your favorite feta block)

  • 2 tablespoons extra virgin olive oil

  • 3 small fresh thyme sprigs, optional

  • 1 tablespoon honey

  • Freshly ground black pepper

  • Maldon sea salt, optional

  • Red pepper flakes, optional

  • Roasted tomatoes, optional

  • Yogurt flatbread, sourdough, or pita bread for serving

Directions

  • Preheat the oven to 400 degrees. Place feta in a small foil-lined baking dish for easy transfer to a plate if serving with roasted tomatoes (one that can withstand broiler oven temperature). Otherwise skip the foil and place feta directly into a broiler safe baking dish. Drizzle olive oil over the feta and place a few sprigs of thyme on top if using. Bake until the cheese is soft and springy to the touch but not melted, about 7-8 minutes.
  • Preheat the broiler. Heat the honey in the microwave for just a few seconds until it is fluid enough to be spread with a pastry brush and then paint the surface of the feta with it. Broil until the top of the cheese browns and just starts to bubble, about 2 1/2 minutes (I used my countertop Breville Smart Oven). Keep an eye on the broiling time so the cheese does not burn. Season with pepper, a sprinkling of Maldon sea salt (optional) and a pinch of red pepper flakes (optional).
  • Serve with warmed flatbread or crusty sourdough bread and roasted tomatoes.

Notes

  • If serving with roasted mini tomatoes, place them in a baking dish, drizzle the tomatoes with a bit of olive oil, and season with salt and pepper. Bake uncovered at 400 degrees for 45-60 minutes. Yogurt flatbread can be made weeks in advance and frozen. Warm before serving.
Appetizers, Gardening, Italian, Lactose Free, Recipes, Side Dishes, Sous Vide, Vegan, Vegetarian, Veggies

Sous Vide Giardiniera

November 5, 2022

Giardiniera (Italian for pickled vegetables from the garden) are a delightful treat to serve alongside sandwiches or as part of an appetizer plate with salami, cheese and crackers. You will find it difficult to stop once you take a bite of these gorgeously colored, crispy vegetables. The sous vide method ensures the vegetables retain their crisp texture.

It all started with our homegrown poblano and anaheim peppers. I used some of the peppers for chile verde but we still had quite a few growing on the plants so the idea of pickling them came to mind.

You’ll find that cauliflower, carrots, peppers (hot or mild), celery and onions are most commonly used in giardiniera. However, you can also use green beans, fennel, olives, or any other type of vegetable that will hold its shape well.

The seasoning for the brine is quite simple. Fresh garlic, bay leaf, whole coriander seeds, red pepper flakes, dried oregano, calcium chloride (for keeping pickles crisp), and black peppercorns.

The seasonings are divided equally into 4 pint canning jars.

The jars are packed with the vegetable assortment before the brine is added. They are so colorful!

Hot brine is added to the jars before the sous vide process begins.

The giardiniera is canned via the sous vide pasteurization process for 30 minutes at 190F.

The finished product turned out to be one of our new favorite snacks. The assortment of vibrant colors and various shapes of the vegetables makes a beautiful jar of homemade pickles.

Sous Vide Giardiniera

Recipe by Kiyo
Servings

4

servings

Special Equipment: Sous Vide Precision Cooker (we use Joule), 4 1-Pint Canning Jars, Canning Pot
Recipe adapted from America’s Test Kitchen

Ingredients

  • Vegetables
  • 1 head cauliflower (about 1 3/4 pounds, 1 pound trimmed) cut into bite-sized pieces

  • 1 large carrot (6 ounces), thinly sliced on the diagonal

  • 1 red onion (10 ounces), peeled and cut into thick wedges

  • 10 ounces poblano or anaheim peppers red and green preferred, cut into short strips (substitute with bell peppers for very mild flavor or jalapeño peppers for spicy version or a combination)

  • Seasonings per jar
  • 1/4 teaspoon black peppercorns

  • 1/4 teaspoon whole coriander seeds

  • 1/4 piece bay leaf (from one whole bay leaf)

  • 1/8 teaspoon dried oregano

  • 1/4 teaspoon chili pepper flakes (optional depending on pepper heat)

  • 1/8 teaspoon calcium chloride (optional but recommended for crispness)

  • 1 medium garlic clove, thinly sliced

  • Brine
  • 2 1/2 cups distilled white vinegar

  • 2 1/2 filtered water

  • 2 tablespoons pickling salt (substitute kosher salt 2 tablespoons + 1 1/2 teaspoons, do not use salt that has additives)

  • 3 tablespoons granulated sugar

  • dash of turmeric

Directions

  • Cut vegetables as described above, set aside.
  • Wash and dry 4 pint sized canning jars. Place seasonings in each jar. Begin adding vegetables into each jar, pressing down firmly leaving 3/4-inch headspace. Set aside.
  • Fill canning pot with hot water to cover jars by at least 1-inch. Place pot on stove and heat to about 190F, checking with a digital thermometer. This is optional but gives you a head start to heating up the large pot of water. Once up to temperature turn off stove burner. Connect sous vide device to the pot and set temperature to 190F.
  • Meanwhile, in a medium saucepan, combine brine ingredients. Bring to a boil over medium-high heat, stirring until salt and sugar has dissolved. Pour the hot brine over the vegetables, leaving 1/2-inch headspace from the rim of the jar. Add lids and screw on rings until finger tight. Do not over tighten. Place jars in canner and set timer for 30 minutes when water temperature is 190F.
  • Once 30 minutes has passed, turn off sous vide device and let jars sit in the water for 5 more minutes. Remove jars to a cooling rack and let sit undisturbed for 24 hours.
  • Remove rings, check seals (unsealed jars should be refrigerated). Jars can be stored in your pantry for 1 year.
Appetizers, Dinner, Japanese, Lactose Free, Recipes, Side Dishes, Vegan, Vegetarian, Veggies

Kinpira Gobo

September 27, 2022

Kinpira gobo is a traditional Japanese side dish that will enhance any Japanese-style meal. Serve it for breakfast with a bowl of steaming Japanese rice, pack it in a bento box with musubi for lunch, or serve it for dinner along with tofu for a delicious vegetarian meal.

If you’re not familiar with gobo (burdock root) you might not even take notice of it. Gobo is rather homely looking, however, don’t let that stop you from picking up a few pieces to take home. Once it has been cleaned and sliced thinly, its potential is revealed and you are on your way to a truly delicious meal.

Here on Maui gobo can be found at Foodland Kahului, Island Grocery Kahului, TJ’s Wailuku, and Times market in Kihei. Look for slender roots about 1-inch in diameter. These will be less fibrous and tough than the thicker pieces. Sometimes it can be hit or miss. Check the condition of the gobo. It should be firm like a carrot. If it’s not, then try again the following week or ask your grocer when they expect a new delivery.

Have a bowl of cool water ready when slicing the gobo. Burdock oxidizes quickly and the water helps to keep it from turning gray. The water also reduces some of the pungent flavor of the gobo. Change the water once or twice as it becomes darker. When all of the gobo has been sliced, drain in a colander and transfer to a clean dish towel or paper towels and pat dry. You want to avoid water hitting the hot oil when you begin to fry the gobo.

A short list of sauce ingredients makes this an easy dish to prepare. The Shichimi Togarashi is optional. I use it to add a bit of kick to the finished dish. I used instant dashi but using water is fine since you only need a small amount.

Start by cooking the gobo for a few minutes before adding the julienned carrots. Taste a few pieces to see if the texture is right. It should be firm yet cooked enough so that it isn’t tough and difficult to chew. Keep in mind that it will continue to cook a few more minutes when the carrots are added.

Once the gobo and carrots are the right texture, add the sauce and cook until the liquid is nearly gone.

Transfer kinpira gobo to a serving bowl, sprinkle with roasted sesame seeds and shichimi togarashi for a spicy kick.

Though kinpira gobo is considered a side dish, it can become a main dish simply served with a bowl of rice. The flavor is so delicious and the crunchy texture is delightful.

Kinpira Gobo

Recipe by Kiyo

Adapted from Japanese Cooking 101

Ingredients

  • 9 ounces gobo (burdock root)

  • 4 1/2 ounces carrot

  • 1 tablespoon canola oil

  • 1/4 cup prepared instant dashi or water (vegetarian version)

  • 2 tablespoons + 1 teaspoon soy sauce

  • 1 tablespoon + 1 teaspoon granulated sugar

  • 1 tablespoon sake

  • 1 tablespoon mirin

  • roasted sesame seeds

  • shichimi togarashi (optional)

Directions

  • Rinse the gobo and remove a light layer of the skin with the back of a knife. Avoid using a peeler as this will remove too much of the edible part of the root.
  • Thinly slice gobo on a sharp diagonal (if cut too thick the gobo will be difficult to chew). Stack a few pieces together and slice thinly into 2-inch strips. Place strips in water as you slice them. Change water once or twice as it darkens.
  • Julienne carrot into similar size as the gobo. Set aside.
  • In a medium bowl, mix together the dashi or water, soy sauce, sugar, sake and mirin. Set aside.
  • Heat a scant tablespoon of canola oil over medium heat. Once the oil is hot, add the gobo (be sure it is dry so the oil does not splatter). Stir fry for a few 2-3 minutes adjusting the heat to medium-high if needed. Gobo is very fibrous and should be stir fried until it is just tender and crispy but not tough. Taste a few pieces to ensure you have the correct texture. Add julienned carrots to the pan and stir fry with the gobo until al dente, about 2 minutes.
  • Turn heat down to medium if using a higher heat to stir fry the vegetables. Pour in sauce and continue to stir until the liquid is nearly gone (the pan should not be dry).
  • Transfer kinpira gobo to a serving bowl. Sprinkle roasted sesame seeds over the top. Serve with shichimi togarashi for a spicy kick.
Appetizers, Lactose Free, Pickles, Recipes, Side Dishes, Vegan, Vegetarian, Veggies

Turmeric Pickled Cauliflower

August 21, 2022

These crunchy cauliflower pickles are now a staple alongside the cucumber and green bean pickles we regularly make. Their crisp texture and tangy flavor are addictive. Our homemade sandwiches are always served with a side of pickles.

Turmeric gives these cauliflower pickles their vibrant color. Not only are they beautiful to look at, they are incredibly tasty. With just a few ingredients and a bit of patience, these crunchy pickles will become a favorite of yours.

A little turmeric goes a long way. Be careful when using turmeric with plastic and rubber utensils as the turmeric can stain them. If you have a light colored work surface it is best to place a mat or cutting board on your counter to avoid the risk of staining them. Sometimes I use a clean paper grocery bag as my work surface. It will soak up small drips that may have accidentally have fallen when transferring the cauliflower and brine to the pickle jar.

Thinly sliced garlic, a few lemon slices, and black peppercorns are placed on the bottom of the jar before adding the cauliflower and brine.

Top the cauliflower with a slice or two of lemon. Let cool for a bit, cover and refrigerate until thoroughly chilled.

These beauties are perfect to serve as an appetizer with cheese, salami and crackers or simply served with your favorite sandwich.

Turmeric Pickled Cauliflower

Recipe by Kiyo

Recipe adapted from Vanns Spices. Makes approximately 1 quart.

Ingredients

  • 1 medium head cauliflower, about 1 3/4 pounds

  • 1 1/2 cups distilled white vinegar

  • 1 1/2 cups filtered water

  • 1 1/2 teaspoons ground turmeric

  • 2 teaspoons kosher salt

  • 2 teaspoons granulated sugar

  • 4 lemon slices

  • 3/4 teaspoon whole black peppercorns

  • 2 medium garlic cloves, peeled and thinly sliced

Directions

  • Rinse cauliflower and cut into small florets. Remove as much of the stem as possible.
  • Combine vinegar, water, turmeric, salt, and sugar in a medium saucepan (large enough to hold the cauliflower florets) and bring to a boil over medium-high heat.
  • Place two slices of lemon on the bottom of a clean quart jar, followed by the garlic and peppercorns.
  • When the brine comes to a boil, add the cauliflower and stir, trying to get as much of the cauliflower submerged in the brine as possible. Bring back to a rolling boil. Turn off heat, and transfer cauliflower florets to the jar using tongs (A canning funnel works great if you have one).
  • If you prefer a clearer brine, strain it using a double layer of cheese cloth placed over a small strainer. Pour brine into the jar making sure all of the cauliflower is submerged. Top with the remaining two slices of lemon.
  • Cap the jar and allow to sit on the countertop until cooled to warm or room temperature. Transfer to the refrigerator. The pickles will be ready to eat in 24 hours.

Follow

Get every new post delivered to your Inbox

Join other followers: